Get 20% OFF All Premium 3D & STL Models!

“`html
If you’re diving into the world of 3D printing, you’ve undoubtedly encountered the term “STL file.” It’s the backbone of additive manufacturing, the lingua franca between your 3D model and your 3D printer. But what exactly is an STL file? This comprehensive guide will demystify the STL format, explaining its structure, its role in the 3D printing process, and how to optimize STL files for stunning results. We’ll cover everything from basic definitions to advanced techniques, ensuring you have the knowledge to confidently prepare your models for printing. Whether you’re a hobbyist printing car models from platforms like 88cars3d.com, an engineer prototyping a new design, or simply curious about the technology, this guide has something for you. Get ready to unlock the potential of STL files and elevate your 3D printing game!
STL, which stands for “stereolithography,” is a file format native to the stereolithography CAD software created by 3D Systems. However, its widespread adoption has made it the standard file type for 3D printing across various technologies, including FDM (Fused Deposition Modeling), SLA (Stereolithography), SLS (Selective Laser Sintering), and more. STL files describe the surface geometry of a 3D object using a collection of triangles. The more triangles, the more detailed the surface, but also the larger the file size. It’s a balancing act between detail and efficiency.
At its core, an STL file represents a 3D object as a mesh of interconnected triangles. Each triangle is defined by three vertices (points in 3D space) and a normal vector (a vector perpendicular to the surface of the triangle, indicating its orientation). These triangles collectively approximate the shape of the object. Think of it like creating a smooth curve using many short, straight lines – the more lines, the smoother the approximation. In STL files, the more triangles, the smoother and more accurate the representation of the original 3D model. However, this increased accuracy comes at the cost of a larger file size and potentially longer processing times.
STL files come in two main flavors: ASCII and binary. ASCII STL files store the triangle data in plain text, making them human-readable but also significantly larger. Binary STL files, on the other hand, store the data in a more compact binary format, resulting in smaller file sizes and faster processing. For example, a complex car model in ASCII STL might be several hundred megabytes, while the same model in binary STL could be less than half that size. While ASCII files are useful for debugging or inspecting the file content, binary STL is generally preferred for its efficiency and is almost universally supported by 3D printing software.
Once you have an STL file, whether it’s a design you created yourself or a printable car model downloaded from 88cars3d.com, the next step is preparing it for 3D printing. This involves using slicing software to convert the 3D model into a series of instructions that your 3D printer can understand. The slicing process defines the layer height, print speed, temperature, and other critical parameters that determine the quality and success of your print.
Slicing software takes the STL file and “slices” it into horizontal layers, essentially creating a set of 2D cross-sections that the printer will build upon. Popular slicing software options include Cura, PrusaSlicer, Simplify3D, and Slic3r. Each software has its own strengths and weaknesses, but they all perform the fundamental task of converting the 3D model into machine-readable code (G-code). When downloading models from marketplaces such as 88cars3d.com, consider which slicer you’re most comfortable with and optimize your settings accordingly.
The slicing software provides a vast array of settings that influence the final print quality. Some of the most important parameters include:
Experimenting with these settings is key to finding the sweet spot for your printer, material, and model.
The quality of your 3D print depends not only on the printer settings but also on the quality of the STL file itself. A poorly designed or corrupted STL file can lead to printing errors, weak parts, and unsightly artifacts. Therefore, it’s crucial to optimize your STL files before sending them to the slicer.
One common issue with STL files is non-manifold geometry. This occurs when the mesh has holes, overlapping faces, or other topological errors that make it impossible to define a clear inside and outside. Repairing these errors is essential for successful printing. Software like MeshMixer, Netfabb, and online STL repair services can automatically detect and fix these problems. Ensuring your mesh is “watertight” is a critical step in the preparation process. Think of it like patching holes in a boat – you need to make sure there are no leaks before you set sail.
As mentioned earlier, the number of triangles in an STL file directly affects its size and the level of detail it can represent. However, excessive triangle counts can lead to unnecessarily large files and slow processing times. It’s often possible to reduce the triangle count without significantly sacrificing visual quality. This process, known as mesh decimation or simplification, can be performed in many 3D modeling software packages. Aim for a balance between detail and efficiency – enough triangles to capture the important features of the model, but not so many that it becomes unwieldy.
Many 3D models, especially those with complex shapes or overhanging features, require support structures to be printed successfully. Support structures are temporary scaffolding that provides a foundation for these features, preventing them from collapsing or deforming during the printing process. Understanding how to generate and remove support structures effectively is a key skill for any 3D printing enthusiast.
There are various types of support structures, each with its own advantages and disadvantages. Common types include:
The best type of support structure depends on the geometry of the model and the desired level of support.
Removing support structures can be a delicate process. The goal is to remove the supports cleanly without damaging the printed part. Common techniques include:
Careful support removal is crucial for achieving a professional-looking final print.
The choice of material and printer settings significantly impacts the final result of your 3D print. Different materials have different properties, such as strength, flexibility, and temperature resistance, and require different printer settings to achieve optimal results. Understanding these factors is essential for producing high-quality prints.
The two most common 3D printing technologies are FDM (Fused Deposition Modeling) and resin printing (SLA, DLP, LCD). FDM printers extrude molten plastic filament through a nozzle, layer by layer. Resin printers use a light source to cure liquid resin, creating a solid object. FDM printers are generally more affordable and versatile, while resin printers offer higher resolution and smoother surfaces, ideal for intricate details. The choice between FDM and resin depends on the specific application and desired level of detail.
Each material requires specific temperature settings, print speeds, and bed adhesion techniques. Always consult the manufacturer’s recommendations for optimal results.
Even with careful preparation and optimized settings, 3D printing can sometimes present challenges. Understanding common printing issues and how to troubleshoot them is crucial for achieving successful prints. Let’s look at some common issues and how to fix them.
Warping occurs when the corners of the print lift off the build plate due to uneven cooling. This is more common with materials like ABS that shrink significantly during cooling. To prevent warping:
Proper bed adhesion is essential for a successful print.
Stringing occurs when the nozzle oozes material while moving between different parts of the print. Blobs are small accumulations of excess material that appear on the surface of the print. To prevent stringing and blobs:
Fine-tuning these settings can significantly improve print quality.
Mastering the STL file format is a fundamental skill for anyone involved in 3D printing. Understanding its structure, how to prepare it for printing, and how to optimize it for quality is essential for achieving stunning results. By following the tips and techniques outlined in this guide, you’ll be well-equipped to tackle any 3D printing project, whether it’s printing intricate car models from 88cars3d.com or prototyping complex engineering designs. Remember to experiment with different settings, materials, and techniques to find what works best for your printer and your specific needs. The world of 3D printing is constantly evolving, so continuous learning and experimentation are key to staying ahead of the curve. Now, go forth and create!
“`

Texture: Yes | Material: Yes
Download the highly detailed, game-ready Volkswagen Jetta GLI 2019 3D Model. Features an aggressive honeycomb grille with red accents, sleek aerodynamic profile, and exclusive GLI sport wheels. Includes .blend, .fbx, .obj, .glb, .stl, .ply, .unreal, and .max formats for game development, AR/VR, and rendering.
Price: $19.99
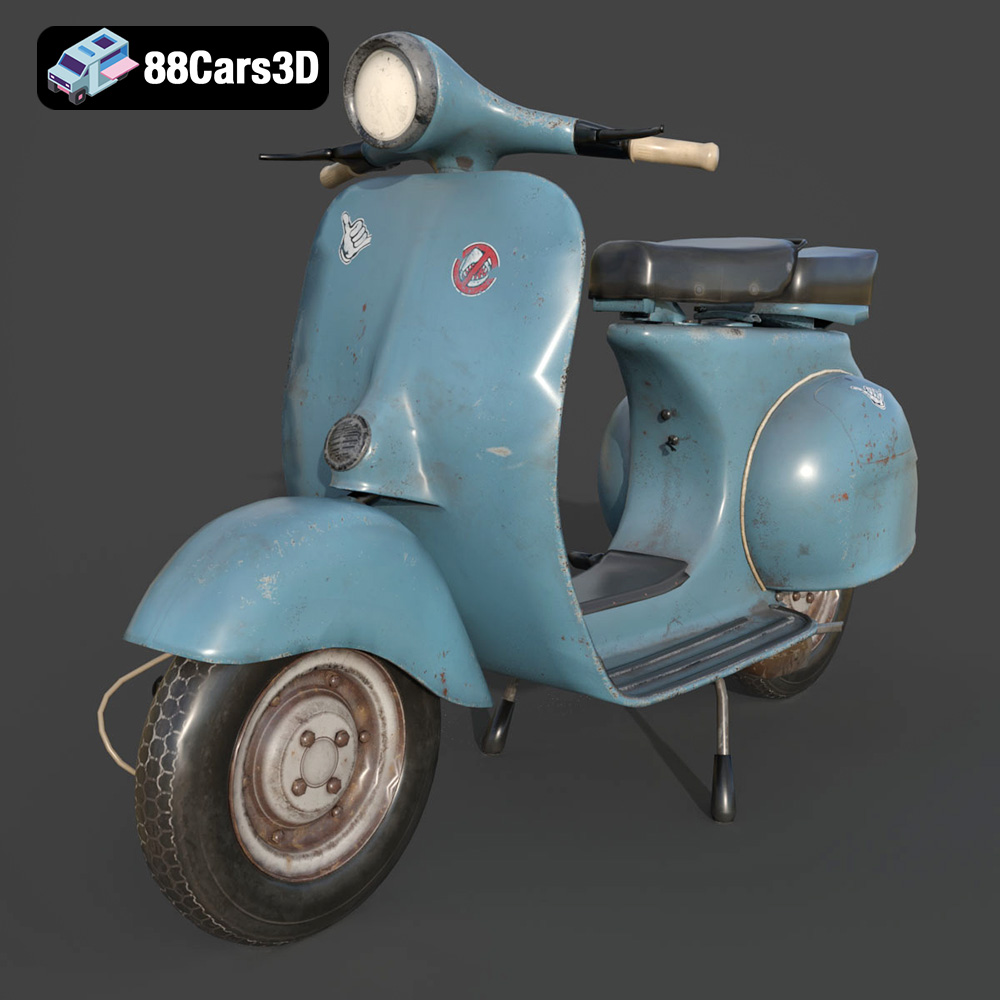
Texture: Yes | Material: Yes
Download the highly detailed, game-ready Vintage Vespa 3D Model. Features iconic rounded monocoque styling, classic saddle, and chrome accents. Includes .blend, .fbx, .obj, .glb, .stl, .ply, .unreal, and .max formats for game development, AR/VR, and rendering.
Price: $19.99

Texture: Yes | Material: Yes
Download the highly detailed, game-ready Vespa GS 150 3D Model. Features elegant aerodynamic curves, classic leg shield, and detailed engine casing. Includes .blend, .fbx, .obj, .glb, .stl, .ply, .unreal, and .max formats for game development, AR/VR, and rendering.
Price: $19.99
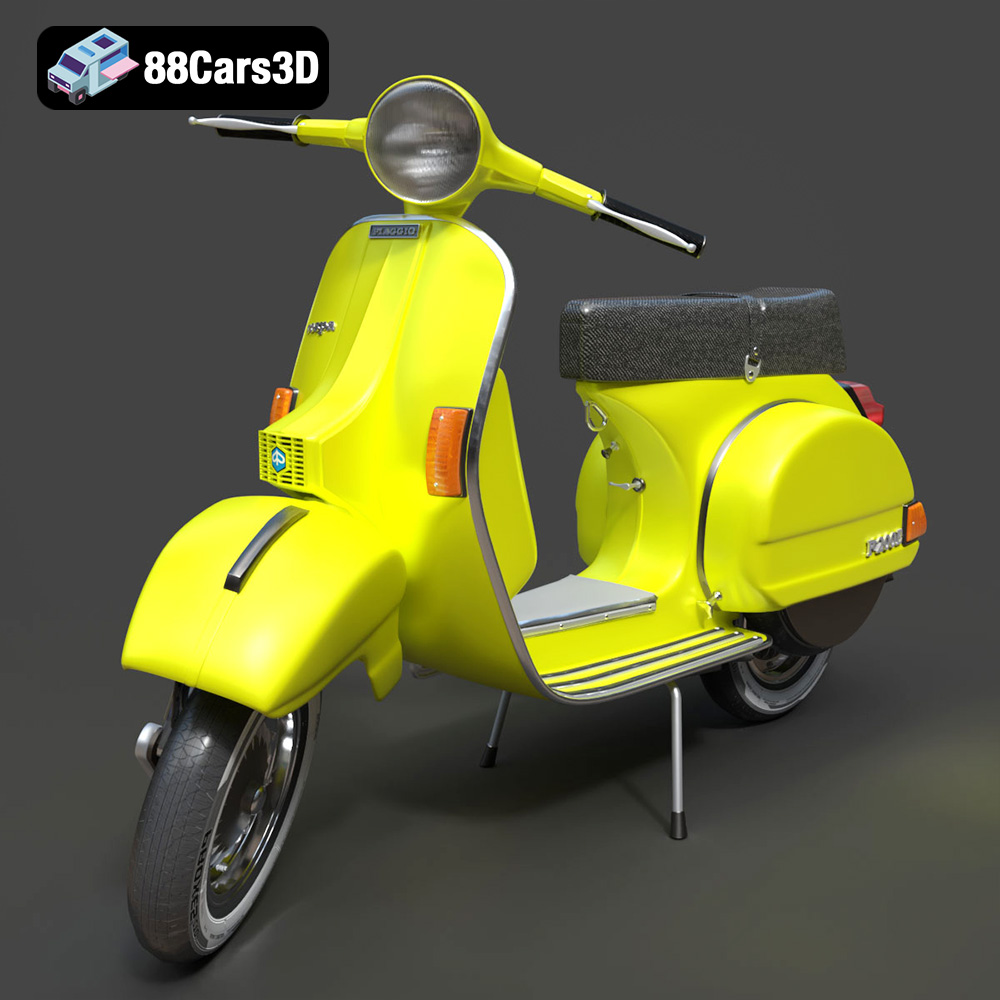
Texture: Yes | Material: Yes
Download the highly detailed, game-ready Vespa P200E 3D Model. Features classic vintage styling, accurate step-through frame geometry, and authentic detailing. Includes .blend, .fbx, .obj, .glb, .stl, .ply, .unreal, and .max formats for game development, AR/VR, and rendering.
Price: $19.99
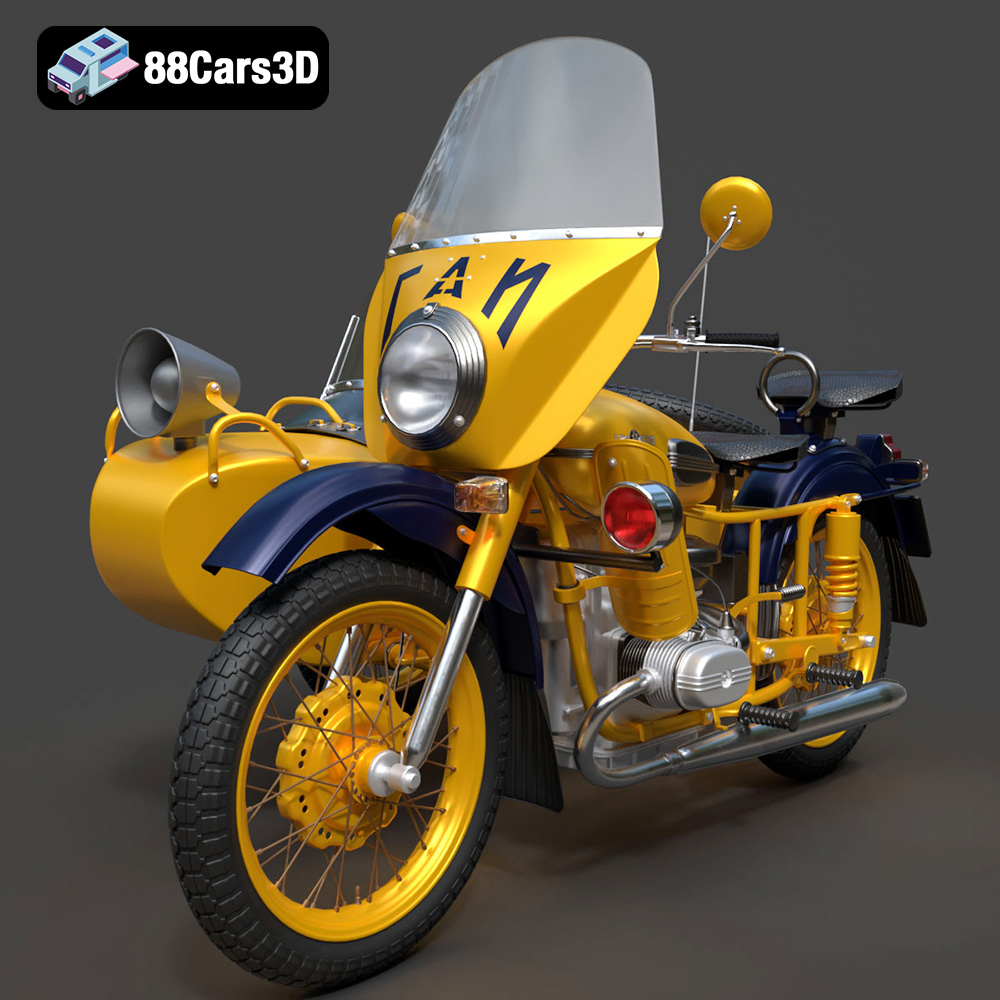
Texture: Yes | Material: Yes
Download the highly detailed, game-ready Ural M67-36-P 1976 3D Model. Features the iconic air-cooled boxer engine, vintage utilitarian styling, and authentic spoked wheels. Includes .blend, .fbx, .obj, .glb, .stl, .ply, .unreal, and .max formats for game development, AR/VR, and rendering.
Price: $19.99
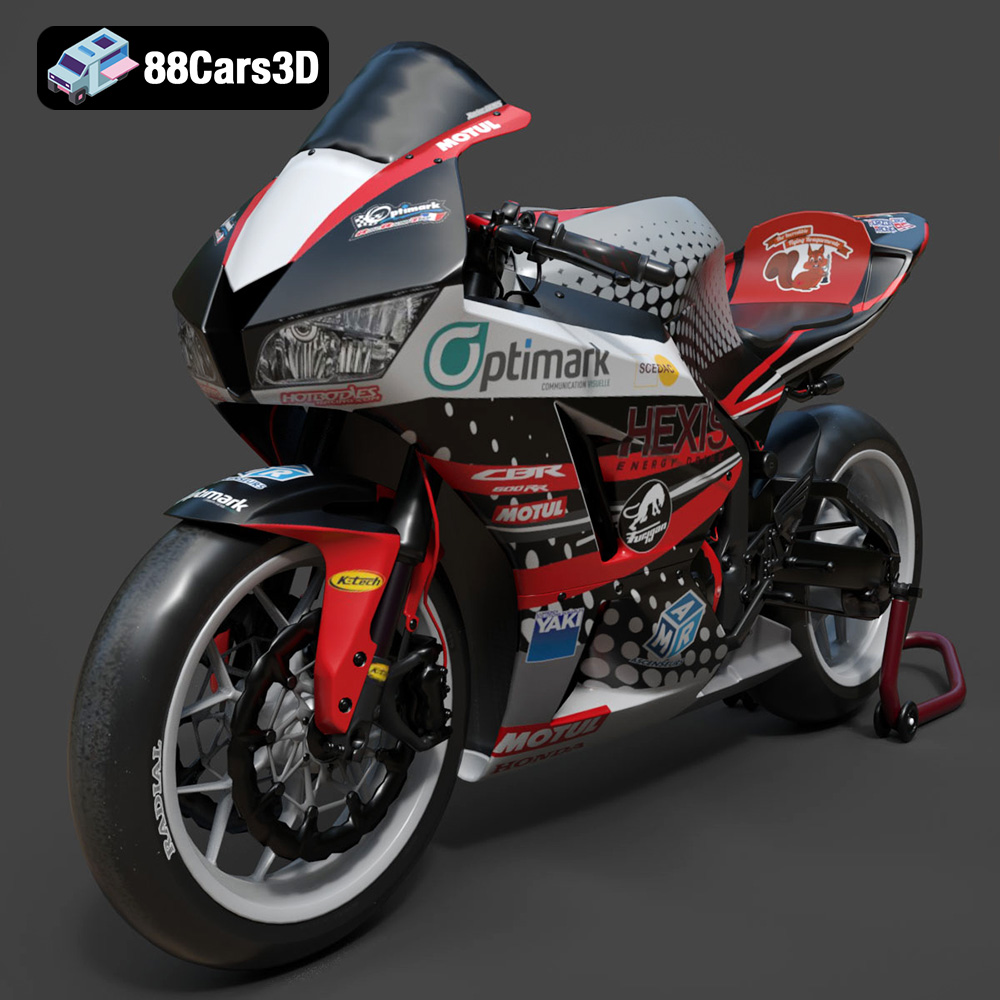
Texture: Yes | Material: Yes
Download the highly detailed, game-ready Honda CBR600RR 3D Model. Features aerodynamic fairings, an iconic center-up exhaust, and an aggressive track-focused stance. Includes .blend, .fbx, .obj, .glb, .stl, .ply, .unreal, and .max formats for game development, AR/VR, and rendering.
Price: $19.99
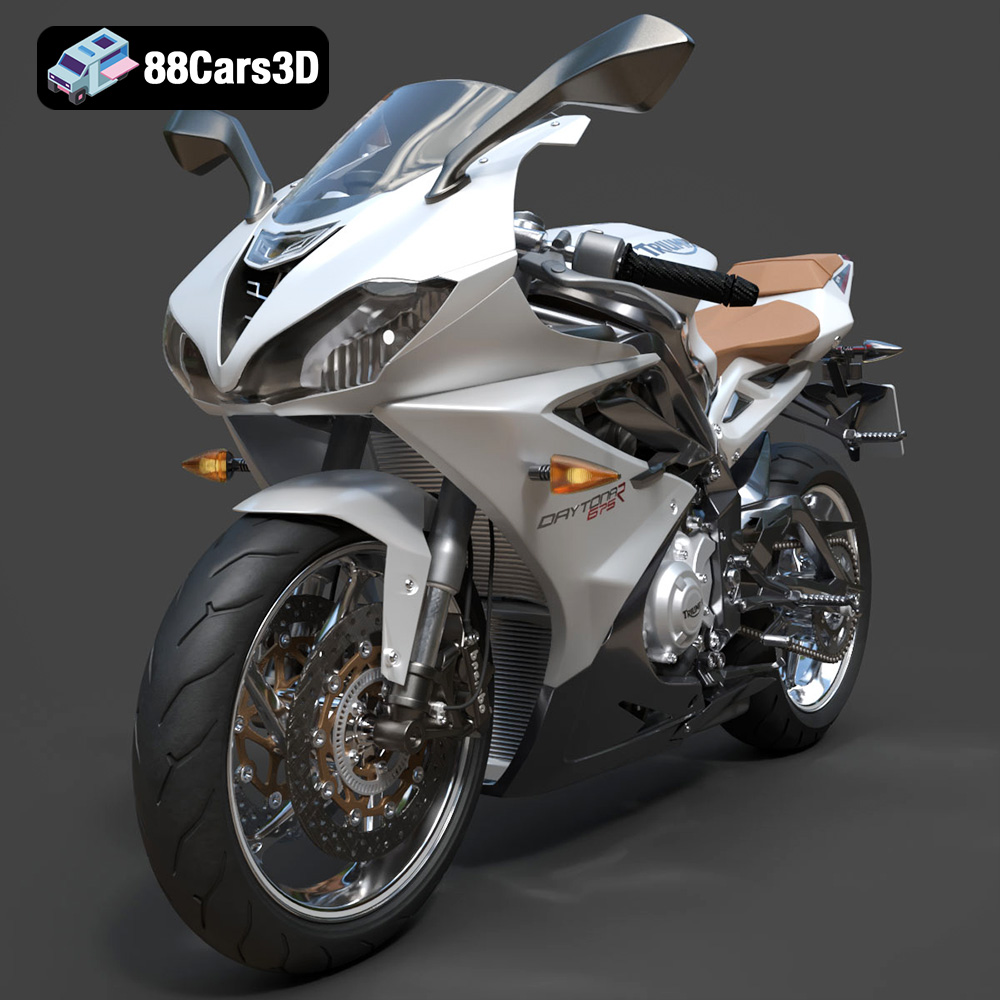
Texture: Yes | Material: Yes
Download the highly detailed, game-ready Triumph Daytona 675R ABS 2015 3D Model. Features aerodynamic sport fairings, a detailed inline-triple engine, and premium Öhlins suspension components. Includes .blend, .fbx, .obj, .glb, .stl, .ply, .unreal, and .max formats for game development, AR/VR, and rendering.
Price: $19.99

Texture: Yes | Material: Yes
Download the highly detailed, game-ready Toyota Tacoma TRD Off-Road 2016 3D Model. Features a rugged exterior, TRD off-road suspension details, and a meticulously crafted interior. Includes .blend, .fbx, .obj, .glb, .stl, .ply, .unreal, and .max formats for game development, AR/VR, and rendering.
Price: $19.99

Texture: Yes | Material: Yes
Download the highly detailed, game-ready Toyota Supra 2020 3D Model. Features aggressive aerodynamic styling, a distinctive double-bubble roof, and accurate B58 engine components. Includes .blend, .fbx, .obj, .glb, .stl, .ply, .unreal, and .max formats for game development, AR/VR, and rendering.
Price: $19.99
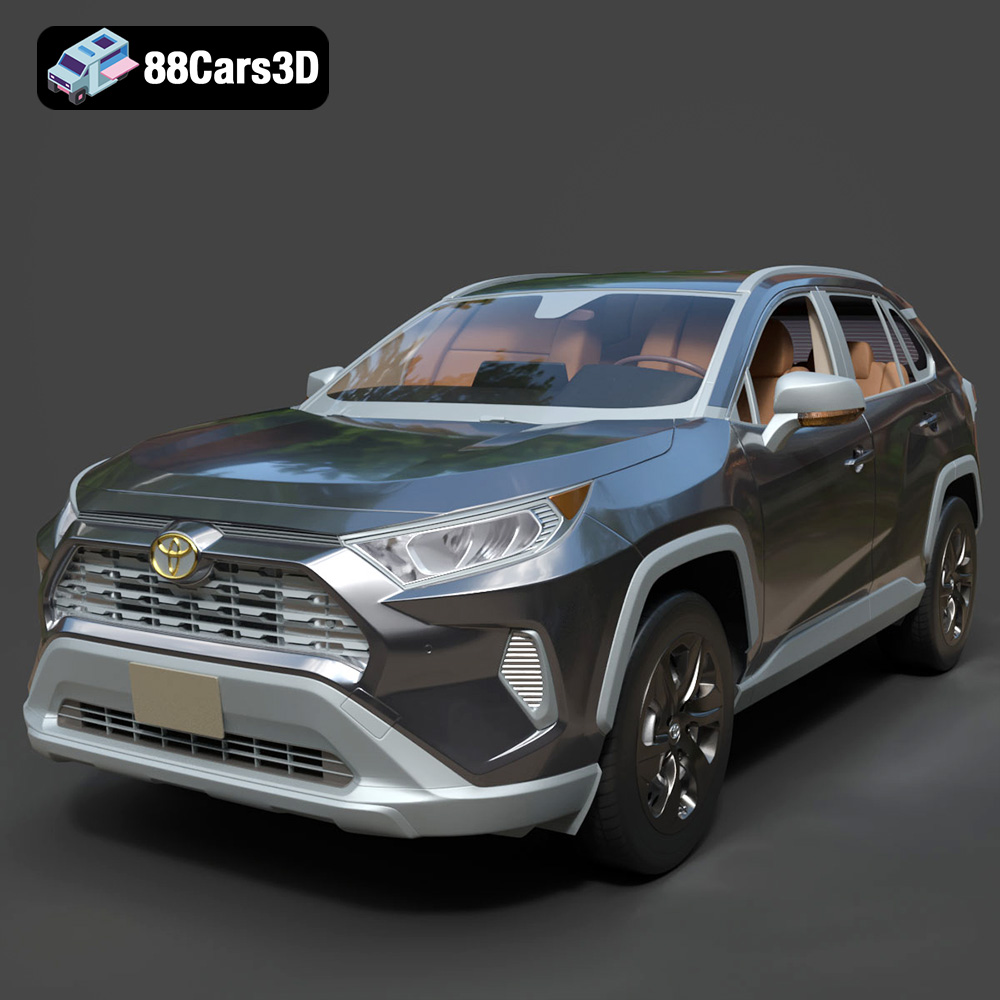
Texture: Yes | Material: Yes
Download the highly detailed, game-ready Toyota RAV4 LE 2019 3D Model. Features rugged exterior styling, signature polygonal motif, and a detailed interior. Includes .blend, .fbx, .obj, .glb, .stl, .ply, .unreal, and .max formats for game development, AR/VR, and rendering.
Price: $19.99

