Get 20% OFF All Premium 3D & STL Models!

“`html
3D printing offers incredible possibilities for customizing car models, allowing enthusiasts to personalize their creations with intricate details. From adding authentic manufacturer logos and emblems to incorporating unique custom flourishes, the ability to modify STL files opens up a world of creative expression. This comprehensive guide will delve into the technical aspects of adding logos, emblems, and custom details to STL models, focusing on workflows, software techniques, and best practices to achieve high-quality, printable results. Whether you’re a seasoned 3D printing professional or a hobbyist just starting out, this article will equip you with the knowledge and skills to take your 3D printed car models to the next level.
We’ll explore various methods for incorporating these details, from simple mesh merging to advanced sculpting techniques. We’ll cover the crucial aspects of STL file preparation, including mesh repair, scaling, and orientation. Finally, we’ll discuss post-processing techniques to further enhance the appearance and realism of your customized models, ensuring a stunning final product. So, buckle up and let’s dive into the world of customized 3D printed car models!
Before diving into the customization process, it’s essential to understand the fundamentals of STL files and mesh topology. STL (Stereolithography) is a file format commonly used in 3D printing, representing the surface geometry of a 3D object as a collection of triangles. The arrangement and density of these triangles directly impact the quality and detail of the printed model. A well-structured mesh is crucial for successful customization and printing. Platforms like 88cars3d.com offer print-ready STL files that typically have clean and optimized meshes, which provides a solid foundation for further customization.
The density of triangles in an STL file directly affects the level of detail and smoothness of the 3D model. A higher polygon count results in a more detailed and smoother surface, but it also increases the file size and processing time. Conversely, a lower polygon count reduces file size but can lead to a faceted or blocky appearance. Finding the right balance is crucial. When adding intricate details like logos, consider increasing the polygon density in those specific areas to capture the fine features accurately. Most CAD programs allow for localized mesh refinement; you can increase polygon density only in regions where you need extra detail, and leave other areas untouched.
Manifold geometry refers to a closed and watertight mesh where every edge of a triangle is shared by exactly two triangles. Non-manifold geometry, on the other hand, contains errors such as holes, self-intersections, or edges shared by more than two triangles. Non-manifold geometry can cause slicing errors and printing failures. Before adding any details, it’s crucial to ensure that the STL file is manifold. Software like Meshmixer and Netfabb can automatically detect and repair non-manifold geometry. Common repair operations include closing holes, removing self-intersections, and unifying normals. When downloading models from marketplaces such as 88cars3d.com, you can generally expect manifold geometry, but it’s always good practice to verify before proceeding with modifications.
Selecting the appropriate software is paramount for adding logos, emblems, and custom details to STL files. Several software options are available, each with its strengths and weaknesses. The choice depends on the complexity of the modifications, your skill level, and your budget. Some popular choices include Meshmixer, Blender, Tinkercad, and professional CAD software like Fusion 360 and SolidWorks.
Meshmixer is a free and powerful software from Autodesk that excels at mesh editing, sculpting, and combining multiple STL files. Its intuitive interface and comprehensive toolset make it an excellent choice for adding logos and emblems. You can import the car model STL file and the logo/emblem STL file separately, then use Meshmixer’s “Boolean” operations (Union, Difference, Intersection) to merge or subtract the logo from the car model. Meshmixer also offers sculpting tools for creating more organic and custom details, allowing you to subtly alter surfaces, add ridges, and so on.
Blender is a free and open-source 3D creation suite renowned for its advanced modeling, sculpting, and rendering capabilities. While it has a steeper learning curve than Meshmixer, Blender provides unparalleled control over the mesh and allows for complex modifications. You can import STL files, add new geometry, sculpt intricate details, and apply textures. Blender’s “Remesh” modifier is particularly useful for refining the mesh after adding new details, ensuring a smooth and uniform surface. For creating completely unique emblems or logo features from scratch, Blender has a comprehensive suite of tools.
Adding logos and emblems to your 3D printed car model involves a systematic workflow to ensure accurate placement, proper integration, and a smooth final print. The process typically involves preparing the logo/emblem, importing both the car model and the logo into your chosen software, positioning the logo, and finally merging the meshes.
The first step is to obtain or create the logo or emblem in STL format. You can find readily available logo STL files online, or you can create your own using vector graphics software like Adobe Illustrator or Inkscape. Convert the vector graphic to a 3D model using a CAD program or online converter, and then export it as an STL file. Ensure the logo has sufficient thickness for 3D printing, typically at least 0.8mm to 1mm, depending on your printer and material. If the logo has very fine details, consider increasing the size of the logo slightly to ensure those details are printable.
Once you have both the car model and the logo/emblem STL files, import them into your chosen software (e.g., Meshmixer). Position the logo accurately on the car model using the software’s transformation tools. Ensure the logo is properly aligned and embedded slightly into the surface of the car model to create a secure bond. Then, use the “Boolean” operation (typically “Union” or “Difference,” depending on whether you want to add or subtract the logo) to merge the logo with the car model. For example, if adding a raised logo, the “Union” operation would be most appropriate. If creating an inset logo, the “Difference” operation would be used. After the Boolean operation, carefully inspect the merged mesh for any artifacts or errors and use sculpting tools to smooth out any imperfections.
Beyond adding logos and emblems, you can further customize your 3D printed car models by sculpting custom details directly onto the surface. This involves using sculpting tools in software like Blender or Meshmixer to add ridges, vents, spoilers, or other unique features. Surface modeling techniques in CAD software allow for precise creation of new body panels or modifications to existing ones.
Sculpting tools allow you to manipulate the mesh like clay, pushing and pulling vertices to create custom shapes. Use a variety of brushes with different sizes and strengths to achieve the desired effect. Start with larger brushes to define the overall shape and then switch to smaller brushes to add finer details. Utilize masking techniques to protect specific areas of the model from being affected by the sculpting tools. For example, you can mask off the windows while sculpting the body panels. Don’t be afraid to experiment and iterate, as sculpting often involves a process of refinement and adjustment.
Surface modeling in CAD software like Fusion 360 or SolidWorks allows for precise creation and modification of body panels. You can create new surfaces, trim existing surfaces, and blend them together to create seamless transitions. This technique is particularly useful for adding custom spoilers, air dams, or other aerodynamic features. Surface modeling requires a solid understanding of CAD principles and a willingness to learn the software’s specific tools and workflows. If you plan to create intricate custom body designs, this method provides greater precision and control compared to sculpting alone.
After adding logos, emblems, and custom details, it’s crucial to optimize the STL file for 3D printing. This involves checking for errors, adjusting the orientation, adding support structures, and configuring the slicing parameters. Proper optimization ensures a successful print with minimal defects.
The orientation of the model on the print bed significantly affects the print quality, support structure requirements, and printing time. Choose an orientation that minimizes the need for support structures, especially in areas with fine details. If support structures are necessary, use software like Cura or PrusaSlicer to automatically generate them. Carefully consider the type and placement of supports to ensure they are easily removable without damaging the model. For example, orienting a car body so the roof is facing down will require many more support structures and will likely lead to poorer surface finish on the roof. If, instead, you orient the car body with the roof facing upwards, supports will mostly be needed for overhangs like the wheel wells and bumpers, making for a cleaner print with less post-processing.
Slicing parameters dictate how the 3D printer interprets the STL file and builds the model layer by layer. Layer height affects the resolution and smoothness of the print, with lower layer heights resulting in finer details but longer printing times. A typical layer height for detailed car models is between 0.05mm and 0.15mm. Infill density affects the strength and weight of the model, with higher infill densities resulting in stronger but heavier models. For car models, an infill density of 15-25% is usually sufficient. Print speed affects the printing time and the quality of the print, with slower speeds generally resulting in better quality. Experiment with different slicing parameters to find the optimal balance between print quality, strength, and speed. For example, printing the first few layers at a slower speed and higher temperature can improve bed adhesion.
Post-processing is the final stage in creating a stunning 3D printed car model. This involves removing support structures, sanding the surface to smooth out imperfections, painting the model to add color and realism, and assembling any separate parts. Careful post-processing can significantly enhance the appearance and durability of the final product.
Sanding is essential for removing layer lines and imperfections from the 3D printed surface. Start with coarse sandpaper (e.g., 220 grit) to remove larger imperfections and then gradually move to finer sandpaper (e.g., 400, 600, 800 grit) to achieve a smooth surface. Wet sanding can help to reduce dust and improve the sanding results. Be careful not to sand too aggressively, as this can damage the model. For hard-to-reach areas, use small sanding sticks or foam sanding pads. For a super-smooth finish, consider using a filler primer to fill in any remaining imperfections before painting.
Painting adds color and realism to your 3D printed car model. Start with a primer to provide a good base for the paint and to fill in any remaining imperfections. Use multiple thin coats of paint to avoid drips and runs. Allow each coat to dry completely before applying the next. Automotive paints are a good choice for car models, as they provide a durable and glossy finish. Consider using clear coat to protect the paint and add extra shine. For intricate details, use masking tape to protect areas that you don’t want to be painted. Airbrushing can provide a more uniform and professional finish than brush painting. Finally, adding details like decals or chrome trim can further enhance the realism of the model.
Adding car logos, emblems, and custom details to STL models is a rewarding process that allows you to create truly unique and personalized 3D printed car models. By understanding STL file structure, mastering the right software tools, and following a systematic workflow, you can achieve professional-quality results. Remember to focus on mesh quality, optimize slicing parameters, and carefully post-process your prints to ensure a stunning final product. Whether you are creating a replica of your dream car or designing a futuristic concept vehicle, the possibilities are endless. Explore resources like 88cars3d.com for high-quality models to start your customization journey and experiment with different techniques to develop your own unique style. Happy printing!
“`
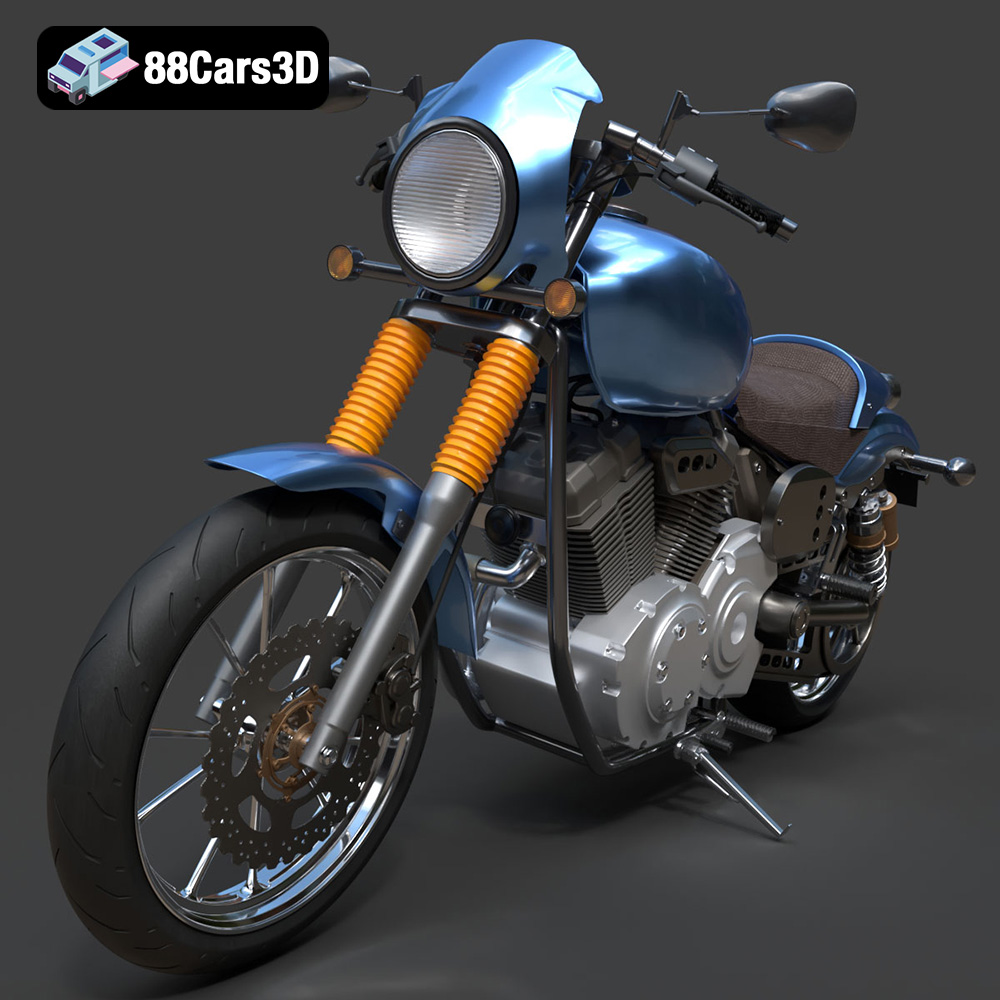
Texture: Yes | Material: Yes
Download the highly detailed, game-ready Yamaha XV950 Racer 3D Model. Features an aggressive cafe-racer front cowl, detailed air-cooled V-twin engine, and classic retro styling. Includes .blend, .fbx, .obj, .glb, .stl, .ply, .unreal, and .max formats for game development, AR/VR, and rendering.
Price: $19.99

Texture: Yes | Material: Yes
Download the highly detailed, game-ready Volvo VNL Tractor Truck 2002 3D Model. Features iconic aerodynamic styling, detailed fifth-wheel coupling, and heavy-duty chassis. Includes .blend, .fbx, .obj, .glb, .stl, .ply, .unreal, and .max formats for game development, AR/VR, and rendering.
Price: $39.99
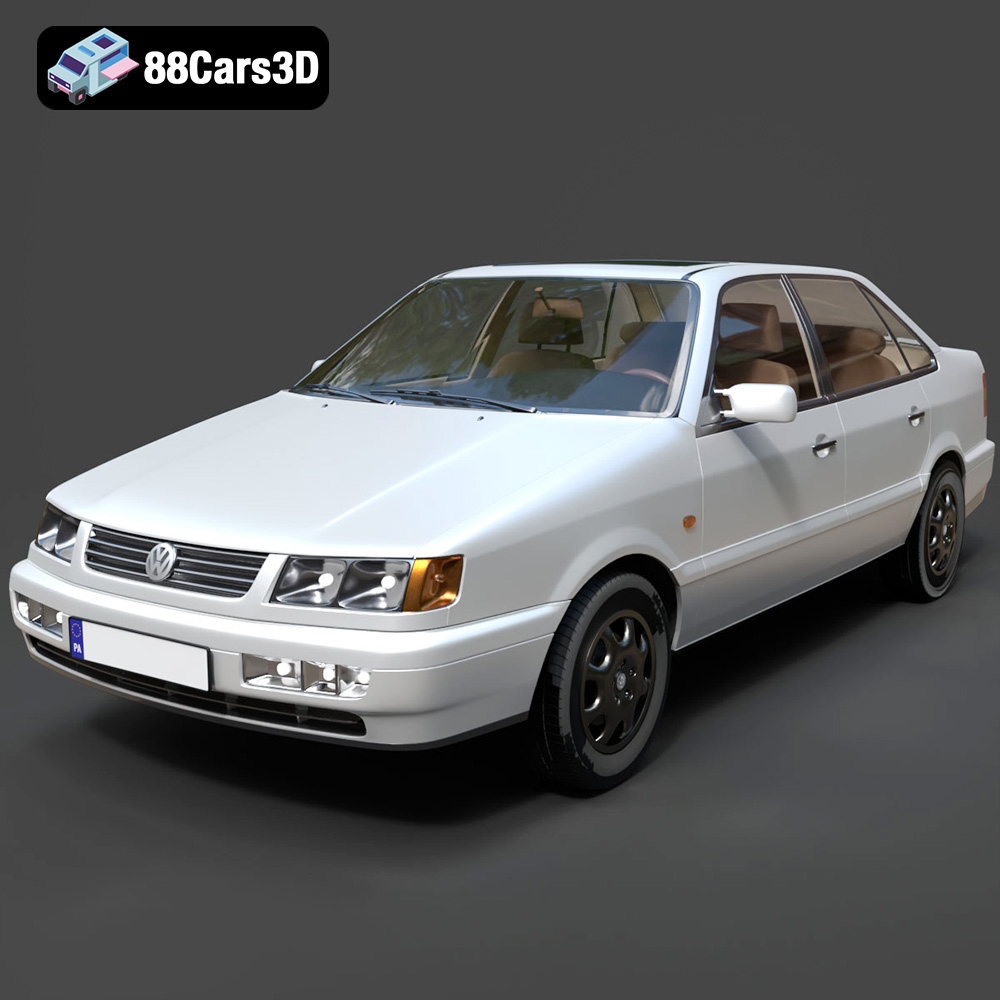
Texture: Yes | Material: Yes
Download the highly detailed, game-ready Volkswagen Passat Mk4 B4 Sedan 1993 3D Model. Features accurate 90s sedan styling, detailed front grille-less fascia, and a classic interior setup. Includes .blend, .fbx, .obj, .glb, .stl, .ply, .unreal, and .max formats for game development, AR/VR, and rendering.
Price: $39.99
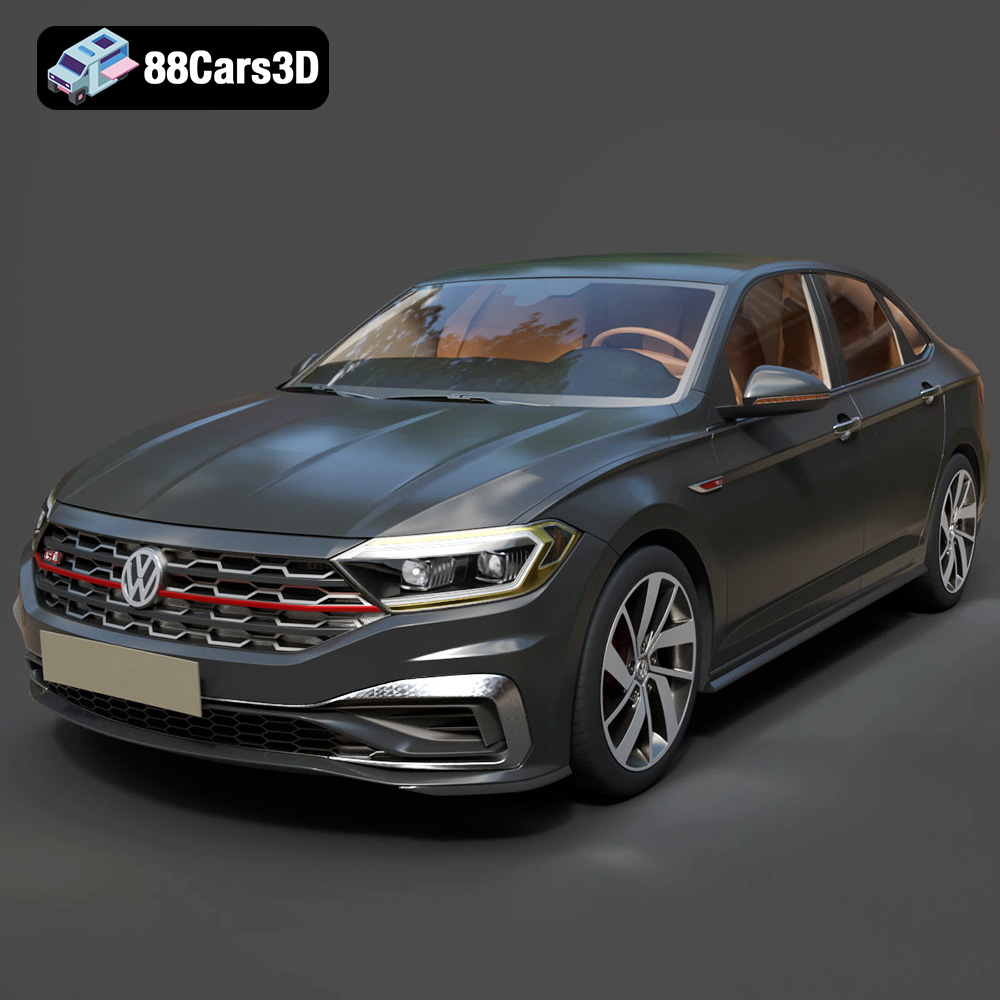
Texture: Yes | Material: Yes
Download the highly detailed, game-ready Volkswagen Jetta GLI 2019 3D Model. Features an aggressive honeycomb grille with red accents, sleek aerodynamic profile, and exclusive GLI sport wheels. Includes .blend, .fbx, .obj, .glb, .stl, .ply, .unreal, and .max formats for game development, AR/VR, and rendering.
Price: $39.99
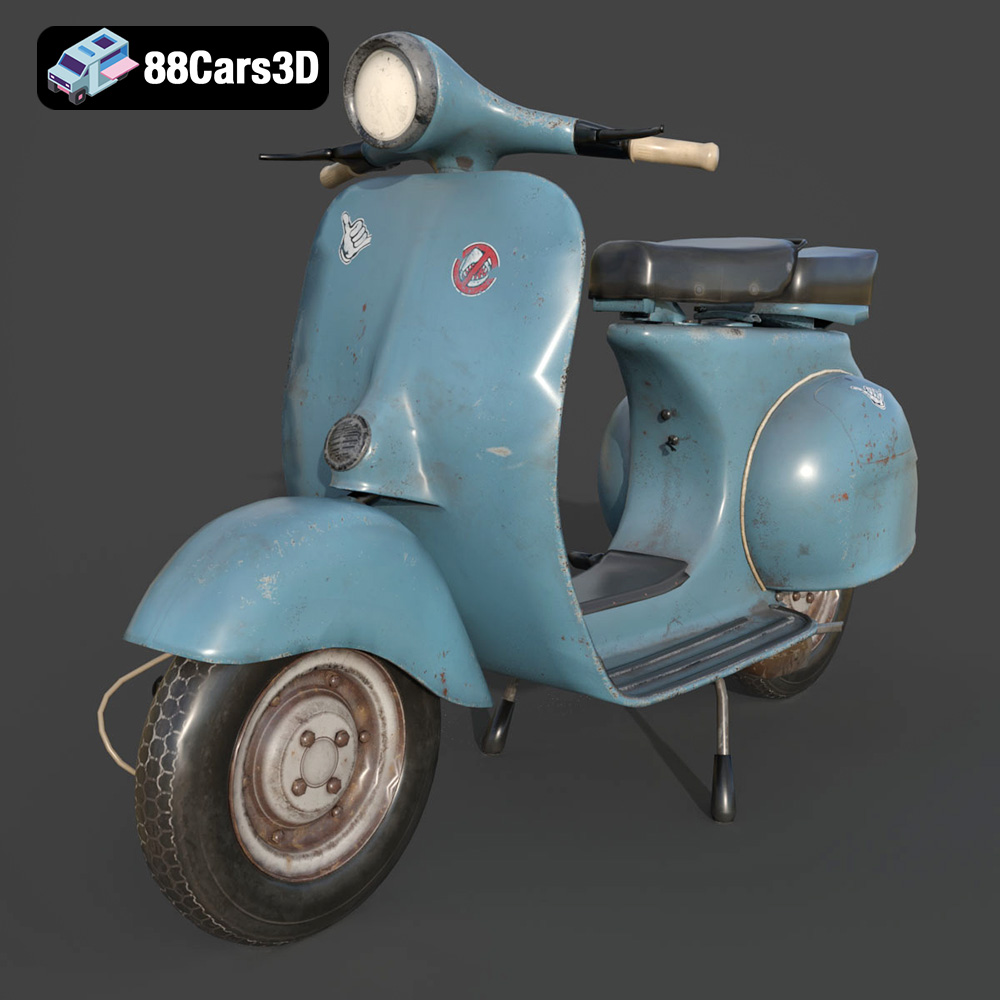
Texture: Yes | Material: Yes
Download the highly detailed, game-ready Vintage Vespa 3D Model. Features iconic rounded monocoque styling, classic saddle, and chrome accents. Includes .blend, .fbx, .obj, .glb, .stl, .ply, .unreal, and .max formats for game development, AR/VR, and rendering.
Price: $39.99

Texture: Yes | Material: Yes
Download the highly detailed, game-ready Vespa GS 150 3D Model. Features elegant aerodynamic curves, classic leg shield, and detailed engine casing. Includes .blend, .fbx, .obj, .glb, .stl, .ply, .unreal, and .max formats for game development, AR/VR, and rendering.
Price: $39.99
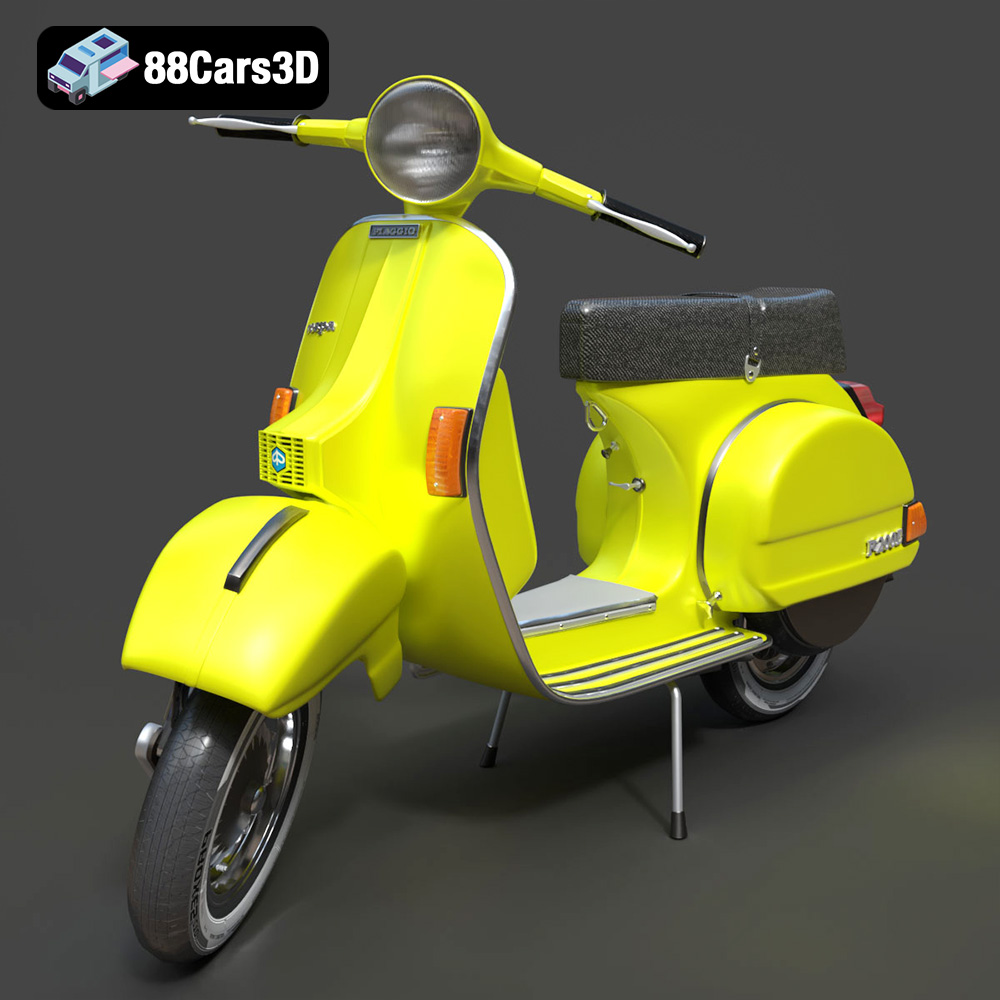
Texture: Yes | Material: Yes
Download the highly detailed, game-ready Vespa P200E 3D Model. Features classic vintage styling, accurate step-through frame geometry, and authentic detailing. Includes .blend, .fbx, .obj, .glb, .stl, .ply, .unreal, and .max formats for game development, AR/VR, and rendering.
Price: $39.99
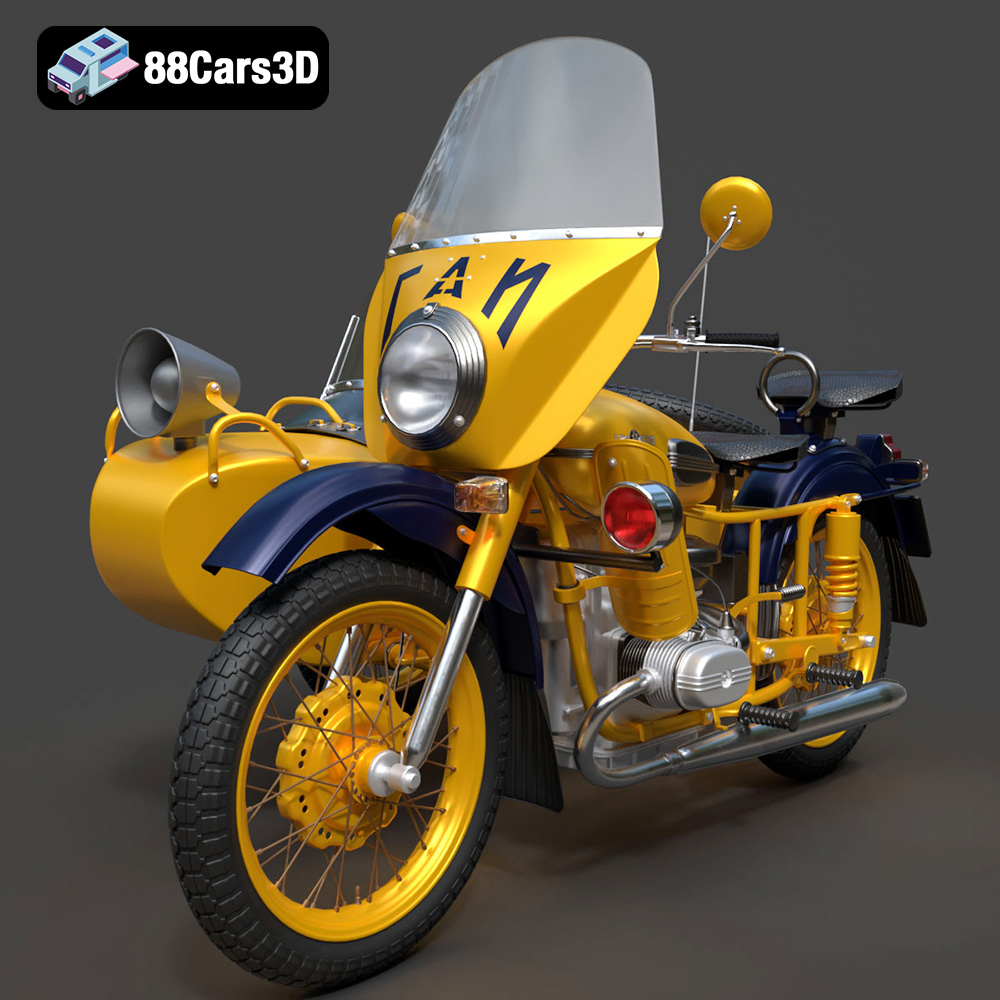
Texture: Yes | Material: Yes
Download the highly detailed, game-ready Ural M67-36-P 1976 3D Model. Features the iconic air-cooled boxer engine, vintage utilitarian styling, and authentic spoked wheels. Includes .blend, .fbx, .obj, .glb, .stl, .ply, .unreal, and .max formats for game development, AR/VR, and rendering.
Price: $39.99
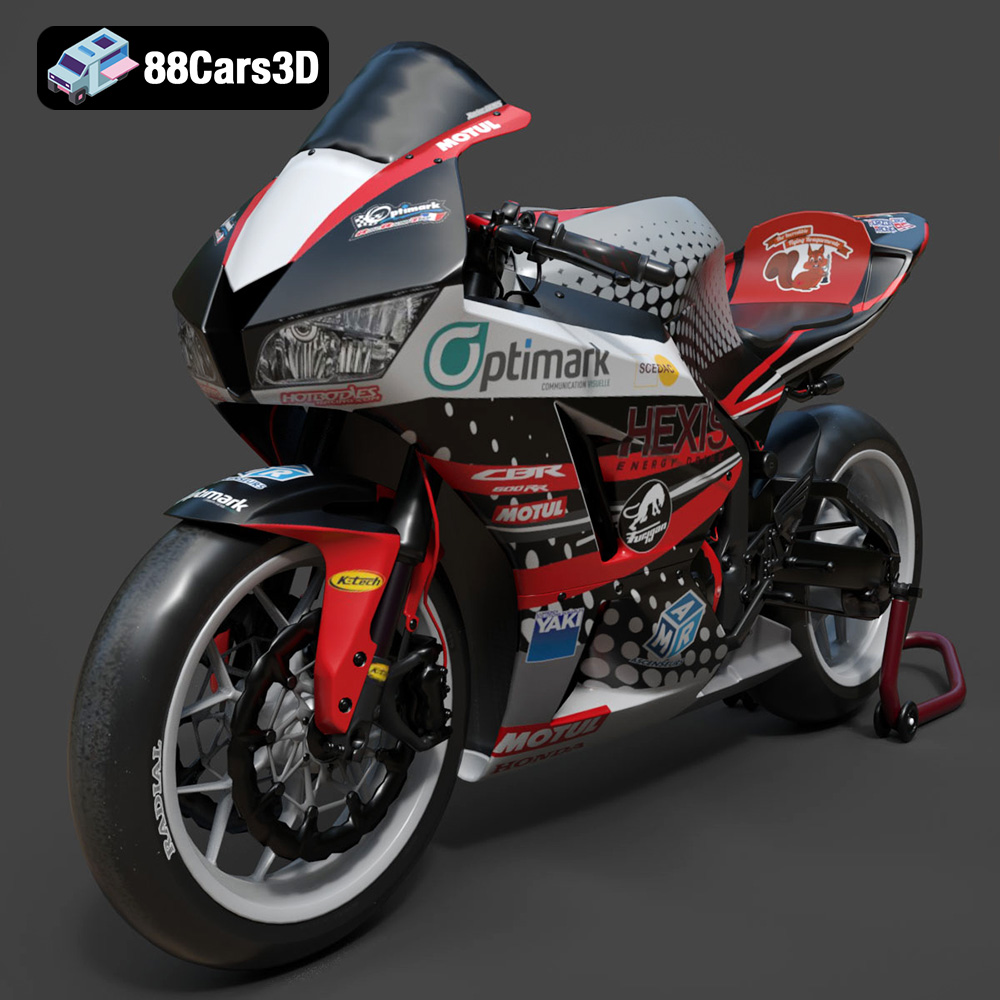
Texture: Yes | Material: Yes
Download the highly detailed, game-ready Honda CBR600RR 3D Model. Features aerodynamic fairings, an iconic center-up exhaust, and an aggressive track-focused stance. Includes .blend, .fbx, .obj, .glb, .stl, .ply, .unreal, and .max formats for game development, AR/VR, and rendering.
Price: $39.99
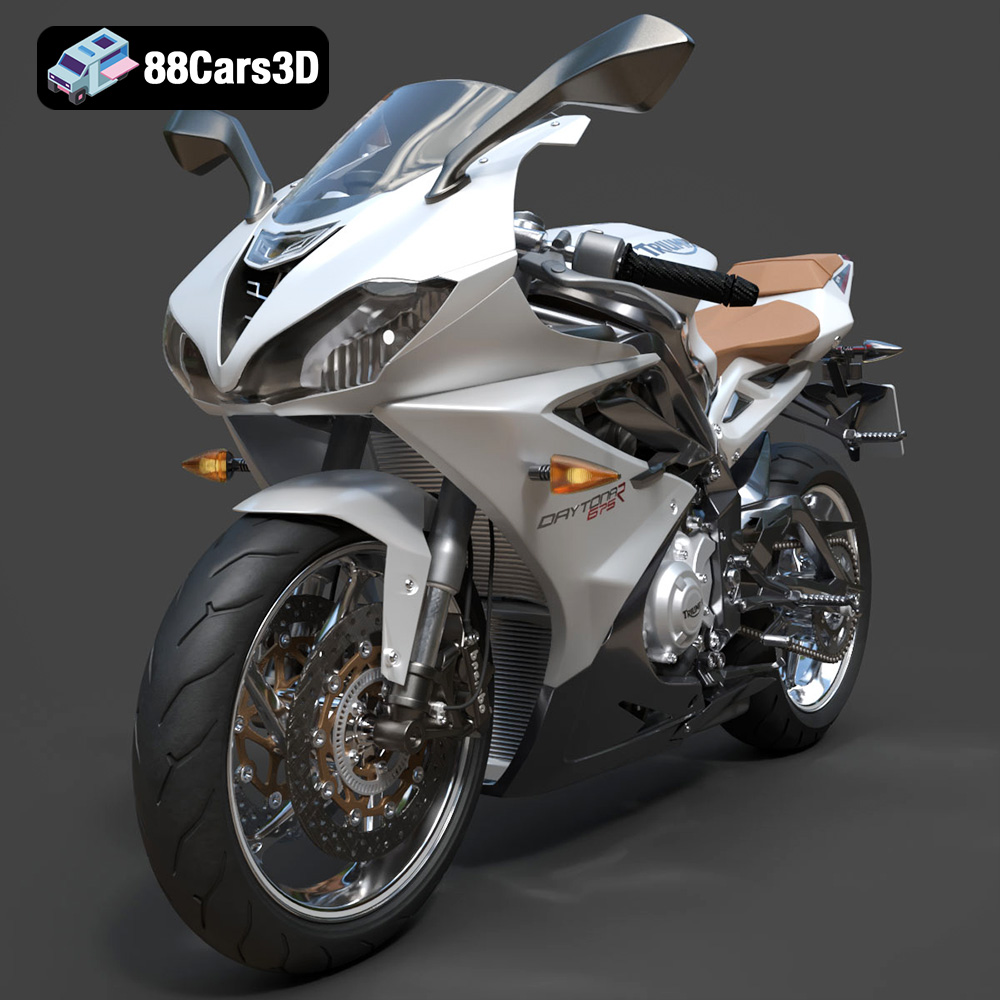
Texture: Yes | Material: Yes
Download the highly detailed, game-ready Triumph Daytona 675R ABS 2015 3D Model. Features aerodynamic sport fairings, a detailed inline-triple engine, and premium Öhlins suspension components. Includes .blend, .fbx, .obj, .glb, .stl, .ply, .unreal, and .max formats for game development, AR/VR, and rendering.
Price: $39.99

