Get 20% OFF All Premium 3D & STL Models!

“`html
The world of 3D printing offers incredible possibilities, especially when it comes to creating detailed and intricate car models. However, achieving truly exceptional results requires a deep understanding of your equipment, particularly the nozzle and bed size of your 3D printer. These two factors play a crucial role in determining the level of detail, print speed, and overall feasibility of your projects. Whether you’re a seasoned 3D printing enthusiast or just starting out, mastering the nuances of nozzle and bed size selection is essential for bringing your automotive visions to life. This comprehensive guide will walk you through the technical considerations, practical implications, and best practices for optimizing your 3D printing setup to produce stunning car models, perhaps sourced from platforms like 88cars3d.com, with precision and efficiency. We’ll explore the trade-offs between detail and speed, delve into material compatibility, and provide actionable tips to help you make informed decisions for every print job. Get ready to unlock the full potential of your 3D printer and elevate your model-making skills to new heights!
The nozzle is the heart of your 3D printer, responsible for extruding molten filament to create each layer of your print. The diameter of the nozzle orifice directly impacts the resolution, print time, and strength of your final product. Smaller nozzles allow for finer details but increase print time, while larger nozzles offer faster printing at the cost of intricate features. Choosing the right nozzle size is a delicate balancing act that depends on the specific requirements of your car model project.
Smaller nozzles, typically ranging from 0.2mm to 0.4mm, excel at capturing fine details and smooth curves. This is especially crucial for car models where intricate features like panel lines, grilles, and logos need to be accurately reproduced. However, smaller nozzles require more passes to fill the same volume, significantly increasing print time. For example, printing a detailed 1/24 scale car model with a 0.2mm nozzle could take 40-50 hours. Conversely, larger nozzles, such as 0.6mm or 0.8mm, deposit more material per pass, drastically reducing print time. A similar model printed with a 0.8mm nozzle might only take 15-20 hours. The tradeoff is a reduction in detail and potentially visible layer lines. Choosing between these options depends on your priorities: maximizing detail or minimizing print duration.
Nozzle size also affects the strength and layer adhesion of your 3D prints. Larger nozzles typically result in stronger parts because each layer has a wider contact area, leading to better bonding. This is particularly important for functional parts or models that need to withstand stress. Smaller nozzles, while providing higher resolution, can sometimes result in weaker layer adhesion, especially if printing parameters are not carefully optimized. This is because the thinner layers have less surface area to bond to each other. To compensate for this, you may need to increase the printing temperature or reduce the layer height to improve adhesion.
Different materials require different nozzle sizes for optimal performance. Flexible filaments like TPU often require larger nozzles (0.4mm or greater) to prevent clogging, as they are more prone to binding within the nozzle. Abrasive filaments, such as those infused with carbon fiber or wood, can quickly wear down smaller nozzles, necessitating the use of hardened steel or ruby nozzles. For standard materials like PLA and PETG, a 0.4mm nozzle is a versatile choice, offering a good balance of detail and speed. However, experimenting with different nozzle sizes can often yield better results depending on the specific material and model.
The bed size of your 3D printer dictates the maximum dimensions of the objects you can print in a single piece. When printing car models, especially larger scales or complete chassis designs, having an adequately sized bed is crucial. A bed that is too small will force you to split your model into multiple parts, requiring post-processing and assembly, which can compromise the structural integrity and aesthetic appeal of your final product. Selecting the appropriate bed size for your typical projects is a fundamental consideration when choosing a 3D printer.
Before embarking on a car model project, carefully consider the overall dimensions of the model. If you intend to print a single-piece chassis for a 1/10 scale RC car, you’ll need a printer with a bed size of at least 250mm x 250mm. For smaller-scale models or components, a smaller bed size might suffice. Remember to account for any support structures or brims that may increase the overall footprint of the print. Many users downloading models from marketplaces such as 88cars3d.com appreciate the single piece print option, making bed size selection crucial. It’s always better to have a slightly larger bed than you think you’ll need, as this provides flexibility for future projects and reduces the risk of having to split complex models.
A larger bed size doesn’t just allow for larger prints; it can also improve print stability. When printing tall or complex car model components, a larger bed provides a more stable base, reducing the risk of warping or detachment from the bed during printing. This is particularly important for materials like ABS, which are prone to warping due to thermal contraction. A larger bed with good adhesion properties can help counteract these effects, resulting in more successful and accurate prints.
Even with a large bed, some car model projects may still require printing in multiple parts. In these cases, careful planning is essential. Consider how the parts will be joined together and design interlocking features or recesses for adhesives. Ensure that the mating surfaces are flat and smooth to facilitate a strong and seamless bond. When printing multiple parts simultaneously, arrange them strategically on the bed to minimize travel distance for the print head and optimize adhesion. Using bed adhesion aids like glue stick or hairspray can further improve the chances of a successful multi-part print.
The slicing software acts as a bridge between your 3D model and your printer, translating the digital design into a series of instructions that the printer can follow. Slicing parameters like layer height, print speed, and infill density have a profound impact on the quality and strength of your car model prints, and these parameters must be carefully optimized in conjunction with your chosen nozzle size. Using software such as Cura or PrusaSlicer allows for detailed configuration and fine-tuning of these settings.
A fundamental rule of thumb is to keep your layer height below 80% of your nozzle diameter. For example, with a 0.4mm nozzle, a layer height of 0.32mm or less is recommended. Using a layer height that is too large can result in poor layer adhesion and a rough surface finish. Smaller layer heights, such as 0.1mm or 0.15mm, can significantly improve detail and surface quality, especially when using a smaller nozzle. However, they also increase print time. Experimenting with different layer heights within the recommended range is crucial for finding the optimal balance between detail and speed for your specific car model project.
Print speed needs to be adjusted according to the nozzle size and material being used. Larger nozzles can extrude more material per unit of time, allowing for faster print speeds. However, exceeding the material’s maximum flow rate can lead to under-extrusion and weak parts. Smaller nozzles require slower print speeds to ensure proper layer adhesion and detail. Conduct test prints at varying speeds to determine the optimal setting for your material and nozzle size. Observe the print closely for signs of under-extrusion (gaps between layers) or over-extrusion (excess material buildup) and adjust the speed accordingly.
Infill density determines the internal solidity of your 3D print. For car models, which often require both strength and aesthetics, selecting the appropriate infill density and pattern is crucial. Higher infill densities (e.g., 50% or more) provide greater strength but increase print time and material consumption. Lower infill densities (e.g., 15-20%) can save time and material but may compromise structural integrity. Infill patterns like rectilinear, honeycomb, and gyroid offer different combinations of strength, weight, and print time. For example, a gyroid infill provides excellent strength in all directions while remaining relatively lightweight. Experiment with different infill patterns and densities to find the optimal balance for your specific car model requirements.
Support structures are temporary scaffolding that supports overhanging features and bridges during 3D printing. They are essential for printing complex car model geometries with features like spoilers, side mirrors, and intricate undercarriage details. However, generating and removing support structures can be challenging, and improperly designed supports can negatively impact the surface finish and overall quality of your print. Smart use of supports ensures successful prints, especially with complex STL files.
There are two main types of support structures: tree supports and linear supports. Tree supports are branching structures that provide support with minimal contact points, reducing the risk of damaging the surface of the print. They are particularly well-suited for delicate features and complex geometries. Linear supports are more traditional structures that provide uniform support across the entire overhanging area. They are stronger than tree supports but can be more difficult to remove and may leave behind more noticeable marks on the print surface. Most slicing software packages offer options for customizing support structure parameters, such as density, overhang angle, and support interface.
Strategic support placement is crucial for minimizing material waste and maximizing print quality. Place supports only where they are absolutely necessary, avoiding areas that are easily self-supporting. Adjust the support density to match the needs of the specific feature being supported. Higher density supports are needed for large or heavy overhangs, while lower density supports are sufficient for smaller or less critical features. Consider using a support interface, which is a thin layer of easily removable material between the support structure and the print surface. This can significantly reduce the risk of damaging the print during support removal.
Careful support removal is essential for preserving the integrity and aesthetic appeal of your car model. Use specialized tools like hobby knives, pliers, and sandpaper to remove supports cleanly and without damaging the print surface. For soluble support materials, such as PVA, dissolve the supports in water or a suitable solvent. After removing the supports, you may need to perform some post-processing to smooth out any imperfections or marks left behind. Sanding, filling, and painting are common techniques for achieving a professional-looking finish.
The choice of material significantly impacts the final result of your 3D printed car model. Different materials offer varying levels of strength, flexibility, temperature resistance, and surface finish. Matching the right material to your nozzle size and bed adhesion capabilities is critical for achieving optimal print quality and functionality.
PLA (Polylactic Acid) is a popular choice for beginners due to its ease of use, low printing temperature, and wide availability. It prints well with a 0.4mm nozzle and requires minimal bed adhesion. However, PLA is relatively brittle and has a low glass transition temperature, making it unsuitable for functional parts that will be exposed to high temperatures or stress. It’s a great choice for aesthetic models and prototypes. Bed temperature is typically between 50-60°C.
ABS (Acrylonitrile Butadiene Styrene) offers higher strength and temperature resistance than PLA, making it suitable for functional parts and models that need to withstand heat. However, ABS is more prone to warping and requires a heated bed (100-110°C) and a well-enclosed printer to maintain a consistent temperature. A 0.4mm or 0.6mm nozzle is recommended for printing ABS. Proper ventilation is crucial when printing ABS due to the fumes it emits.
PETG (Polyethylene Terephthalate Glycol-modified) combines the ease of use of PLA with the strength and temperature resistance of ABS. It prints well with a 0.4mm nozzle and requires a heated bed (70-80°C). PETG is less prone to warping than ABS and offers excellent layer adhesion. It’s a versatile material suitable for a wide range of car model applications, including both aesthetic and functional parts. It offers a glossy finish and good impact resistance.
For incredibly detailed car models, resin printing is an excellent choice. Resin printers use liquid resin cured by UV light, allowing for much finer layer heights and smoother surfaces than FDM printers. While resin printing offers superior detail, it’s more expensive and requires more post-processing. The build volume is often smaller than FDM printers, but platforms like 88cars3d.com frequently optimize their models for both FDM and Resin printing ensuring maximum customer accessibility and ease of use.
Even with careful planning and optimized settings, 3D printing can sometimes present challenges. Recognizing and addressing common issues is essential for achieving successful prints and minimizing frustration.
Warping occurs when the corners or edges of your print lift off the bed during printing, particularly with materials like ABS. To prevent warping, ensure that your bed is properly leveled and heated. Use bed adhesion aids like glue stick, hairspray, or painter’s tape. Enclosing the printer can also help maintain a consistent temperature and reduce warping. If warping persists, try increasing the bed temperature or adding a brim to the print.
Clogging occurs when filament gets stuck inside the nozzle, preventing proper extrusion. To prevent clogging, use high-quality filament, clean your nozzle regularly, and avoid printing at excessively low temperatures. If a clog occurs, try performing a cold pull or using a nozzle cleaning needle to clear the blockage. Extrusion issues can also be caused by a worn-out extruder gear or insufficient tension on the filament drive mechanism.
Layer shifting occurs when the print head suddenly shifts position during printing, resulting in misaligned layers. This can be caused by loose belts, stepper motor issues, or vibrations. To prevent layer shifting, tighten your belts, ensure that your printer is stable, and reduce the print speed. Dimensional inaccuracies can be caused by improper calibration of the printer or shrinkage of the material during cooling. Calibrate your printer regularly and adjust the scaling factor in your slicing software to compensate for shrinkage.
Choosing the right nozzle and bed size is paramount for achieving high-quality 3D printed car models. By understanding the trade-offs between detail, speed, strength, and material compatibility, you can optimize your printer setup for a wide range of projects. Remember to carefully consider the dimensions of your model, the type of material you’ll be using, and the level of detail you require. Experiment with different slicing parameters and support structures to fine-tune your prints and minimize post-processing. With practice and attention to detail, you’ll be able to produce stunning car models that showcase the full potential of your 3D printer. Start by experimenting with various STL files to determine the optimal settings for your machine, and don’t be afraid to adjust your approach based on the specific requirements of each project. Investing time in mastering these fundamental aspects of 3D printing will undoubtedly elevate your model-making skills and unlock a world of creative possibilities. Good luck and happy printing!
“`
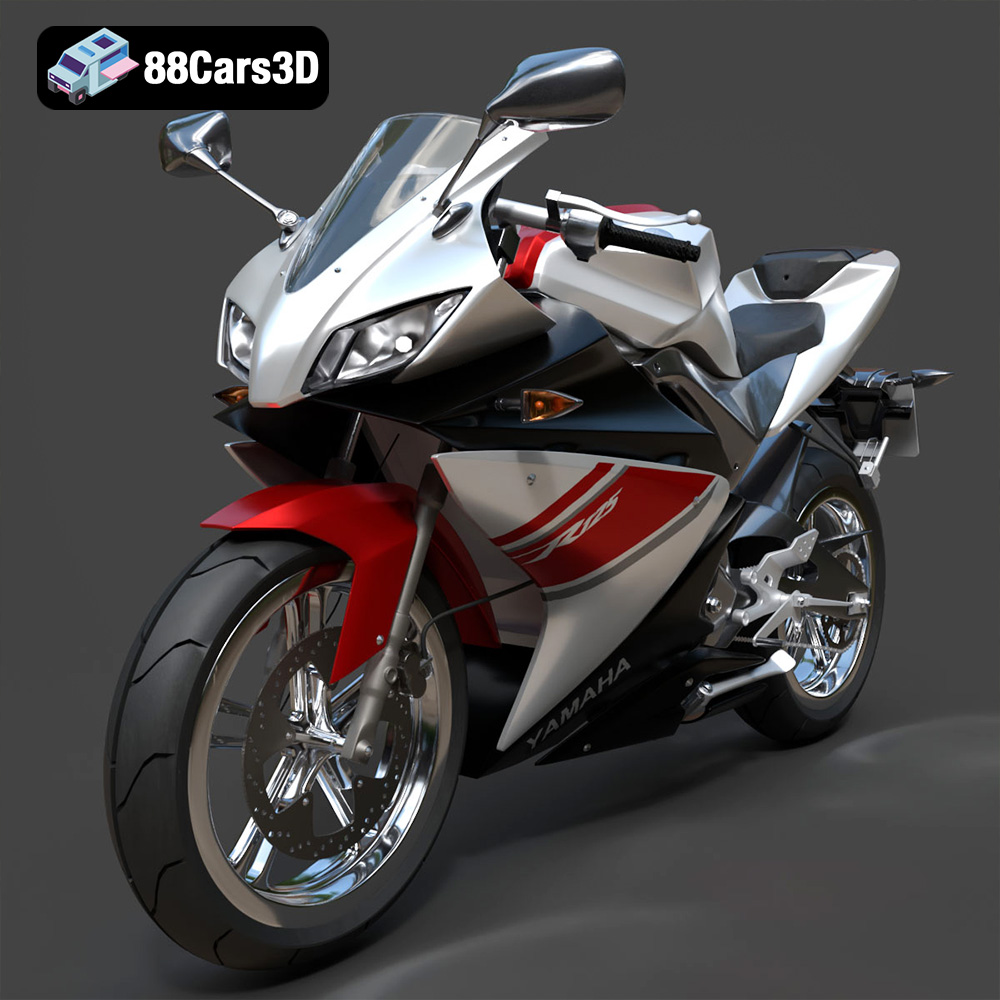
Texture: Yes | Material: Yes
Download the highly detailed, game-ready Yamaha YZF-R125 EU 3D Model. Features an aggressive aerodynamic fairing, twin LED headlights, and a detailed 125cc engine block. Includes .blend, .fbx, .obj, .glb, .stl, .ply, .unreal, and .max formats for game development, AR/VR, and rendering.
Price: $19.99
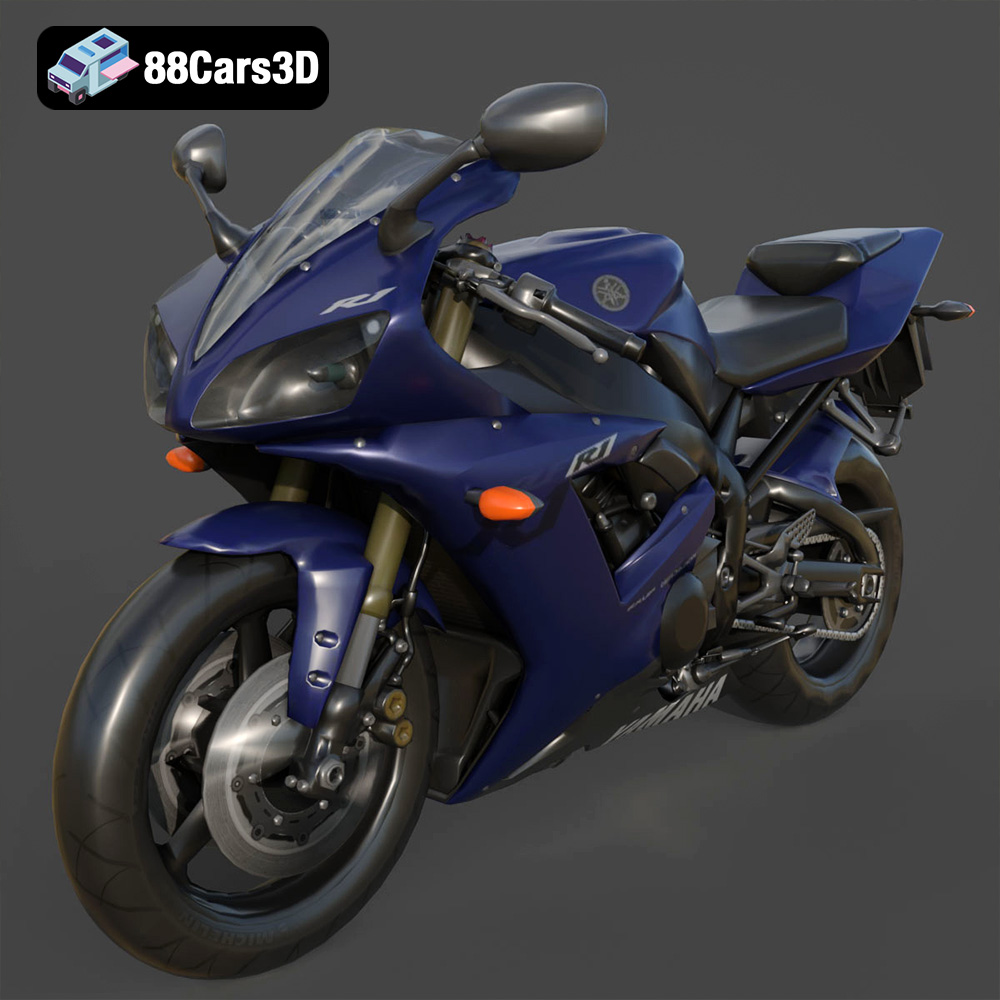
Texture: Yes | Material: Yes
Download the highly detailed, game-ready Yamaha R1 3D Model. Features aggressive aerodynamic fairings, a detailed crossplane inline-4 engine, and track-focused suspension geometry. Includes .blend, .fbx, .obj, .glb, .stl, .ply, .unreal, and .max formats for game development, AR/VR, and rendering.
Price: $19.99
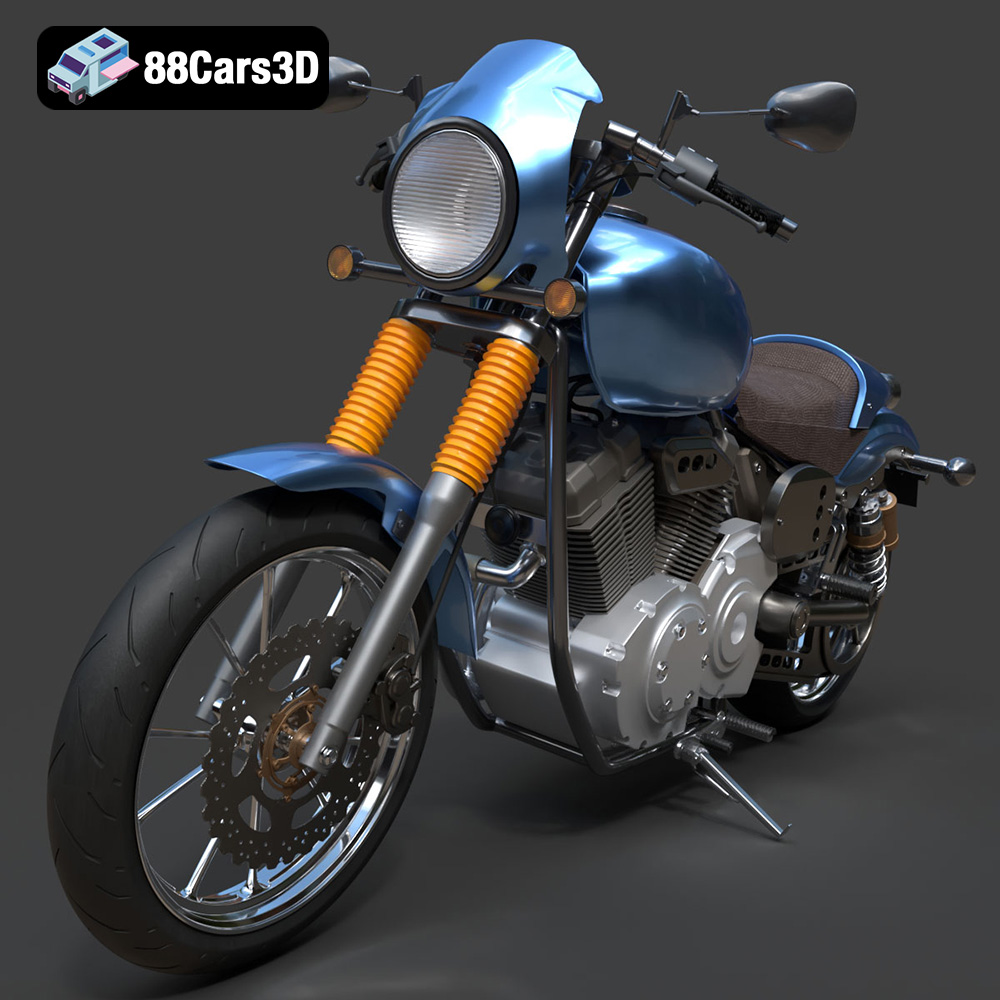
Texture: Yes | Material: Yes
Download the highly detailed, game-ready Yamaha XV950 Racer 3D Model. Features an aggressive cafe-racer front cowl, detailed air-cooled V-twin engine, and classic retro styling. Includes .blend, .fbx, .obj, .glb, .stl, .ply, .unreal, and .max formats for game development, AR/VR, and rendering.
Price: $19.99

Texture: Yes | Material: Yes
Download the highly detailed, game-ready Volvo VNL Tractor Truck 2002 3D Model. Features iconic aerodynamic styling, detailed fifth-wheel coupling, and heavy-duty chassis. Includes .blend, .fbx, .obj, .glb, .stl, .ply, .unreal, and .max formats for game development, AR/VR, and rendering.
Price: $39.99
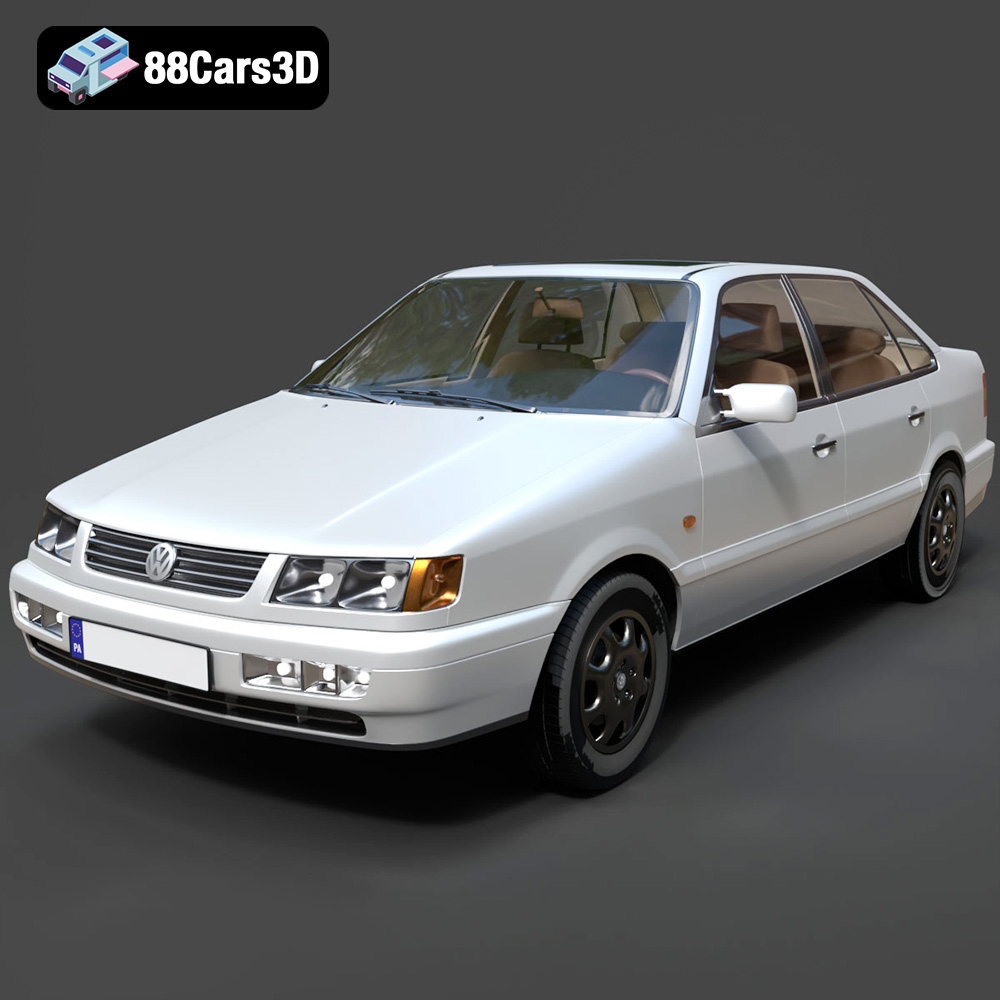
Texture: Yes | Material: Yes
Download the highly detailed, game-ready Volkswagen Passat Mk4 B4 Sedan 1993 3D Model. Features accurate 90s sedan styling, detailed front grille-less fascia, and a classic interior setup. Includes .blend, .fbx, .obj, .glb, .stl, .ply, .unreal, and .max formats for game development, AR/VR, and rendering.
Price: $39.99
Texture: Yes | Material: Yes
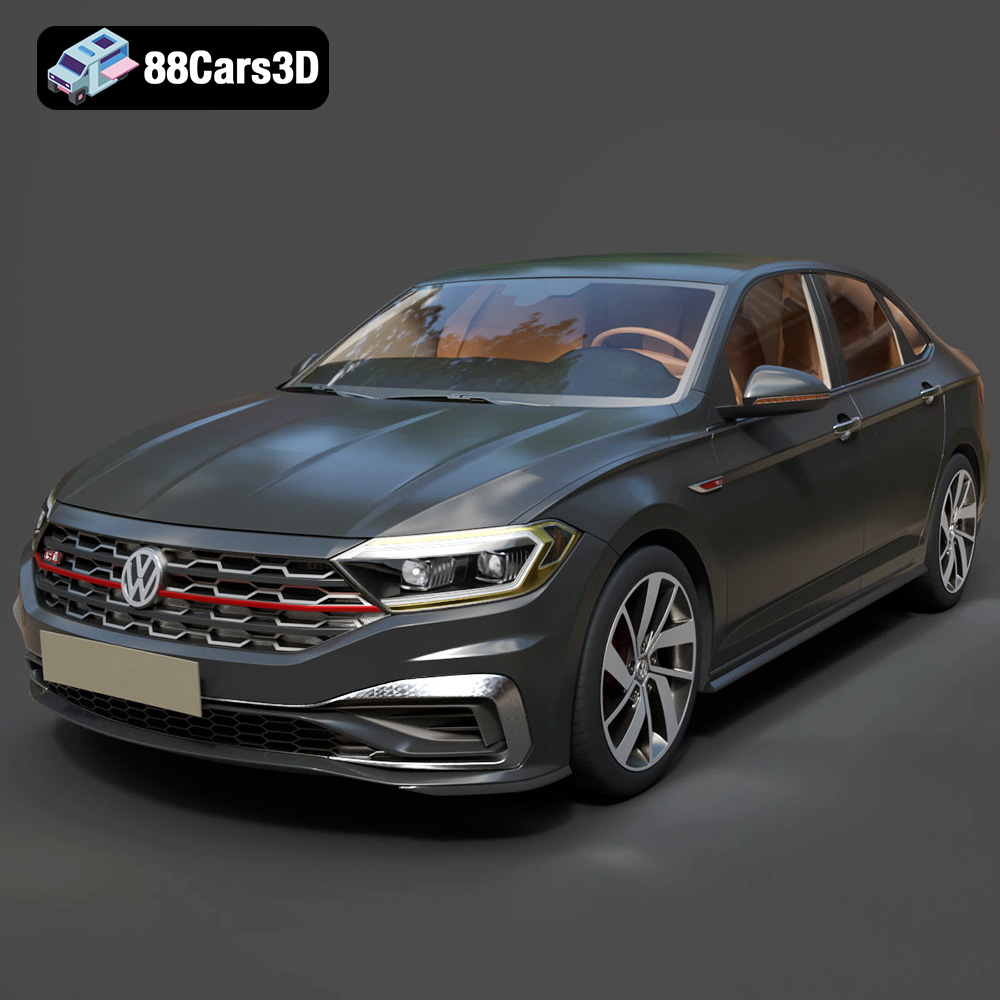
Download the highly detailed, game-ready Volkswagen Jetta GLI 2019 3D Model. Features an aggressive honeycomb grille with red accents, sleek aerodynamic profile, and exclusive GLI sport wheels. Includes .blend, .fbx, .obj, .glb, .stl, .ply, .unreal, and .max formats for game development, AR/VR, and rendering.
Price: $39.99
Texture: Yes | Material: Yes
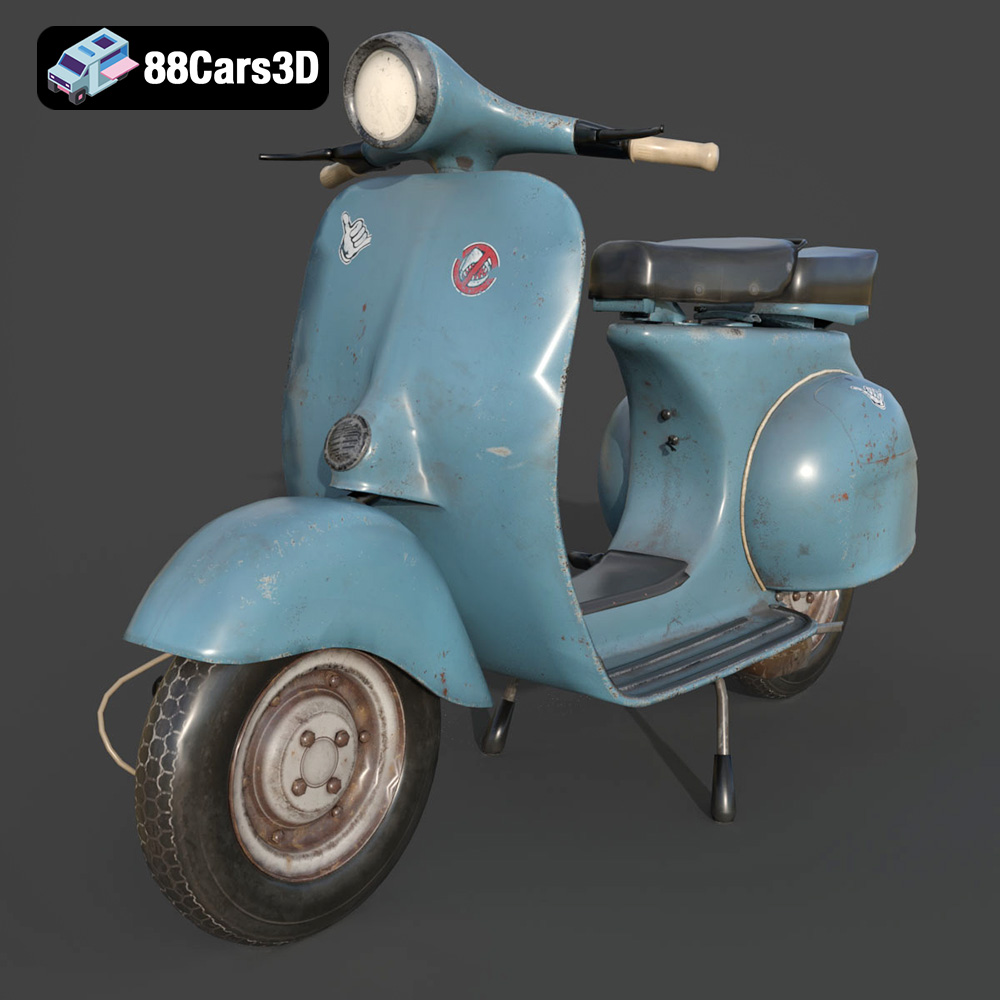
Download the highly detailed, game-ready Vintage Vespa 3D Model. Features iconic rounded monocoque styling, classic saddle, and chrome accents. Includes .blend, .fbx, .obj, .glb, .stl, .ply, .unreal, and .max formats for game development, AR/VR, and rendering.
Price: $39.99

Texture: Yes | Material: Yes
Download the highly detailed, game-ready Vespa GS 150 3D Model. Features elegant aerodynamic curves, classic leg shield, and detailed engine casing. Includes .blend, .fbx, .obj, .glb, .stl, .ply, .unreal, and .max formats for game development, AR/VR, and rendering.
Price: $39.99
Texture: Yes | Material: Yes
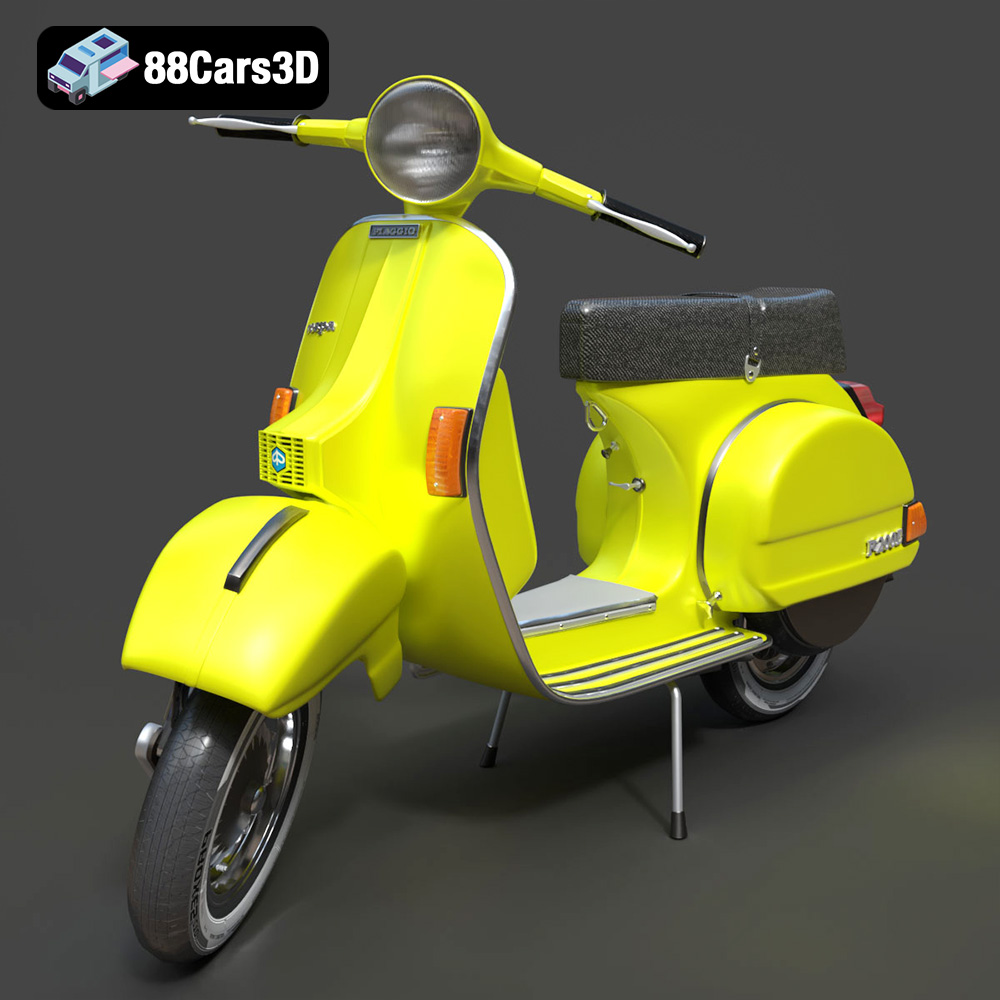
Download the highly detailed, game-ready Vespa P200E 3D Model. Features classic vintage styling, accurate step-through frame geometry, and authentic detailing. Includes .blend, .fbx, .obj, .glb, .stl, .ply, .unreal, and .max formats for game development, AR/VR, and rendering.
Price: $39.99
Texture: Yes | Material: Yes
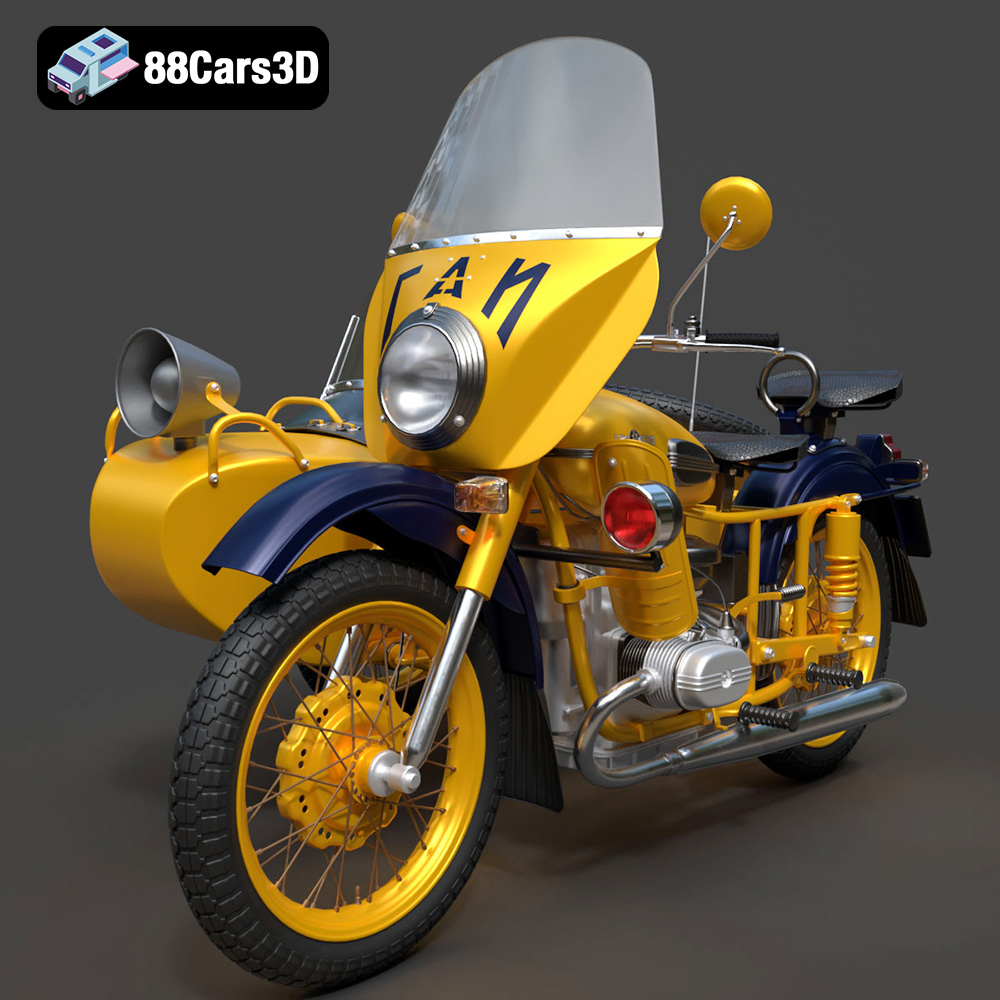
Download the highly detailed, game-ready Ural M67-36-P 1976 3D Model. Features the iconic air-cooled boxer engine, vintage utilitarian styling, and authentic spoked wheels. Includes .blend, .fbx, .obj, .glb, .stl, .ply, .unreal, and .max formats for game development, AR/VR, and rendering.
Price: $39.99

