Get 20% OFF All Premium 3D & STL Models!

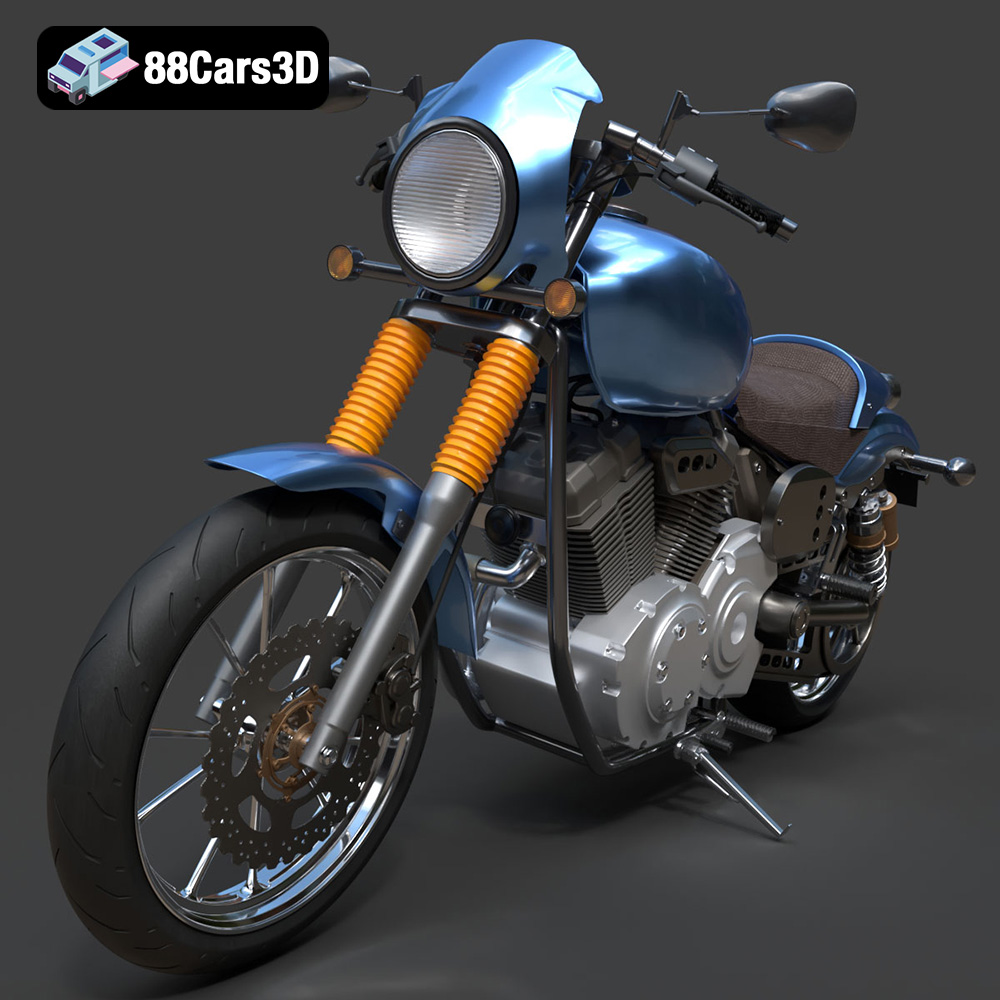
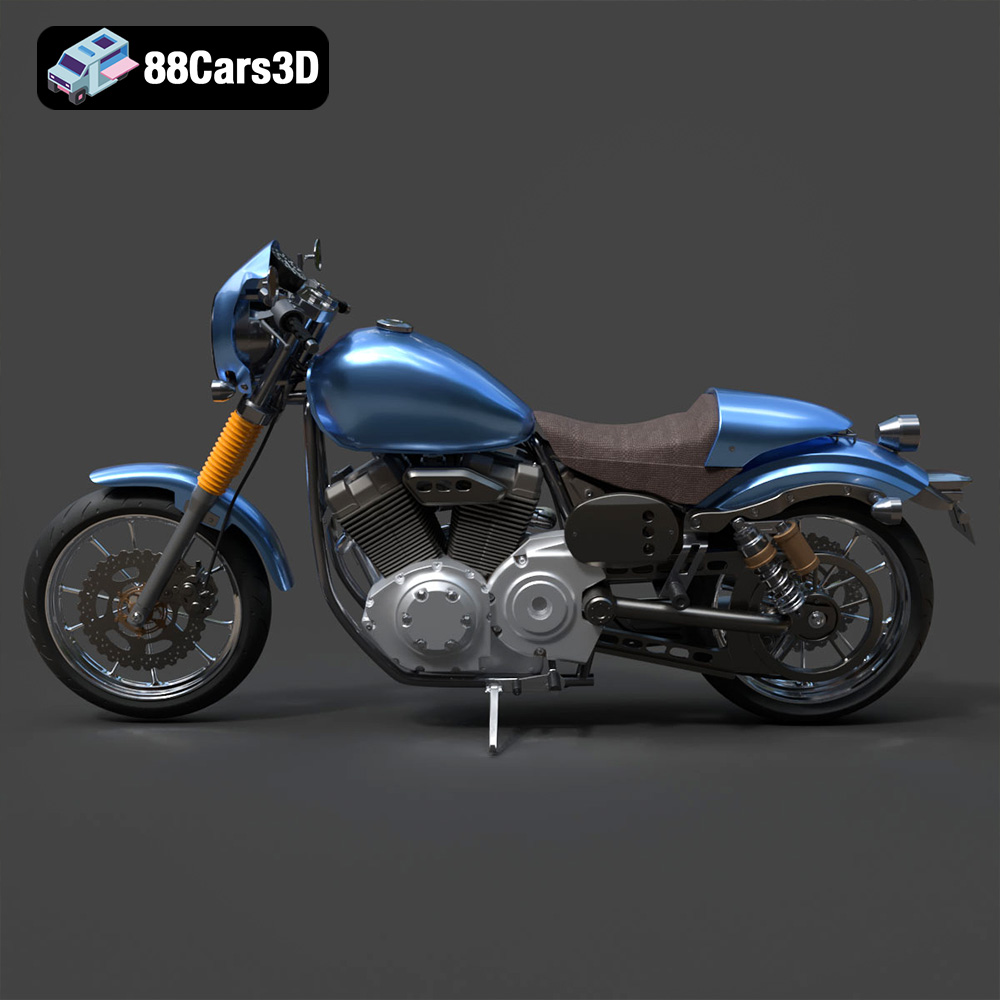
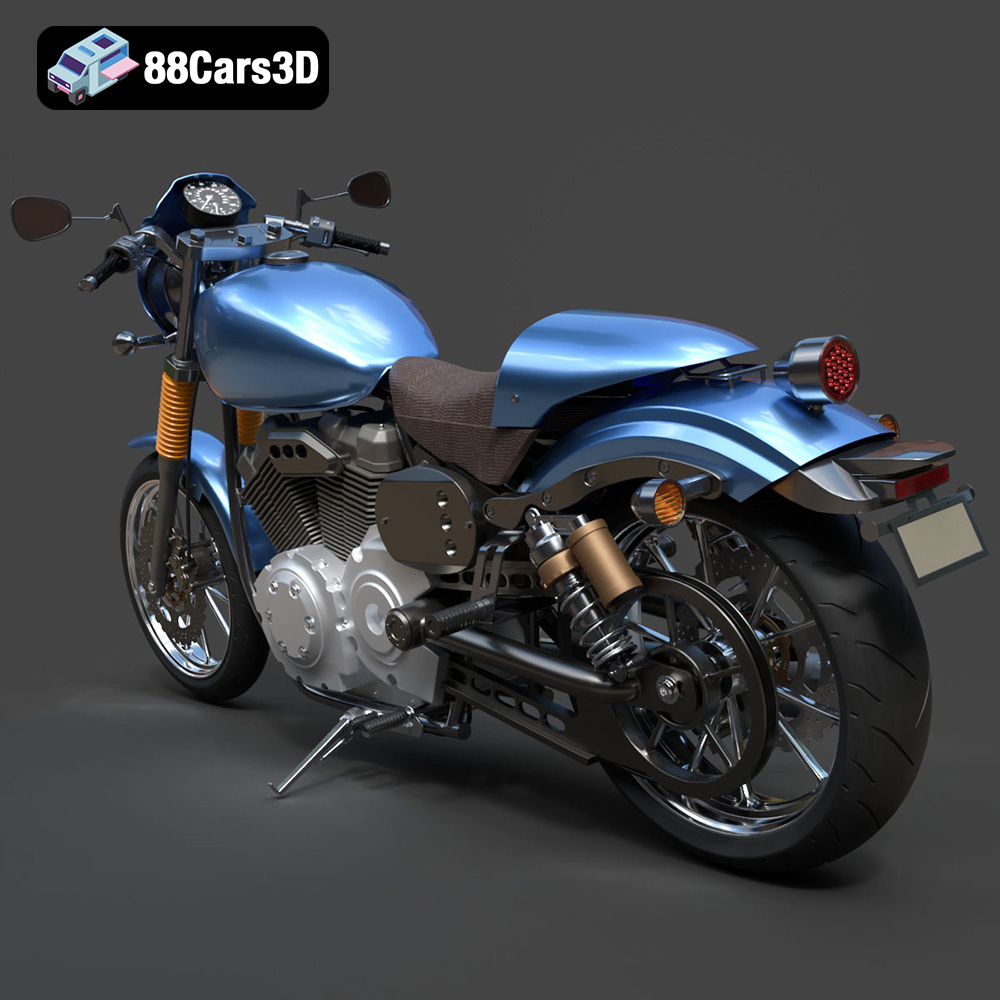
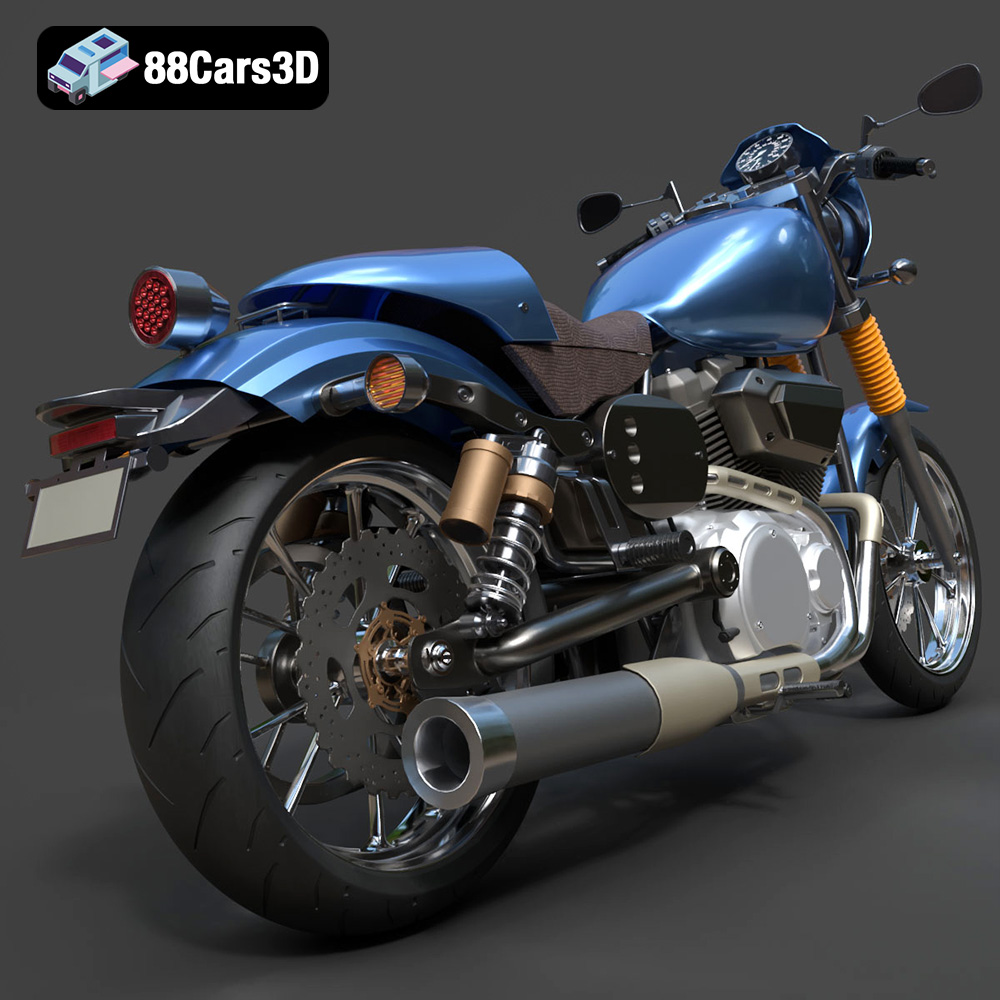
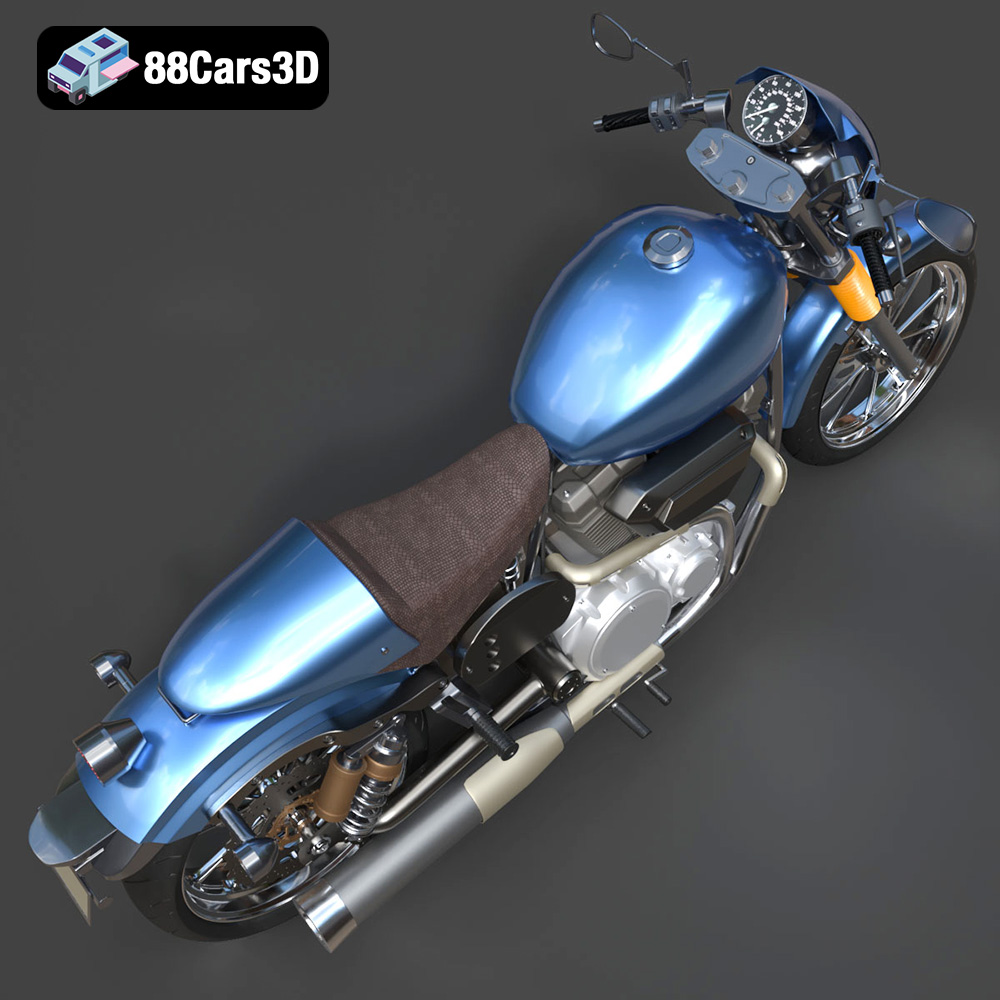
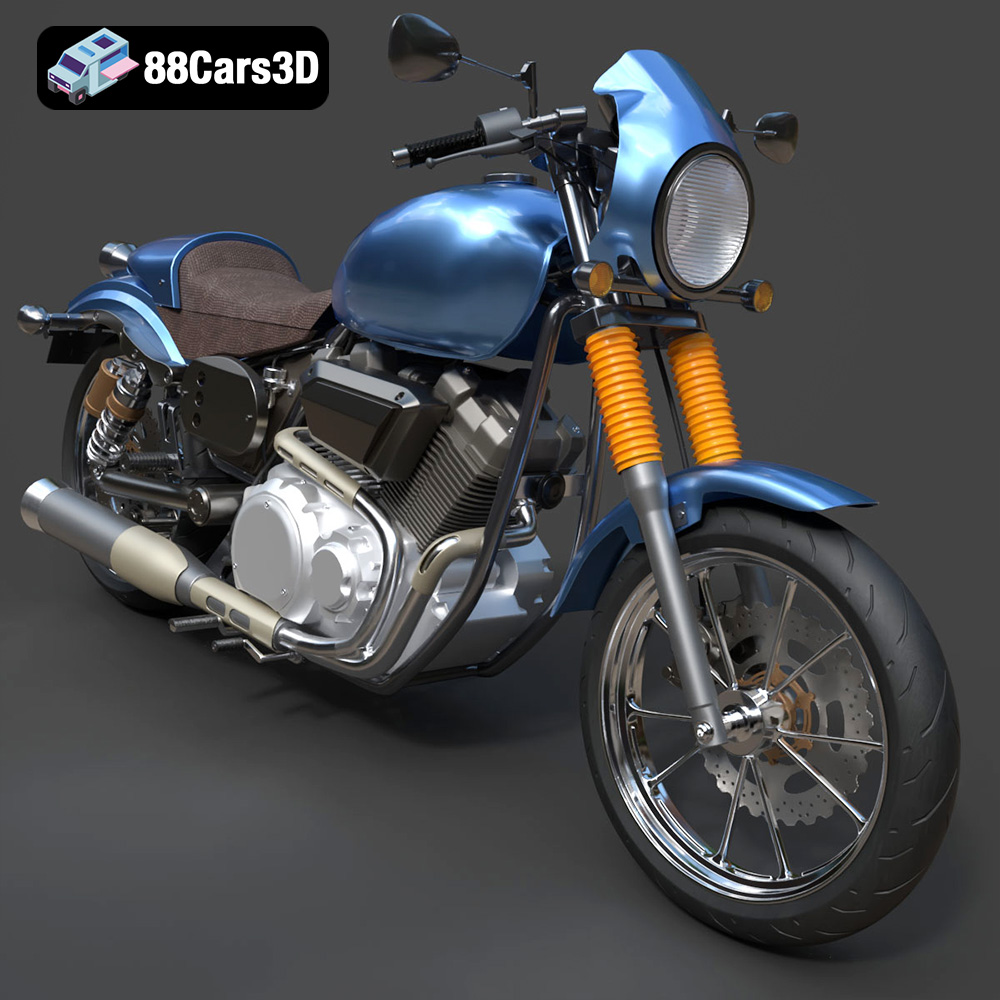
The Yamaha XV950 Racer, with its aggressive stance and classic cafe-racer lines, is an icon ripe for the picking in the 3D printing world. This guide will walk you through the process of bringing this stunning motorcycle to life using additive manufacturing. Whether you’re a seasoned 3D printing enthusiast or a beginner looking for a challenging and rewarding project, this article will provide the knowledge you need to successfully 3D print and finish the Yamaha XV950 Racer model available on 88cars3d.com.
Selecting the appropriate 3D printing technology is crucial for achieving the desired level of detail and structural integrity in your Yamaha XV950 Racer model. Two primary options exist: Fused Deposition Modeling (FDM) and Stereolithography (SLA), also known as resin printing.
FDM printers use thermoplastic filaments, such as PLA or PETG, that are melted and extruded layer by layer. This method is cost-effective and suitable for larger parts, making it potentially viable for the motorcycle’s frame and larger components. However, FDM printing typically results in noticeable layer lines and may struggle to capture the finer details of the engine block, exhaust system, and intricate cockpit elements.
Resin printers utilize liquid resins that are cured by UV light. This technology offers significantly higher resolution and can reproduce intricate details with remarkable accuracy. For the Yamaha XV950 Racer, resin printing is highly recommended, especially for components like the engine, wheels, and smaller details on the handlebars and instrument cluster. While resin printing can be more expensive and requires careful post-processing, the superior detail resolution makes it worthwhile for this project.
Choosing the correct file format is critical for a smooth 3D printing process. Different formats offer varying levels of detail, compatibility, and suitability for specific applications. The Yamaha XV950 Racer model from 88cars3d.com comes in a variety of formats to cater to different needs, but some are more appropriate for 3D printing than others.
The .stl (Stereolithography) file format is the industry standard for 3D printing. It represents the surface geometry of a 3D object as a collection of triangles, essentially creating a mesh. STL files are simple and widely compatible with virtually all slicing software and 3D printers. The simplicity, however, means that STL files only contain information about the shape of the object and lack color, texture, or material data. For 3D printing, this isn’t usually a problem, as these properties are defined within the slicing software based on the chosen printing parameters and materials.
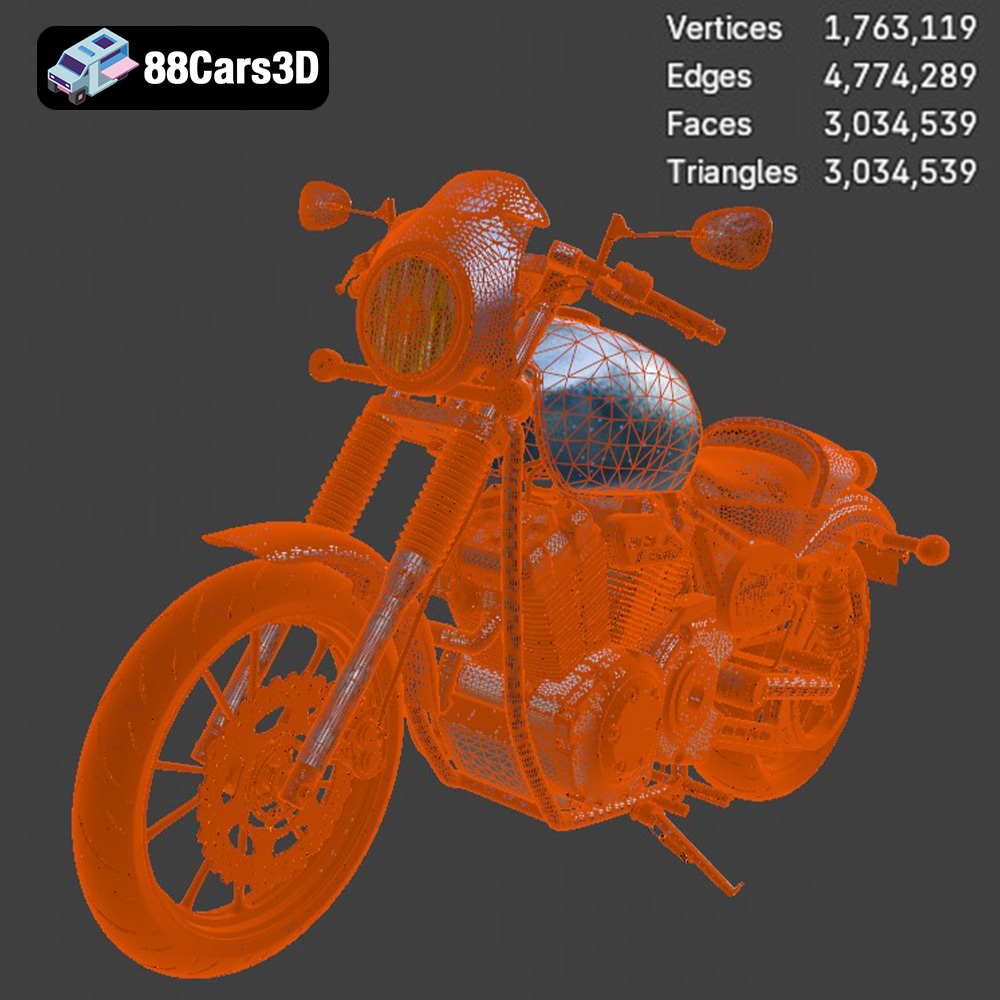
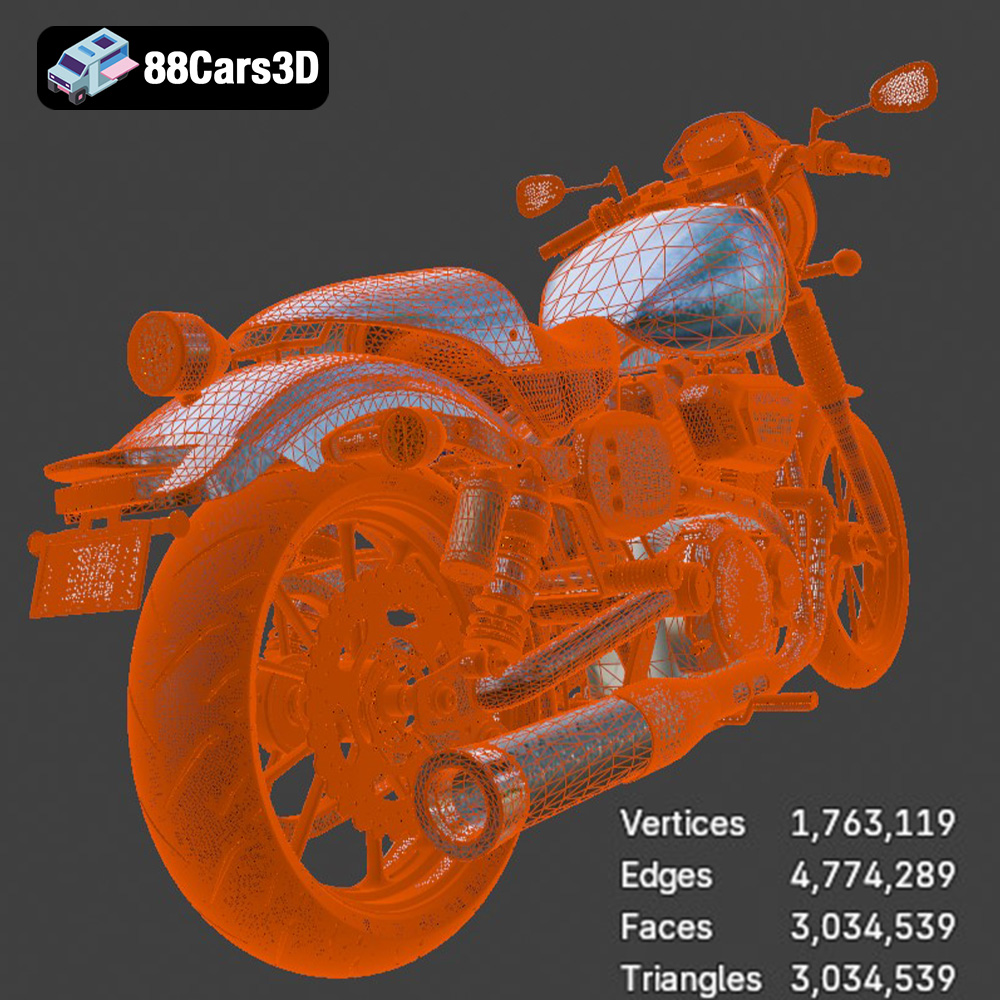
When working with STL files, it’s crucial to ensure the mesh quality is high enough to capture the details of the model but not so dense that it becomes unwieldy to process. Most slicing software allows you to adjust the mesh resolution when importing an STL file. A higher resolution will result in a smoother surface but will also increase the file size and processing time. You should aim for a balance that preserves the details of the Yamaha XV950 Racer without overwhelming your computer or 3D printer.
STL is the most reliable format for 3D printing the Yamaha XV950 Racer. Its simplicity guarantees compatibility with any slicing software, allowing you to prepare the model for printing without compatibility concerns. Focus on optimizing mesh resolution within your slicing software for best results.
The .obj (Object) file format is another widely used format that, unlike STL, supports color and texture information. While technically capable of being 3D printed, OBJ files are less common for 3D printing than STL files, especially for single-color prints. If you intend to experiment with multi-material or color 3D printing (if your printer supports it), an OBJ file might be useful, but the Yamaha XV950 Racer model from 88cars3d.com doesn’t include color information in the OBJ format, so this is unlikely.
The .ply (Polygon) file format is designed to store 3D data acquired from 3D scanners. It can represent both surface geometry and color information with high precision. Similar to OBJ, PLY files are not as common as STL files for 3D printing, though they can be used if your slicing software supports them. The advantage of PLY is its ability to represent complex geometries with great accuracy.
The .blend file format is the native format for Blender, a popular open-source 3D modeling software. It contains the entire scene, including the model, materials, textures, lighting, and camera settings. If you are proficient in Blender, the .blend file offers the most flexibility for customizing the Yamaha XV950 Racer model before exporting it to a 3D printable format like STL. You can modify the geometry, add details, or change the materials to suit your specific needs.
The .fbx (Filmbox) file format is a proprietary format developed by Autodesk. It supports a wide range of 3D data, including geometry, materials, textures, animation, and skeletal rigs. While FBX files can be imported into some slicing software, they are primarily designed for use in game engines and animation software. For 3D printing, the geometry is the most important part.
The .glb (GL Transmission Format Binary) file format is a binary format designed for efficient transmission and loading of 3D models in web and mobile applications. It’s commonly used for augmented reality (AR) and virtual reality (VR) applications. While .glb files are not directly used for 3D printing, they can be useful for previewing the Yamaha XV950 Racer model in AR before you commit to printing it. This allows you to visualize the model in real-world settings and assess its size and appearance.
Similar to .blend, the .max file is specific to Autodesk 3ds Max, another professional 3D modeling and animation software. This format contains all the information about the scene created in 3ds Max, including the model geometry, materials, textures, lighting, and animation. If you have access to 3ds Max, you can use the .max file to modify the Yamaha XV950 Racer model before exporting it as an STL file for 3D printing.
Once you’ve chosen the appropriate 3D printing technology and file format (ideally, STL), the next crucial step is preparing the model for printing using slicing software. This process involves converting the 3D model into a series of instructions that the 3D printer can understand. Slicing software allows you to control various printing parameters, such as layer height, infill density, support structures, and print speed.
Several excellent slicing software options are available, each with its own strengths and weaknesses. Popular choices include Cura (free and user-friendly), Simplify3D (paid, offering advanced control), and PrusaSlicer (free and continually updated). Choose the software that best suits your experience level and the capabilities of your 3D printer.
The orientation of the model on the print bed significantly impacts print quality, support requirements, and structural integrity. For the Yamaha XV950 Racer, consider the following:
* **Frame:** Printing the frame at an angle (approximately 45 degrees) can improve its structural strength and reduce the need for extensive support structures.
* **Wheels:** Print the wheels separately in a vertical orientation to minimize support material on the tire treads and ensure a smooth, round profile.
* **Engine:** Resin printing is recommended for the engine. Orient the engine block to minimize the cross-sectional area of each layer, reducing stress and potential warping during printing.
* **Handlebars and Exhaust:** These parts will almost certainly require supports due to their complex geometry. Try to orient them to minimize the support contact points on visible surfaces.
Support structures are necessary to hold up overhanging parts of the model during printing. Slicing software can automatically generate supports, but it’s crucial to carefully review and customize them to avoid excessive material usage and ensure easy removal without damaging the printed part. Concentrate support placement on areas like the exhaust pipes, handlebars, and the underside of the seat.
Choosing the right material and configuring appropriate print settings are essential for achieving a successful 3D print of the Yamaha XV950 Racer.
* **FDM Printing:**
* **PLA:** A beginner-friendly material that’s easy to print and offers good detail. However, PLA is not very heat-resistant and may not be suitable for parts exposed to high temperatures.
* **PETG:** A more durable and heat-resistant alternative to PLA. PETG is slightly more challenging to print but offers improved strength and flexibility.
* **Resin Printing:**
* **Standard Resin:** Suitable for general-purpose printing and offers good detail.
* **Tough Resin:** Provides increased impact resistance and durability, making it ideal for parts that require strength, such as the frame and suspension components.
The ideal print settings will vary depending on your printer, material, and desired level of detail. However, the following settings provide a good starting point:
* **Layer Height:**
* **FDM:** 0.1mm – 0.2mm (lower layer heights yield finer details)
* **Resin:** 0.025mm – 0.05mm (resin printing allows for much finer layer resolutions)
* **Infill Density (FDM):** 20-30% (adjust based on desired strength and weight)
* **Wall Thickness (FDM):** 1.2mm – 2.0mm (at least 3 perimeters for strength)
* **Print Speed:** Consult your material manufacturer’s recommendations.
* **Support Density:** Adjust based on the complexity of the overhanging features.
Once the 3D printing process is complete, post-processing is essential to refine the surface finish, assemble the parts, and achieve a professional-looking result.
Carefully remove the support structures using pliers or a sharp knife. Take your time to avoid damaging the printed parts. For resin prints, thoroughly clean the parts with isopropyl alcohol (IPA) to remove any uncured resin.
Sanding is crucial for smoothing out layer lines and imperfections. Start with coarse sandpaper (e.g., 220 grit) and gradually move to finer grits (e.g., 400, 600, 800) for a smooth finish. For resin prints, wet sanding is recommended to prevent the sandpaper from clogging. Apply a primer to the parts to further smooth the surface and provide a better base for painting.
Choose paints that are compatible with your chosen material. Acrylic paints are a good option for both PLA and resin prints. Apply multiple thin coats for a smooth, even finish. Consider using an airbrush for more precise and professional-looking results. Research the original Yamaha XV950 Racer color schemes and use masking tape to create accurate details. A clear coat can protect the paint and add a glossy or matte finish.
Carefully assemble the various parts of the Yamaha XV950 Racer model using super glue or epoxy. Ensure proper alignment and allow the adhesive to fully cure before handling the model.
Despite careful planning and execution, 3D printing can sometimes present challenges. Here are some common issues and their solutions:
* **Warping:** This occurs when the printed part lifts from the print bed due to uneven cooling. Ensure proper bed adhesion by using a heated bed, applying an adhesive (e.g., glue stick or hairspray), or using a brim.
* **Stringing:** This refers to thin strands of plastic that form between different parts of the print. Reduce stringing by optimizing retraction settings in your slicing software.
* **Layer Shifting:** This occurs when the layers of the print are misaligned. Check the belt tension on your printer and ensure that the motors are properly calibrated.
* **Support Failure:** If support structures fail, the overhanging parts of the model may collapse. Increase the support density or adjust the support angle to provide better support.
The print time and material costs for the Yamaha XV950 Racer model will vary depending on the size of the model, the chosen print settings, and the cost of your materials. However, here are some rough estimates:
* **Print Time:** 20-50 hours (depending on the size and complexity)
* **Material Costs:** $20-$50 (depending on the material and amount used)
You can get a more accurate estimate by importing the model into your slicing software and simulating the print.
With careful planning, the right materials, and attention to detail, you can successfully 3D print a stunning replica of the Yamaha XV950 Racer. The detailed model available at 88cars3d.com, combined with this comprehensive guide, will set you on the path to creating a unique and impressive piece. Happy printing!
The Yamaha XV950 Racer is a stunning motorcycle that beautifully merges classic cafe-racer heritage with modern V-twin cruiser performance. Known for its aggressive riding posture and stripped-down aesthetic, this bike boasts a muscular 942cc air-cooled engine, a distinctive front mini-cowl, and swept-back exhaust lines that capture the essence of retro-modern custom culture.
$19.99
.blend
.cruiser
.fbx
.glb
.max
.motorcycle
.obj
.ply
.rendering
.stl
.unreal
.yamaha
cafe-racer
game asset
game-ready
low-poly
motorcycle-3d-model
optimized
VR/AR
xv950-racer