Get 20% OFF All Premium 3D & STL Models!

“`html
The world of 3D printing offers incredible possibilities for automotive enthusiasts, hobbyists, and model makers. Whether you’re aiming to create a stunning replica of a classic car, a prototype for a new design, or simply a unique collectible, 3D printing provides a powerful tool. However, choosing the right 3D printing technology is crucial for achieving the desired results. The two dominant technologies in the consumer and prosumer space are Fused Deposition Modeling (FDM) and Stereolithography (SLA), often referred to as resin printing. This article delves into a comprehensive comparison of FDM and resin printing, specifically tailored for printing car STL files, exploring their strengths, weaknesses, and ideal applications. We’ll cover everything from STL file preparation to post-processing, helping you make an informed decision and achieve stunning 3D printed car models. Platforms like 88cars3d.com offer print-ready STL files specifically designed for these technologies.
FDM and resin 3D printing operate on fundamentally different principles. FDM, the more widely recognized technology, works by extruding a thermoplastic filament through a heated nozzle, layer by layer, onto a build platform. The material solidifies as it cools, creating the final object. Resin printing, on the other hand, uses a liquid photopolymer resin that is cured (hardened) by a light source, typically a UV laser or an LCD screen, layer by layer. This difference in technology leads to significant variations in print quality, material properties, and application suitability.
In FDM, the process begins with a spool of thermoplastic filament, such as PLA, ABS, or PETG. This filament is fed into a heated extruder, where it’s melted into a semi-liquid state. The extruder nozzle then moves according to the pre-programmed path defined by the sliced STL file, depositing the molten plastic onto the build platform. Each layer adheres to the previous one, gradually building up the 3D object. Key FDM parameters include nozzle temperature (typically 190-230°C for PLA), bed temperature (50-70°C for PLA), layer height (0.1-0.3mm), and print speed (40-60mm/s). These settings are crucial for achieving proper layer adhesion and minimizing warping. The choice of material greatly impacts the final product’s strength, flexibility, and heat resistance. For larger car models, ABS might be preferable for its durability, though it requires an enclosed printer due to its fumes.
Resin printing involves a vat of liquid photopolymer resin. A build platform is lowered into the vat, and a UV light source selectively cures a thin layer of resin. This process is repeated layer by layer, with the build platform moving upwards or downwards depending on the printer type. There are two main types of resin printing: SLA (Stereolithography) which uses a laser to cure the resin and DLP (Digital Light Processing) which uses a projector to cure the entire layer at once. Modern MSLA (Masked Stereolithography) printers use an LCD screen to mask the UV light, allowing for faster and more affordable printing. Resin printing offers incredibly fine detail, with layer heights often reaching 0.025-0.05mm. However, it requires careful handling of the resin, proper ventilation, and post-curing to ensure the resin is fully hardened and safe to handle. A typical resin setting for a standard resin on a MSLA printer would be a layer height of 0.05mm, a normal exposure time of 2-3 seconds and a bottom exposure time of 20-30 seconds.
When it comes to printing intricate car models, print quality and detail are paramount. Resin printing unequivocally excels in this area, offering superior resolution, smoother surfaces, and the ability to capture even the finest details. FDM, while capable of producing respectable results, often struggles to match the level of precision achievable with resin.
One of the most noticeable differences between FDM and resin prints is the surface finish. FDM prints typically exhibit visible layer lines, especially when viewed closely. These lines are a direct result of the layer-by-layer deposition process. While finer layer heights can minimize these lines, they are often still noticeable. In contrast, resin prints boast remarkably smooth surfaces, with minimal to no visible layer lines. This is due to the liquid nature of the resin and the high resolution of the curing process. For car models, this translates to a more realistic and aesthetically pleasing appearance, especially for curved surfaces and complex geometries. Using sandpaper with progressively higher grits during post-processing can help reduce the appearance of layer lines on FDM prints.
Resin printing truly shines when it comes to capturing fine details. Intricate features such as panel lines, emblems, and intricate grill designs are rendered with exceptional clarity and precision. FDM printers, with their larger nozzle sizes and inherent limitations in resolution, often struggle to reproduce these details accurately. The minimum feature size on a typical FDM printer might be around 0.4mm, while resin printers can reliably produce features as small as 0.1mm or even smaller. For detailed car models, this difference can be significant, leading to a far more realistic and visually appealing final product. When downloading models from marketplaces such as 88cars3d.com, understanding the intended printing technology is crucial to ensure the model’s details are within the printer’s capabilities.
The choice of material plays a crucial role in the final properties of your 3D printed car model. FDM offers a wide range of thermoplastic materials, each with its own unique characteristics. Resin printing, while more limited in material selection, offers resins with varying properties, including strength, flexibility, and heat resistance.
FDM provides a diverse palette of materials to choose from. PLA (Polylactic Acid) is a popular choice due to its ease of printing, biodegradability, and wide availability. It’s suitable for general-purpose car models but may not be ideal for applications requiring high strength or heat resistance. ABS (Acrylonitrile Butadiene Styrene) is a stronger and more durable material, offering better heat resistance than PLA. However, it requires higher printing temperatures and an enclosed printer to minimize warping and fumes. PETG (Polyethylene Terephthalate Glycol) offers a good balance of strength, flexibility, and ease of printing, making it a versatile option for car models. Other specialized materials, such as carbon fiber-filled filaments, offer enhanced strength and stiffness. When using ABS, consider increasing the bed temperature to around 100-110°C and using a brim or raft for better bed adhesion.
Resin printing offers a more limited selection of materials, but the available options cover a range of properties. Standard resins are suitable for general-purpose car models, offering good detail and relatively low cost. Tough resins are designed for increased strength and impact resistance, making them ideal for parts that need to withstand stress. Flexible resins offer elasticity and can be used for parts that require some degree of bending or deformation. There are also specialized resins with unique properties, such as high temperature resistance or biocompatibility. When choosing a resin, consider the intended use of the car model and select a resin that meets the required performance characteristics. For example, if you plan to subject the model to heat, a high-temperature resin is a necessity.
Support structures are often necessary to properly print overhangs and complex geometries in both FDM and resin printing. However, the type of supports, their removal, and the subsequent post-processing steps differ significantly between the two technologies.
FDM support structures are typically generated automatically by slicing software, such as Cura or PrusaSlicer. These supports are made of the same material as the model and are designed to provide temporary support to overhanging features. Support settings, such as density and placement, can be adjusted to optimize print quality and minimize material usage. Removing FDM supports can be challenging, especially for intricate models with delicate features. It often requires the use of tools such as pliers, knives, and sandpaper. Breakaway supports, which are designed to be easily removed, can be a helpful option. Dissolvable supports, made of a different material that can be dissolved in water or another solvent, offer an even cleaner removal process, but require a dual-extrusion printer. Careful planning and strategic support placement can significantly simplify the removal process.
Resin support structures are also generated by slicing software, such as Chitubox or Lychee Slicer. However, resin supports are typically much finer and more delicate than FDM supports. This is due to the high resolution of resin printing and the need to minimize scarring on the model’s surface. Removing resin supports requires careful attention to detail, as the supports can be easily broken or leave behind blemishes. Tools such as flush cutters and hobby knives are commonly used. After support removal, the model needs to be thoroughly washed in isopropyl alcohol (IPA) to remove any remaining resin. It then needs to be post-cured under UV light to fully harden the resin and achieve its final properties. Proper post-curing is essential for ensuring the model is safe to handle and exhibits optimal strength and durability. Curing times can vary, but typically range from 30 minutes to 2 hours depending on the resin type and UV light intensity.
Optimizing printer settings and slicing techniques is essential for achieving the best possible results with both FDM and resin printing. This involves carefully adjusting parameters such as layer height, print speed, support settings, and infill density.
Layer height is a crucial parameter in FDM printing, as it directly affects the print quality and printing time. Lower layer heights result in smoother surfaces and finer details, but also increase printing time. A layer height of 0.1-0.2mm is generally recommended for car models. Infill density determines the internal strength and weight of the model. A higher infill density results in a stronger but heavier model. For car models, an infill density of 15-25% is often sufficient. Print speed affects the overall printing time and can also impact print quality. Slower print speeds generally result in better print quality, but also increase printing time. A print speed of 40-60mm/s is a good starting point for car models. Other important slicing parameters include nozzle temperature, bed temperature, and retraction settings. Experimenting with different settings can help you optimize print quality and minimize printing time.
Exposure time is the most critical parameter in resin printing, as it determines how long each layer is exposed to UV light. Insufficient exposure can lead to incomplete curing and weak parts, while excessive exposure can lead to over-curing and loss of detail. The optimal exposure time depends on the resin type, printer settings, and ambient temperature. It’s typically determined through a series of test prints. Lift speed refers to the speed at which the build platform moves upwards after each layer is cured. High lift speeds can cause the model to detach from the supports, while low lift speeds can increase printing time. Finding the right balance is crucial. Other important slicing parameters include bottom layer exposure time, which is typically longer than normal layer exposure time to ensure good adhesion to the build platform, and support settings, which need to be carefully adjusted to provide adequate support without causing excessive scarring. Platforms like 88cars3d.com offer guidance on recommended settings for their STL files.
Both FDM and resin printing are susceptible to various printing issues, such as warping, layer adhesion problems, and support failures. Understanding the causes of these issues and how to address them is essential for achieving successful prints.
Warping is a common issue in FDM printing, especially with materials like ABS. It occurs when the printed part cools unevenly, causing it to lift off the build platform. To prevent warping, ensure the bed is properly leveled, use a heated bed, and apply an adhesive such as hairspray or glue stick. Layer adhesion problems can be caused by insufficient nozzle temperature, poor bed adhesion, or incorrect print speed. Increasing the nozzle temperature, cleaning the bed, and slowing down the print speed can help improve layer adhesion. Support failures can occur if the supports are not strong enough or are not properly attached to the model. Increasing the support density, increasing the support thickness, and ensuring good bed adhesion can help prevent support failures. It’s also crucial to ensure the STL file is manifold and has no errors before slicing. Programs like Netfabb can repair and optimize STL files for 3D printing.
Resin printing can also suffer from various issues. Insufficient exposure can lead to weak and brittle parts. Increasing the exposure time can help resolve this issue. Over-exposure can lead to loss of detail and dimensional inaccuracies. Decreasing the exposure time can help. Support failures are a common problem in resin printing, especially with complex models. Increasing the support density, increasing the support thickness, and angling the model to minimize overhangs can help prevent support failures. Clouding or blooming can occur when the resin is not properly mixed or if the printer is exposed to excessive ambient light. Stirring the resin thoroughly and shielding the printer from light can help prevent this issue. Always filter the resin after a failed print to remove any cured particles. Consistent maintenance, including cleaning the vat and replacing the FEP film, is crucial for preventing printing issues.
Choosing between FDM and resin printing for car STL files depends heavily on your specific needs and priorities. If your primary focus is on achieving exceptional detail, smooth surfaces, and intricate features, resin printing is the clear winner. However, if you require larger parts, a wider range of material options, and a more cost-effective solution, FDM printing may be a better choice. Ultimately, the best approach is to carefully weigh the pros and cons of each technology, considering factors such as print quality, material properties, post-processing requirements, and budget. By understanding the nuances of both FDM and resin printing, you can make an informed decision and unlock the full potential of 3D printing for creating stunning car models. Remember to always prepare your STL files properly, optimize your printer settings, and practice safe handling procedures. Explore resources and communities online for further guidance, and don’t be afraid to experiment and refine your techniques.
“`
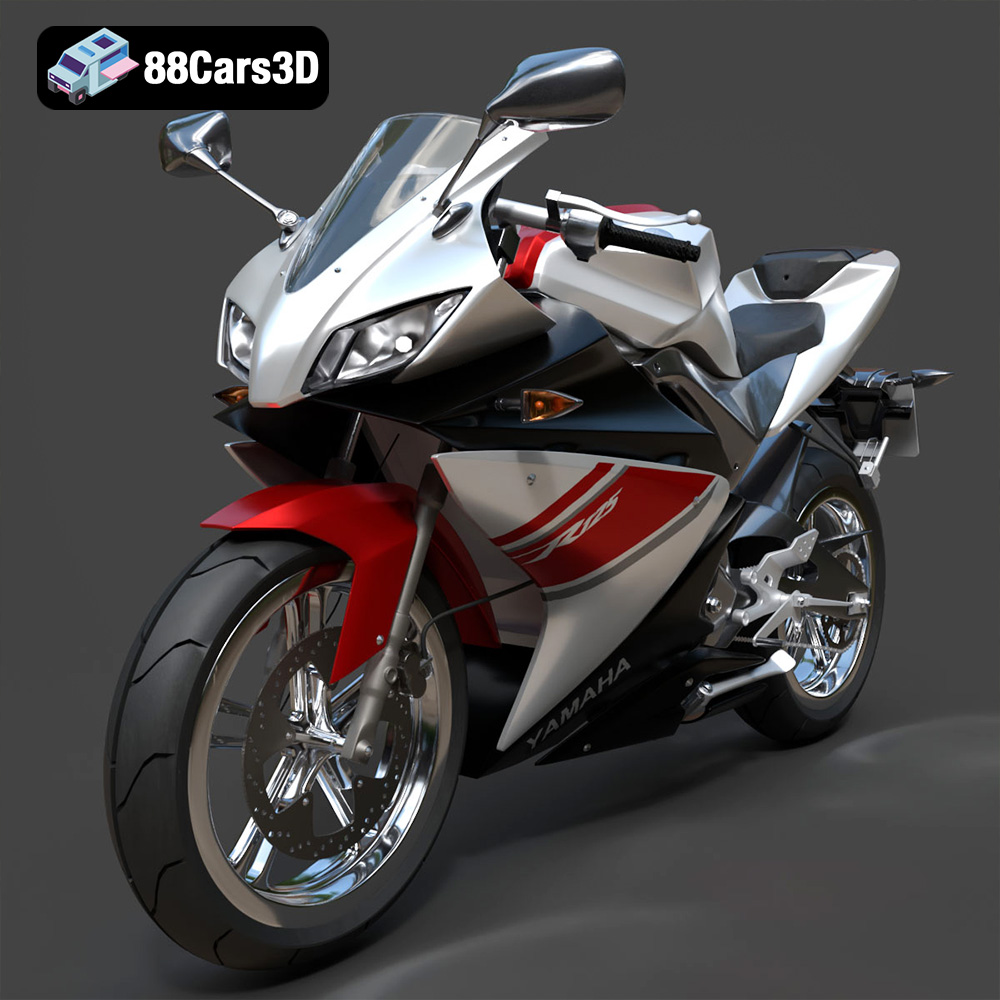
Texture: Yes | Material: Yes
Download the highly detailed, game-ready Yamaha YZF-R125 EU 3D Model. Features an aggressive aerodynamic fairing, twin LED headlights, and a detailed 125cc engine block. Includes .blend, .fbx, .obj, .glb, .stl, .ply, .unreal, and .max formats for game development, AR/VR, and rendering.
Price: $19.99
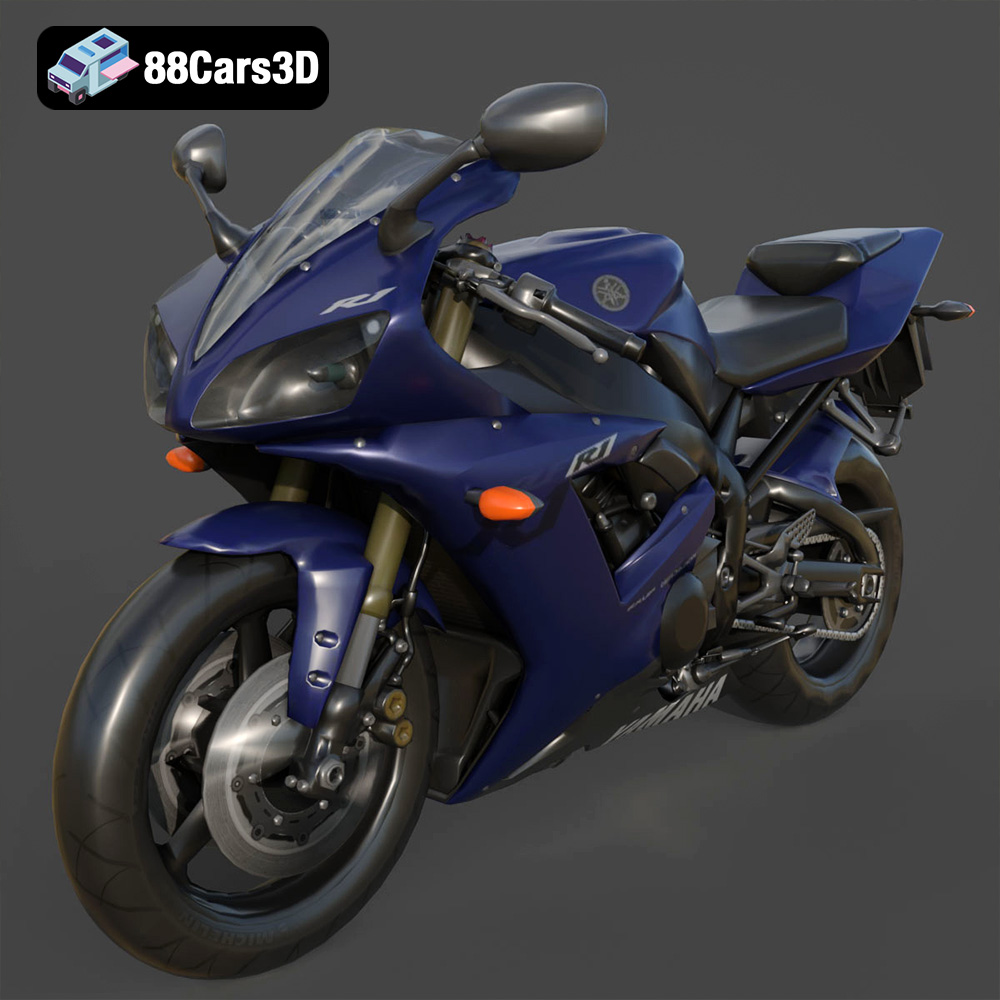
Texture: Yes | Material: Yes
Download the highly detailed, game-ready Yamaha R1 3D Model. Features aggressive aerodynamic fairings, a detailed crossplane inline-4 engine, and track-focused suspension geometry. Includes .blend, .fbx, .obj, .glb, .stl, .ply, .unreal, and .max formats for game development, AR/VR, and rendering.
Price: $19.99
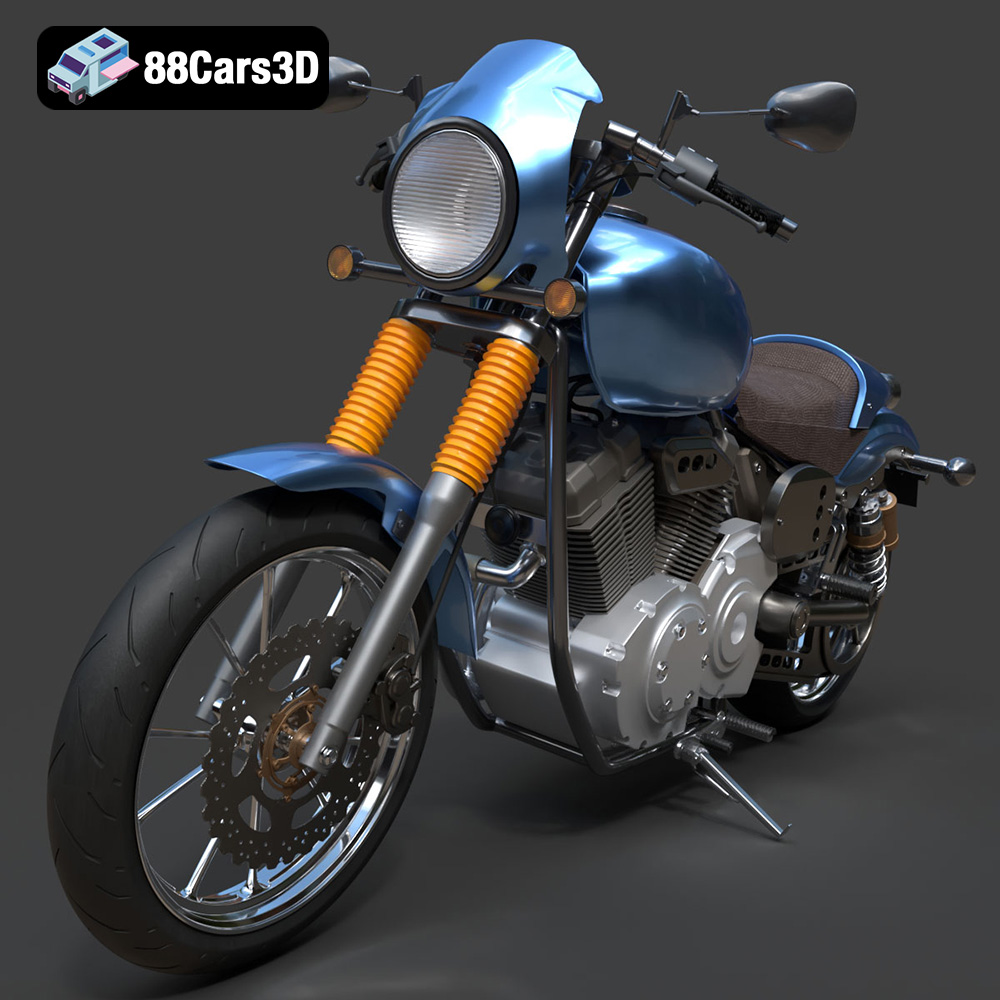
Texture: Yes | Material: Yes
Download the highly detailed, game-ready Yamaha XV950 Racer 3D Model. Features an aggressive cafe-racer front cowl, detailed air-cooled V-twin engine, and classic retro styling. Includes .blend, .fbx, .obj, .glb, .stl, .ply, .unreal, and .max formats for game development, AR/VR, and rendering.
Price: $19.99

Texture: Yes | Material: Yes
Download the highly detailed, game-ready Volvo VNL Tractor Truck 2002 3D Model. Features iconic aerodynamic styling, detailed fifth-wheel coupling, and heavy-duty chassis. Includes .blend, .fbx, .obj, .glb, .stl, .ply, .unreal, and .max formats for game development, AR/VR, and rendering.
Price: $39.99
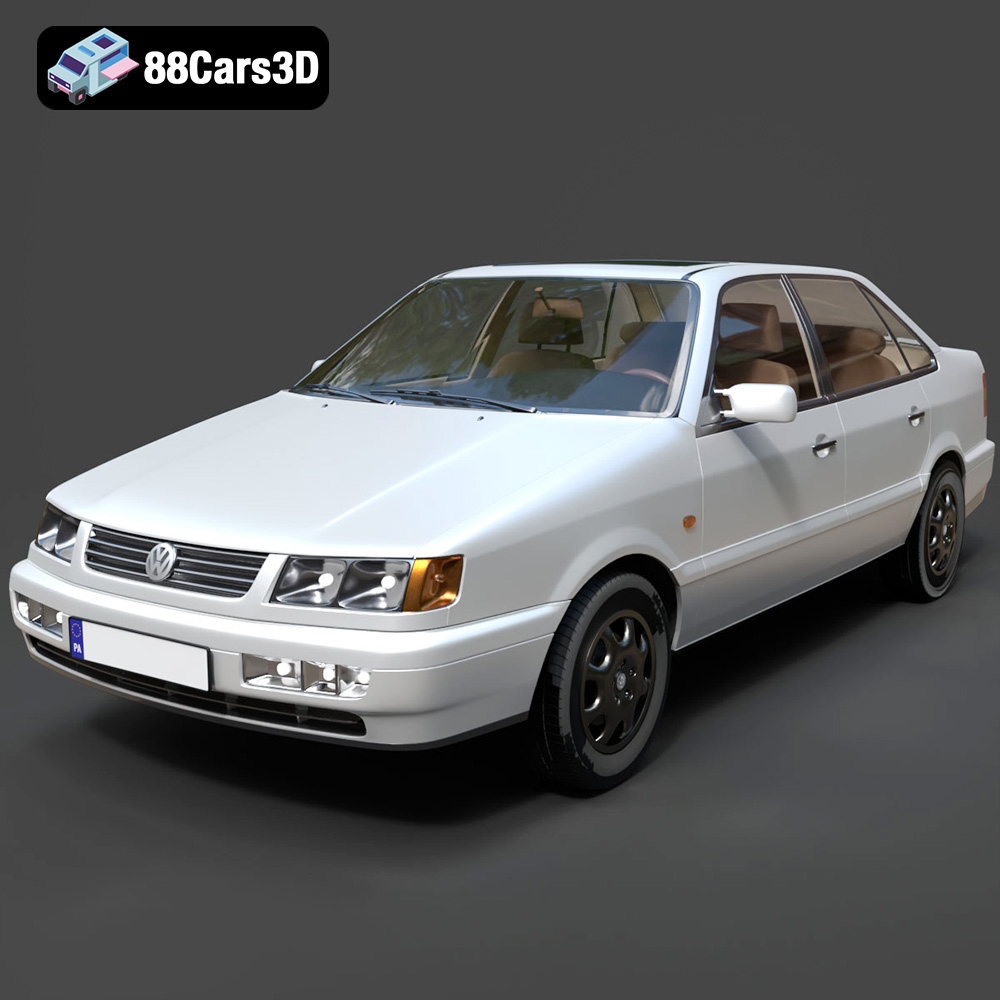
Texture: Yes | Material: Yes
Download the highly detailed, game-ready Volkswagen Passat Mk4 B4 Sedan 1993 3D Model. Features accurate 90s sedan styling, detailed front grille-less fascia, and a classic interior setup. Includes .blend, .fbx, .obj, .glb, .stl, .ply, .unreal, and .max formats for game development, AR/VR, and rendering.
Price: $39.99
Texture: Yes | Material: Yes
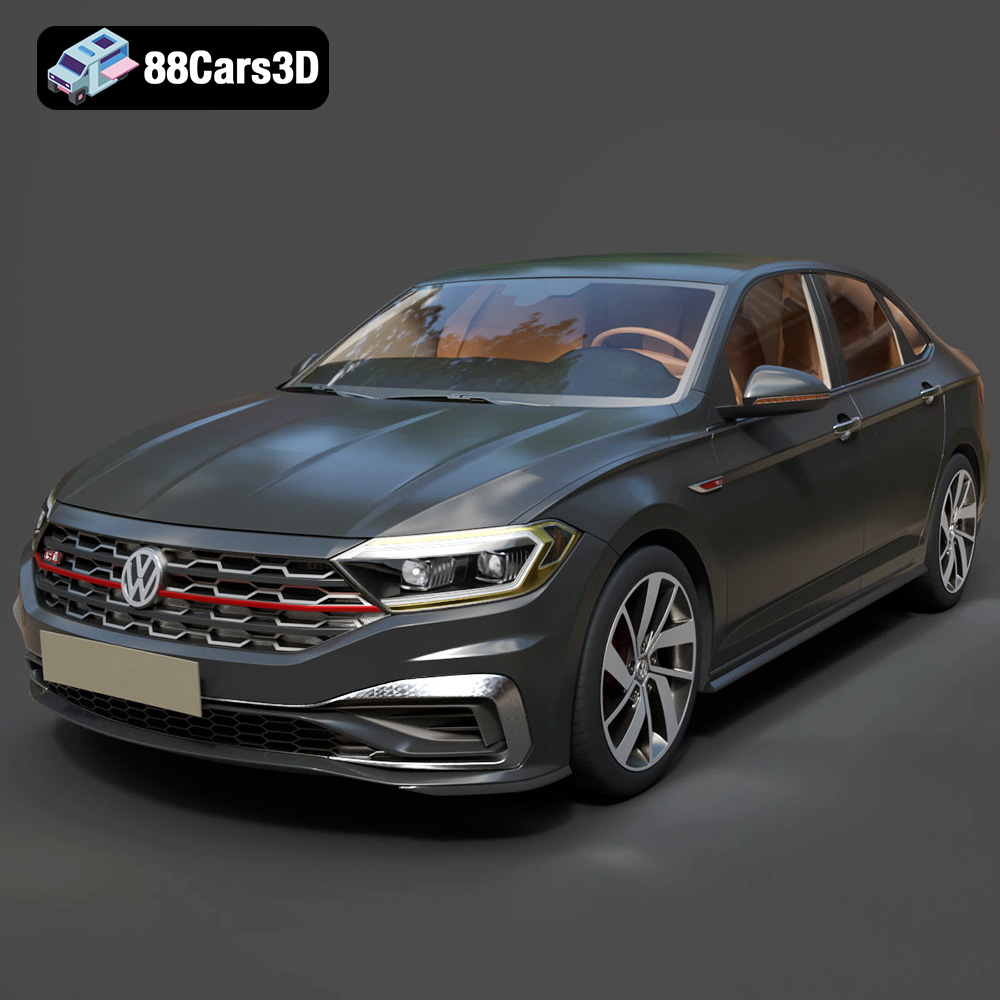
Download the highly detailed, game-ready Volkswagen Jetta GLI 2019 3D Model. Features an aggressive honeycomb grille with red accents, sleek aerodynamic profile, and exclusive GLI sport wheels. Includes .blend, .fbx, .obj, .glb, .stl, .ply, .unreal, and .max formats for game development, AR/VR, and rendering.
Price: $39.99
Texture: Yes | Material: Yes
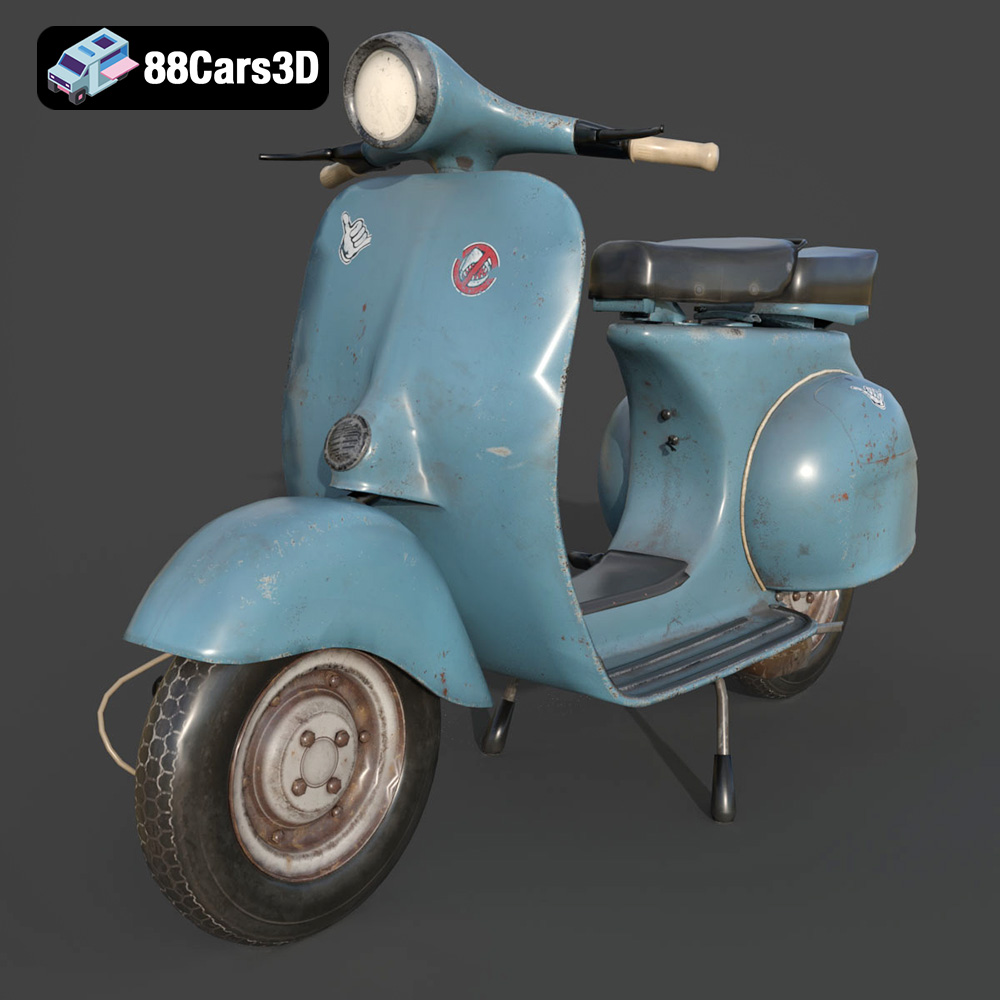
Download the highly detailed, game-ready Vintage Vespa 3D Model. Features iconic rounded monocoque styling, classic saddle, and chrome accents. Includes .blend, .fbx, .obj, .glb, .stl, .ply, .unreal, and .max formats for game development, AR/VR, and rendering.
Price: $39.99

Texture: Yes | Material: Yes
Download the highly detailed, game-ready Vespa GS 150 3D Model. Features elegant aerodynamic curves, classic leg shield, and detailed engine casing. Includes .blend, .fbx, .obj, .glb, .stl, .ply, .unreal, and .max formats for game development, AR/VR, and rendering.
Price: $39.99
Texture: Yes | Material: Yes
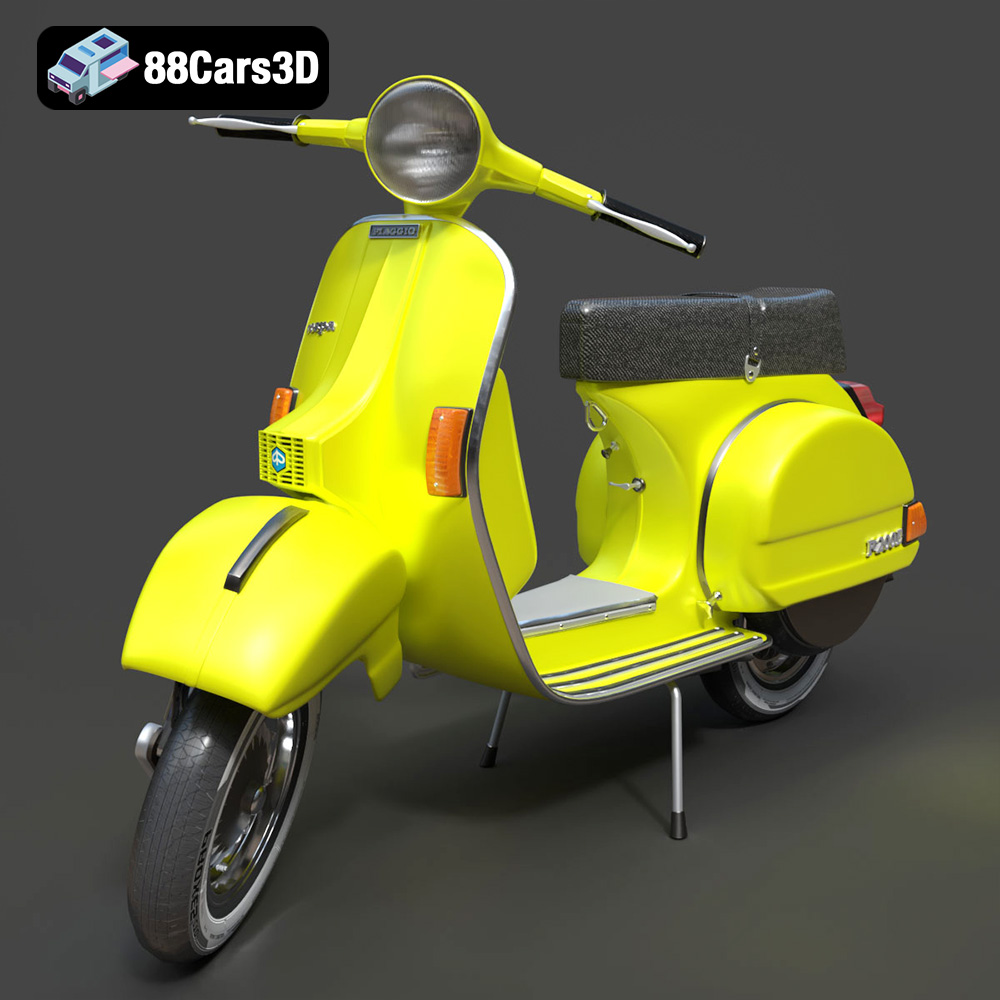
Download the highly detailed, game-ready Vespa P200E 3D Model. Features classic vintage styling, accurate step-through frame geometry, and authentic detailing. Includes .blend, .fbx, .obj, .glb, .stl, .ply, .unreal, and .max formats for game development, AR/VR, and rendering.
Price: $39.99
Texture: Yes | Material: Yes
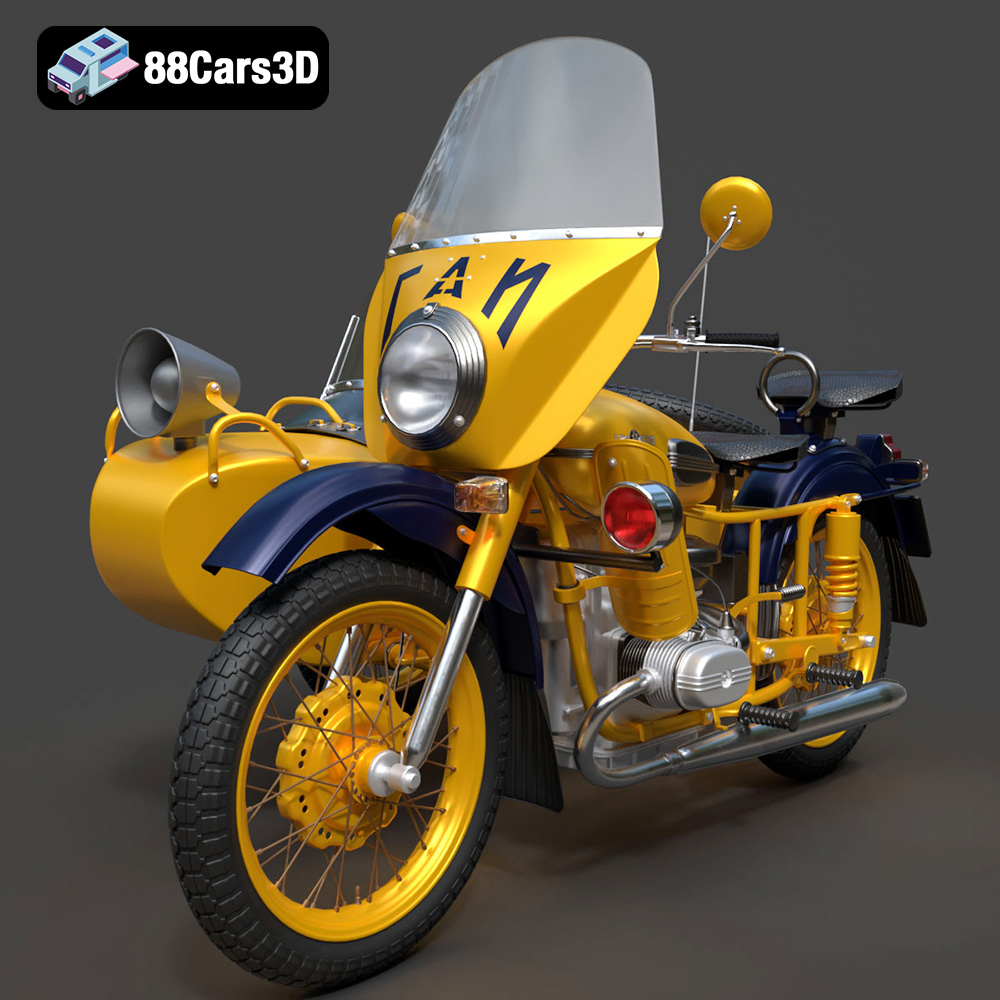
Download the highly detailed, game-ready Ural M67-36-P 1976 3D Model. Features the iconic air-cooled boxer engine, vintage utilitarian styling, and authentic spoked wheels. Includes .blend, .fbx, .obj, .glb, .stl, .ply, .unreal, and .max formats for game development, AR/VR, and rendering.
Price: $39.99

