Get 20% OFF All Premium 3D & STL Models!

The Yamaha R1 is a legend – a motorcycle that embodies speed, agility, and cutting-edge engineering. Now, thanks to the availability of detailed 3D models on platforms like 88cars3d.com, you can bring a piece of that legend into your own home through the power of 3D printing. This article will serve as your comprehensive guide to successfully 3D printing the Yamaha R1 model, covering everything from pre-print preparation to post-processing techniques. We’ll delve into printer settings, material recommendations, and crucial tips to ensure a stunning final result that captures the spirit of this iconic superbike.
Before you even load up your slicing software, it’s crucial to understand the different file formats available and their suitability for 3D printing. The Yamaha R1 3D model from 88cars3d.com offers a variety of formats, each with its own strengths and intended use.
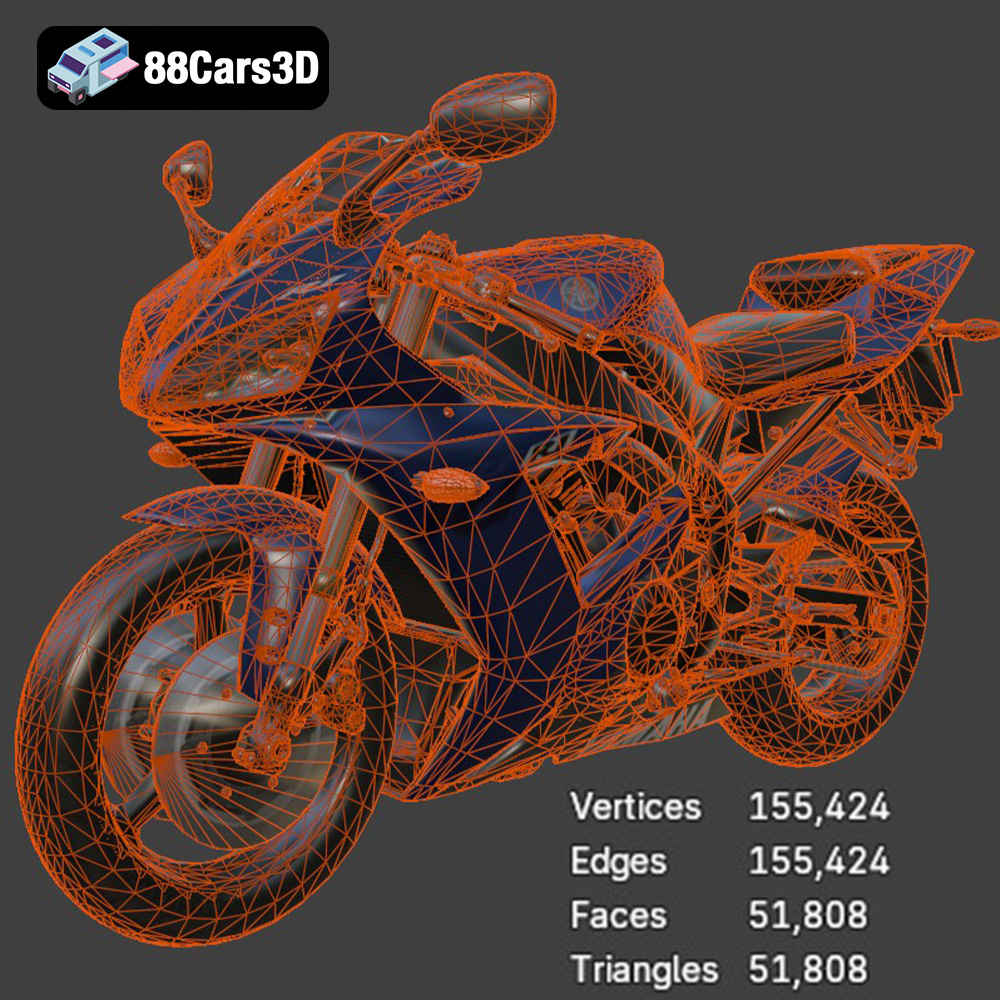
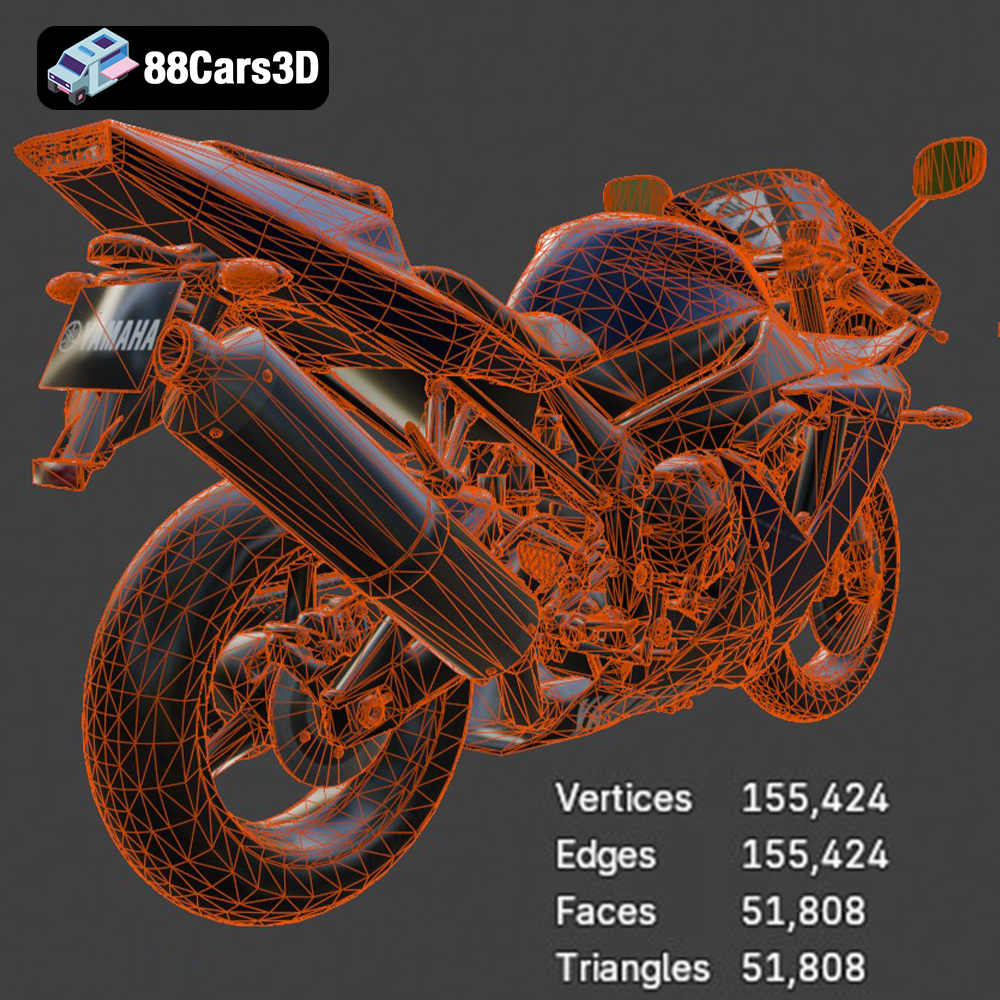
The .stl (Stereolithography) file format is the workhorse of 3D printing. It represents the 3D model’s surface geometry as a collection of triangles, essentially creating a mesh. This simplicity is what makes it universally compatible with almost every 3D printer and slicing software. However, this also means that .stl files lack color or texture information – they only contain the shape of the object. For 3D printing, especially for models like the Yamaha R1 with intricate details, the quality of the .stl file is paramount. A poorly generated .stl can result in faceted surfaces and loss of detail in the final print. When exporting to STL from other formats, ensure you select a high resolution to minimize these issues.
.obj files are more versatile than .stl, as they can store color and texture information alongside the geometry. This makes them suitable for colored 3D prints (if your printer supports it) and are also useful if you plan to use the model for rendering or game development after printing. However, .obj files can be larger than .stl files and may not be as widely supported by all slicing software.
The .ply format is designed for storing 3D data acquired from 3D scanners. It excels at representing high-resolution meshes with fine details, making it useful for capturing the intricate curves and surfaces of the Yamaha R1. While it supports color and other properties, .ply files can be quite large and are not always the preferred choice for 3D printing due to compatibility issues with certain slicing software.
.blend files are native to Blender, a popular open-source 3D modeling software. If you’re comfortable with Blender, this format offers the greatest flexibility, allowing you to modify the model, add details, or prepare it specifically for printing before exporting to .stl. This can be extremely useful for optimizing the model for your specific 3D printer and desired printing outcome.
.fbx (Filmbox) is a proprietary format developed by Autodesk and is often used for exchanging 3D data between different software applications. It can store geometry, textures, materials, and animations. In the context of 3D printing, .fbx is mainly useful for importing the model into your slicing software while preserving material information that might be used for visual reference during the printing process, even though the material properties themselves won’t directly translate to the printed object.
.glb is a binary file format that represents 3D models, textures, and animations. It’s commonly used for displaying 3D models in web browsers and augmented reality (AR) applications. While not directly used for 3D printing, the .glb format can be handy for previewing the model on your phone or tablet to visualize its size and details before committing to a print.
Similar to .blend, .max files are native to 3ds Max, another popular 3D modeling software. If you use 3ds Max, you can leverage this format to further customize the Yamaha R1 model before exporting it for 3D printing.
**The Bottom Line for 3D Printing:** For the Yamaha R1, the .stl format will likely be your primary choice for 3D printing due to its widespread compatibility and ease of use. However, if you need to modify the model or add custom supports, using the .blend or .max file in their respective software before exporting to .stl is a great option. Regardless of the initial format, always ensure that your final .stl file has sufficient resolution to capture the details of the model.
The material you choose significantly impacts the appearance, strength, and overall success of your 3D printed Yamaha R1. Here’s a breakdown of popular options:
* **Pros:** PLA is a biodegradable thermoplastic known for its ease of use, low printing temperature, and minimal warping. It’s a great choice for beginners and for models where strength isn’t a primary concern. PLA also comes in a wide array of colors and finishes.
* **Cons:** PLA is not as durable or heat-resistant as other materials. It can become brittle over time, and exposure to high temperatures can cause it to soften.
* **Recommended for:** Display models, prototypes, and parts that don’t require high strength or heat resistance.
* **Color Suggestions:** Consider a glossy black or red PLA for the body, and silver or gray for the frame and engine components.
* **Pros:** PETG offers a good balance of strength, flexibility, and heat resistance. It’s more durable than PLA and less prone to warping than ABS. PETG is also food-safe, making it suitable for functional parts.
* **Cons:** PETG can be more challenging to print than PLA, requiring higher temperatures and careful tuning of retraction settings to prevent stringing.
* **Recommended for:** Parts that require more strength and durability than PLA, such as the chassis or wheels.
* **Color Suggestions:** A translucent or metallic PETG can create a visually interesting effect for certain parts of the model.
* **Pros:** Resin 3D printing offers exceptional detail and smooth surfaces, making it ideal for intricate models like the Yamaha R1. Resin printers can achieve incredibly fine layer heights, resulting in a highly detailed and accurate replica.
* **Cons:** Resin printing can be more expensive than FDM printing, and the process is messier. Resin materials can be brittle and require post-processing, such as washing and curing.
* **Recommended for:** Achieving the highest possible detail, especially for small-scale models or parts with intricate features. The recommendation from 88cars3d.com suggests resin for fine details.
* **Resin Types:** Consider a standard gray resin for ease of painting, or a clear resin to create translucent effects for lights.
* PLA: $20-$30/kg
* PETG: $25-$40/kg
* Standard Resin: $30-$50/Liter
Proper pre-print preparation is critical for a successful 3D print. This involves using slicing software to convert the 3D model into instructions for your printer, as well as optimizing the model for printability.
Choose a slicing software that is compatible with your printer and material. Popular options include:
* **Cura:** Free and open-source, with a user-friendly interface and extensive customization options.
* **Simplify3D:** A paid software with advanced features, such as customizable supports and optimized toolpaths.
* **PrusaSlicer:** Developed by Prusa Research, this slicer offers excellent print profiles for Prusa printers and supports a wide range of other printers as well.
* **Lychee Slicer:** Popular for resin printing, offering automated support generation and vat emptying features.
* **Chitubox:** Another widely used slicer for resin printers, known for its ease of use and efficient support generation.
* **Frame Orientation:** As suggested in the product description, printing the frame at an angle can improve its structural integrity. Experiment with different angles to minimize the need for supports and optimize layer adhesion.
* **Wheel Orientation:** Print the wheels separately, likely standing vertically, to ensure a round and smooth surface.
* **Support Placement:** Pay close attention to support placement, especially for overhanging features like the exhaust, mirrors, and handlebars. Use tree supports or manually add supports to areas that need them most.
The recommended scales for the Yamaha R1 model are 1:12, 1:18, and 1:24. Consider the following when choosing a scale:
* **Printer Build Volume:** Ensure that the chosen scale fits within your printer’s build volume.
* **Detail Level:** Smaller scales will result in less detail, while larger scales will capture more intricate features.
* **Post-Processing Effort:** Larger models will require more post-processing, such as sanding and painting.
The right printer settings are crucial for achieving optimal print quality and capturing the intricate details of the Yamaha R1 model.
* **FDM Printing:** A layer height of 0.1mm to 0.15mm is recommended for a good balance of detail and print time. For larger scales (1:12), you can experiment with a slightly higher layer height, while for smaller scales (1:24), a lower layer height may be necessary to capture fine details.
* **Resin Printing:** Resin printers can achieve much finer layer heights. A layer height of 0.04mm to 0.08mm is recommended for the Yamaha R1 model.
* An infill density of 20-30% is generally sufficient for most parts of the Yamaha R1 model. For parts that require more strength, such as the chassis, you can increase the infill density to 40-50%.
* A wall thickness of 1.2mm to 2.0mm is recommended for the Yamaha R1 model. This will provide sufficient strength and rigidity to the printed parts.
* A print speed of 40-60mm/s is recommended for FDM printing. For resin printing, the print speed is determined by the resin’s exposure time.
* **PLA:** Nozzle temperature: 200-220°C, Bed temperature: 60°C
* **PETG:** Nozzle temperature: 230-250°C, Bed temperature: 70-80°C
* **Resin:** Follow the manufacturer’s recommendations for exposure time and other settings.
Estimating exact print times and material usage is difficult without knowing the specific size and settings. However, here’s a rough estimate for a 1:18 scale model:
* FDM Print Time: 20-40 hours
* FDM Material Cost: $5-$15 (PLA or PETG)
* Resin Print Time: 10-20 hours
* Resin Material Cost: $10-$20 (Resin)
Post-processing is essential for removing imperfections and enhancing the appearance of your 3D printed Yamaha R1.
* Carefully remove the supports using pliers or a sharp knife. Be extra cautious when removing supports from delicate areas, such as the exhaust and handlebars.
* Sand the surfaces of the printed parts to remove layer lines and smooth out any imperfections. Start with a coarse grit sandpaper (e.g., 220 grit) and gradually move to finer grits (e.g., 400, 600, 800 grit). Wet sanding can help to reduce dust and improve the surface finish.
* Apply a primer to the sanded parts to create a smooth and uniform surface for painting. Use a spray primer specifically designed for plastics.
* Paint the parts using high-quality model paints. Refer to images of the real Yamaha R1 for accurate color matching. Consider using masking tape to create sharp lines and details. Apply multiple thin coats of paint, allowing each coat to dry completely before applying the next. Consider adding metallic finishes for added realism.
* Assemble the printed parts using glue or small screws. Ensure that the parts are properly aligned before securing them in place.
Even with careful preparation, 3D printing can sometimes present challenges. Here are some common issues and their solutions:
* **Cause:** Uneven cooling of the printed part, causing it to detach from the build plate.
* **Solution:** Use a heated bed, apply an adhesive to the build plate (e.g., glue stick or hairspray), and ensure proper bed leveling.
* **Cause:** Excessive filament oozing from the nozzle during travel moves.
* **Solution:** Increase retraction distance and speed, decrease printing temperature, and adjust travel speed.
* **Cause:** Poor adhesion between layers due to insufficient temperature or improper cooling.
* **Solution:** Increase printing temperature, decrease cooling fan speed, and ensure proper bed adhesion.
* **Cause:** Supports that are too weak or improperly placed.
* **Solution:** Increase support density, adjust support angle, and manually add supports to areas that need them most.
By understanding these potential issues and their solutions, you can overcome common challenges and achieve a successful 3D print of your Yamaha R1 model. Remember that experimenting and fine-tuning your printer settings are key to achieving the best possible results. 88cars3d.com provides the digital canvas; your 3D printer is the brush.
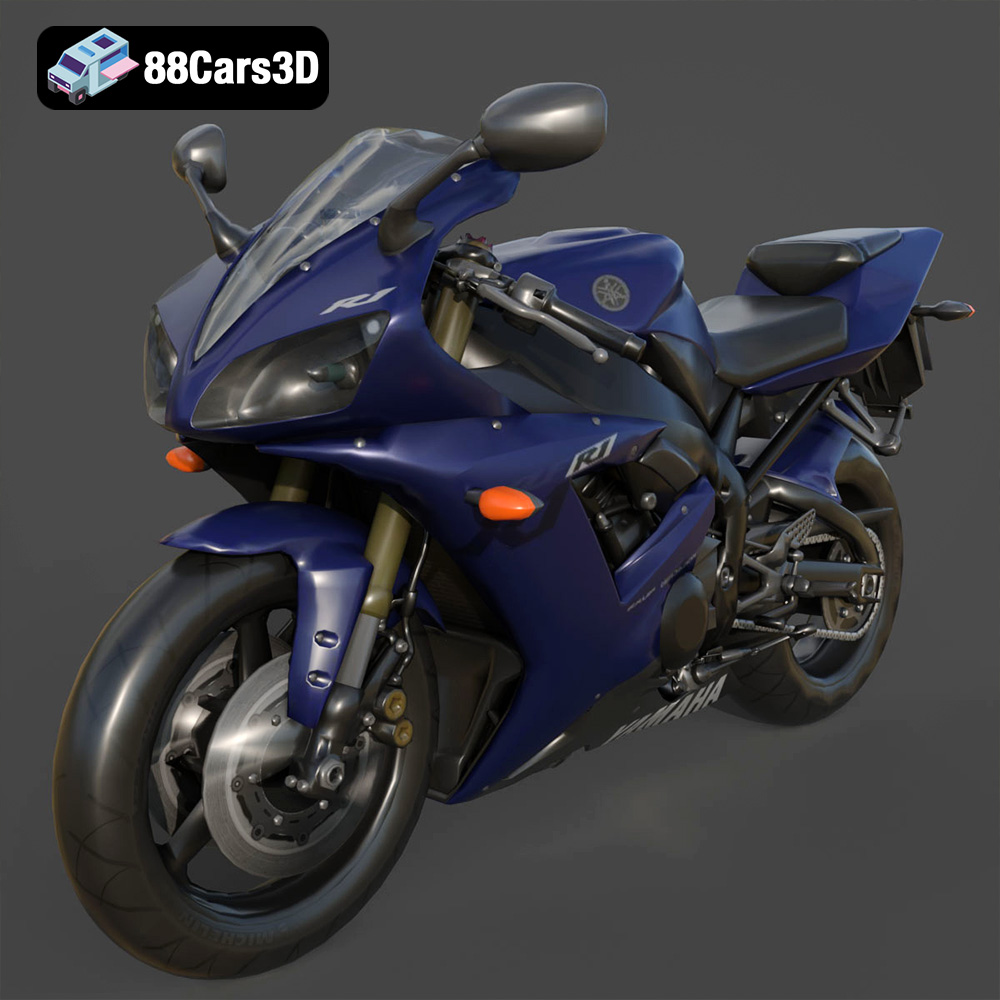
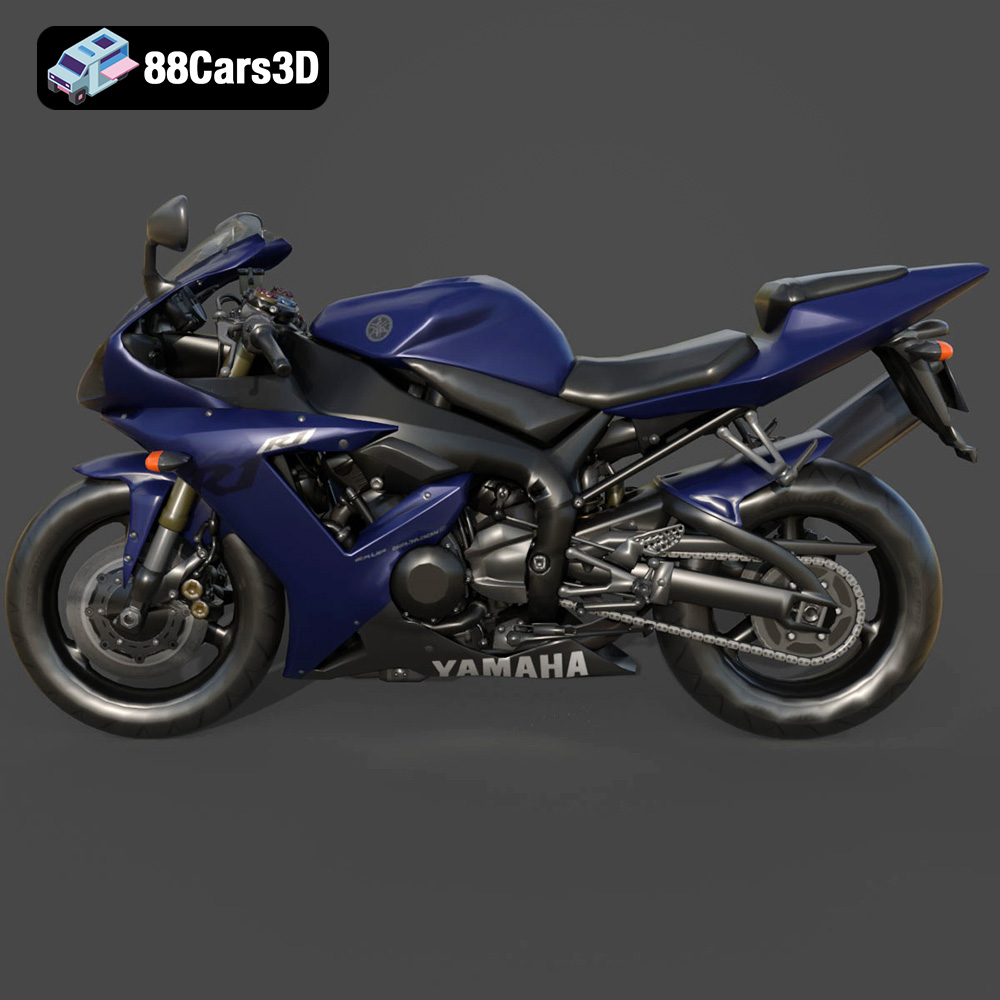
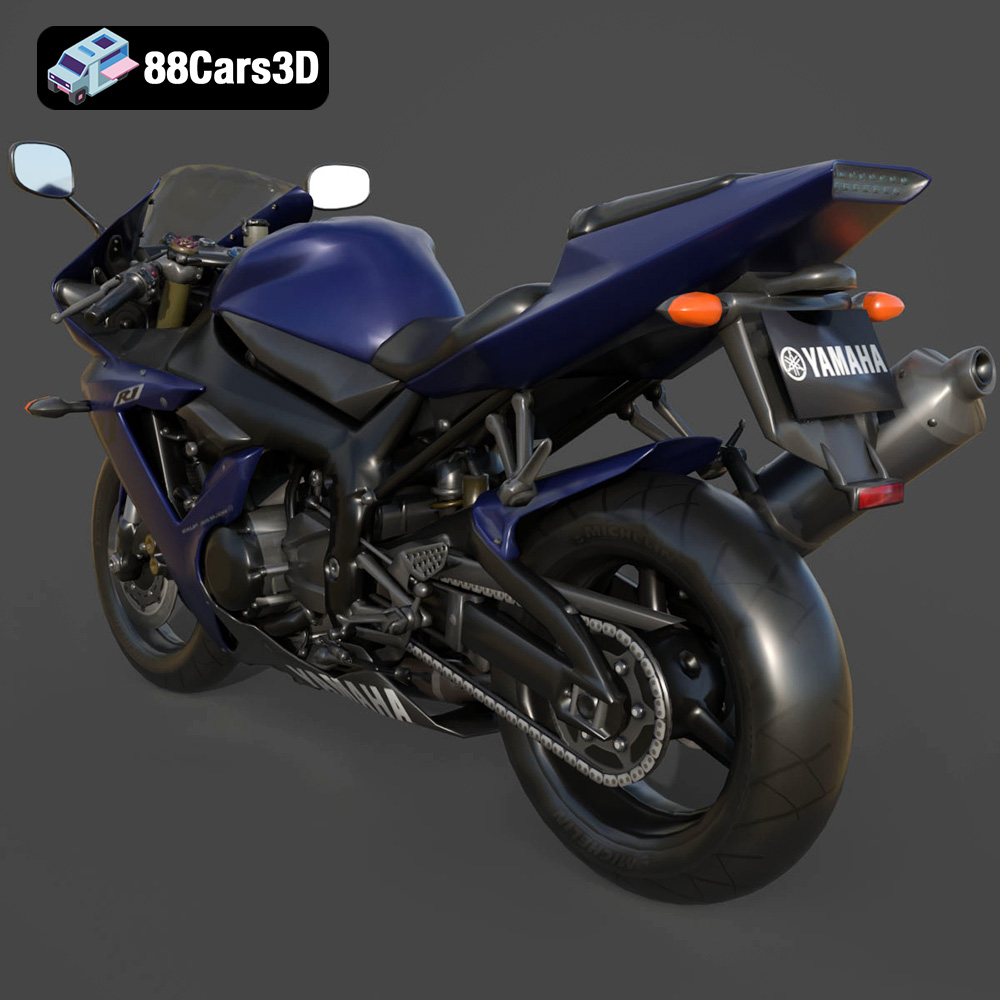
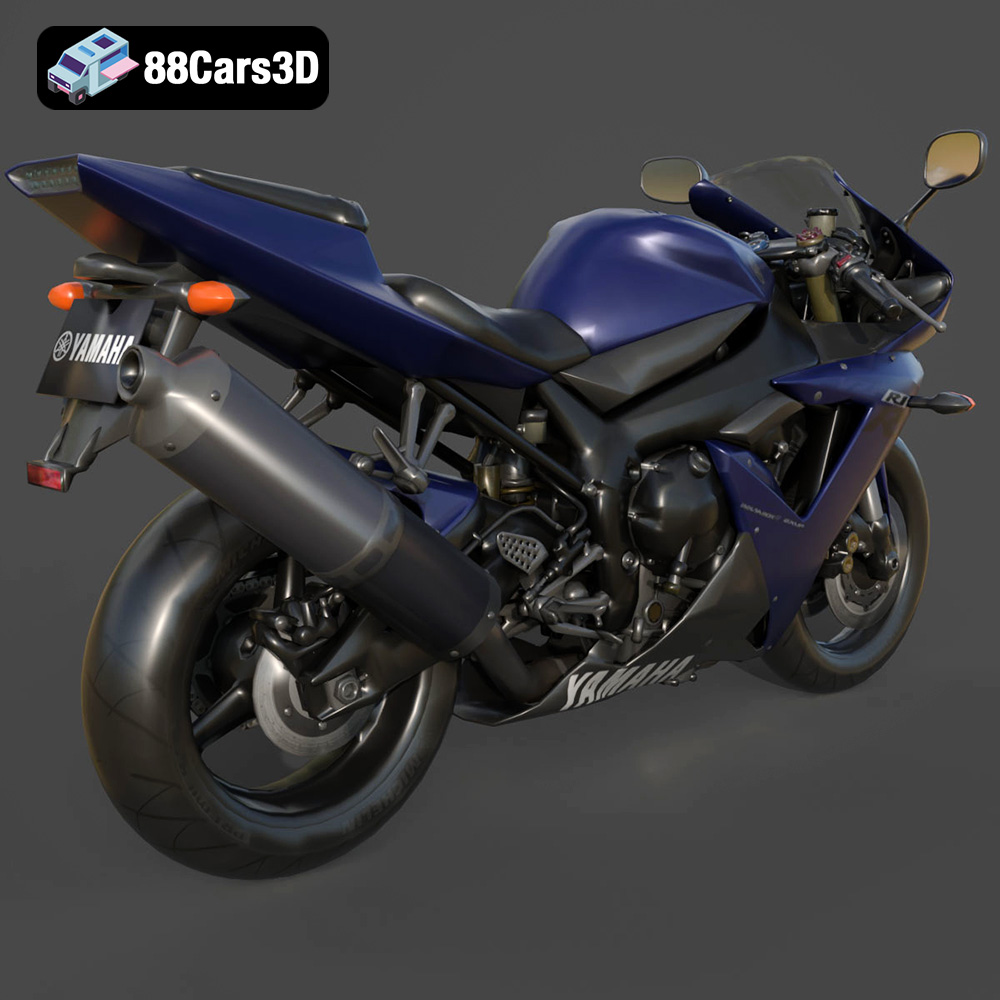
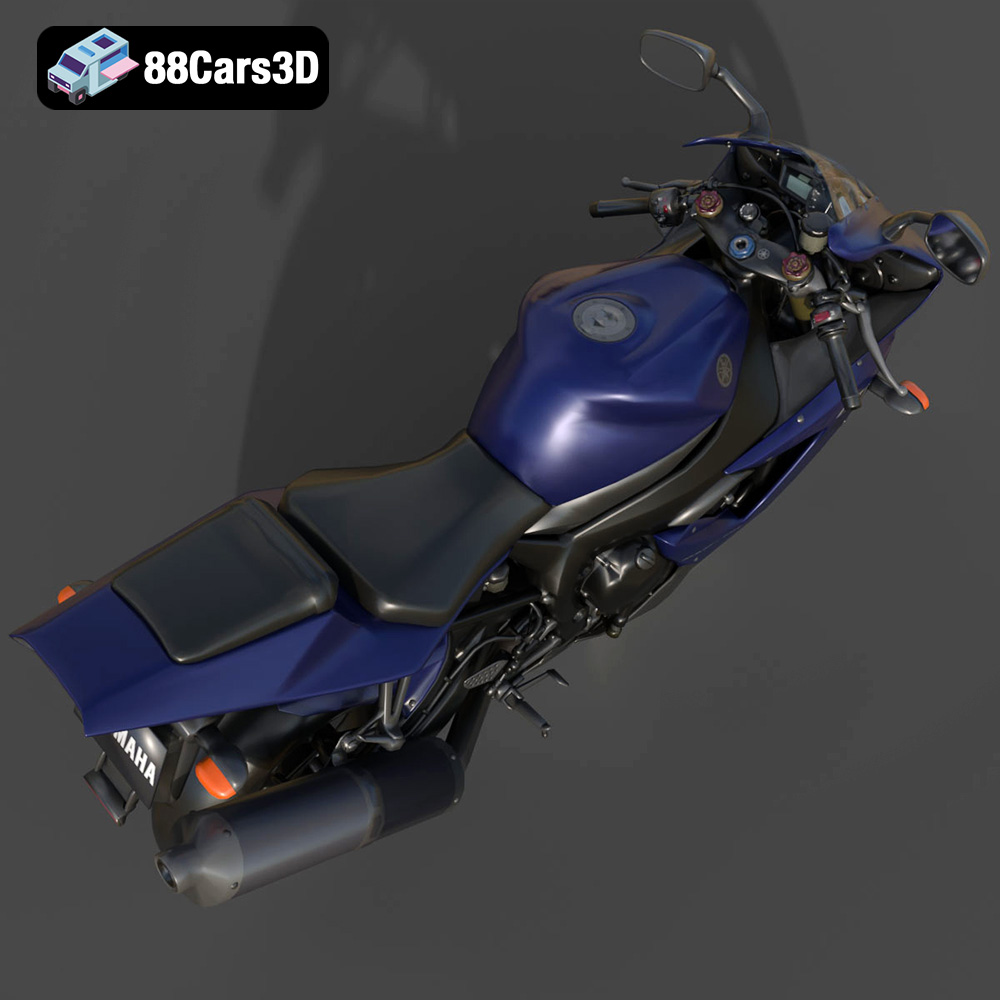
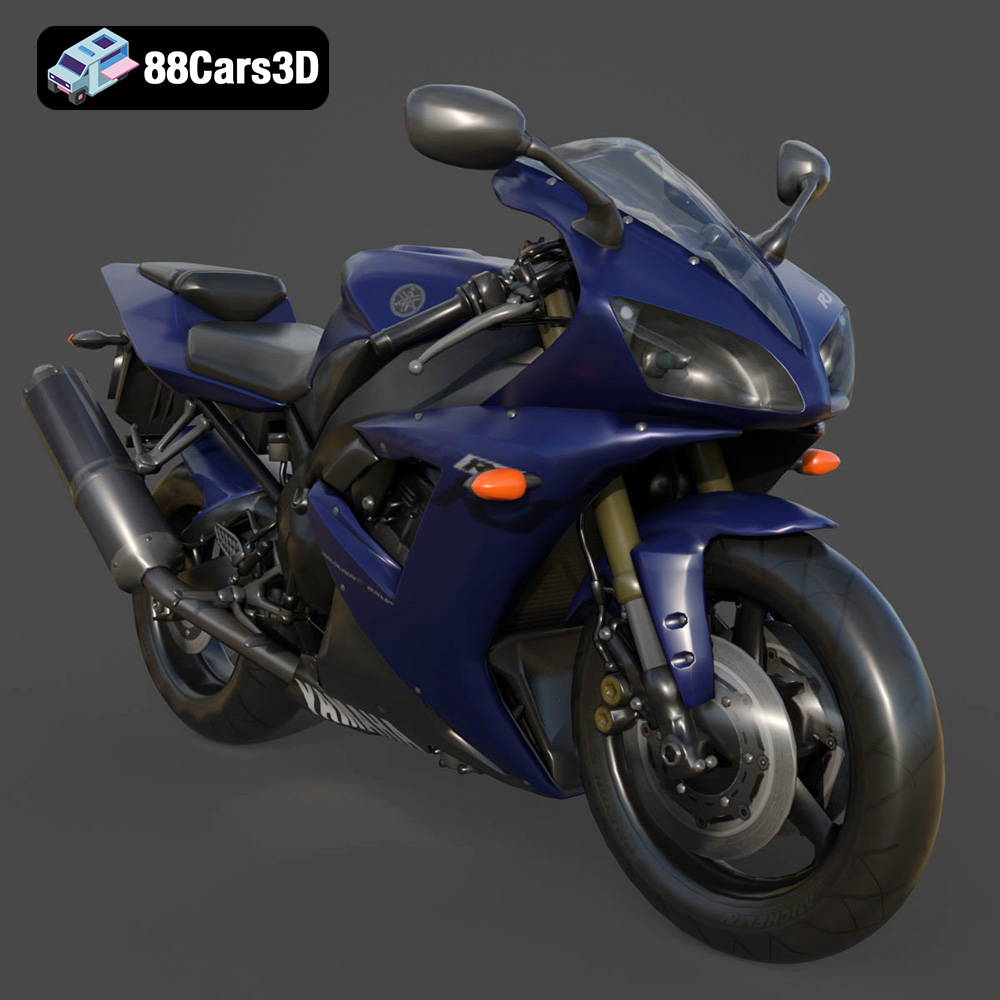
Experience the thrill of the track with this meticulously crafted 3D model of the legendary Yamaha R1. Known for its superbike heritage and uncompromising performance, the R1 features aggressive aerodynamic styling, a commanding Deltabox frame, and the iconic 998cc inline-4 crossplane engine.
$19.99
.blend
.fbx
.glb
.max
.motorcycle
.obj
.ply
.rendering
.sportbike
.stl
.superbike
.unreal
.yamaha
game asset
game-ready
low-poly
motorcycle-3d-model
optimized
r1
VR/AR
yamaha-r1