Get 20% OFF All Premium 3D & STL Models!

“`html
The world of 3D printing offers incredible possibilities, especially for automotive enthusiasts looking to bring their dream cars to life in miniature form. Platforms like 88cars3d.com provide access to a vast library of printable car models in STL format. However, sometimes these STL files, or others sourced elsewhere, may contain imperfections that can lead to printing failures. These imperfections often manifest as broken meshes – gaps, holes, or non-manifold geometry that confuse your 3D printer. Fortunately, powerful software tools like Meshmixer and Netfabb are available to diagnose and repair these issues, ensuring a smooth and successful printing experience. In this comprehensive guide, we’ll delve into the common causes of broken STL meshes and explore how to effectively use Meshmixer and Netfabb to fix them, allowing you to create stunning 3D printed car models.
In this guide, you will learn:
Before diving into the repair process, it’s crucial to understand what constitutes a “broken” STL mesh. STL files represent 3D objects as a collection of triangles, defining the surface geometry. A healthy mesh forms a closed, continuous surface, meaning that every edge of every triangle is shared by exactly two triangles (except for the boundary edges of an open surface). When this condition is violated, we encounter problems.
Non-manifold geometry is a common culprit behind broken STL files. It occurs when the mesh violates the rule that each edge should be shared by exactly two triangles. Examples include:
Non-manifold geometry can confuse slicing software, leading to unexpected print results or even complete printing failures.
Holes and gaps in the mesh are perhaps the most visually apparent type of error. They can range from tiny pinholes to large missing sections of the model. Holes often arise from:
These gaps create openings in the model, preventing the slicer from generating a continuous, watertight solid.
Each triangle in an STL file has a “normal” – a vector that points outward from the surface. The normal determines which side of the triangle is considered the “outside” and which is the “inside.” Inverted normals occur when the normal vector points inward. This can happen due to:
Inverted normals can cause the slicer to misinterpret the geometry, leading to missing sections or incorrect infill patterns. Some slicers have automatic normal correction, but it’s best to fix them at the source.
Meshmixer, a free software from Autodesk, is a powerful and versatile tool for manipulating and repairing STL meshes. Its intuitive interface and robust features make it a popular choice among 3D printing enthusiasts.
The first step is to import your STL file into Meshmixer. Once loaded, visually inspect the model for any obvious errors, such as holes, gaps, or distorted surfaces. Meshmixer also provides automated tools for identifying potential problems:
The Inspector tool is a good starting point, but it’s not always perfect. It’s essential to visually verify the repairs and address any remaining issues manually.
The “Make Solid” tool is a powerful feature in Meshmixer that can often resolve complex mesh issues. It essentially re-meshes the entire model, creating a clean, watertight solid. Here’s how to use it:
Experimenting with different settings is crucial to find the optimal balance between detail preservation and mesh quality. Be aware that “Make Solid” can sometimes smooth out fine details, so use it judiciously.
For more targeted repairs, Meshmixer offers several manual tools:
Mastering these manual techniques gives you fine-grained control over the repair process, allowing you to address specific issues with precision.
Autodesk Netfabb is a professional-grade software suite designed for additive manufacturing. While it’s a paid product, it offers advanced features and robust algorithms for repairing even the most challenging STL meshes. Netfabb is particularly useful for complex geometries and large-scale repairs.
Similar to Meshmixer, the first step in Netfabb is to import your STL file. Netfabb has excellent tools to detect and visualize mesh errors:
Netfabb provides detailed information about each error, making it easier to understand the nature of the problem and choose the appropriate repair strategy.
Netfabb’s automatic repair feature is incredibly powerful and can often fix a wide range of mesh issues with a single click. Here’s how to use it:
The automatic repair feature is a great time-saver, but it’s always a good idea to visually inspect the repaired mesh to ensure that no new problems have been introduced.
Netfabb offers several advanced repair methods for tackling particularly challenging mesh issues:
These advanced methods require a deeper understanding of mesh manipulation and 3D modeling principles, but they can be invaluable for complex repair tasks.
Beyond simply repairing broken meshes, there are several steps you can take to optimize your STL files for 3D printing, ensuring the best possible results.
Ensure your model is correctly oriented for printing. For car models, the base should generally be flat on the build platform for maximum adhesion. Also, verify the model’s scale to match your desired print size. Incorrect orientation or scale can lead to printing failures or unexpected results.
High mesh density translates to finer details but also larger file sizes and increased processing time. Lower mesh density results in faster processing but may sacrifice detail. Strike a balance based on the model’s complexity and your printer’s capabilities. For example, a highly detailed car model intended for display would benefit from a higher mesh density than a simpler, functional prototype.
For resin printing, hollowing the model reduces material consumption and prevents warping. Add drainage holes strategically to allow resin to escape during printing and cleaning. Proper placement of these holes is crucial for a successful print. Consider the orientation of the model during printing when determining the placement of drainage holes.
Even after meticulous repair, printing issues can still arise. Here’s how to address some common problems:
Repairing broken STL meshes is an essential skill for any 3D printing enthusiast. By understanding the common causes of mesh errors and mastering the techniques offered by tools like Meshmixer and Netfabb, you can overcome these challenges and produce high-quality 3D prints. Remember to visually inspect your models, experiment with different repair methods, and optimize your STL files for your specific printer and material. For those seeking high-quality, pre-optimized STL files, platforms such as 88cars3d.com provide a reliable source for printable car models. With practice and patience, you’ll be well on your way to creating stunning 3D printed car models and other intricate designs. Take the time to explore the capabilities of Meshmixer and Netfabb, and don’t be afraid to experiment with different settings and techniques. Happy printing!
“`

Texture: Yes | Material: Yes
Download the highly detailed, game-ready Toyota Camry 2018 3D Model. Features an aggressive aerodynamic body, distinct LED lighting signature, and precise interior detailing. Includes .blend, .fbx, .obj, .glb, .stl, .ply, .unreal, and .max formats for game development, AR/VR, and rendering.
Price: $19.99
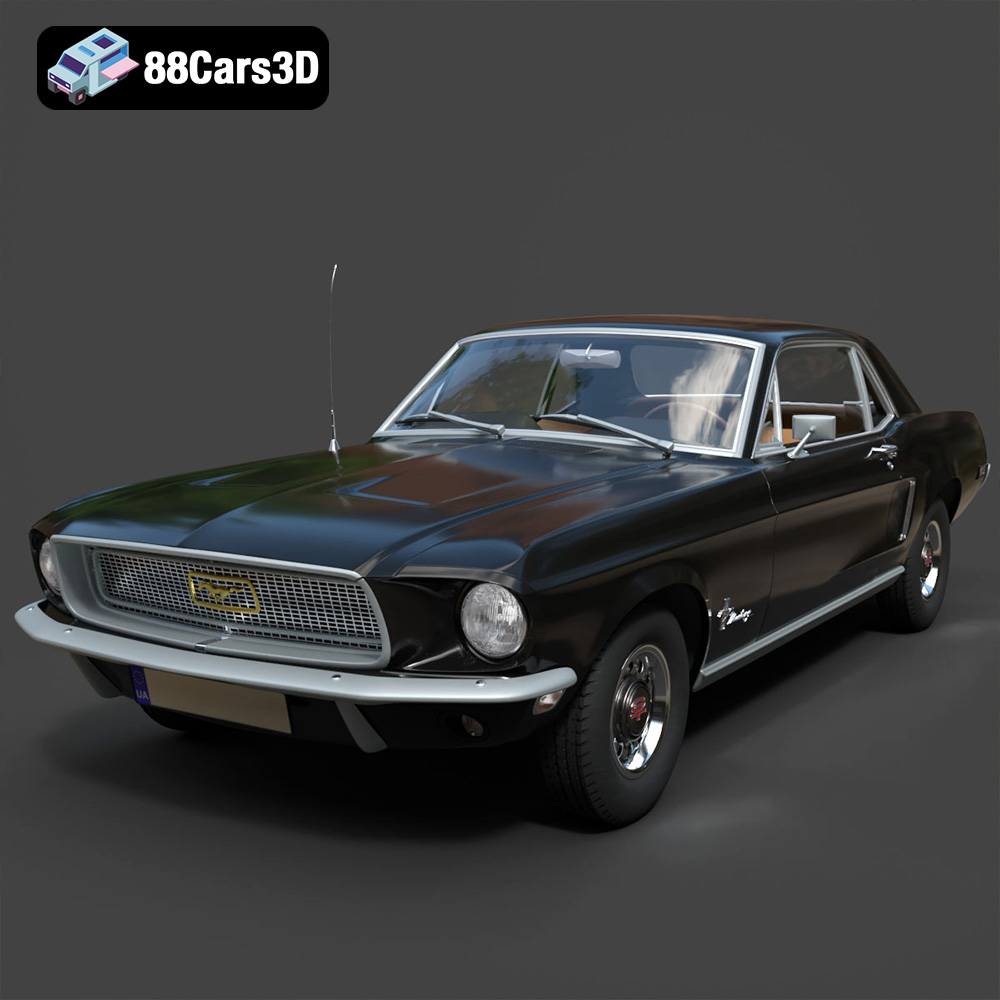
Texture: Yes | Material: Yes
Download the highly detailed, game-ready Ford Mustang Hardtop 1968 3D Model. Features the iconic galloping pony grille, signature tri-bar taillights, and an authentic vintage interior. Includes .blend, .fbx, .obj, .glb, .stl, .ply, .unreal, and .max formats for game development, AR/VR, and rendering.
Price: $19.99

Texture: Yes | Material: Yes
Download the highly detailed, game-ready Ferrari J50 2017 3D Model. Features aggressive aerodynamic styling, twin-turbo V8 engine details, and targa top design. Includes .blend, .fbx, .obj, .glb, .stl, .ply, .unreal, and .max formats for game development, AR/VR, and rendering.
Price: $19.99
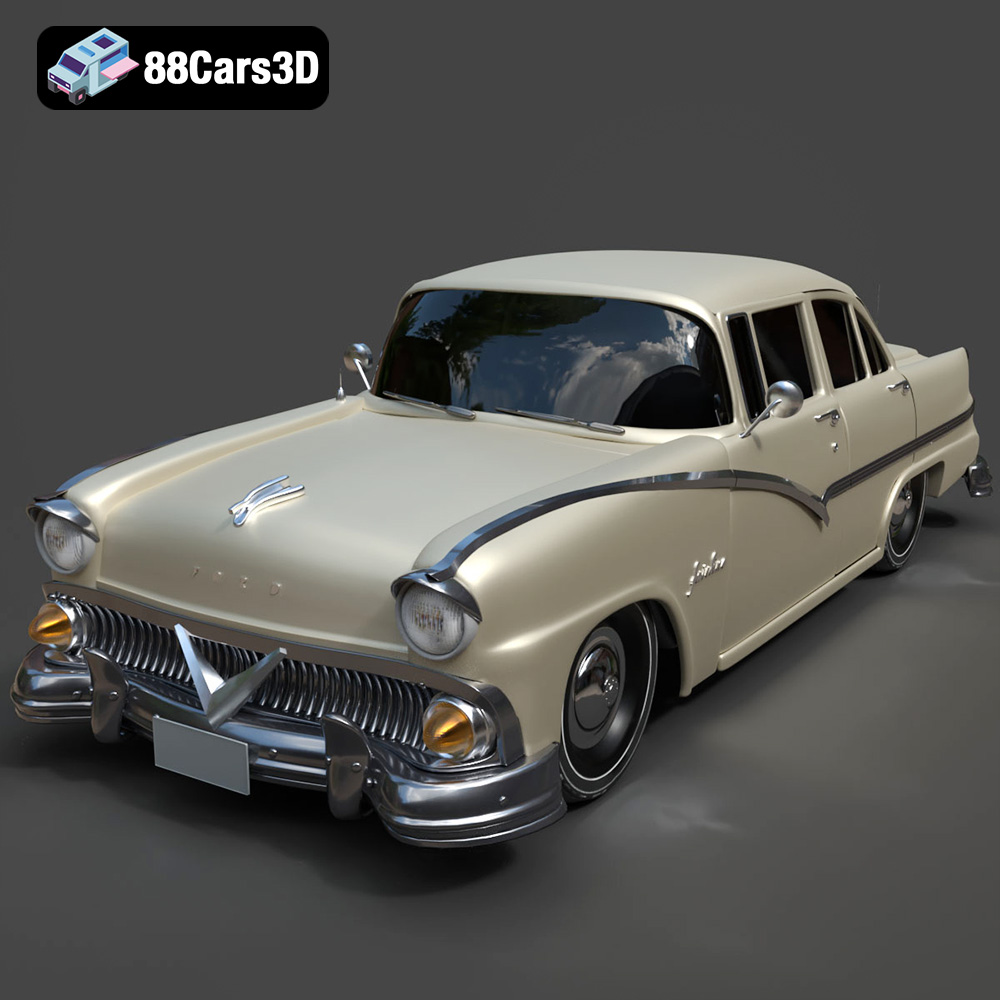
Texture: Yes | Material: Yes
Download the highly detailed, game-ready Ford Fairlin 3D Model. Features iconic classic styling, sweeping bodylines, and an accurate vintage interior. Includes .blend, .fbx, .obj, .glb, .stl, .ply, .unreal, and .max formats for game development, AR/VR, and rendering.
Price: $19.99
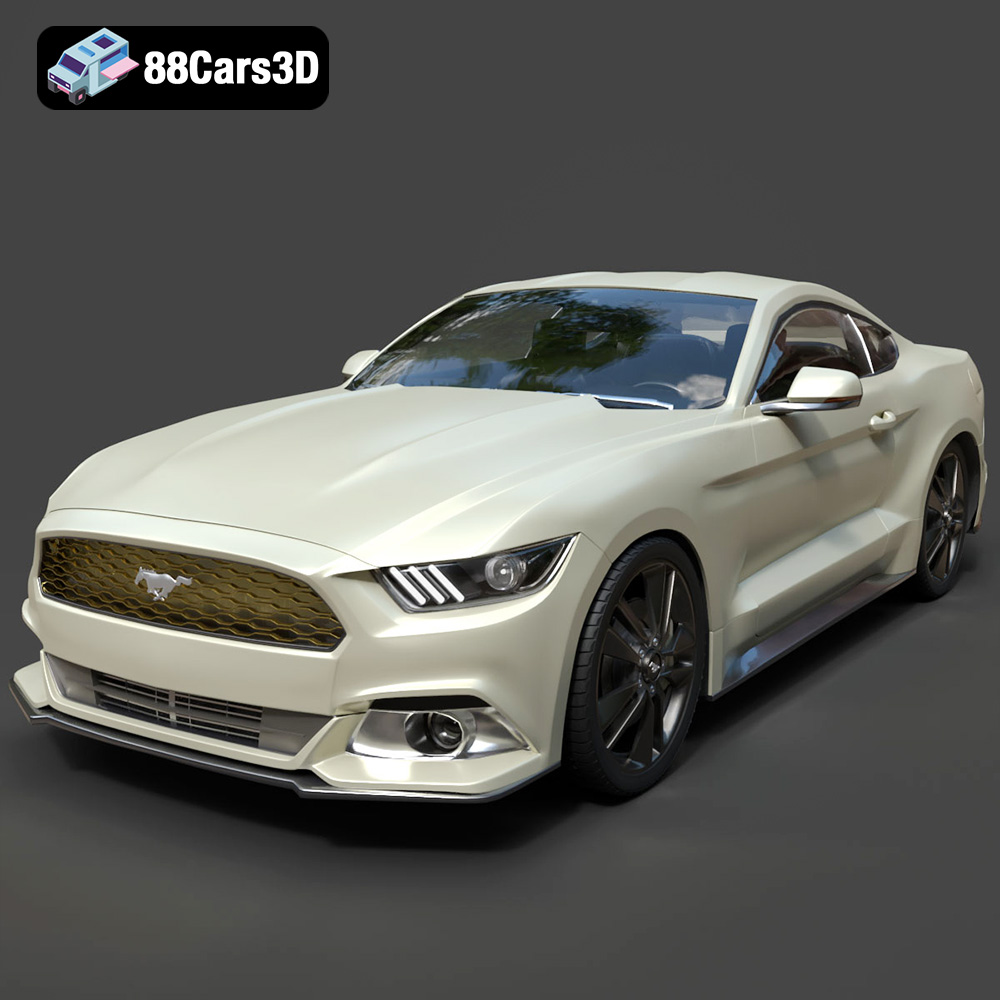
Texture: Yes | Material: Yes
Download the highly detailed, game-ready Ford Mustang GT 3D Model. Features aggressive muscle car styling, a highly detailed V8 engine bay, and accurate interior cockpit. Includes .blend, .fbx, .obj, .glb, .stl, .ply, .unreal, and .max formats for game development, AR/VR, and rendering.
Price: $19.99

Texture: Yes | Material: Yes
Download the highly detailed, game-ready Renault Megane CC 2011 3D Model. Features an accurately modeled folding glass roof, sleek aerodynamic body lines, and a detailed interior. Includes .blend, .fbx, .obj, .glb, .stl, .ply, .unreal, and .max formats for game development, AR/VR, and rendering.
Price: $19.99
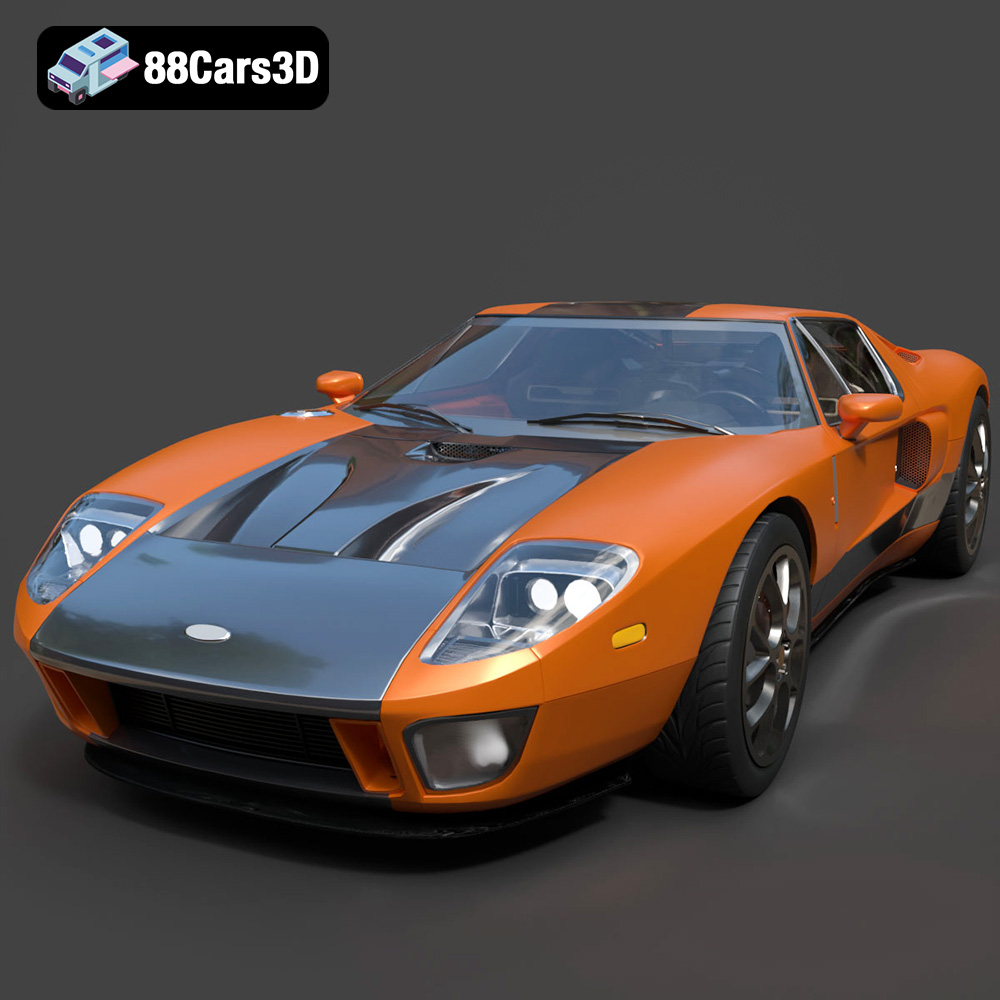
Texture: Yes | Material: Yes
Download the highly detailed, game-ready Ford GT 2005 3D Model. Features signature aerodynamic bodylines, mid-mounted supercharged V8 detailing, and iconic racing stripes. Includes .blend, .fbx, .obj, .glb, .stl, .ply, .unreal, and .max formats for game development, AR/VR, and rendering.
Price: $19.99
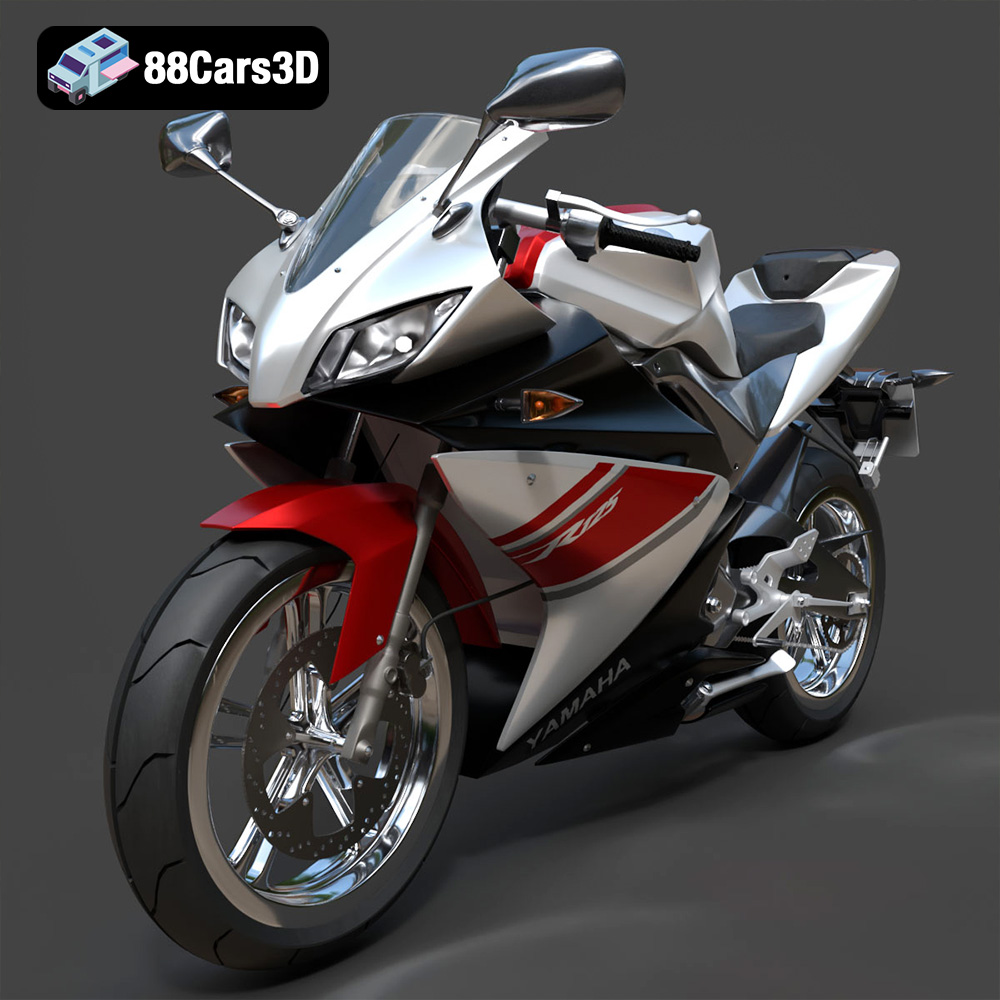
Texture: Yes | Material: Yes
Download the highly detailed, game-ready Yamaha YZF-R125 EU 3D Model. Features an aggressive aerodynamic fairing, twin LED headlights, and a detailed 125cc engine block. Includes .blend, .fbx, .obj, .glb, .stl, .ply, .unreal, and .max formats for game development, AR/VR, and rendering.
Price: $19.99
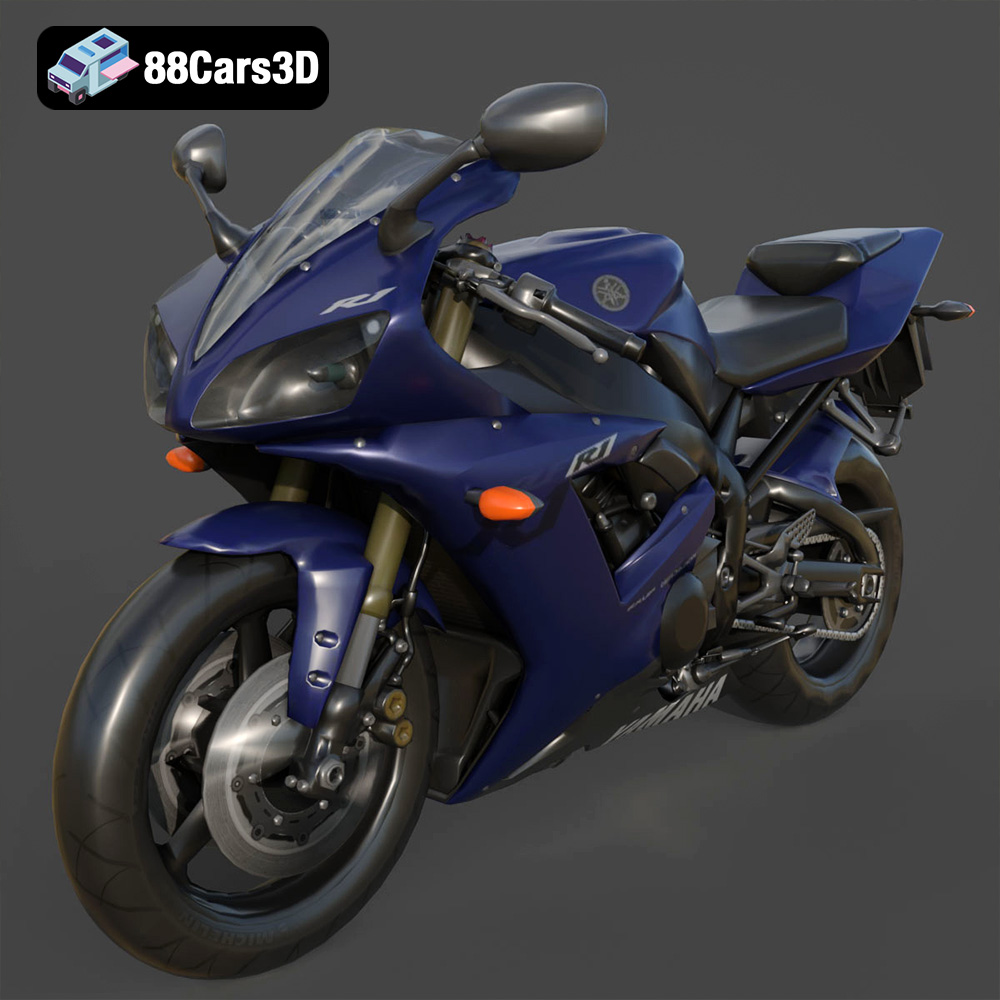
Texture: Yes | Material: Yes
Download the highly detailed, game-ready Yamaha R1 3D Model. Features aggressive aerodynamic fairings, a detailed crossplane inline-4 engine, and track-focused suspension geometry. Includes .blend, .fbx, .obj, .glb, .stl, .ply, .unreal, and .max formats for game development, AR/VR, and rendering.
Price: $19.99
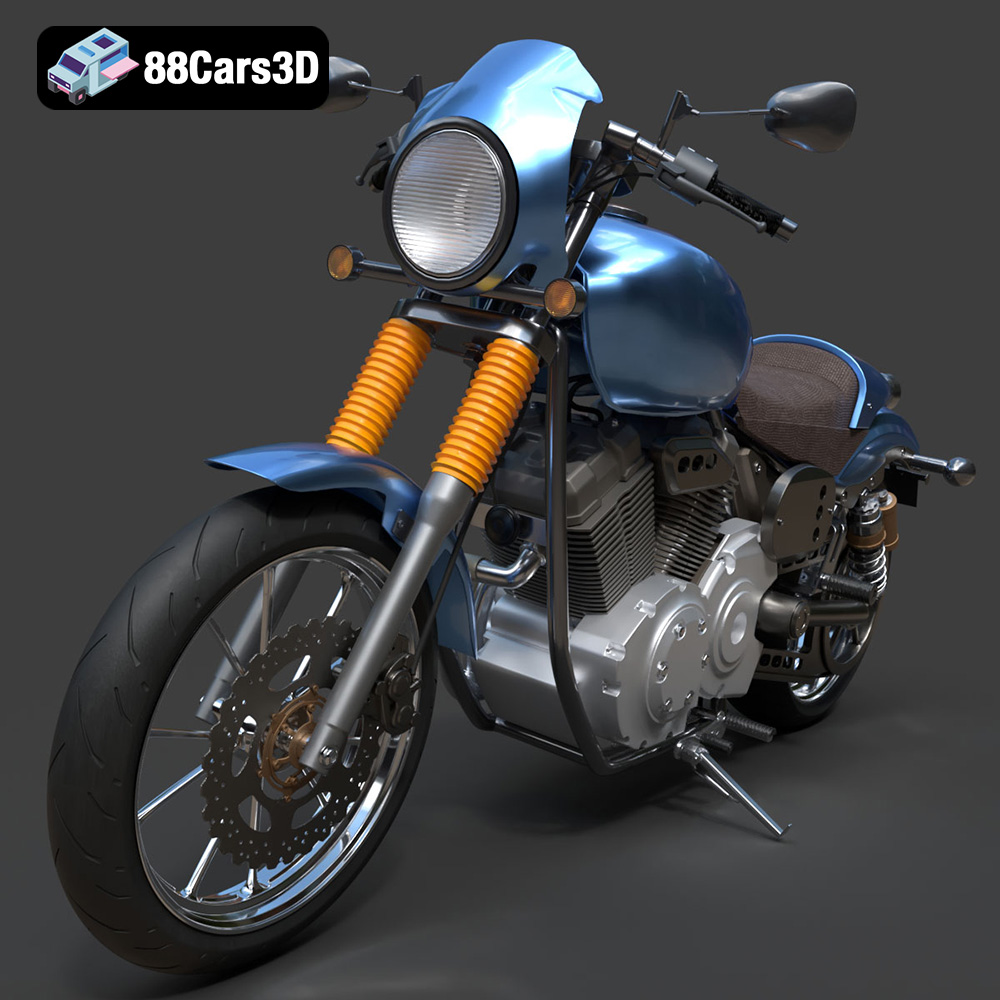
Texture: Yes | Material: Yes
Download the highly detailed, game-ready Yamaha XV950 Racer 3D Model. Features an aggressive cafe-racer front cowl, detailed air-cooled V-twin engine, and classic retro styling. Includes .blend, .fbx, .obj, .glb, .stl, .ply, .unreal, and .max formats for game development, AR/VR, and rendering.
Price: $19.99

