Get 20% OFF All Premium 3D & STL Models!

“`html
The world of 3D printing offers incredible opportunities for automotive enthusiasts, hobbyists, and model makers. One of the most rewarding challenges is accurately reproducing intricate car interiors. From dashboards and seats to steering wheels and consoles, the details within a car’s cabin add a layer of realism and sophistication to any 3D printed model. This guide provides a comprehensive look at how to achieve stunning results when 3D printing car interiors using STL files, covering everything from file preparation and printer settings to post-processing techniques. Whether you’re aiming for a museum-quality replica or a custom modification, this deep dive will equip you with the knowledge to bring your vision to life. Learn about the specific considerations for interior components, the best materials for the job, and how to troubleshoot common printing problems. Let’s get started on the journey to creating miniature masterpieces!
The STL (Stereolithography) file format is the workhorse of 3D printing, representing the surface geometry of a 3D object as a collection of triangles. For car interiors, a well-designed STL file is paramount. The finer the details, the denser the mesh needs to be, impacting both file size and print quality. Before you even consider printing, it’s crucial to understand the anatomy of an STL file and its implications for your final product. Platforms like 88cars3d.com offer print-ready STL files optimized for detail and ease of printing, which can save you significant time and effort.
Mesh density dictates the level of detail your 3D print can capture. A higher density mesh, with more triangles, accurately represents curves and complex shapes, essential for reproducing intricate dashboards or sculpted seats. However, increasing mesh density also increases file size and processing time during slicing. It’s about finding the sweet spot: enough detail to capture the essence of the interior, without overwhelming your 3D printer. Consider the scale of your print – smaller models generally require higher mesh densities to maintain detail visibility.
For a successful print, the STL file must represent a “manifold” object, meaning it’s a closed, watertight surface. Non-manifold geometry, such as holes or overlapping faces, can cause slicing errors and print failures. Tools like Meshmixer and Netfabb are invaluable for identifying and repairing these errors. Before slicing, always run your STL file through a mesh repair tool to ensure it’s watertight and ready for printing. Look for features like “Auto Repair” or “Make Manifold” within these programs. Aim for zero errors before proceeding.
Achieving exceptional detail in 3D printed car interiors hinges on carefully tuned printer settings. These settings dictate how your printer interprets the STL file and lays down the material, influencing the overall quality and accuracy of the print. There’s a significant difference between FDM (Fused Deposition Modeling) and resin printing in terms of achievable detail and the settings you’ll need to adjust. The choice depends on the level of detail you require and your budget. When downloading models from marketplaces such as 88cars3d.com, check the recommended printer type and settings provided by the designer.
Layer height is a critical parameter in FDM printing. Lower layer heights (e.g., 0.1mm or 0.05mm) produce smoother surfaces and finer details, but they also increase print time. Nozzle size also plays a crucial role. A smaller nozzle (e.g., 0.25mm or 0.4mm) allows for finer extrusion and sharper features. The trade-off is that smaller nozzles are more prone to clogging and require slower print speeds. A common starting point for detailed car interiors is a 0.4mm nozzle with a 0.1mm layer height. Experiment with these settings to find the optimal balance between detail and print time for your specific printer and filament.
Resin printing offers superior detail compared to FDM. Layer thickness, analogous to layer height in FDM, is a key setting. Thinner layers (e.g., 0.025mm or 0.05mm) result in smoother surfaces and finer details, capturing even the smallest features of a car interior. Curing time per layer is also critical. Insufficient curing leads to soft, deformed parts, while over-curing can cause warping and loss of detail. Calibrate your resin printer by performing exposure tests to determine the optimal curing time for your specific resin and layer thickness. Consider using a resin designed for high detail, such as a dental resin or a resin with low shrinkage.
Slicing is the process of converting the 3D model into a series of layers that the 3D printer can understand. Effective slicing is essential for maximizing print quality, especially when dealing with the intricate geometries found in car interiors. Slicing software like Cura, PrusaSlicer, and Simplify3D offer a range of settings that can be fine-tuned to optimize the printing process. Understanding these settings and how they interact is key to achieving successful prints.
Support structures are necessary to support overhanging features and prevent them from collapsing during printing. However, supports can also leave marks on the printed surface and increase post-processing effort. Optimize support placement and density to minimize their impact on visible surfaces. Use tree supports or light supports with small contact points where possible. In Cura, experiment with support placement settings like “Everywhere,” “Touching Buildplate,” and “Support Overhang Angle.” In PrusaSlicer, consider using soluble support material for easier removal and cleaner surfaces, especially for complex interior areas.
Infill refers to the internal structure of the 3D printed object. While car interiors don’t typically require high strength, infill can affect the overall weight and stiffness of the part. For decorative interior components, a low infill density (e.g., 10-20%) is usually sufficient. Experiment with different infill patterns, such as gyroid, honeycomb, or rectilinear, to find the optimal balance between strength, weight, and print time. For parts that need to withstand some stress, like a steering wheel, consider increasing the infill density to 30-40% and using a stronger infill pattern like cubic.
The choice of material significantly impacts the appearance, durability, and overall success of your 3D printed car interior. Different materials have different properties, printability, and post-processing requirements. For FDM printing, PLA, PETG, and ABS are common choices. For resin printing, a wide variety of resins are available, each with its own unique characteristics.
PLA is a biodegradable thermoplastic that is easy to print and offers good detail, making it a popular choice for beginners. PETG is more durable and flexible than PLA and has better temperature resistance, making it suitable for parts that may be exposed to heat. ABS is a strong and heat-resistant plastic, often used for automotive applications, but it requires a heated bed and enclosed printer to prevent warping. For car interiors, PLA is often sufficient for decorative components, while PETG or ABS may be preferred for parts that require more durability.
Resin printing offers a wider range of material options compared to FDM. Standard resin is affordable and provides excellent detail, but it can be brittle. Tough resin is more impact-resistant and less prone to cracking, making it suitable for functional parts. Flexible resin can be used to create parts with rubber-like properties, such as seat cushions or flexible trim. When selecting a resin, consider the specific requirements of the car interior component you are printing. Experiment with different resin types to find the best material for your project.
Post-processing is the final step in the 3D printing process, transforming a raw print into a polished and professional-looking model. For car interiors, post-processing is essential for removing support marks, smoothing surfaces, and adding color and texture. This involves a combination of sanding, filling, painting, and clear coating.
Sanding is used to remove support marks and layer lines, creating a smooth surface for painting. Start with coarse sandpaper (e.g., 220 grit) and gradually move to finer grits (e.g., 400, 600, 800 grit) to achieve a smooth finish. Filling is used to fill in any remaining imperfections or gaps. Use a filler putty designed for plastics or resins. Apply the filler, let it dry, and then sand it smooth. Priming provides a uniform surface for paint to adhere to. Apply several thin coats of primer, sanding lightly between coats.
Painting is used to add color and detail to the 3D printed car interior. Use acrylic paints or enamel paints designed for plastics. Apply thin coats of paint, allowing each coat to dry completely before applying the next. Use masking tape to create clean lines and separate different colors. Clear coating protects the paint and adds a glossy or matte finish. Apply several thin coats of clear coat, allowing each coat to dry completely before applying the next. Consider using an airbrush for more precise and even paint application.
Even with careful planning and execution, 3D printing can sometimes present challenges. Common issues include warping, layer adhesion problems, support failures, and stringing. Understanding the causes of these problems and how to solve them is essential for achieving consistent and high-quality results. Addressing these issues quickly will save you time and filament.
Warping occurs when the corners of the print lift off the build plate, especially with materials like ABS. To prevent warping, ensure that the build plate is clean and level. Use a bed adhesive, such as hairspray or glue stick, to improve adhesion. Increase the bed temperature and use a brim or raft to provide a larger surface area for adhesion. If warping persists, consider enclosing your printer to maintain a more consistent temperature.
Layer adhesion problems occur when the layers of the print do not bond together properly. This can be caused by insufficient extrusion temperature, incorrect layer height, or poor bed adhesion. Increase the extrusion temperature, reduce the layer height, and ensure that the bed is properly leveled and clean. Stringing occurs when the printer extrudes filament while moving between different parts of the print, leaving thin strands of plastic. This can be caused by excessive retraction distance or temperature. Decrease the retraction distance and temperature to minimize stringing.
3D printing detailed car interiors is a challenging but incredibly rewarding endeavor. By understanding STL file structure, optimizing printer settings, mastering slicing techniques, selecting the right materials, and perfecting post-processing, you can create stunning and realistic miniature replicas. Remember that patience, experimentation, and continuous learning are key to improving your 3D printing skills. Start with simpler models and gradually work your way up to more complex designs. Don’t be afraid to experiment with different settings and materials to find what works best for your printer and your specific project. And remember, resources like 88cars3d.com are available to provide you with high-quality STL files and inspiration for your next 3D printing adventure. Take the time to hone your skills, and you’ll be crafting miniature automotive masterpieces in no time.
“`

Texture: Yes | Material: Yes
Download the highly detailed, game-ready Toyota Camry 2018 3D Model. Features an aggressive aerodynamic body, distinct LED lighting signature, and precise interior detailing. Includes .blend, .fbx, .obj, .glb, .stl, .ply, .unreal, and .max formats for game development, AR/VR, and rendering.
Price: $19.99
Texture: Yes | Material: Yes
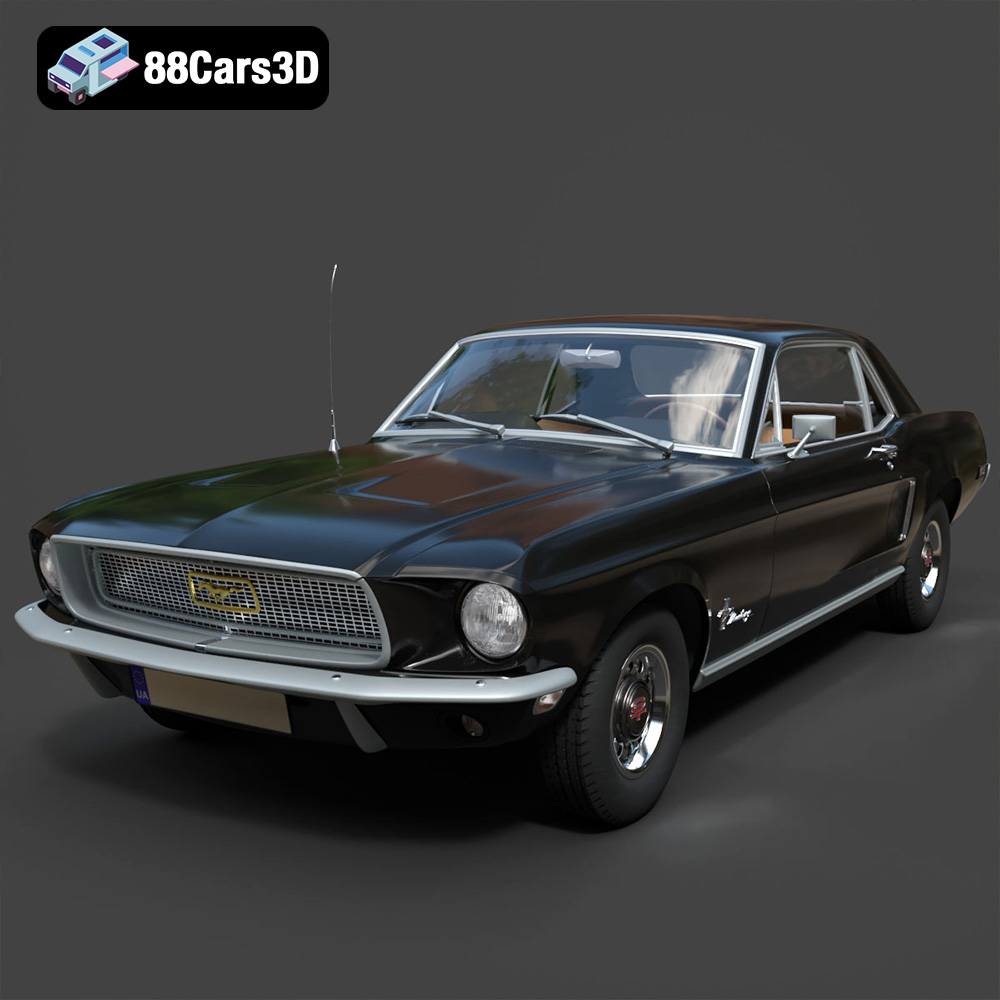
Download the highly detailed, game-ready Ford Mustang Hardtop 1968 3D Model. Features the iconic galloping pony grille, signature tri-bar taillights, and an authentic vintage interior. Includes .blend, .fbx, .obj, .glb, .stl, .ply, .unreal, and .max formats for game development, AR/VR, and rendering.
Price: $19.99
Texture: Yes | Material: Yes
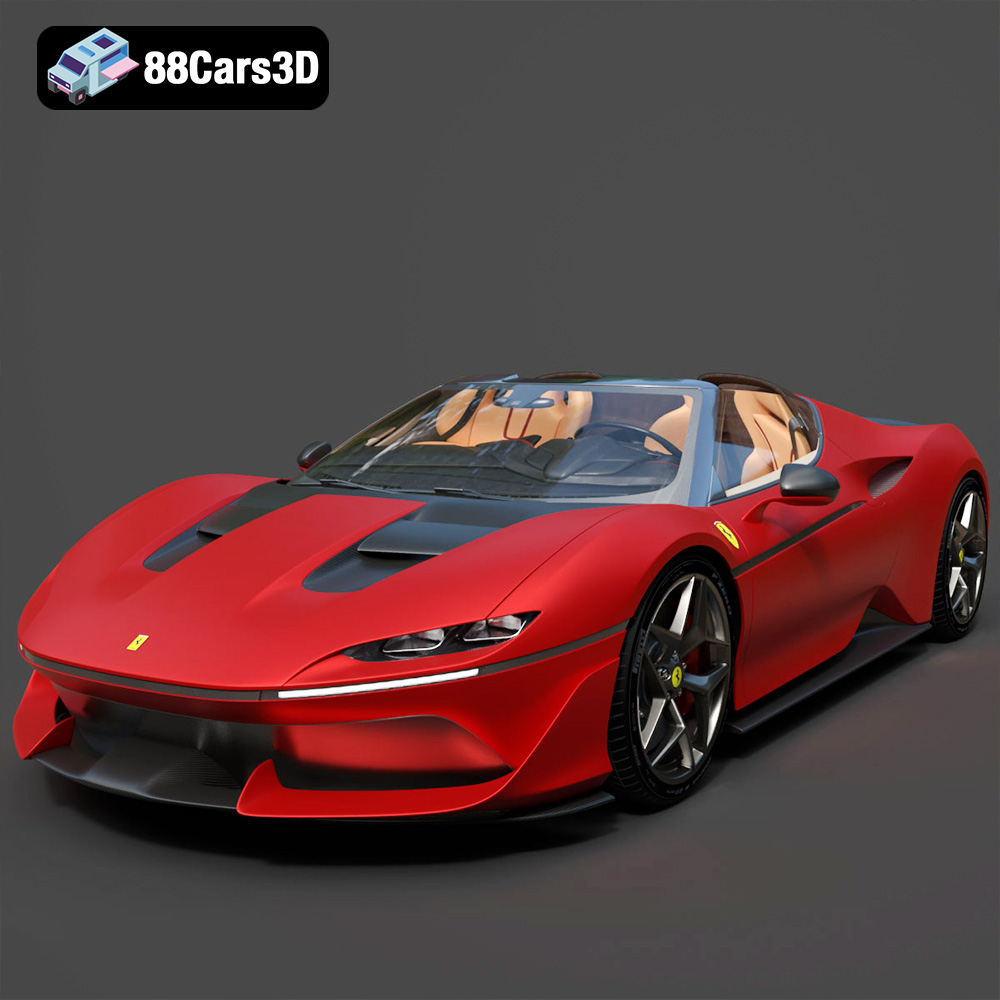
Download the highly detailed, game-ready Ferrari J50 2017 3D Model. Features aggressive aerodynamic styling, twin-turbo V8 engine details, and targa top design. Includes .blend, .fbx, .obj, .glb, .stl, .ply, .unreal, and .max formats for game development, AR/VR, and rendering.
Price: $19.99
Texture: Yes | Material: Yes
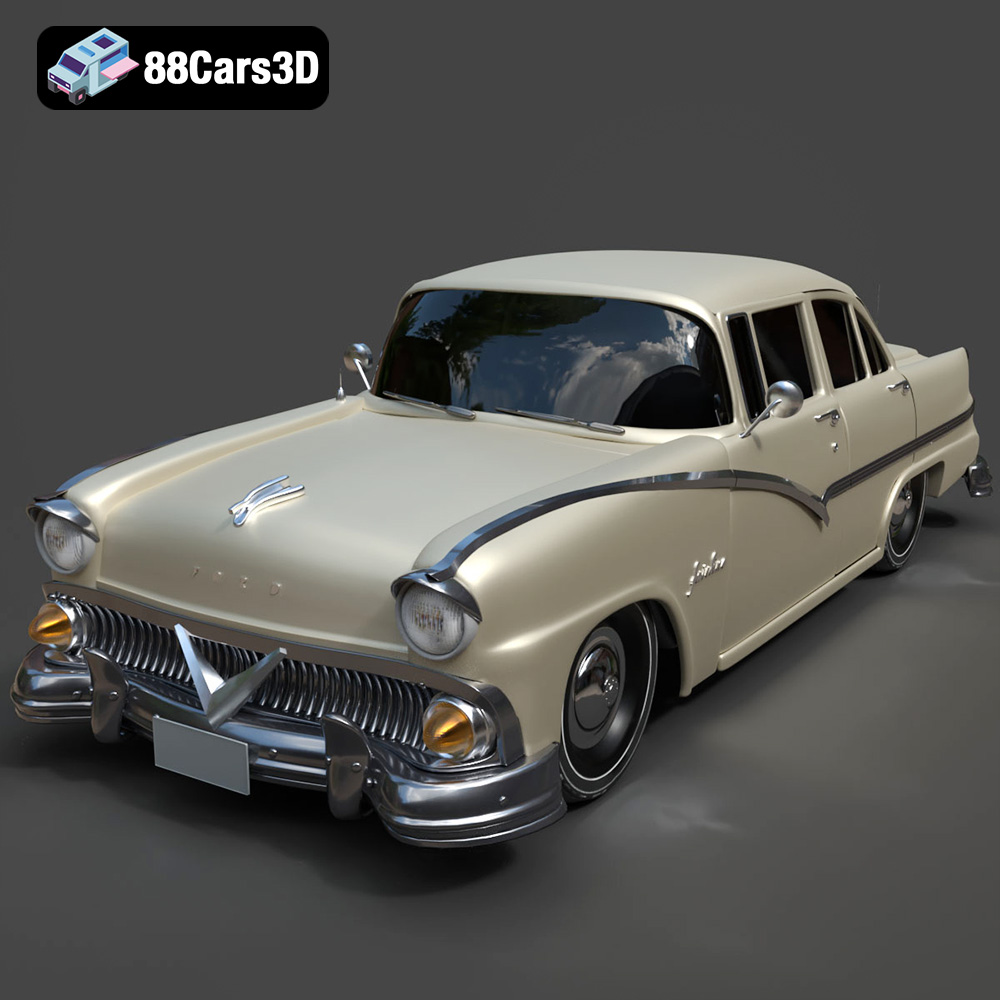
Download the highly detailed, game-ready Ford Fairlin 3D Model. Features iconic classic styling, sweeping bodylines, and an accurate vintage interior. Includes .blend, .fbx, .obj, .glb, .stl, .ply, .unreal, and .max formats for game development, AR/VR, and rendering.
Price: $19.99
Texture: Yes | Material: Yes
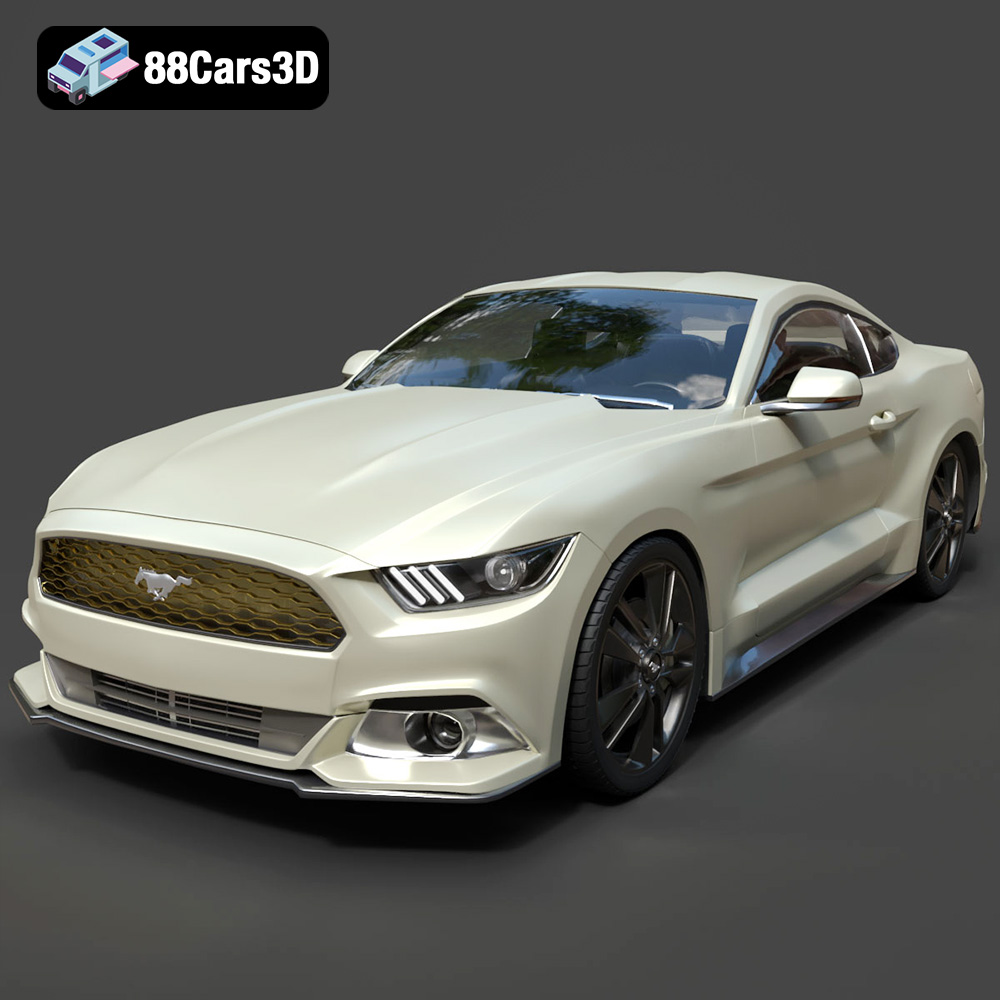
Download the highly detailed, game-ready Ford Mustang GT 3D Model. Features aggressive muscle car styling, a highly detailed V8 engine bay, and accurate interior cockpit. Includes .blend, .fbx, .obj, .glb, .stl, .ply, .unreal, and .max formats for game development, AR/VR, and rendering.
Price: $19.99

Texture: Yes | Material: Yes
Download the highly detailed, game-ready Renault Megane CC 2011 3D Model. Features an accurately modeled folding glass roof, sleek aerodynamic body lines, and a detailed interior. Includes .blend, .fbx, .obj, .glb, .stl, .ply, .unreal, and .max formats for game development, AR/VR, and rendering.
Price: $19.99
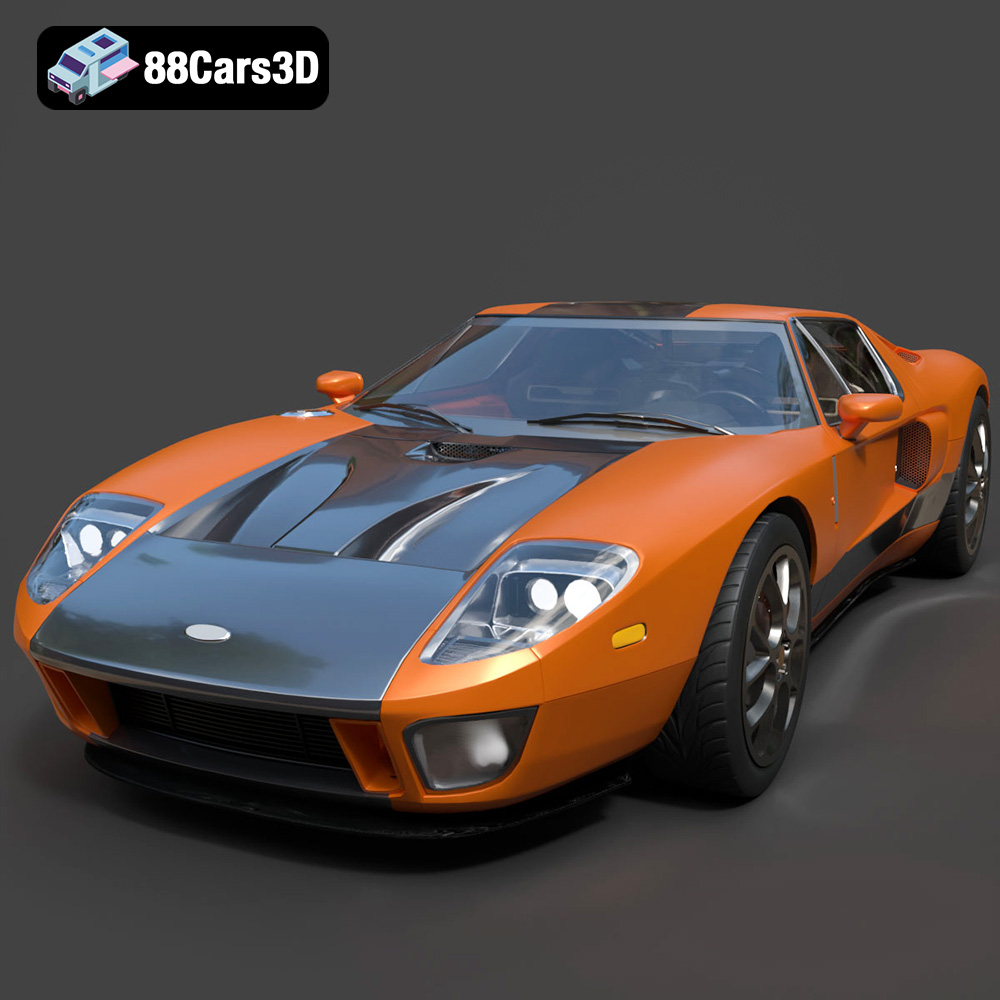
Texture: Yes | Material: Yes
Download the highly detailed, game-ready Ford GT 2005 3D Model. Features signature aerodynamic bodylines, mid-mounted supercharged V8 detailing, and iconic racing stripes. Includes .blend, .fbx, .obj, .glb, .stl, .ply, .unreal, and .max formats for game development, AR/VR, and rendering.
Price: $19.99
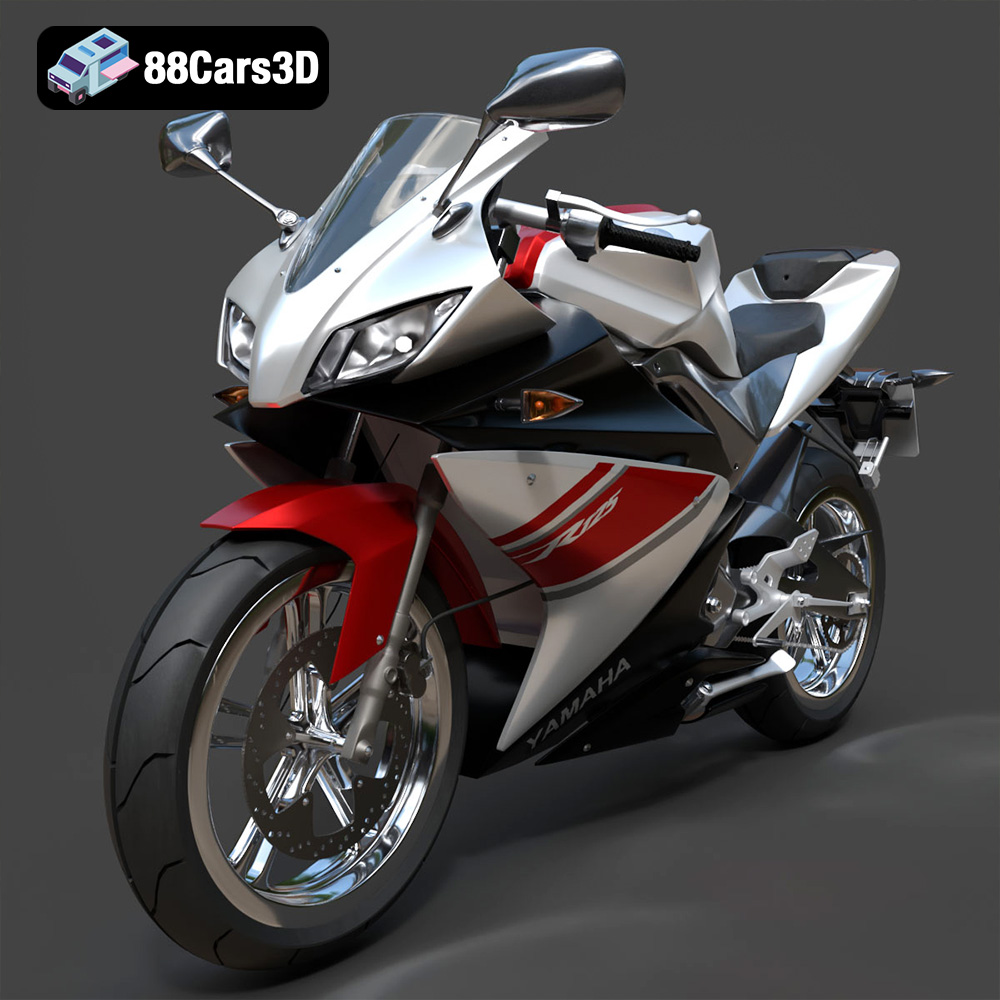
Texture: Yes | Material: Yes
Download the highly detailed, game-ready Yamaha YZF-R125 EU 3D Model. Features an aggressive aerodynamic fairing, twin LED headlights, and a detailed 125cc engine block. Includes .blend, .fbx, .obj, .glb, .stl, .ply, .unreal, and .max formats for game development, AR/VR, and rendering.
Price: $19.99
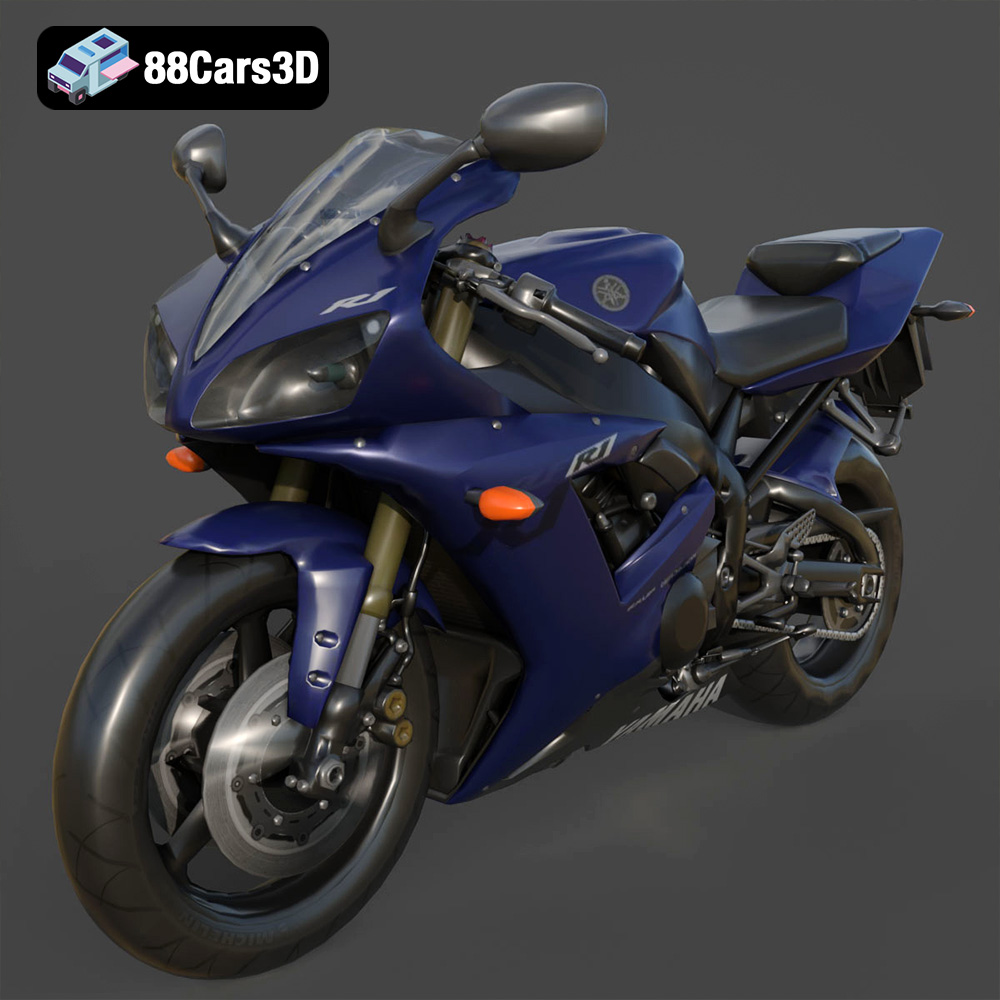
Texture: Yes | Material: Yes
Download the highly detailed, game-ready Yamaha R1 3D Model. Features aggressive aerodynamic fairings, a detailed crossplane inline-4 engine, and track-focused suspension geometry. Includes .blend, .fbx, .obj, .glb, .stl, .ply, .unreal, and .max formats for game development, AR/VR, and rendering.
Price: $19.99
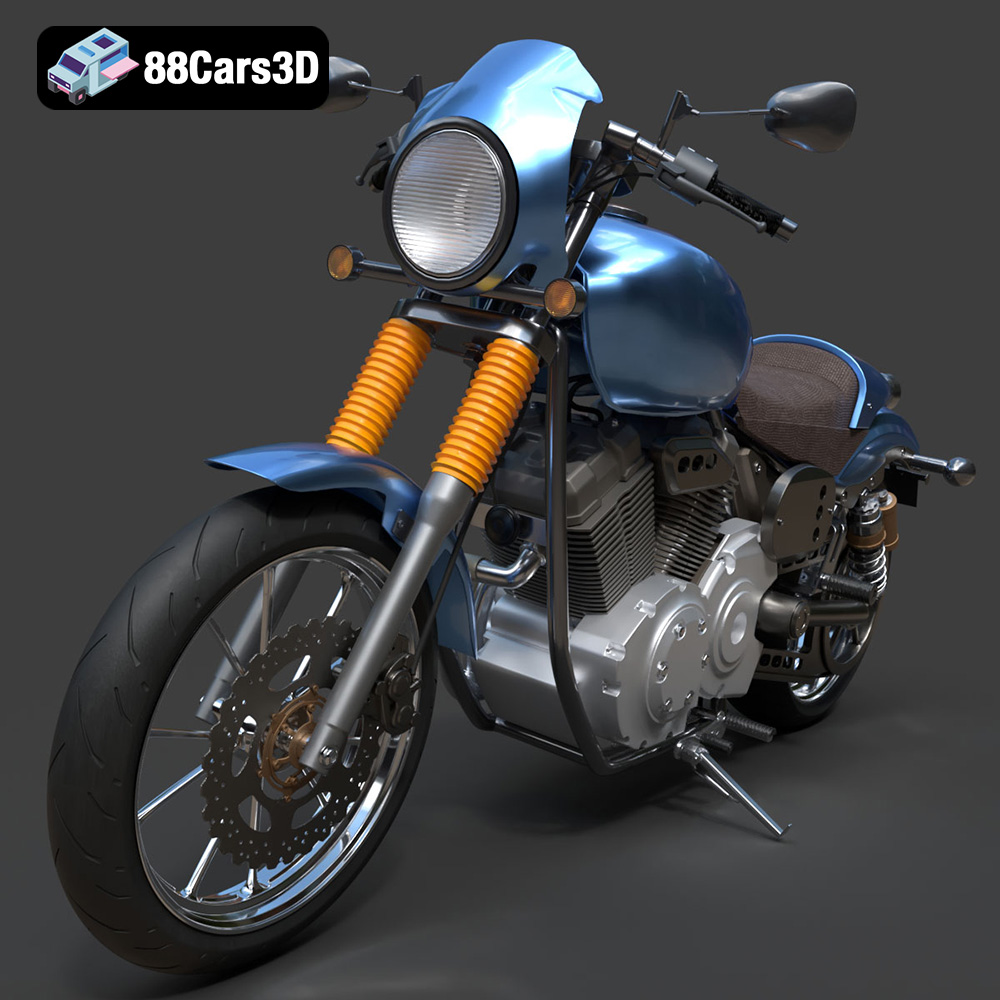
Texture: Yes | Material: Yes
Download the highly detailed, game-ready Yamaha XV950 Racer 3D Model. Features an aggressive cafe-racer front cowl, detailed air-cooled V-twin engine, and classic retro styling. Includes .blend, .fbx, .obj, .glb, .stl, .ply, .unreal, and .max formats for game development, AR/VR, and rendering.
Price: $19.99

