Get 20% OFF All Premium 3D & STL Models!

The Ford Mustang GT, an emblem of American muscle and automotive prowess, is now within reach of every 3D printing enthusiast. Imagine having a miniature replica of this iconic car gracing your desk, shelf, or even becoming a part of your gaming setup. Thanks to readily available STL files and the ever-advancing world of 3D printing, that dream can become a reality. This guide will walk you through the entire process, from selecting the right materials and settings to perfecting the post-processing for a showroom-worthy finish. Let’s dive into the exciting world of 3D printing your very own Ford Mustang GT!
Before you even load the model into your slicer, it’s crucial to understand the different file formats provided, especially their suitability for 3D printing. The Ford Mustang GT 3D model download from 88cars3d.com includes a variety of formats, but not all are created equal for additive manufacturing.
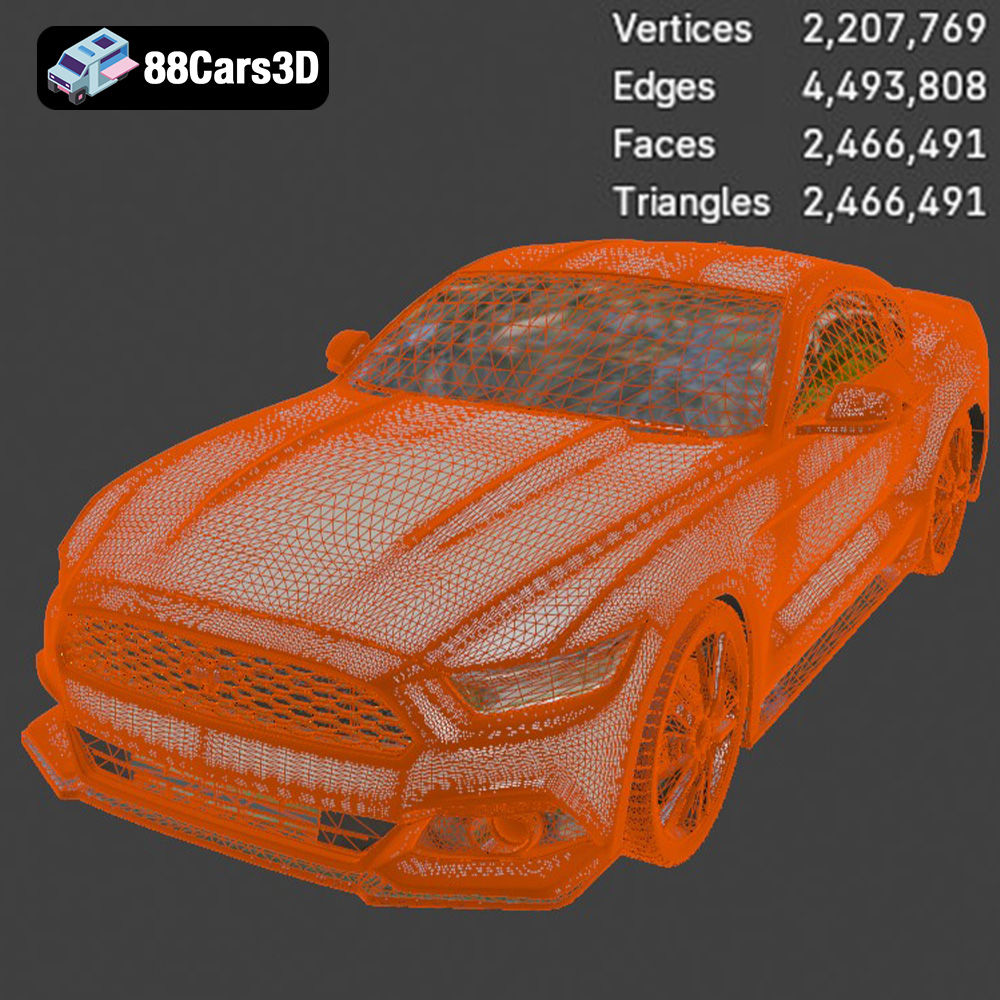
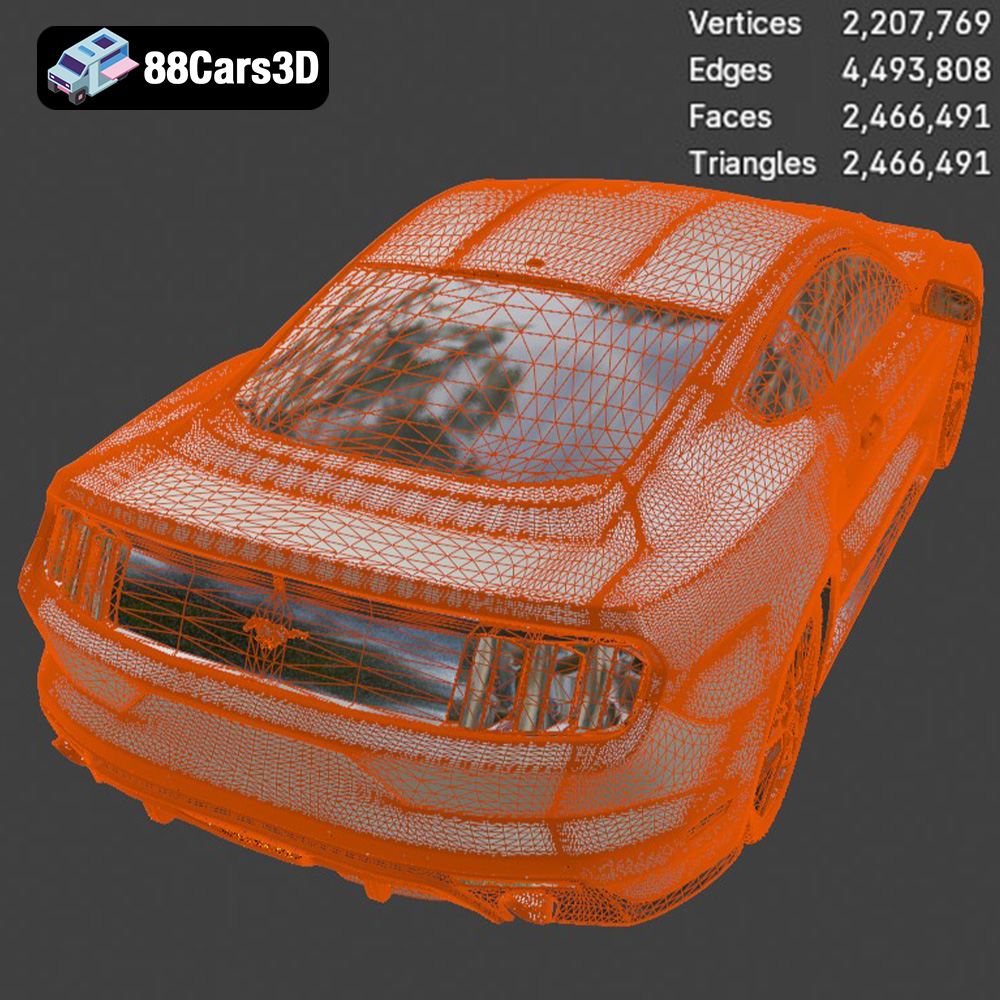
The STL (Stereolithography) format is the undisputed champion when it comes to 3D printing. It represents the 3D model’s surface geometry as a collection of triangles. This simplicity makes it universally compatible with virtually all slicing software and 3D printers. When preparing your Ford Mustang GT model for printing, the STL file should be your go-to choice. The quality of the STL file directly impacts the final print; a higher triangle count results in a smoother surface, but also a larger file size. Finding the right balance is key. You can adjust the export settings when converting from other formats to STL to optimize this.
OBJ files are more versatile than STLs, capable of storing color and texture information in addition to the geometry. While this might sound appealing for a detailed model like the Mustang GT, it’s not always ideal for 3D printing. Many 3D printers, especially FDM (Fused Deposition Modeling) machines, cannot directly interpret color information. Furthermore, the complexity of OBJ files can sometimes cause issues with slicing software. If you intend to paint the model after printing, stick with the STL. However, if you have a full-color 3D printer, the OBJ format could be useful.
PLY (Polygon File Format) is another format capable of storing color information and is often used for 3D scanning. It excels at representing high-detail meshes, but its compatibility with slicing software is less universal than STL. If you require the absolute highest level of geometric precision for the Mustang GT, you might consider using a PLY file, but be prepared for potential compatibility issues and larger file sizes.
The other formats included – .blend (Blender scene), .fbx (Filmbox), .glb (GL Transmission Format), and .max (3ds Max project) – are primarily intended for editing and previewing the model. The .blend and .max formats allow for extensive customization within their respective software packages. The .fbx format is useful for importing the model into various game engines and other 3D applications. The .glb format is excellent for augmented reality (AR) previews, allowing you to virtually place the Mustang GT in your real-world environment using a compatible AR app. These formats are not directly usable for 3D printing; you will need to export them to STL after making any desired modifications.
Regardless of the file format you choose as your starting point, the most important consideration for 3D printing is the mesh quality of the final STL file. Ensure that the mesh is watertight (no holes or gaps) and that the normals are correctly oriented (facing outwards). Many slicing software packages include basic mesh repair tools, but it’s often better to fix any issues in a dedicated 3D modeling program before slicing. Popular slicing software options include Cura, Simplify3D, PrusaSlicer, and Chitubox (for resin printing). Ensure your chosen software supports the file format and has the necessary tools for orientation, support generation, and slicing.
Once you’ve downloaded the Ford Mustang GT model from 88cars3d.com, the real preparation begins. This stage is crucial for ensuring a successful print, addressing potential issues, and optimizing the model for your specific printer and material.
The first step is to thoroughly inspect the STL file for any errors. Use a mesh editing program like MeshMixer, Blender, or even the built-in tools in your slicing software to check for non-manifold edges, holes, and flipped normals. Repairing these issues before slicing is essential to prevent printing failures. Look closely at areas like the thin trim pieces, intricate grille details, and the underside of the chassis.
The orientation of the model on the print bed significantly impacts print quality, support requirements, and overall printing time. For the Ford Mustang GT, printing the chassis at an angle (approximately 45 degrees) is generally recommended. This reduces the need for supports on the flat surfaces and can improve the surface finish. Carefully consider the placement of supports, focusing on areas like the exhaust system, side mirrors, and aerodynamic splitters. Use the support painting tools in your slicing software to strategically add supports only where needed.
The provided specifications suggest scales of 1:12, 1:18, or 1:24. Choose the scale that best suits your needs and printer volume. Remember that smaller scales will require finer details and may be better suited for resin printing, while larger scales will be easier to print on FDM machines but will consume more material and time. Scale the model in your slicing software before generating the g-code.
The material you choose will greatly influence the final look, feel, and durability of your 3D printed Mustang GT. Let’s explore the most popular options:
PLA (Polylactic Acid) is a biodegradable thermoplastic known for its ease of printing, low odor, and wide availability. It’s an excellent choice for beginners and for parts that don’t require high strength or heat resistance. The Ford Mustang GT model printed in PLA can be a great display piece. However, PLA is prone to warping, especially with larger prints, so ensure proper bed adhesion.
PETG (Polyethylene Terephthalate Glycol-modified) offers a good balance of strength, flexibility, and heat resistance. It’s more durable than PLA and less prone to warping. PETG is a good option for parts that might experience some stress, such as the wheels or suspension components. It also has a slightly glossy finish, which can enhance the appearance of the Mustang GT.
For the ultimate in detail and surface finish, resin printing is the way to go. Resin printers use liquid photopolymer resins that are cured by UV light, allowing for incredibly fine layer heights and intricate details. The Ford Mustang GT model, with its complex curves and intricate features, benefits greatly from resin printing. However, resin printing requires more post-processing, including washing and curing. It’s also more expensive than FDM printing and requires more safety precautions.
While PLA, PETG, and resin are the most common choices, other materials like ABS (Acrylonitrile Butadiene Styrene) and Nylon can also be used. ABS is known for its high strength and heat resistance, but it’s more difficult to print than PLA and PETG. Nylon is exceptionally strong and flexible, but it requires specialized printing conditions. These materials are typically reserved for experienced users.
Achieving a high-quality 3D printed Ford Mustang GT requires careful attention to printer settings. These settings will vary depending on your printer, material, and desired outcome.
Layer height is a critical setting that determines the resolution of your print. Smaller layer heights result in smoother surfaces and finer details, but they also increase printing time. For the Ford Mustang GT, a layer height of 0.1mm to 0.2mm is a good starting point for FDM printing. For resin printing, layer heights of 0.025mm to 0.05mm are common.
Infill density determines the amount of material used inside the model. Higher infill densities provide greater strength but also increase printing time and material consumption. For a display model like the Mustang GT, an infill density of 15% to 25% is typically sufficient. For parts that require more strength, such as the wheels, you might consider increasing the infill density.
As mentioned earlier, proper support placement is crucial for overhangs and intricate details. Experiment with different support patterns and densities to find the optimal balance between support strength and ease of removal. Consider using tree supports, which use less material and are easier to remove than traditional linear supports. Pay close attention to the support settings around delicate areas like the side mirrors and exhaust system.
Print speed and temperature settings should be tailored to the specific material you’re using. Consult the filament or resin manufacturer’s recommendations for optimal settings. Printing too fast can result in poor layer adhesion and warping, while printing too slowly can lead to stringing and other artifacts.
Once the printing is complete, the real artistry begins. Post-processing is the key to transforming a raw 3D print into a polished and professional-looking Ford Mustang GT.
The first step is to carefully remove all support structures. Use pliers, cutters, or a hobby knife to gently detach the supports, taking care not to damage the model. Sand down any remaining support stubs with fine-grit sandpaper.
Sanding is essential for achieving a smooth surface finish. Start with coarse-grit sandpaper (e.g., 220 grit) to remove any major imperfections, then gradually move to finer grits (e.g., 400, 600, 800 grit) to smooth out the surface. For resin prints, wet sanding is often recommended to prevent the sandpaper from clogging.
Apply a few coats of primer to the model, allowing each coat to dry completely before sanding lightly with fine-grit sandpaper. This will create a smooth, uniform surface for painting. Choose high-quality automotive paints in the desired factory colors for the Mustang GT. Apply multiple thin coats of paint, allowing each coat to dry before applying the next. Consider using an airbrush for a more professional finish.
The Ford Mustang GT model may consist of multiple parts that need to be assembled. Use super glue or epoxy to attach the parts together. Add any final details, such as decals, chrome accents, or clear coat, to enhance the realism of the model.
Even with careful preparation, you might encounter some common printing challenges. Here are a few tips for troubleshooting:
Warping occurs when the corners of the print lift off the print bed. Ensure that your print bed is properly leveled and that you’re using a suitable bed adhesion method, such as glue stick, hairspray, or a heated bed.
Stringing occurs when thin strands of filament are left between different parts of the print. This is often caused by excessive extruder temperature or retraction settings. Adjust these settings in your slicing software to reduce stringing.
Layer shifting occurs when the print head suddenly shifts position during printing. This is usually caused by loose belts, a wobbly print bed, or other mechanical issues. Inspect your printer and tighten any loose components.
If supports fail during printing, it can lead to drooping overhangs and other defects. Increase the support density or thickness to provide more support for the model.
By understanding these challenges and implementing the suggested solutions, you can overcome most printing issues and achieve a successful print of your Ford Mustang GT.
The Ford Mustang GT is an enduring icon of American muscle, celebrated for its aggressive aesthetic, legendary heritage, and raw power. This incredibly detailed 3D model captures the unmistakable styling cues of the modern Mustang GT, from its signature long hood and fastback roofline to the imposing front grille, quad-tip exhaust system, and raw 5.0L V8 engine bay details.
$19.99
.blend
.fbx
.ford
.glb
.max
.obj
.ply
.rendering
.sports car
.stl
.unreal
car-3d-model
game asset
game-ready
low-poly
muscle-car
mustang-gt
optimized
VR/AR