Get 20% OFF All Premium 3D & STL Models!

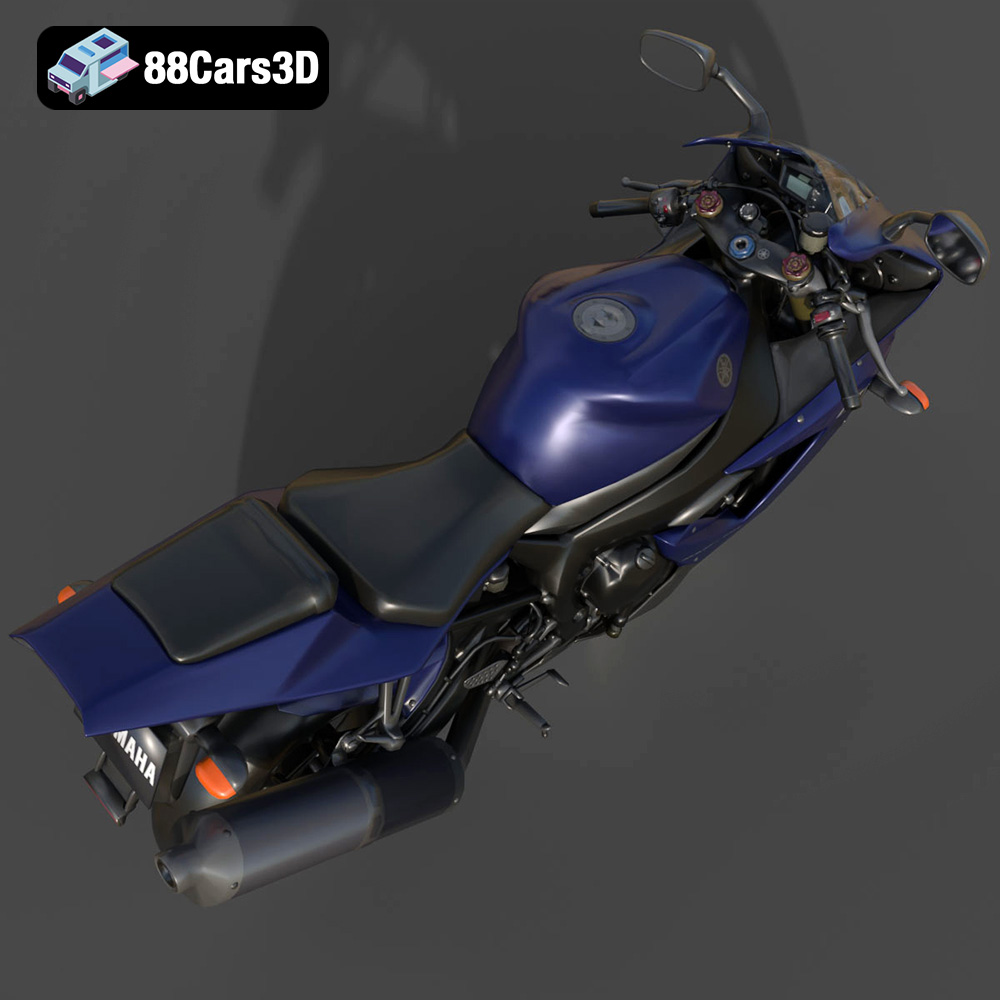
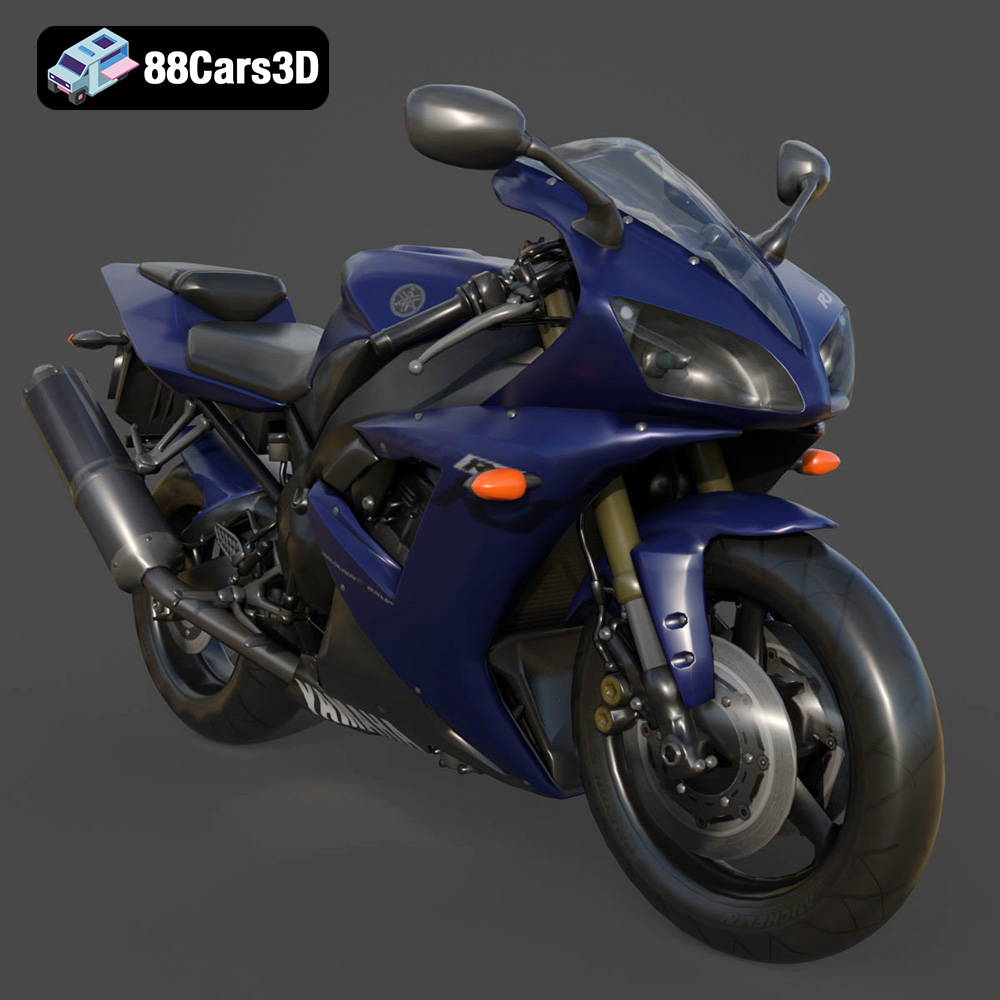
The Yamaha R1, a legendary name in the world of superbikes, embodies cutting-edge technology and exhilarating performance. Now, thanks to the detailed 3D model available at 88cars3d.com, you can bring a piece of this iconic machine into your own home. This article will guide you through the process of 3D printing your own Yamaha R1 model, covering everything from file preparation to post-processing, ensuring you achieve a stunning and accurate replica.
The level of detail present in the Yamaha R1 3D model demands careful consideration of the 3D printing technology you choose. Two primary options stand out: Fused Deposition Modeling (FDM) and Stereolithography (SLA) resin printing.
FDM printing, which melts and extrudes plastic filament layer by layer, is a widely accessible technology. It’s a great option for larger scale models where intricate detail isn’t the absolute priority. Materials like PLA and PETG are commonly used with FDM printers.
SLA resin printing, on the other hand, uses ultraviolet light to cure liquid resin, offering significantly higher resolution and the ability to capture incredibly fine details. This makes it ideal for smaller scale R1 models where replicating the complex geometries of the engine, exhaust, and fairings is crucial.
When downloading 3D models for printing, you’ll encounter various file formats. Understanding these formats is crucial for ensuring compatibility and optimal print quality. For the Yamaha R1 model from 88cars3d.com, a variety of formats are included to cater to different applications, but not all are created equal when it comes to 3D printing.
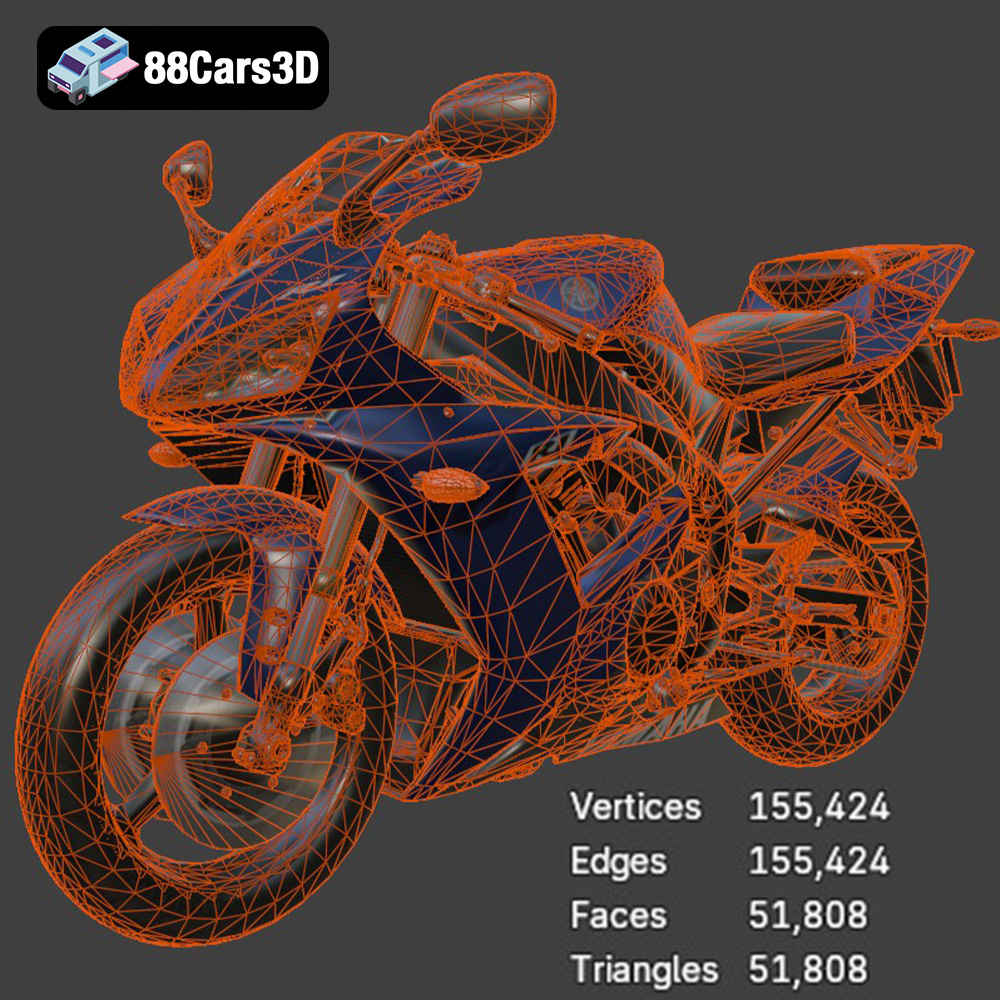
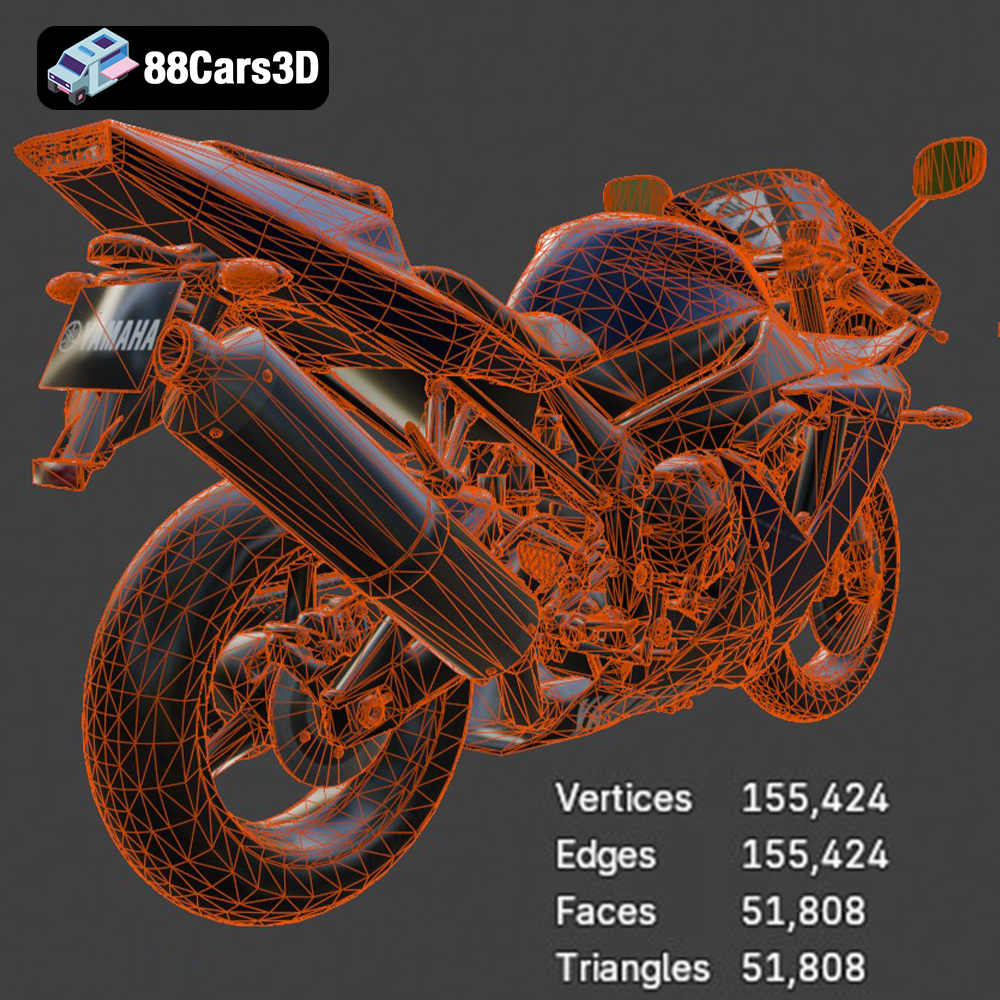
The .stl (stereolithography) format is the undisputed industry standard for 3D printing. It represents the 3D model’s surface geometry as a collection of triangles, forming a mesh. The simplicity of the .stl format makes it universally compatible with slicing software, which translates the 3D model into instructions for your printer. However, .stl files only store the surface geometry, meaning they don’t contain color or texture information. This is usually not a concern for 3D printing, as most printing processes rely on single-color materials. The resolution of an .stl file, determined by the size and density of the triangles, directly affects the smoothness of the printed object. Lower resolution .stl files can result in visible facets, while higher resolution files capture finer details but require more processing power. When working with .stl files for the Yamaha R1, ensure the mesh is watertight (i.e., has no holes or gaps) to prevent errors during slicing. Many free online tools can repair minor mesh imperfections.
The .obj (object) format is another widely used format, often employed in computer graphics. Unlike .stl, .obj files can store color and texture information, which can be useful if you plan to paint the model after printing. However, 3D printing with multiple colors is still a relatively niche area, requiring specialized printers.
The .ply (polygon file format) is designed for storing 3D data acquired from scanning technologies. It’s known for its ability to represent complex geometries with high precision, making it suitable for detailed models.
The .blend format is the native file format for Blender, a popular open-source 3D modeling software. If you have Blender installed, you can open the .blend file of the Yamaha R1 and modify the model before exporting it to .stl for printing. This allows you to customize the model, such as adding details or splitting it into smaller parts for easier printing.
The .fbx (Filmbox) format is a proprietary format developed by Autodesk, commonly used for exchanging 3D data between different software applications. It supports various data types, including geometry, textures, and animations. While some slicing software might be able to import .fbx files, it’s generally recommended to convert them to .stl for 3D printing.
The .glb (GL Transmission Format Binary) format is designed for efficient transmission and loading of 3D models in web and mobile applications. It’s often used for Augmented Reality (AR) applications, allowing you to preview the Yamaha R1 model in your real-world environment before committing to printing it.
Similar to .blend, the .max format is the native file format for 3ds Max, another popular 3D modeling software. If you are a 3ds Max user, you can leverage the .max file to perform advanced modifications on the Yamaha R1 model.
For 3D printing, the .stl format remains the most reliable and widely supported option. The other formats offer flexibility for editing and visualizing the model, but ultimately, you’ll need to convert them to .stl for printing.
Before you can start printing, you need to prepare the 3D model using slicing software. This software converts the 3D model into a series of layers, which the printer will then build upon. Popular slicing software options include Cura, PrusaSlicer, and Simplify3D.
The recommended scales for the Yamaha R1 model are 1:12, 1:18, and 1:24. Choose a scale that suits your printer’s build volume and desired level of detail. Remember that smaller scales will require finer print settings.
The orientation of the model on the print bed significantly impacts the print quality and the amount of support material required. For the R1’s frame, printing it at an angle can improve structural integrity. Complex parts like the exhaust, mirrors, and handlebars will require support structures to prevent them from collapsing during printing. Carefully place supports in areas that are easy to remove after printing, minimizing damage to the model’s surface.
Before slicing, it’s essential to check the model for any errors, such as non-manifold edges or holes. These errors can cause printing issues. Many slicing software programs have built-in mesh repair tools, or you can use dedicated software like MeshLab or Netfabb Basic.
If you’re using an FDM printer, consider these settings as a starting point and adjust them based on your printer and material:
PLA is a biodegradable and easy-to-print material, making it a good choice for beginners. PETG offers greater strength and temperature resistance.
A lower layer height will result in a smoother surface finish but will also increase print time.
This provides sufficient internal support without adding excessive weight or material.
A thicker wall provides better structural integrity.
Adjust based on your printer’s capabilities and the complexity of the model.
Use tree supports for easier removal and reduced surface damage.
For resin printing, these settings will help you achieve optimal results:
Choose a resin that is compatible with your printer and meets your desired level of detail.
Lower layer heights yield finer details.
This is crucial for proper curing of each layer.
These settings affect the success of each layer’s separation from the build plate.
Resin printing requires more extensive support structures than FDM.
Once the printing is complete, the real work begins. Post-processing is essential to achieve a professional-looking finish.
Carefully remove the support structures using tools like pliers or a sharp knife. Take your time to avoid damaging the model.
Sand the model to smooth out any imperfections and layer lines. Start with coarse sandpaper (200-400 grit) and gradually move to finer grits (600-800 grit) for a smooth finish.
Apply a primer coat to prepare the model for painting. Primer fills in any remaining imperfections and provides a better surface for the paint to adhere to.
Use spray paint or an airbrush to apply the desired colors. For an authentic look, research the factory colors of the Yamaha R1. Consider using metallic finishes to replicate the real bike’s appearance.
If you printed the model in multiple parts, carefully assemble them using glue or epoxy.
Even with careful preparation, you may encounter some challenges during printing. Here are a few common issues and their solutions:
This occurs when the corners of the model lift off the build plate due to uneven cooling. Ensure proper bed adhesion, use a heated bed (if available), and avoid drafts.
This is when thin strands of plastic are left between different parts of the model. Reduce the retraction distance and speed in your slicer settings.
This occurs when the layers of the model are misaligned. Check the belts and pulleys of your printer to ensure they are properly tightened.
If support structures collapse during printing, increase their density or thickness.
The print time and material costs will vary depending on the size of the model, the chosen print settings, and the material used. A 1:12 scale R1 model printed with FDM could take anywhere from 15 to 30 hours and use approximately 100-200 grams of filament. Resin printing, while potentially faster, can be more expensive due to the cost of resin.
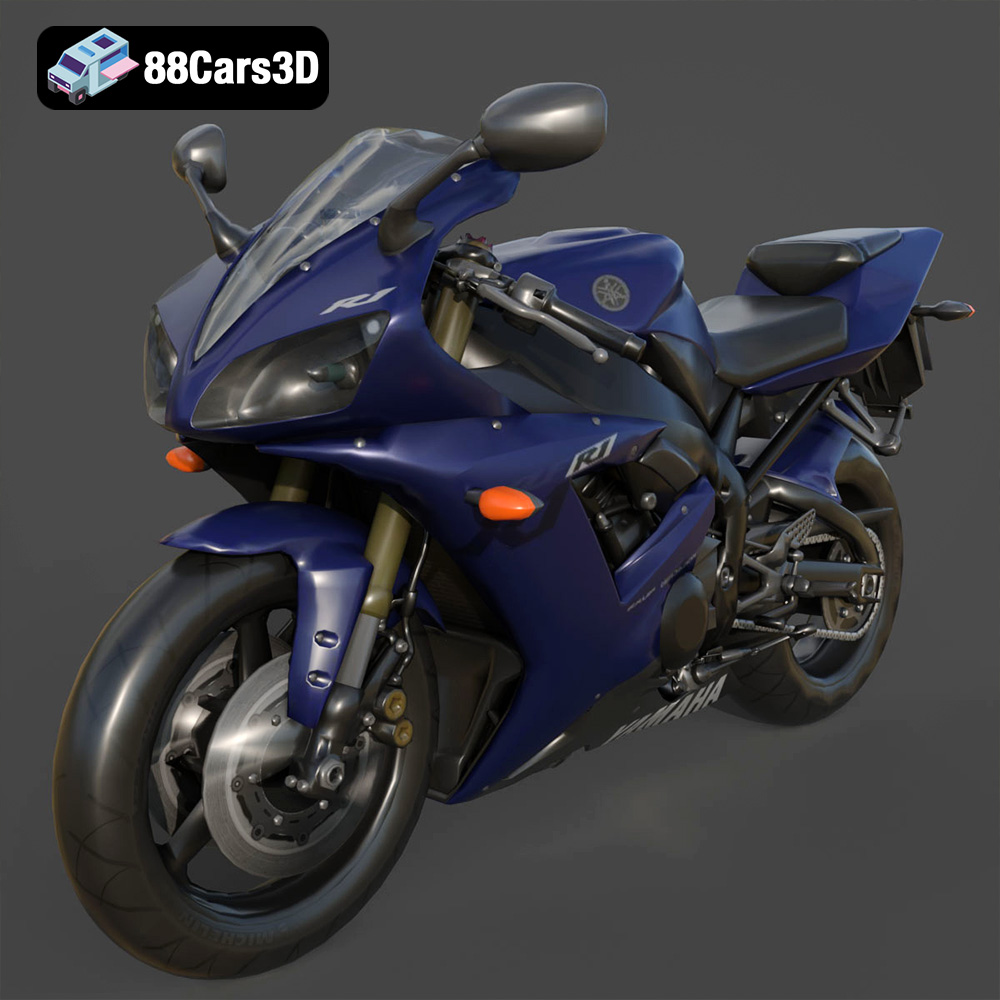
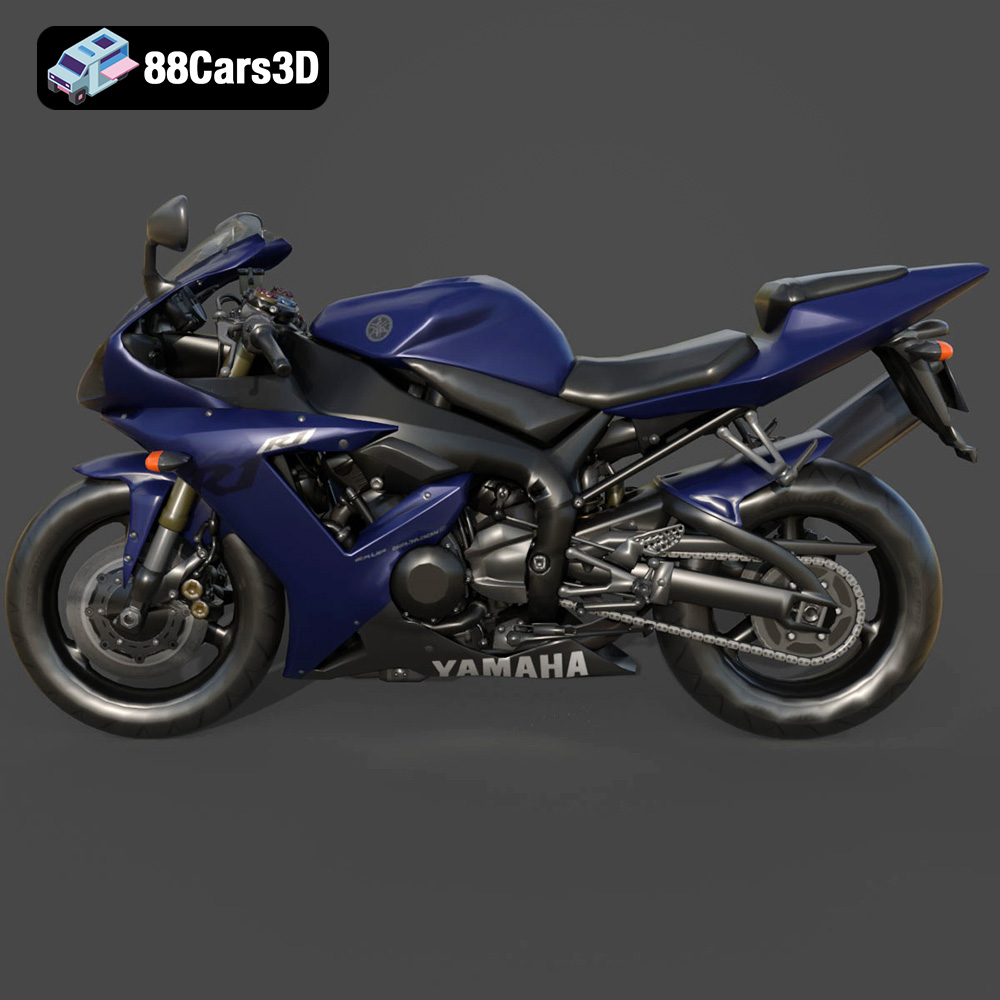
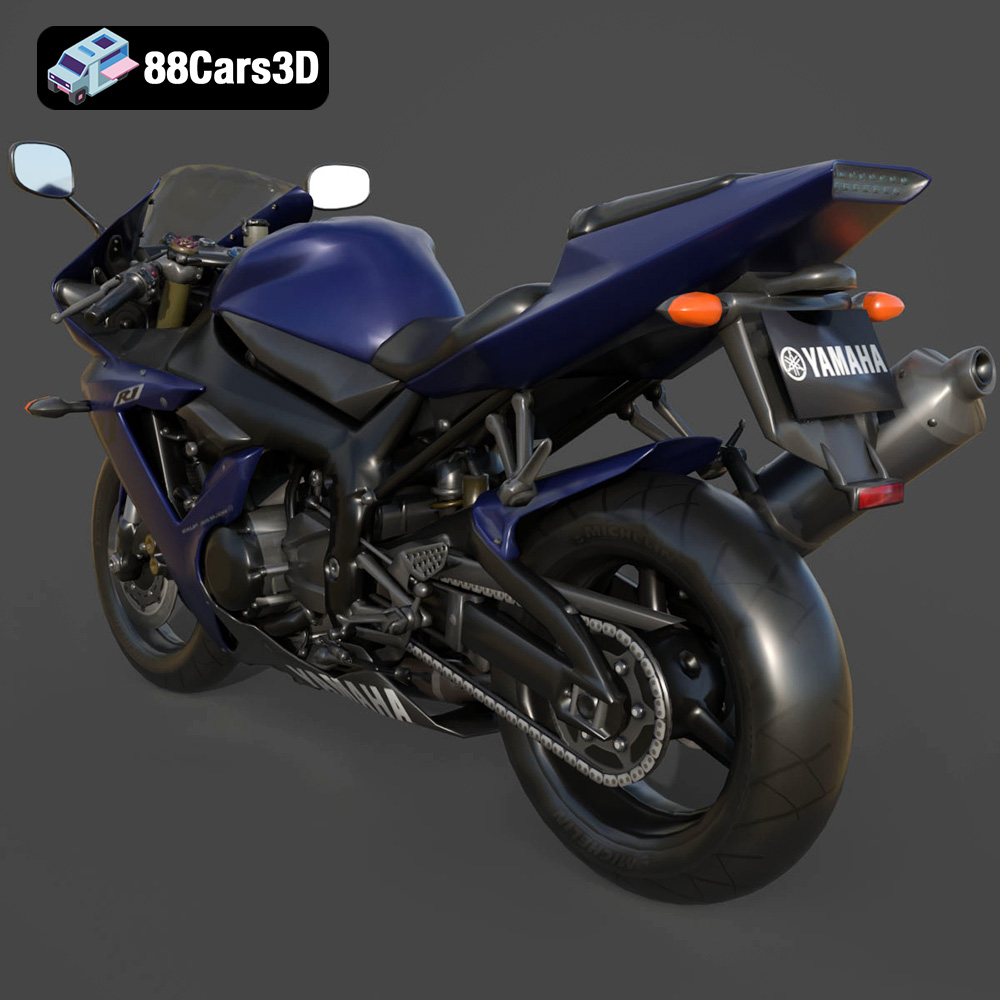
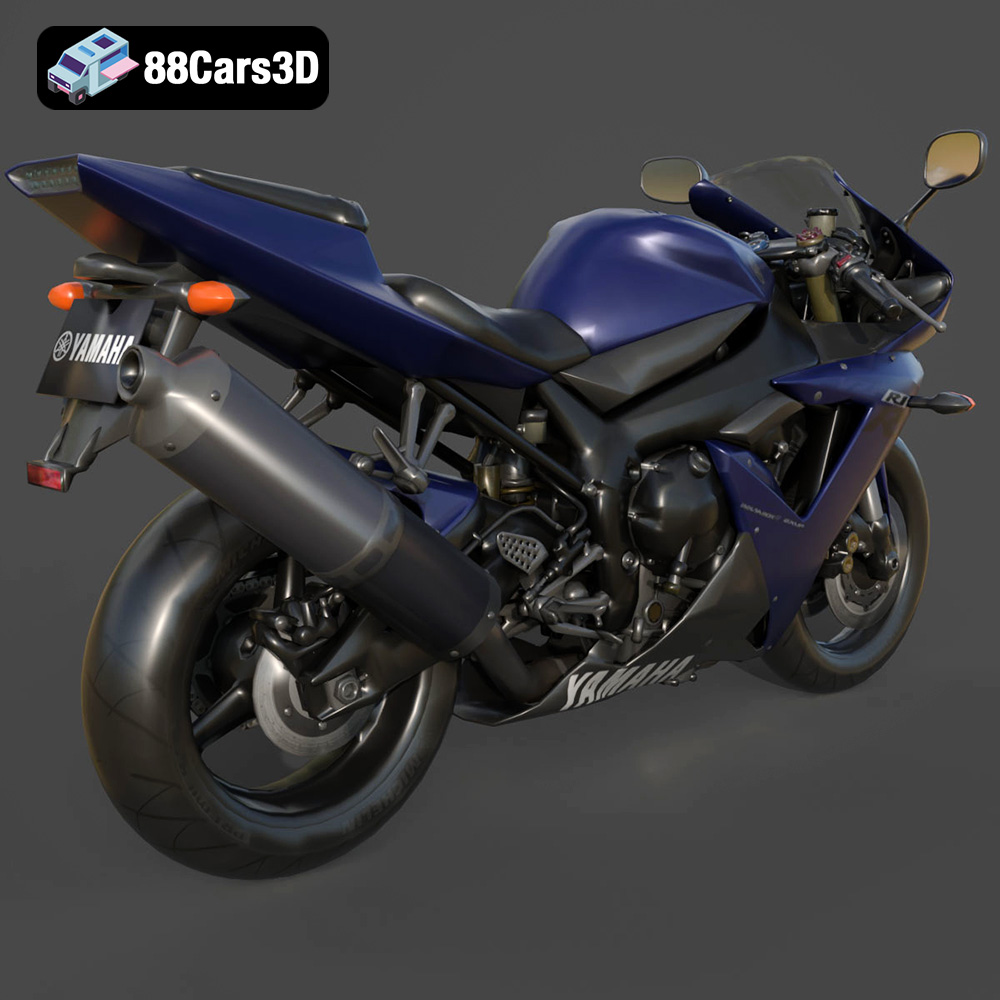
Experience the thrill of the track with this meticulously crafted 3D model of the legendary Yamaha R1. Known for its superbike heritage and uncompromising performance, the R1 features aggressive aerodynamic styling, a commanding Deltabox frame, and the iconic 998cc inline-4 crossplane engine. This model perfectly captures the essence of the real-world machine, highlighting key visual elements like the distinctive twin-eye LED headlights, dynamic fairing vents, and a high-performance exhaust system.
$19.99
3D printing the Yamaha R1 model from 88cars3d.com is a rewarding project that combines technical skill with artistic creativity. By carefully selecting your 3D printing technology, preparing the model with appropriate slicing settings, and applying post-processing techniques, you can create a stunning replica of this iconic superbike. Remember to experiment with different settings and materials to achieve the best possible results, and don’t be afraid to get creative with the painting and finishing touches. With patience and attention to detail, you’ll have a unique and impressive model to showcase your 3D printing skills.
.blend
.fbx
.glb
.max
.motorcycle
.obj
.ply
.rendering
.sportbike
.stl
.superbike
.unreal
.yamaha
game asset
game-ready
low-poly
motorcycle-3d-model
optimized
r1
VR/AR
yamaha-r1