Get 20% OFF All Premium 3D & STL Models!

“`html
3D printing intricate car models is a rewarding hobby, allowing enthusiasts to bring their favorite vehicles to life in stunning detail. However, the sheer size of many car models can present a significant challenge, especially when working with smaller build volumes. This is where the art of splitting a large model into smaller, more manageable parts comes into play. This comprehensive guide will walk you through the process, covering everything from software selection to best practices for assembly. Whether you’re printing an iconic classic or a modern supercar downloaded from platforms like 88cars3d.com, mastering this technique will significantly expand your 3D printing capabilities.
In this article, we will explore the following key areas:
Before diving into the technical details, it’s crucial to understand why splitting models is often necessary. The primary reason is build volume. Many desktop 3D printers have limited print areas, making it impossible to print a large car model in a single piece. Splitting the model allows you to print each component individually and then assemble them later. Furthermore, splitting can optimize print quality by allowing you to orient parts in a way that minimizes support structures and maximizes detail resolution. It can also address material limitations. For instance, you might want to print certain parts in a flexible material for specific functionalities.
Knowing the capabilities and limitations of your 3D printer is the first crucial step in determining if you need to split a 3D car model. Overlooking this can lead to failed prints, wasted material, and unnecessary frustration. This section covers the key aspects of your printer that influence the decision to split a model.
The build volume is the physical space within your 3D printer where objects can be printed. This is typically specified as Length x Width x Height (e.g., 200mm x 200mm x 250mm). Before downloading an STL file from marketplaces such as 88cars3d.com, always check the model’s dimensions and compare them to your printer’s build volume. If any dimension of the model exceeds the corresponding dimension of your printer, you’ll need to split the model. For example, a car model that is 300mm long will require splitting if your printer’s build platform is only 200mm in length. Always allow for some buffer space (e.g., 5-10mm) to avoid potential collisions or printing issues due to slight variations.
Different 3D printers are optimized for different materials. FDM (Fused Deposition Modeling) printers commonly use filaments like PLA, PETG, ABS, and Nylon. Resin printers (SLA/DLP/LCD) use liquid resins. The material you plan to use also influences the decision to split a model. For example, if you want to print a car chassis in a strong, heat-resistant material like ABS but your printer struggles with large ABS prints due to warping, splitting the chassis into smaller sections can significantly improve print success. Similarly, complex resin prints may require strategic splitting to minimize support structures and resin usage. When working with materials like ABS, splitting can also allow for more controlled cooling, reducing the risk of warping and layer separation. Consider the specific properties of each material and how they might impact your printing process.
Adhesion to the print bed is crucial for a successful print. Larger prints are more prone to warping or detaching from the bed, especially with materials like ABS. Splitting a large model into smaller parts reduces the surface area in contact with the bed, making it easier to achieve good adhesion. Strategies like using a brim or raft can also improve adhesion, but splitting remains a reliable method. Consider the shape of the parts as well. Parts with large, flat bases are more susceptible to warping. Splitting these parts into smaller, more manageable sections can significantly reduce the risk of print failure. Properly preparing your print bed (cleaning with isopropyl alcohol, applying an adhesive like glue stick or hairspray) is essential, regardless of whether you split the model or not.
Choosing the right software is paramount for efficiently and accurately splitting your 3D car models. Several software options are available, each with its strengths and weaknesses. This section will explore some of the most popular choices and their suitability for different tasks.
Meshmixer, by Autodesk, is a free and versatile software ideal for preparing STL files for 3D printing. It offers a robust set of tools for splitting, hollowing, repairing, and modifying 3D models. To split a model in Meshmixer, you can use the “Plane Cut” tool. This allows you to define a cutting plane and separate the model into two parts. Meshmixer also offers features for adding connectors or pegs to the split parts, which can aid in assembly. For car models, you can use Meshmixer to split the body from the chassis, or divide the body into multiple sections for easier printing. Furthermore, Meshmixer is excellent for adding drainage holes to hollowed parts, which is essential when printing with resin. Another useful feature is its ability to automatically generate support structures, although manual refinement is often necessary for optimal results.
Blender, a free and open-source 3D creation suite, is a more advanced option suitable for users with some experience in 3D modeling. It offers a wide range of tools for sculpting, modeling, and texturing, making it ideal for complex splitting operations. In Blender, you can use the “Boolean” modifier to cut the model with a custom shape. This is particularly useful for creating intricate joints or splitting the model along complex curves. Blender’s sculpting tools can also be used to refine the cut surfaces and ensure a smooth transition between the parts. While Blender has a steeper learning curve than Meshmixer, its power and flexibility make it a valuable tool for advanced users. A key advantage of Blender is its non-destructive workflow, allowing you to easily modify the cutting planes or shapes without permanently altering the original model.
Netfabb, also by Autodesk, is a professional-grade software specifically designed for additive manufacturing. It offers a comprehensive set of tools for preparing, optimizing, and simulating 3D prints. Netfabb’s splitting tools are highly precise and allow for complex cuts with minimal distortion. It also offers features for automatically generating interlocking joints and adding registration marks to aid in assembly. While Netfabb is a paid software, it offers a trial version that allows you to explore its capabilities. Its advanced features and robust performance make it a popular choice for professional 3D printing services. Netfabb’s ability to simulate the printing process is particularly valuable, allowing you to identify potential issues before committing to a print. This can save time and material by preventing costly failures.
Splitting complex 3D car models requires careful planning and execution to ensure a smooth and accurate result. This section will cover various techniques for splitting complex geometries, focusing on minimizing visual seams and ensuring proper alignment during assembly.
The placement of the cutting plane is crucial for minimizing visual seams and ensuring structural integrity. When splitting a car model, consider the overall shape and design. Look for natural dividing lines or areas where seams will be less noticeable, such as along panel gaps or body lines. Avoid placing cuts across large, flat surfaces, as these will be more visible. Consider also the orientation of the parts during printing. If possible, orient the parts so that the cut surfaces are facing down, minimizing the visibility of layer lines. In addition, carefully consider the internal structure of the model. Avoid cutting through critical structural elements that might compromise the strength of the assembled model. It’s often beneficial to create a sketch or plan before making any cuts, marking the proposed cutting planes and considering their impact on the final appearance.
Interlocking joints are essential for ensuring proper alignment and a strong bond between the split parts. These joints can be created using various shapes, such as pegs and holes, dovetails, or interlocking tabs. When designing interlocking joints, consider the tolerances of your 3D printer. A tight fit is desirable, but avoid making the joints so tight that they are difficult to assemble. A clearance of 0.1-0.2mm is generally sufficient. The placement of the joints is also important. Distribute them evenly across the cut surface to ensure uniform alignment. Consider using different types of joints for different areas of the model. For example, dovetails might be suitable for areas that require high strength, while pegs and holes might be sufficient for areas with less stress. Software like Meshmixer and Netfabb offer tools for automatically generating interlocking joints, but manual design may be necessary for complex geometries.
Hollowing out the parts can significantly reduce material consumption and printing time, especially for large models. However, it’s important to maintain sufficient wall thickness to ensure structural integrity. A wall thickness of 1.5-2mm is generally sufficient for FDM prints, while 1-1.5mm is typically adequate for resin prints. When hollowing a model, ensure that the walls are uniform in thickness to avoid weak spots. Add internal support structures, such as ribs or gussets, to reinforce areas that are subject to stress. Also, remember to add drainage holes to hollowed parts to allow resin to escape after printing. Proper ventilation during printing can also help to prevent resin buildup inside the model. Consider the overall weight of the assembled model when deciding on the degree of hollowing. Too much hollowing can make the model fragile, while too little hollowing can add unnecessary weight.
The orientation of your parts on the print bed significantly affects the amount of support material required and the overall print quality. Optimizing the orientation can reduce material waste, minimize post-processing effort, and improve the surface finish of your 3D printed car model.
Support structures are necessary to support overhanging features during printing. FDM printers typically use tree-like or linear supports, while resin printers use a variety of support types, including light, medium, and heavy supports. The placement of support structures is crucial for minimizing their impact on the final print. Avoid placing supports on visible surfaces whenever possible. Orient the part so that the features that require support are facing downwards or are located in less conspicuous areas. Consider the angle of overhangs. Features with steep overhangs require more support than features with shallow overhangs. Software like Cura, PrusaSlicer, and Chitubox offer tools for automatically generating support structures, but manual refinement is often necessary to optimize their placement and density. Experiment with different support settings to find the best balance between support strength and ease of removal. Also, consider using different support densities for different areas of the model. Areas with critical features might require denser support, while areas with less critical features can be printed with sparser support.
The contact points between the support structures and the model can leave marks on the surface, requiring post-processing to remove. Minimize the number and size of these contact points whenever possible. Use thinner support structures or reduce the density of the support interface. Software like Cura allows you to adjust the “Support Z Distance,” which controls the gap between the support structure and the model. Increasing this distance can make the supports easier to remove, but it can also compromise the support strength. Experiment with different settings to find the optimal balance. Consider using dissolvable support materials, such as PVA for FDM prints or specialized resins for resin prints. These materials can be easily removed by dissolving them in water or other solvents, leaving a clean surface. However, dissolvable support materials can be more expensive than standard materials and require specialized printing equipment.
Take advantage of the natural geometry of the car model to minimize the need for support structures. Orient the part so that self-supporting features, such as arches or bridges, are printed with minimal overhang. Consider splitting the model along natural dividing lines to create self-supporting parts. For example, you might split the body into separate panels that can be printed without support. When designing your model, incorporate features that can act as natural supports, such as angled surfaces or internal ribs. These features can help to distribute the load and reduce the need for external support structures. Also, consider the direction of the layer lines. Orient the part so that the layer lines are aligned with the direction of the load, increasing the strength of the part. By carefully considering the geometry of the model and the direction of the layer lines, you can significantly reduce the need for support structures and improve the overall print quality.
After printing all the individual parts of your 3D car model, the next step is assembly and finishing. This process requires careful planning and execution to ensure a seamless and professional-looking result. This section covers the key considerations for assembly and finishing, including adhesives, filling gaps, sanding, and painting.
Selecting the appropriate adhesive is crucial for a strong and durable bond between the parts. The best adhesive will depend on the material you used for printing. For PLA, cyanoacrylate (super glue) is a popular choice due to its fast setting time and strong bond. However, it can be brittle and prone to cracking under stress. Epoxy resins offer a stronger and more durable bond for PLA, but they require a longer curing time. For ABS, acetone welding is a common technique. This involves applying acetone to the mating surfaces, which dissolves the plastic and creates a strong bond when the acetone evaporates. However, acetone is a hazardous chemical and should be used with proper ventilation. For resin prints, UV-curing resins are often used as adhesives. These resins are applied to the mating surfaces and then cured with UV light, creating a strong and durable bond. When applying adhesives, use a small amount and ensure that the parts are properly aligned. Clamps or tape can be used to hold the parts in place while the adhesive cures. Avoid using excessive adhesive, as this can create unsightly seams. Surface preparation is also important. Sanding the mating surfaces can improve adhesion by creating a rougher surface for the adhesive to grip.
Even with careful planning and execution, some gaps and seams may be visible after assembly. These can be filled using various techniques. For PLA and ABS prints, putty or filler can be used to fill the gaps. Apply the filler to the gap and then sand it smooth after it has dried. For resin prints, UV-curing resin can be used to fill the gaps. Apply the resin to the gap and then cure it with UV light. Sand the cured resin smooth after it has hardened. Another technique for smoothing seams is to use a solvent to soften the plastic and blend the edges together. For ABS, acetone can be used for this purpose. Apply a small amount of acetone to the seam and then use a brush or cloth to blend the edges together. This technique requires careful control to avoid damaging the surrounding area. Sanding is an essential step in the finishing process. Start with a coarse grit sandpaper and gradually move to finer grits to achieve a smooth surface. Use wet sanding to reduce dust and improve the surface finish. Pay particular attention to the seams and edges, as these are the most likely areas to require smoothing.
Painting is the final step in creating a professional-looking 3D car model. Start by applying a primer to the surface. This will help the paint adhere better and create a uniform base color. Choose a primer that is compatible with the material you used for printing. Apply several thin coats of primer, allowing each coat to dry completely before applying the next. Sand the primed surface with fine-grit sandpaper to create a smooth base for the paint. Choose a paint that is suitable for the material you used for printing. Acrylic paints are a popular choice for both PLA and ABS prints. Apply several thin coats of paint, allowing each coat to dry completely before applying the next. Use a spray gun for a smooth and even finish. After the paint has dried, apply a clear coat to protect the paint and add a glossy finish. Apply several thin coats of clear coat, allowing each coat to dry completely before applying the next. Sand the clear-coated surface with ultra-fine-grit sandpaper to remove any imperfections and create a smooth, glossy finish. With careful attention to detail and the right techniques, you can create a stunning 3D printed car model that rivals the quality of commercially produced models.
Splitting large 3D car models into manageable parts is an essential skill for any 3D printing enthusiast. By understanding your printer’s limitations, selecting the right software, employing effective splitting techniques, optimizing part orientation, and carefully considering assembly and finishing, you can create stunning, high-quality models that would otherwise be impossible to print. Remember to prioritize strategic cutting plane placement, utilize interlocking joints for seamless alignment, and master post-processing techniques for a professional finish. Resources like 88cars3d.com provide a wealth of printable car models ready for you to tackle. Start with simpler projects and gradually work your way up to more complex models as you gain experience. The key is to experiment, learn from your mistakes, and continuously refine your workflow. With patience and practice, you’ll be able to bring your favorite cars to life in incredible detail, showcasing your skills and passion for 3D printing. Embrace the challenge, and enjoy the rewarding journey of creating your own miniature automotive masterpieces.
“`
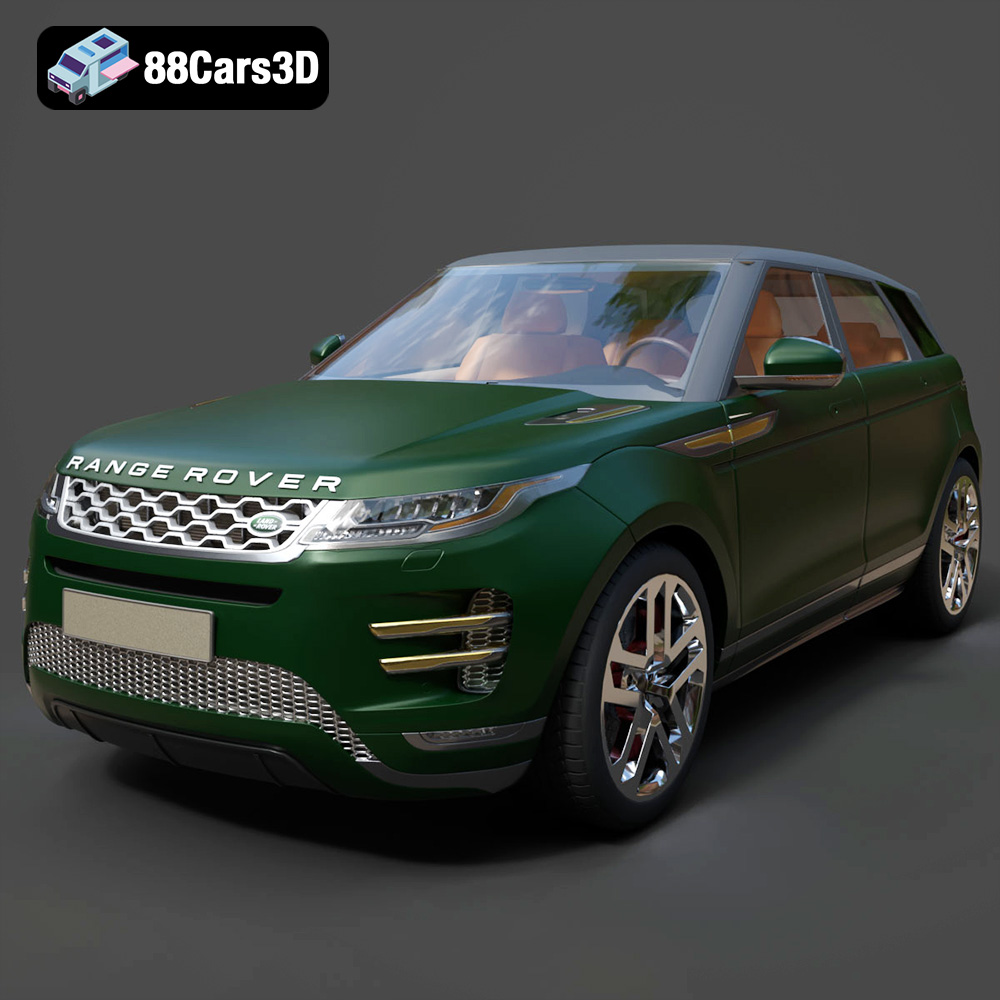
Texture: Yes | Material: Yes
Download the highly detailed, game-ready Range Rover Evoque R-Dynamic 2019 3D Model. Features flush deployable door handles, Matrix LED headlights, and R-Dynamic styling. Includes .blend, .fbx, .obj, .glb, .stl, .ply, .unreal, and .max formats for game development, AR/VR, and rendering.
Price: $19.99

Texture: Yes | Material: Yes
Download the highly detailed, game-ready Ford Mustang Mach 40 3D Model. Features aggressive custom widebody styling, a mid-mounted V8 engine, and classic retro-futuristic design. Includes .blend, .fbx, .obj, .glb, .stl, .ply, .unreal, and .max formats for game development, AR/VR, and rendering.
Price: $19.99
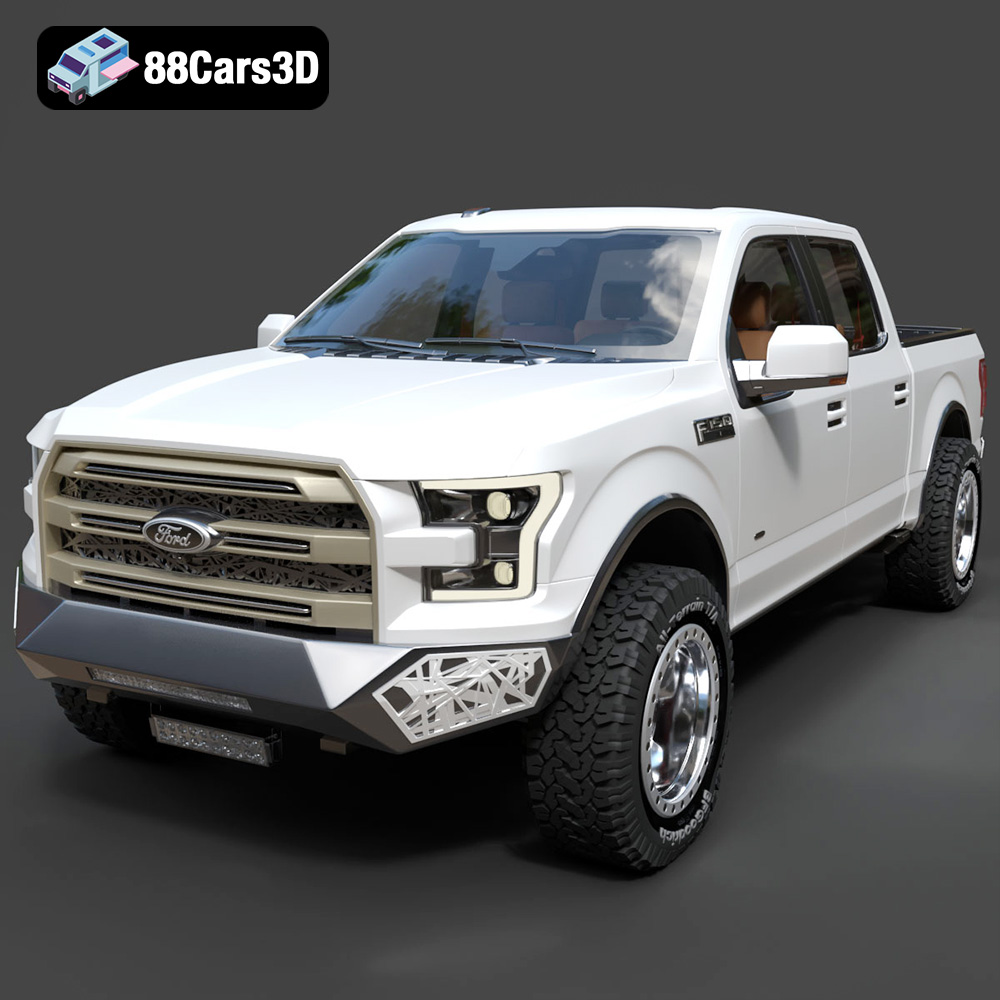
Texture: Yes | Material: Yes
Download the highly detailed, game-ready Ford F150 Raptor With Tuning From ARE 3D Model. Features custom ARE tuning accessories, aggressive off-road suspension, and rugged beadlock wheels. Includes .blend, .fbx, .obj, .glb, .stl, .ply, .unreal, and .max formats for game development, AR/VR, and rendering.
Price: $19.99

Texture: Yes | Material: Yes
Download the highly detailed, game-ready Mercedes-Benz AMG GLE 63 2021 3D Model. Features the iconic Panamericana grille, aggressive aerodynamic body styling, and a meticulously detailed luxurious interior. Includes .blend, .fbx, .obj, .glb, .stl, .ply, .unreal, and .max formats for game development, AR/VR, and rendering.
Price: $19.99
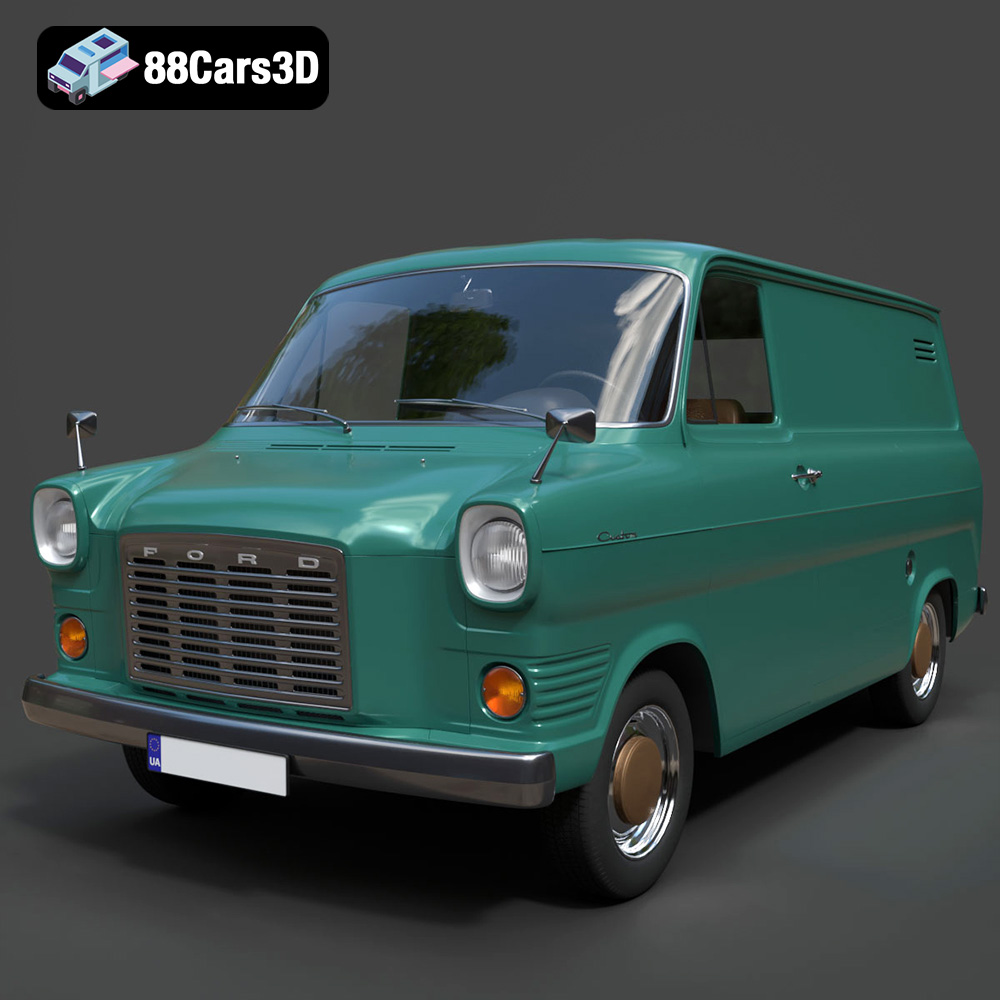
Texture: Yes | Material: Yes
Download the highly detailed, game-ready Ford Transit Mk1 Panel Van 1965 3D Model. Features iconic flat-front styling, vintage steel wheels, and a period-correct cargo bay. Includes .blend, .fbx, .obj, .glb, .stl, .ply, .unreal, and .max formats for game development, AR/VR, and rendering.
Price: $19.99
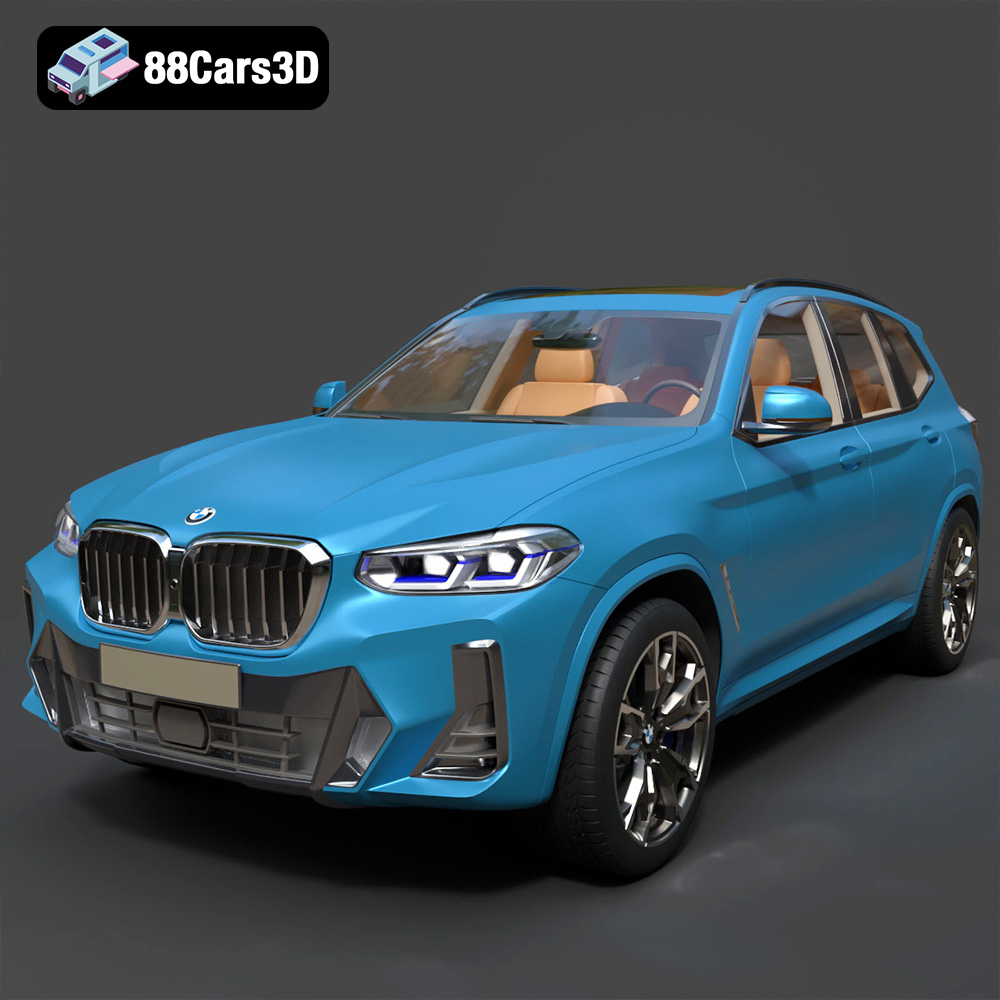
Texture: Yes | Material: Yes
Download the highly detailed, game-ready BMW X3 2024 3D Model. Features the iconic kidney grille, dynamic SUV proportions, and precise lighting elements. Includes .blend, .fbx, .obj, .glb, .stl, .ply, .unreal, and .max formats for game development, AR/VR, and rendering.
Price: $19.99

Texture: Yes | Material: Yes
Download the highly detailed, game-ready Tesla Model S Plaid 2021 3D Model. Features sleek aerodynamic styling, signature LED lighting, and the revolutionary Yoke steering interior. Includes .blend, .fbx, .obj, .glb, .stl, .ply, .unreal, and .max formats for game development, AR/VR, and rendering.
Price: $19.99
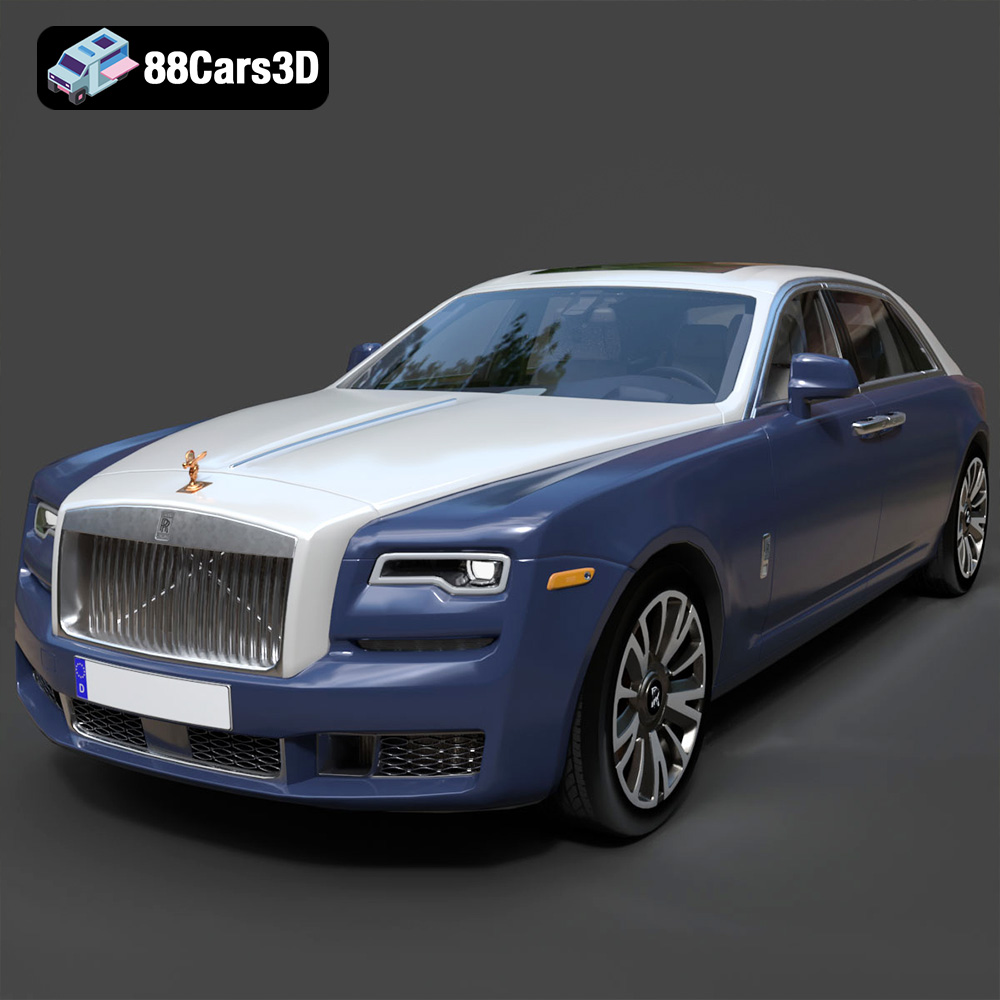
Texture: Yes | Material: Yes
Download the highly detailed, game-ready Rolls-Royce Ghost EWB 2018 3D Model. Features the iconic Pantheon grille, elongated luxury chassis, and elegant exterior lines. Includes .blend, .fbx, .obj, .glb, .stl, .ply, .unreal, and .max formats for game development, AR/VR, and rendering.
Price: $19.99
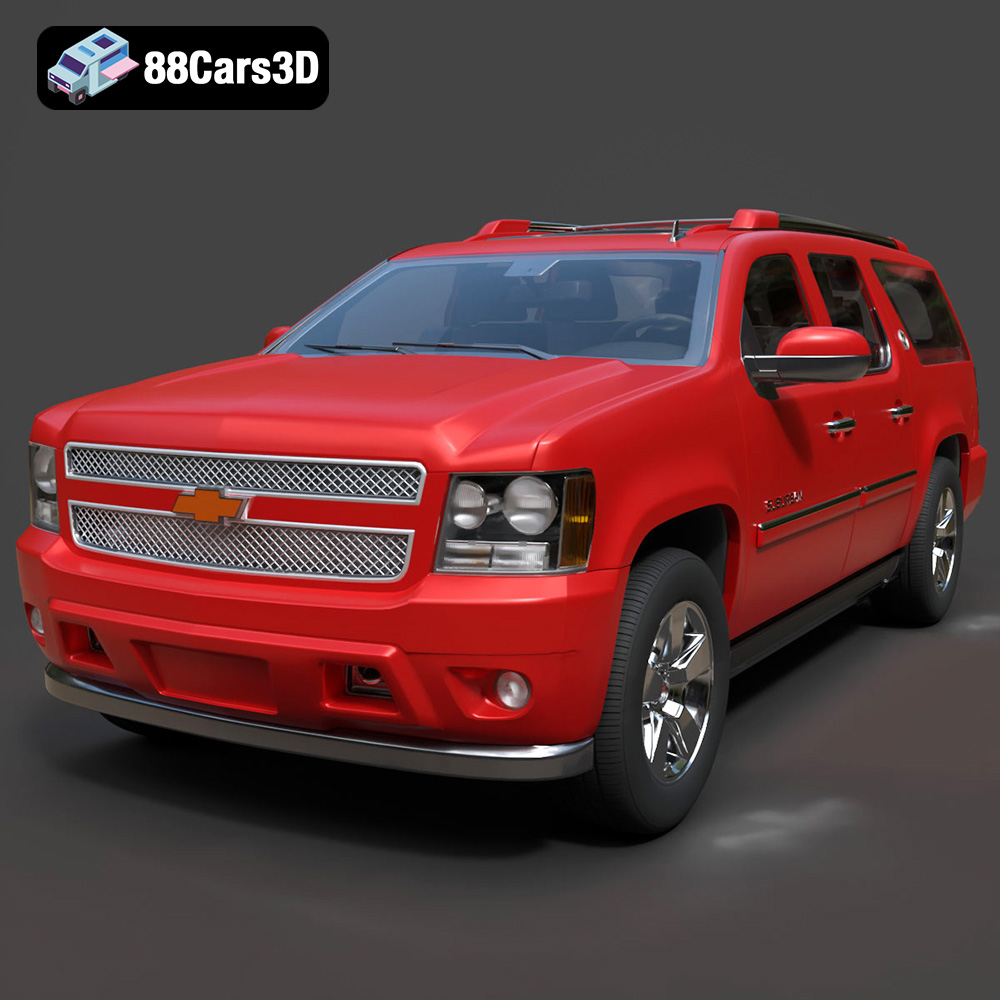
Texture: Yes | Material: Yes
Download the highly detailed, game-ready Chevrolet Suburban 75th Diamond 3D Model. Features the iconic Diamond Edition styling, detailed interior, and accurate full-size SUV proportions. Includes .blend, .fbx, .obj, .glb, .stl, .ply, .unreal, and .max formats for game development, AR/VR, and rendering.
Price: $19.99

Texture: Yes | Material: Yes
Download the highly detailed, game-ready Lamborghini Terzo Millenio 2017 3D Model. Features glowing Y-shaped LED signatures, extreme aerodynamic channels, and an aggressive hypercar stance. Includes .blend, .fbx, .obj, .glb, .stl, .ply, .unreal, and .max formats for game development, AR/VR, and rendering.
Price: $19.99

