Get 20% OFF All Premium 3D & STL Models!

“`html
3D printing car models is a rewarding hobby, but achieving flawless results requires a deep understanding of wall thickness and support structure settings. These two parameters are critical for ensuring structural integrity, minimizing material waste, and maximizing print quality. This comprehensive guide will delve into the intricacies of these settings, providing you with the knowledge to confidently 3D print detailed and robust vehicle models. Whether you’re using FDM or resin printing, optimizing these parameters will elevate your 3D printing projects from good to exceptional. Platforms like 88cars3d.com offer print-ready STL files, but even the best models require proper slicer settings to shine. Get ready to unlock the secrets to successful 3D printed car models!
Wall thickness is the distance between the inner and outer surfaces of a 3D printed object. Choosing the correct wall thickness is crucial for balancing strength, weight, and print time. Too thin, and your model will be fragile and prone to breakage. Too thick, and you’ll waste material and increase printing time unnecessarily. For vehicle models, finding the sweet spot is paramount, especially for intricate parts like bumpers, spoilers, and thin body panels.
The optimal wall thickness depends on several factors, including the size of the model, the printing material, and the intended use. As a general rule, for PLA and PETG, a wall thickness of 1.2mm to 1.6mm (typically 3-4 perimeters with a 0.4mm nozzle) is a good starting point for car models. For ABS, which is generally stronger, you might be able to get away with slightly thinner walls, around 0.8mm to 1.2mm. Resin prints, due to the material’s inherent strength, can often use even thinner walls, sometimes as low as 0.5mm to 1mm. However, thin walls in resin prints can be brittle. Consider the scale of your model. A smaller model (1:43 or smaller) will likely require thinner walls than a larger model (1:24 or larger).
Your nozzle size directly influences the achievable wall thickness. A 0.4mm nozzle is the most common, allowing for a good balance between detail and print speed. With a 0.4mm nozzle, a single wall would be 0.4mm thick. To achieve a desired wall thickness of 1.2mm, you would set your slicer to print three perimeters (3 x 0.4mm = 1.2mm). Experimenting with different nozzle sizes can be beneficial. A smaller nozzle (0.25mm) can produce finer details but will increase print time. A larger nozzle (0.6mm or 0.8mm) can print faster but might sacrifice some detail. When downloading models from marketplaces such as 88cars3d.com, consider the model’s intended scale and choose a nozzle size that allows you to achieve the desired level of detail.
Wall thickness doesn’t exist in isolation; it works in conjunction with infill and internal structures. For larger, hollow models, consider adding internal ribs or supports to provide additional rigidity without significantly increasing weight or print time. The infill density can also be adjusted to complement the wall thickness. If you have thin walls, a higher infill density will provide more support. Conversely, with thicker walls, you might be able to reduce the infill density without compromising structural integrity. Common infill patterns include grid, gyroid, and honeycomb. Gyroid infill provides excellent strength in all directions and is a good choice for structural components. Use your slicer’s preview function to visualize the internal structure and wall thickness to ensure adequate support and prevent weak points.
Support structures are temporary additions to your 3D print that provide a foundation for overhanging features. They prevent the printed material from collapsing during the printing process. For car models, support structures are often needed for areas like spoilers, mirrors, and wheel wells. Properly configured support structures are crucial for a successful print, but they can also be a source of frustration if not implemented correctly. Too much support can be difficult to remove and leave unsightly marks, while too little support can lead to print failures.
There are several types of support structures available in most slicing software, including:
The best type of support structure depends on the specific geometry of the car model and the printing material. Tree supports are generally preferred for car models due to their ease of removal and minimal impact on surface finish.
The placement and density of support structures are critical for achieving optimal results. Most slicing software allows you to automatically generate supports, but manual adjustments are often necessary to fine-tune the support configuration. Focus on areas with significant overhangs, such as the underside of the chassis, the inner surfaces of wheel wells, and the edges of spoilers. Reduce the support density in areas where minimal support is needed to minimize material waste and make removal easier. A support density of 5-15% is often sufficient for car models. Increase the density in areas with more complex overhangs. The “support overhang angle” setting determines the angle at which supports are generated. Experiment with different angles to find the optimal balance between support and ease of removal. A common starting point is 45 degrees.
Support interface layers are thin layers printed between the support structure and the model. These layers provide a smooth transition between the support and the model, making it easier to remove the supports without damaging the surface. The “support interface density” and “support interface thickness” settings control the density and thickness of these layers. A higher density and thickness will provide a smoother surface but may make removal more difficult. A lower density and thickness will make removal easier but may result in a rougher surface. Experiment with different settings to find the optimal balance for your specific printer and material. For PLA, a support interface density of 80% and a thickness of 0.2mm is a good starting point. For PETG, which tends to bond more strongly to supports, a lower density of 60% and a thickness of 0.15mm may be more appropriate.
FDM (Fused Deposition Modeling) and resin printing (SLA/DLP) are the two most common 3D printing technologies. Each technology has its own strengths and weaknesses, and the optimal wall thickness and support settings will vary depending on which technology you are using. FDM printing involves extruding a thermoplastic filament through a heated nozzle, while resin printing involves curing a liquid resin with UV light. FDM printers are generally more affordable and can print larger objects, while resin printers offer higher resolution and finer details. Both are great options for 3D printing car models, each with some unique aspects to consider.
For FDM printing, wall thickness is particularly important due to the layer-by-layer construction process. As mentioned earlier, a wall thickness of 1.2mm to 1.6mm (3-4 perimeters with a 0.4mm nozzle) is a good starting point for car models. When printing with FDM, support structures are often necessary for overhangs and bridges. Tree supports are generally preferred for their ease of removal and minimal impact on surface finish. PLA and PETG are popular choices for FDM printing car models due to their ease of use and relatively low cost. ABS is also a viable option but requires a heated bed and enclosure to prevent warping. When using ABS, be sure to dial in your temperature and cooling settings to minimize warping and layer adhesion issues. Consider using a brim or raft to improve bed adhesion, especially for larger models.
Resin printing allows for much finer details and smoother surfaces compared to FDM printing. As a result, thinner walls are often possible. A wall thickness of 0.5mm to 1mm is often sufficient for resin prints. However, it’s crucial to ensure that the resin is properly cured to prevent brittleness. Support structures are also essential for resin printing, but they are typically smaller and more delicate than FDM supports. The “light-off delay” setting in your slicer software is crucial for resin printing. This setting allows the resin to settle after each layer, improving layer adhesion and reducing the risk of print failures. Increase the light-off delay if you are experiencing delamination or other layer adhesion issues. Support removal can be tricky with resin prints, so be sure to use sharp tools and take your time to avoid damaging the model. Soaking the model in warm water can make the supports easier to remove.
The material properties of the filament or resin also play a significant role in determining the optimal wall thickness and support settings. PLA is a relatively brittle material, so thicker walls may be necessary to provide adequate strength. PETG is more flexible and durable than PLA, allowing for slightly thinner walls. ABS is stronger than both PLA and PETG but is more prone to warping. Resin materials vary widely in their properties, but they are generally stronger and more brittle than FDM filaments. When choosing a material for your car model, consider the intended use and the level of detail required. If you are planning to paint or finish the model, choose a material that is easy to sand and prime.
Slicing software is the bridge between your 3D model and your 3D printer. It takes the STL file and converts it into a series of instructions that the printer can understand. The slicing software allows you to control a wide range of parameters, including layer height, print speed, temperature, infill density, and support settings. Mastering these settings is crucial for achieving optimal print quality. Popular slicing software options include Cura, PrusaSlicer, Simplify3D, and Chitubox (for resin printers). Each software has its own strengths and weaknesses, so it’s important to choose one that suits your needs and printing style.
Layer height is the thickness of each layer of the 3D print. A smaller layer height results in a smoother surface and finer details, but it also increases print time. A larger layer height results in a faster print but may sacrifice some detail. For car models, a layer height of 0.1mm to 0.2mm is a good starting point for FDM printing. For resin printing, layer heights can be even smaller, often in the range of 0.025mm to 0.05mm. The “adaptive layer height” feature in some slicing software can automatically adjust the layer height based on the geometry of the model, allowing you to optimize both print speed and quality. For example, you can use a smaller layer height for curved surfaces and a larger layer height for flat surfaces. Experimenting with different layer heights can help you find the optimal balance between detail and print time for your specific printer and material.
Print speed affects both the quality and the duration of the print. Printing too fast can lead to poor layer adhesion, warping, and other print defects. Printing too slow can increase print time unnecessarily. The optimal print speed depends on the material and the printer. For PLA, a print speed of 50-60mm/s is a good starting point. For PETG, a slower print speed of 30-40mm/s is often recommended. Temperature control is also crucial for successful 3D printing. The nozzle temperature and bed temperature must be properly calibrated to ensure good layer adhesion and prevent warping. The optimal temperatures depend on the material. PLA typically requires a nozzle temperature of 200-220°C and a bed temperature of 60-70°C. PETG typically requires a nozzle temperature of 230-250°C and a bed temperature of 70-80°C. Use a temperature tower test to determine the optimal temperature settings for your specific filament.
Beyond the basic settings, slicing software offers a range of advanced features that can further improve print quality. The “seam hiding” feature can minimize the visibility of the Z-seam, where each layer starts and ends. The “retraction” settings control how much filament is retracted when the nozzle moves between different parts of the print, preventing stringing and oozing. The “cooling” settings control the speed of the cooling fan, which is important for preventing warping and ensuring good layer adhesion. Experiment with these advanced settings to fine-tune your print parameters and achieve the best possible results. When working with intricate car models, consider using the “vase mode” for certain parts like the body shell. Vase mode prints the entire perimeter in a single continuous line, resulting in a smooth and seamless surface. However, vase mode is only suitable for parts with a single wall thickness and no internal features.
Even with optimized wall thickness and support settings, 3D printing car models can still present challenges. Warping, poor layer adhesion, stringing, and support removal issues are common problems that can derail your printing projects. Understanding the causes of these issues and how to troubleshoot them is essential for achieving consistent and high-quality results.
Warping occurs when the corners of the print lift off the build plate due to uneven cooling. This is a common problem with ABS and other materials that shrink significantly as they cool. To prevent warping, ensure that your build plate is properly leveled and clean. Use a heated bed and an enclosure to maintain a consistent temperature throughout the print. Applying an adhesive, such as glue stick or hairspray, to the build plate can also improve bed adhesion. For larger models, consider using a raft or brim to increase the surface area in contact with the build plate. If warping persists, try reducing the print speed and increasing the bed temperature. For ABS, a bed temperature of 100-110°C is often necessary to prevent warping. Ensure that your cooling fan is not blowing directly on the print during the initial layers, as this can cause the plastic to cool too quickly and warp. Experimenting with different bed adhesion techniques can help you find the best solution for your specific printer and material.
Poor layer adhesion occurs when the layers of the print do not bond together properly, resulting in weak and fragile parts. This can be caused by a variety of factors, including insufficient nozzle temperature, incorrect layer height, and inadequate cooling. To improve layer adhesion, increase the nozzle temperature and reduce the layer height. Ensure that your printer is properly calibrated and that the filament is feeding smoothly. Check that your slicer settings are configured correctly, including the “flow rate” and “overlap” settings. The flow rate controls the amount of material extruded by the nozzle, while the overlap setting determines the amount of overlap between adjacent layers. Increase the flow rate and overlap slightly to improve layer adhesion. Slowing down the print speed can also help, as it gives the layers more time to bond together. If you are using ABS, ensure that your enclosure is properly sealed to maintain a consistent temperature and prevent drafts.
Removing support structures can be a delicate process, especially for intricate car models. If the supports are too strongly attached to the model, they can be difficult to remove without damaging the surface. To make support removal easier, optimize the support settings in your slicer software. Reduce the support density and the support interface density. Increase the “support Z distance” and “support X/Y distance” settings to create a small gap between the support and the model. This will make it easier to break away the supports without damaging the surface. Use sharp tools, such as a hobby knife or pliers, to carefully remove the supports. Soaking the model in warm water can also help soften the supports and make them easier to remove. For resin prints, consider using a resin that is specifically designed for easy support removal. Always wear gloves and eye protection when removing supports, as small pieces can break off and fly into your eyes.
Once your car model is 3D printed, post-processing is often necessary to achieve a smooth, professional finish. Post-processing techniques include sanding, priming, painting, and assembly. These steps can transform a raw 3D print into a stunning replica of your favorite vehicle.
Sanding is used to remove layer lines and other imperfections from the surface of the print. Start with a coarse grit sandpaper (e.g., 220 grit) to remove large imperfections and gradually move to finer grits (e.g., 400 grit, 600 grit, 800 grit) to achieve a smooth surface. Wet sanding can help to reduce dust and improve the finish. After sanding, apply a primer to the model. Primer fills in any remaining imperfections and provides a smooth surface for painting. Use several thin coats of primer, allowing each coat to dry completely before applying the next. Sand the primer lightly with fine-grit sandpaper to remove any imperfections. Repeat this process until you achieve a perfectly smooth surface. For FDM prints, consider using a filler primer to fill in larger layer lines. For resin prints, a thinner primer is usually sufficient due to the smoother surface.
Painting is the final step in transforming your 3D printed car model into a realistic replica. Use high-quality model paints and apply them in thin, even coats. Mask off areas that you don’t want to paint using masking tape. For complex paint jobs, consider using an airbrush for a smoother and more consistent finish. Add details, such as panel lines, rivets, and emblems, using fine-tipped brushes or paint pens. Apply a clear coat to protect the paint and give the model a glossy finish. Allow the paint and clear coat to dry completely before handling the model. Consider using weathering techniques to add realism to your model. This can include dry brushing, washes, and pigments to simulate dirt, rust, and other effects. Look at reference photos of real vehicles to guide your painting and detailing efforts.
Many 3D printed car models consist of multiple parts that need to be assembled. Use glue to attach the parts together, ensuring that the joints are strong and seamless. Clean up any excess glue with a cotton swab. Add any remaining details, such as wheels, tires, and windows. Use clear acrylic sheets or resin to create realistic windows. Polish the model to give it a final shine. Apply a wax or sealant to protect the paint and prevent fading. Display your finished car model with pride! Platforms like 88cars3d.com are a great place to get inspiration for your next model, and see what is possible with the right settings.
Mastering wall thickness and support settings is crucial for achieving high-quality 3D printed car models. By understanding the factors that influence these settings and experimenting with different parameters, you can optimize your prints for strength, detail, and ease of removal. Remember to consider the printing technology (FDM vs. resin), the material properties, and the specific geometry of the model when choosing your settings. Don’t be afraid to experiment and iterate until you find the optimal configuration for your printer and material. With practice and patience, you’ll be able to produce stunning 3D printed car models that you can be proud of. The next step is to try this out! Find a model on a marketplace such as 88cars3d.com, take the settings discussed, and experiment to see what works best for your printer and chosen filament. Happy printing!
“`
Texture: Yes | Material: Yes
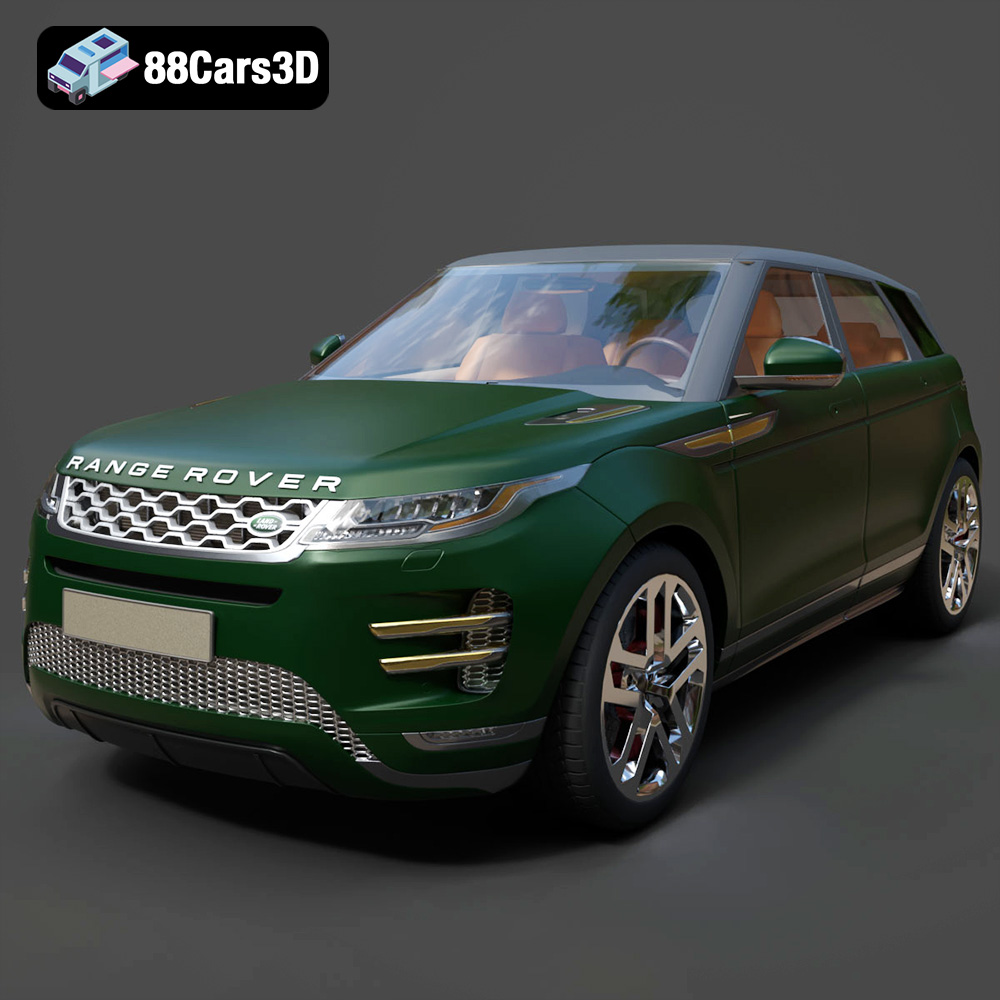
Download the highly detailed, game-ready Range Rover Evoque R-Dynamic 2019 3D Model. Features flush deployable door handles, Matrix LED headlights, and R-Dynamic styling. Includes .blend, .fbx, .obj, .glb, .stl, .ply, .unreal, and .max formats for game development, AR/VR, and rendering.
Price: $19.99

Texture: Yes | Material: Yes
Download the highly detailed, game-ready Ford Mustang Mach 40 3D Model. Features aggressive custom widebody styling, a mid-mounted V8 engine, and classic retro-futuristic design. Includes .blend, .fbx, .obj, .glb, .stl, .ply, .unreal, and .max formats for game development, AR/VR, and rendering.
Price: $19.99
Texture: Yes | Material: Yes
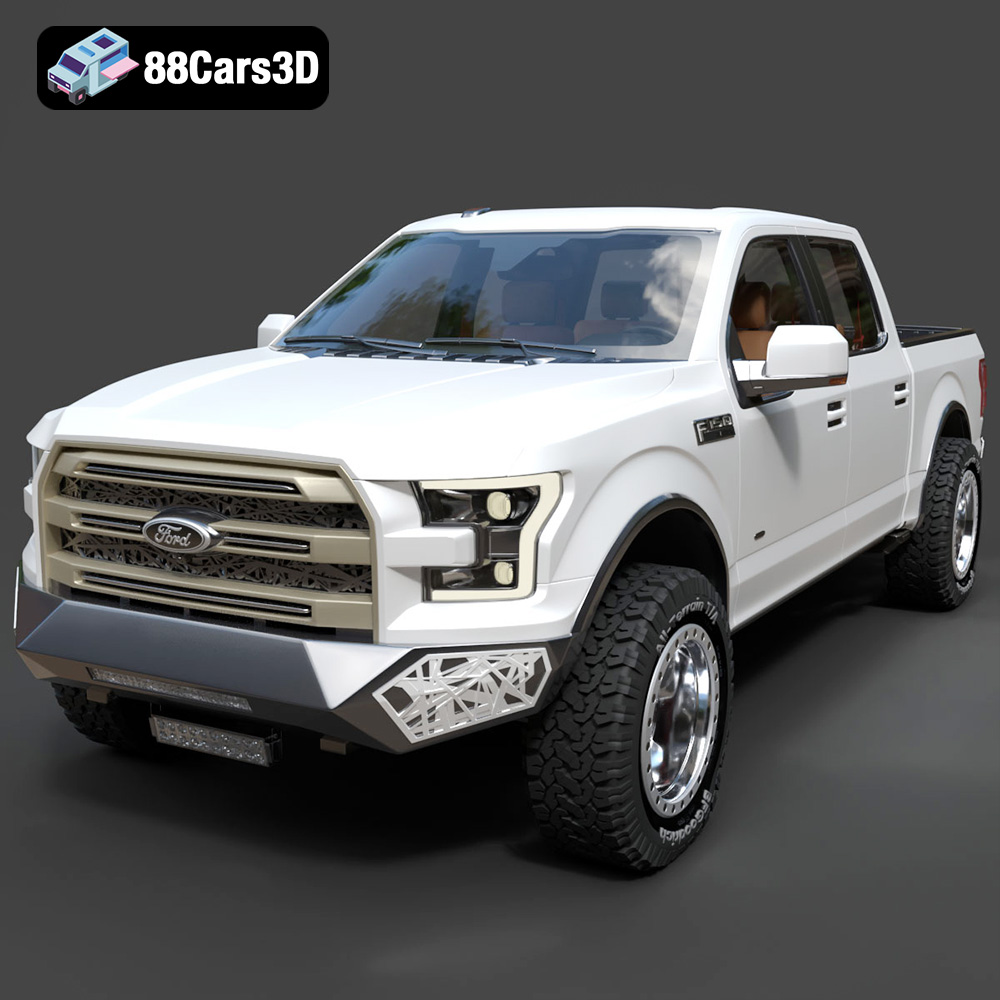
Download the highly detailed, game-ready Ford F150 Raptor With Tuning From ARE 3D Model. Features custom ARE tuning accessories, aggressive off-road suspension, and rugged beadlock wheels. Includes .blend, .fbx, .obj, .glb, .stl, .ply, .unreal, and .max formats for game development, AR/VR, and rendering.
Price: $19.99

Texture: Yes | Material: Yes
Download the highly detailed, game-ready Mercedes-Benz AMG GLE 63 2021 3D Model. Features the iconic Panamericana grille, aggressive aerodynamic body styling, and a meticulously detailed luxurious interior. Includes .blend, .fbx, .obj, .glb, .stl, .ply, .unreal, and .max formats for game development, AR/VR, and rendering.
Price: $19.99
Texture: Yes | Material: Yes
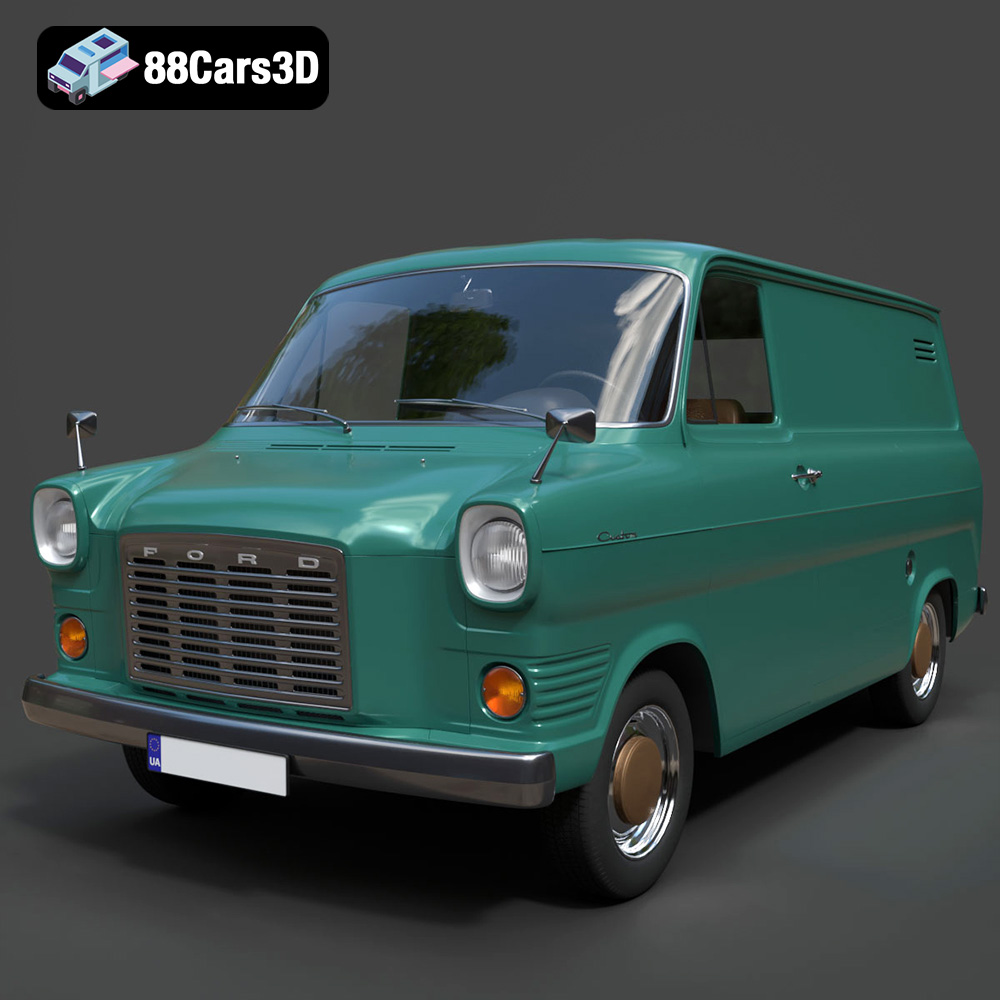
Download the highly detailed, game-ready Ford Transit Mk1 Panel Van 1965 3D Model. Features iconic flat-front styling, vintage steel wheels, and a period-correct cargo bay. Includes .blend, .fbx, .obj, .glb, .stl, .ply, .unreal, and .max formats for game development, AR/VR, and rendering.
Price: $19.99

Texture: Yes | Material: Yes
Download the highly detailed, game-ready BMW X3 2024 3D Model. Features the iconic kidney grille, dynamic SUV proportions, and precise lighting elements. Includes .blend, .fbx, .obj, .glb, .stl, .ply, .unreal, and .max formats for game development, AR/VR, and rendering.
Price: $19.99

Texture: Yes | Material: Yes
Download the highly detailed, game-ready Tesla Model S Plaid 2021 3D Model. Features sleek aerodynamic styling, signature LED lighting, and the revolutionary Yoke steering interior. Includes .blend, .fbx, .obj, .glb, .stl, .ply, .unreal, and .max formats for game development, AR/VR, and rendering.
Price: $19.99

Texture: Yes | Material: Yes
Download the highly detailed, game-ready Rolls-Royce Ghost EWB 2018 3D Model. Features the iconic Pantheon grille, elongated luxury chassis, and elegant exterior lines. Includes .blend, .fbx, .obj, .glb, .stl, .ply, .unreal, and .max formats for game development, AR/VR, and rendering.
Price: $19.99
Texture: Yes | Material: Yes
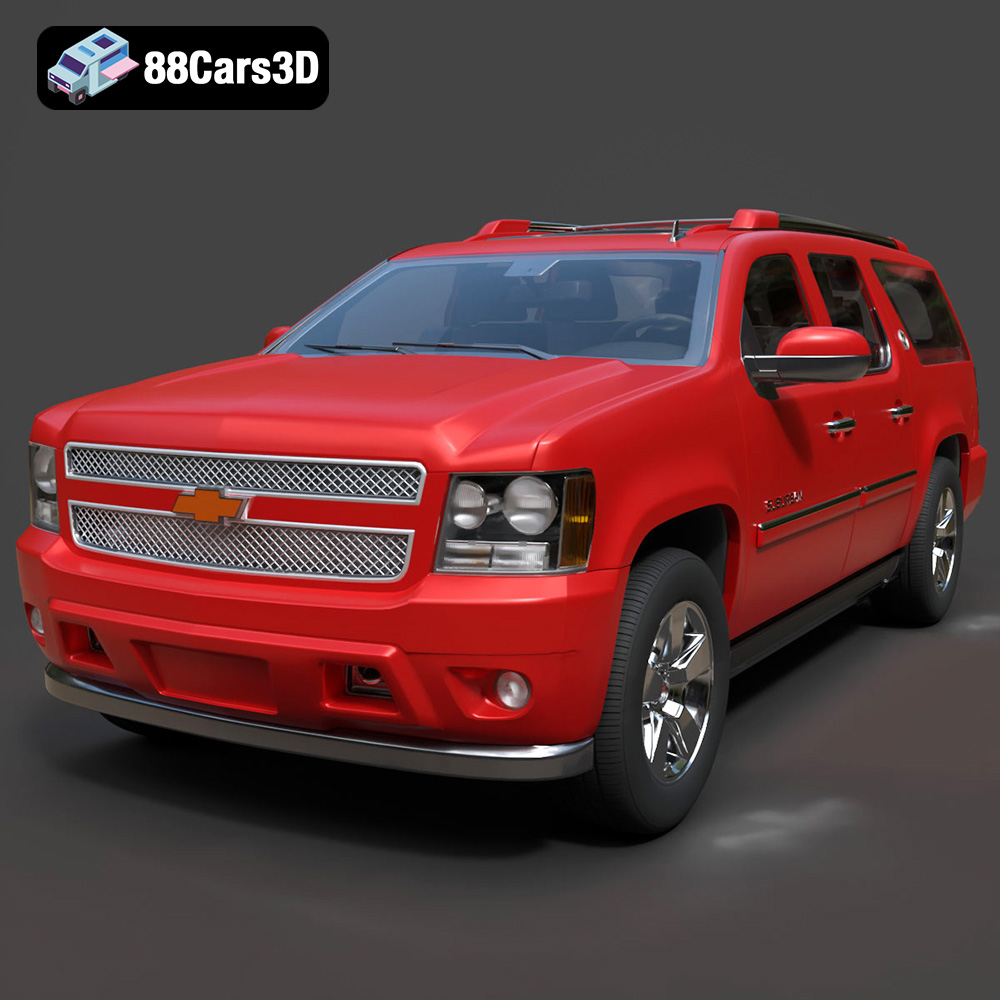
Download the highly detailed, game-ready Chevrolet Suburban 75th Diamond 3D Model. Features the iconic Diamond Edition styling, detailed interior, and accurate full-size SUV proportions. Includes .blend, .fbx, .obj, .glb, .stl, .ply, .unreal, and .max formats for game development, AR/VR, and rendering.
Price: $19.99

Texture: Yes | Material: Yes
Download the highly detailed, game-ready Lamborghini Terzo Millenio 2017 3D Model. Features glowing Y-shaped LED signatures, extreme aerodynamic channels, and an aggressive hypercar stance. Includes .blend, .fbx, .obj, .glb, .stl, .ply, .unreal, and .max formats for game development, AR/VR, and rendering.
Price: $19.99

