Get 20% OFF All Premium 3D & STL Models!

“`html
The world of 3D printing has revolutionized model making, allowing enthusiasts and professionals alike to create stunningly realistic car models right from their desktops. Whether you’re a hobbyist building a collection, an engineer prototyping a design, or simply an automotive fan, the process begins with an STL file and culminates in a tangible, detailed replica. This guide will walk you through every step, from understanding STL files to post-processing your finished print, ensuring you achieve the highest level of realism in your 3D printed car models. Platforms like 88cars3d.com offer a wealth of high-quality, print-ready STL files specifically designed for this purpose, making the journey even more accessible.
In this comprehensive guide, we will explore:
The STL (Stereolithography) file format is the cornerstone of 3D printing. It represents the surface geometry of a 3D object using a collection of triangles. The quality of your final print heavily relies on the integrity and resolution of the STL file. A poorly designed or low-resolution STL can result in a print with visible facets, inaccurate details, and potential structural weaknesses.
An STL file essentially defines the surface of your car model as a tessellated mesh of triangles. The more triangles used, the higher the resolution and the smoother the curves. However, increasing triangle count also increases file size and processing time. A good balance is crucial. For detailed car models, aim for an STL file that captures fine details without becoming unnecessarily large. Consider the scale of your print; a smaller model needs a higher triangle density to maintain perceived detail.
A “manifold” mesh is a crucial requirement for successful 3D printing. It means that the surface is continuous and forms a closed volume, with no holes, self-intersections, or non-manifold edges. Non-manifold errors can confuse the slicer software and lead to printing failures. Before printing, always check your STL file for errors using mesh repair tools.
Slicing is the process of converting your 3D model (represented by the STL file) into a series of layers that the 3D printer can understand and build upon. The slicer software generates G-code, the machine language that controls the printer’s movements, temperature, and material extrusion. The choice of slicing parameters significantly impacts the print quality, strength, and printing time of your car model. Different parameters are needed for FDM vs Resin printers.
For FDM (Fused Deposition Modeling) printing, several key parameters need careful adjustment. Layer height determines the vertical resolution of your print. Lower layer heights (e.g., 0.1mm) produce smoother surfaces and finer details, but increase printing time. Infill percentage controls the internal density of the model. Higher infill increases strength but also consumes more material and extends print time. Temperature settings depend on the filament material used (PLA, PETG, ABS).
For resin printing (SLA/DLP/LCD), the key parameters are exposure time, layer thickness, and lift speed. Exposure time determines how long each layer is exposed to UV light, affecting the curing of the resin. Layer thickness defines the vertical resolution, similar to layer height in FDM. Lift speed controls how quickly the build plate moves between layers.
Support structures are essential for 3D printing models with overhangs or complex geometries. They provide temporary support to prevent sagging or deformation during the printing process. However, generating and removing supports can be challenging, and improper support placement can damage the surface of your car model. When downloading models from marketplaces such as 88cars3d.com, often optimized supports are already in place, making the process easier.
In FDM printing, supports are typically generated automatically by the slicer software. However, manual placement and adjustment are often necessary to optimize support strength and minimize surface damage. Focus on supporting overhangs greater than 45 degrees and areas with intricate details. Consider using support blockers to prevent supports from generating in areas where they are not needed.
Resin printing allows for more intricate and delicate support structures compared to FDM. Resin slicers typically offer different support types (light, medium, heavy) with varying thicknesses and densities. Lighter supports are easier to remove but may not be strong enough to support heavy overhangs. Heavier supports provide more stability but can be more difficult to remove and may leave more noticeable marks.
The choice of material plays a significant role in the appearance, durability, and overall realism of your 3D printed car model. Different materials offer varying properties, such as strength, flexibility, temperature resistance, and surface finish. Carefully consider your requirements and choose the material that best suits your needs. Both FDM and Resin printing offer a variety of materials.
For FDM printing, the most common materials are PLA (Polylactic Acid), PETG (Polyethylene Terephthalate Glycol), and ABS (Acrylonitrile Butadiene Styrene). PLA is a biodegradable thermoplastic that is easy to print and offers good surface finish. PETG is more durable and heat-resistant than PLA, making it suitable for functional parts. ABS is a strong and impact-resistant material, but it requires higher printing temperatures and is prone to warping.
Resin printing offers a wider range of materials with specialized properties. Standard resin is suitable for general-purpose printing and provides good detail resolution. Tough resin is designed for parts that require high strength and impact resistance. Flexible resin allows for printing flexible and elastic parts.
Post-processing is the final stage in the 3D printing process, where you refine and enhance the appearance of your car model. This may involve removing support structures, sanding down imperfections, filling gaps, priming, painting, and applying decals. Post-processing is crucial for achieving a professional, realistic finish.
Sanding is used to remove layer lines and smooth out the surface of your car model. Start with coarse sandpaper (e.g., 220 grit) and gradually move to finer grits (e.g., 400, 600, 800 grit) to achieve a smooth, polished surface. Filling is used to fill in gaps or imperfections in the model. Use a putty or filler specifically designed for plastics. Priming provides a smooth, uniform surface for painting and improves paint adhesion. Apply several thin coats of primer, allowing each coat to dry completely before applying the next.
Painting is where your car model truly comes to life. Use high-quality acrylic paints specifically designed for model making. Apply multiple thin coats of paint, allowing each coat to dry completely before applying the next. Use masking tape to create clean lines and separate different colors. Apply decals to add realistic details such as logos, racing stripes, and license plates. Consider using an airbrush for a smooth, even finish.
Even with careful planning and execution, you may encounter issues during the 3D printing process. Here are some common problems and their solutions:
3D printing realistic car models from STL files is a rewarding and engaging process. By understanding the fundamentals of STL file structure, optimizing slicing parameters, generating effective support structures, selecting the right materials, and mastering post-processing techniques, you can create stunningly detailed replicas that capture the essence of your favorite automobiles. Don’t be afraid to experiment with different settings and materials to find what works best for your printer and your desired results. Remember that marketplaces such as 88cars3d.com are excellent resources for high-quality STL files and can greatly simplify your model making journey.
Here are some actionable steps to get started:
With patience, practice, and attention to detail, you can unlock the full potential of 3D printing and create a collection of impressive car models that you can be proud of.
“`

Texture: Yes | Material: Yes
Download the highly detailed, game-ready Ducati 1299 Panigale S 2017 3D Model. Features signature aerodynamic fairings, detailed Superquadro engine components, and aggressive Italian styling. Includes .blend, .fbx, .obj, .glb, .stl, .ply, .unreal, and .max formats for game development, AR/VR, and rendering.
Price: $19.99
Texture: Yes | Material: Yes
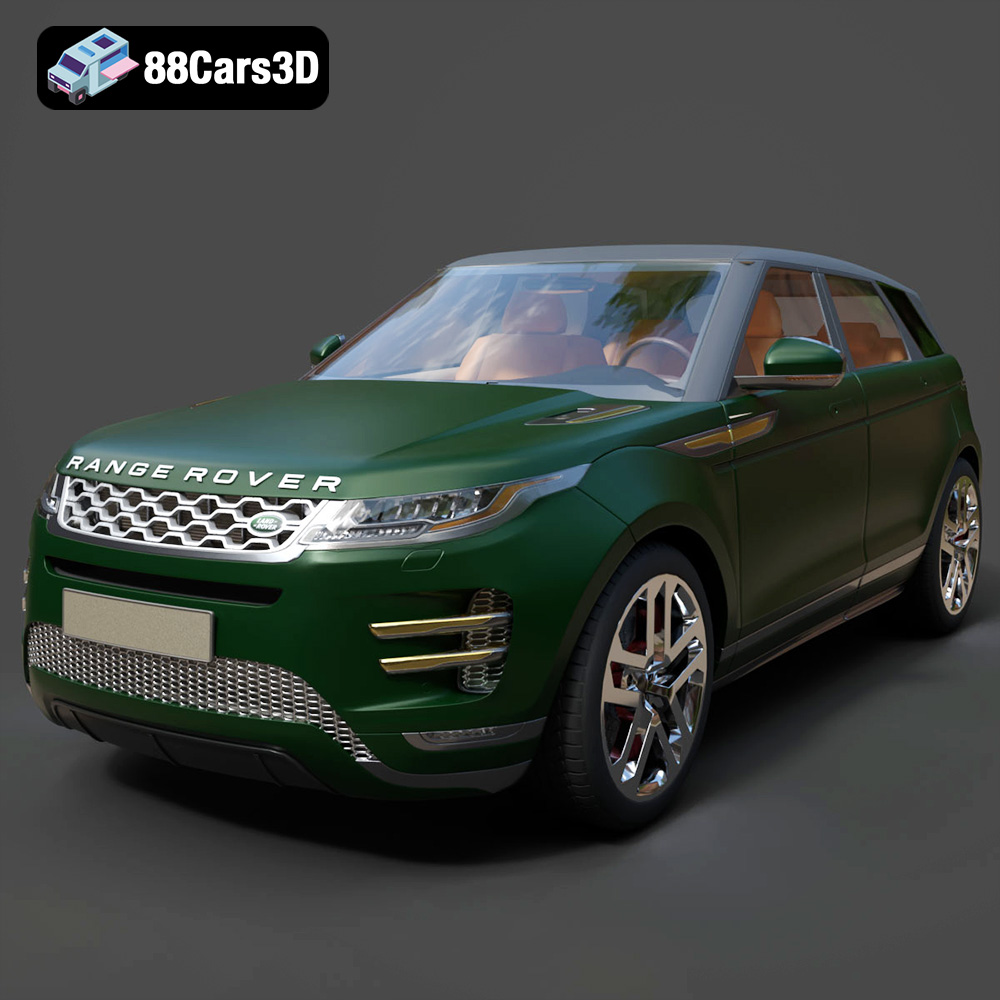
Download the highly detailed, game-ready Range Rover Evoque R-Dynamic 2019 3D Model. Features flush deployable door handles, Matrix LED headlights, and R-Dynamic styling. Includes .blend, .fbx, .obj, .glb, .stl, .ply, .unreal, and .max formats for game development, AR/VR, and rendering.
Price: $19.99
Texture: Yes | Material: Yes
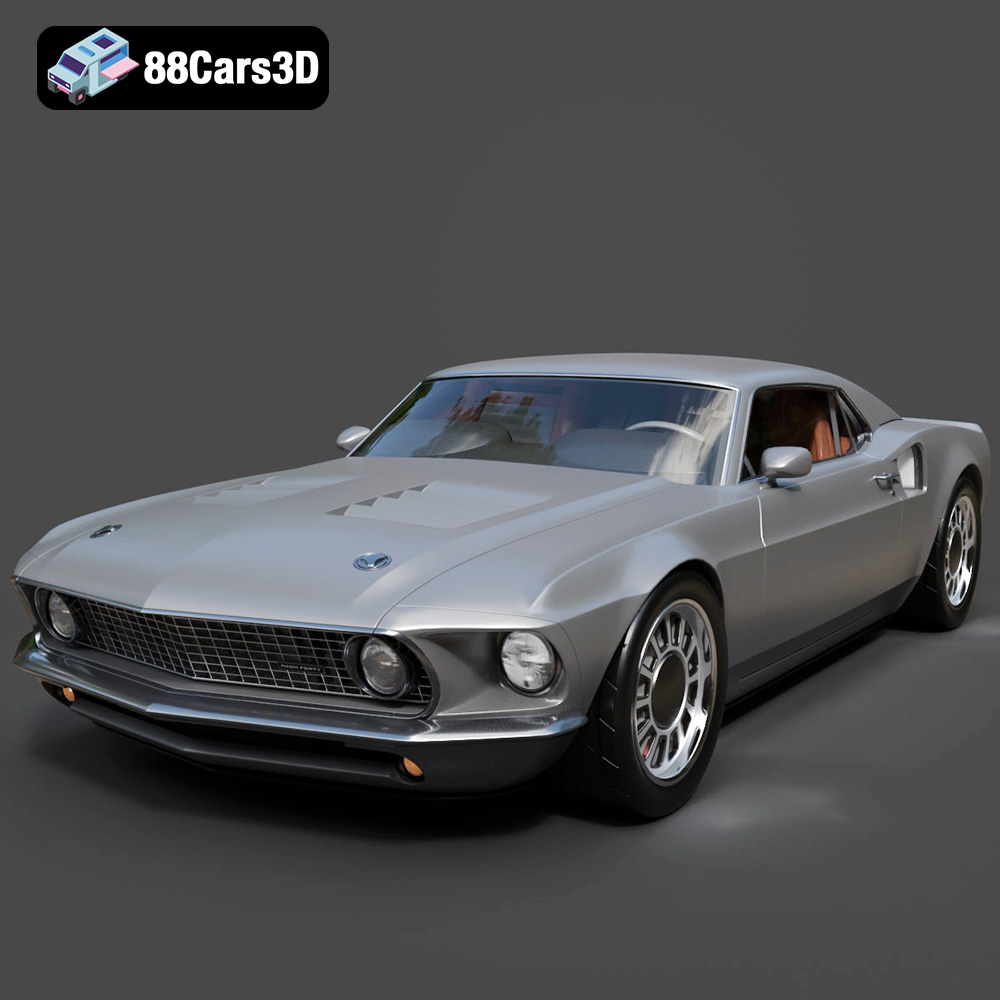
Download the highly detailed, game-ready Ford Mustang Mach 40 3D Model. Features aggressive custom widebody styling, a mid-mounted V8 engine, and classic retro-futuristic design. Includes .blend, .fbx, .obj, .glb, .stl, .ply, .unreal, and .max formats for game development, AR/VR, and rendering.
Price: $19.99
Texture: Yes | Material: Yes
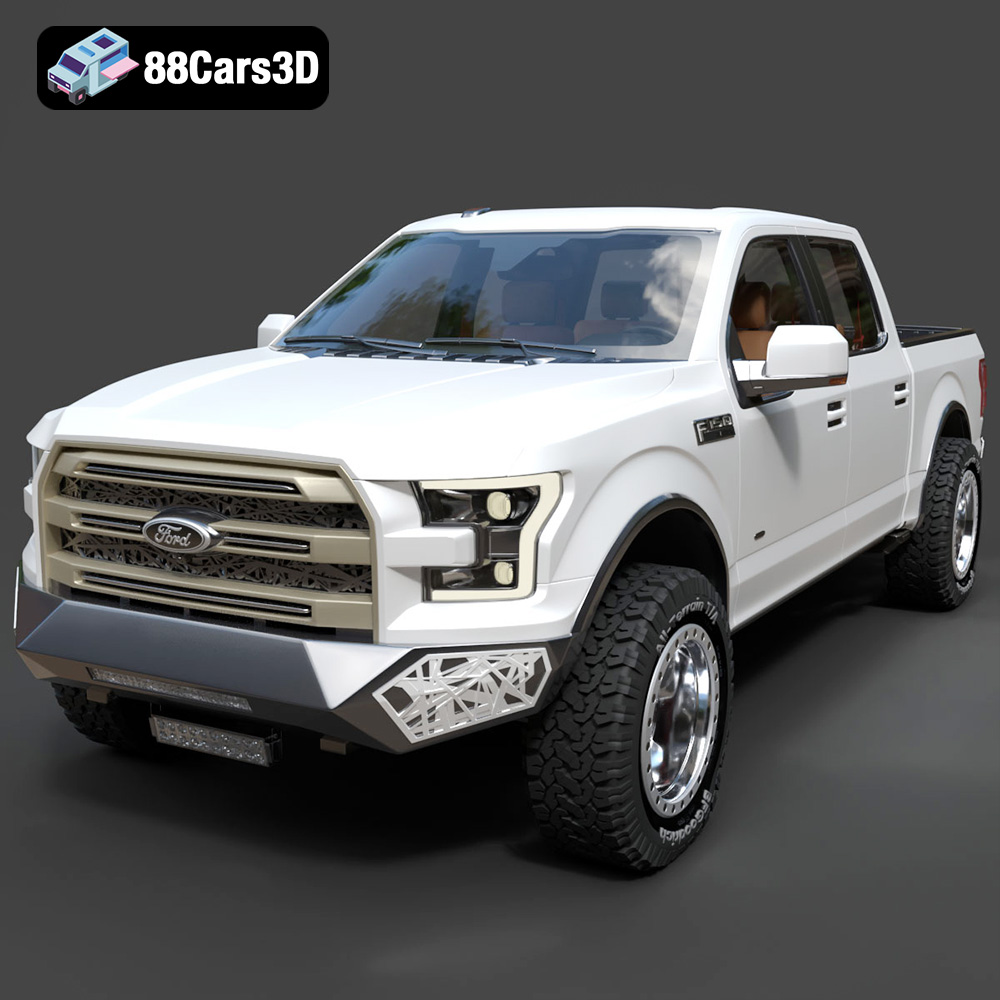
Download the highly detailed, game-ready Ford F150 Raptor With Tuning From ARE 3D Model. Features custom ARE tuning accessories, aggressive off-road suspension, and rugged beadlock wheels. Includes .blend, .fbx, .obj, .glb, .stl, .ply, .unreal, and .max formats for game development, AR/VR, and rendering.
Price: $19.99

Texture: Yes | Material: Yes
Download the highly detailed, game-ready Mercedes-Benz AMG GLE 63 2021 3D Model. Features the iconic Panamericana grille, aggressive aerodynamic body styling, and a meticulously detailed luxurious interior. Includes .blend, .fbx, .obj, .glb, .stl, .ply, .unreal, and .max formats for game development, AR/VR, and rendering.
Price: $19.99
Texture: Yes | Material: Yes
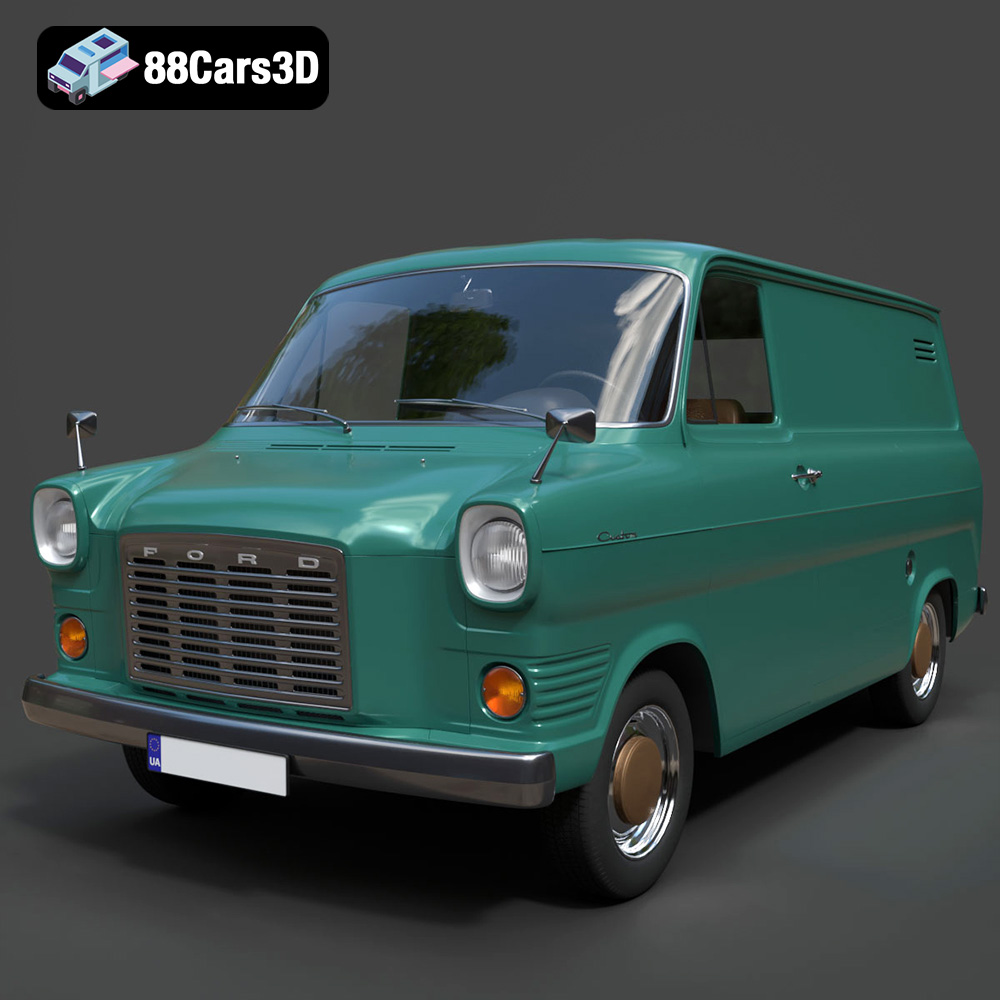
Download the highly detailed, game-ready Ford Transit Mk1 Panel Van 1965 3D Model. Features iconic flat-front styling, vintage steel wheels, and a period-correct cargo bay. Includes .blend, .fbx, .obj, .glb, .stl, .ply, .unreal, and .max formats for game development, AR/VR, and rendering.
Price: $19.99
Texture: Yes | Material: Yes
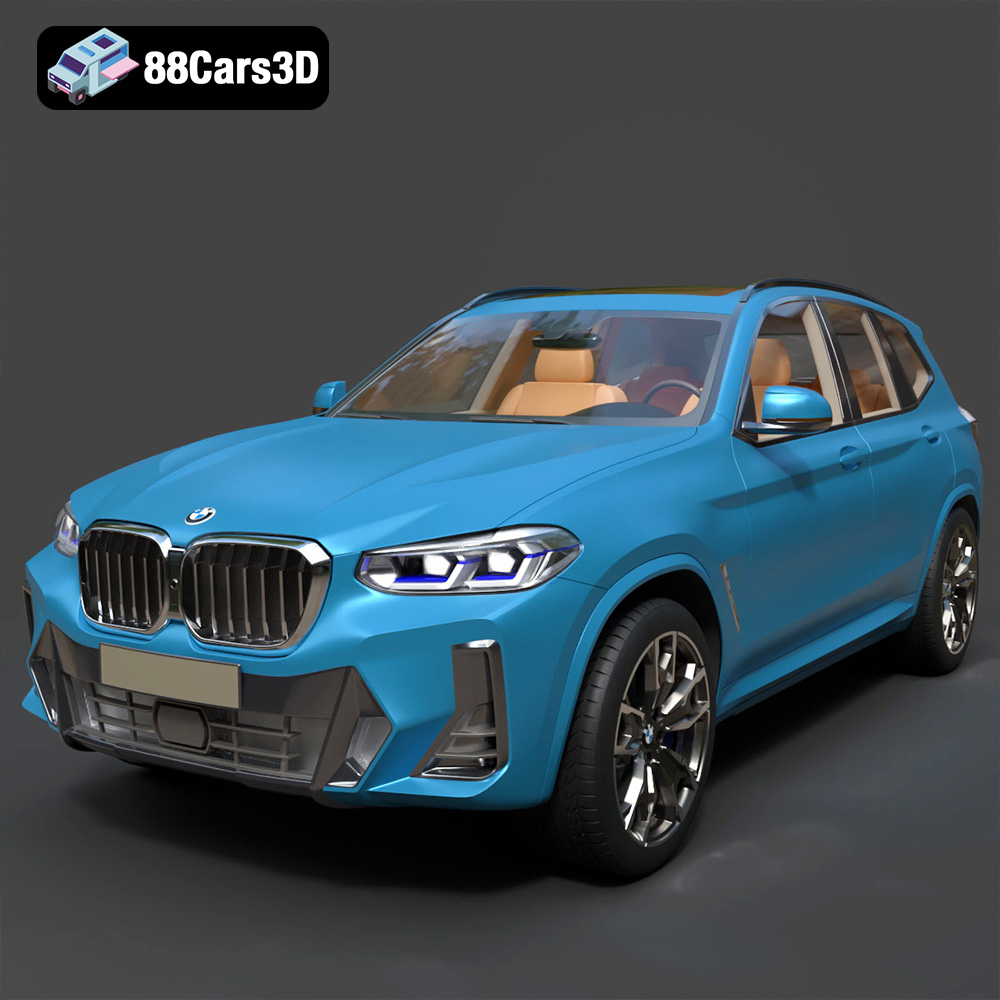
Download the highly detailed, game-ready BMW X3 2024 3D Model. Features the iconic kidney grille, dynamic SUV proportions, and precise lighting elements. Includes .blend, .fbx, .obj, .glb, .stl, .ply, .unreal, and .max formats for game development, AR/VR, and rendering.
Price: $19.99

Texture: Yes | Material: Yes
Download the highly detailed, game-ready Tesla Model S Plaid 2021 3D Model. Features sleek aerodynamic styling, signature LED lighting, and the revolutionary Yoke steering interior. Includes .blend, .fbx, .obj, .glb, .stl, .ply, .unreal, and .max formats for game development, AR/VR, and rendering.
Price: $19.99
Texture: Yes | Material: Yes
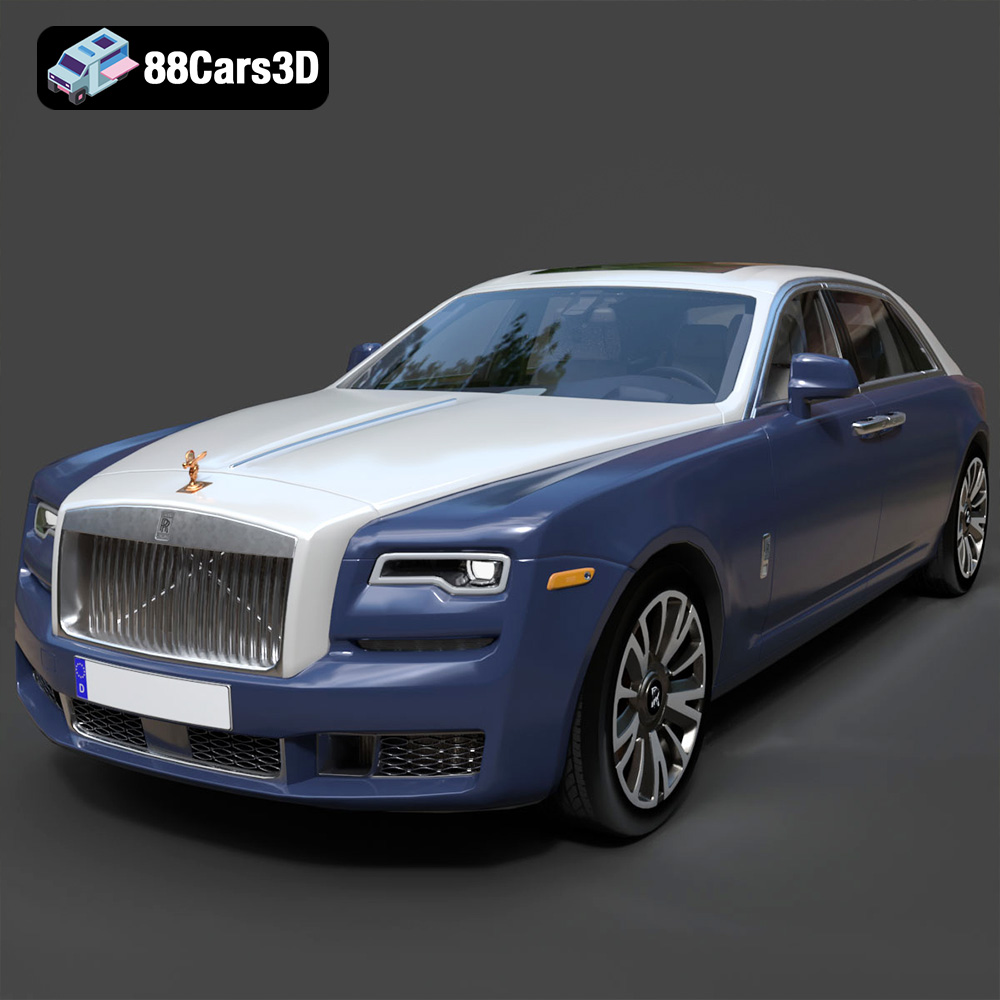
Download the highly detailed, game-ready Rolls-Royce Ghost EWB 2018 3D Model. Features the iconic Pantheon grille, elongated luxury chassis, and elegant exterior lines. Includes .blend, .fbx, .obj, .glb, .stl, .ply, .unreal, and .max formats for game development, AR/VR, and rendering.
Price: $19.99
Texture: Yes | Material: Yes
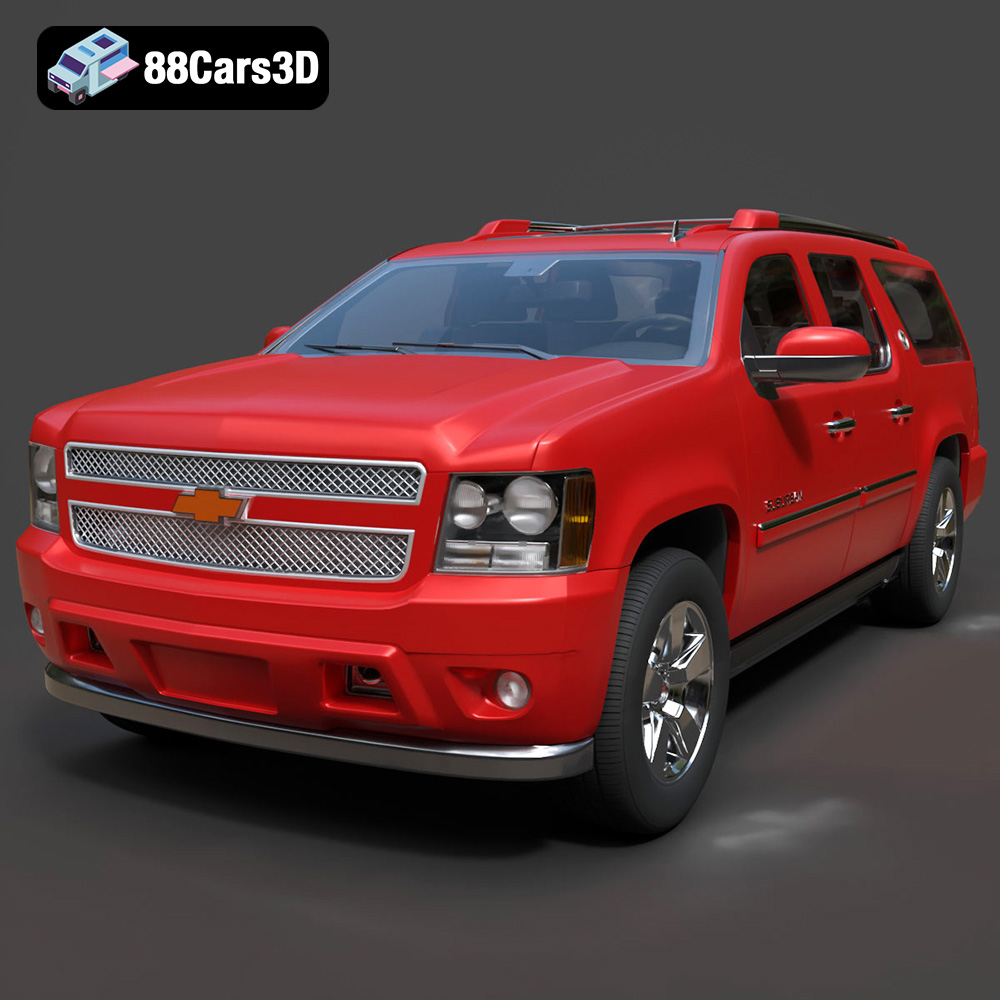
Download the highly detailed, game-ready Chevrolet Suburban 75th Diamond 3D Model. Features the iconic Diamond Edition styling, detailed interior, and accurate full-size SUV proportions. Includes .blend, .fbx, .obj, .glb, .stl, .ply, .unreal, and .max formats for game development, AR/VR, and rendering.
Price: $19.99

