

In modern real-time automotive visualization and high-end game development, static lighting and clear blue skies no longer suffice. To deliver immersive experiences—whether for interactive showroom configurators, virtual production, or AAA driving simulators—vehicles must interact believably with dynamic, evolving atmospheric conditions. A pristine supercar parked under a bright sun conveys design elegance, but that same vehicle tearing through a rain-slicked asphalt turn at twilight with glowing brake discs and water streaming across its clearcoat tells an unforgettable story.
Creating a fully dynamic dynamic weather system in Unreal Engine requires a tightly integrated technical framework. It demands seamless communication between visual scripting, global shaders, volumetric atmospheric systems, dynamic particle simulations, and real-time physics. In this comprehensive guide, we will step through building an enterprise-grade weather engine capable of driving real-time surface wetness, dynamic puddle accumulation, realistic glass droplet physics, adaptive lighting via Lumen, and dynamic vehicle handling tweaks.
Whether you are building custom interactive drive scenes or high-fidelity cinematics, leveraging production-ready vehicle geometry—such as the high-detail assets found on 88cars3d.com—ensures that your shaders and physics operate on clean UV maps and accurate physical bounds. Let’s dive into the core architecture of an advanced dynamic weather system in Unreal Engine.
—
A scalable dynamic weather engine should be controlled through a centralized architecture. Rather than updating hundreds of individual materials and actor parameters individually, we centralize state management using a Master Weather Manager Blueprint combined with Unreal Engine’s Material Parameter Collections (MPC).
A Material Parameter Collection allows global scalar and vector variables to be referenced across every material in your project simultaneously without incurring heavy shader re-compilation costs or runtime CPU overhead. To set this up:
Materials & Textures > Material Parameter Collection and name it MPC_WeatherSystem.Global_Wetness (0.0 to 1.0): Drives global surface darkening, glossiness, and specularity.Puddle_Accumulation (0.0 to 1.0): Controls local vertex/normal height-based puddle filling.Rain_Intensity (0.0 to 1.0): Adjusts ripple frequency, particle spawn rate, and splash density.Snow_Coverage (0.0 to 1.0): Controls top-down directional snow accumulation masks.Wind_Direction_Speed (RGB = Direction XYZ, Alpha = Wind Speed): Drives foliage movement, rain particle vector angles, and ripple pan speed.Rain_Streak_Params (X = Tiling, Y = Speed, Z = Intensity): Controls glass wetness motion vectors.The Master Weather Manager (BP_WeatherManager) acts as the brain of the atmospheric system. It transitions smoothly between predefined weather states (e.g., Clear, Light Rain, Heavy Downpour, Foggy, Snow) by altering scalar and vector values over time using Timeline Nodes or Smooth Step Interpolation (FInterp To).
E_WeatherState containing entries like Clear, Overcast, LightRain, HeavyRain, and Storm.BP_WeatherManager, construct a custom event SetWeatherState that takes E_WeatherState as an input.Switch on E_WeatherState node to execute target parameters. Use a timeline to transition target floats over a set duration (e.g., 30 seconds for gradual weather shifts).MPC_WeatherSystem.For detailed references on Blueprint architecture and framework updates, review the official Unreal Engine Learning Hub.
—
Vehicles feature specialized surface properties including multi-layered clearcoats, metallic flakes, carbon fiber textures, and hydrophobic glass. When rain falls, these materials must react with pinpoint physical accuracy.
To make world surfaces and vehicles react to rain, create a reusable Material Function (MF_WeatherResponse) and plug it into the Master Materials of your environment and vehicle assets. Sourcing properly structured materials from specialized automotive libraries like 88cars3d.com guarantees clean PBR texture channels (Roughness, Metallic, Normal, Ambient Occlusion) that seamlessly accept dynamic weather functions.
The standard PBR wetness workflow relies on three main principles:
1.0 - (Global_Wetness * AbsorptiveFactor).Lerp) the original Roughness map toward a value between 0.02 and 0.05 using Global_Wetness as the alpha.0.255. Blend the base Specular output toward this value as wetness approaches 1.0.Unreal Engine’s Clear Coat Shading Model allows for secondary specular highlights, replicating the deep lacquer coat over automotive paint. To simulate dynamic water bead formation on hydrophobic car bodies:
BlendAngleCorrectedNormals node.Global_Wetness parameter combined with a vertical slope mask using the World Normal vector’s Z-component. Water beads pool heavily on flat surfaces (hood, roof, trunk) while running off steep vertical panels (doors, side skirts).Puddles should not appear uniformly across asphalt or vehicle surfaces. They form in low topographic recesses based on micro-heightmaps:
// Pseudocode representation of Puddle Mask Logic inside Material Graph
float HeightMapVal = TextureSample(HeightMap, UV).r;
float PuddleThreshold = 1.0 - MPC_Puddle_Accumulation;
float PuddleMask = Saturate((HeightMapVal - PuddleThreshold) / AntiAliasingSoftness);

// Blend Base Normal with Panning Ripple Normals
float2 AnimatedUV1 = UV * RippleScale + (Time * WindVector.xy);
float2 AnimatedUV2 = UV * (RippleScale * 1.3) - (Time * WindVector.xy * 0.8);
float3 NormalRipple = BlendNormals(TextureSample(RippleMap, AnimatedUV1), TextureSample(RippleMap, AnimatedUV2));

float3 FinalNormal = Lerp(BaseNormal, NormalRipple, PuddleMask * MPC_Rain_Intensity);
—
Dynamic weather requires immediate synchronization with real-time global illumination and atmospheric scattering systems. Unreal Engine’s Lumen and Volumetric Atmospheric Lighting features allow dynamic sky updates as cloud cover density shifts.
In `BP_WeatherManager`, drive the following parameters on Unreal Engine’s native atmospheric actors:
Layer Bottom Altitude, Layer Height, and cloud material density parameters. Increase cloud layer density from 0.2 (partly cloudy) to 0.85 (overcast storm) as weather shifts.Intensity and lower Temperature (shifting from a warm 6500K daylight to a cool 7500K overcast shadow). Enable Atmosphere Sun Light Index updates so sunlight dims naturally as volumetric cloud shadows darken the terrain.Recapturesky() or allow real-time capture via Lumen to reflect updated ambient skylight values across dynamic car bodies.Volumetric Fog gives rainstorms physical depth, scattering headlight beams and ambient city lights in real time:
Fog Density to 0.005 and Volumetric Fog Scattering Distribution to 0.9.Fog Density to 0.035 or higher, and lower View Distance.—
Unreal Engine’s Niagara Particle System handles heavy particle loads entirely on the GPU, allowing millions of falling rain drops, dynamic splash particles, and windshield mist layers to render efficiently alongside high-polygon vehicle meshes.
Create a master Niagara System (NS_DynamicWeather) containing independent modules for continuous rain streaks, fine fog mist, and dynamic floor splashes.
MPC_WeatherSystem.Rain_Intensity using a User Exposed Float parameter (e.g., scaling from 0 to 50,000 particles/sec).Wind_Direction_Speed vector.A crucial detail in vehicle visualization is functional windshield wipers clearing rainwater from glass in real time. This is achieved using **Render Targets** and dynamic mask blending:
RT_WindshieldMask).RT_WindshieldMask, clearing away the white wetness mask applied by the windshield shader.RT_WindshieldMask.R. The area swept by the wiper blade will immediately clear, leaving clean glass, while un-wiped areas retain dense rain bead accumulation.—
Dynamic weather should affect handling dynamics as well as visuals. When high-fidelity vehicle models—such as those available on 88cars3d.com—are placed into heavy rain, physical tires must react realistically to reduced surface friction.
Unreal Engine’s Chaos Vehicles system relies on physical materials assigned to wheels and road geometry to compute traction curves, lateral friction, and tire slip.
PM_Asphalt_Dry (Friction = 0.85) and PM_Asphalt_Wet (Friction = 0.45).BP_WeatherManager, update surface friction dynamically via Blueprint logic, or dynamically adjust wheel friction scales:// Blueprint logic snippet in Vehicle Pawn on Weather Event
void ABaseVehiclePawn::UpdateSurfaceHandling(float GlobalWetness)
{
float NewFrictionMultiplier = FMath::Lerp(1.0f, 0.5f, GlobalWetness);
for (UChaosVehicleWheel* Wheel : VehicleMovementComponent->Wheels)
{
Wheel->FrictionForceMultiplier = NewFrictionMultiplier;
}
}
Atmospheric immersion requires matching dynamic soundscapes using Unreal Engine’s MetaSounds system:
Rain_Intensity and vehicle speed parameters directly into MetaSound Audio Graph inputs.—
High-fidelity weather systems, full dynamic lighting with Lumen, and dense vehicle polygon counts can quickly degrade GPU performance without strict optimization strategies.
Unreal Engine’s Nanite Virtualized Geometry seamlessly processes high-polygon vehicle meshes and detailed environment geometry. When applying complex weather materials across Nanite meshes, follow these performance rules:
Dither Temporal AA nodes for smooth distance transitions without translucent draw-call overhead.Prevent GPU bottlenecks during heavy rain scenes using Niagara optimization settings:
To ensure your real-time automotive scene maintains stable framerates across target devices, maintain performance metrics within the following parameters:
| Performance Metric | Target Budget (60 FPS Workstation) | Target Budget (30 FPS Console/VR) |
|---|---|---|
| Base GPU Frame Time | < 16.6 ms | < 33.3 ms |
| Weather Shader Overhead | 1.5 ms – 2.5 ms max | 3.0 ms max |
| Niagara Compute Simulation | < 1.0 ms | < 1.5 ms |
| Lumen GI & Reflections | 4.0 ms – 5.5 ms | 6.0 ms – 8.0 ms |
—
To implement this complete dynamic weather solution into your own project, execute tasks in the following structured sequence:
MPC_WeatherSystem collection asset and populate scalar/vector entries.MF_WeatherResponse and incorporate wetness, clearcoat ripple, and roughness modifications into your Master Materials.BP_WeatherManager to drive MPC parameters, Volumetric Fog, and Sky Atmosphere parameters using smooth Timelines.NS_DynamicWeather, wiring parameters to MPC_WeatherSystem inputs and configuring GPU collisions for splashes.stat GPU and Unreal Insights to monitor frame rendering times, adjusting particle density and shader instructions as necessary.—
Creating dynamic weather systems in Unreal Engine bridges the gap between static visualization and dynamic reality. By controlling atmospheric elements using central Material Parameter Collections, leveraging physical rendering principles for wet surfaces, building responsive Niagara FX, and syncing vehicle dynamics, you elevate your automotive scenes to true broadcast quality.
When combined with meticulously modeled high-polygon vehicles—like the ready-to-render automotive assets from 88cars3d.com—you can create jaw-dropping, highly immersive real-time environments that captivate audiences under any weather condition.
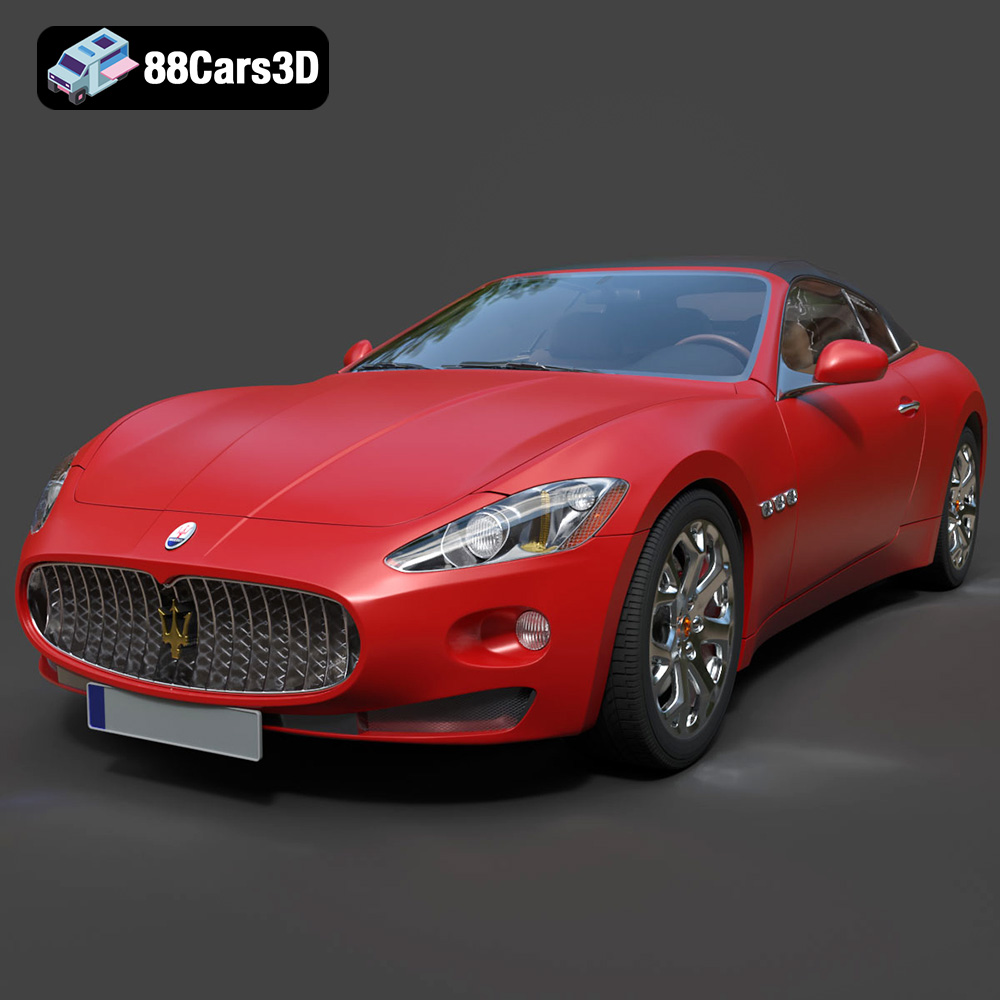
Texture: Yes | Material: Yes
Download the highly detailed, game-ready Maserati GranTurismo 3D Model. Features iconic Trident grille styling, sweeping aerodynamic coupe contours, and a fully modeled luxury cockpit. Includes .blend, .fbx, .obj, .glb, .stl, .ply, .unreal, and .max formats for game development, AR/VR, and rendering.
Price: $193.00
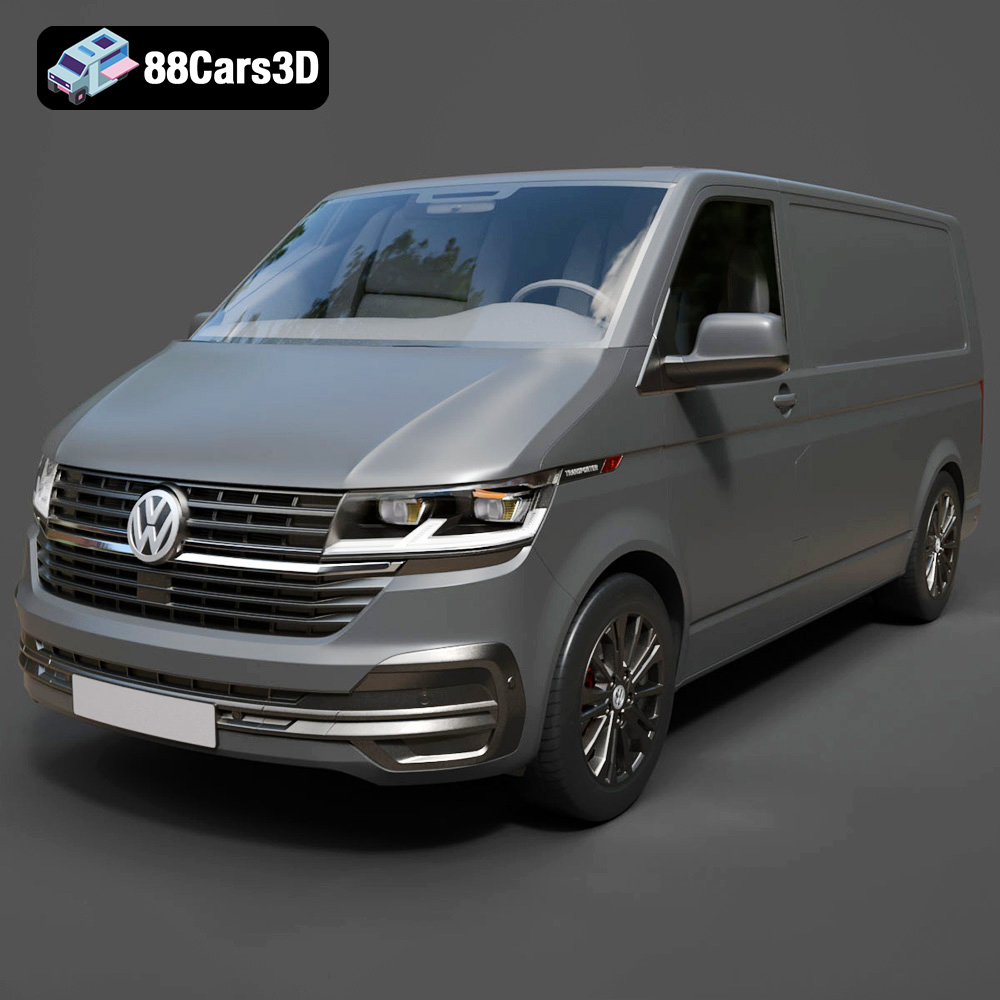
Texture: Yes | Material: Yes
Download the highly detailed, game-ready Volkswagen Transporter T6.1 Panelvan 2020 3D Model. Features authentic front grille styling, commercial panelvan body contours, and an accurately modeled cabin interior. Includes .blend, .fbx, .obj, .glb, .stl, .ply, .unreal, and .max formats for game development, AR/VR, and rendering.
Price: $264.50
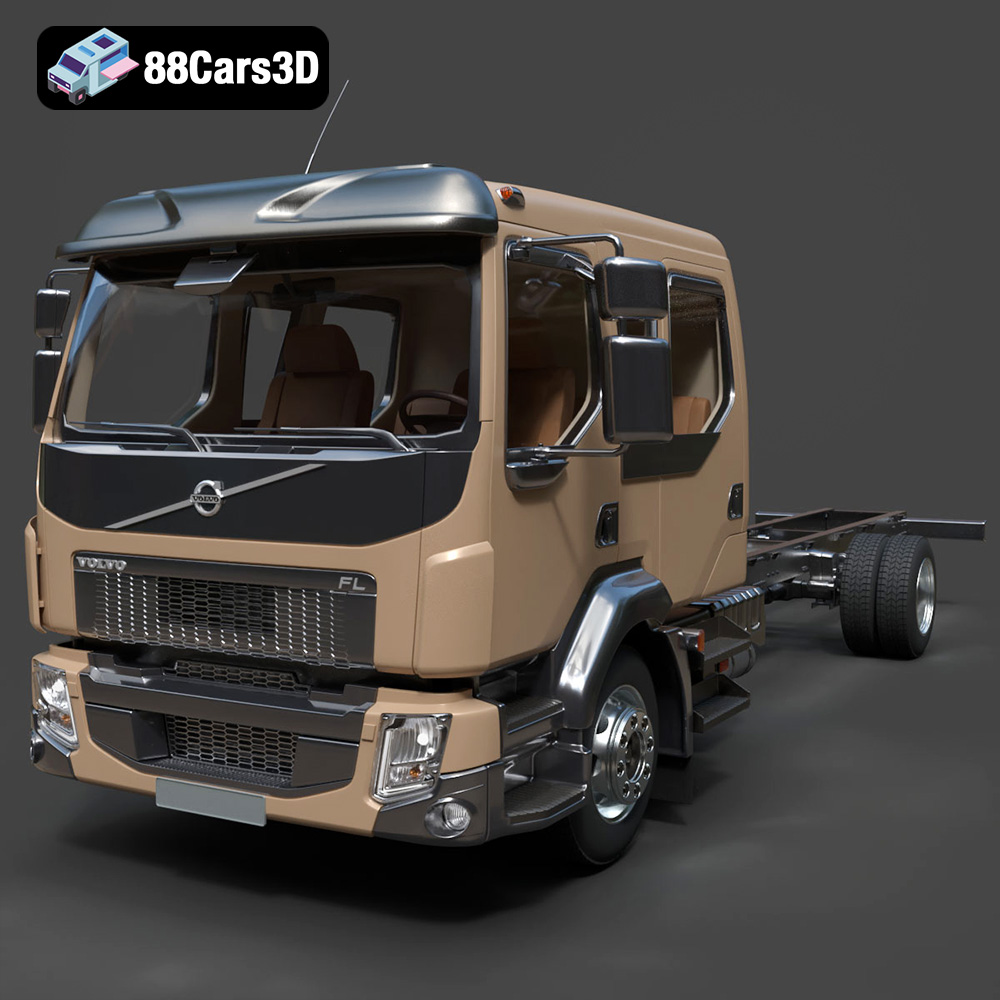
Texture: Yes | Material: Yes
Download the highly detailed, game-ready Volvo FL Crew Cab Chassis Truck 2013 3D Model. Features extended crew cab styling, modular commercial ladder chassis, and authentic commercial lighting and wheel setups. Includes .blend, .fbx, .obj, .glb, .stl, .ply, .unreal, and .max formats for game development, AR/VR, and rendering.
Price: $274.50
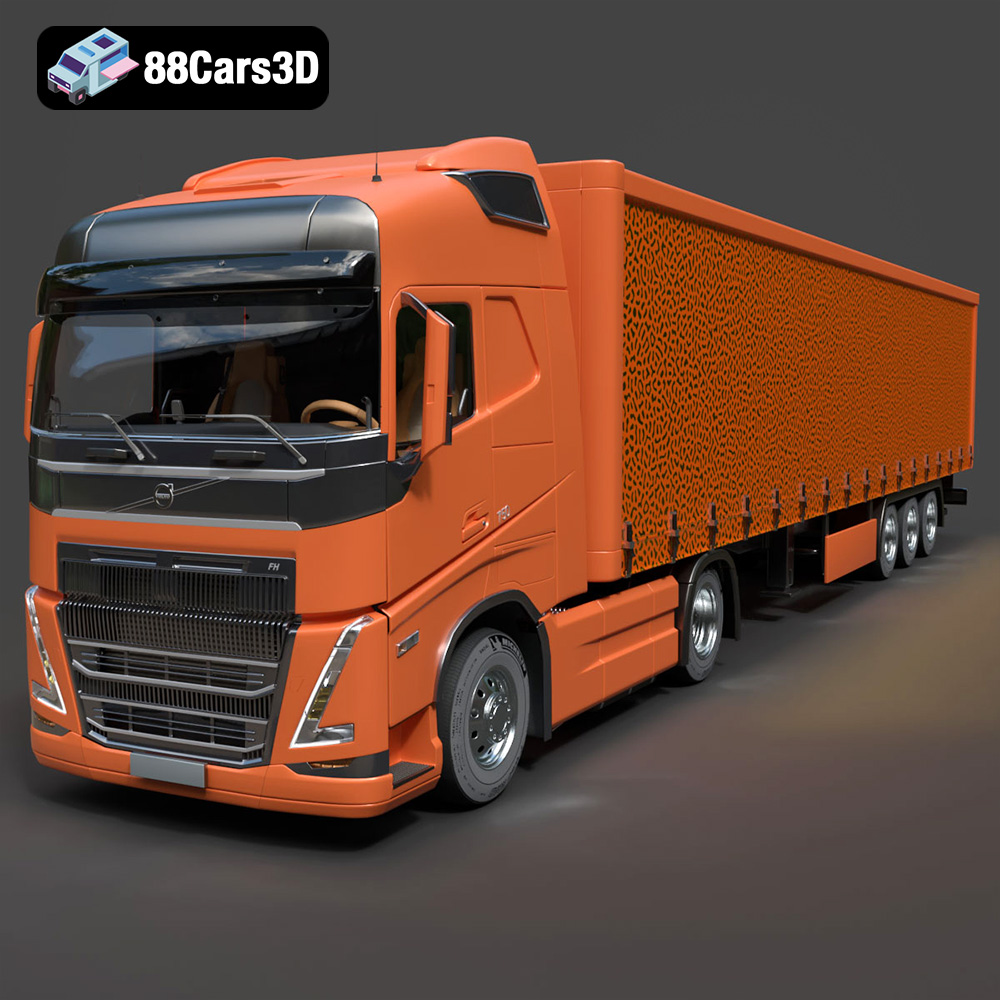
Texture: Yes | Material: Yes
Download the highly detailed, game-ready Volvo FH16 3D Model. Features aerodynamic Globetrotter cab styling, high-detail chassis and drivetrain, and realistic exterior lighting. Includes .blend, .fbx, .obj, .glb, .stl, .ply, .unreal, and .max formats for game development, AR/VR, and rendering.
Price: $299.50
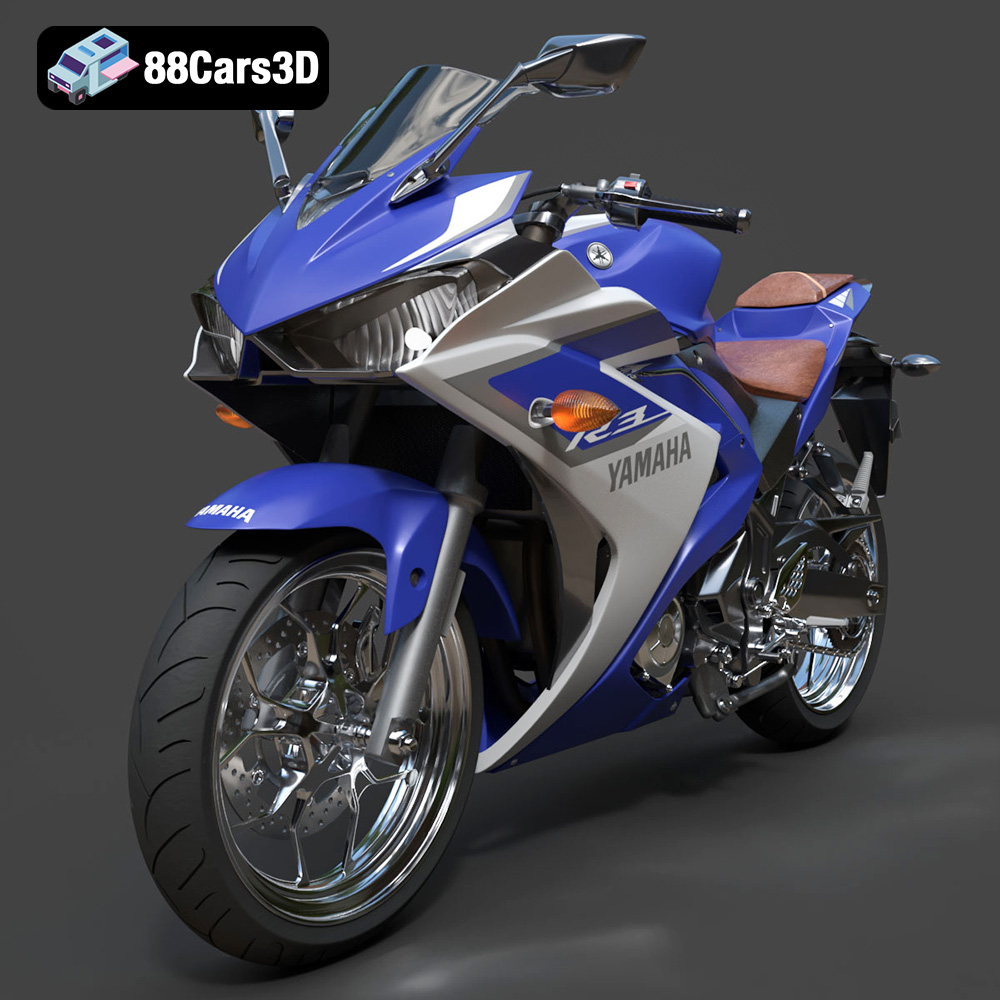
Texture: Yes | Material: Yes
Download the highly detailed, game-ready Yamaha YZF R3 2015 3D Model. Features aerodynamic supersport fairings, detailed parallel-twin engine, and high-fidelity cockpit. Includes .blend, .fbx, .obj, .glb, .stl, .ply, .unreal, and .max formats for game development, AR/VR, and rendering.
Price: $227.00
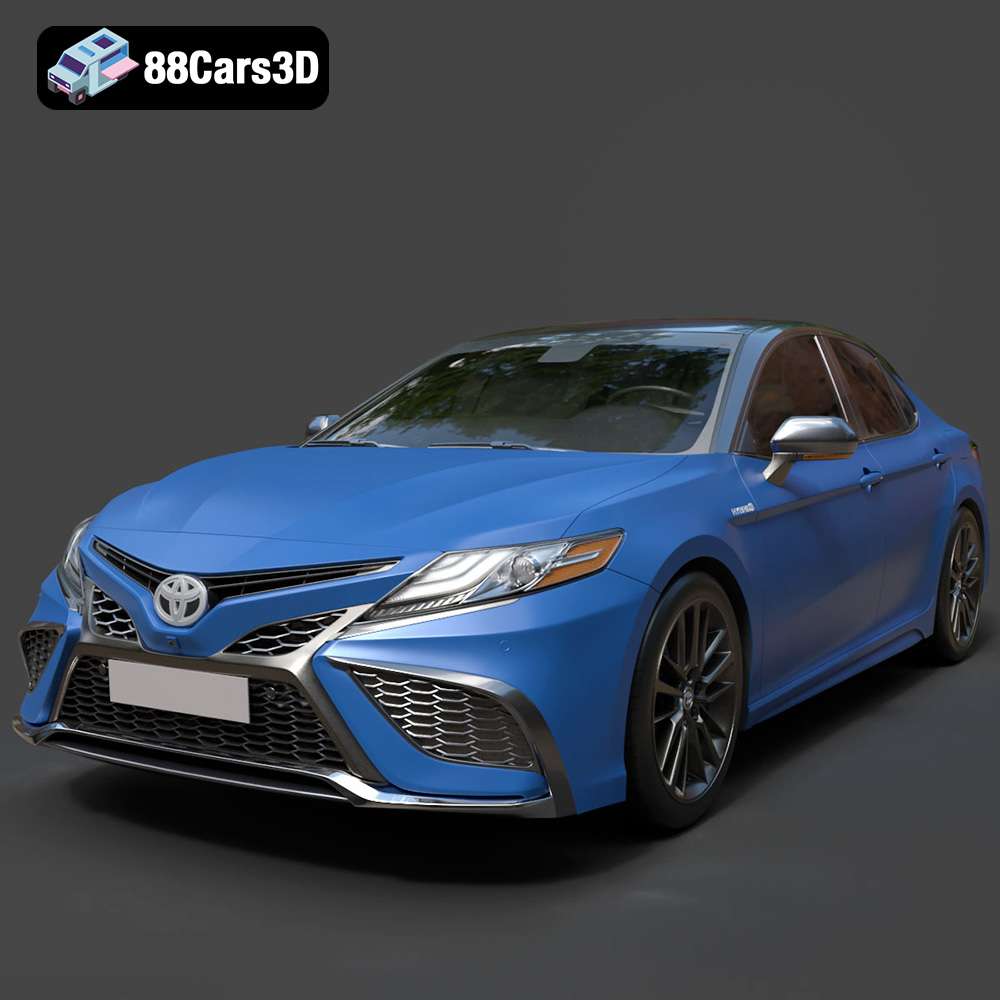
Texture: Yes | Material: Yes
Download the highly detailed, game-ready Toyota Camry XSE 2021 3D Model. Features an aggressive sport mesh grille, sculpted aerodynamic styling, and quad exhaust tips. Includes .blend, .fbx, .obj, .glb, .stl, .ply, .unreal, and .max formats for game development, AR/VR, and rendering.
Price: $271.50
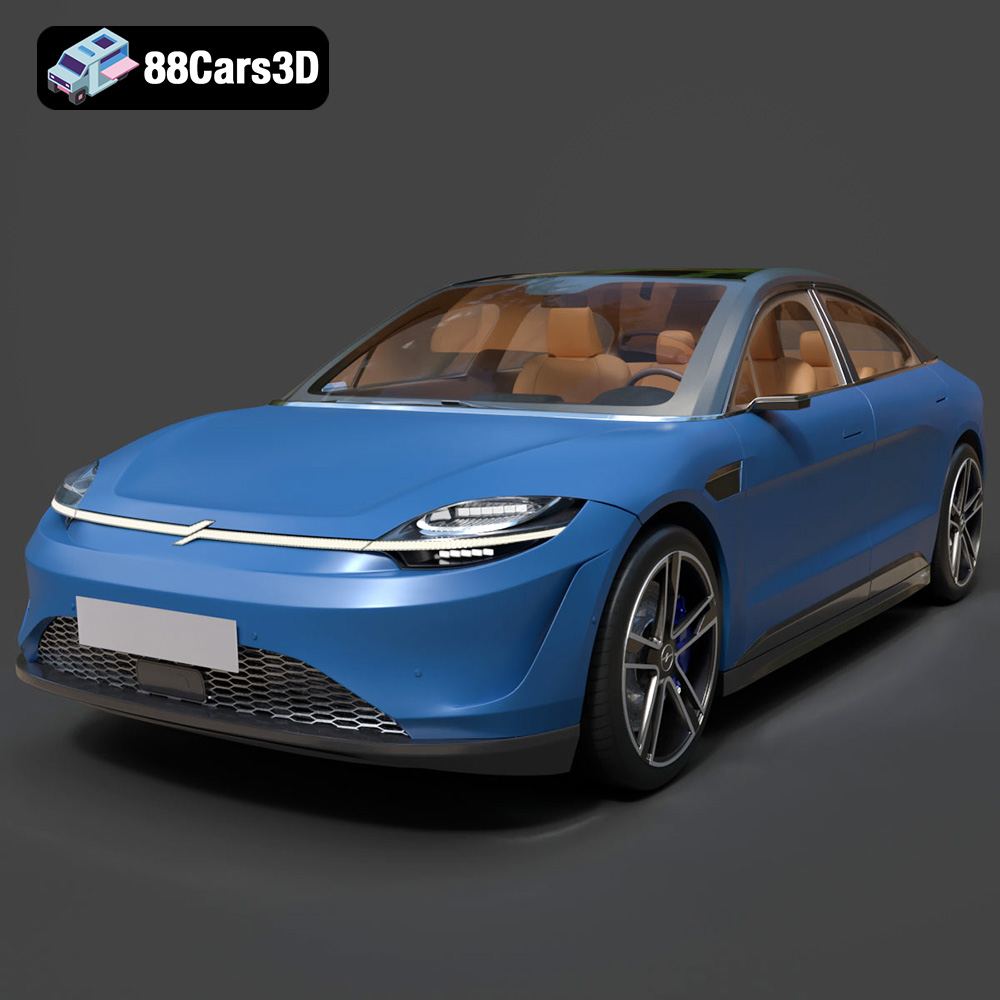
Texture: Yes | Material: Yes
Download the highly detailed, game-ready Sony Vision S 2020 3D Model. Features aerodynamic fastback styling, futuristic panoramic multi-screen cockpit, and advanced sensor integrations. Includes .blend, .fbx, .obj, .glb, .stl, .ply, .unreal, and .max formats for game development, AR/VR, and rendering.
Price: $221.00
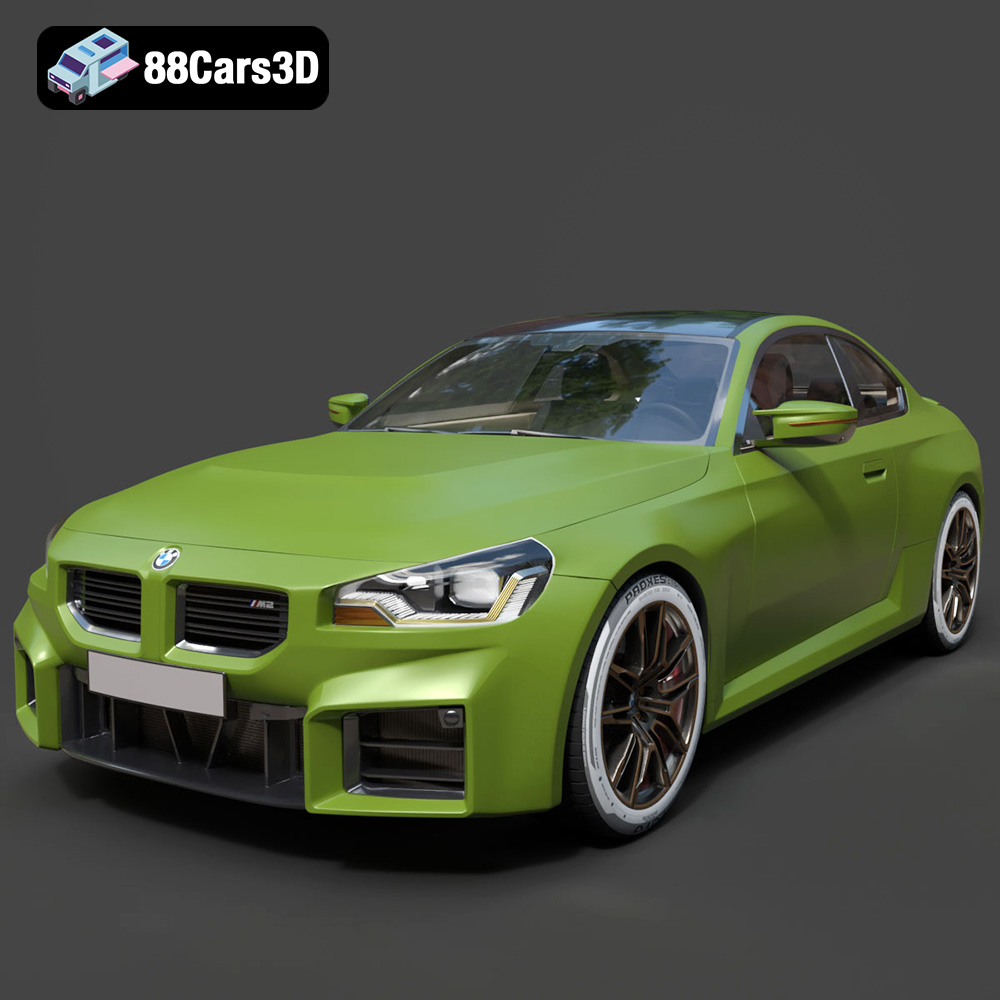
Texture: Yes | Material: Yes
Download the highly detailed, game-ready BMW M2 3D Model. Features aggressive widebody styling, quad exhaust diffuser, and a fully rendered cockpit interior. Includes .blend, .fbx, .obj, .glb, .stl, .ply, .unreal, and .max formats for game development, AR/VR, and rendering.
Price: $283.00
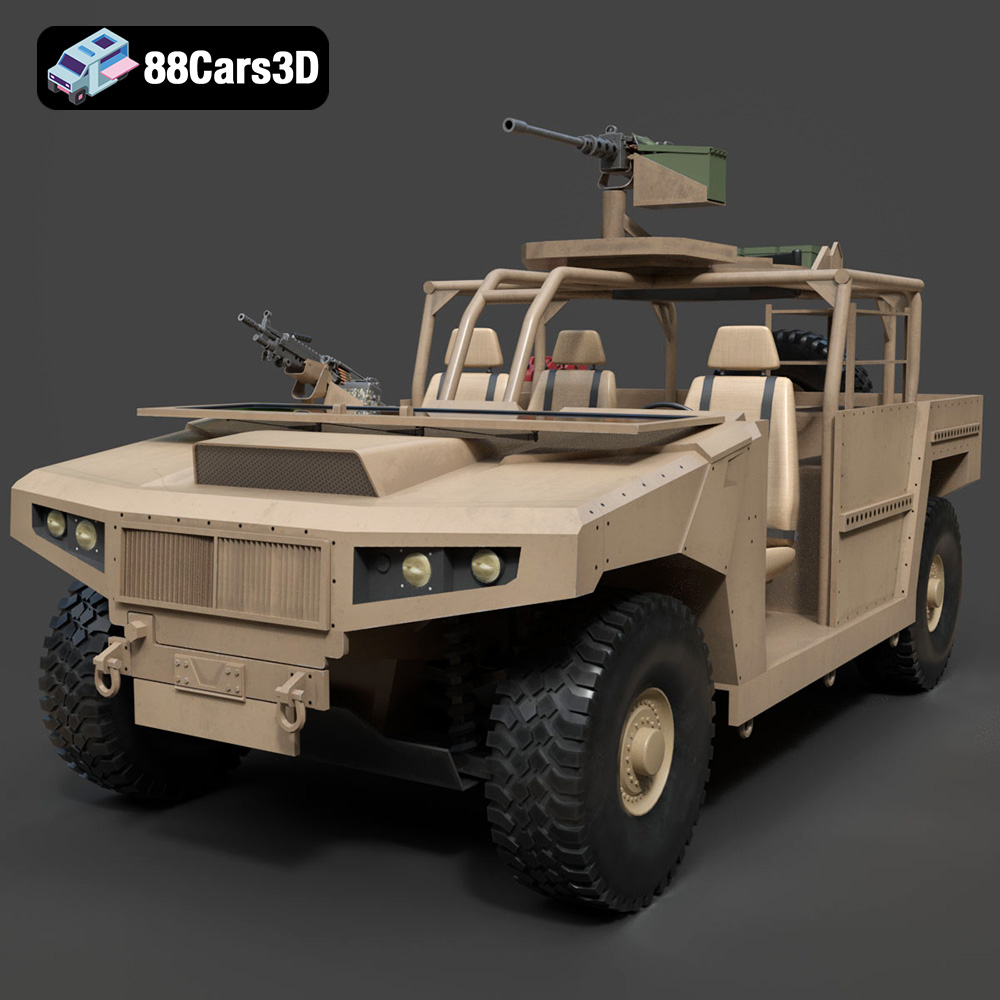
Texture: Yes | Material: Yes
Download the highly detailed, game-ready Aquus AREG Light Tactical Vehicle 3D Model. Features reinforced tubular frame, high-clearance military suspension, and modular tactical equipment. Includes .blend, .fbx, .obj, .glb, .stl, .ply, .unreal, and .max formats for game development, AR/VR, and rendering.
Price: $99.99
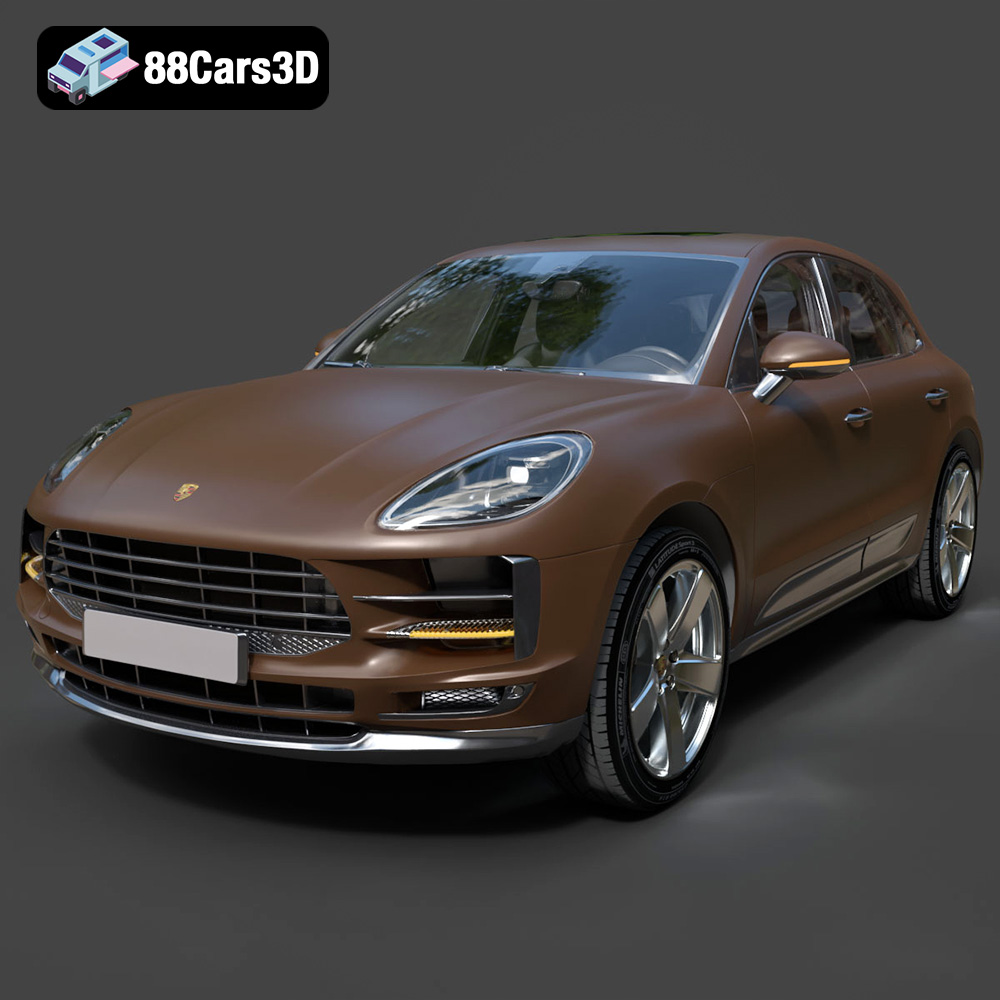
Texture: Yes | Material: Yes
Download the highly detailed, game-ready Porsche Macan 2019 3D Model. Features signature four-point LED headlights, sculpted aerodynamic SUV curves, and a fully modeled luxury interior. Includes .blend, .fbx, .obj, .glb, .stl, .ply, .unreal, and .max formats for game development, AR/VR, and rendering.
Price: $291.99
