

In the vibrant world of 3D visualization, automotive design stands as a pinnacle of technical artistry. Creating a high-fidelity 3D car model requires not just an eye for aesthetics but a deep understanding of hard surface modeling principles, meticulous topology, and advanced rendering techniques. Whether you’re a seasoned 3D artist, an aspiring game developer, an automotive designer, or a student, the pursuit of photorealism and performance optimization in digital vehicles is a constant journey.
This comprehensive guide delves into the intricate process of hard surface modeling for automotive assets using Blender, a powerful and versatile open-source 3D suite. We’ll explore the foundational techniques that ensure clean geometry, discuss sophisticated material creation, optimize models for diverse applications like game assets and AR/VR, and illuminate the path to stunning renders. By the end of this journey, you’ll have a robust understanding of how to transform raw polygons into breathtaking digital automobiles, ready for any project from cinematic animations to interactive experiences. Let’s rev up our engines and dive into the precision required for true automotive mastery in Blender.
The foundation of any exceptional 3D car model lies in its topology and edge flow. These are not merely aesthetic concerns but crucial factors determining how your model deforms, how light interacts with its surfaces, and ultimately, its realism and performance. Automotive designs are characterized by their sleek curves, sharp creases, and complex panel gaps, all of which demand an incredibly precise approach to mesh construction. Good topology ensures that these details are preserved and enhanced, whether your model is intended for high-resolution rendering or optimized for real-time applications.
At its core, hard surface modeling for vehicles prioritizes quad-based geometry. While triangles and N-gons (polygons with more than four vertices) might occasionally appear in non-deforming, flat areas, a clean, quad-dominant mesh is paramount for predictable subdivision and accurate surface representation. Edge loops, sequences of connected edges that form a continuous loop around the mesh, are your most powerful tool. For instance, to define the sharp crease of a car’s body line, a set of tightly spaced edge loops will create the necessary sharpness when subdivision surface modifiers are applied. Conversely, widely spaced loops contribute to smooth, flowing surfaces. Understanding this interplay is key to capturing the subtle nuances of automotive design.
Another critical aspect is maintaining consistent mesh density. Areas with significant curvature or fine details, such as fender flares, headlight surrounds, or intricate grille patterns, will naturally require more polygons. However, it’s essential to avoid unnecessary density in flatter areas to keep the overall polygon count manageable. Efficient edge flow dictates that polygons should follow the natural contours and design lines of the vehicle. This not only makes the model visually appealing but also simplifies the unwrapping process for UV mapping and ensures proper deformation if the model is ever rigged for animation. For more details on Blender’s approach to mesh editing and subdivision surfaces, you can refer to the official Blender 4.4 documentation on Subdivision Surfaces.
The vast majority of professional 3D car models rely on a quad-based workflow, often complemented by Subdivision Surface (SubD) modifiers. Blender’s Subdivision Surface modifier allows you to start with a relatively low-polygon base mesh and automatically smooth it into a high-resolution, organic surface. The beauty of this approach is that you retain control over the base mesh’s simpler structure while benefiting from a highly detailed end result. Achieving crisp edges with SubD requires careful placement of supporting edge loops. These are additional edge loops run parallel to a desired sharp edge, tightening the subdivision effect. The closer these supporting loops are to the main edge, the sharper the resulting crease will be. This technique is fundamental for defining panel gaps, window frames, and the aggressive lines characteristic of modern automotive design.
Effective management of mesh density is crucial for balancing visual fidelity with performance. Too few polygons lead to a blocky, unrealistic appearance, while too many can bog down your scene and make the model difficult to work with. Strategic placement of edge loops ensures that detail is concentrated where it’s needed most, without overcomplicating areas that are relatively flat. For example, around wheel wells, where the surface curves sharply and transitions into the main body, a higher density of edge loops is justified to maintain smooth curvature. Conversely, the broad, flat surfaces of a car door can often be represented with fewer polygons, provided the edge flow guides them cleanly. Paying attention to “pole management” (vertices with more or less than four connected edges) also helps maintain clean topology, preventing pinching or undesirable artifacts when using subdivision surfaces. Aim for a consistent flow of quads that articulate the vehicle’s form without introducing unnecessary complexity. This systematic approach forms the backbone of creating professional-grade 3D car models.
Beyond impeccable geometry, the magic of a believable 3D car model truly comes alive with realistic materials. Physically Based Rendering (PBR) has become the industry standard for achieving photorealism, simulating how light interacts with surfaces in the real world. In Blender, the node-based shader editor, particularly with the Principled BSDF shader, provides an incredibly powerful and flexible environment for creating complex and convincing automotive finishes. Understanding the core principles of PBR – Albedo (Base Color), Roughness, Metallic, Normal, and other maps – is essential for breathing life into your models, making surfaces look like painted metal, polished glass, or intricate carbon fiber.
A crucial step before diving into PBR material creation is robust UV mapping. For complex automotive surfaces, this involves carefully unwrapping your model to create a 2D representation of its 3D geometry. Strategic seam placement is key to minimizing distortion and providing clear areas for texture application. Hard surface components like body panels can often be unwrapped using angle-based or conformal methods, ensuring even pixel distribution. However, smaller, more intricate parts like grilles, badges, or interior elements might benefit from project-from-view or even manual pin-and-unwrap techniques. Blender’s UV editor offers a suite of tools for cutting seams, straightening UVs, and packing islands efficiently. For advanced UV unwrapping techniques in Blender, you can find detailed information in the Blender 4.4 documentation on UV Mapping.
Once your UVs are laid out, you can begin generating or acquiring PBR texture maps. These maps dictate various surface properties: the Albedo map defines the base color without lighting information, the Roughness map controls how diffuse or glossy a surface appears, and the Metallic map specifies which parts behave like metal. Normal maps are critical for adding intricate surface details without increasing polygon count, simulating bumps, scratches, and fine panel lines. For example, a car’s clear coat requires a metallic shader with very low roughness, while tire rubber will be non-metallic with significantly higher roughness. Combining these maps in Blender’s shader editor allows for an almost infinite variety of realistic material expressions, turning simple geometry into visually stunning components that bring your automotive rendering to the next level.
The Principled BSDF shader in Blender acts as a universal shader, encompassing most of the common material properties you’d need for PBR. Instead of managing multiple complex shaders, the Principled BSDF node simplifies the process by consolidating parameters like Base Color, Metallic, Specular, Roughness, Clearcoat, and Normal. The real power comes when you connect various texture maps to these inputs. For instance, to create a convincing car paint, you’d feed a base color texture into the “Base Color” input, a noise texture or procedural map into “Roughness” (to simulate subtle variations in the clear coat), and potentially a normal map for fine scratches or orange peel effect. For clear coat effects, which are crucial for car paint, the Principled BSDF has dedicated “Clearcoat” and “Clearcoat Roughness” inputs, allowing you to simulate the reflective, protective layer over the base paint. This modular, node-based approach provides unparalleled control and flexibility, enabling artists to design custom shader networks for any material, from simple plastics to intricate metallic flakes or worn leather interiors.
For pristine 3D car models, UV mapping isn’t just about unwrapping; it’s about optimizing texture space and minimizing seams. For large, continuous surfaces like car body panels, minimizing visible seams is paramount. Techniques like “unwrap from view” for flat areas, or strategically placing seams along hard edges or hidden areas, are common. For parts like tires, cylindrical mapping often yields excellent results. Beyond basic unwrapping, texture painting directly onto your 3D model in Blender’s 3D Viewport can be incredibly efficient. You can paint wear, dirt, scratches, or custom decals directly, using masks and layers to build up complex surface details. Furthermore, tools like UDIM (U-Dimension) unwrapping, which allows for multiple UV tiles (separate texture images) per object, are invaluable for extremely high-resolution models, ensuring optimal pixel density across large and complex surfaces without a single gigantic texture file. This approach is particularly beneficial for automotive rendering where intricate details like brake calipers, engine components, or detailed interiors might each require their own texture sets.
With a meticulously modeled and beautifully textured 3D car model, the final step towards photorealism is the render. Blender’s Cycles render engine is a physically based production renderer known for its accuracy, versatility, and ability to produce stunningly realistic images. Understanding how to harness its power through effective lighting, camera composition, and render settings is crucial for bringing your automotive vision to life. The goal is not just to illuminate the model, but to tell a story with light, emphasizing its forms, curves, and the quality of its materials.
Effective lighting is perhaps the most impactful element in automotive rendering. High Dynamic Range Images (HDRIs) are a staple, providing realistic global illumination and reflections from real-world environments. An HDRI used as a world background offers a quick and effective way to bathe your car in natural light, whether it’s a studio setup, an urban environment, or an open landscape. Beyond HDRIs, strategic placement of area lights, spot lights, and even sun lamps can further shape the model. For instance, a large, soft area light from above can highlight the broad, smooth surfaces of the car body, while a smaller, sharper light can pick out chrome details or the intricate patterns of a grille. Experimentation with light intensity, color temperature, and position is key to revealing the car’s character and making its PBR materials truly shine.
Camera settings and composition are equally vital. Just like a real-world photographer, a 3D artist must consider focal length, depth of field, and camera angles. A longer focal length (e.g., 85mm-135mm) can flatten perspective slightly, often favored for car photography to emphasize lines without distortion. Depth of field (DOF) can draw the viewer’s eye to specific areas, blurring the background or foreground to make the car pop. Compositional rules, such as the rule of thirds or leading lines, can dramatically enhance the visual impact of your render. Finally, optimizing Cycles’ render settings involves balancing quality and render times. Parameters like sample count (which dictates image clarity and noise reduction), light bounces, and the use of denoising algorithms (like Blender’s built-in OIDN or OptiX denoisers) are all critical. For a deeper dive into Cycles’ capabilities and rendering optimization, refer to the official Blender 4.4 documentation on Cycles Render Engine.
While an HDRI provides excellent ambient light and reflections, combining it with artificial lights offers unparalleled control. A common setup involves using one or two large area lights as key and fill lights to define the main forms of the car. For a “studio look,” consider positioning strip lights strategically to create elegant reflections along the bodywork. Rim lights, placed behind the vehicle, can help separate it from the background and add a dramatic outline. Don’t forget smaller detail lights: a subtle point light can add a specular highlight to a badge or headlight lens, making it sparkle. Furthermore, a “light dome” composed of multiple diffuse area lights can provide very even, soft illumination, ideal for showcasing the overall form without harsh shadows. The color temperature of your lights also plays a significant role; warm lights can evoke sunset scenes, while cooler tones suggest a crisp daylight or futuristic feel. Each light source should serve a purpose, either illuminating, defining form, or adding specific highlights to emphasize the meticulously crafted details of your 3D car model.
Achieving a clean, high-quality render in Cycles without excessive render times requires strategic optimization. The “Samples” setting is paramount; higher samples reduce noise but increase render time. Utilizing Blender’s built-in denoisers (OptiX for NVIDIA GPUs, OIDN for CPU/other GPUs) can dramatically reduce the required sample count while maintaining image quality. Other settings like “Light Paths” (max bounces for diffuse, glossy, transmission) can be tweaked; for many automotive scenes, values around 4-8 for most paths are sufficient without significant visual degradation. For faster previews, consider reducing the “Max Bounces” or using a lower resolution. Beyond rendering, post-processing in Blender’s Compositor is where you can truly elevate your image. Basic color grading, contrast adjustments, glare effects (for headlights and shiny chrome), and even adding subtle lens distortion or chromatic aberration can transform a raw render into a professional-grade image suitable for portfolios or client presentations. Tools like ‘Filmic Blender’ are also invaluable for maintaining color fidelity and dynamic range, preventing highlights from blowing out and shadows from clipping.
The journey of a 3D car model doesn’t always end with a beautiful render. Often, these models are destined for interactive environments such as video games, augmented reality (AR), virtual reality (VR), or even tangible applications like 3D printing. Each of these applications has unique technical requirements that necessitate careful optimization, ensuring your model performs efficiently and looks its best across various platforms. The art of optimization lies in reducing complexity without sacrificing visual fidelity, a delicate balance that separates a professional game asset from an unoptimized render-only model.
For real-time applications like game engines (Unity, Unreal Engine) and AR/VR experiences, performance is paramount. The primary concern is polygon count. High-poly models, while great for renders, can quickly cripple frame rates. This is where Levels of Detail (LODs) become indispensable. An LOD system involves creating multiple versions of your model, each with progressively lower polygon counts. The highest detail LOD (LOD0) is used when the car is close to the camera, while simpler versions (LOD1, LOD2, etc.) are swapped in as the car moves further away. This significantly reduces the processing load. Tools like Blender’s Decimate modifier can help generate these lower-poly versions, though manual retopology might be necessary for crucial parts to maintain clean topology. Additionally, consolidating textures into atlases can reduce draw calls, a significant performance bottleneck in real-time engines. A single material with a texture atlas is more efficient than multiple materials, each with its own textures.
AR/VR optimization techniques share many similarities with game asset optimization but often have even stricter performance budgets due to the demanding nature of immersive experiences. Factors like mesh complexity, texture resolution, and shader complexity must be carefully managed. For 3D printing, the focus shifts entirely to mesh integrity. Models for 3D printing must be “watertight” (no holes or non-manifold geometry), have sufficient wall thickness, and be checked for intersecting geometry. Blender’s 3D Print Toolbox add-on is invaluable here, helping to identify and fix common issues. Furthermore, ensuring correct scale and exporting in appropriate file formats like STL or OBJ is critical. Understanding the nuances of each target application and preparing your model accordingly ensures its utility and success across the digital spectrum. Platforms like 88cars3d.com provide models already optimized for these diverse applications, saving significant development time.
Implementing LODs is a fundamental strategy for creating performant game assets. For a complex car model, you might create 3-4 LOD levels. LOD0, the highest detail, might have 150,000-300,000 polygons. LOD1, for medium distances, could drop to 50,000-100,000. LOD2, for far distances, might be 10,000-30,000. And a final LOD3 or “billboard” LOD might be a few hundred polygons or even a 2D sprite for extremely distant views. The decimation process often requires careful consideration of crucial details like headlights, grilles, and wheel geometry, which may need manual cleanup after an automatic decimation. Beyond polygon count, ensuring a low number of draw calls is vital. This often means combining meshes into fewer objects and utilizing texture atlases (a single large texture containing all the smaller textures for an object or group of objects) to reduce material calls. For AR/VR, models are often even more aggressively optimized, with poly counts sometimes needing to be below 50,000 triangles for an entire vehicle, depending on the target device and scene complexity.
The choice of file formats is crucial for ensuring compatibility across different software and platforms. The most common formats for 3D car models are FBX, OBJ, GLB, and USDZ. FBX is a proprietary Autodesk format widely supported by game engines (Unity, Unreal Engine) and other 3D applications, preserving mesh, materials, animations, and sometimes even rigs. OBJ is a simpler, universal format that handles geometry and UVs well but is less robust for materials and animation. GLB (GL Transmission Format Binary) is the preferred format for web-based 3D, AR, and increasingly for VR, as it is a single file containing model, textures, and animations, optimized for efficient loading. USDZ, developed by Apple, is specifically designed for AR applications on Apple devices. When converting, always double-check scaling, material assignments, and ensure all textures are correctly embedded or linked. Tools like Blender’s native export functions are excellent, but it’s often wise to re-import the exported file back into Blender or another target application to verify integrity before deployment. Understanding the strengths and limitations of each format is key to smooth interoperability, especially when sourcing models from marketplaces such as 88cars3d.com which offer a variety of formats.
Once the core 3D car model is established, and its materials are applied, pushing the boundaries of realism involves meticulous detailing, preparing for potential animation through basic rigging, and refining the final image with robust post-processing. These advanced workflows elevate a good model to a truly exceptional one, ensuring it stands out in any visualization or interactive experience. The cumulative effect of these steps creates a sense of depth, history, and life in your digital automotive creation.
Attention to micro-details can transform a generic surface into a convincing representation of real-world materials. This includes adding subtle panel gaps with precision, ensuring bolts and rivets are correctly placed and proportioned, and incorporating emblems and badging with crispness. These elements, often overlooked, contribute significantly to the perceived quality and realism of the model. For instance, tiny bevels on the edges of body panels catch the light in a way that flat surfaces simply cannot, adding a subtle touch of sophistication. Normal maps generated from high-poly sculpts or procedural textures are invaluable for adding fine details like subtle scratches, orange peel effects on paint, or the intricate patterns of tire treads without ballooning the polygon count. This approach allows for incredible detail while maintaining optimization for various applications, including high-end automotive rendering.
For interactive presentations, animations, or even custom screenshots, basic rigging can be incredibly useful. While full vehicle rigging can be complex, adding simple controls for opening doors, rotating wheels, or steering the front wheels can significantly enhance interactivity. In Blender, this can be achieved using an armature with bones assigned to relevant parts, or simpler “empty” objects linked to pivot points to control rotation and translation. This allows for dynamic scene setups and adds another layer of versatility to your 3D car model. Finally, the post-processing stage, typically handled in Blender’s Compositor or external image editing software, is where final adjustments are made to enhance the aesthetic appeal of the rendered image. This includes color grading to set the mood, adding subtle glare or bloom to bright lights, incorporating lens distortion for a more photographic look, and making final contrast and exposure adjustments. These steps allow you to fine-tune the visual impact, ensuring your renders are polished and professional, ready for any portfolio or client deliverable.
The realism of a 3D car model is often in the details. Achieving convincing panel gaps requires precise modeling; typically, these are actual gaps in the mesh rather than just normal map details, allowing light to fall into them naturally. For bolts, rivets, and emblems, these should ideally be modeled geometry, especially for close-up shots, though well-crafted normal maps can simulate them for distant views. Wear and tear can be incredibly effective in telling a story. Procedural textures combined with texture painting can create realistic dirt accumulation in crevices, subtle scratches on the clear coat, or worn tire sidewalls. Using a “dirt mask” or ambient occlusion map to drive blending between clean and dirty materials is a powerful technique. For metallic components, varying the roughness map can simulate polished areas contrasted with scuffed or oxidized regions. Even subtle imperfections, when applied judiciously, contribute to a sense of authenticity, moving beyond the sterile perfection of a factory model to something that feels lived-in and real. This level of detail is paramount for high-quality visualization and storytelling.
For basic interactivity, setting up simple rigs in Blender is straightforward. For instance, parenting the car’s wheels to empty objects and then adding rotation constraints can allow them to spin freely. Doors can be rigged using a single bone or an empty object placed at the pivot point, allowing them to swing open. If you want more advanced control, a simple armature can be created with bones for each wheel, a steering bone, and individual door bones. Inverse Kinematics (IK) can be employed for steering to make it intuitive. Once rendered, Blender’s Compositor is an incredibly powerful, non-destructive environment for post-processing. You can add “Glare” nodes for realistic lens flares and bloom from bright lights (like headlights or reflections), use “Color Balance” or “Curves” nodes for precise color grading, and integrate render passes (like Z-depth for depth of field or object IDs for masking) for highly controlled adjustments. Compositing allows you to blend render layers, add background elements, and even simulate film grain or chromatic aberration, pushing your rendered image from good to gallery-worthy. The ability to iterate quickly and experiment with these effects after the render is complete makes the Compositor an indispensable tool for every 3D artist aiming for top-tier automotive rendering.
The journey through hard surface modeling for 3D car models in Blender is one of precision, patience, and continuous learning. We’ve navigated the critical importance of clean topology and efficient edge flow for accurate automotive forms, explored the intricacies of PBR material creation and UV mapping for realistic surfaces, and delved into the art of illuminating scenes with Blender Cycles to achieve breathtaking renders. Furthermore, we’ve highlighted the crucial steps for optimizing your models, transforming them into versatile game assets, compatible for AR/VR, or ready for 3D printing, understanding the nuances of different file formats.
Mastering these techniques not only equips you to create stunning visual content but also empowers you to adapt your creations for a wide array of industry applications, from immersive experiences to highly detailed visualization projects. The digital automotive world is constantly evolving, with new software features, rendering techniques, and optimization strategies emerging regularly. Continued practice, experimentation, and a keen eye for detail will be your greatest assets. Remember, the quality of your 3D car models is a direct reflection of your understanding of these core principles.
Whether you’re building a hyper-realistic car for a cinematic animation or optimizing one for a mobile game, the foundations laid out in this guide will serve you well. For those looking to jumpstart their projects with high-quality, pre-made assets, platforms like 88cars3d.com offer an extensive selection of professionally crafted 3D car models, complete with clean topology, realistic PBR materials, and multiple optimized file formats, ready to integrate into your next masterpiece. Keep modeling, keep rendering, and keep pushing the boundaries of what’s possible in the exciting realm of automotive 3D art!
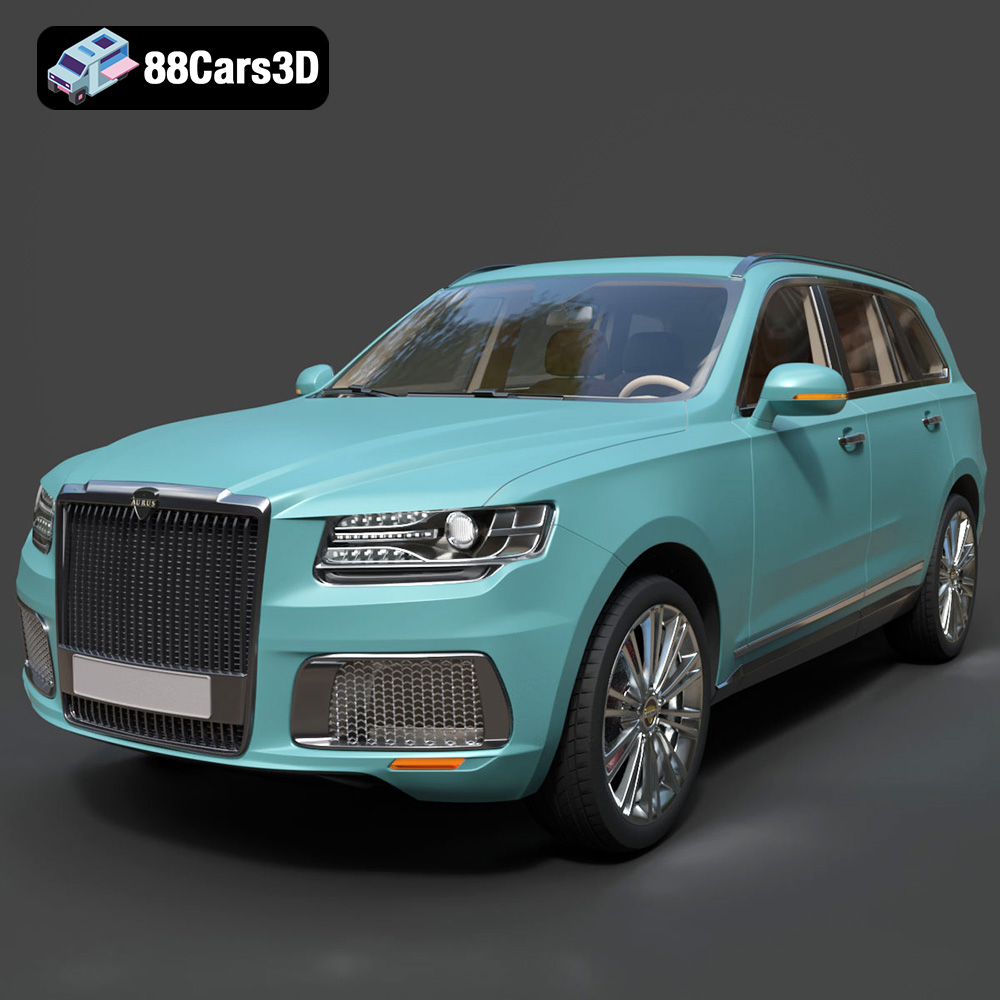
Texture: Yes | Material: Yes
Download the highly detailed, game-ready Aurus Komendant 2020 3D Model. Features an imposing front grille, executive full-size SUV silhouette, and detailed luxury interior. Includes .blend, .fbx, .obj, .glb, .stl, .ply, .unreal, and .max formats for game development, AR/VR, and rendering.
Price: $232.99
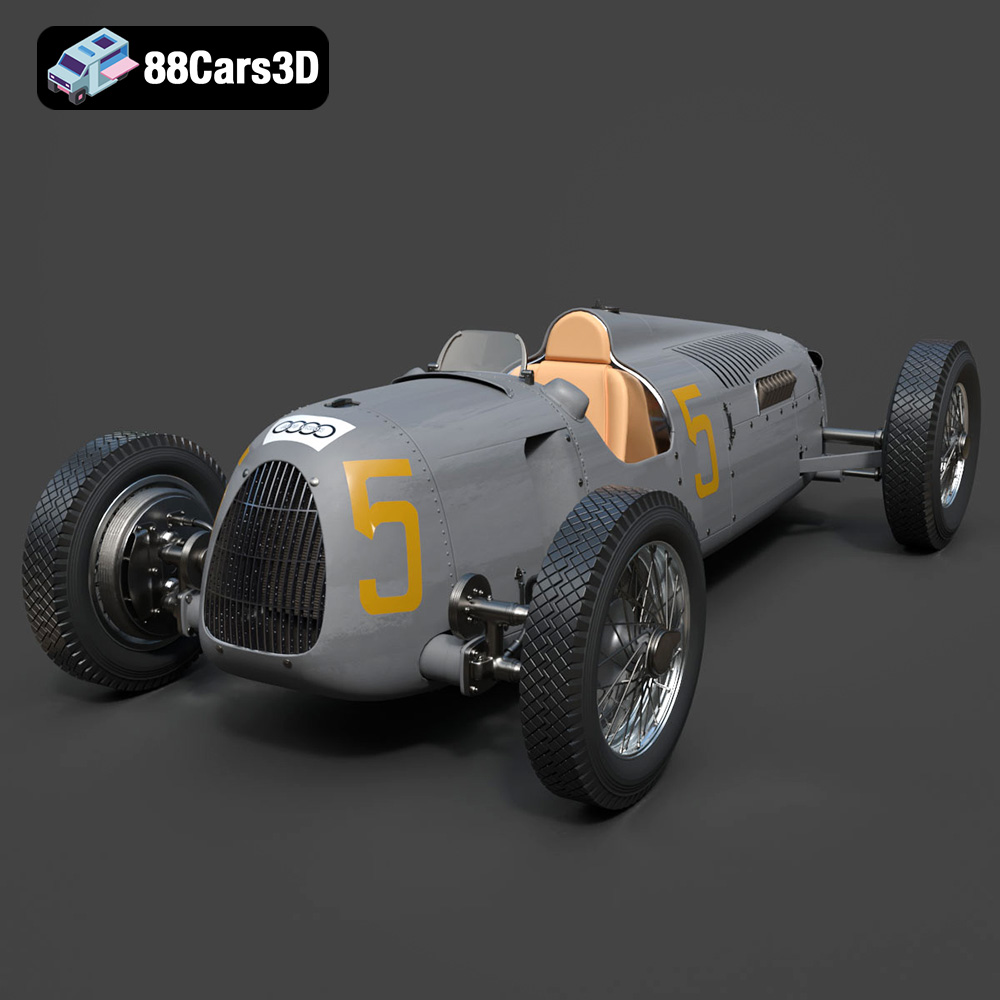
Texture: Yes | Material: Yes
Download the highly detailed, game-ready Auto Union Type C 1936 3D Model. Features iconic V16 engine detailing, classic Silver Arrows bodywork, and detailed open cockpit layout. Includes .blend, .fbx, .obj, .glb, .stl, .ply, .unreal, and .max formats for game development, AR/VR, and rendering.
Price: $152.00
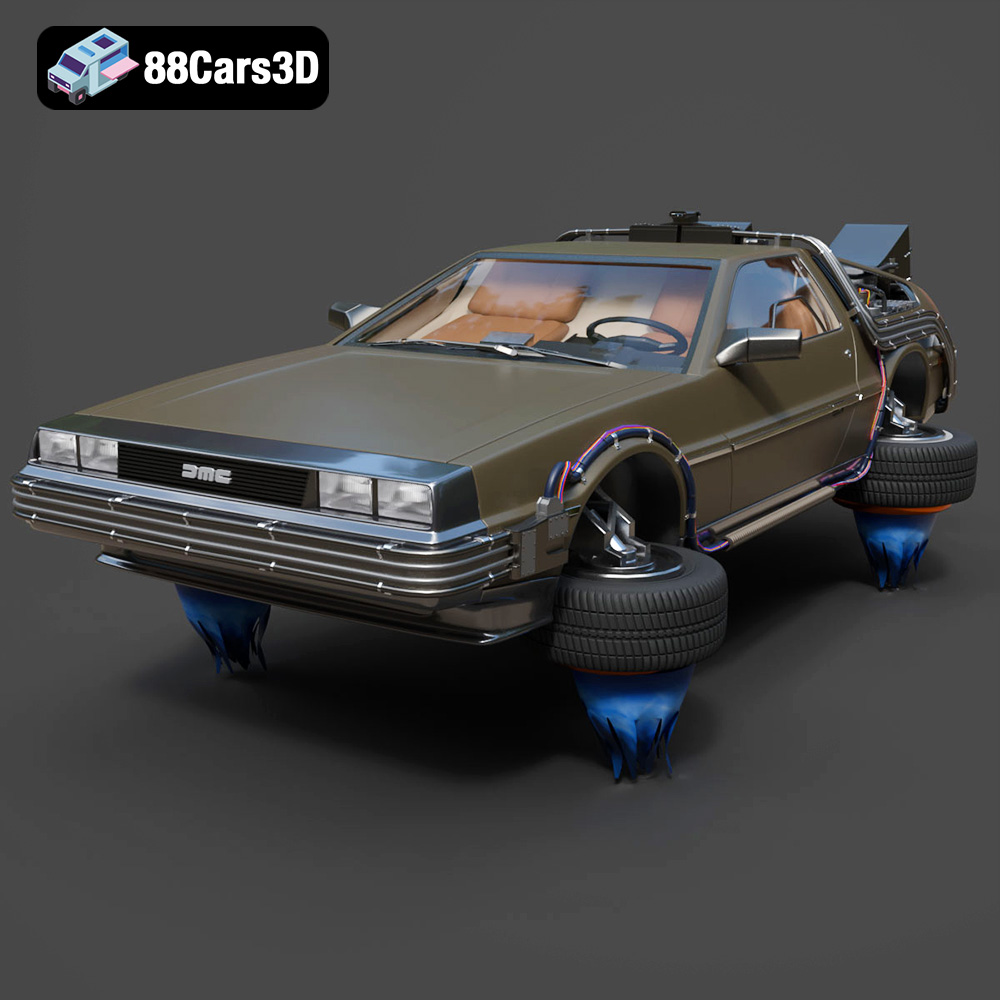
Texture: Yes | Material: Yes
Download the highly detailed, game-ready Back To The Future 2 DeLorean 3D Model. Features Mr. Fusion reactor, hover conversion wheels, and full flux capacitor interior. Includes .blend, .fbx, .obj, .glb, .stl, .ply, .unreal, and .max formats for game development, AR/VR, and rendering.
Price: $211.50
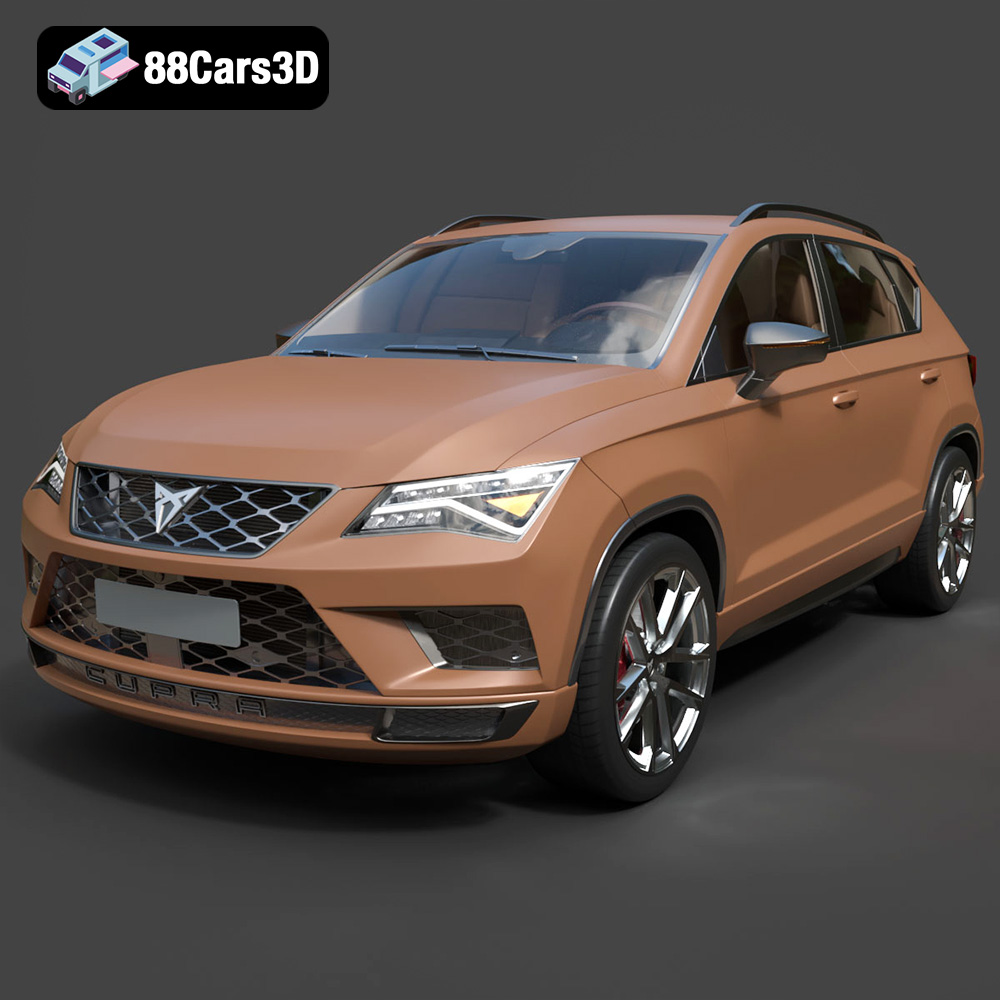
Texture: Yes | Material: Yes
Download the highly detailed, game-ready Seat Ateca Cupra 2019 3D Model. Features aggressive sporty styling, quad exhaust outlets, and high-detail interior. Includes .blend, .fbx, .obj, .glb, .stl, .ply, .unreal, and .max formats for game development, AR/VR, and rendering.
Price: $203.50
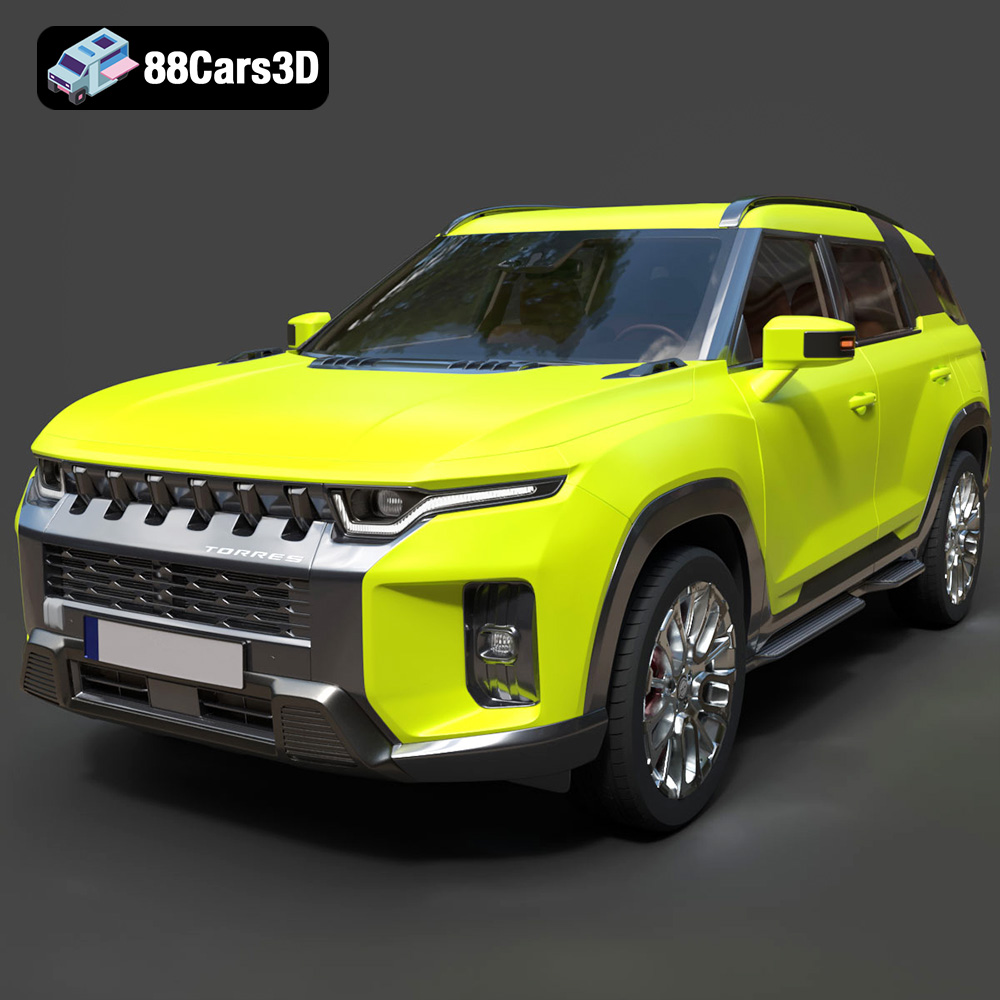
Texture: Yes | Material: Yes
Download the highly detailed, game-ready SsangYong Torres 2023 3D Model. Features rugged SUV styling, signature front grille, and precise body geometry. Includes .blend, .fbx, .obj, .glb, .stl, .ply, .unreal, and .max formats for game development, AR/VR, and rendering.
Price: $279.50
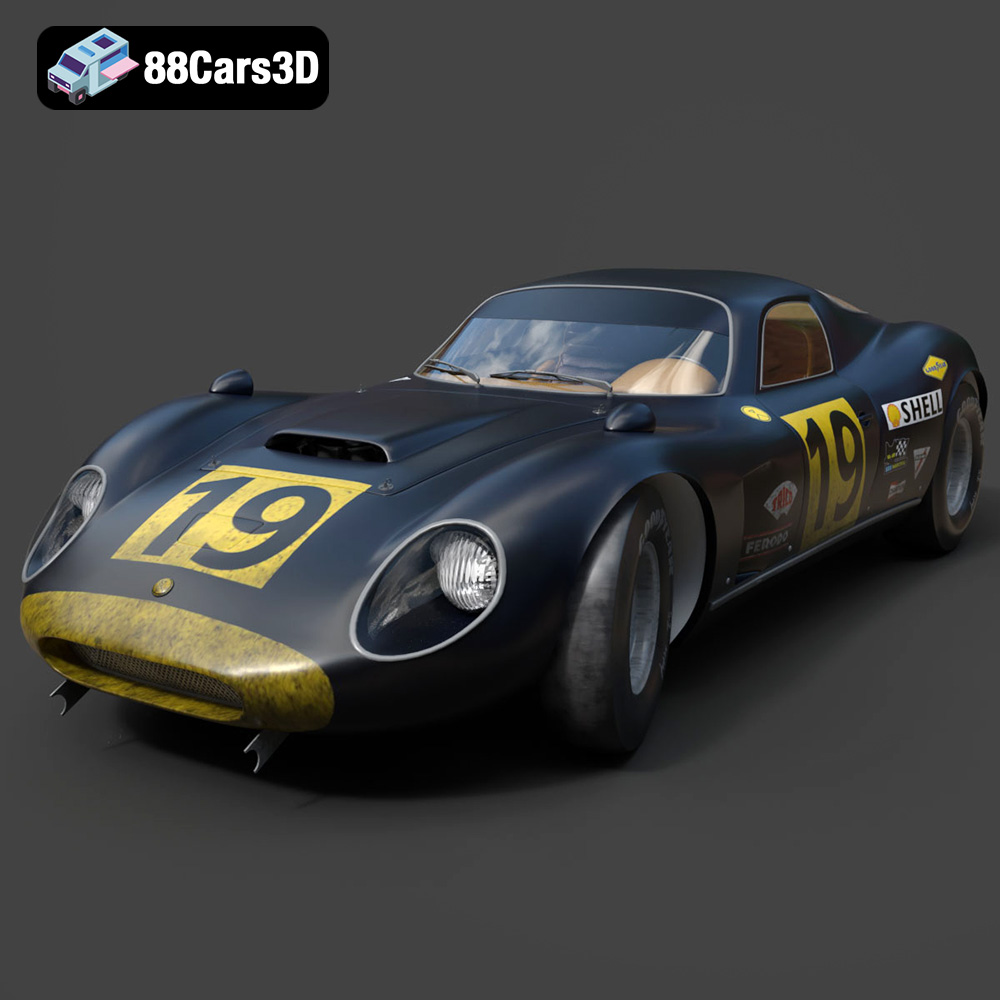
Texture: Yes | Material: Yes
Download the highly detailed, game-ready Chevrolet Corvette Stingray 3D Model. Features sculpted bodywork, detailed aggressive front grille, and iconic sport exhaust. Includes .blend, .fbx, .obj, .glb, .stl, .ply, .unreal, and .max formats for game development, AR/VR, and rendering.
Price: $122.99
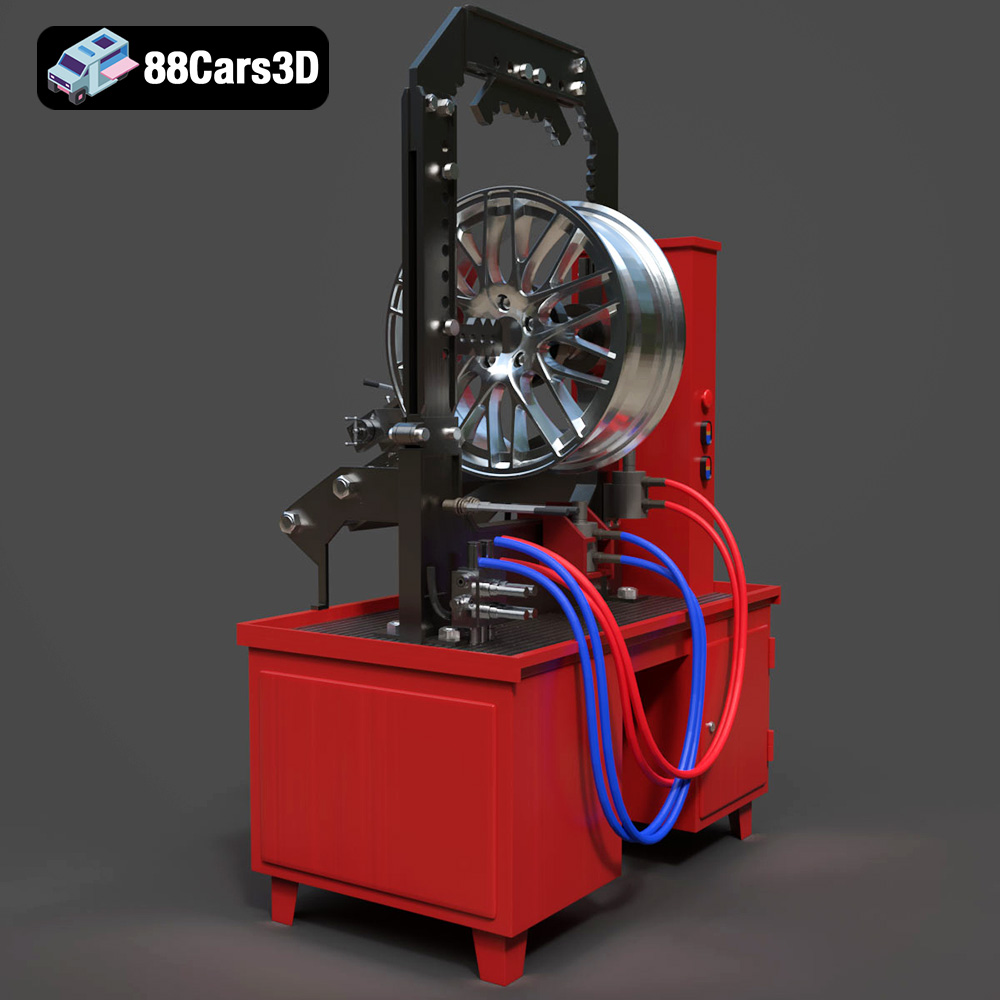
Texture: Yes | Material: Yes
Download the highly detailed, game-ready Stand for Straightening Alloy Wheels 3D Model. Features heavy-duty hydraulic press components, integrated lathe system, and realistic workshop controls. Includes .blend, .fbx, .obj, .glb, .stl, .ply, .unreal, and .max formats for game development, AR/VR, and rendering.
Price: $147.99
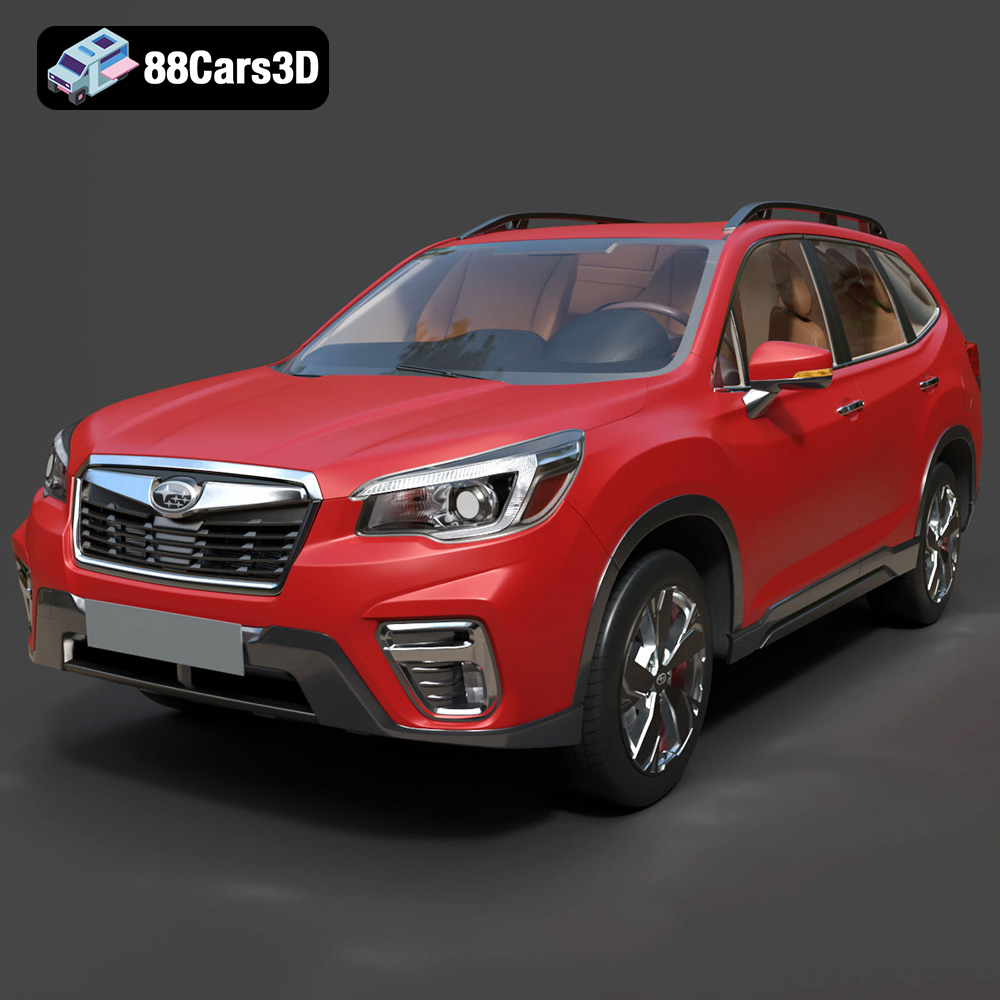
Texture: Yes | Material: Yes
Download the highly detailed, game-ready Subaru Forester 2019 3D Model. Features authentic crossover styling, detailed interior, and accurate exterior geometry. Includes .blend, .fbx, .obj, .glb, .stl, .ply, .unreal, and .max formats for game development, AR/VR, and rendering.
Price: $245.50
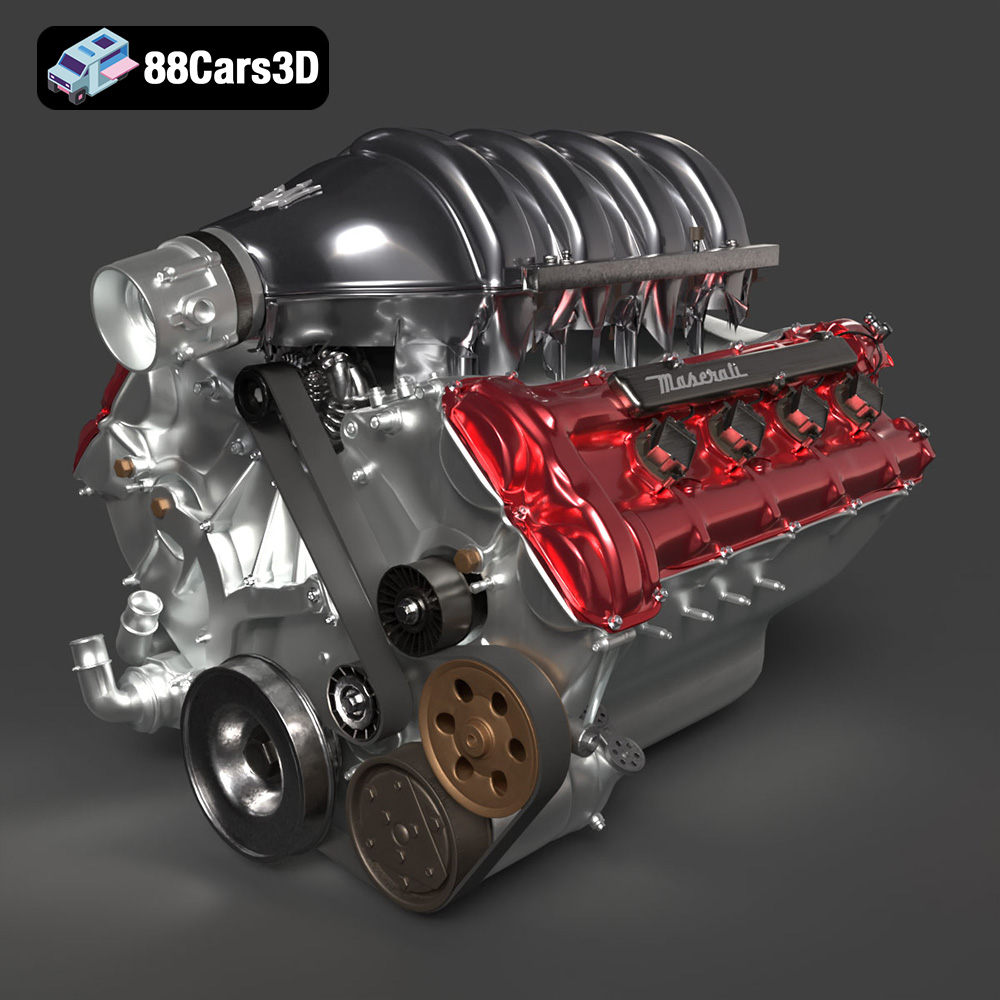
Texture: Yes | Material: Yes
Download the highly detailed, game-ready Maserati Engine 3D Model. Features intricate cylinder heads, realistic intake manifold, and precision mechanical detailing. Includes .blend, .fbx, .obj, .glb, .stl, .ply, .unreal, and .max formats for game development, AR/VR, and rendering.
Price: $141.50
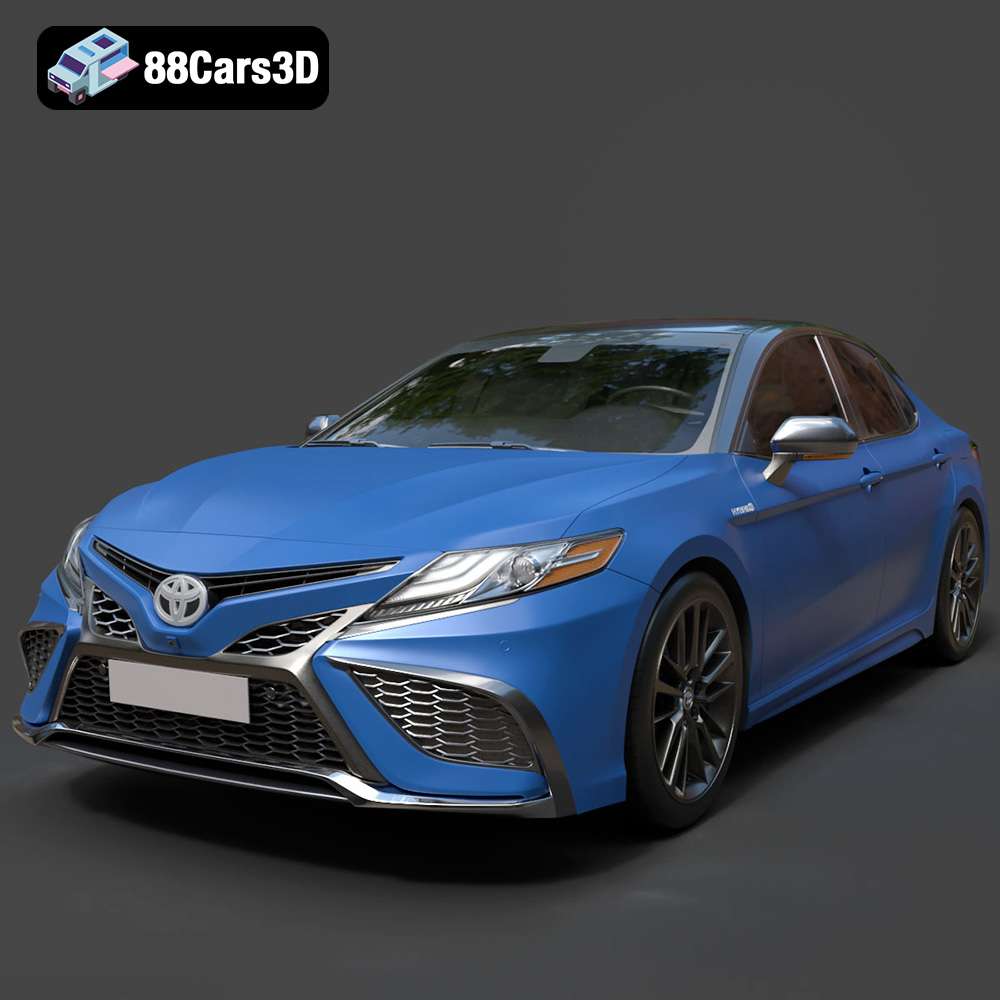
Texture: Yes | Material: Yes
Download the highly detailed, game-ready Toyota Camry XSE 2021 3D Model. Features an aggressive sport mesh grille, sculpted aerodynamic styling, and quad exhaust tips. Includes .blend, .fbx, .obj, .glb, .stl, .ply, .unreal, and .max formats for game development, AR/VR, and rendering.
Price: $271.50
