

In the relentless pursuit of photorealism and dynamic storytelling within the realm of 3D automotive visualization, static models, no matter how exquisitely detailed, can only convey so much. The true magic unfolds when these pristine 3D car models come to life, interacting with their environment, deforming under stress, or simply draping themselves in realistic fabrics. This is where Blender’s powerful physics engines, specifically Rigid Body and Cloth simulation, become indispensable tools for 3D artists, game developers, and automotive designers.
Whether you’re crafting a high-octane crash sequence for a cinematic, visualizing a vehicle protected by a fluttering car cover in a serene garage scene, or developing interactive game assets that respond dynamically to player input, understanding Blender’s physics systems is paramount. This comprehensive guide will take you on a deep dive into the foundational concepts, advanced techniques, optimization strategies, and practical applications of Rigid Body and Cloth simulations, helping you push the boundaries of automotive realism. We’ll explore how these simulations integrate into rendering pipelines, game development workflows, and even specialized applications like AR/VR, ensuring your 3D car models not only look stunning but also behave authentically.
Blender’s physics system offers a robust framework for simulating how objects interact with each other and their environment. At its core, it enables artists to imbue their digital creations with behaviors governed by the laws of physics, replacing tedious manual keyframe animation with believable, dynamic motion. For 3D car models, this opens up a world of possibilities, from depicting destructive collisions to modeling the subtle nuances of a fabric car cover responding to a gentle breeze.
Rigid Body physics is designed for simulating solid, non-deformable objects interacting with one another. Imagine a car, its components, or even individual pieces of debris; these are all prime candidates for Rigid Body dynamics. When applied, Blender calculates their motion, rotation, and collisions based on properties like mass, friction, and bounciness. Each object can be set as an ‘Active’ Rigid Body, meaning it will be influenced by forces and react to collisions, or ‘Passive,’ meaning it remains static but can interact with Active bodies (e.g., a road surface or a barrier).
Critical to accurate simulation is the ‘Collision Shape’ setting. While ‘Box,’ ‘Sphere,’ and ‘Capsule’ offer performance benefits for simpler shapes, ‘Convex Hull’ is often a good balance for complex automotive parts, creating a simplified, shrink-wrapped volume around the mesh. For highly detailed and precise collisions, especially in crash simulations where precise deformation is desired, ‘Mesh’ can be used, though it is the most computationally intensive option. Proper application of these settings, found in the Physics Properties tab, is crucial for both realism and simulation stability. For a detailed breakdown of Rigid Body settings and their impact, refer to the official Blender 4.4 documentation on Rigid Body properties.
In contrast to Rigid Body physics, Cloth simulation excels at replicating the behavior of flexible, deformable materials like fabrics. This system allows artists to create incredibly realistic drapes, wrinkles, and movements for objects such as car covers, interior upholstery, flags, or even elements like airbags. The magic of cloth lies in its ability to simulate complex interactions between vertices and edges, driven by internal forces and external influences like gravity and wind.
Key parameters for cloth simulation include ‘Mass’ (determining how heavy and thus how much inertia the fabric has), ‘Stiffness’ values (controlling bending, tension, compression, and shearing, which dictate how resistant the fabric is to creasing or stretching), and ‘Damping’ (which reduces oscillations and helps the cloth settle). ‘Pressure’ can be applied to simulate inflated objects, which is particularly useful for effects like airbags. Crucially, the mesh intended for cloth simulation should have a good, even distribution of polygons to allow for detailed deformation. Interacting objects, like the car itself, need to be designated as ‘Collision’ objects within their own Physics Properties to ensure the cloth drapes realistically over their surfaces without interpenetration. Understanding these nuanced settings is vital for achieving believable fabric dynamics, and the Blender 4.4 documentation on Cloth properties provides an in-depth explanation of each parameter.
The application of Rigid Body dynamics in automotive visualization extends far beyond simple collision detection. It’s about creating impactful narratives, visualizing safety features, and understanding structural integrity. For 3D car models, this translates to realistic vehicle crashes, dynamic suspension articulation, and the lifelike scattering of debris, all contributing to a more immersive and believable scene.
To initiate a car crash simulation, begin by separating your 3D car model into distinct, physically distinct components that you wish to see deform or detach – for instance, doors, hood, fenders, bumpers, and even individual panels. Each of these parts, along with the main chassis, should be assigned a ‘Rigid Body’ property, set to ‘Active’. The ground plane or any static obstacles (like a wall) should also receive a ‘Rigid Body’ property, but set to ‘Passive’. Pay close attention to the ‘Mass’ of each component; heavier parts will carry more inertia. For ‘Collision Shape’, ‘Mesh’ offers the highest accuracy for impact deformation, but ‘Convex Hull’ provides a good balance of detail and performance for parts that don’t need highly precise crumpling. Ensure your scale is correct in Blender (Ctrl+A -> Apply Scale) as physics simulations are highly sensitive to real-world dimensions.
For connecting parts that should maintain a relationship initially but break under sufficient force (e.g., car doors on hinges), ‘Rigid Body Constraints’ are invaluable. A ‘Hinge’ constraint can simulate a door hinge, allowing rotation while keeping the door attached. For more complex connections, the ‘Generic’ constraint offers more degrees of freedom. Setting appropriate ‘Breakable’ thresholds on these constraints allows parts to detach realistically upon impact. Once all properties are set, you can run the simulation, adjusting keyframes for initial velocities or external forces to trigger the crash. Finally, ‘Baking’ the simulation (found in the ‘Cache’ section of the Rigid Body World settings) will save the calculated animation data, allowing for smooth playback and easier export.
While realism is the goal, performance cannot be ignored, especially when working with highly detailed 3D car models. A common pitfall in Rigid Body simulations is using excessively high-resolution meshes for collision detection. For rendering, a subdivided mesh looks fantastic, but for physics, it can grind your system to a halt. Instead, consider using simplified proxy meshes for your collision objects. These can be low-poly versions of your render mesh, or even primitives, that closely approximate the overall volume for collision calculations, while the high-poly mesh is only used for rendering. Alternatively, apply subdivision modifiers *after* the simulation has been baked, or use a ‘Decimate’ modifier on the collision mesh.
Within the ‘Rigid Body World’ settings, ‘Steps Per Second’ dictates the accuracy of the simulation; higher values lead to more precise collision detection but slower simulations. Conversely, ‘Solver Iterations’ affects how well objects resolve their overlaps after a collision. Experiment with these values to find a balance. If simulations become unstable or objects interpenetrate excessively, increasing both can help, but always consider the trade-off. Common challenges also include “explosive” simulations where objects scatter uncontrollably; this often points to overlapping initial positions or incorrect scale. Ensuring all transforms are applied (scale, rotation) and objects don’t start inside each other is critical. Additionally, keeping your topology clean on your original 3D car models helps prevent unexpected behaviors when creating collision shapes, especially for ‘Mesh’ collision types.
The tactile quality of fabric can significantly enhance the visual fidelity of an automotive scene. From a car cover gently embracing the contours of a vehicle to the subtle wrinkles in a seat’s upholstery, Blender’s Cloth simulation offers the tools to infuse your 3D car models with unparalleled textile realism. This attention to detail elevates the overall presentation, providing a richer, more believable experience for viewers and users.
Creating a realistic car cover using Blender’s Cloth simulation begins with careful preparation. First, model a simple plane or a slightly draped mesh that roughly covers the car. Ensure this mesh has a good, even distribution of polygons – a denser mesh allows for more detailed wrinkles and folds. Position it just above the car model. Next, apply the ‘Cloth’ modifier to this mesh. Within the Cloth settings, the ‘Mass’ parameter is crucial; a typical car cover might have a mass around 0.2 to 0.5 kg, affecting how heavily it drapes. The ‘Stiffness’ values are equally important: ‘Tension’ and ‘Compression’ stiffness control how much the fabric stretches and compresses, while ‘Bending’ and ‘Shearing’ stiffness dictate its resistance to folding and distortion. Experimentation is key to finding the right balance for different fabric types. For instance, a thin silk cover would have low stiffness values, while a thick canvas cover would have higher ones.
For the car itself, it needs to be designated as a ‘Collision’ object (in its Physics Properties) to interact properly with the cloth. Crucially, adjust the ‘Outer’ and ‘Inner’ collision ‘Thickness’ values for the car model. The ‘Outer’ thickness prevents the cloth from passing through the car’s surface, while ‘Inner’ can help prevent self-intersection of the cloth. ‘Friction’ on both the cloth and collision object will influence how the cover slides and settles. To prevent the cover from completely sliding off, you can ‘Pin’ vertices of the cloth to specific locations, perhaps underneath the car’s bumper or on the wheels, by creating a vertex group and assigning it in the Cloth modifier’s ‘Shape’ panel. Introducing a subtle ‘Air Pressure’ (also in the Cloth settings) can add a slight billow, mimicking trapped air or very light breezes, enhancing the realism. For comprehensive guidance on setting up cloth simulations and managing collisions, the official Blender 4.4 documentation on Cloth collisions is an excellent resource.
Beyond car covers, Cloth simulation finds extensive use in refining interior details of 3D car models. Imagine the natural sag and subtle wrinkles in seat upholstery – these can be painstakingly modeled or achieved dynamically with cloth. By modeling a base mesh for a seat cushion and applying cloth physics, you can allow it to settle naturally under simulated gravity, creating organic folds that are difficult to achieve manually. Similarly, headliners, floor mats, or even small fabric elements like sun visors can benefit from the subtle realism offered by cloth. For more dynamic applications, simulating an airbag deployment is a compelling, albeit complex, use case. This typically involves using the ‘Pressure’ setting within the Cloth modifier, combined with carefully timed keyframes to simulate the rapid inflation and subsequent deflation, creating a dramatic and realistic effect.
For exterior scenes, a fluttering flag or banner advertising a dealership or event can add significant visual interest. By applying cloth physics to a banner mesh and using Blender’s ‘Force Fields’ (specifically ‘Wind’), you can simulate dynamic movement. Troubleshooting common cloth issues like self-intersections (where parts of the fabric pass through itself) often involves increasing the ‘Quality Steps’ in the Cloth modifier, adjusting collision thickness, or enabling ‘Self-Collisions’. Unstable simulations, where the cloth behaves erratically, can often be resolved by ensuring your mesh is manifold (has no holes or non-uniform normals) and by checking the scale of your objects. Remember, the quality of your base topology directly impacts the stability and realism of your cloth simulations. A clean, evenly distributed mesh will always yield better results and fewer headaches. When sourcing models from marketplaces such as 88cars3d.com, artists can expect high-quality base meshes that are ready for these advanced simulation techniques.
The true power of physics simulations lies in their ability to bridge the gap between static geometry and dynamic, living scenes. For automotive rendering and game asset development, integrating these simulated behaviors transforms static 3D car models into active participants within their digital environments. The journey from a Blender physics simulation to a finished render or a real-time game experience requires careful consideration of data pipelines, optimization, and material fidelity.
Once your physics simulations – whether a dramatic car crash or a gracefully draped car cover – are complete and baked within Blender, the next crucial step is preparing them for high-quality rendering. The most robust way to export complex animated geometry from Blender is often using formats like Alembic (.abc) or Universal Scene Description (.usd). These formats efficiently store vertex animation data, allowing the exact deformation and motion of your simulated objects to be accurately imported into your rendering application (e.g., 3ds Max with Corona, Maya with Arnold, or even back into Blender’s Cycles renderer).
Material considerations are paramount for rendering realism. For deformed car bodies in a crash, ensure your PBR (Physically Based Rendering) materials accurately represent crumpled metal, broken glass, or scuffed paint. This involves using realistic texture maps for albedo, roughness, metallic, and normal maps to capture fine surface details. For cloth simulations, realistic fabric textures with appropriate normal maps to convey weave and subtle wrinkles are essential. High-quality PBR materials sourced or created for your 3D car models, like those found on platforms such as 88cars3d.com, are foundational. Lighting plays a critical role here; dynamic shadows cast by physically simulated objects (e.g., a car cover creating subtle shadows over the vehicle’s contours) significantly enhance realism. Finally, post-processing techniques like motion blur, especially for rapidly moving or deforming objects in a crash, add a cinematic quality, blurring the lines between simulation and reality.
Integrating physics simulations into game engines like Unity or Unreal Engine presents a unique set of challenges and optimization requirements. While cinematic renders can afford high polygon counts and complex simulations, real-time game performance demands efficiency. For simulated objects that might be visible at varying distances, Level of Detail (LOD) systems are indispensable. This involves creating multiple versions of an asset, each with decreasing polygon counts, which the game engine swaps in and out based on proximity to the camera. For example, debris from a car crash might have a high-poly simulated mesh up close, but simplified versions for medium and far distances, drastically reducing draw calls.
A key decision in game development is whether to use real-time physics simulations within the engine or to pre-bake animations. For repeatable, pre-defined events (like a scripted car crash), pre-baked vertex animations exported via FBX (which can carry skeletal and blend shape animations) are often more performant than running complex physics in real-time. Cloth simulations in game engines are often simplified, using lightweight physics solvers or relying on vertex animation or skeletal animation with physics bones for simpler cloth dynamics (e.g., a flag). For interactive cloth elements, specialized game engine plugins or simplified cloth components are typically used. Collision meshes for game engines must be highly optimized, often using simple primitives or convex hulls rather than complex mesh collision, to ensure efficient real-time physics calculations. When dealing with AR/VR applications, further optimization is needed due to the stringent performance demands. Simplified physics models and highly optimized texture atlasing (combining multiple textures into one) are crucial for delivering smooth, immersive experiences. File formats like GLB and USDZ are highly preferred for AR/VR due to their efficiency and support for embedded assets and animations, making them ideal for distributing optimized 3D car models.
Pushing the boundaries of realism with Blender’s physics systems often involves combining different simulation types and tackling complex interdependencies. While the results can be stunning, they also bring unique challenges. A solid understanding of advanced workflows and effective troubleshooting strategies is essential for any artist striving for top-tier automotive visualization.
The true power of Blender’s physics comes alive when you combine different simulation types to create incredibly dynamic and intricate scenes. Imagine a scenario where a 3D car model collides with a structure that features a fluttering cloth banner. Here, the car and the structural elements would be Rigid Bodies, while the banner would be a Cloth object. The Rigid Body collision would affect the cloth banner, causing it to react dynamically, ripping or folding realistically. This interdependency creates a much richer visual narrative than if each element were animated in isolation. Similarly, a car crash simulation might generate debris – smaller pieces of shattered glass or broken plastic. These could be simulated as Rigid Bodies, potentially interacting with ‘Particle Systems’ to create a burst of dust or sparks upon impact, further enhancing the realism. Additionally, ‘Force Fields’ play a vital role in influencing both Rigid Body and Cloth simulations. A ‘Wind’ force field can drive the movement of a cloth banner, while ‘Turbulence’ or ‘Vortex’ fields can add subtle, organic variations to the motion of rigid body debris, preventing unnaturally uniform movements. Carefully orchestrating these different physics systems, managing their interactions, and understanding their influence on each other is key to building compelling and believable complex scenes.
Even with meticulous planning, physics simulations can sometimes go awry, leading to frustrating issues like interpenetration, explosive behaviors, or simply slow calculations. One of the most common problems is ‘interpenetration,’ where simulated objects pass through each other. This often occurs when collision ‘Thickness’ values are too low, ‘Quality Steps’ (for cloth) or ‘Steps Per Second’ (for rigid body) are insufficient, or if objects start too close to or inside each other. Increasing these values and ensuring proper initial spacing often resolves this. ‘Explosions’ or extreme instability in Rigid Body simulations can frequently be traced back to incorrect scale (ensure all transforms are applied with Ctrl+A -> Apply Scale), overlapping initial positions, or non-manifold meshes (meshes with holes, internal faces, or non-uniform normals). It’s crucial that your base 3D car models have clean, watertight topology to ensure predictable physics behavior.
Slow simulation times are another prevalent challenge. This can be mitigated by optimizing mesh density for collision objects (using proxy meshes as discussed earlier), reducing ‘Quality Steps’ or ‘Steps Per Second’ where absolute accuracy isn’t paramount, or baking simulations in smaller segments rather than one long continuous run. When debugging, Blender offers helpful visualizations, such as displaying ‘Collision Bounds’ (in the Rigid Body World settings) which shows the simplified collision geometry, helping you identify where an object might be getting stuck or overlapping. Checking ‘Normals’ on your meshes (Overlay menu -> Face Orientation) is also a quick way to spot potential issues that can confuse the physics engine. Patience and methodical testing of different parameters are often the best tools for resolving these complex simulation challenges. A high-quality base model, such as those available on 88cars3d.com, provides a solid foundation, reducing the likelihood of topology-related simulation problems from the outset.
The journey into Blender’s Rigid Body and Cloth simulation systems reveals a powerful toolkit for injecting unparalleled realism and dynamism into your 3D car models. From the catastrophic beauty of a precisely simulated vehicle collision to the serene elegance of a fabric car cover gently swaying in a breeze, these physics engines empower artists to move beyond static representations and tell more compelling visual stories. We’ve explored the fundamental principles, delved into practical applications like creating car crash sequences and realistic drapes, and discussed crucial optimization strategies for both high-end automotive rendering and real-time game asset development.
Mastering these techniques requires an understanding of intricate settings, a commitment to clean topology in your source 3D car models, and a methodical approach to troubleshooting. The ability to integrate these simulations into diverse pipelines, leveraging appropriate file formats for export and optimizing for varied applications like AR/VR, will set your work apart. The path to achieving truly believable digital automotive scenes is paved with experimentation and a willingness to embrace the complexities of simulated physics. We encourage you to apply these insights, experiment with different scenarios, and continue to refine your craft. To kickstart your next ambitious project with pristine, ready-for-simulation assets, explore the extensive collection of high-quality 3D car models available on 88cars3d.com.

Texture: Yes | Material: Yes
Download the highly detailed, game-ready Aston Martin Virage Volante 2012 3D Model. Features sleek open-top GT design, iconic front grille, and detailed luxury interior trim. Includes .blend, .fbx, .obj, .glb, .stl, .ply, .unreal, and .max formats for game development, AR/VR, and rendering.
Price: $157.00

Texture: Yes | Material: Yes
Download the highly detailed, game-ready Audi Q4 e-tron 2021 3D Model. Features sleek electric SUV styling, signature Singleframe grille, and detailed Matrix LED lighting. Includes .blend, .fbx, .obj, .glb, .stl, .ply, .unreal, and .max formats for game development, AR/VR, and rendering.
Price: $299.50
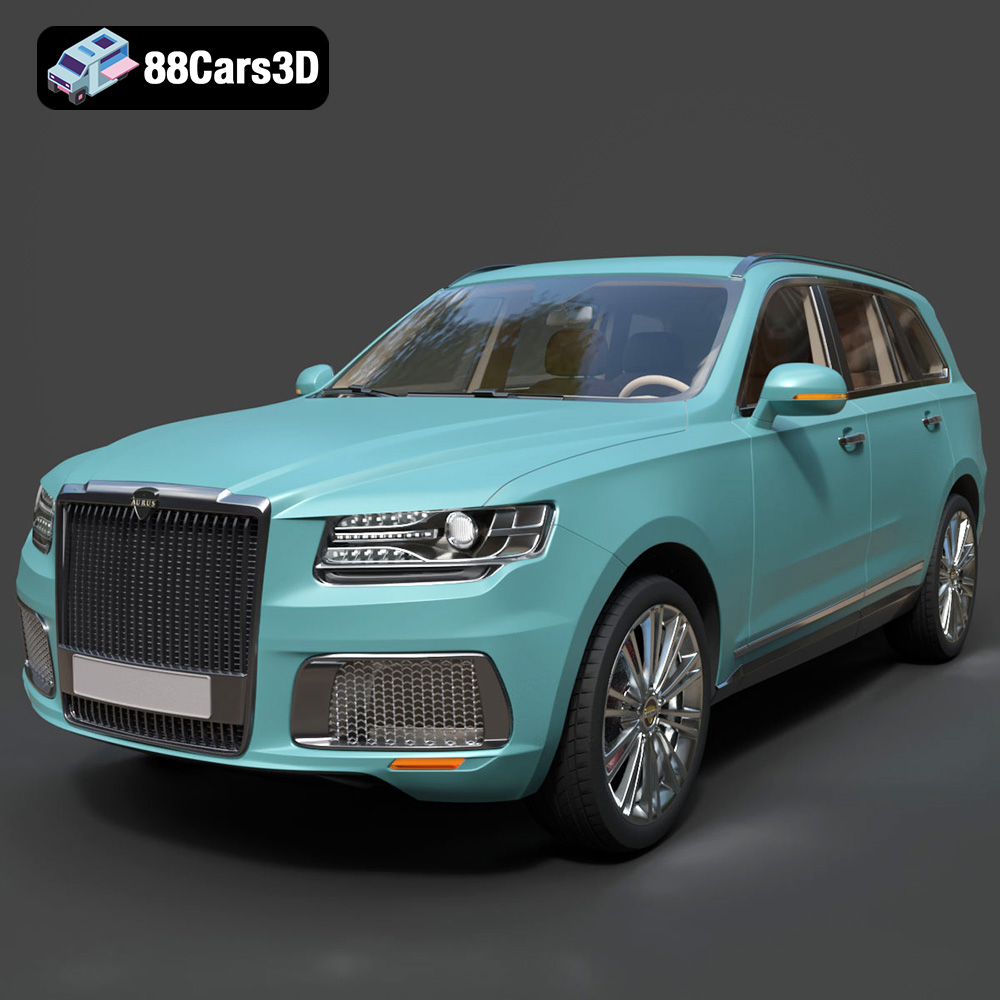
Texture: Yes | Material: Yes
Download the highly detailed, game-ready Aurus Komendant 2020 3D Model. Features an imposing front grille, executive full-size SUV silhouette, and detailed luxury interior. Includes .blend, .fbx, .obj, .glb, .stl, .ply, .unreal, and .max formats for game development, AR/VR, and rendering.
Price: $232.99
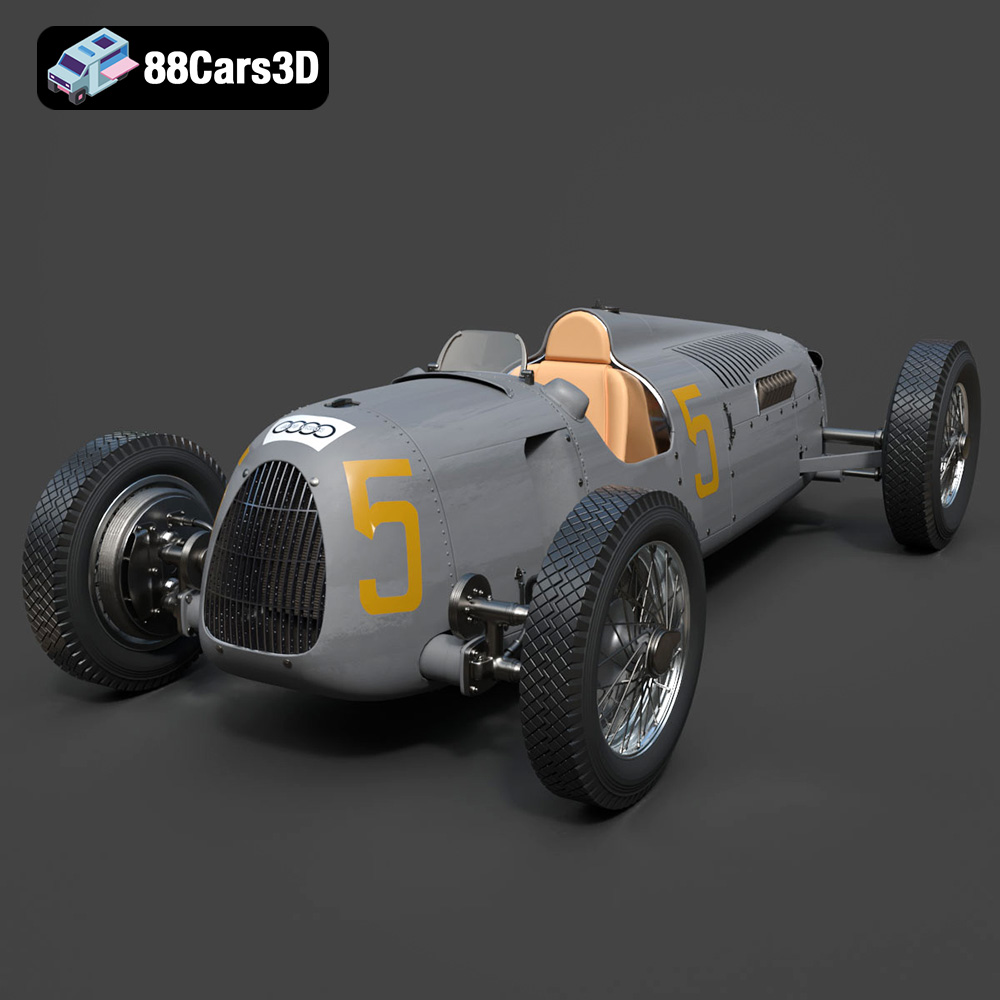
Texture: Yes | Material: Yes
Download the highly detailed, game-ready Auto Union Type C 1936 3D Model. Features iconic V16 engine detailing, classic Silver Arrows bodywork, and detailed open cockpit layout. Includes .blend, .fbx, .obj, .glb, .stl, .ply, .unreal, and .max formats for game development, AR/VR, and rendering.
Price: $152.00
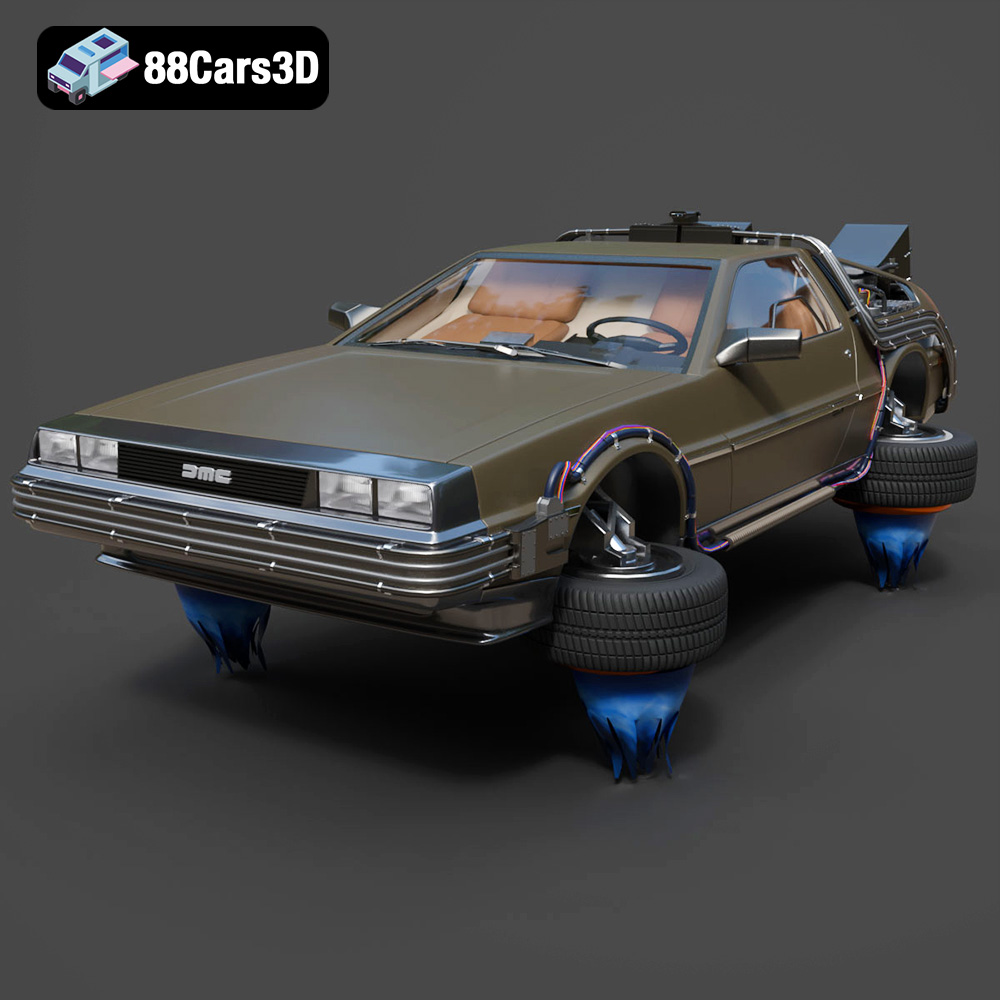
Texture: Yes | Material: Yes
Download the highly detailed, game-ready Back To The Future 2 DeLorean 3D Model. Features Mr. Fusion reactor, hover conversion wheels, and full flux capacitor interior. Includes .blend, .fbx, .obj, .glb, .stl, .ply, .unreal, and .max formats for game development, AR/VR, and rendering.
Price: $211.50
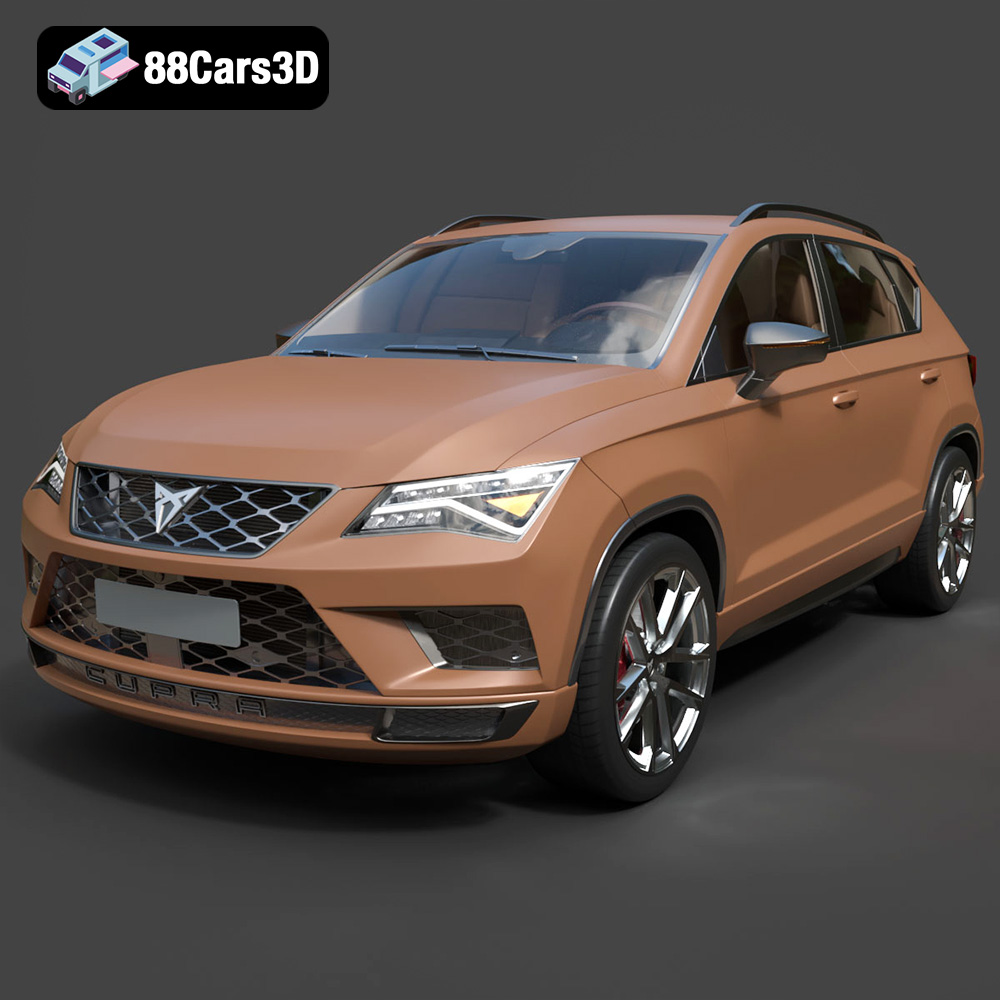
Texture: Yes | Material: Yes
Download the highly detailed, game-ready Seat Ateca Cupra 2019 3D Model. Features aggressive sporty styling, quad exhaust outlets, and high-detail interior. Includes .blend, .fbx, .obj, .glb, .stl, .ply, .unreal, and .max formats for game development, AR/VR, and rendering.
Price: $203.50
Texture: Yes | Material: Yes
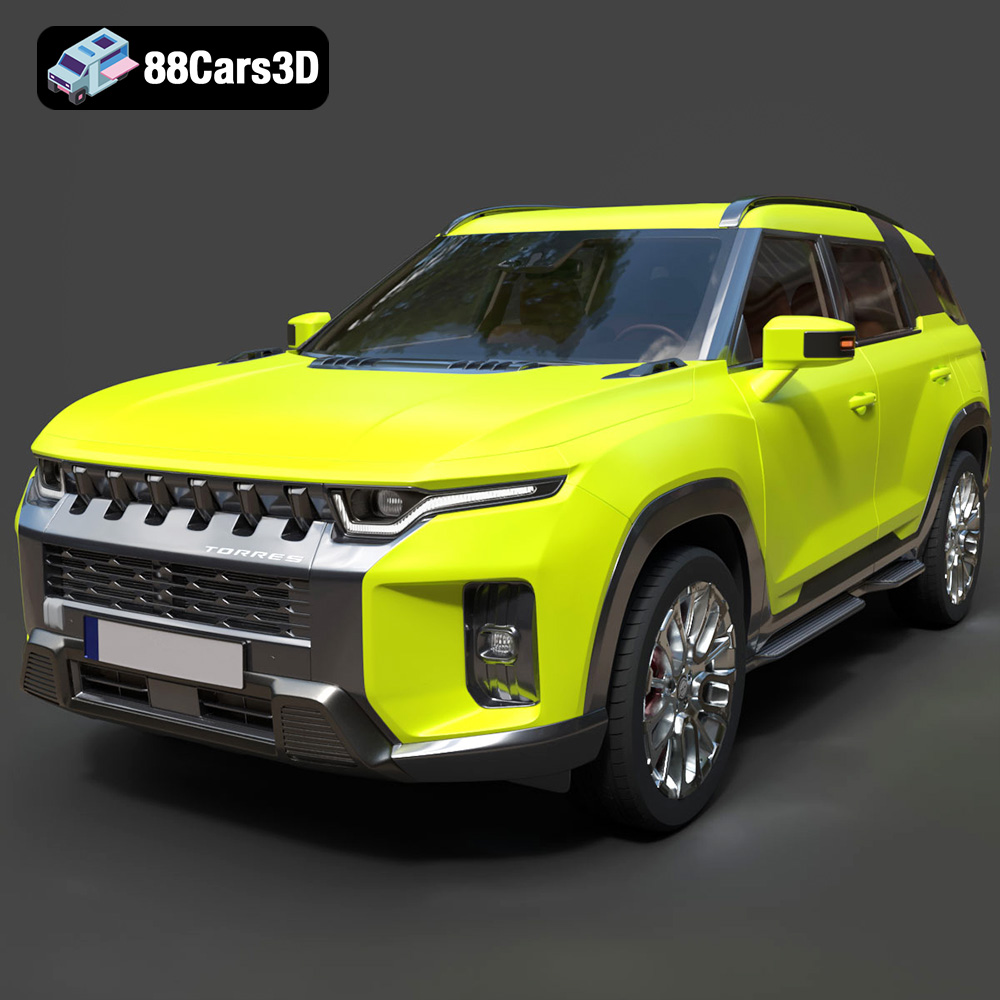
Download the highly detailed, game-ready SsangYong Torres 2023 3D Model. Features rugged SUV styling, signature front grille, and precise body geometry. Includes .blend, .fbx, .obj, .glb, .stl, .ply, .unreal, and .max formats for game development, AR/VR, and rendering.
Price: $279.50

Texture: Yes | Material: Yes
Download the highly detailed, game-ready Chevrolet Corvette Stingray 3D Model. Features sculpted bodywork, detailed aggressive front grille, and iconic sport exhaust. Includes .blend, .fbx, .obj, .glb, .stl, .ply, .unreal, and .max formats for game development, AR/VR, and rendering.
Price: $122.99
Texture: Yes | Material: Yes
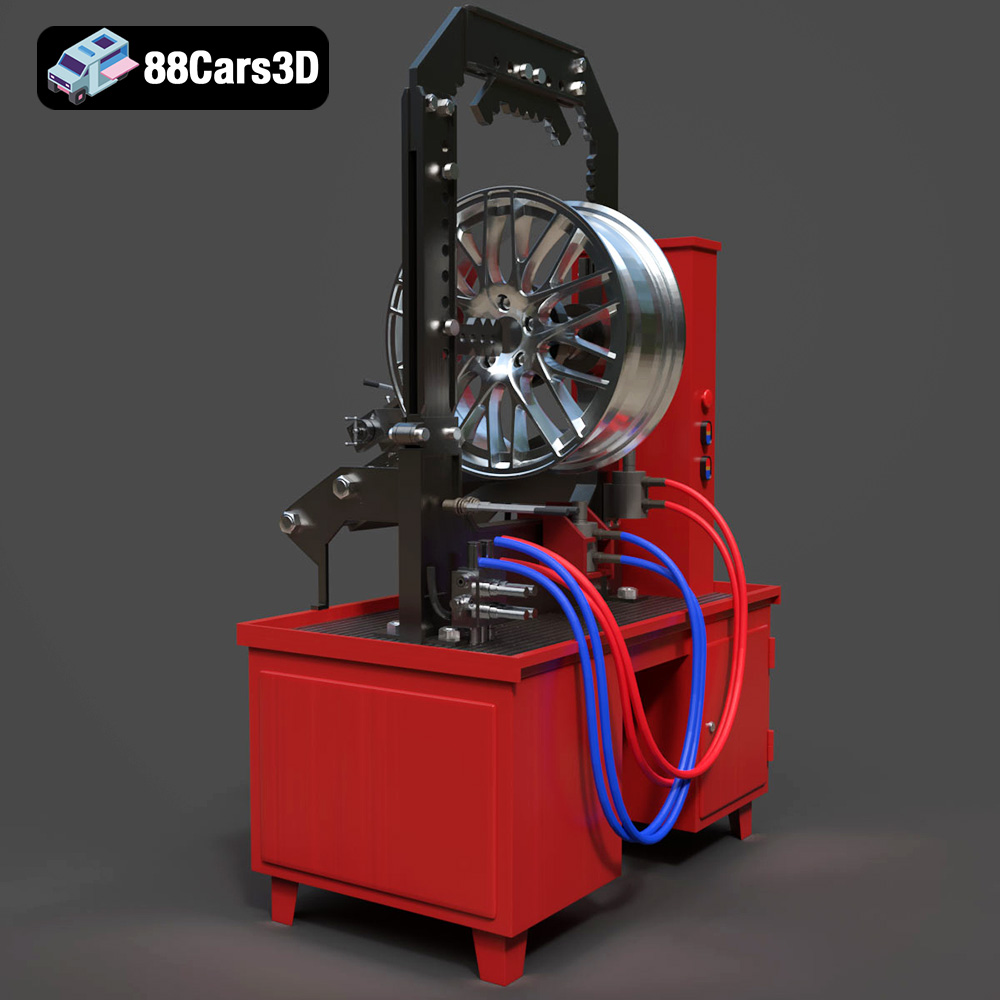
Download the highly detailed, game-ready Stand for Straightening Alloy Wheels 3D Model. Features heavy-duty hydraulic press components, integrated lathe system, and realistic workshop controls. Includes .blend, .fbx, .obj, .glb, .stl, .ply, .unreal, and .max formats for game development, AR/VR, and rendering.
Price: $147.99
Texture: Yes | Material: Yes
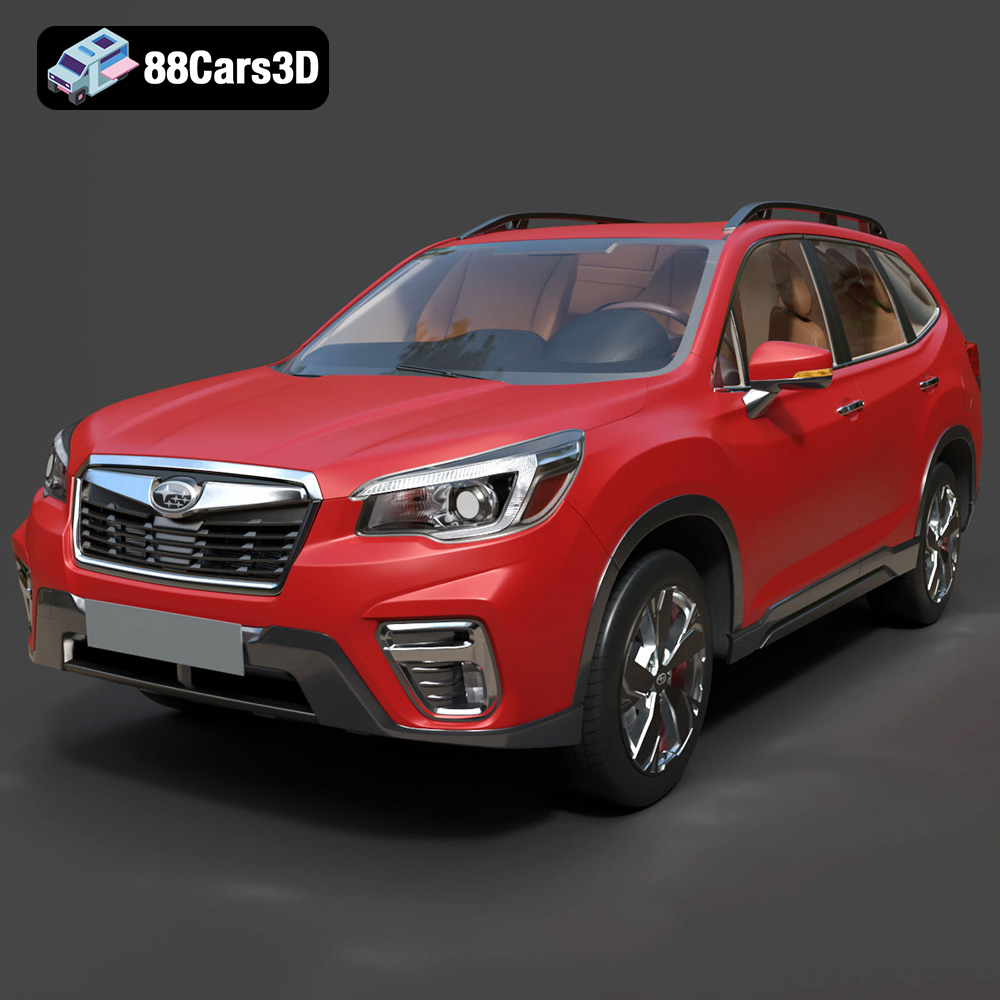
Download the highly detailed, game-ready Subaru Forester 2019 3D Model. Features authentic crossover styling, detailed interior, and accurate exterior geometry. Includes .blend, .fbx, .obj, .glb, .stl, .ply, .unreal, and .max formats for game development, AR/VR, and rendering.
Price: $245.50
