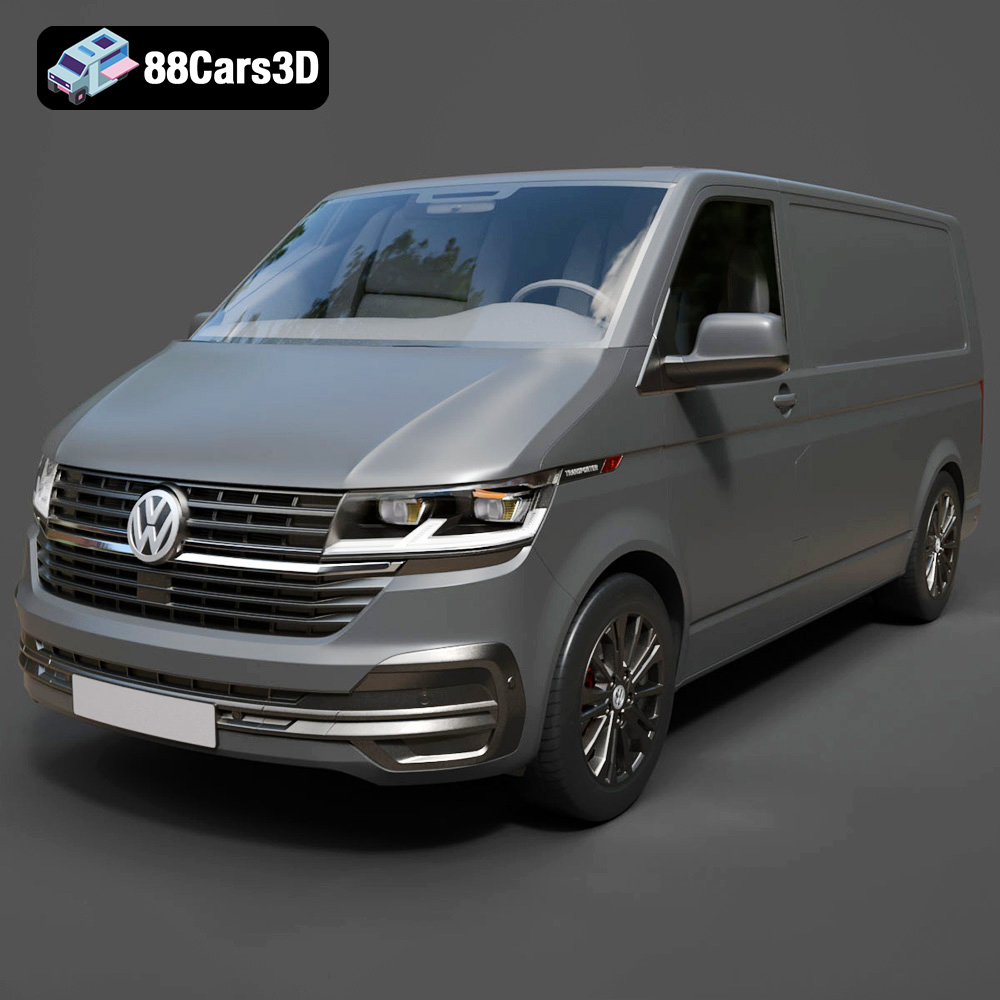
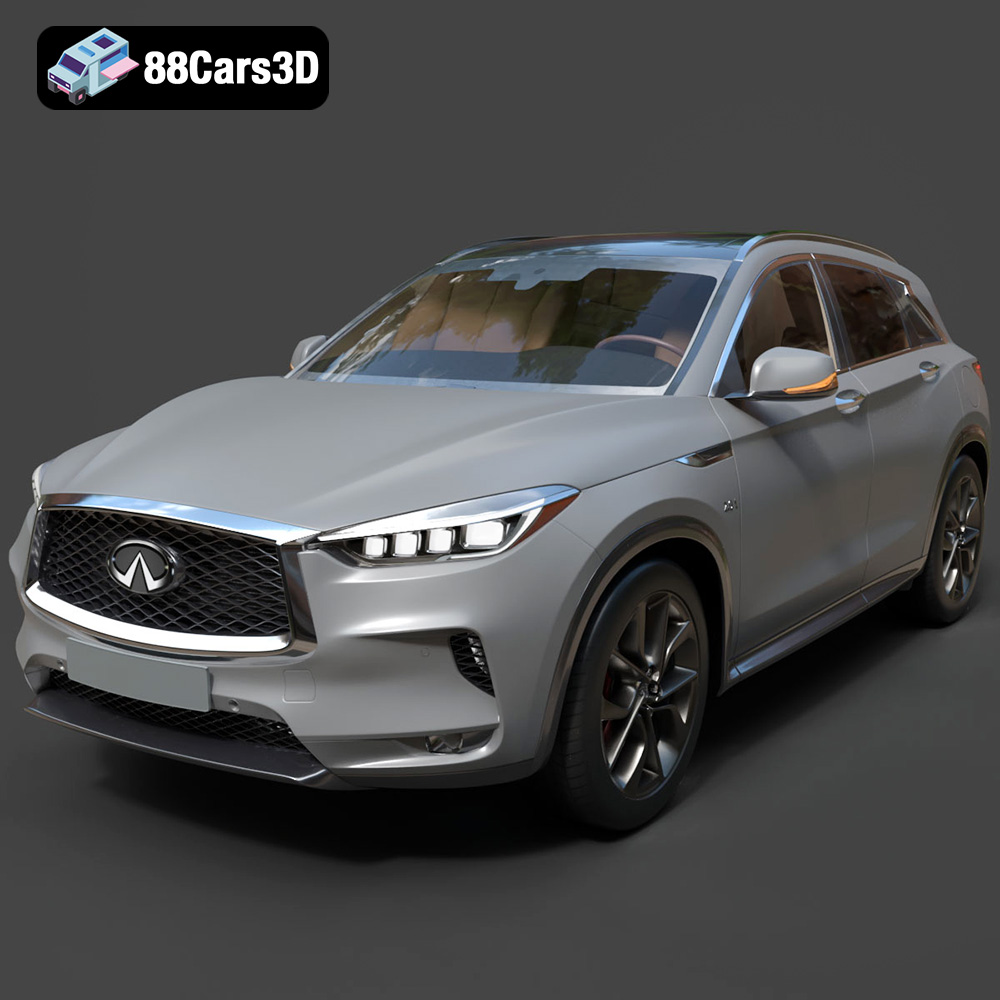
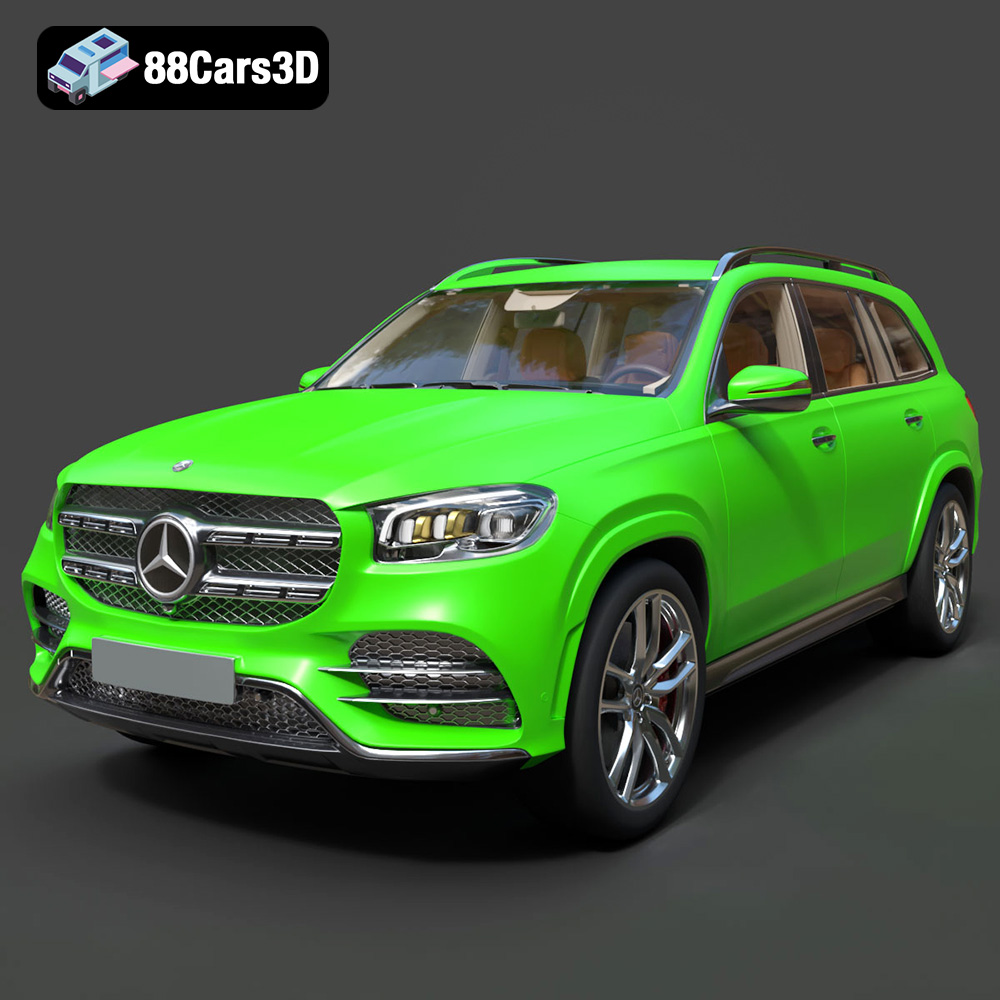
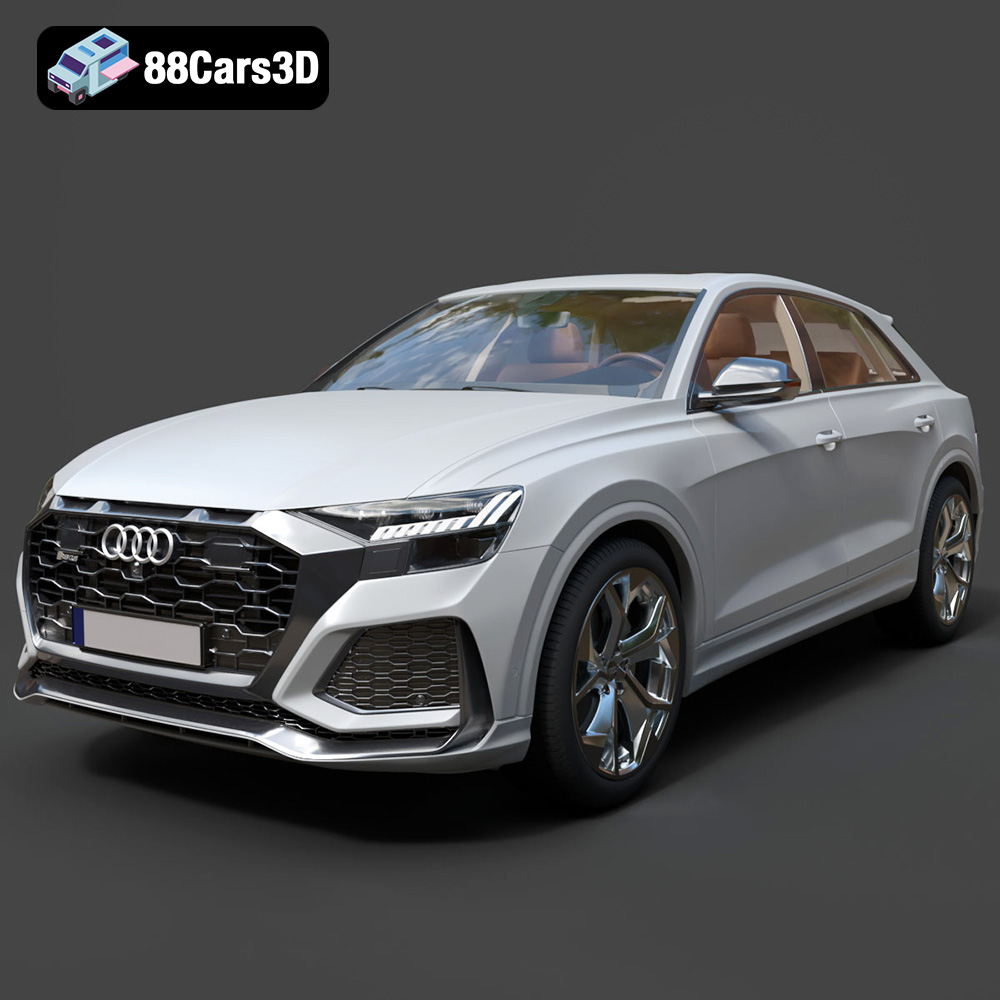
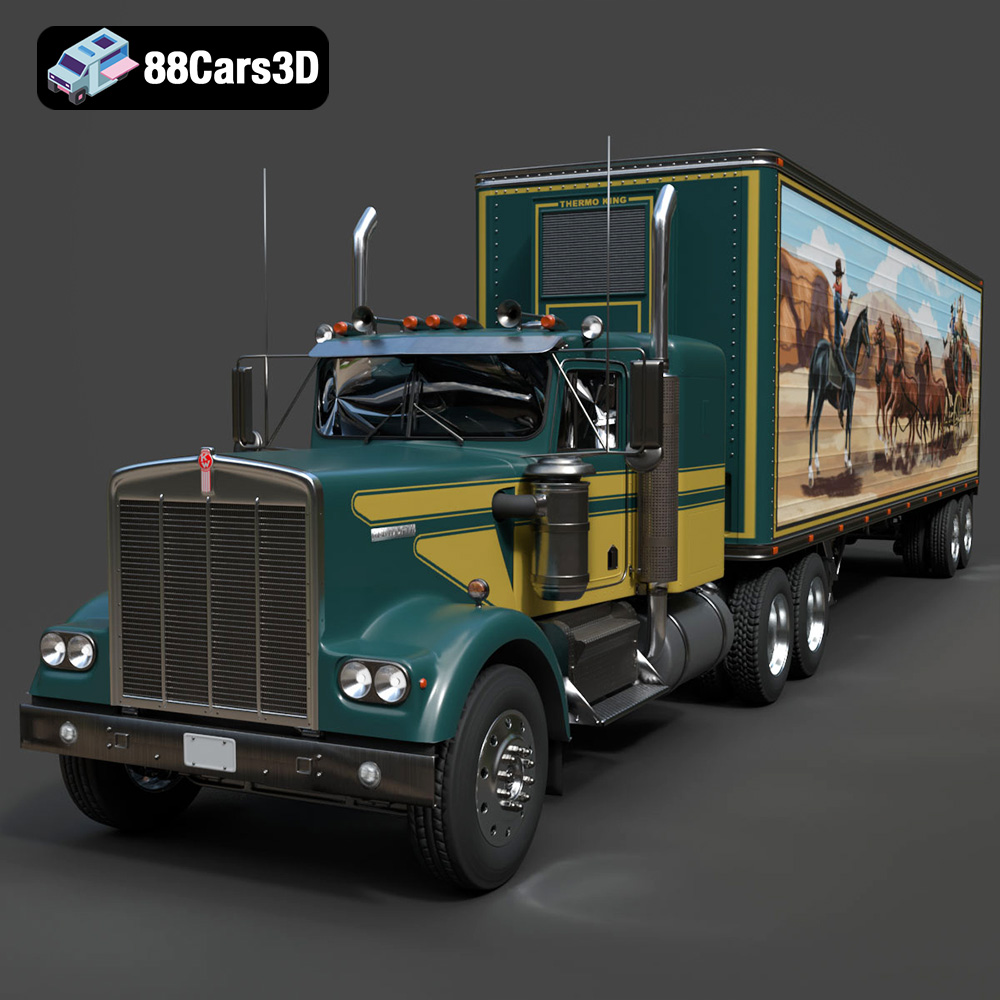
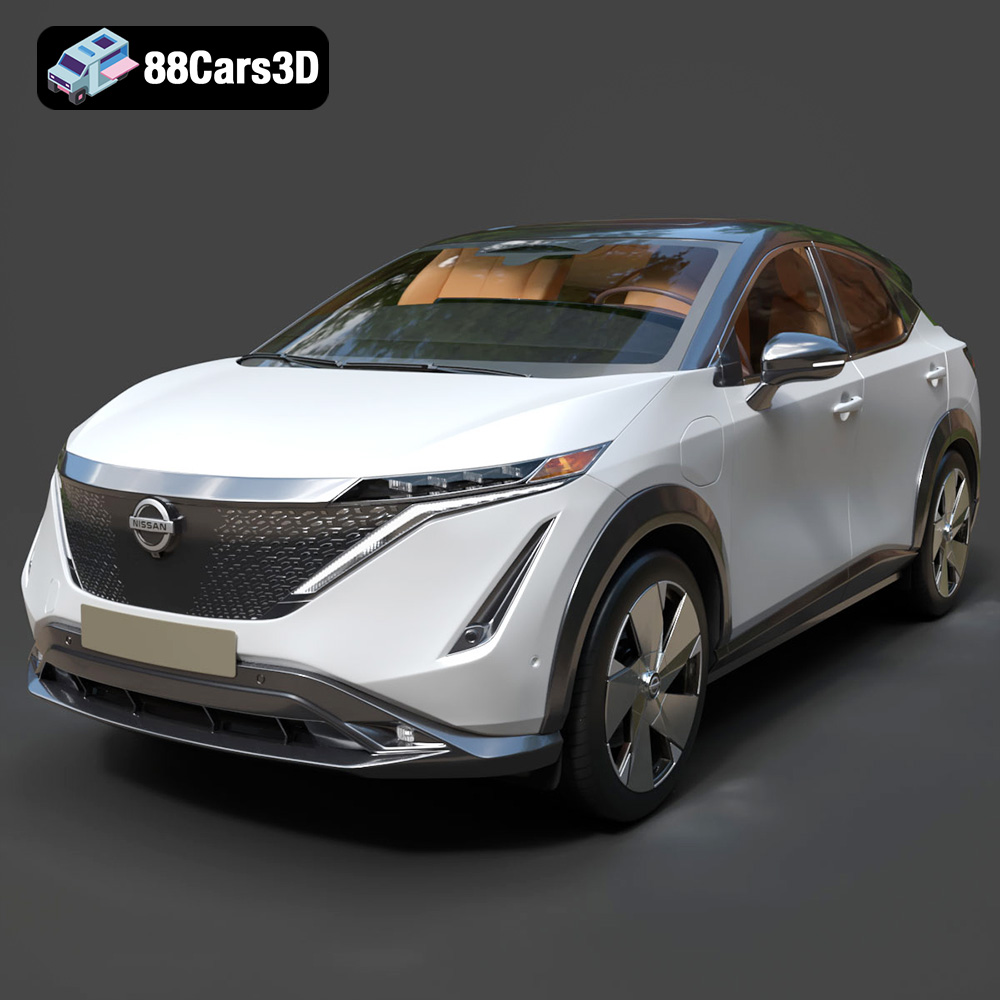
In the realm of 3D visualization and automotive design, the pursuit of photorealism is an unending journey. While meticulously crafted 3D car models form the essential foundation, it is the sophisticated interplay of light and material properties that truly breathes life into a digital vehicle. A stunning model, even one sourced from a high-quality marketplace like 88cars3d.com, can fall flat without compelling materials. This comprehensive guide will take you on a deep dive into the technical intricacies of creating believable automotive materials – focusing on advanced car paint, realistic glass, and authentic rubber tires – essential components for any truly impactful automotive rendering or game asset.
We’ll explore the underlying principles, specific workflows in industry-standard software like Blender and Unreal Engine, and crucial considerations for achieving that elusive photorealistic sheen. Whether you’re aiming for a pristine studio render or optimizing high-performance game assets, understanding the nuances of these shaders is paramount to elevating your work.
Understanding 3D Model File Formats
Before diving into the complex world of materials, it’s essential to understand the different 3D model file formats commonly encountered and why choosing the right one is critical for your project. Each format serves a specific purpose, offering varying degrees of data preservation and compatibility across software and engines. When acquiring 3D car models, understanding these distinctions will streamline your workflow and prevent potential headaches.
.blend – Fully Editable Blender Scene with Materials
The .blend file is Blender’s native format, preserving an entire Blender scene with all its data. This includes not just the mesh geometry, but also materials (complete with node setups), textures, lighting, cameras, animation data, modifiers, physics simulations, and even custom scripts. It’s the most comprehensive format for Blender users, offering complete editability and the ability to dissect every aspect of how the model was constructed and shaded. If you’re working exclusively in Blender, this format provides the most flexibility for customization and advanced material development.
.fbx – Ideal for Unreal, Unity, and Real-Time Pipelines
Autodesk’s .fbx (Filmbox) format is an industry-standard interchange format widely adopted for transferring 3D data between various applications, particularly prominent in game development. It excels at preserving complex scene information, including meshes, skeletal animations, skinning, blend shapes, lights, and cameras. While it can embed textures, FBX typically bakes down sophisticated procedural materials into basic PBR channels (Albedo, Normal, Roughness, Metallic), making it highly compatible with game engines like Unreal Engine and Unity. For high-performance game assets or general cross-software compatibility, FBX is often the go-to choice due as it offers a robust solution for transferring animated or rigged models efficiently.
.obj – Universal Format for Cross-Software Compatibility
The .obj (Wavefront Object) format is one of the oldest and most universally supported 3D file formats. It primarily stores geometric data: vertices, normals, UV coordinates, and faces. Material definitions are typically referenced in a separate .mtl (Material Template Library) file, which contains basic color, diffuse, specular, and transparency properties. OBJ files are excellent for simple mesh transfers between almost any 3D software due to their widespread compatibility and straightforward structure. However, they do not support animation, rigging, or advanced material node setups, making them less suitable for complex animated scenes or real-time game asset workflows where material fidelity is paramount without additional setup.
.glb – Optimized for AR, VR, and Browser-Based Display
The .glb (GL Transmission Format, binary) is a modern, royalty-free format designed for efficient transmission and loading of 3D scenes and models, especially in web-based applications, augmented reality (AR), and virtual reality (VR) environments. It’s a self-contained format, embedding textures, animations, and other scene data directly within a single binary file. GLB files are highly optimized for size and runtime performance, making them ideal for interactive 3D experiences on the web or mobile devices. Their PBR-ready material definitions make them perfect for showcasing 3D car models in a browser or integrating them into AR apps.
.stl – Suitable for 3D Printing Output
The .stl (Stereolithography) format is the de facto standard for 3D printing. It represents only the surface geometry of a 3D object using a mesh of interconnected triangles. STL files do not contain any color, texture, or material information; they are purely about the shape and topology. While crucial for rapid prototyping and manufacturing, STL files are entirely unsuitable for rendering, game development, or any application requiring visual fidelity beyond pure form. If you’re looking to physically recreate a digital car model, this is the format you’ll primarily use.
.ply – Precision Mesh Format for CAD or Analysis
The .ply (Polygon File Format) is another popular format for storing 3D data, particularly common in 3D scanning, CAD applications, and scientific visualization. Similar to OBJ, it stores geometric data, but it can also store additional properties for each vertex or face, such as color, transparency, normals, texture coordinates, and even confidence data. This makes it more robust than STL for complex data sets and more detailed than OBJ for certain applications. While not as universally supported as OBJ or FBX, PLY offers a more precise and comprehensive data representation for specific niche uses, often for data analysis rather than direct rendering.
.unreal – Engine-Ready Asset for Real-Time Environments
While not a standalone file extension that you download from a marketplace like .fbx or .obj, “.unreal” broadly refers to assets that have been processed and optimized for direct use within Unreal Engine. This typically means models (often imported via .fbx) that have been set up with proper collisions, LODs (Levels of Detail), and material instances specifically tailored for the engine’s rendering pipeline. An “Unreal-ready” 3D car model would have pre-configured master materials, texture maps correctly assigned to PBR channels, and potentially even blueprint setups. It signifies an asset that’s ready to be dropped into a scene and rendered in real-time with minimal further setup, a crucial time-saver for game developers.
.max – Editable 3ds Max Project for Animation and Rendering
The .max file is the native file format for Autodesk 3ds Max. Similar to Blender’s .blend file, it stores a complete 3ds Max scene, including all geometry, lights, cameras, animations, modifiers, particle systems, and specific material setups (e.g., V-Ray, Corona, or Arnold materials). This format offers the most flexibility and editability for artists working in 3ds Max, allowing full control over every aspect of the scene. It’s ideal if you’re integrating the model into an existing 3ds Max project for animation, complex rigging, or advanced rendering with its native renderers, allowing for highly customized automotive rendering pipelines.
Advanced Car Paint Shaders: The Art of Layering
The car paint shader is arguably the most critical material in automotive rendering. It defines the vehicle’s personality and is a complex dance of reflections, refractions, and subtle imperfections. Achieving photorealism here means going beyond a simple PBR material; it requires a layered approach that mimics real-world automotive finishes.
PBR Fundamentals for Automotive Paint
At its core, a physically based rendering (PBR) metallic-roughness workflow is the starting point. You’ll need:
- Base Color: The underlying pigment of the paint.
- Metallic Map: For metallic paints, this value should be close to 1.0. Non-metallic paints have a metallic value of 0.0.
- Roughness Map: Defines the micro-surface detail. A perfectly smooth car paint will have very low roughness, leading to sharp reflections. Imperfections will increase local roughness.
- Normal Map: For micro-scratches, dust, or subtle surface bumps that affect how light bounces off the surface.
However, car paint isn’t just a single PBR layer. Real-world automotive finishes typically consist of a base coat (color/metallic flakes), and then several layers of clear coat, which provides depth and protection.
Crafting Multi-Layered Paint in Blender
In Blender, you can achieve multi-layered car paint using a combination of Principled BSDF shaders and mixing nodes:
- Base Coat: Start with a Principled BSDF. Set your desired base color. For metallic paint, set the Metallic slider to 1.0 and a low Roughness value. To simulate metallic flakes, you can add a subtle anisotropic effect. This can be done by mixing a very small amount of an Anisotropic shader or by using the Anisotropy control in the Principled BSDF itself, driven by a noise texture or a generated texture coordinate to give it a randomized appearance.
- Clear Coat: Add a second Principled BSDF. This one will represent the transparent clear coat. Set its Base Color to white (or very light grey), Metallic to 0.0, and Roughness to a very low value (e.g., 0.01-0.05). Critically, set its Transmission to 1.0, making it transparent.
- Layering: Use a Mix Shader node to blend these two. Connect the base coat Principled BSDF to one input and the clear coat Principled BSDF to the other. The crucial factor here is the Mix Factor. Instead of a single value, use a Fresnel node plugged into the Mix Factor. This simulates the way reflections become stronger at grazing angles, accurately depicting a clear coat. Adjust the IOR (Index of Refraction) of the Fresnel node (around 1.5-1.6 for clear coat).
- Imperfections: Introduce a subtle “orange peel” effect by adding a very fine noise texture to the clear coat’s normal input, mixed with the original surface normal. Use a Bump node with a very small strength for this. You can also layer micro-scratches via a normal map or additional roughness variations.
This nodal setup allows for immense control, enabling you to fine-tune every aspect of your automotive rendering, from the metallic flake size to the depth of the clear coat.
Real-Time Car Paint in Unreal Engine
Unreal Engine provides powerful tools for creating advanced car paint shaders, often leveraging its built-in clear coat layer for performance and realism:
- Master Material Setup: Create a Master Material that incorporates various layers. The Clear Coat input in Unreal’s default material allows you to specify a clear coat roughness and amount.
- Base Layer: Connect your base color, metallic, and roughness maps to the standard PBR inputs. For metallic flakes, you can implement a custom material function that generates anisotropic reflections based on camera angle and a noise texture, blending it with the base metallic reflections.
- Clear Coat Imperfections: Use a second set of textures for the clear coat’s roughness and normals. For instance, a noise texture can drive the Clear Coat Roughness input to simulate subtle orange peel or dust, while a normal map can add micro-scratches.
- Performance: For game assets, optimize by baking complex procedural textures down to image maps where possible. Use material instances derived from your master material to quickly iterate on color and roughness variations without recompiling the main shader.
The goal is to encapsulate all the complex calculations within a robust master material, allowing artists to simply adjust parameters on material instances, providing incredible flexibility for different vehicle finishes.
Realistic Glass & Transparency: Beyond Simple Refraction
Automotive glass – windshields, windows, headlights, and mirrors – presents unique challenges. Achieving realism goes far beyond simple transparency; it demands accurate refraction, subtle tints, and convincing surface imperfections.
Accurate IOR and Transmission for Automotive Glass
The primary driver of realistic glass is accurate physics:
- Index of Refraction (IOR): For standard glass, an IOR of approximately 1.52 is crucial. This value dictates how light bends as it passes through the material. In Blender’s Principled BSDF, you’d set Transmission to 1.0 and adjust the IOR. In Unreal Engine, you’d typically use a Translucent material blend mode and set the Refraction input accordingly, often controlling it with a Fresnel effect for edge reflections.
- Transmission Color/Absorption: Real glass isn’t perfectly clear. It often has a slight green or blue tint due to iron content, especially visible in thicker parts. Model this by giving your transmission color a subtle tint or using a volume absorption shader for physically accurate light absorption over distance.
- Thin vs. Thick Glass: For thin windows, a simple single-sided translucent material might suffice in real-time engines. For thick components like headlights or very curved windshields, actual volumetric refraction (requiring true glass geometry with thickness) or a specialized thin-walled material (where light refracts without going through a volume) can be used to ensure light bends correctly.
Imperfections: Dust, Smudges, and Hydrophobic Effects
Pristine glass looks digital. Real-world glass is covered in subtle flaws:
- Roughness Variation: Use a dirt or smudge texture to drive the roughness map. Areas with smudges will appear hazier and scatter reflections more. This can be a procedural noise pattern or painted masks.
- Micro-Scratches: Add a very subtle normal map for micro-scratches. These are usually too small to see individually but collectively affect how light reflects, creating a slightly diffused highlight.
- Hydrophobic Effects: For rain, simulating the hydrophobic properties of treated glass is key. This involves creating separate droplet geometry or using a normal map to distort reflections where water beads up, along with a distinct roughness value for the water itself. Mixing this with the base glass shader via a mask provides compelling wet effects.
Optimizing Glass for Game Engines
Transparency is notoriously expensive in real-time rendering, and game assets require careful optimization:
- Blend Modes: Unreal Engine offers various blend modes for materials (Opaque, Masked, Translucent). For glass, Translucent is usually necessary for refraction, but it incurs a high rendering cost due to depth sorting issues. For simple window panes, a Masked material with a dithered opacity can sometimes provide a cheaper, though less accurate, transparency.
- Screen Space Reflections/Refractions (SSR): Leverage SSR for reflections and refractions on glass. While not perfectly accurate (they only sample what’s visible on screen), they offer a good balance of quality and performance for automotive rendering in games.
- Fake Refraction: For distant or less critical glass elements, a simple distortion via a normal map or a subtle displacement of UVs can fake refraction at a much lower cost than true translucent rendering.
Balancing visual quality with performance is crucial, especially when working with high-detail 3D car models intended for interactive experiences.
Authentic Rubber & Tire Materials: Grounding Your Vehicle
Tires are often overlooked but are vital for grounding a vehicle in its environment. A tire that looks like polished plastic immediately breaks the illusion. Authentic rubber requires nuanced roughness, subtle displacement, and realistic wear and dirt.
Building a Multi-Layered Tire Shader
Just like car paint, tires benefit from a layered approach:
- Base Rubber: Start with a dark grey base color. The key here is roughness. New rubber has a relatively low roughness but quickly picks up microscopic texture. Use a slightly uneven roughness map (e.g., a subtle noise texture) to avoid a perfectly smooth, plastic-like appearance. The metallic value should be 0.0.
- Micro-Roughness and Anisotropy: Real rubber often exhibits slight anisotropic reflections due to its manufacturing process and how it wears. Incorporate a subtle anisotropic effect, driven by the tire’s rotation or specific wear patterns. Use a finely detailed normal map or a procedural bump map to simulate the micro-texture of rubber, which isn’t perfectly smooth.
- Dirt/Dust Layer: Overlay a grunge or dust texture, typically blended using a mix shader or a layered material, often driven by ambient occlusion or vertex paint to accumulate dirt in crevices. This layer will have higher roughness and a lighter color.
- Wetness: If applicable, add a wetness layer with very low roughness and slightly altered base color to simulate a thin film of water.
Micro-Displacement for Realistic Tread
The tire tread is where displacement truly shines:
- High-Resolution Displacement Map: Generate a detailed displacement map from your tire’s tread geometry. This map, combined with subdivision (in Blender) or tessellation (in Unreal Engine), will physically displace the mesh, creating accurate tread patterns that catch light correctly.
- Subtle Surface Detail: Beyond the main tread, use smaller-scale displacement or fine bump maps to add micro-texture to the rubber surface, making it look porous and realistic.
- Performance Considerations: Displacement can be heavy. Use it judiciously. In game engines, tessellation and displacement are typically performance-intensive and might be reserved for cinematic shots or high-end machines. For game assets, normal maps are often preferred for tread detail, with parallax occlusion mapping as a compromise for added depth.
Weathering and Wear for Environmental Integration
A tire that looks like it just rolled off the factory floor will look out of place if the rest of the scene is weathered. Integrate wear and tear for realism:
- Edge Wear: Tires wear down on their edges. Use vertex painting or a mask based on curvature to apply a slightly lighter, rougher material to these areas, simulating worn-down rubber.
- Dirt and Mud: Layer mud and dirt textures. These should conform to the tire’s shape, accumulating in the tread grooves and along the sidewalls. Use procedural masks based on object height or world position for convincing accumulation, or painted masks for specific scenarios.
- Environmental Blending: Ensure the dirt and wear patterns are consistent with the ground material the vehicle is resting on. A wet tire on dry pavement or a clean tire on a muddy track will break immersion.
This attention to detail helps to anchor your 3D car models firmly within their digital environment, enhancing the overall photorealism of your automotive rendering.
Workflow Integration and Best Practices
Mastering individual material types is one thing, but integrating them into a cohesive and efficient workflow is where true expertise lies. Whether you’re working on highly detailed cinematic renders or optimizing complex game assets, adhering to best practices will save time and elevate your final output.
UV Mapping for Material Consistency
Proper UV mapping is the unsung hero of material creation. Without clean, organized UVs, even the best textures will look distorted or stretched.
- Clean Unwraps: Ensure your 3D car models have clean, non-overlapping UVs. This is critical for applying texture maps accurately. Prioritize minimal stretching and consistent texel density across different parts of the vehicle.
- UDIM Workflow: For extremely high-resolution automotive rendering projects, especially those with intricate detail, consider using UDIMs (U-Dimension). This allows you to spread the UVs for a single object across multiple texture maps, preventing loss of detail and managing texture resolution efficiently.
- Material IDs/Masks: Use separate UV maps or material ID masks to define different material zones (e.g., body panel, trim, window frame). This provides precise control when layering complex shaders and applying specific textures to isolated areas.
Performance Considerations for Game Assets
When creating 3D car models specifically as game assets, performance is paramount. Photorealism must be balanced with frame rates.
- Levels of Detail (LODs): Implement LODs for your vehicle meshes. As the car moves further from the camera, progressively lower-polygon versions are swapped in, reducing rendering overhead. Ensure material complexities are also optimized for each LOD.
- Texture Resolution Management: Use appropriate texture resolutions. A 4K texture for a small bolt might be overkill. Optimize texture size where visual impact is minimal. Utilize texture atlases where multiple small textures can be combined into one larger map to reduce draw calls.
- Shader Complexity: Keep your material graphs as lean as possible. Avoid overly complex procedural nodes if a simpler image texture can achieve a similar visual result with better performance. Use material instances extensively to reduce shader compilation time and memory footprint.
- Static Lighting vs. Dynamic: For game assets, understand the implications of static versus dynamic lighting. Static lighting bakes illumination into lightmaps, which is very performant but less flexible. Dynamic lighting offers realism but is more demanding. Your material choices should reflect the intended lighting setup.
Iteration and Reference: The Key to Photorealism
No material is perfect on the first try. The path to photorealism is iterative and heavily reliant on keen observation.
- Gather References: Always work with high-quality photo references of real cars under various lighting conditions. Pay close attention to how light interacts with the paint, the subtle dirt on the glass, and the texture of the tires. Compare your renders directly against these references.
- A/B Testing: Experiment with different values and node setups. Render quick test shots, compare, and refine. Small tweaks to roughness, IOR, or color can make a significant difference.
- Seek Feedback: Share your work with peers. A fresh pair of eyes can spot imperfections or areas for improvement that you might have overlooked.
- Patience and Persistence: Achieving truly photorealistic automotive rendering is a challenging endeavor that requires patience and a willingness to iterate. Don’t be afraid to scrap an approach and start over if it’s not yielding the desired results.
Conclusion
Mastering photorealistic automotive materials is a journey that combines artistic sensibility with technical precision. From the multi-layered dance of car paint to the subtle imperfections of glass and the weathered texture of rubber, every material contributes to the overall believability of your 3D car models. By understanding the underlying physics, leveraging advanced shader techniques in Blender and Unreal Engine, and adhering to robust workflow practices, you can transform your digital vehicles from mere geometry into compelling, lifelike creations.
The key lies in observation, iteration, and a deep understanding of how light interacts with real-world surfaces. Whether your goal is a high-fidelity cinematic render or a performance-optimized game asset, the principles discussed here provide a strong foundation. Remember that exceptional 3D car models, like those available at 88cars3d.com, are only truly realized when paired with equally exceptional materials. Continue to experiment, learn, and push the boundaries of what’s possible in automotive rendering – your audience will thank you for the immersive experience.
Featured 3D Car Models