

“`html
In the demanding world of 3D visualization, automotive design, and game development, the pursuit of photorealism is relentless. A crucial element in achieving this lifelike quality for 3D car models isn’t just about polygon count or intricate geometry; it’s about the magic of textures and the subtle art of normal mapping. While a finely sculpted mesh provides the foundation, it’s the meticulous application of surface details through texture painting and the efficient illusion of depth offered by normal maps that truly brings a vehicle to life, transforming it from a mere collection of vertices into a compelling digital asset.
This comprehensive guide delves deep into the powerful workflows within Blender for crafting breathtakingly realistic car surfaces. We’ll explore the critical role of impeccable UV mapping, unravel the intricacies of Blender’s texture painting capabilities, and provide a step-by-step masterclass on baking high-fidelity normal maps. Whether you’re an aspiring 3D artist, a seasoned game developer optimizing game assets, or an automotive designer striving for impeccable visualizations, understanding these techniques is paramount. Prepare to elevate your automotive rendering projects, enhance your AR/VR experiences, and ensure your 3D printing preparations are flawless, as we unlock the secrets to creating truly stunning 3D car models.
Before any brushstroke can be applied or any detail baked, your 3D car models require a pristine canvas: well-executed UV maps. UV unwrapping is the process of flattening the 3D surface of your model into a 2D plane, allowing textures to be accurately projected onto it. For complex, curvature-rich objects like cars, poor UVs can lead to unsightly texture stretching, seams, and ultimately, a compromised visual fidelity. A clean UV layout is not just a preference; it’s a technical prerequisite for both effective texture painting and accurate normal map baking.
The goal for automotive assets is to create a UV layout that minimizes distortion, provides adequate texel density across all surfaces, and strategically places seams in less visible areas. Think about the natural panel lines, edges, and hidden areas of a car; these are often ideal candidates for UV seams. Blender offers robust UV editing tools that allow for precise control. Using the ‘Mark Seam’ and ‘Unwrap’ functions is foundational. For complex parts, ‘Smart UV Project’ can provide a quick starting point, but manual refinement is almost always necessary to achieve professional results. Always prioritize uniform texel density – ensuring that the texture resolution is consistent across the entire model, preventing some areas from looking blurry while others are sharp.
Achieving consistent texture density is crucial for realistic automotive rendering. Imagine a car where the hood looks sharp but the doors appear pixelated; this is a clear sign of uneven texel density. In Blender’s UV Editor, you can visualize and adjust texel density. After unwrapping, select all islands and use the ‘Pack Islands’ function (often with a margin) to maximize space utilization while maintaining appropriate spacing. For critical areas like the body panels, headlights, or wheels, consider giving them more UV space to accommodate higher detail textures. You can achieve this by scaling individual UV islands within the UV Editor to increase their relative texel density. Always ensure your UV islands are not overlapping, as this will lead to artifacts during texture painting and baking. For more detailed guidance on Blender’s UV editing capabilities, refer to the official Blender 4.4 documentation on UV Mapping.
Strategic seam placement is an art form. For 3D car models, try to align seams along natural breaks in the geometry, such as panel gaps, sharp creases, or areas that will be hidden from direct view. Avoid placing seams in the middle of smooth, visible surfaces where they might become apparent. Hard edges in your mesh, which represent significant changes in angle, are often excellent places to mark seams as they naturally define a boundary. Blender’s ‘Sharp Edges’ selection and ‘Mark Seams from Sharp Edges’ can be a useful starting point, though manual adjustment is usually required. For baking normal maps, seams should ideally be placed where the angle difference between adjacent faces is already pronounced, minimizing potential visual artifacts along the seam lines of your normal map. Always aim for a logical and efficient layout that allows for easy texture application and minimal distortion.
With perfectly laid out UVs, your 3D car model is ready for a splash of personalized detail. Blender’s Texture Paint mode transforms your 3D viewport into a dynamic canvas, allowing you to directly paint intricate surface details onto your model. This is where you can add subtle imperfections, wear and tear, rust, dirt, or custom decals that elevate the realism beyond a generic material. Whether you’re targeting photorealistic automotive rendering or creating optimized game assets, direct texture painting offers unparalleled control and artistic freedom.
To begin, ensure your model has a material assigned and an image texture node connected to the Base Color input (or another relevant input like Roughness or Metallic) within the Shader Editor. In Texture Paint mode, you can then create new image textures directly. Blender provides a comprehensive suite of brush tools, akin to 2D image editors. You can adjust brush size (Radius), strength, blend modes, and even load custom alpha masks to create unique effects. Layers, although not as robust as dedicated 2D painting software, can be managed by stacking multiple image texture nodes and blending them within your material setup, offering a degree of non-destructive workflow.
Before you start painting, it’s crucial to set up your canvas. In the ‘N’ panel (Tool Settings) within the Texture Paint workspace, you’ll find options for ‘Slots’. Here, you can define multiple image textures for different material channels (e.g., Base Color, Roughness, Metallic, Height). For most 3D car models, a Base Color map is your primary canvas. Choose a suitable resolution (e.g., 2K, 4K, or even 8K for high-detail areas) based on your target platform and expected detail. Higher resolutions offer more fidelity but increase file size and memory usage, a key consideration for game assets. Blender’s brush settings offer extensive customization. Experiment with various falloffs, textures (for noisy brushes), and blend modes (e.g., Mix, Multiply, Overlay) to achieve different artistic effects. For instance, a soft brush with low strength and an ‘Overlay’ blend mode is excellent for adding subtle color variations or grime, while a ‘Multiply’ brush is perfect for darkening areas like crevices or panel lines.
Beyond freehand painting, Blender offers powerful techniques like stencils and projection painting to achieve complex details with precision. Stencils allow you to use an image as a mask, painting only where the stencil image is visible. This is incredibly useful for applying logos, decals, or intricate patterns onto your 3D car models without manual tracing. To use a stencil, load an image into the ‘Texture’ slot of your brush, set the ‘Mapping’ to ‘Stencil’, and then manipulate the stencil in your viewport using Shift+RMB (move), Ctrl+RMB (scale), and Ctrl+Alt+RMB (rotate). For more organic or complex forms, projection painting can be revolutionary. This technique projects a 2D image directly onto your 3D model, allowing you to seamlessly transfer intricate details like rust patterns, scratches, or custom liveries from a photographic source. By aligning your view and painting, you can “project” these details onto the car’s surface, leveraging the real-world accuracy of source imagery for unparalleled realism in your automotive rendering.
In the pursuit of highly detailed 3D car models, especially for real-time applications like game engines or AR/VR, managing polygon count is paramount. This is where normal maps become indispensable. A normal map is a special type of texture map that stores directional information about the surface normals of an object. Instead of physically adding more polygons to create bumps, grooves, or surface imperfections, a normal map alters how light interacts with the surface, *simulating* those details. This powerful illusion allows artists to bake intricate geometric details from a high-polygon model onto a low-polygon model, achieving stunning visual fidelity with significantly reduced computational cost. This makes normal maps a cornerstone of efficient game asset creation and high-performance automotive rendering.
Normal maps typically appear as distinct purple and blue textures. The color channels (Red, Green, Blue) correspond to the X, Y, and Z axes of the surface normals. When light hits a surface with an applied normal map, the shader uses the information from the map to calculate how light should bounce, making flat surfaces appear to have depth and intricate features. This technique is particularly effective for subtle surface details like brushed metal, intricate panel lines, rivets, or even the subtle texture of paint, all without bloating your polygon budget. Understanding the concept of normal maps is a fundamental skill for any professional 3D artist aiming for realism and optimization.
The core of normal map baking lies in the high-poly to low-poly workflow. You start with a meticulously sculpted or modeled high-polygon version of your 3D car model, featuring all the fine details, sharp edges, and surface imperfections you desire. This model can have millions of polygons, as its sole purpose is to serve as a source of detail. Simultaneously, you create a low-polygon version of the same car model. This low-poly mesh has a significantly reduced polygon count, optimized for performance in real-time engines or for more efficient rendering. It retains the overall silhouette and form of the car but lacks the fine surface details. The normal map baking process then transfers the surface normal information (i.e., the “bumps” and “indents”) from the high-poly model onto the low-poly model’s UV layout. The result is a visually rich low-poly model that appears to have the same geometric complexity as its high-poly counterpart, but with a fraction of the computational load, perfect for optimized game assets and interactive AR/VR experiences.
Proper preparation of both your high-poly and low-poly models is critical for successful normal map baking. First, ensure both models are correctly scaled and aligned in the same position in your scene. Their origins should match. Second, and crucially, verify that the low-poly model’s UVs are finalized and free of overlaps. As discussed, clean UVs are non-negotiable. Third, check the normals of both models. All faces on both the high and low poly models must have their normals pointing outwards. In Blender, you can enable ‘Face Orientation’ overlay in the viewport to visualize normals (blue is correct, red is flipped). If any are red, select the faces in Edit Mode and use ‘Mesh > Normals > Recalculate Outside’. Finally, ensure your low-poly model is slightly larger than the high-poly model in areas where details are being baked *into* the low-poly surface. This is particularly important when using a ‘cage’ during baking, which we’ll discuss next. For automotive assets, consider merging floating details like emblems or small vents into your high-poly mesh before baking, or ensuring they are close enough to be captured by the low-poly’s projection rays.
Baking normal maps in Blender is a precise process that, once mastered, becomes a cornerstone of your 3D workflow. This section will guide you through the essential steps to accurately transfer high-resolution surface details from your detailed model onto your optimized low-polygon 3D car model. Understanding each setting and its impact is key to achieving clean, artifact-free normal maps suitable for any demanding automotive rendering or game asset pipeline.
To begin, ensure you have both your high-poly and low-poly models in the same Blender scene, perfectly aligned. The low-poly model should have a material assigned with an image texture node created for your normal map, set to ‘Non-Color Data’ in its image settings. This empty image will be the target for the baked normal map. Now, follow these steps in the ‘Cycles’ render engine (Blender’s default for baking):
After baking, the normal map will appear in the image texture you created on your low-poly model. Save this image externally immediately!
The ‘Extrusion’ (also known as ‘Push’ or ‘Bias’ in other software) and ‘Max Ray Distance’ settings within Blender’s Bake panel are paramount for successful normal map baking. ‘Max Ray Distance’ determines how far Blender’s rays will search from the low-poly surface to find the high-poly geometry. If this value is too low, details from the high-poly might be missed, resulting in black areas or missing information on your normal map. If it’s too high, rays might pick up details from other parts of the high-poly mesh, leading to artifacts or “bleeding” of details. Start with a small value (e.g., 0.1m or 0.01m) and gradually increase it until all details are captured without artifacts. ‘Extrusion’ acts as an offset, effectively pushing the rays outwards from the low-poly surface. It’s often used in conjunction with a ‘cage’ (explained below) to prevent the low-poly from intersecting the high-poly during the ray cast. For intricate 3D car models with tight gaps, careful adjustment of these values is essential. For further insights into the specific parameters and best practices for baking in Cycles, consult the official Blender 4.4 documentation on Cycles Baking, which provides comprehensive details on each setting and its implications.
Normal map baking isn’t always smooth sailing, especially with complex automotive rendering assets. Common issues include black areas, jagged edges, flipped normals, and “skewing” of details. Here’s how to address them:
A perfectly baked normal map is just half the battle; the other half is integrating it correctly into your material setup and optimizing its use across different applications. Whether you’re aiming for stunning offline renders or high-performance real-time game assets, how you apply and manage your normal maps will significantly impact the final visual quality and efficiency of your 3D car models. This process involves understanding PBR (Physically Based Rendering) principles and considering the unique demands of various rendering environments.
In Blender’s Node Editor, applying a normal map involves connecting the image texture node to a ‘Normal Map’ node, and then connecting that to the ‘Normal’ input of your Principled BSDF shader. It’s crucial that the normal map image texture node’s ‘Color Space’ is set to ‘Non-Color Data’ (or ‘Raw’). If it’s left as ‘sRGB’, the color values will be incorrectly interpreted, leading to visual artifacts and an unnatural appearance. For truly photorealistic automotive rendering, ensure your PBR material setup is robust, accurately representing real-world material properties like roughness, metallicness, and clear coat layers, all enhanced by the baked normal map details.
Physically Based Rendering (PBR) forms the backbone of modern automotive rendering and game development, aiming to simulate how light interacts with materials in the real world. A normal map is a key component of a complete PBR material. For your 3D car models, a typical PBR material in Blender’s Cycles or Eevee (using the Principled BSDF shader) will involve several texture maps in addition to the normal map: Base Color (or Albedo), Metallic, Roughness, and potentially Ambient Occlusion or Specular. Each of these maps influences how light is scattered, reflected, or absorbed by the surface. The normal map adds the illusion of geometric detail, working in concert with these other maps to create a cohesive and believable surface. For instance, a clear coat layer on a car paint material would have its own normal influence, subtly layered on top of the base paint’s normal map, further enhancing realism. Platforms like 88cars3d.com provide models with pre-configured PBR materials, making integration into your projects seamless.
When transitioning your 3D car models to game engines like Unity or Unreal Engine, normal maps are vital for optimizing performance without sacrificing visual fidelity. These engines are built to leverage normal maps for efficient rendering of detailed game assets. In both Unity and Unreal, you’ll import your normal map texture and often need to ensure its ‘Texture Type’ is correctly set to ‘Normal Map’ during import. This ensures the engine interprets the color data correctly for tangent space normal calculations. For performance, considerations include:
Beyond the fundamental workflow, there are advanced techniques and industry best practices that can further refine your normal map baking process and elevate the quality of your 3D car models. Professional artists often employ these methods to tackle complex geometries, blend diverse details, and ensure consistent, high-quality results across an entire project. Mastering these nuances will not only improve your automotive rendering and game asset creation but also streamline your overall production pipeline.
One common advanced scenario involves baking details from multiple high-poly objects onto a single low-poly mesh. For instance, a car’s body might have separate high-poly decals, grilles, or vents that are not part of the main high-poly body mesh. Blender’s baking system can handle this by selecting all high-poly elements first, then the low-poly, and baking with ‘Selected to Active’. Another powerful technique is combining different normal maps through layering and blending within your material. This allows for a more modular approach, where a base normal map for panel lines can be combined with tiling grunge maps, wear and tear details, or custom painted scratches, providing endless possibilities for surface complexity and realism.
Rarely does a single normal map capture all the desired details for a complex surface like a car. Often, you’ll need to combine a baked normal map (for static geometric details) with procedural normal maps (for tiling textures like brushed metal or fabric) or painted normal maps (for unique wear and tear). In Blender’s Node Editor, you can achieve this by using a ‘Mix RGB’ node set to ‘Overlay’ or ‘Multiply’, but a more accurate and technically correct way is to use a ‘Mix Shader’ node if you have multiple ‘Normal Map’ nodes, or better yet, a dedicated ‘Normal Map Mix’ or ‘Blend Normal’ node if your engine or renderer supports it (often found in game engines). If not, you can manually blend by adding the vector values of two normal maps, ensuring the result remains within the valid normal vector range. This allows you to stack details – for example, baking the main panel gaps, then layering a subtle noise normal map for micro-scratches, and finally painting a unique dent’s normal map. This modularity offers immense flexibility for creating highly nuanced surfaces for your 3D car models.
For complex 3D car models, especially those intended as game assets or for configurators, a modular approach is often preferred. This means breaking the car into logical components (doors, hood, fenders, wheels, interior) and baking normal maps for each module separately. This workflow offers several advantages: better organization, easier iteration on individual parts, and reduced memory footprint if only certain parts need to be loaded or swapped. When baking modular parts, ensure consistent naming conventions for your high-poly and low-poly meshes (e.g., car_door_HP, car_door_LP). When baking, only select the relevant high-poly and low-poly pair. After baking all parts, you can then assemble the full car. This approach is particularly beneficial for 3D printing, where individual components might require specific preparation or repair, or for AR/VR experiences where interchangeable parts are a feature. Sourcing models from marketplaces such as 88cars3d.com often provides modular car assets, simplifying this process for artists and developers.
The journey from a blank canvas to a photorealistic 3D car model is a testament to both artistic vision and technical proficiency. As we’ve explored, achieving truly stunning results in automotive rendering, game asset development, and AR/VR visualization hinges not just on intricate modeling but profoundly on the mastery of texture painting and normal map baking. Clean UVs provide the essential framework, Blender’s texture painting tools offer boundless creative freedom to imbue character, and the intelligent use of normal maps delivers an unparalleled illusion of geometric depth and detail without the performance overhead of excessive polygons.
From understanding high-poly to low-poly workflows to meticulously configuring baking settings and troubleshooting common pitfalls, each step in this process contributes to the overall realism and optimization of your digital vehicles. By integrating these techniques into a robust PBR material setup and carefully considering the specific demands of game engines, you empower your 3D car models to shine in any virtual environment. The continuous evolution of tools like Blender and rendering technologies means that the pursuit of perfection is an ongoing learning process.
Embrace the power of texture painting and normal map baking, and watch as your creations transcend mere geometry, becoming immersive, believable, and truly captivating. Whether you’re aiming for a static beauty shot or a dynamic interactive experience, the skills outlined here are your roadmap to crafting industry-standard 3D car models that truly stand out. Now, go forth and paint, bake, and render your vision into reality!
“`
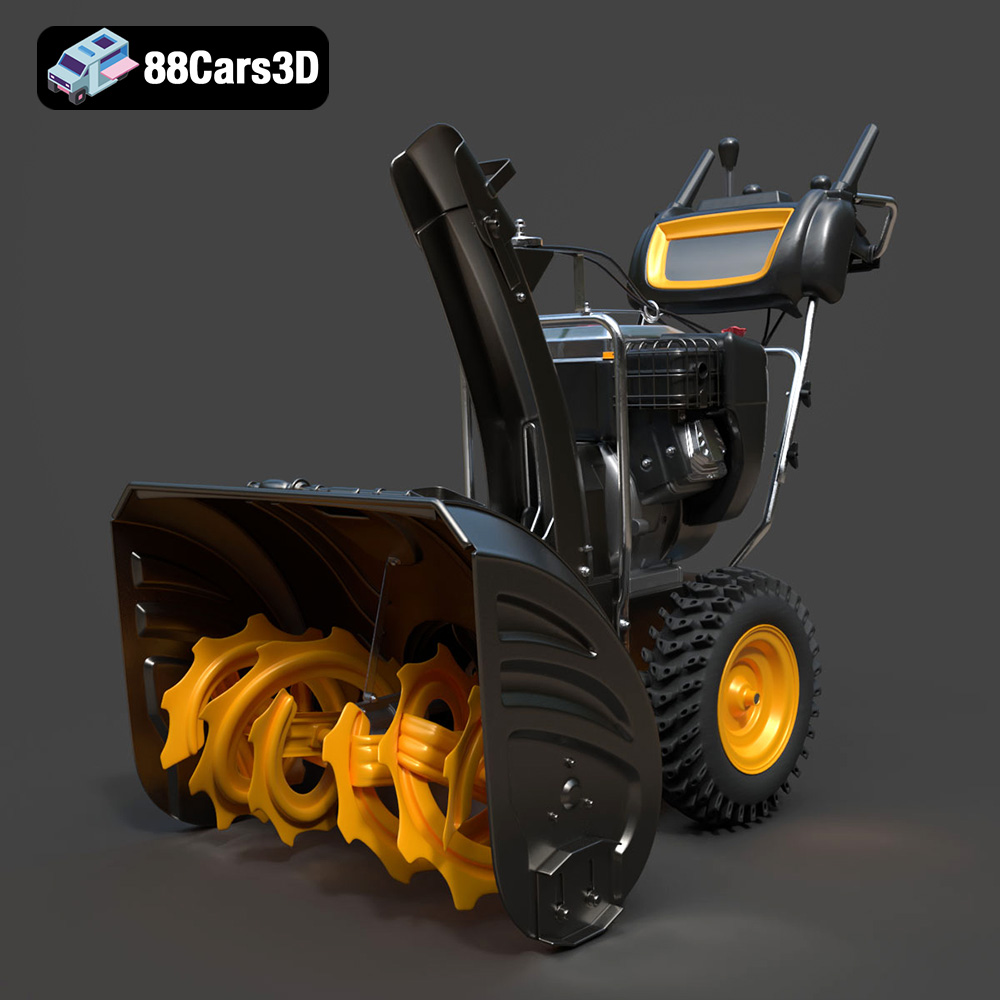
Texture: Yes | Material: Yes
Download the highly detailed, game-ready Husqvarna Snow Plow 3D Model. Features heavy-duty front plow blade, robust chassis, and realistic mechanical controls. Includes .blend, .fbx, .obj, .glb, .stl, .ply, .unreal, and .max formats for game development, AR/VR, and rendering.
Price: $145.50
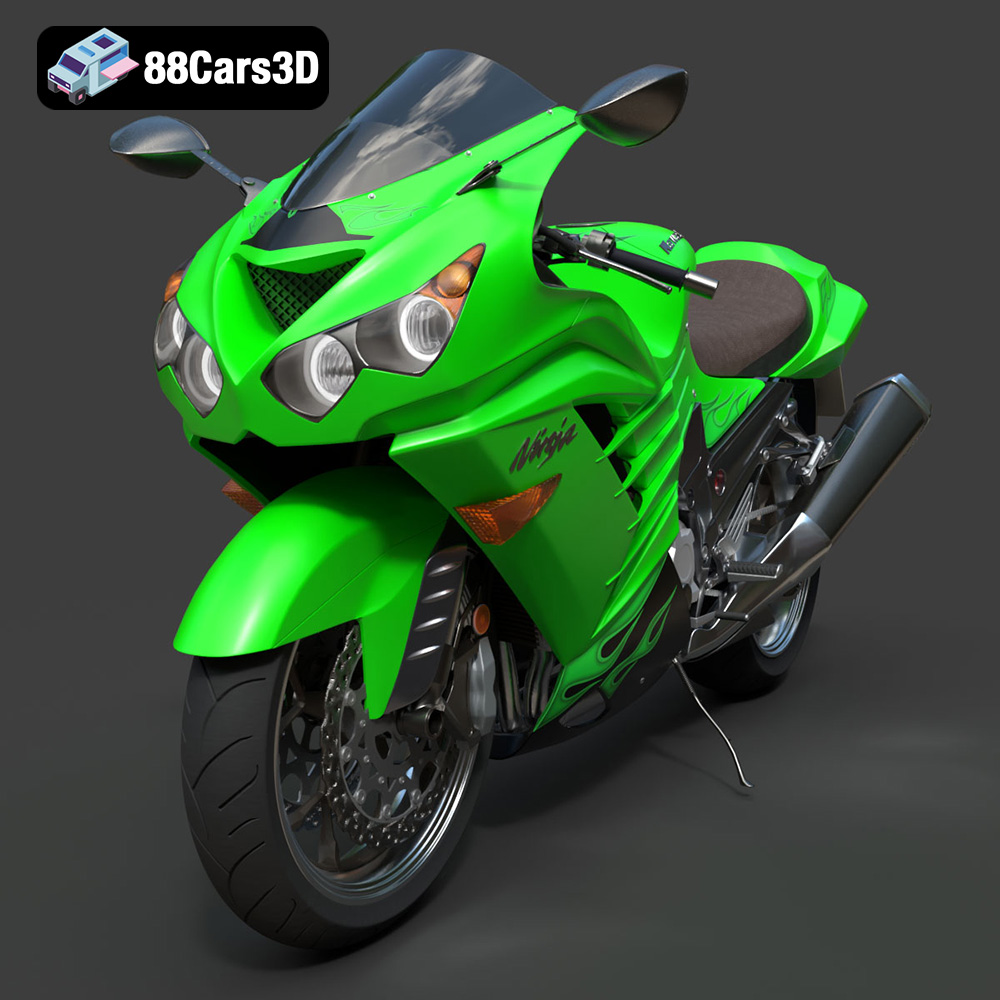
Texture: Yes | Material: Yes
Download the highly detailed, game-ready Kawasaki ZX14R 2012 3D Model. Features aggressive hyper-sport fairings, detailed inline-four engine, and iconic dual exhausts. Includes .blend, .fbx, .obj, .glb, .stl, .ply, .unreal, and .max formats for game development, AR/VR, and rendering.
Price: $170.00
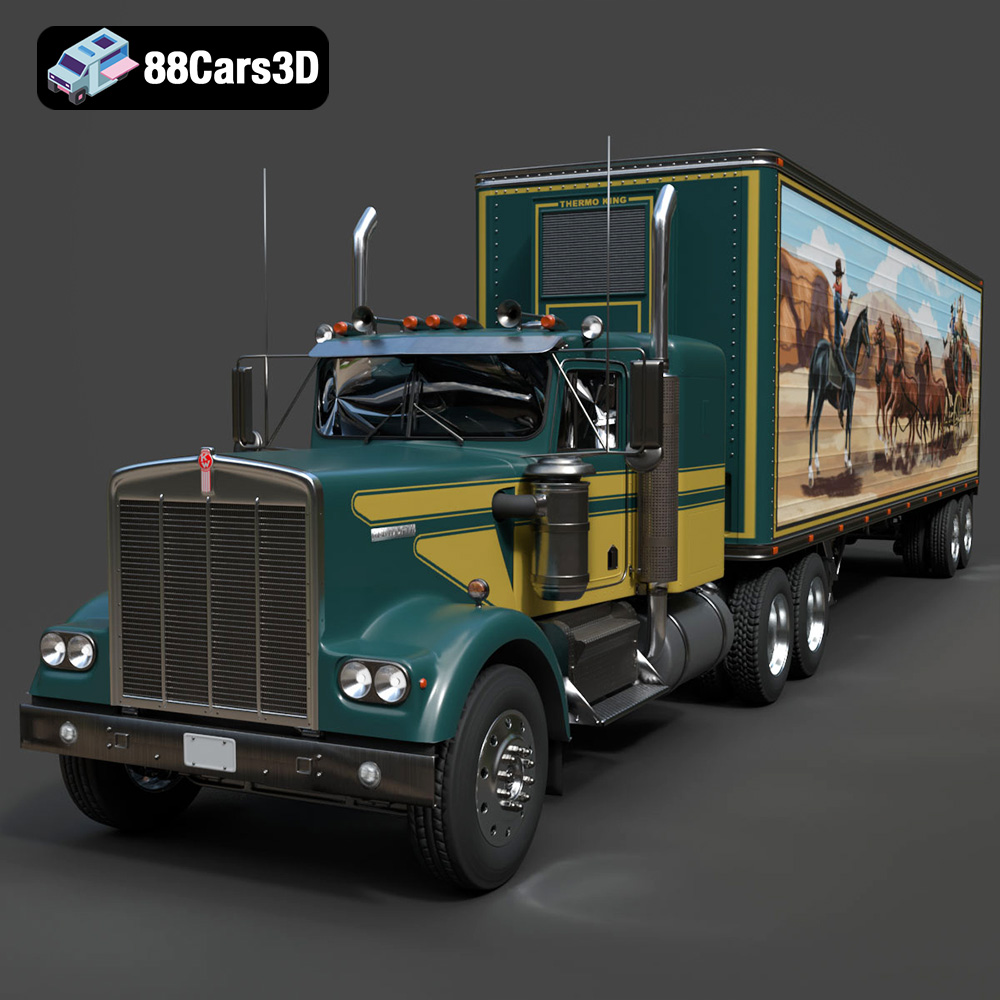
Texture: Yes | Material: Yes
Download the highly detailed, game-ready Kenworth W900 1974 3D Model. Features classic long-nose hood styling, detailed chrome exhaust stacks, and realistic dual tandem axles. Includes .blend, .fbx, .obj, .glb, .stl, .ply, .unreal, and .max formats for game development, AR/VR, and rendering.
Price: $299.50
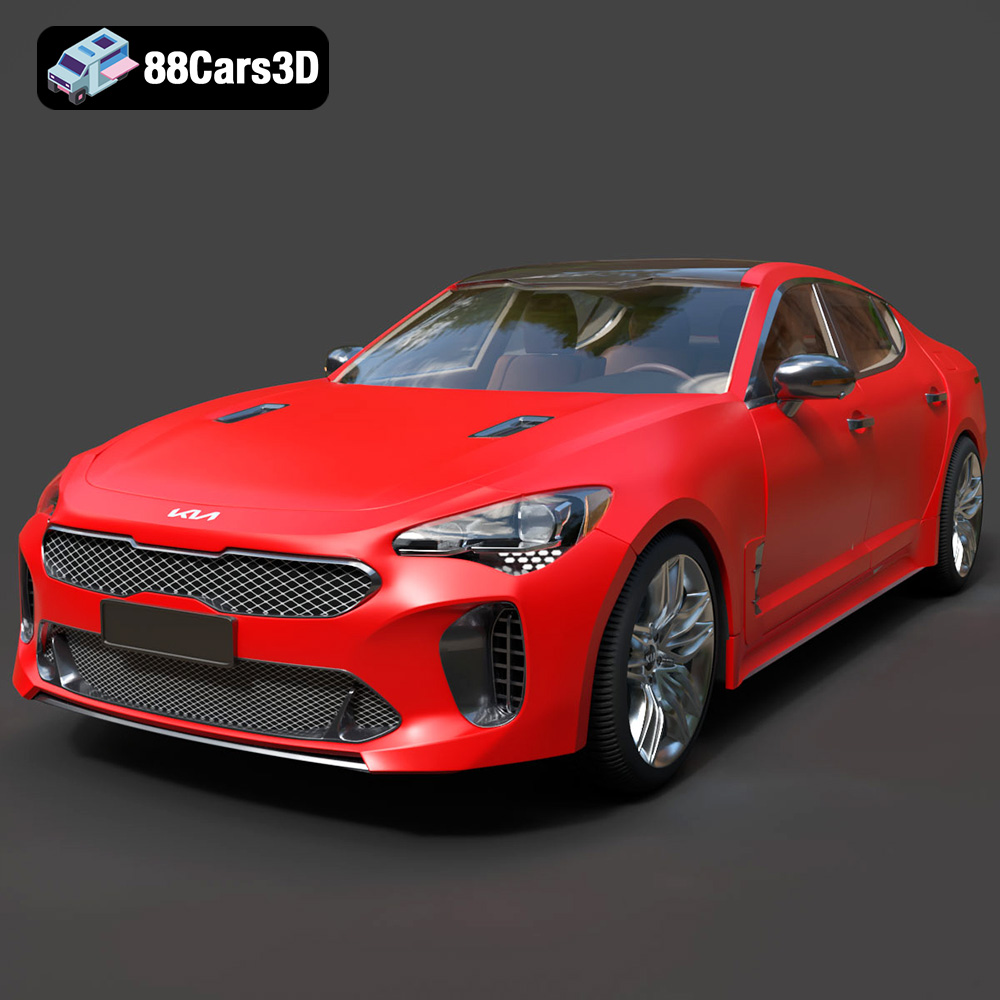
Texture: Yes | Material: Yes
Download the highly detailed, game-ready Kia Stinger 2021 3D Model. Features tiger-nose grille styling, quad exhaust tips, and high-fidelity interior details. Includes .blend, .fbx, .obj, .glb, .stl, .ply, .unreal, and .max formats for game development, AR/VR, and rendering.
Price: $299.50
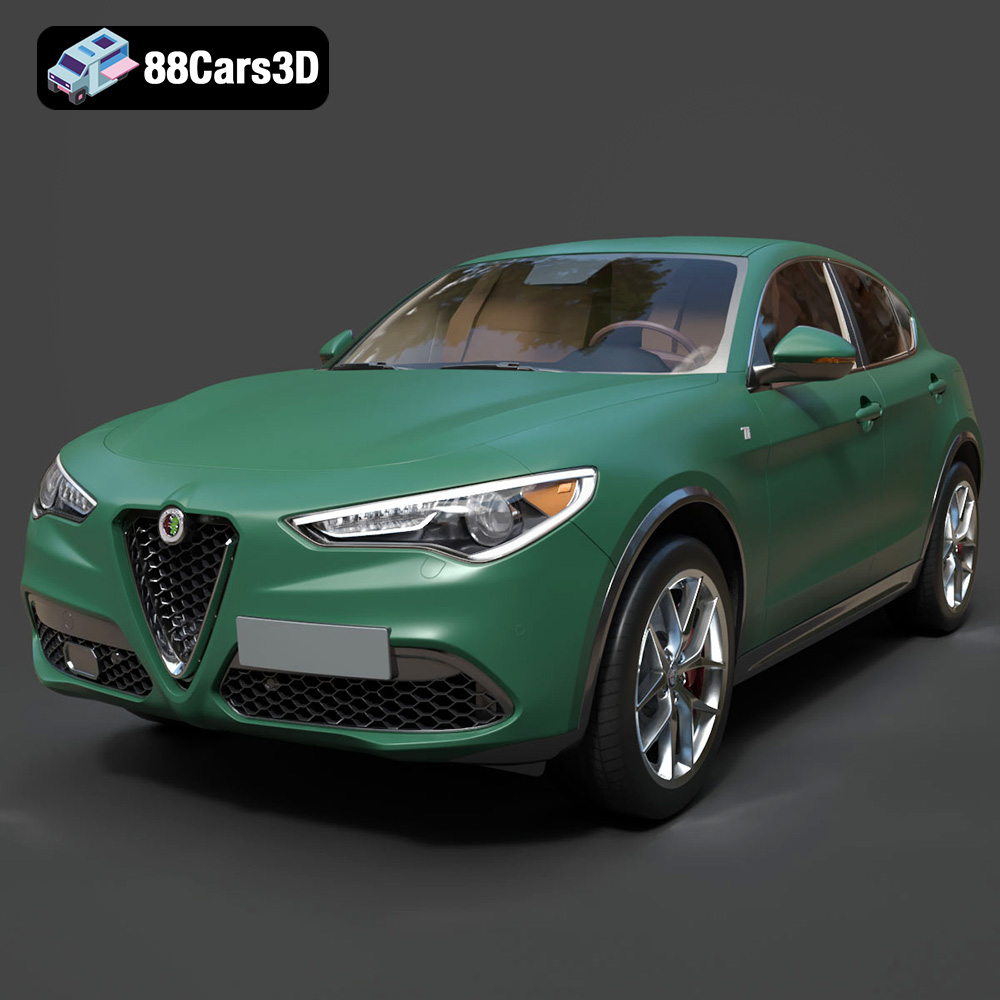
Texture: Yes | Material: Yes
Download the highly detailed, game-ready Alfa Romeo Stelvio Ti 2020 3D Model. Features signature Italian luxury SUV styling, detailed interior, and accurate chassis geometry. Includes .blend, .fbx, .obj, .glb, .stl, .ply, .unreal, and .max formats for game development, AR/VR, and rendering.
Price: $237.99
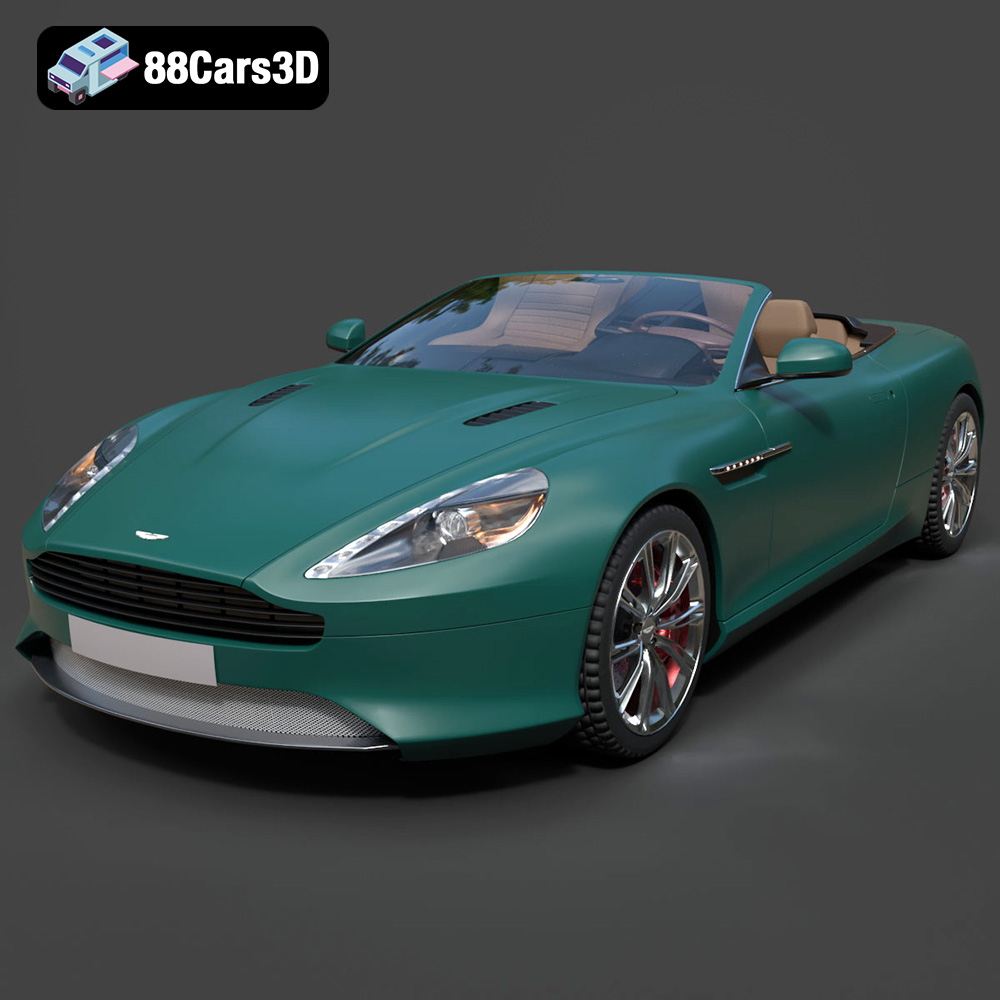
Texture: Yes | Material: Yes
Download the highly detailed, game-ready Aston Martin Virage Volante 2012 3D Model. Features sleek open-top GT design, iconic front grille, and detailed luxury interior trim. Includes .blend, .fbx, .obj, .glb, .stl, .ply, .unreal, and .max formats for game development, AR/VR, and rendering.
Price: $157.00
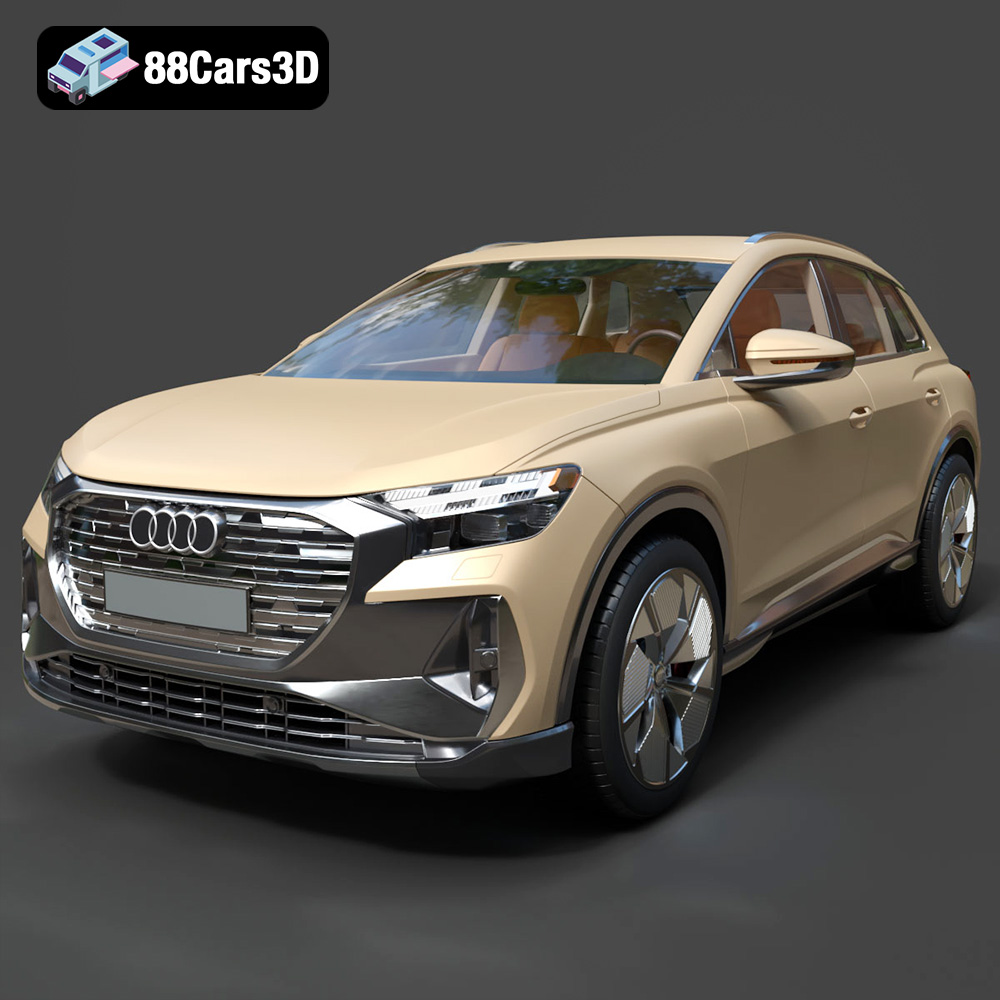
Texture: Yes | Material: Yes
Download the highly detailed, game-ready Audi Q4 e-tron 2021 3D Model. Features sleek electric SUV styling, signature Singleframe grille, and detailed Matrix LED lighting. Includes .blend, .fbx, .obj, .glb, .stl, .ply, .unreal, and .max formats for game development, AR/VR, and rendering.
Price: $299.50
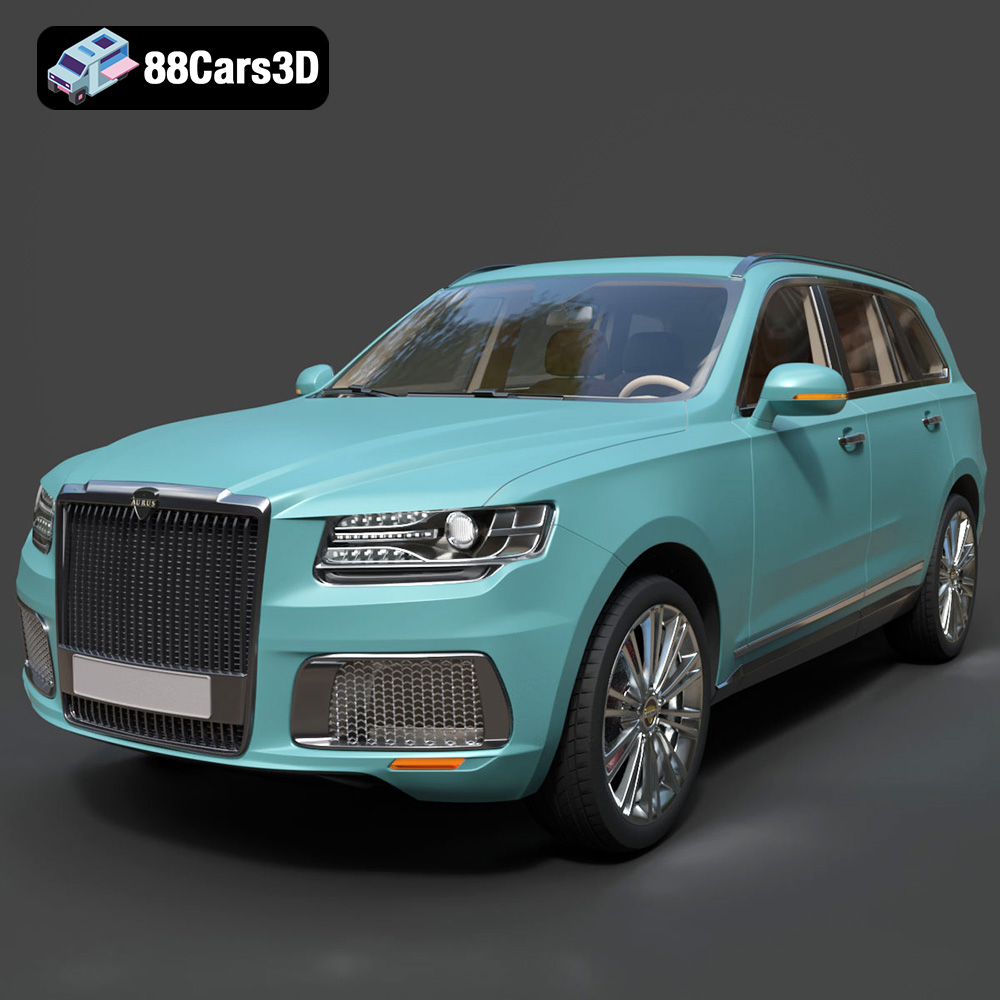
Texture: Yes | Material: Yes
Download the highly detailed, game-ready Aurus Komendant 2020 3D Model. Features an imposing front grille, executive full-size SUV silhouette, and detailed luxury interior. Includes .blend, .fbx, .obj, .glb, .stl, .ply, .unreal, and .max formats for game development, AR/VR, and rendering.
Price: $232.99
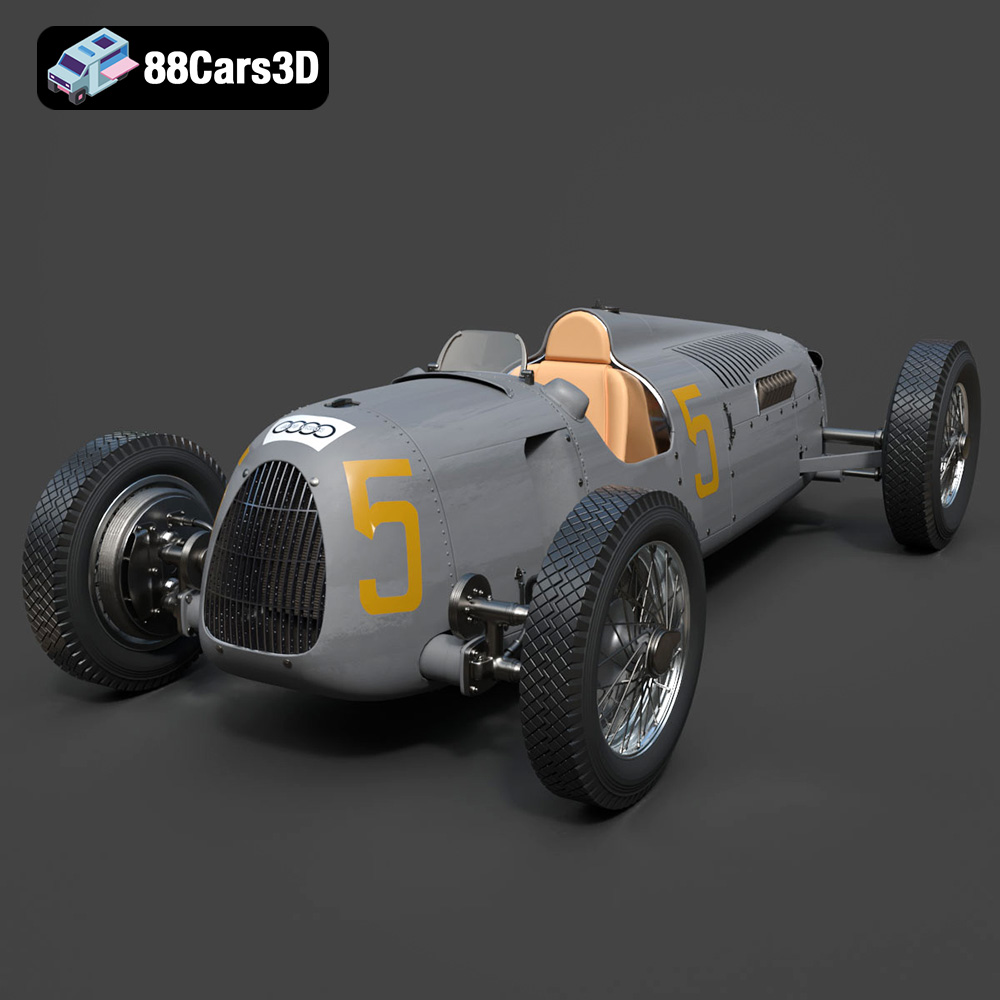
Texture: Yes | Material: Yes
Download the highly detailed, game-ready Auto Union Type C 1936 3D Model. Features iconic V16 engine detailing, classic Silver Arrows bodywork, and detailed open cockpit layout. Includes .blend, .fbx, .obj, .glb, .stl, .ply, .unreal, and .max formats for game development, AR/VR, and rendering.
Price: $152.00
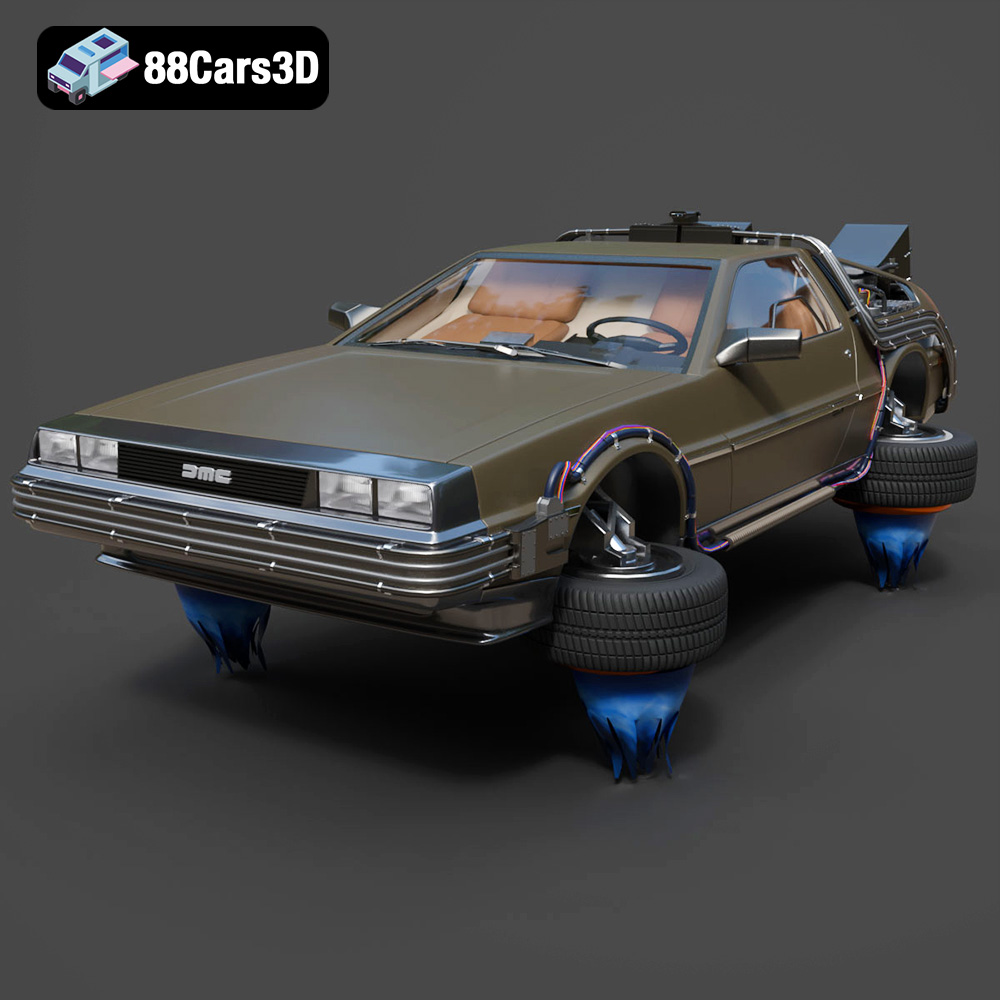
Texture: Yes | Material: Yes
Download the highly detailed, game-ready Back To The Future 2 DeLorean 3D Model. Features Mr. Fusion reactor, hover conversion wheels, and full flux capacitor interior. Includes .blend, .fbx, .obj, .glb, .stl, .ply, .unreal, and .max formats for game development, AR/VR, and rendering.
Price: $211.50
