

In the competitive world of 3D visualization, automotive design, and game development, a raw render, no matter how perfectly lit or meticulously modeled, often falls short of capturing true photographic realism. The secret ingredient that transforms a good render into an exceptional one often lies in the art of post-processing. This crucial final step can enhance mood, correct imperfections, simulate camera effects, and ultimately, elevate your visuals to a professional standard that commands attention. For artists working with high-quality assets, whether creating breathtaking automotive visualizations or optimizing 3D car models for real-time applications, understanding the nuances of post-processing is paramount.
Blender, a powerful open-source 3D suite, offers an incredibly robust and often underutilized tool for this very purpose: the Blender Compositor. Far more than just a simple image editor, the Compositor is a node-based environment that allows for non-destructive, highly flexible manipulation of your rendered images and data. It empowers artists to perform intricate color grading, add realistic lens effects, combine multiple render layers, and refine every pixel of their output, all within the same software package. This comprehensive guide will delve deep into the Blender Compositor, equipping you with the technical knowledge and practical workflows to transform your automotive renders from impressive to absolutely jaw-dropping. We’ll explore everything from basic interface navigation to advanced render pass utilization, ensuring your 3D car models, perhaps sourced from marketplaces like 88cars3d.com, truly shine.
The Blender Compositor operates on a node-based system, a visual programming paradigm that offers immense flexibility and control over your image manipulation. If you’re new to node-based workflows, it might seem daunting at first, but its logical flow quickly becomes intuitive. To access the Compositor, simply switch your workspace layout to “Compositing” from the top menu, or manually change an area’s editor type to “Compositor.” Here, you’ll be greeted by the Node Editor, the central hub for all your post-processing endeavors.
The Node Editor displays a graph-like interface where individual “nodes” represent specific operations or data sources. Lines, or “noodles,” connect the outputs of one node to the inputs of another, creating a processing pipeline. Common operations include moving nodes (G key), scaling them (S key), duplicating (Shift+D), and deleting (X or Delete key). To add a new node, press Shift+A, which brings up a comprehensive menu categorized by function (e.g., Color, Filter, Input, Output). A crucial setting to enable, especially when working with renders, is “Use Nodes” at the top of the Node Editor. This activates the node-based compositing system. Below this, you’ll find options for “Backdrop” which, when enabled, displays the output of the currently selected node in the background of the Node Editor, providing real-time visual feedback of your adjustments. This feature is invaluable for iteratively refining your composite.
A typical compositing workflow begins with an “Input” node and concludes with an “Output” node. The primary input for post-processing your renders is usually the “Render Layers” node. This node automatically pulls in all the data generated during your render, including the combined image and any enabled render passes. You’ll connect the “Image” output of the Render Layers node to the input of various processing nodes (e.g., color correction, blur, glare) in a sequential manner. Each subsequent node takes the output of the previous one, modifies it, and passes it down the chain. Finally, the processed image is fed into a “Composite” output node, which defines the final image saved by Blender, and often also a “Viewer” node, which displays the result in the backdrop or the Image Editor for immediate feedback.
Beyond the Render Layers node, you might also use “Image” input nodes to bring in external textures, logos, or even previously rendered elements to composite together. The “Movie Clip” input node is excellent for integrating footage. On the output side, while the “Composite” node is essential for saving your final render, the “File Output” node offers greater control. With a File Output node, you can save specific passes or intermediate results in different file formats (e.g., EXR for multi-layer data, PNG for transparency) to different locations, which is highly beneficial for complex projects or when preparing assets for other applications or team members. Understanding how to manage these inputs and outputs forms the bedrock of an efficient and powerful compositing pipeline, ensuring your carefully crafted 3D car models are presented in their best light.
The true power of the Blender Compositor lies in its diverse array of nodes, each designed to perform specific image manipulations. For automotive renders, certain nodes are indispensable for achieving that high-end, polished look. Mastering these tools will allow you to fine-tune every aspect of your vehicle’s presentation, from its paint finish to the subtle glow of its headlights.
Color is emotion, and precise color control is vital for setting the mood of your automotive visualization. Blender offers a suite of nodes for comprehensive color grading. The RGB Curves node is arguably the most powerful, allowing you to adjust the luminosity and color channels (Red, Green, Blue) individually using bezier curves, similar to Photoshop’s curves. This offers granular control over highlights, midtones, and shadows, perfect for finessing the sheen on metallic paint or enhancing the contrast of intricate details. The Color Balance node is excellent for correcting color casts and creatively grading your image, providing lift, gamma, and gain controls for shadows, midtones, and highlights respectively. For simpler adjustments, the Bright/Contrast and Gamma nodes offer quick and effective ways to modify overall brightness, contrast, and midtone values. These nodes are crucial for ensuring your automotive model looks vibrant and realistic, accurately reflecting its PBR materials and shader networks.
To simulate realistic camera optics and atmospheric effects, blur and glare nodes are indispensable. The Gaussian Blur node provides a soft, even blur, often used for creating depth of field effects (when combined with Z-Depth passes) or softening harsh edges. For more sophisticated depth of field, the Defocus node is specifically designed to simulate camera lens blur based on a Z-Depth pass, offering controls for f-stop, aperture shape, and rotation. This can add incredible realism to close-up shots of your 3D car models. To add that sought-after cinematic sparkle, the Glare node is a favorite among artists. It can create dazzling starbursts or soft glow effects from bright areas of your render, like headlights, chrome accents, or reflections on wet asphalt. You can choose different types of glare (Fog Glow, Simple Star, Streaks, Ghosts) and adjust thresholds and sizes to achieve various effects, making your vehicle appear dynamic and alive. These subtle touches can significantly enhance the visual impact of your automotive renders.
Compositing often involves layering different elements seamlessly. The Alpha Over node is fundamental for this, allowing you to place one image “over” another using its alpha channel (transparency information). This is perfect for integrating a rendered car into a photographic background, adding logos, or combining foreground and background elements rendered separately. The Mix node, on the other hand, is a versatile workhorse for combining images in various ways beyond simple layering. It offers numerous blend modes (e.g., Add, Multiply, Screen, Overlay, Soft Light) that mimic those found in image editing software. You can use it to subtly blend smoke effects, add dirt layers to a vehicle, or combine different textures. Crucially, the Mix node also accepts a “Fac” (Factor) input, which can be an image or a slider, allowing you to control the blending strength or even use a mask to selectively apply the mix effect. Together, these nodes provide the foundation for complex layering and integration, giving you the power to craft intricate scenes around your vehicle.
One of the most powerful features of modern renderers like Cycles and Eevee within Blender is the ability to output various “render passes” or “AOV’s” (Arbitrary Output Variables). These passes contain specific data about your scene, decoupled from the final colored image. By separating information like diffuse color, shadows, reflections, and depth, you gain unparalleled control in the Compositor, allowing for non-destructive adjustments and highly precise manipulations that would be impossible with a flattened image. For detailed information on available passes and their usage, referring to the official Blender 4.4 documentation on render passes at https://docs.blender.org/manual/en/4.4/ is highly recommended.
Both Cycles and Eevee offer a rich selection of render passes accessible via the View Layer Properties tab in Blender’s Properties Editor. Essential passes for automotive post-processing include:
The strategic use of render passes unlocks a new level of control. For instance, you could use a Cryptomatte pass to isolate the car’s body paint, then apply a specific color correction or saturation boost to make it pop, without affecting the wheels, windows, or background. A Z-Depth pass, fed into a Defocus node, allows you to create a dynamic depth of field effect that draws the viewer’s eye to the most important parts of the car. If your render appears a bit flat, adding an Ambient Occlusion pass with a ‘Multiply’ blend mode (adjusting its strength) can instantly add depth and realism to the panel gaps and creases of your 3D car model. For game assets, separating passes allows for incredibly flexible post-processing in engine or for generating various look-dev renders.
The beauty of render passes lies in their non-destructive nature. Instead of rendering multiple versions of your scene with different lighting or material settings, you render once, capturing all the necessary data. Then, in the Compositor, you combine and manipulate these passes using various nodes. This means you can continually tweak color, contrast, highlights, or even selectively relight parts of your scene long after the initial render is complete, without having to re-render. This workflow is incredibly efficient, especially for iterative design processes or when preparing multiple marketing images from a single render, saving countless hours and allowing for creative freedom. When sourcing high-fidelity 3D car models from platforms like 88cars3d.com, leveraging these passes ensures you can integrate and present them flawlessly in any desired visual context.
Beyond fundamental color correction and layering, the Blender Compositor offers advanced tools to mimic the imperfections and characteristics of real-world cameras and film. These subtle effects, often overlooked, are critical for bridging the gap between a sterile CGI render and a compelling, photorealistic image, especially for automotive designs that often demand a photographic aesthetic.
Real-world camera lenses, particularly wide-angle or telephoto lenses, introduce subtle distortions and chromatic aberrations. Replicating these in your renders can significantly enhance realism. The Lens Distortion node in Blender’s Compositor is your primary tool for this. It allows you to introduce barrel (pincushion) or fisheheye (barrel) distortion, simulating the optical characteristics of various lenses. By slightly adjusting the ‘Distort’ value, you can give your automotive renders a more photographic feel, making the viewer subconsciously perceive them as having been captured by a real camera. Furthermore, the ‘Dispersion’ control within the Lens Distortion node can simulate chromatic aberration, where different color channels are slightly misaligned, particularly noticeable at high-contrast edges. Even a tiny amount of dispersion can add a touch of authentic optical imperfection, making your 3D car model look less “perfect CGI” and more “captured reality.” Experiment with small values to avoid overly stylized or distracting effects.
Another powerful realism enhancer is the addition of film grain or digital noise. While renderers strive for noise-free images, real cameras, especially in low light, introduce grain. This seemingly undesirable artifact actually helps to break up flat areas of color and light, adding textural complexity and preventing an overly “plastic” look. The Noise node in the Compositor can generate various types of noise (e.g., Gaussian, Uniform). By adding a subtle layer of noise over your final render, often blended with a ‘Soft Light’ or ‘Overlay’ mode at a low opacity, you can simulate film grain. The key is subtlety; too much noise will degrade your image, but a fine, barely perceptible grain can dramatically improve perceived realism. Consider matching the noise characteristics to the intended output medium – a glossy magazine ad might have less visible grain than a cinematic still. This technique is particularly effective for high-resolution automotive renders where the absence of such detail can make the image feel artificial.
A vignette is a darkening of the image towards the edges, a common optical phenomenon in photography. In post-processing, it serves as a powerful compositional tool, subtly guiding the viewer’s eye towards the center of interest – in our case, the 3D car model itself. Creating a vignette in Blender’s Compositor can be done in several ways. A simple method involves using an Ellipse Mask node, which creates a soft-edged oval. This mask can then be inverted, blurred, and used as the ‘Fac’ (Factor) input of a Mix node set to ‘Multiply’ with a dark color, blending the dark edges over your render. Alternatively, you can use a Gradient Texture node (radial gradient) connected to a ColorRamp node to refine the falloff, then use that as a mask. The key is to make the vignette subtle and natural. It shouldn’t feel like a harsh border but rather a gentle fall-off of light that directs attention inward. A well-executed vignette ensures that the viewer’s focus remains squarely on the meticulously detailed automotive design, enhancing its presence and impact.
As your compositing node trees grow in complexity, managing performance and maintaining an organized workflow becomes critical. Efficient compositing practices not only save time but also prevent frustration, especially when dealing with high-resolution automotive renders or animating effects over multiple frames. Adopting smart strategies from the outset ensures a smooth and productive post-processing experience.
A sprawling, disorganized node tree can quickly become a performance bottleneck. One of the most effective ways to optimize is by using Group Nodes (Ctrl+G). Grouping related nodes (e.g., all color correction for the car body, or all glare effects for headlights) collapses them into a single, manageable node. This reduces visual clutter and makes it easier to navigate complex setups. More importantly, it allows you to reuse common effects across different projects or even different parts of the same image, as group nodes can be appended from other Blender files. Another optimization tip is to only compute necessary nodes. If you have several branches in your node tree but only one leads to the final output, ensure that unused branches are either disabled (M key to mute) or disconnected. Furthermore, be mindful of resource-intensive nodes. Blurs, especially large ones, and glare effects can be computationally expensive. Use them judiciously and try to apply them only where truly needed, or perhaps use lower-resolution versions of the image for blurring before scaling back up if applicable. For instance, for depth of field, ensure your Z-Depth pass has sufficient precision to avoid banding artifacts, but avoid over-blurring elements that don’t need it.
When working with animations or making iterative adjustments, real-time feedback is crucial. Blender’s Compositor offers caching mechanisms to improve playback performance. The Viewer Node (Shift+A > Output > Viewer) is invaluable for seeing intermediate results in the backdrop. Once you’ve connected a Viewer Node, Blender will cache the output of that node. If you enable “Pre-fetch” in the timeline (or cache settings), Blender will load frames into RAM ahead of time, allowing for smoother playback. For more permanent caching or when sharing a composite, consider using the Disk Cache option. This writes processed frames to your hard drive, allowing for quicker re-evaluation of the node tree without re-rendering everything if only minor changes are made. When working with extremely high-resolution 3D car models for print or large-scale visualization, temporary downscaling for preview and only rendering the full resolution at the final output stage can also significantly speed up your workflow.
A core principle of professional compositing is non-destructive editing. Every adjustment you make in the Blender Compositor, from color grading to adding effects, is applied on top of the original render data without altering it directly. This means you can always go back and tweak any parameter at any point without losing your previous work. To complement this, robust versioning is essential. Regularly save iterative versions of your Blender file (e.g., “car_render_composite_v01.blend,” “car_render_composite_v02.blend”) rather than overwriting a single file. This safeguards against accidental deletions or major design changes, allowing you to easily revert to earlier stages. Leveraging group nodes also contributes to non-destructive workflows by encapsulating effects that can be easily turned on/off or swapped out. For studios or teams, this approach ensures that 3D artists, automotive designers, and visualization professionals can collaborate effectively, making adjustments without fear of destroying previous work. When incorporating high-quality assets, like those from 88cars3d.com, maintaining a clean, optimized, and non-destructive compositing workflow ensures maximum flexibility and the highest quality final output.
The Blender Compositor is a formidable tool that, when mastered, can transform your automotive renders from mere 3D images into captivating, photorealistic works of art. We’ve journeyed from understanding its intuitive node-based interface to harnessing the power of specific nodes for color grading, adding dynamic glares, and simulating authentic camera effects. The true revelation, however, lies in the strategic utilization of render passes. By separating out crucial data like Cryptomatte, Z-Depth, and Ambient Occlusion, you gain unparalleled, non-destructive control over every pixel, allowing for precision adjustments that elevate the realism and impact of your 3D car models.
From fine-tuning the subtle sheen of paint with RGB Curves to introducing cinematic depth of field with the Defocus node, and enhancing visual authenticity with lens distortions and film grain, the Compositor empowers you to craft a compelling visual narrative. Remember, post-processing is not about fixing a bad render but about enhancing a good one, pushing it beyond the limitations of a single render output. By embracing optimized workflows, grouping nodes for clarity, and practicing diligent versioning, you ensure a smooth and efficient creative process.
Whether you’re developing cutting-edge game assets, creating stunning automotive visualizations for marketing, or refining models for AR/VR experiences, the techniques discussed here are invaluable. Take the knowledge you’ve gained, experiment with different nodes and settings, and don’t be afraid to push the boundaries of realism. The journey of mastering the Blender Compositor is an ongoing one, but with each render you post-process, you’ll find your skills sharpening and your final images reaching new heights of professional polish. So, dive in, experiment, and let the Blender Compositor be your secret weapon in crafting truly unforgettable automotive visuals that capture attention and tell a story.
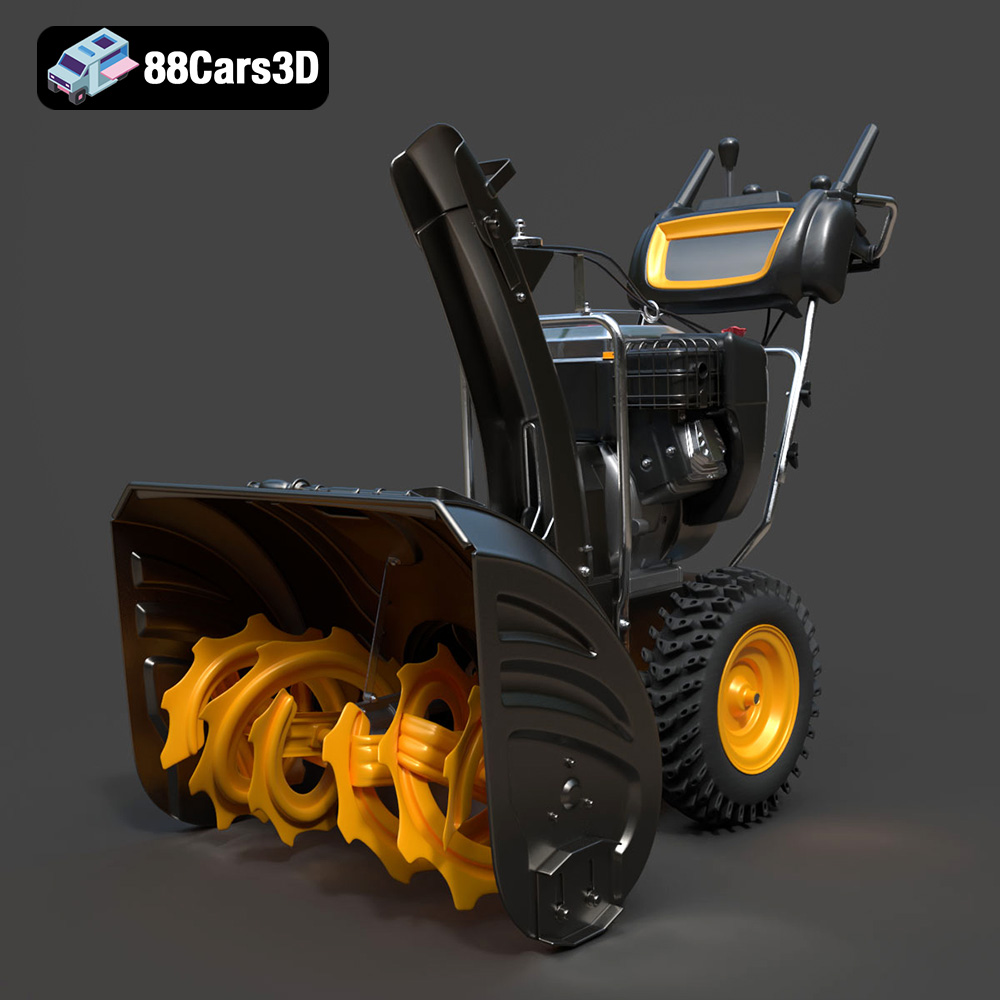
Texture: Yes | Material: Yes
Download the highly detailed, game-ready Husqvarna Snow Plow 3D Model. Features heavy-duty front plow blade, robust chassis, and realistic mechanical controls. Includes .blend, .fbx, .obj, .glb, .stl, .ply, .unreal, and .max formats for game development, AR/VR, and rendering.
Price: $145.50
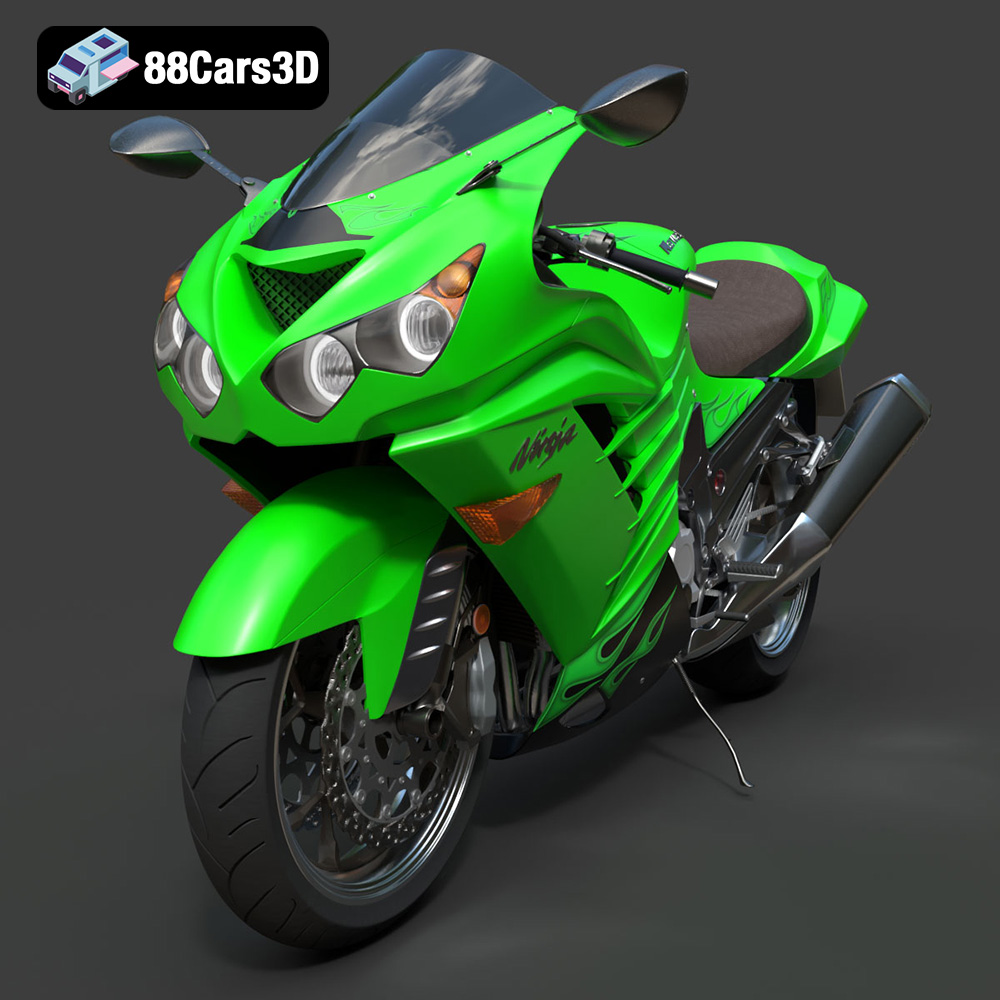
Texture: Yes | Material: Yes
Download the highly detailed, game-ready Kawasaki ZX14R 2012 3D Model. Features aggressive hyper-sport fairings, detailed inline-four engine, and iconic dual exhausts. Includes .blend, .fbx, .obj, .glb, .stl, .ply, .unreal, and .max formats for game development, AR/VR, and rendering.
Price: $170.00
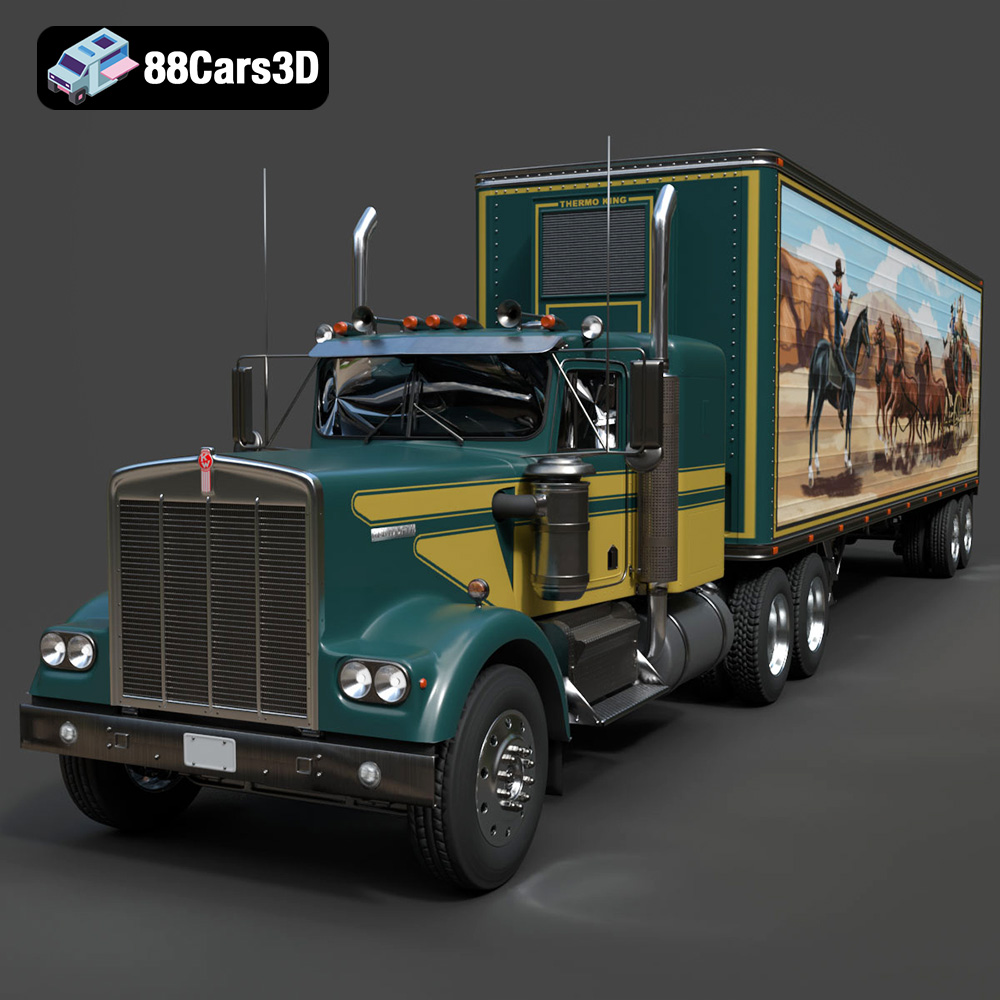
Texture: Yes | Material: Yes
Download the highly detailed, game-ready Kenworth W900 1974 3D Model. Features classic long-nose hood styling, detailed chrome exhaust stacks, and realistic dual tandem axles. Includes .blend, .fbx, .obj, .glb, .stl, .ply, .unreal, and .max formats for game development, AR/VR, and rendering.
Price: $299.50
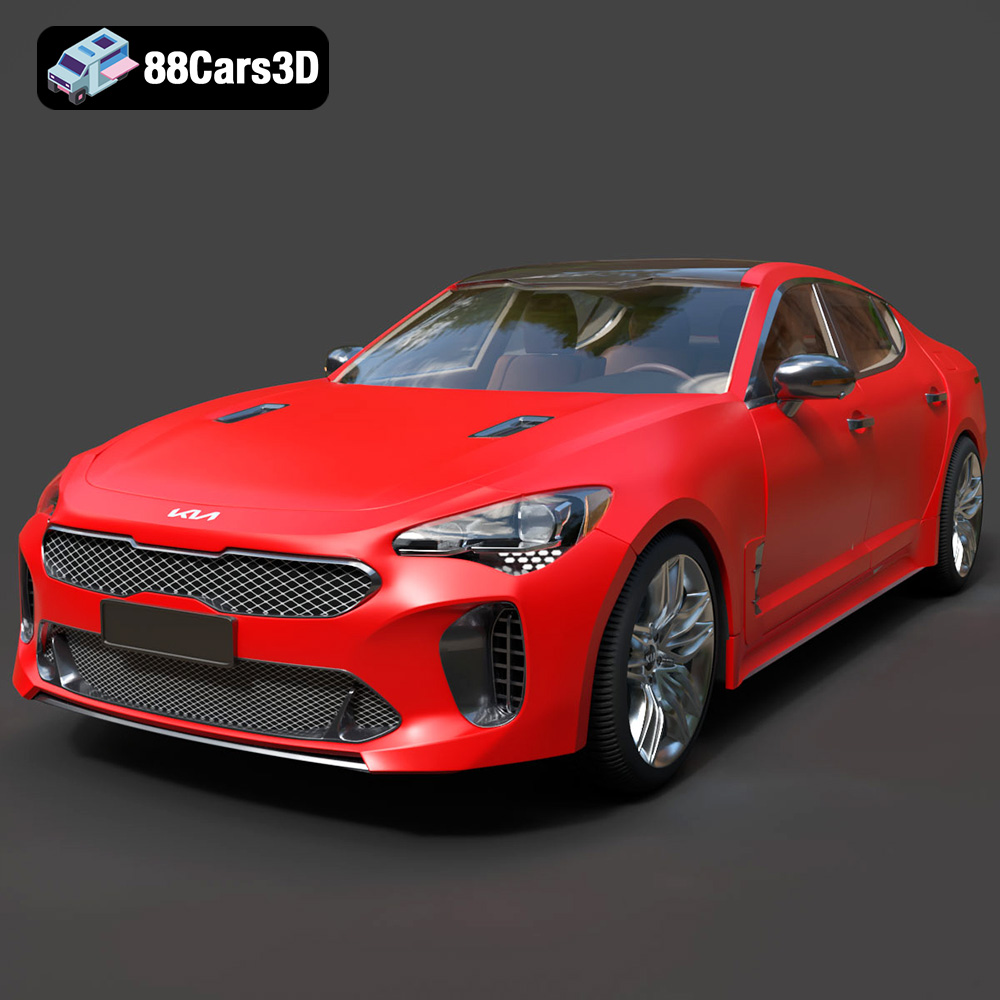
Texture: Yes | Material: Yes
Download the highly detailed, game-ready Kia Stinger 2021 3D Model. Features tiger-nose grille styling, quad exhaust tips, and high-fidelity interior details. Includes .blend, .fbx, .obj, .glb, .stl, .ply, .unreal, and .max formats for game development, AR/VR, and rendering.
Price: $299.50
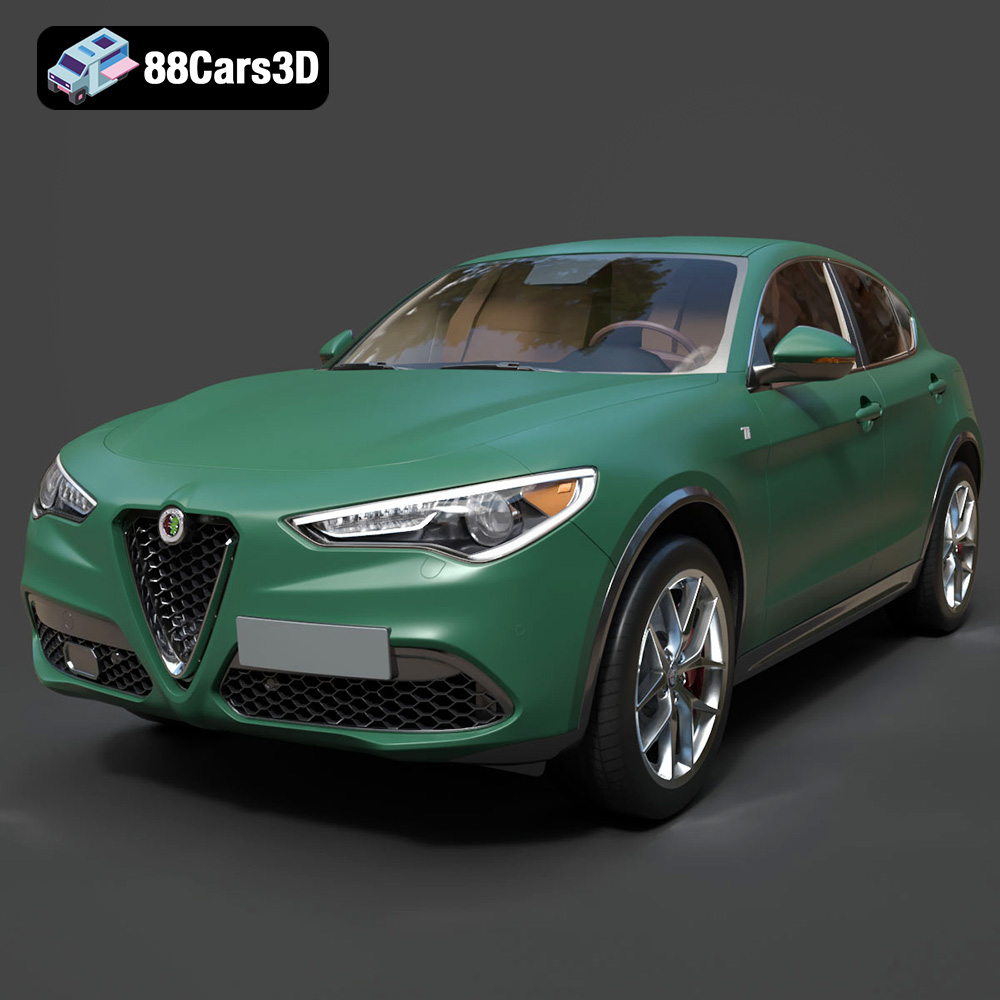
Texture: Yes | Material: Yes
Download the highly detailed, game-ready Alfa Romeo Stelvio Ti 2020 3D Model. Features signature Italian luxury SUV styling, detailed interior, and accurate chassis geometry. Includes .blend, .fbx, .obj, .glb, .stl, .ply, .unreal, and .max formats for game development, AR/VR, and rendering.
Price: $237.99
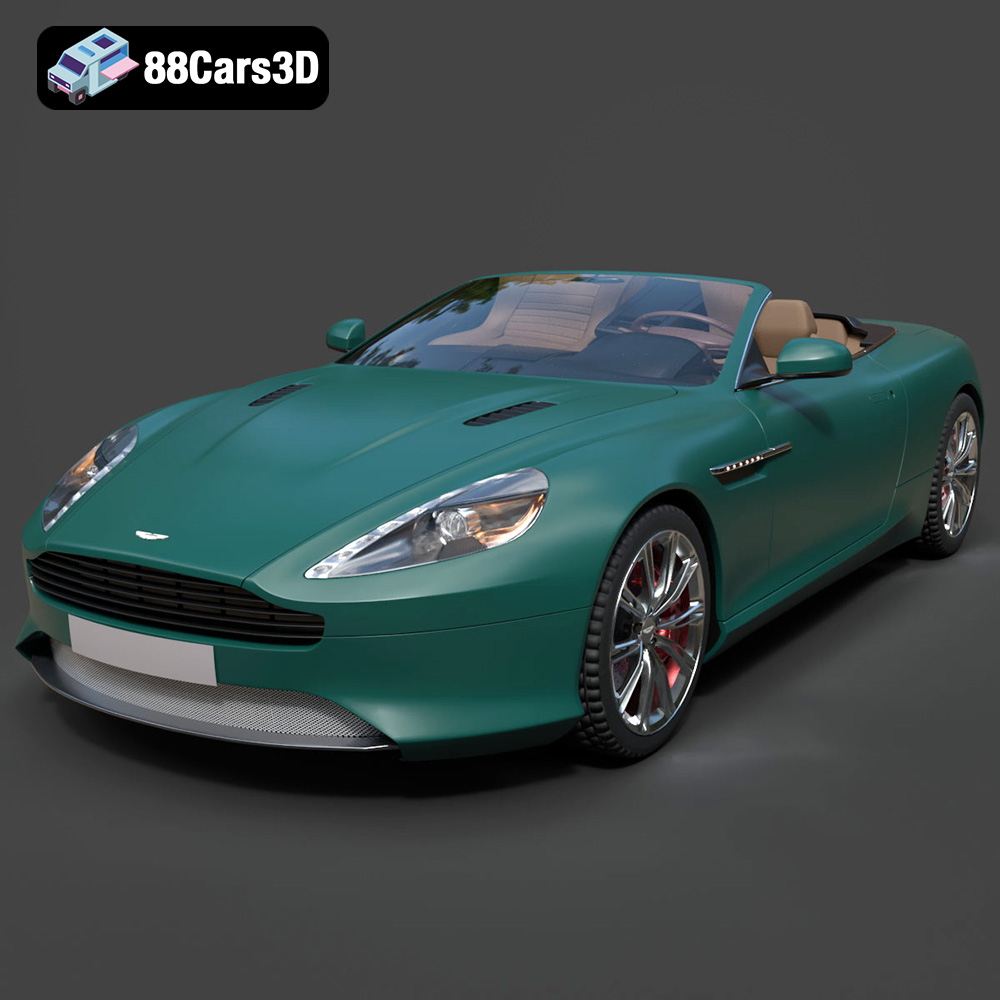
Texture: Yes | Material: Yes
Download the highly detailed, game-ready Aston Martin Virage Volante 2012 3D Model. Features sleek open-top GT design, iconic front grille, and detailed luxury interior trim. Includes .blend, .fbx, .obj, .glb, .stl, .ply, .unreal, and .max formats for game development, AR/VR, and rendering.
Price: $157.00
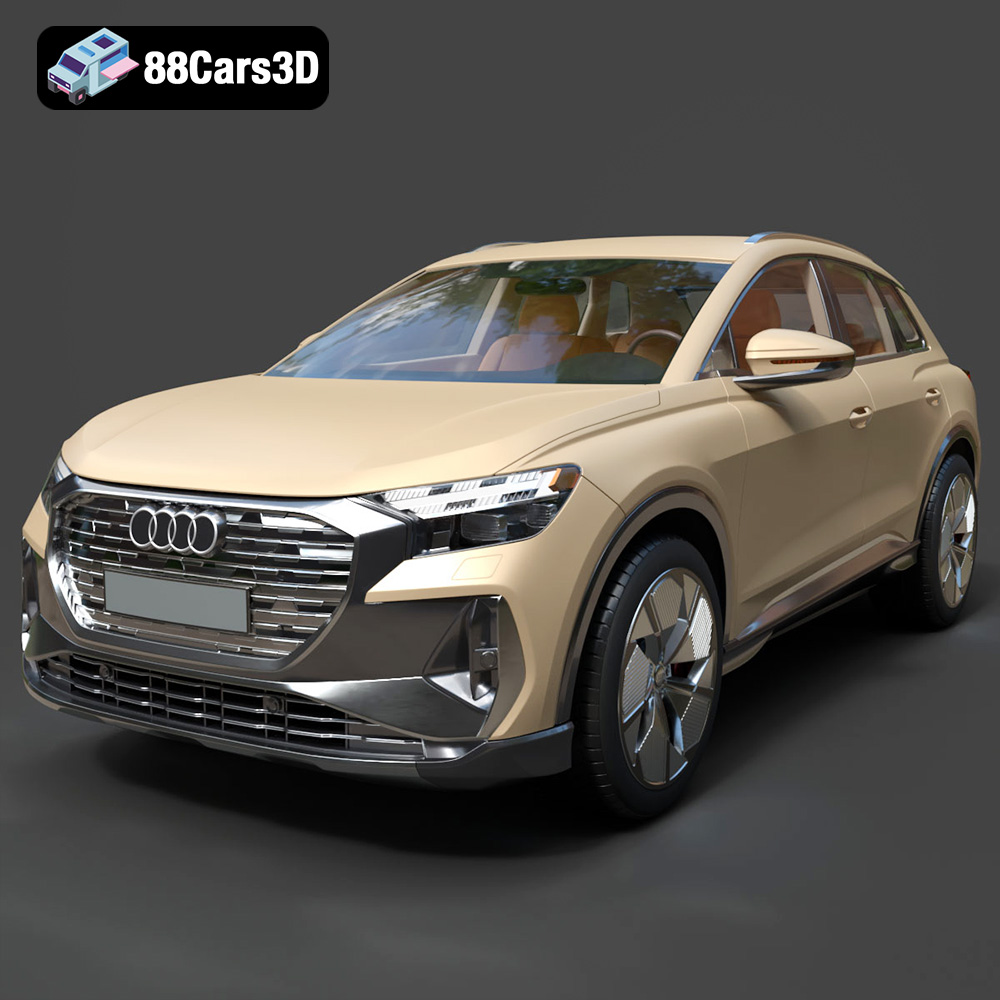
Texture: Yes | Material: Yes
Download the highly detailed, game-ready Audi Q4 e-tron 2021 3D Model. Features sleek electric SUV styling, signature Singleframe grille, and detailed Matrix LED lighting. Includes .blend, .fbx, .obj, .glb, .stl, .ply, .unreal, and .max formats for game development, AR/VR, and rendering.
Price: $299.50
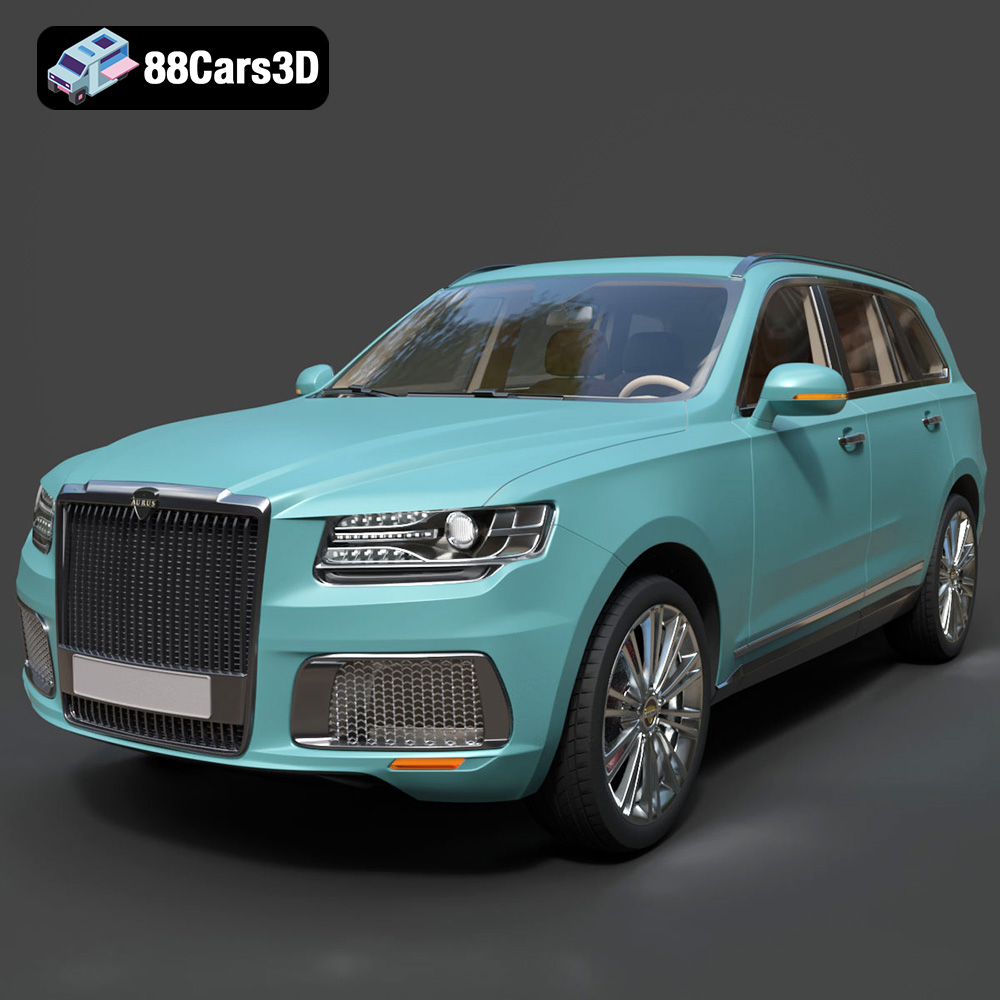
Texture: Yes | Material: Yes
Download the highly detailed, game-ready Aurus Komendant 2020 3D Model. Features an imposing front grille, executive full-size SUV silhouette, and detailed luxury interior. Includes .blend, .fbx, .obj, .glb, .stl, .ply, .unreal, and .max formats for game development, AR/VR, and rendering.
Price: $232.99
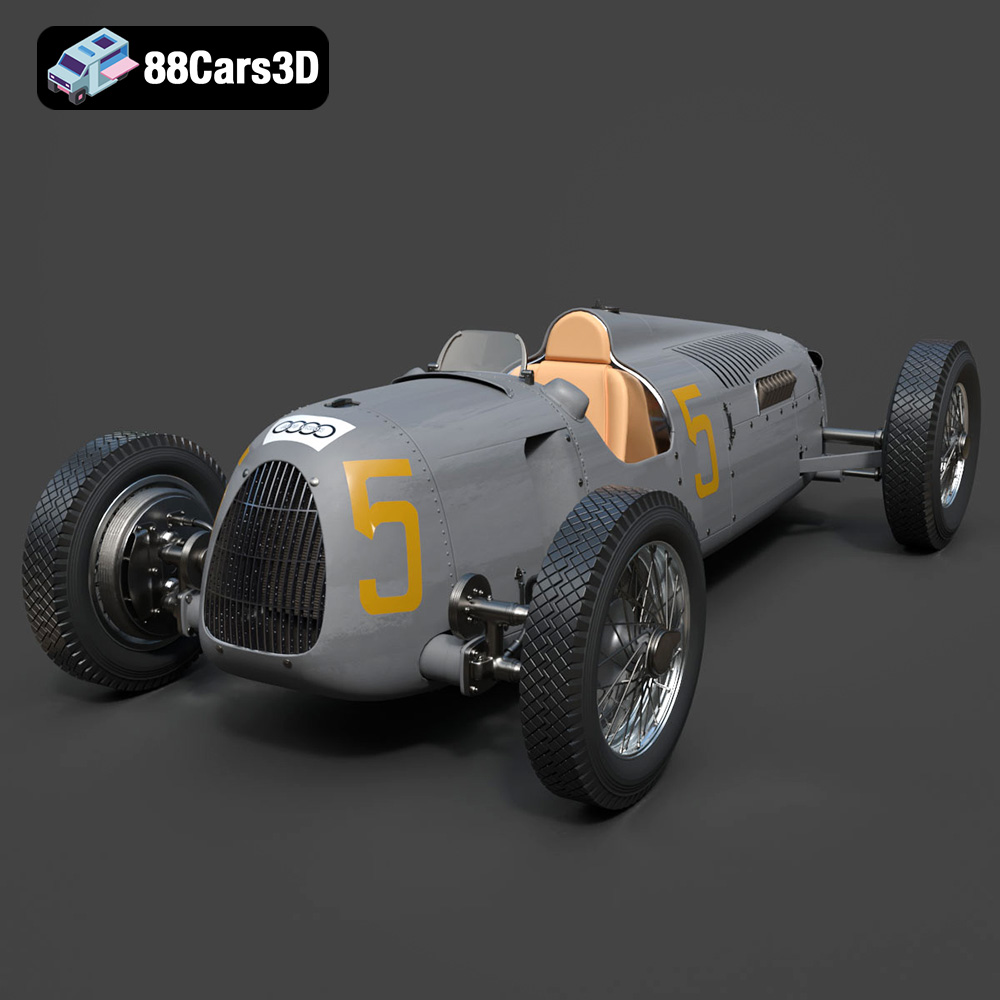
Texture: Yes | Material: Yes
Download the highly detailed, game-ready Auto Union Type C 1936 3D Model. Features iconic V16 engine detailing, classic Silver Arrows bodywork, and detailed open cockpit layout. Includes .blend, .fbx, .obj, .glb, .stl, .ply, .unreal, and .max formats for game development, AR/VR, and rendering.
Price: $152.00
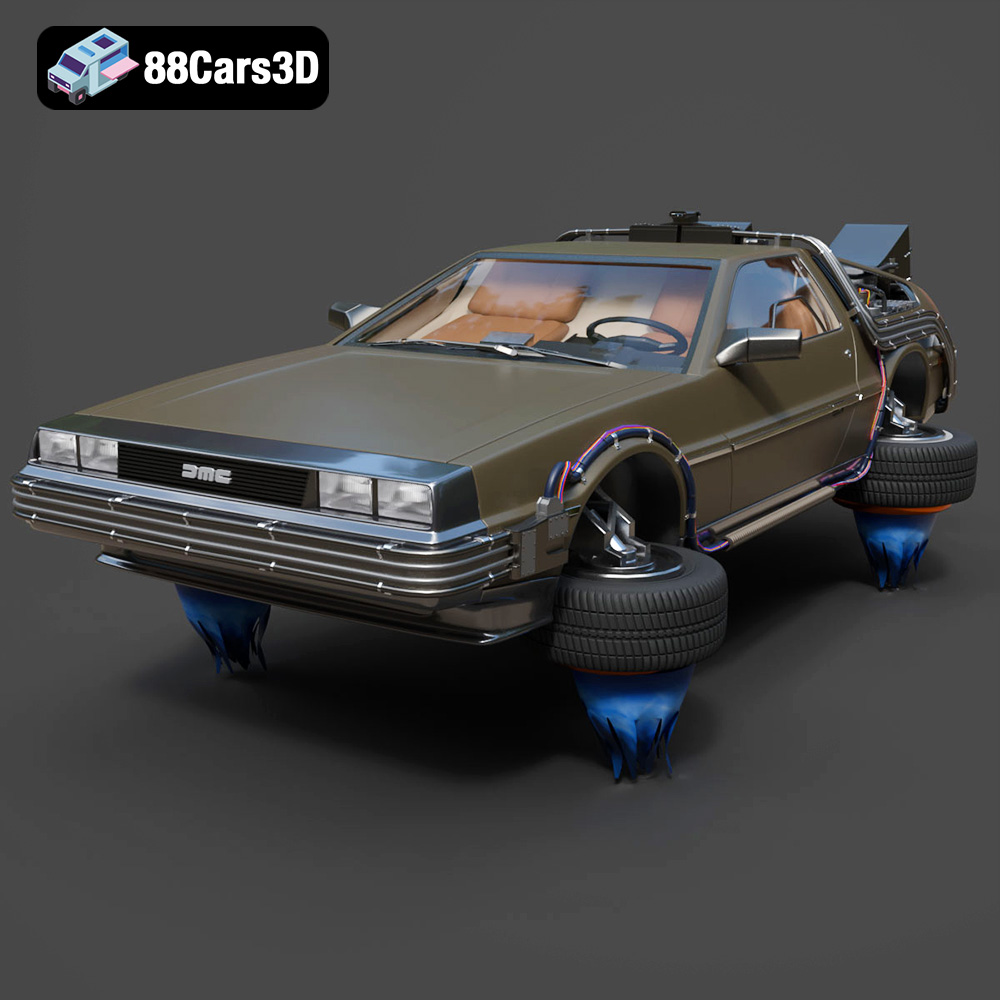
Texture: Yes | Material: Yes
Download the highly detailed, game-ready Back To The Future 2 DeLorean 3D Model. Features Mr. Fusion reactor, hover conversion wheels, and full flux capacitor interior. Includes .blend, .fbx, .obj, .glb, .stl, .ply, .unreal, and .max formats for game development, AR/VR, and rendering.
Price: $211.50
