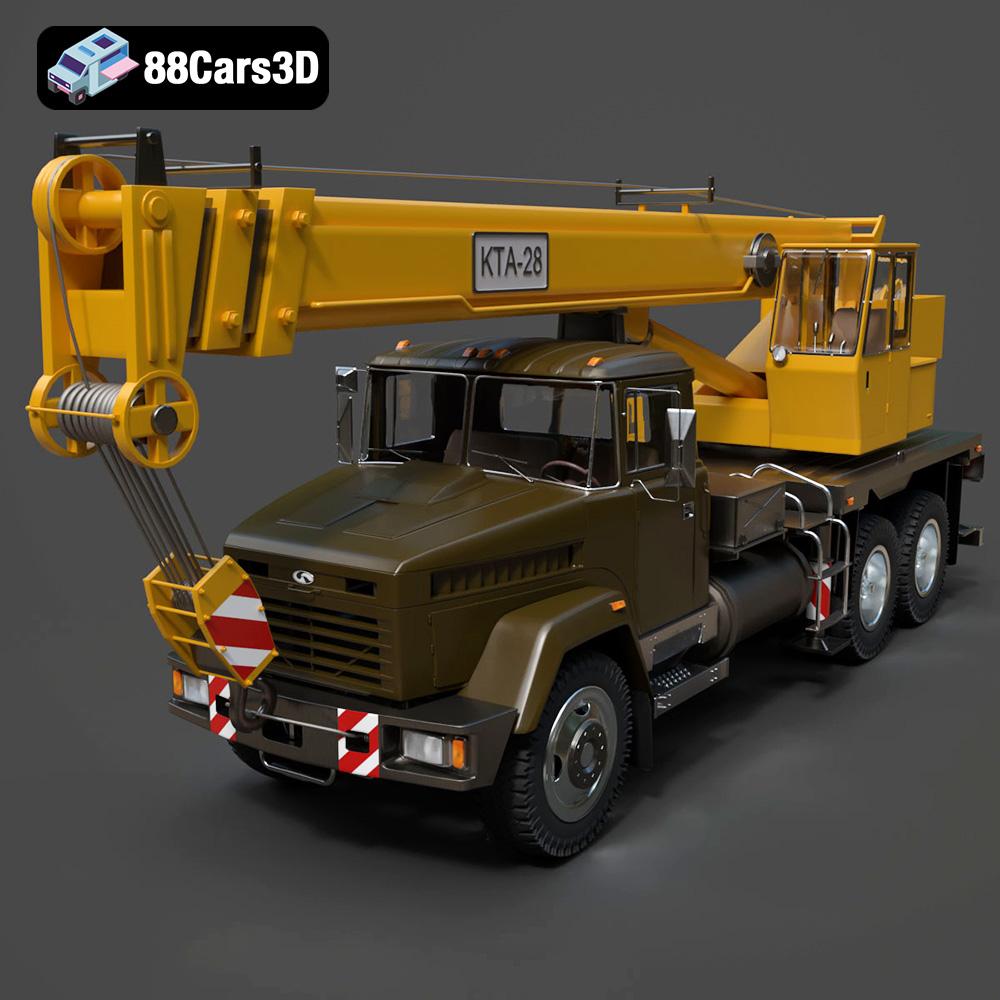
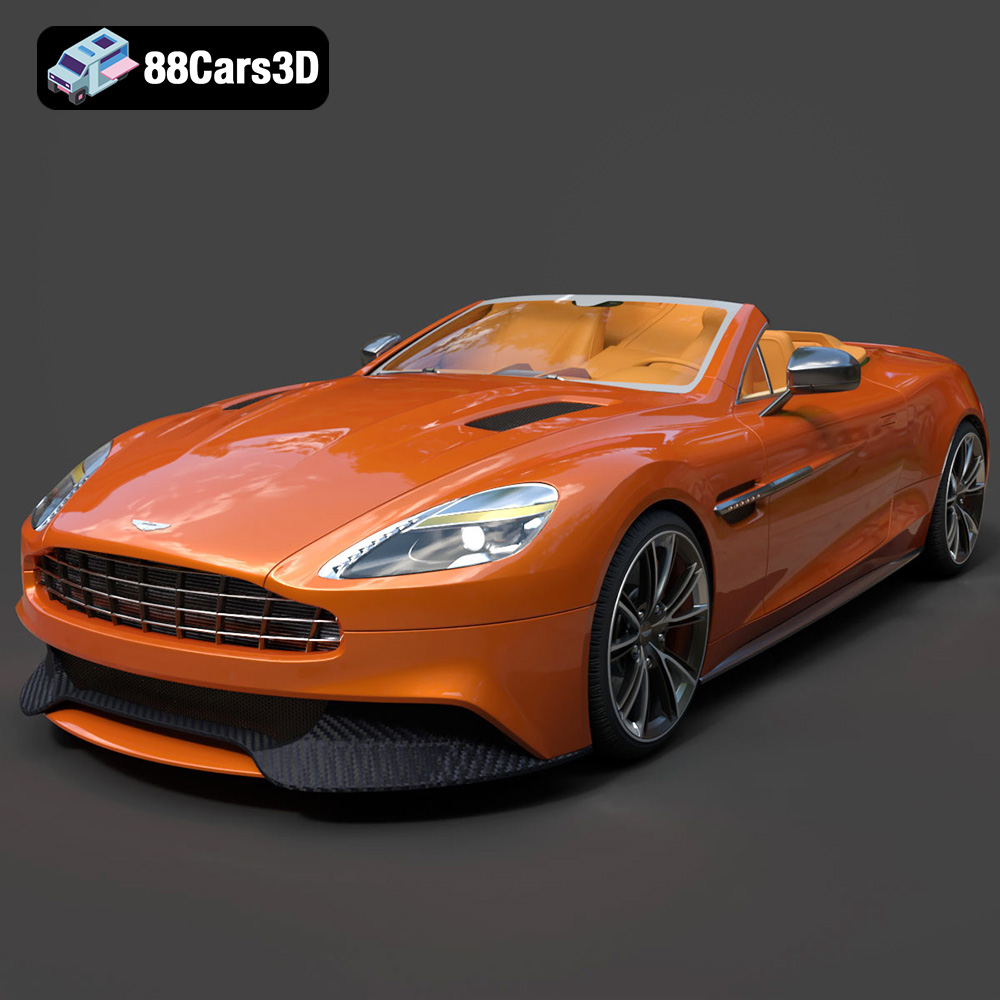
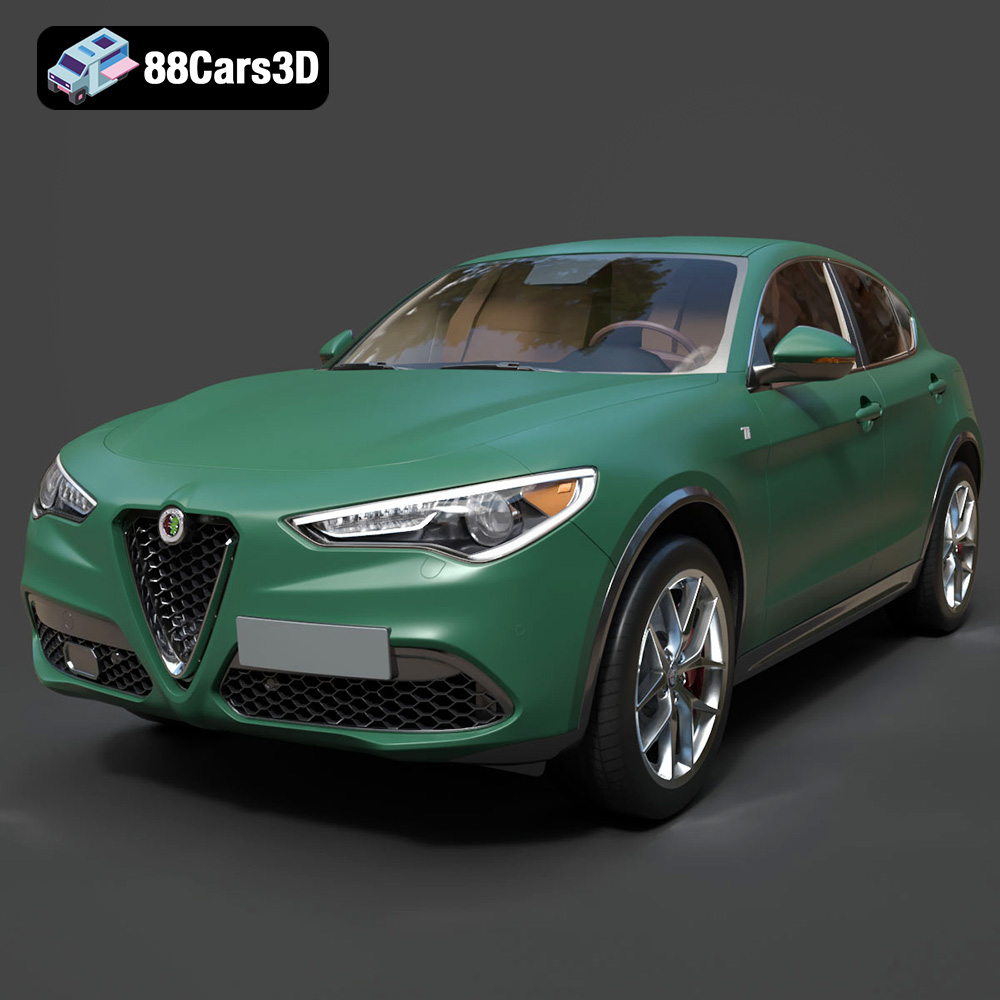
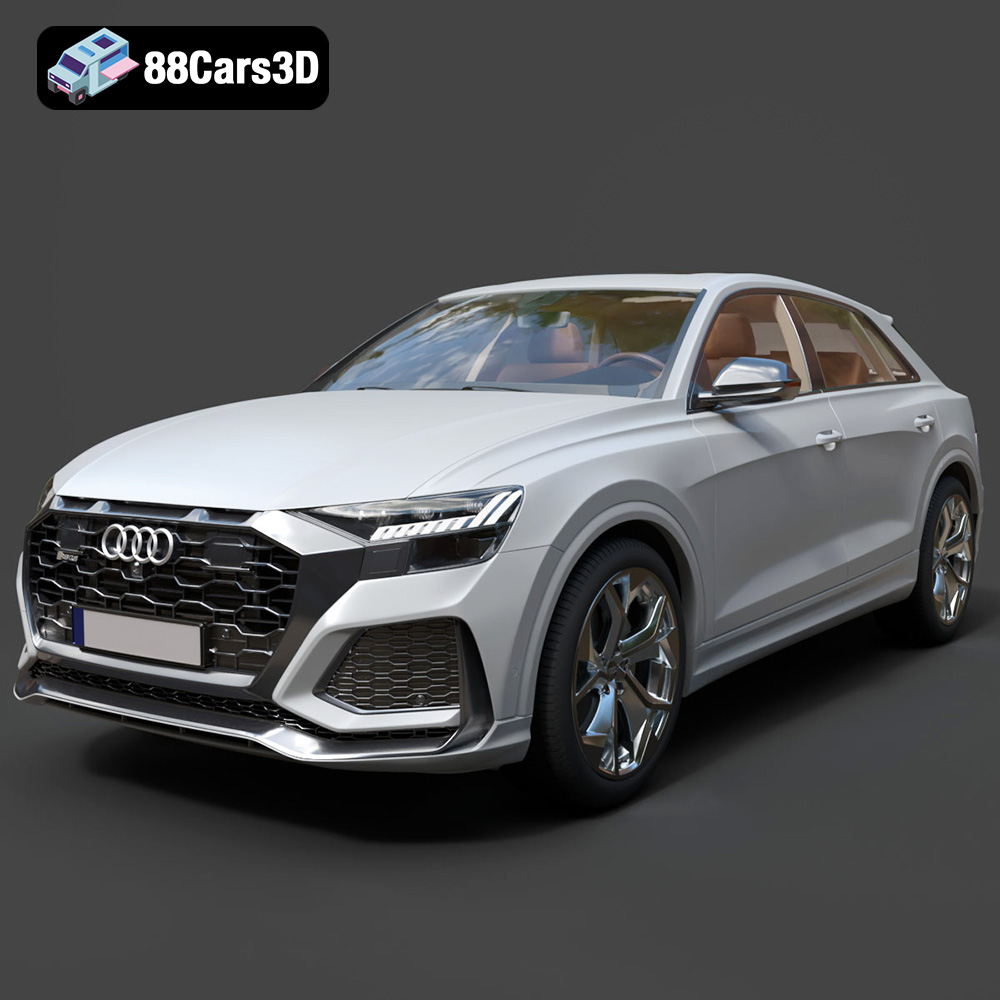
The allure of a beautifully rendered automobile lies not just in its meticulously sculpted form, but profoundly in how light interacts with its surfaces. For anyone involved in automotive design, visualization, or game asset creation, mastering lighting is the keystone to transforming a mere 3D model into a captivating, photorealistic masterpiece. Blender, with its robust Cycles and Eevee render engines, offers an unparalleled toolkit for achieving stunning visual fidelity. This comprehensive guide delves into advanced lighting techniques, ensuring your 3D car models from marketplaces like 88cars3d.com don’t just exist, but truly shine.
The Imperative of Photorealism in Automotive Visualization
In the competitive world of automotive design and marketing, photorealism is not merely an aesthetic choice; it’s a necessity. High-fidelity renders convey the intricate details, the luxurious finishes, and the emotional resonance of a vehicle long before a physical prototype exists. Flawless reflections, accurate material responses, and dynamic lighting contribute to a sense of tangibility that can significantly influence perception and sales. Whether for a design review, an advertising campaign, or a compelling portfolio piece, the quest for realism begins and ends with superior lighting.
Blender’s Powerhouse for High-Fidelity Renders
Blender has evolved into a formidable competitor in the 3D software landscape, offering professional-grade tools for modeling, texturing, rigging, animation, and, crucially, rendering. Its two primary render engines, Cycles and Eevee, cater to different needs: Cycles, a physically based path tracer, excels at producing highly realistic, unbiased renders with complex light interactions, while Eevee, a real-time rasterization engine, provides instant feedback and impressive visuals for faster iterations and interactive presentations. Together, they provide a flexible pipeline for exceptional automotive rendering.
Understanding 3D Model File Formats
Before diving into the intricacies of lighting, it’s crucial to understand the foundation of your 3D automotive projects: the file formats that house your models. Different formats serve distinct purposes, optimizing for editing, real-time engines, AR/VR experiences, or even physical manufacturing. Choosing the correct format is paramount for a smooth workflow, compatibility, and achieving your project’s specific goals. When acquiring high-quality 3D car models from sources like 88cars3d.com, knowing these formats will empower you to select the best assets for your needs.
Native and Universal Formats for Editing and Exchange
- .blend – Fully Editable Blender Scene with Materials: This is Blender’s native file format, encapsulating not just the 3D model, but also its materials, textures, lighting setups, cameras, animations, physics simulations, and scene hierarchy. A .blend file offers maximum flexibility for Blender users, allowing for comprehensive editing and further development of the asset. When you download a .blend file, you’re getting a complete package ready for immediate use and modification within Blender. It’s ideal for artists who wish to deeply integrate the model into their Blender pipeline for automotive rendering or game asset creation.
- .max – Editable 3ds Max Project for Animation and Rendering: The native file format for Autodesk 3ds Max, .max files are comprehensive project files that contain all scene data, including geometry, materials, lighting, cameras, animations, and render settings specific to 3ds Max. This format is crucial for professionals working primarily within the Autodesk ecosystem, particularly in architectural visualization, product design, and high-end automotive rendering where 3ds Max is a dominant tool. It offers complete editability and access to all project components within 3ds Max.
- .obj – Universal Format for Cross-Software Compatibility: The Wavefront .obj format is one of the most widely supported 3D file formats, making it a true industry workhorse for geometry exchange. It stores vertex positions, UV coordinates, normals, and material references (often in a companion .mtl file). While it doesn’t store rigging, animation, or advanced material properties, its universal compatibility makes it excellent for moving mesh data between different 3D applications like Blender, Maya, 3ds Max, and ZBrush. It’s a reliable choice when you need the core geometry and basic UVs for any 3D car models.
- .fbx – Ideal for Unreal, Unity, and Real-time Pipelines: Developed by Autodesk, the Filmbox (.fbx) format is an industry standard for interoperability, particularly strong in game development and animation. It can store a wide array of 3D data, including geometry, materials, textures, animations, rigging, and even entire scene hierarchies. Its robust support for animation and character data makes it the go-to format for exporting assets to game engines like Unreal Engine and Unity. For complex 3D car models with intricate hierarchies or potential animations, .fbx ensures that all relevant data transfers cleanly into your real-time environment.
Specialized Formats for Real-time, AR/VR, and Manufacturing
- .glb – Optimized for AR, VR, and Browser-based Display: The GL Transmission Format Binary (.glb) is the binary version of glTF, specifically designed for efficient transmission and loading of 3D scenes and models by applications. It’s self-contained (embedding textures and other assets directly) and highly optimized for web-based 3D, AR (Augmented Reality), and VR (Virtual Reality) experiences. For presenting 3D car models interactively on a website or deploying them in a mobile AR app, .glb offers excellent performance and ease of use.
- .stl – Suitable for 3D Printing Output: The Stereolithography (.stl) format is the de facto standard for 3D printing. It represents a 3D model as a series of connected triangles, describing only the surface geometry without color, texture, or other attributes. While not suitable for rendering or animation, an .stl file is what you need if your intention is to physically produce a miniature version of a 3D car model.
- .ply – Precision Mesh Format for CAD or Analysis: The Polygon File Format (.ply) is often used for storing 3D data from 3D scanners, CAD software, and other applications requiring precise mesh data. It can store a wider range of properties than .obj, including color, transparency, and sometimes even normal vectors per vertex or face. It’s less common for general rendering but valuable for scientific visualization, reverse engineering, or when extremely detailed point cloud or mesh data from 3D scans of actual vehicles is involved.
- .unreal – Engine-Ready Asset for Real-time Environments: While not a single universal file format in the same vein as .fbx or .obj, “Unreal” often refers to assets that have been specifically prepared and optimized for direct import into Unreal Engine. This typically means models exported as .fbx, which are then imported, textured, and set up within Unreal Engine itself, potentially packaged as part of an Unreal project. When a model is described as “.unreal,” it suggests it’s been processed and validated for an Unreal Engine pipeline, often including optimized UVs, LODs (Levels of Detail), and game-ready materials, ideal for high-performance game assets or interactive architectural/automotive configurators.
Choosing the Right Format for Your Automotive Project
The best file format depends entirely on your project’s destination and your workflow. If you’re working solely in Blender, a .blend file from 88cars3d.com offers the most flexibility. For game development, .fbx is generally preferred. If you need a universal exchange, .obj is a solid fallback. For web-based AR/VR, .glb is the modern choice. Understanding these nuances ensures you select the optimal starting point for bringing your 3D car models to life.
Mastering Studio Lighting for Dynamic Automotive Renders
Studio lighting for automotive renders is an art form focused on precision and control. The goal is to highlight the vehicle’s form, emphasize its design lines, and create luxurious reflections that communicate quality. Blender provides all the necessary tools to build sophisticated studio setups, capable of producing results on par with professional photography.
The Synergy of HDRIs and Area Lights for Studio Environments
The foundation of any great studio setup in Blender (using Cycles) is often a high dynamic range image (HDRI). HDRIs provide a complete 360-degree environment, offering realistic ambient light, soft reflections, and subtle color nuances that are difficult to achieve with traditional light sources alone. However, an HDRI rarely provides all the necessary punch and specular highlights. This is where strategic area light placement becomes critical.
Start by loading a studio-oriented HDRI into your Blender world shader (usually in the World Properties tab, setting the background to an Environment Texture). Rotate the HDRI to find the most appealing base lighting and reflections on your 3D car model. Then, introduce Blender’s Area Lights. These rectangular or disk-shaped lights emit soft, even illumination. By positioning them carefully, you can create sharp, defined reflections along the body panels, enhance chrome details, and add dimensionality that the HDRI alone cannot provide. Think of the HDRI as the broad stroke ambient fill, and the Area Lights as the precision brushes defining form.
Crafting Reflective Drama: Positioning Lights for Maximum Impact
The placement of area lights is paramount for automotive rendering. Consider the following techniques:
- Broad, Soft Panels: Place large area lights (often rectangular) above and to the sides of the vehicle. These mimic softbox lighting in real studios, generating elegant, long reflections across the car’s paintwork, emphasizing its curves. The larger the light source, the softer the shadows and reflections will be.
- Highlight Strips: For sharper, more defined highlights that run along character lines or edges, use narrow, long area lights. These can perfectly pick out the creases and contours that define a vehicle’s design language, adding a sense of precision and quality.
- Rim Lights: Position area lights slightly behind and to the sides of the car, pointing towards the camera. These create a “rim” of light on the edges of the vehicle, separating it from the background and giving it a sense of depth and pop.
- Floor Reflection Enhancement: If your studio setup includes a reflective floor, place a large, low-intensity area light beneath the car, pointed upwards. This can subtly brighten the underside reflections, grounding the vehicle in the scene.
Experiment with light intensity, size, and especially their rotation. Slight changes in angle can drastically alter the reflections on the curved surfaces of a 3D car model.
Case Study: Recreating a Professional Car Showroom Look
To replicate a high-end car showroom, begin with a neutral or subtly textured HDRI as your base. Next, add a large, soft area light directly above the vehicle, mimicking overhead fluorescent panels. Introduce two medium-sized rectangular area lights at 45-degree angles to the front corners, positioned slightly higher than the car. These will define the front fascia and hood. For accent, add narrow, vertically oriented area lights flanking the car, creating elegant highlights along the doors and fenders. Finally, a subtle “fill” light opposite your key lights can prevent overly deep shadows. Use a reflective floor shader to enhance the sense of luxury. By carefully balancing these elements, you can achieve a sophisticated and believable showroom aesthetic for any 3D car model, perfect for showcasing its design.
Achieving Photorealistic Exterior Lighting in Blender
Taking your 3D car models out of the studio and into a realistic outdoor environment presents a new set of lighting challenges and opportunities. The goal is to seamlessly integrate the vehicle into its surroundings, making it appear as if it was photographed on location. Blender’s physically based lighting systems and atmospheric effects are key to this realism.
Harnessing the Power of Physical Sun & Sky Systems
For outdoor scenes, Blender’s native Physical Sky Texture node (available in the World Shader editor) is your primary tool. This system accurately simulates the sun’s position, sky color, and atmospheric scattering based on real-world physics. By adjusting the ‘Sun Elevation’ and ‘Sun Rotation’ values, you can control the time of day and the direction of sunlight, dramatically altering the mood and shadows of your scene. Early morning or late afternoon sun offers long, dramatic shadows and warm, inviting tones, while midday sun provides bright, even illumination but can sometimes appear flat without additional elements.
Combine the Physical Sky with a real HDRI of a matching outdoor environment (e.g., a forest, city street, or open field). The HDRI will provide realistic ambient lighting and reflections, while the Physical Sky handles the direct sunlight and volumetric sky effects. Ensure your sun lamp’s rotation aligns with the sun in the HDRI for consistent shadow direction and light quality. The strength of the sun lamp should also be balanced with the HDRI’s intensity for believable exposure.
The Magic of Volumetric Effects for Atmospheric Depth
Real-world outdoor environments are never perfectly clear; they possess atmospheric depth, haze, and sometimes fog. Blender’s volumetric capabilities are essential for replicating this. By adding a ‘Volume Scatter’ node to your World Output (in the World Shader), you can simulate atmospheric haze. Increasing the ‘Density’ value will make the air appear thicker, scattering light and creating a sense of distance. This is particularly effective for rendering light shafts (god rays) when direct sunlight passes through gaps in foliage or architectural elements.
To create localized fog or mist, you can use a ‘Volume Cube’ or a mesh object with a ‘Volume Scatter’ material applied. This allows for precise control over the placement and density of volumetric effects, adding a dramatic layer to your exterior automotive rendering. Consider how these atmospheric effects interact with the glossy surfaces of your 3D car model, adding subtle diffusion and depth to reflections.
Environment Matching: Seamless Integration into Real-World Backplates
Often, exterior renders involve compositing a 3D car model onto a photographic backplate. For true photorealism, the lighting in your 3D scene must perfectly match the lighting of the photograph. This process, known as environment matching, is crucial.
- Match Perspective: Use Blender’s camera matching tools (e.g., the FSPy plugin or manual alignment) to align your 3D camera’s perspective with the backplate’s photograph.
- Match HDRI: Source an HDRI that was captured at the same location and time of day as your backplate. If an exact match isn’t possible, choose an HDRI with similar lighting conditions, color temperature, and sun direction. This provides the primary ambient and reflective light.
- Match Sun/Key Light: If the backplate shows a clear sun source, add a Blender Sun Lamp or Area Light (for more diffused key light) to your scene and orient it to match the direction of the sun/key light in the photo. Pay close attention to shadow direction and softness.
- Ground Shadows: Create a ‘shadow catcher’ plane in your 3D scene that precisely matches the ground plane of your backplate. This plane should be invisible in the final render but will accurately receive shadows from your 3D car model, which can then be composited onto the backplate.
- Color Grading: After rendering, use Blender’s compositor or an external image editor to color grade your rendered car to subtly match the color balance, contrast, and exposure of the backplate. This final polish ensures the 3D car model looks like it truly belongs in the scene.
By meticulously following these steps, you can achieve an almost undetectable blend between your digitally rendered 3D car model and its real-world photographic background, elevating your automotive rendering to professional advertising standards.
Advanced Control of Reflections, Refractions, and Shadows
The magic in photorealistic automotive rendering often lies in the nuanced control of how light interacts with materials. The glossy paint, the intricate chrome, and the transparent glass all demand specific attention to their reflective and refractive properties, as well as the quality of the shadows they cast. Blender’s Cycles engine offers extensive control over these parameters, allowing for truly breathtaking results.
Fine-Tuning Material Properties: Gloss, Speculars, and Anisotropy
The Principled BSDF shader in Blender is a powerhouse for creating realistic automotive materials. Here’s how to manipulate its key properties:
- Metallic and Roughness: For paint, chrome, and other metallic elements, the Metallic slider is crucial. Set it to 1 for true metals (like chrome or bare aluminum) and vary it for painted surfaces with metallic flakes. The Roughness slider controls the blurriness of reflections. A perfectly smooth, polished car paint will have very low roughness (0.01-0.05), while matte finishes will have higher values. Be subtle; even a slight increase in roughness can significantly alter the appearance of reflections.
- Specular: The Specular tint can influence the color of non-metallic reflections. For most realistic automotive materials, leaving this at its default white or slightly off-white is usually appropriate, as color is primarily driven by the base color and metallic properties. However, for specialized paints or effects, it can be adjusted.
- Anisotropy: This property is indispensable for materials like brushed metal or carbon fiber, where reflections stretch and distort along a specific direction due to microscopic grooves on the surface. Increase the Anisotropic value and rotate the Anisotropic Rotation to mimic the directional reflections of brushed aluminum trim, a turbocharger housing, or the weave of exposed carbon fiber panels. This detail significantly boosts realism.
- Clear Coat: For car paint, the Clearcoat and Clearcoat Roughness properties are vital. The clear coat simulates the transparent protective layer on top of the base paint, adding a second, often shinier, layer of reflection. A high clearcoat value with very low roughness is essential for that wet, highly reflective car paint look.
- Index of Refraction (IOR): For glass (windshields, windows, headlights), the IOR value is critical for accurate refraction. Common IOR values are around 1.45-1.55 for standard glass. Ensure your glass materials have a slight tint and absorb light appropriately to avoid a perfectly invisible, unrealistic effect.
Optimizing Shadow Quality: Contact Shadows, Soft Shadows, and Bias
Shadows are just as important as light in defining form and realism.
- Soft Shadows: The softness of a shadow is determined by the size of the light source. Larger light sources (like a large area light or a distant sun) produce softer, more diffuse shadows with penumbras. Smaller light sources create sharper, harder shadows. In Cycles, the physical size of your light sources directly controls this.
- Shadow Bias and Contact Shadows (Eevee/Cycles): ‘Shadow Bias’ helps prevent “shadow acne” or “peter-panning” effects where shadows appear detached from the object or show artifacts. Adjust it carefully; too high and shadows detach, too low and you get acne. ‘Contact Shadows’ (available in Eevee and as an option in some Cycles light settings) is a technique that adds fine-detail shadows at the contact points between objects, greatly enhancing realism, especially for subtle gaps or where tires meet the ground.
- Render Samples: In Cycles, shadow quality is also tied to your render samples. Higher samples reduce noise in shadows, making them smoother and more realistic. For crisp, noise-free shadows, especially under complex lighting, a sufficient sample count is necessary.
Light Linking and Exclusion for Precise Illumination Control
Sometimes, you need a light to affect certain objects but not others, or to cast reflections without illuminating. This is where advanced light linking and exclusion comes into play, although Blender’s native support for per-light linking is more subtle than in some other DCCs, often relying on collection visibility in render layers or shader nodes.
- Collection-Based Exclusion: For broader control, you can organize your lights and objects into collections. By setting up multiple render layers, you can render specific collections of lights affecting specific collections of objects, then composite them together. For example, a “reflection-only” light could be in one collection, and your car in another, rendered separately for ultimate control in compositing.
- Light Path Node in Shaders: Within the shader editor, the ‘Light Path’ node allows you to determine if a specific shader branch is being evaluated for a camera ray, a reflection ray, a shadow ray, etc. This is incredibly powerful. For instance, you could make a material appear differently in reflections than it does directly to the camera, or ensure a light casts a shadow but doesn’t contribute to diffuse illumination. While not direct “light linking,” it offers material-level control over light interactions.
Mastering these advanced techniques allows you to sculpt light and shadow with surgical precision, elevating your automotive rendering from good to truly exceptional. The interplay of materials and light is what ultimately breathes life into your 3D car models.
Post-Processing and Render Optimization for Automotive Scenes
The journey to a photorealistic automotive render doesn’t end when the render button is pressed. Post-processing, often performed in Blender’s own Compositor or external image editing software, is crucial for adding the final layer of polish, correcting imperfections, and enhancing mood. Furthermore, optimizing render settings ensures you achieve high-quality results efficiently.
Essential Render Settings in Cycles and Eevee
Optimizing your render settings is about balancing quality with render time.
- Cycles (Path Tracing):
- Samples: The most impactful setting. Higher samples reduce noise but increase render time. For automotive rendering, especially with complex glossy materials and reflections, start with 256-512 samples and increase as needed. Use adaptive sampling to focus samples where they’re most needed.
- Denoising: Blender’s built-in OIDN (Open Image Denoise) or OptiX denoiser can dramatically reduce noise at lower sample counts, allowing for faster renders without sacrificing too much quality. Use it wisely, as aggressive denoising can sometimes smooth out fine details or create artifacts.
- Light Paths: Control the maximum number of bounces for diffuse, glossy, transmission, and volume light. For most realistic automotive renders, increasing Glossy and Transmission bounces (e.g., 4-8) is more important than diffuse bounces, to accurately capture reflections within reflections and light passing through glass.
- Performance (Tiles/Bucket Size): For CPU rendering, optimize tile size (e.g., 64×64 or 128×128). For GPU rendering, larger tiles (256×256 or 512×512) are generally more efficient.
- Eevee (Real-time Rasterization):
- Sampling: Set render samples for the final output. Eevee is fast, so higher samples (e.g., 64-128) are often acceptable for production.
- Screen Space Reflections/Refractions: Crucial for accurate reflections and refractions. Enable these and adjust ‘Samples’ and ‘Max Roughness’ for quality.
- Volumetrics: Adjust ‘Tile Size’ and ‘Samples’ for volumetric quality. Smaller tile sizes and more samples improve detail but impact performance.
- Shadows: Increase ‘Cube Size’ and ‘Cascade Size’ in the shadows panel for sharper, more detailed shadows.
- Ambient Occlusion: Enable for subtle contact shadows and improved depth.
Compositing Techniques for Final Polish
Blender’s Compositor is a powerful node-based editor for post-processing your renders.
- Exposure and Color Grading: Use nodes like ‘Exposure’, ‘RGB Curves’, ‘Color Balance’, and ‘Hue/Saturation’ to adjust the overall brightness, contrast, and color temperature of your automotive rendering, matching it to desired moods or reference images.
- Vignette: A subtle dark border can draw attention to the center of the image, where your 3D car model is.
- Lens Distortion/Chromatic Aberration: Mimic real-world camera imperfections for added realism. Use the ‘Lens Distortion’ node with subtle values.
- Glare/Bloom: The ‘Glare’ node can add beautiful bloom and streak effects to bright light sources (like headlights or reflections), giving a cinematic quality.
- Noise Reduction (Post-render): While Cycles has built-in denoising, further noise reduction using the ‘Denoise’ node in the compositor can be applied if necessary, especially to specific passes.
Leveraging Render Passes for Maximum Flexibility
Render passes (or AOV – Arbitrary Output Variables) allow you to output different components of your render as separate images, giving you unparalleled control in post-processing.
- Combined: The final rendered image.
- Diffuse Color/Direct/Indirect: Separate components of diffuse lighting for fine-tuning.
- Glossy Color/Direct/Indirect: Crucial for automotive rendering, allowing you to adjust reflections independently. You can brighten or dim specular highlights without affecting the overall illumination.
- Transmission: For glass and transparent materials.
- Emission: For self-illuminated objects like headlights.
- Shadow Pass: A separate pass containing only the shadows, useful for precise blending, especially when compositing onto backplates.
- Z-Depth: Provides depth information, useful for creating depth of field effects in post-processing.
- Cryptomatte: A powerful tool for creating ID masks of objects, materials, or assets, allowing for extremely precise selections for targeted adjustments in compositing.
By rendering these passes and reassembling them in the compositor, you can make non-destructive adjustments, fix issues, and experiment with different looks without re-rendering the entire scene, saving significant time and effort in your automotive rendering workflow. This level of control is essential for achieving the highest quality with your 3D car models.
Conclusion: The Journey to Luminous Automotive Artistry
The path to creating truly breathtaking 3D automotive renders in Blender is a journey of meticulous attention to detail, a deep understanding of light physics, and a willingness to experiment. From the initial selection of the right 3D car models from a trusted source like 88cars3d.com and understanding their file formats, to the final pixel of post-production, every step contributes to the ultimate vision.
Key Takeaways for Elevating Your Renders
- Foundation First: Choose the right 3D model format for your project’s needs. A well-constructed model is the starting point for great renders.
- HDRIs are Essential: Always start with a high-quality HDRI for realistic ambient light and reflections, whether in a studio or outdoor scene.
- Area Lights Sculpt Form: Use Blender’s area lights strategically to define character lines, create sharp highlights, and add dimensionality that HDRIs alone cannot provide.
- Physical Sun & Sky for Outdoors: Leverage Blender’s physically accurate sun and sky systems for believable exterior lighting, complemented by volumetrics for atmospheric depth.
- Master Material Properties: Fine-tune metallic, roughness, clear coat, and anisotropic values for paint, chrome, and other surfaces to achieve photorealistic material responses.
- Control Shadows: Understand how light source size impacts shadow softness and utilize contact shadows for added realism.
- Post-Process Relentlessly: The Compositor is your friend. Use render passes, color grading, glare, and other effects to add the final professional polish.
The Future of Automotive Visualization
As 3D technology continues to advance, the boundaries of photorealism are constantly being pushed. Real-time engines like Eevee and Unreal Engine are becoming increasingly sophisticated, blurring the line between rendered animation and interactive experiences. The demand for high-quality 3D car models and exceptional automotive rendering will only grow, driven by needs in marketing, design iteration, virtual showrooms, and immersive AR/VR experiences. By mastering the advanced lighting techniques outlined in this guide, you are not just creating images; you are crafting experiences that capture the essence and beauty of automotive design, positioning yourself at the forefront of this exciting field.
Featured 3D Car Models