

In the demanding world of 3D visualization, especially when it comes to automotive design and rendering, realism is paramount. A beautifully modeled car, like those found on marketplaces such as 88cars3d.com, can only truly shine when bathed in authentic, dynamic light. This is where High Dynamic Range Imaging (HDRI) coupled with Blender’s powerful World settings becomes an indispensable tool for 3D artists, game developers, and automotive designers alike. Gone are the days of laboriously placing countless light sources to simulate an environment; HDRIs capture real-world lighting information, providing an instant, convincing global illumination solution that dramatically elevates the quality of your renders.
This comprehensive guide will delve deep into the technical intricacies of HDRI lighting and Blender’s World settings. We’ll explore the underlying principles of HDRIs, their critical role in achieving photorealistic automotive renders, and provide step-by-step workflows for setting them up in Blender 4.4. Furthermore, we’ll uncover advanced techniques for fine-tuning your lighting, optimizing performance, and integrating your renders seamlessly into post-production workflows. By the end of this article, you’ll possess the knowledge and practical insights to transform your 3D car models into breathtaking visual masterpieces, ready for portfolios, marketing, or game engine integration.
Achieving truly photorealistic 3D renders hinges on accurate lighting. Traditional image formats (like JPG or PNG) are Low Dynamic Range (LDR), meaning they capture a limited spectrum of light intensity, typically 8 bits per color channel. This limitation results in blown-out highlights or crushed shadows in scenes with extreme contrast. High Dynamic Range Imaging (HDRI) fundamentally overcomes this barrier by capturing and storing a far greater range of light, often 32 bits per channel or more, effectively mirroring the vast dynamic range of human vision and real-world lighting conditions.
At its core, HDRI involves capturing multiple exposures of a single scene, ranging from very dark to very bright. These individual exposures are then stitched together to create a single, panoramic image that contains accurate luminance values for every pixel. Unlike a standard photograph that simply shows what an environment *looks* like, an HDRI also describes how that environment *lights* a scene. This means it contains information not just about color, but also about the intensity of light emanating from every direction. For instance, a bright sun in an HDRI will emit significantly more light than a shaded area, behaving just as it would in reality. This data is typically stored in formats like `.exr` (OpenEXR) or `.hdr` (Radiance HDR), which are designed to handle these expanded dynamic ranges. When used as an environment map in 3D software, these high-fidelity images can illuminate your scene with incredible accuracy, casting realistic shadows, generating vibrant reflections, and contributing to a believable global illumination.
For automotive rendering, HDRIs are not just a convenience; they are a necessity for achieving professional-grade realism. Car models, especially their highly reflective surfaces like paintwork, chrome accents, and glass, are exceptionally sensitive to environmental reflections and lighting. A static, uniform light setup will immediately betray the artificiality of the scene. HDRIs provide:
* **Realistic Reflections:** The complex interplay of light and shadow, the subtle nuances of an overcast sky, or the sharp glint of direct sunlight – all are faithfully reproduced as reflections on your car’s surfaces. This is critical for conveying the material properties and surface quality of your 3D car models, whether they are sleek sports cars or rugged off-road vehicles.
* **Accurate Global Illumination (GI):** HDRIs serve as a powerful source of indirect light. They illuminate your scene by bouncing light around, just as in the real world, creating soft, natural ambient lighting and color bleeding. This eliminates the need for complex arrays of fill lights and bounce cards, drastically simplifying your lighting setup while enhancing realism.
* **Naturalistic Lighting and Shadows:** The directional light information embedded within an HDRI directly translates into realistic shadows that accurately correspond to the environment captured. Whether it’s the diffused shadows of a studio HDRI or the sharp, long shadows of a sunset environment, the lighting feels organic and grounded.
* **Production Efficiency:** Setting up a convincing light studio manually can be time-consuming and challenging. With HDRIs, you can instantly place your 3D car model within a realistic environment, focusing your efforts on fine-tuning camera angles, materials, and post-processing, making your workflow significantly more efficient, especially when working with high-quality assets from platforms like 88cars3d.com.
Blender offers intuitive tools for integrating HDRIs into your scene’s World environment, providing a solid foundation for realistic lighting, whether you’re aiming for photorealistic renders in Cycles or real-time visualization in Eevee. The fundamental setup process is similar for both render engines, with Cycles generally offering more advanced lighting calculations.
The quickest way to get an HDRI into your Blender scene is through the World Properties panel. Here’s a step-by-step guide:
1. **Open World Properties:** In the Properties editor, navigate to the “World Properties” tab (represented by a globe icon).
2. **Enable Nodes:** By default, the Surface type is set to “Background” with a single color. To use an HDRI, click the “Use Nodes” button. This will automatically create a “Background” node connected to the “World Output” node in the Shader Editor.
3. **Add Environment Texture Node:** Click on the small yellow dot next to the “Color” input of the “Background” node. From the menu that appears, search for and select “Environment Texture.”
4. **Load HDRI Image:** With the “Environment Texture” node selected, click the “Open” button and navigate to your `.exr` or `.hdr` file on your computer.
5. **Connect and Verify:** Ensure the “Color” output of the “Environment Texture” node is connected to the “Color” input of the “Background” node. As soon as you load the HDRI, your scene’s lighting should change to reflect the environment.
6. **Adjust Strength:** The “Strength” parameter in the Background node controls the overall intensity of the HDRI lighting. Start with a value of 1.0 and adjust as needed to match your desired exposure.
7. **Projection Type:** Crucially, ensure the “Projection” type in the Environment Texture node is set to “Spherical.” HDRIs are panoramic images designed to wrap around your scene like a sphere, and “Spherical” projection correctly interprets this data.
For a detailed guide on Blender’s World Properties and the Environment Texture node, including all its settings and advanced uses, refer to the official Blender 4.4 documentation at https://docs.blender.org/manual/en/4.4/render/cycles/nodes/types/shaders/background.html. This documentation provides comprehensive insights into how these features contribute to your rendering workflow.
While the basic setup provides immediate results, the Shader Editor offers far more control over your HDRI. By switching to the “World” context in the Shader Editor, you can build a more sophisticated node tree:
1. **Access Shader Editor (World Context):** Change one of your Blender windows to the “Shader Editor.” At the top of the Shader Editor, there’s a dropdown menu that usually says “Object.” Change this to “World.” You’ll see the “Background” node connected to the “World Output” node.
2. **Add Texture Coordinate and Mapping Nodes:** To gain control over the HDRI’s rotation, scale, and location, you’ll need a “Texture Coordinate” node and a “Mapping” node.
* Add Node (Shift+A) > Input > Texture Coordinate.
* Add Node (Shift+A) > Vector > Mapping.
3. **Connect the Nodes:** Connect the “Generated” output of the “Texture Coordinate” node to the “Vector” input of the “Mapping” node. Then, connect the “Vector” output of the “Mapping” node to the “Vector” input of your “Environment Texture” node.
4. **Rotate Your HDRI:** Now, in the “Mapping” node, you can use the “Rotation” parameters, particularly the Z-axis, to rotate your HDRI environment. This is incredibly useful for fine-tuning the direction of reflections on your 3D car model and ensuring the primary light source is coming from the most aesthetically pleasing or physically accurate angle. Experiment with different rotations to see how the highlights and shadows shift on your car’s surface. You might want to match the direction of a dominant light source within the HDRI with the primary direction of reflections on your car’s body panels. Adjusting the X and Y rotations can tilt the environment, which can also be beneficial in certain creative scenarios or when an HDRI was captured at a slightly off-axis angle.
While a single HDRI can provide excellent baseline lighting, truly mastering automotive rendering involves pushing beyond the basics. Advanced techniques allow for greater artistic control, enabling you to manipulate the visual impact of your HDRI without compromising its core lighting accuracy. This level of finesse is crucial when presenting high-quality 3D car models for commercial or portfolio use.
Often, you want the realistic lighting and reflections provided by an HDRI, but you might not want the actual HDRI image to be visible in the background of your render. This is common for studio shots, product visualizations, or when you plan to composite your car onto a different photographic backplate in post-production. Blender’s node-based World Shader makes this separation straightforward:
1. **Introduce the Light Path Node:** In the World Shader Editor, add a “Light Path” node (Shift+A > Input > Light Path). This node provides various outputs that describe the type of ray being traced (e.g., camera, diffuse, glossy, shadow).
2. **Blend with a Mix Shader:** Add a “Mix Shader” node (Shift+A > Shader > Mix Shader). This node allows you to blend between two different shader inputs based on a “Fac” (Factor) input.
3. **Connect for Control:**
* Connect the “Is Camera Ray” output of the “Light Path” node to the “Fac” input of the “Mix Shader.”
* Connect your existing HDRI setup (the “Background” node with the “Environment Texture”) to the bottom “Shader” input of the “Mix Shader.”
* Add a new “Background” node (Shift+A > Shader > Background) and set its color to pure black, pure white, or any desired solid color. Connect this new “Background” node to the top “Shader” input of the “Mix Shader.”
* Finally, connect the output of the “Mix Shader” to the “Surface” input of the “World Output” node.
Now, the “Is Camera Ray” output will ensure that when the camera directly looks at the background, it sees the solid color you’ve set. However, for all other rays (diffuse, glossy, transmission), the HDRI will still be used for lighting and reflections, preserving the realism. This technique provides immense flexibility for integrating your 3D car models into various visual contexts without compromising the quality of the light.
While a single HDRI is powerful, combining multiple HDRIs or integrating traditional light sources can offer even greater control and artistic possibilities, especially for complex automotive setups.
* **Layering HDRIs:** You can use multiple HDRIs in your World Shader. For example, one HDRI could provide the primary environmental lighting and reflections, while a second, perhaps softer or more subtly colored, HDRI could be mixed in to act as a global fill light or to introduce a specific color cast. This is achieved by chaining “Mix Shader” nodes, allowing you to blend the outputs of multiple “Environment Texture” nodes. This can simulate complex real-world scenarios where light might come from different sources with varying intensities and colors.
* **Integrating Manual Light Sources:** Even with an HDRI, adding dedicated light sources like “Area Lights,” “Spot Lights,” or a “Sun Lamp” can dramatically enhance your render.
* **Sun Lamp:** If your HDRI depicts a clear, sunny day, adding a “Sun Lamp” aligned with the sun’s position in the HDRI will provide sharper, more defined shadows and a strong directional highlight, which can significantly boost realism on glossy car paint. You’ll need to carefully match its rotation to the HDRI’s sun.
* **Area Lights:** Small “Area Lights” can be strategically placed to act as rim lights, accentuating the contours of your 3D car model, or as fill lights in specific areas that the HDRI might not illuminate sufficiently (e.g., the interior).
* **Light Groups (Cycles):** For Cycles renders, “Light Groups” allow you to render the contribution of different light sources (including your HDRI and individual lamps) as separate passes. This gives you unparalleled control in post-processing, allowing you to adjust the intensity and color of specific lights without re-rendering the entire scene. To use Light Groups, go to the View Layer Properties > Light Groups and add your desired lights.
The key is to strike a balance: use the HDRI for the overarching environmental illumination, and then selectively introduce manual lights to enhance, refine, or direct attention to specific features of your high-quality car models. This hybrid approach provides the best of both worlds – environmental realism and artistic control.
Working with high-resolution HDRIs and complex lighting can be demanding on system resources, particularly for high-quality automotive renders. Optimizing your Blender World settings and HDRI usage is crucial for maintaining efficient workflows without sacrificing visual fidelity. Understanding the balance between resolution, memory, and render times is key to producing professional results in a timely manner.
The resolution of your HDRI directly impacts several aspects of your render:
* **VRAM Consumption:** Higher resolution HDRIs (e.g., 16K, 20K, 32K) consume significantly more Video RAM (VRAM). This can be a bottleneck for systems with limited GPU memory, potentially leading to slower renders or even crashes, especially when combined with high-polygon 3D car models and numerous textures.
* **Loading Times:** Larger HDRI files take longer to load into memory at the start of a render.
* **Ray Tracing Performance:** While not as impactful as polygon count, the complexity of light information in a very high-resolution HDRI can subtly affect ray tracing times, particularly for global illumination calculations.
**Best Practices for HDRI Resolution:**
* **Background vs. Lighting:** Consider if your HDRI is primarily for lighting/reflections, or if it will also be directly visible as the background.
* **Lighting Only:** If the HDRI will not be directly visible (e.g., using the “Is Camera Ray” technique mentioned earlier), you can often get away with a lower resolution HDRI (e.g., 4K or 8K). The detailed lighting information is still present, but the pixel density isn’t crucial.
* **Visible Background:** If the HDRI is part of your final background composition, then a higher resolution (8K-16K or even higher) might be necessary to avoid blurriness or pixelation.
* **Mipmapping:** Blender handles mipmapping for image textures automatically, which helps optimize memory usage by storing multiple lower-resolution versions of the same texture. When the HDRI is viewed from a distance or used for less detailed reflections, Blender can use a smaller mipmap, saving VRAM.
* **Efficient Texture Handling:** Ensure your HDRI files are stored on a fast drive and that Blender has sufficient RAM allocated. For particularly demanding scenes, external rendering solutions or cloud rendering can offload the processing burden.
Blender’s Cycles renderer offers powerful features to optimize light calculation and clean up noise, both of which are critical when working with complex HDRI lighting.
* **Importance Sampling:** This is a crucial optimization for HDRIs in Cycles. When enabled (it usually is by default for Environment Textures), Cycles will focus its sampling efforts on the brighter, more emissive areas of your HDRI. Instead of randomly sending rays in all directions and hoping they hit a light source, Importance Sampling guides the rays towards where the light is strongest. This leads to significantly cleaner renders (less noise) with fewer samples, dramatically reducing render times, especially for scenes lit primarily by HDRIs. Ensure it’s active in your Environment Texture node.
* **Denoising:** Despite Importance Sampling, complex lighting scenarios, especially those with subtle ambient light from HDRIs, can still introduce noise (grain) into your renders. Blender offers integrated denoising solutions to effectively clean this up:
* **OptiX Denoiser (NVIDIA GPUs):** Leverages NVIDIA’s Tensor Cores for incredibly fast and high-quality denoising directly in the viewport and during rendering. This is often the preferred choice for NVIDIA users.
* **OpenImageDenoise (OIDN, CPU-based):** A high-quality denoiser developed by Intel that works on CPUs, making it accessible to all users regardless of their GPU. While typically slower than OptiX, it produces excellent results.
* **NVIDIA AI Denoiser (old, replaced by OptiX):** An older option that has largely been superseded by OptiX.
To enable denoising, navigate to the Render Properties tab > Sampling > Denoise. You can choose to denoise during the render (Viewport or Render) and select your preferred method. Denoising allows you to use fewer samples in your render settings, thus speeding up render times, while still achieving a clean, professional output for your 3D car models. The balance here is key: too few samples can lead to over-denoising, resulting in blurry details, while too many samples will unnecessarily prolong render times. Experiment to find the sweet spot for each scene.
Beyond the technical setup, HDRIs provide a foundation for immense creative control. The raw render from Blender is rarely the final product. Post-processing, whether within Blender’s Compositor or external image editing software, allows you to refine, enhance, and ultimately craft the visual narrative around your high-quality 3D car models. This stage is where your artistic vision truly comes to life, turning a good render into an exceptional one.
Even with a perfectly captured HDRI, the final look of your render depends heavily on how you interpret and present that light. These adjustments can be made directly in Blender or during post-production.
* **Exposure:** The “Strength” parameter in your World’s Background node controls the HDRI’s overall light intensity, directly impacting exposure. However, for finer control and non-destructive adjustments, you can use Blender’s “Color Management” settings (Render Properties > Color Management). Here, you can adjust “Exposure” and “Gamma” for the entire scene. Alternatively, in the Compositor, an “Exposure” node (Shift+A > Color > Exposure) offers precise control over luminance without altering color. This is critical for making your 3D car models stand out, ensuring they are neither overexposed nor hidden in shadow.
* **White Balance:** Accurate white balance ensures that white objects appear truly white and that colors are rendered truthfully, rather than being skewed by the color cast of the HDRI. In the Compositor, you can use a “White Balance” node (Shift+A > Color > White Balance) or even simpler, an “RGB Curves” node (Shift+A > Color > RGB Curves) to correct color shifts. Getting white balance right is crucial for showcasing the true colors of your car’s paintwork and materials.
* **Color Grading:** This is where you infuse your render with mood and atmosphere. While the HDRI provides the base, color grading allows you to apply a consistent stylistic look. In the Compositor, nodes like “Color Balance” (Shift+A > Color > Color Balance), “Hue/Saturation/Value” (Shift+A > Color > Hue Saturation Value), and “Curves” offer extensive control over the color palette, contrast, and luminosity of your scene. You can warm up a cold HDRI, add punch to a flat render, or even create dramatic cinematic looks. This level of color manipulation is vital for making your automotive renders not just realistic, but also emotionally resonant.
One of the most powerful applications of separating HDRI lighting from the background (as discussed earlier) is the ability to composite your 3D car model onto a photographic backplate. This technique allows you to place your perfectly lit car into a real-world photo, creating incredibly convincing and dynamic scenes. High-quality 3D car models from 88cars3d.com are ideally suited for this workflow due to their clean topology and realistic PBR materials.
Here’s a general workflow for compositing in Blender:
1. **Render Car with Transparent Background:** Set up your scene with the HDRI providing lighting, but use the “Is Camera Ray” trick or simply disable visibility of the background in the “Film” section of Render Properties (check “Transparent”). Render your car, ensuring you output an image with an alpha channel (e.g., PNG, OpenEXR).
2. **Prepare Backplate:** Source a high-resolution photograph (your “backplate”) that matches the perspective and focal length of your Blender camera as closely as possible.
3. **Blender Compositor Setup:**
* Switch to the “Compositing” workspace in Blender.
* Enable “Use Nodes.”
* Add an “Image” node (Shift+A > Input > Image) and load your backplate.
* Add a “Render Layers” node (this automatically appears if you just rendered your scene).
* Add an “Alpha Over” node (Shift+A > Converter > Alpha Over). Connect the “Image” node (your backplate) to the top “Image” input and the “Image” output from your “Render Layers” (your car) to the bottom “Image” input. Connect the “Alpha” output from your “Render Layers” to the “Fac” input of the “Alpha Over” node.
* Connect the “Image” output of the “Alpha Over” node to the “Image” input of the “Composite” node.
4. **Matching and Adjustments:**
* **Perspective Matching:** This is perhaps the most critical step. Manually matching the camera angle and focal length in Blender to your backplate is essential. Blender’s “FSP” (Focal Length, Shift, Pan) camera settings can help, or you can use add-ons for more precise camera matching.
* **Shadow Catchers:** To integrate shadows realistically, add a simple plane in your 3D scene where the car would rest on the ground. Apply a “Shadow Catcher” material to it (Object Properties > Visibility > Shadow Catcher). This plane will only render the shadows cast by your car, which you can then composite over your backplate.
* **Reflection Planes:** For subtle ground reflections, a very low-opacity, glossy plane might be necessary, carefully blended in the compositor.
* **Color Matching:** Use “Color Balance,” “RGB Curves,” or “Exposure” nodes in the Compositor on either your car render or your backplate to ensure their colors, contrast, and brightness match seamlessly. Look for shared ambient light, color casts, and overall tonal range.
* **Depth of Field:** If your backplate has a shallow depth of field, apply a similar effect to your 3D car render using a “Defocus” node in the Compositor to further blend it into the scene.
This powerful compositing workflow allows you to create incredibly realistic scenes by leveraging the lighting accuracy of HDRIs while retaining the flexibility to choose any background image. It’s an essential skill for any 3D artist looking to showcase automotive models in compelling, professional environments.
Mastering HDRI lighting and World settings in Blender is an essential skill for anyone striving for excellence in automotive rendering and visualization. We’ve journeyed from the fundamental science of High Dynamic Range Imaging to its practical application, covering the basic setup in Blender 4.4, advanced node-based controls, and crucial optimization techniques. You now understand how to separate lighting from the background, integrate multiple light sources, and fine-tune your renders for both quality and performance.
The power of HDRIs lies in their ability to instantaneously imbue your 3D car models with the authentic light and reflections of a real-world environment. This realism is not just aesthetically pleasing; it’s vital for conveying the true material properties, contours, and design intent of automotive assets. By combining a solid technical understanding with artistic vision, you can unlock a new level of photorealism in your projects.
Remember to experiment with different HDRIs, explore the nuances of Blender’s World Shader Editor, and always consider the interplay between your lighting, materials, and camera setup. The journey to stunning automotive renders is an iterative one, filled with learning and discovery. To jumpstart your creative process with ready-to-render assets, explore the vast collection of high-quality 3D car models available on 88cars3d.com. These models are meticulously crafted with clean topology and realistic PBR materials, making them the perfect foundation for applying the advanced HDRI lighting techniques discussed in this guide. Take these insights, apply them to your projects, and watch your 3D car models transform into breathtaking works of art that truly capture the essence of automotive design.
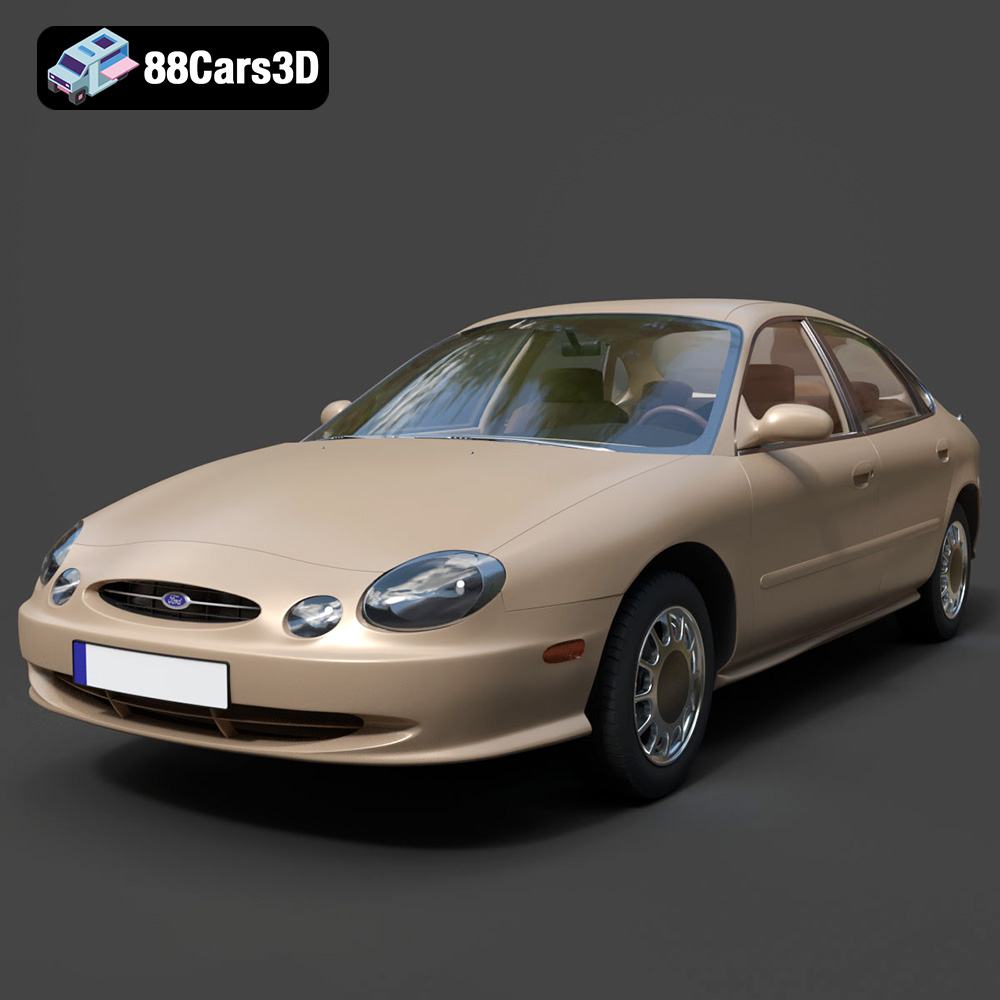
Texture: Yes | Material: Yes
Download the highly detailed, game-ready Ford Taurus 1996 3D Model. Features revolutionary oval exterior styling, detailed interior, and accurate chassis geometry. Includes .blend, .fbx, .obj, .glb, .stl, .ply, .unreal, and .max formats for game development, AR/VR, and rendering.
Price: $161.00
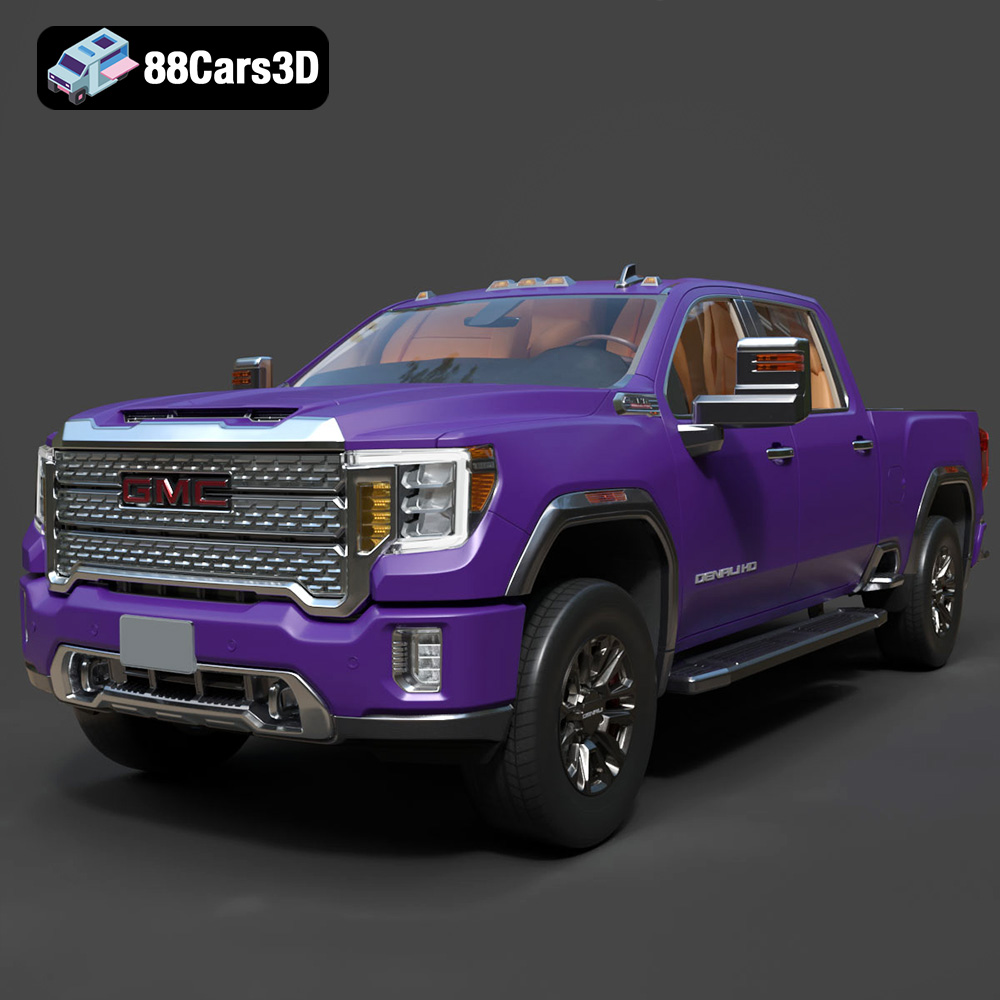
Texture: Yes | Material: Yes
Download the highly detailed, game-ready GMC Sierra HD Denali 2020 3D Model. Features iconic chrome Denali grille, detailed MultiPro tailgate, and heavy-duty chassis styling. Includes .blend, .fbx, .obj, .glb, .stl, .ply, .unreal, and .max formats for game development, AR/VR, and rendering.
Price: $274.50
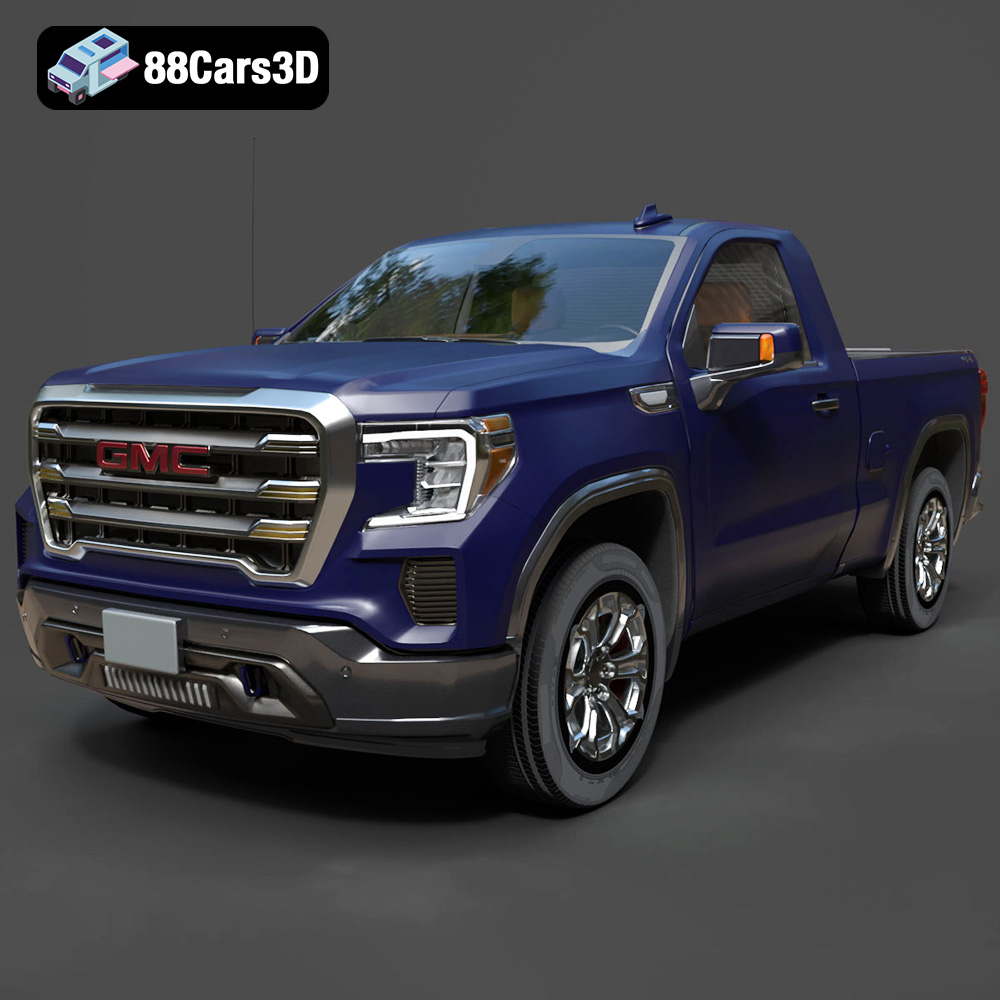
Texture: Yes | Material: Yes
Download the highly detailed, game-ready GMC Sierra Reg SLE 1500 2020 3D Model. Features bold pickup styling, detailed exterior trim, accurate undercarriage, and realistic cabin. Includes .blend, .fbx, .obj, .glb, .stl, .ply, .unreal, and .max formats for game development, AR/VR, and rendering.
Price: $133.50
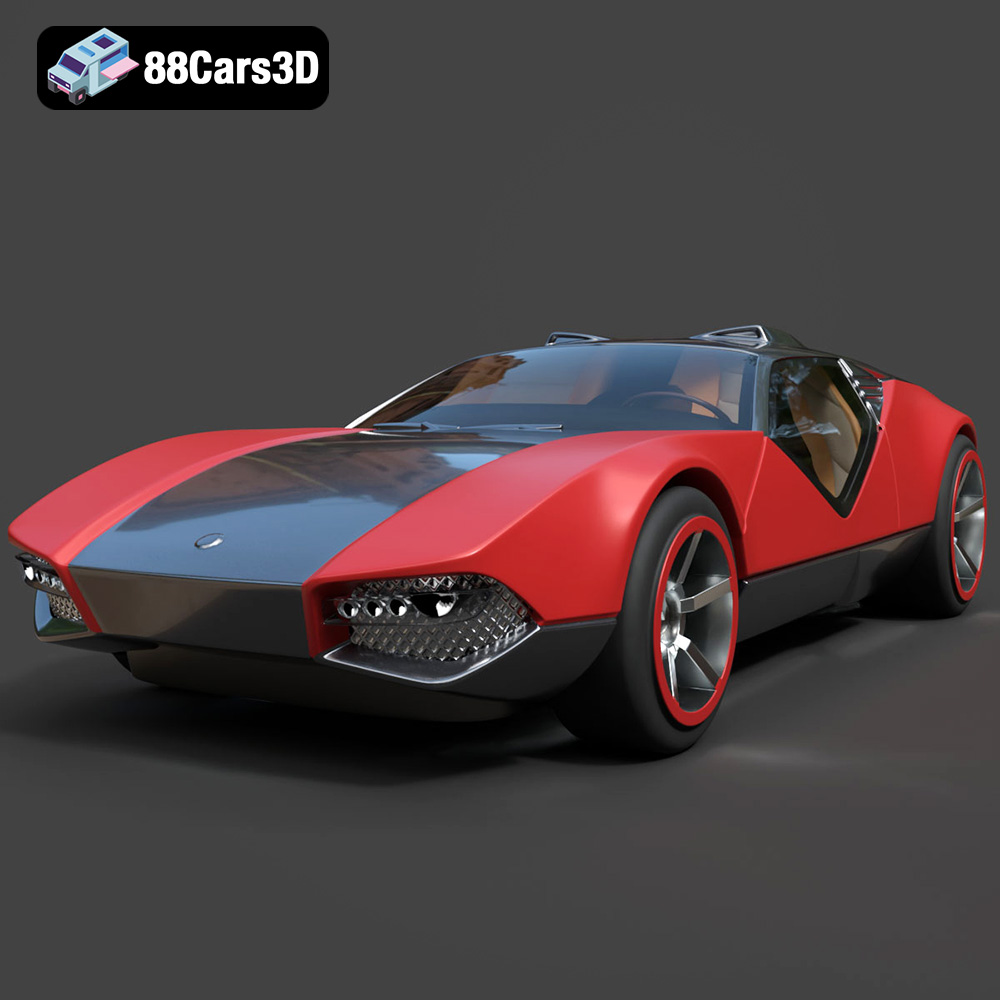
Texture: Yes | Material: Yes
Download the highly detailed, game-ready Hot Wheels La Fasta 3D Model. Features aggressive aerodynamic bodywork, custom racing wheels, and futuristic interior details. Includes .blend, .fbx, .obj, .glb, .stl, .ply, .unreal, and .max formats for game development, AR/VR, and rendering.
Price: $133.00
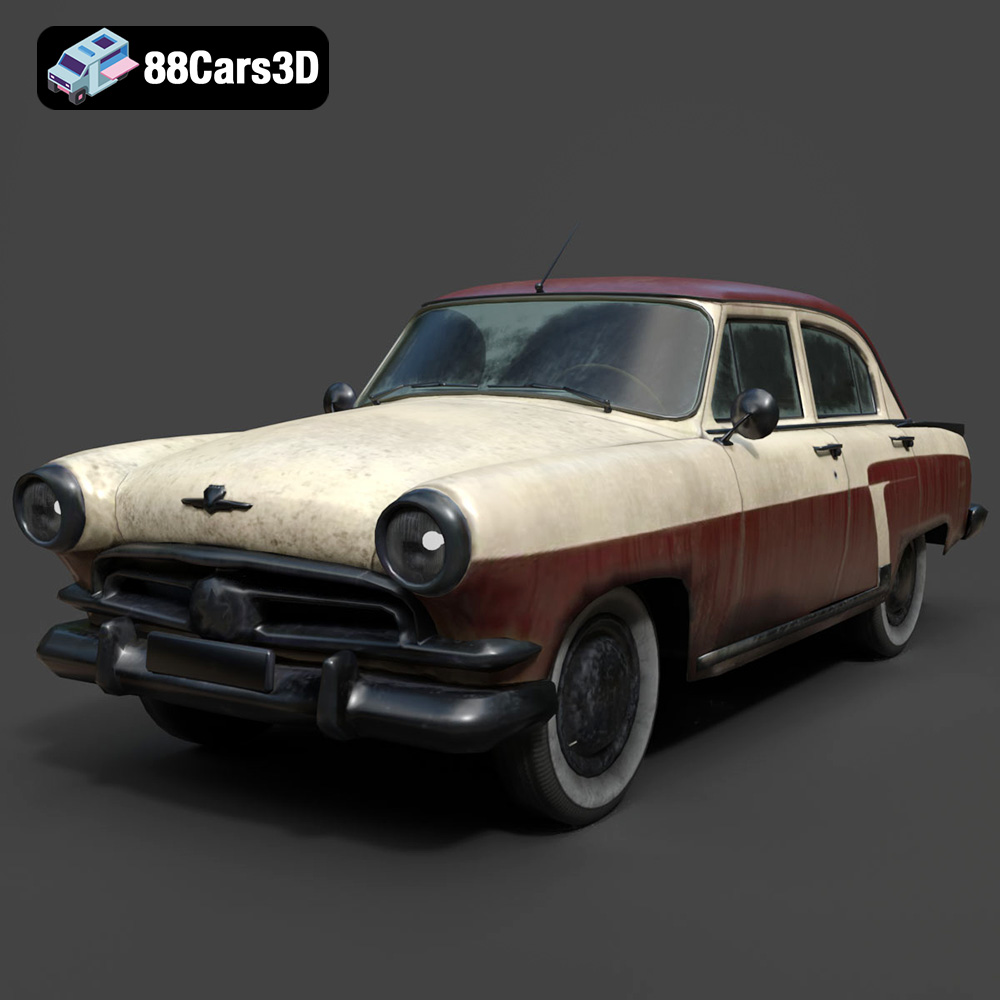
Texture: Yes | Material: Yes
Download the highly detailed, game-ready GAZ-21 Volga 3D Model. Features classic Soviet body geometry, iconic front grille, and detailed exterior chrome accents. Includes .blend, .fbx, .obj, .glb, .stl, .ply, .unreal, and .max formats for game development, AR/VR, and rendering.
Price: $99.99
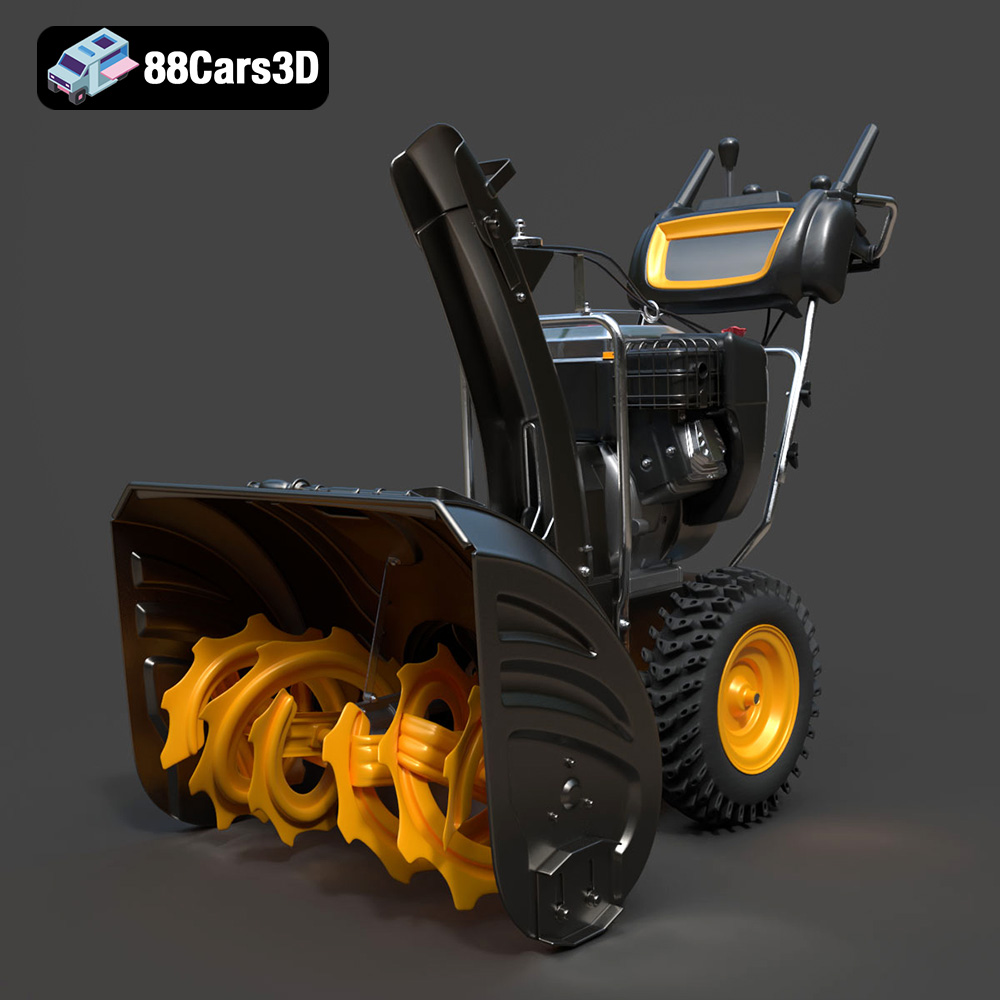
Texture: Yes | Material: Yes
Download the highly detailed, game-ready Husqvarna Snow Plow 3D Model. Features heavy-duty front plow blade, robust chassis, and realistic mechanical controls. Includes .blend, .fbx, .obj, .glb, .stl, .ply, .unreal, and .max formats for game development, AR/VR, and rendering.
Price: $145.50
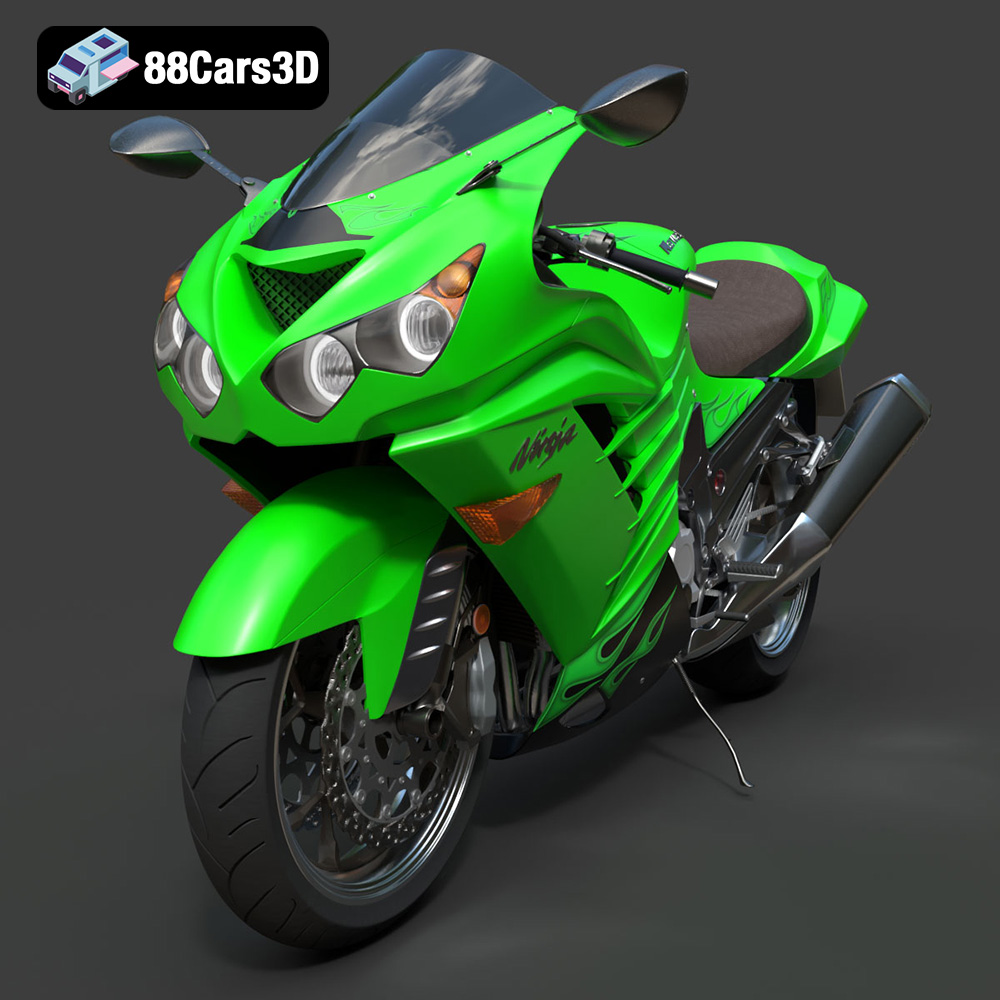
Texture: Yes | Material: Yes
Download the highly detailed, game-ready Kawasaki ZX14R 2012 3D Model. Features aggressive hyper-sport fairings, detailed inline-four engine, and iconic dual exhausts. Includes .blend, .fbx, .obj, .glb, .stl, .ply, .unreal, and .max formats for game development, AR/VR, and rendering.
Price: $170.00
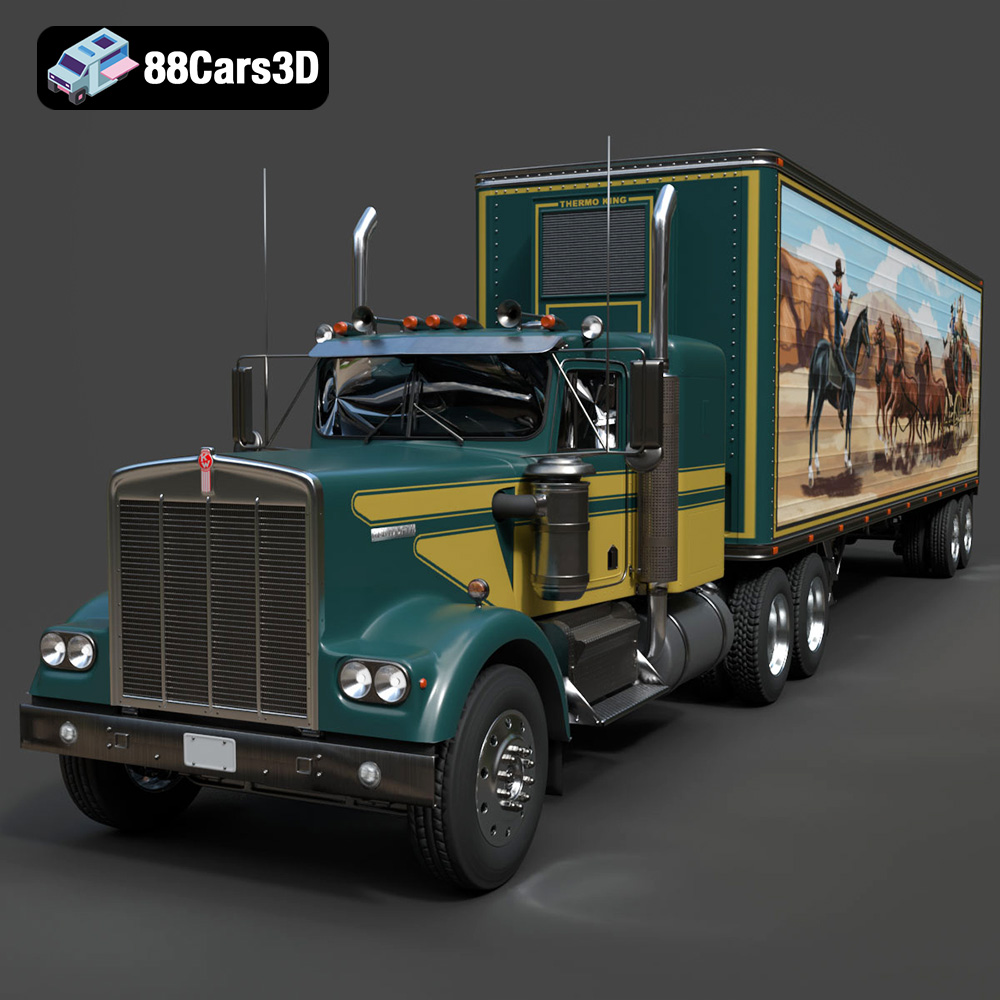
Texture: Yes | Material: Yes
Download the highly detailed, game-ready Kenworth W900 1974 3D Model. Features classic long-nose hood styling, detailed chrome exhaust stacks, and realistic dual tandem axles. Includes .blend, .fbx, .obj, .glb, .stl, .ply, .unreal, and .max formats for game development, AR/VR, and rendering.
Price: $299.50
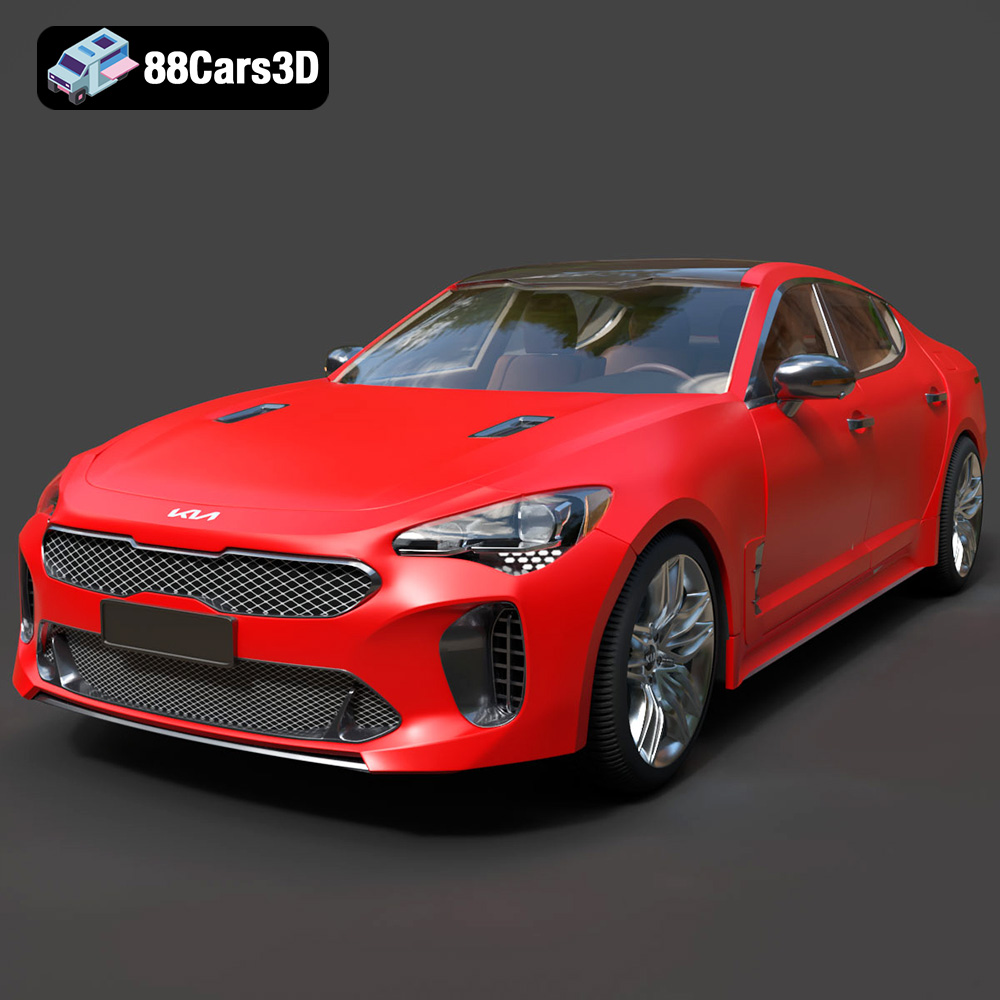
Texture: Yes | Material: Yes
Download the highly detailed, game-ready Kia Stinger 2021 3D Model. Features tiger-nose grille styling, quad exhaust tips, and high-fidelity interior details. Includes .blend, .fbx, .obj, .glb, .stl, .ply, .unreal, and .max formats for game development, AR/VR, and rendering.
Price: $299.50
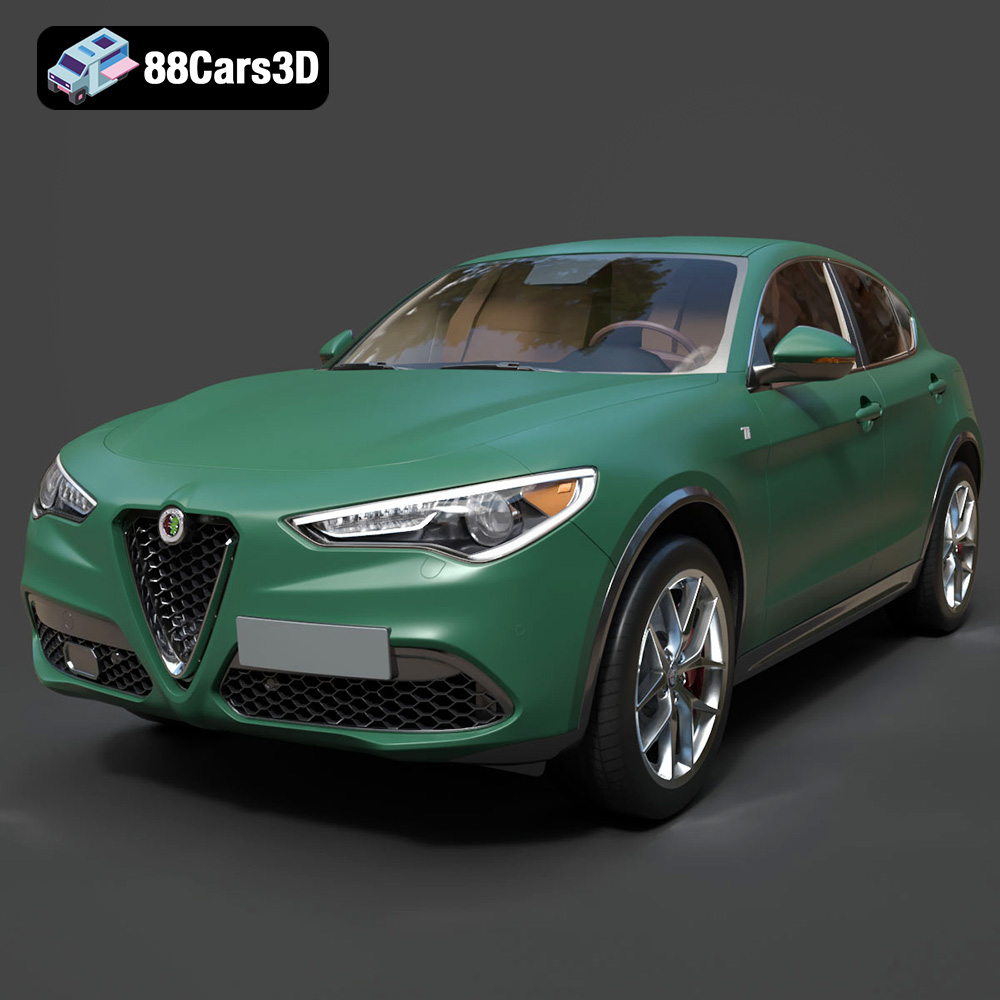
Texture: Yes | Material: Yes
Download the highly detailed, game-ready Alfa Romeo Stelvio Ti 2020 3D Model. Features signature Italian luxury SUV styling, detailed interior, and accurate chassis geometry. Includes .blend, .fbx, .obj, .glb, .stl, .ply, .unreal, and .max formats for game development, AR/VR, and rendering.
Price: $237.99
