

In the exhilarating world of 3D artistry, few subjects capture the imagination quite like the sleek lines and intricate details of a high-performance automobile. From the gleaming curves of a supercar to the rugged utility of an off-road beast, 3D car models are essential assets across a multitude of industries. Whether you’re a game developer crafting immersive open worlds, an automotive designer visualizing future concepts, an architect creating compelling visualizations, or an AR/VR enthusiast pushing the boundaries of interactive experiences, the demand for realistic, high-quality 3D car models is constant.
Blender, a powerful and free open-source 3D suite, has emerged as a formidable tool for artists looking to create these complex vehicles. Its robust hard surface modeling capabilities, coupled with advanced rendering and texturing tools, make it an ideal choice for transforming a vision into a virtual reality. This comprehensive guide will take you on an in-depth journey through the process of crafting exceptional 3D car models in Blender. We’ll delve into fundamental concepts like impeccable topology and strategic UV mapping, explore the nuances of Physically Based Rendering (PBR) materials, unlock advanced rendering techniques, and cover critical optimization strategies for game engines and AR/VR. Our goal is to equip you with the knowledge and techniques to produce production-ready automotive assets that stand out, much like the premium 3D car models you’d find on platforms like 88cars3d.com.
Creating a visually stunning 3D car model begins with a solid foundation: impeccable topology. In hard surface modeling, especially for organic-yet-defined shapes like car bodies, maintaining clean, quad-based geometry is paramount. Good topology ensures smooth subdivision, prevents unsightly pinching, and simplifies the texturing and animation processes. Without it, even the most detailed textures and advanced shaders will struggle to hide underlying mesh imperfections.
For automotive models, subdivision surface modeling is the technique of choice. It involves creating a relatively low-polygon base mesh and then applying a modifier that mathematically subdivides and smooths the mesh, generating a high-resolution, organic surface. Blender’s Subdivision Surface modifier is the cornerstone of this workflow. To achieve the best results, your base mesh should primarily consist of quadrilaterals (quads) – faces with four vertices. While Blender can handle triangles (tris) and N-gons (faces with more than four vertices), quads provide the most predictable and smooth results under subdivision, allowing for better control over edge flow and surface continuity. N-gons, in particular, should be avoided on curved surfaces as they can lead to creasing and shading artifacts. Understanding the subtle differences between these face types and their impact on your model’s surface is a crucial first step in mastering automotive modeling.
Edge flow refers to the direction and continuity of edges on your model. For automotive panels, controlling edge flow is critical for defining sharp creases, maintaining subtle curvature, and accurately representing panel gaps. To create sharp edges without increasing the base mesh density unnecessarily, supporting edge loops are used. These are edges run parallel and very close to the edge you wish to sharpen, effectively “holding” the crease when a subdivision surface modifier is applied. The spacing of these supporting loops directly influences the sharpness of the edge. Additionally, the Bevel modifier in Blender is incredibly powerful for adding controlled bevels to edges, which catch light beautifully and contribute significantly to realism. Proper beveling helps to break up perfect 90-degree angles, which rarely exist in the real world, and enhances the sense of manufacturing precision. Avoiding complex pole structures (vertices where many edges converge) on critical surfaces is also key to preventing pinching and maintaining a smooth, consistent surface curvature. Techniques like using Blender’s Shrinkwrap modifier can assist in creating perfectly flush panel gaps, projecting new geometry onto a base surface.
Accuracy is paramount in automotive modeling, and the best way to ensure this is by integrating real-world blueprints or reference images. In Blender, you can easily set up these images as background images or Empty objects, placing them on different axes (front, side, top, back) to guide your modeling. The critical step here is to ensure these blueprints are scaled correctly to match real-world dimensions. Most car models are measured in meters or centimeters, and setting your Blender scene units accordingly from the outset (Scene Properties > Units) will prevent scaling issues later when exporting to game engines or other software. Begin your modeling by blocking out the main volumes of the car using simple primitive shapes like cubes or planes, matching their dimensions and proportions to your reference images. This initial blocking phase allows you to establish the overall silhouette and main panel divisions before diving into the intricate details, ensuring a faithful reproduction of the vehicle’s design.
Once your 3D car model’s topology is meticulously crafted, the next crucial step is UV mapping. This process involves unwrapping the 3D surface into a 2D plane, much like flattening a cardboard box, so that 2D textures can be accurately applied without distortion. For the complex, often curved surfaces of an automobile, strategic UV mapping is essential to achieve realistic materials and maintain consistent texture detail.
The success of your UV map heavily relies on intelligent seam placement. Seams are designated edges on your 3D model that tell Blender where to “cut” the mesh during the unwrapping process. For car models, the goal is to place seams in areas that are naturally hidden or less visible, such as along panel gaps, under trim, or on the underside of the vehicle. It’s often beneficial to separate major car panels like the hood, doors, roof, and fenders into individual UV islands. This approach prevents texture stretching across complex curvatures and allows for dedicated texture space for each major component. Blender’s UV Editor provides robust tools like “Mark Seam” to define these cuts and “Unwrap” to flatten the selected faces. Using “Live Unwrap” can also be incredibly helpful, allowing you to see the UV layout update in real-time as you adjust seams, providing immediate feedback on how your cuts are affecting the unwrap.
Texel density refers to the number of pixels per unit of 3D space. Maintaining a consistent texel density across your entire model is vital for a uniform level of detail in your textures. If one part of your car has a low texel density and another has a high one, textures will appear blurry in some areas and sharp in others. After unwrapping, the next challenge is to efficiently pack your UV islands into the 0-1 UV space. Blender’s UV Editor offers powerful packing algorithms that can arrange islands to maximize the use of texture space, minimizing wasted pixels. For complex shapes like wheels, which have both flat and curved surfaces, a combination of cylindrical projection for the tire sidewall and planar projection for the wheel face might be necessary. It’s also crucial to check for texture distortion; Blender’s UV Editor has an overlay option that displays stretched areas, allowing you to adjust seams or island proportions to eliminate these issues and ensure your textures appear crisp and accurate.
While generally avoided for unique details, overlapping UVs can be advantageous for repeating patterns, such as tire tread or generic bolt details. By overlapping UV islands for identical parts, you can share a single texture area, saving memory and texture resources. However, this technique should be used judiciously, as it prevents unique texture details (like dirt or scratches) from being applied to those specific areas. For extremely high-resolution texturing, particularly for cinematic renders or close-up shots, UDIM workflows are invaluable. UDIMs (U-Dimension) allow you to use multiple UV tiles, each representing a separate texture image, within a single material. This means you can have incredibly high-resolution textures across large models like cars without being limited by a single 8K or 16K texture map. Blender supports UDIMs, allowing artists to paint across multiple texture sets seamlessly. When exporting models with UDIMs, ensure your chosen file format and target software (like Unreal Engine or Substance Painter) also support this workflow to maintain consistency across your production pipeline.
Achieving a photo-realistic 3D car model goes beyond meticulous modeling and UVs; it demands sophisticated materials that accurately interact with light. Physically Based Rendering (PBR) materials are the industry standard for this, simulating real-world light physics to create convincing surfaces, from gleaming car paint to intricate rubber textures. Blender’s node-based shader editor provides an incredibly flexible environment for building these complex material networks.
PBR is a methodology that aims to render graphics in a way that more accurately models the flow of light in the real world. It relies on a set of standardized maps that define a material’s properties, making it behave predictably under various lighting conditions. The most common PBR workflow in Blender is the Metallic/Roughness workflow, driven by the Principled BSDF shader, which combines many properties into a single, user-friendly node. Key PBR maps include: Base Color (or Albedo), which defines the intrinsic color without any lighting information; Metallic, a grayscale map indicating which parts are metallic (white) and non-metallic (black); Roughness, which controls the micro-surface detail affecting how light scatters (black is smooth/shiny, white is rough/matte); Normal Map, used to simulate surface detail without adding geometry; and Ambient Occlusion (AO), which simulates subtle contact shadows in crevices. Understanding how each of these maps contributes to the final look is foundational to creating believable car materials.
Car paint is one of the most challenging materials to reproduce realistically due to its complex layered structure. A typical car paint shader in Blender would involve several layers: a base color, often with a subtle metallic flake, followed by a clear coat layer that provides the glossy, reflective finish. This can be achieved by layering multiple Principled BSDF shaders or by utilizing advanced techniques within a single shader. For the metallic flake, procedural textures like Noise or Voronoi, mapped to the normal input with a very small scale, can simulate the tiny reflective particles embedded in the paint. The clear coat layer is crucial; it should have high metallicness (or specular for older workflows), very low roughness, and a subtle IOR (Index of Refraction) to accurately bend light. To enhance realism, subtle variations like micro-scratches, dust, and grime can be added using roughness and normal maps, often driven by grunge textures mixed with the primary PBR maps. These imperfections break up perfect reflections and tell a story about the car’s use, elevating the model from digital to virtually tangible.
Beyond car paint, other materials play a critical role in the overall realism of an automotive model. Glass, for instance, requires careful attention to refraction and transmission. In Blender’s Principled BSDF, setting a high Transmission value (close to 1) and adjusting the IOR (typically around 1.45-1.55 for glass) will achieve convincing transparency and light bending. Adding a subtle tint to the Base Color can simulate tinted windows. For chrome and other polished metals, the Metallic value should be set to 1, and the Roughness value kept very low, allowing for sharp, mirror-like reflections. Different metals will have slightly different Base Colors. Rubber, particularly for tires, needs a distinct matte, slightly porous appearance. This is typically achieved with a dark Base Color (often a very dark gray rather than pure black), a moderately high Roughness value, and a Normal Map derived from detailed tire tread geometry (or sculpted details) to provide the necessary surface bumps and grip patterns. For maximum detail, a displacement map can further enhance the tire’s profile, making it truly stand out in a render.
With an immaculately modeled car and expertly crafted PBR materials, the final frontier in achieving photorealism is the art of lighting, rendering, and post-processing. Blender’s Cycles render engine, a physically based path tracer, is exceptionally capable of producing stunning, lifelike images of automotive models.
Effective lighting can transform a good model into a spectacular one. For automotive rendering, common setups mimic professional studio photography. A classic approach is three-point lighting (key, fill, and back light), but for cars, often more lights are used to create specific reflections and highlights. High Dynamic Range Image (HDRI) lighting is indispensable; an HDRI acts as both an environment map for reflections and a primary light source, providing realistic ambient lighting and reflections that make the car feel integrated into its surroundings. Beyond HDRIs, strategic placement of Area Lights or emissive meshes (planes with an Emission shader) is crucial. These lights are often positioned to create long, elegant reflections along the car’s body lines, accentuating its form and contours. Experiment with different sizes and shapes of area lights to achieve varying reflection characteristics – larger lights produce softer reflections, while smaller, more intense lights create sharper specular highlights. When configuring Blender’s Cycles render engine, pay attention to settings like sample count for quality, denoising options for clean renders, and light path limits to ensure accurate light bounces, balancing render time with visual fidelity.
A beautiful car model needs a compelling environment to truly shine. This doesn’t always mean a fully modeled city street; often, a minimalist studio backdrop with a reflective floor is sufficient. The reflective floor plays a crucial role in grounding the car and enhancing the sense of realism. Simple backdrops, gradients, or even a basic cyclorama can work wonders. Scene composition involves careful consideration of camera angles and focal lengths. Automotive photography often utilizes slightly telephoto lenses (e.g., 85mm to 135mm equivalent) to compress perspective and emphasize the car’s powerful presence without introducing significant distortion. Experiment with different camera heights – a lower camera angle can make the car appear more imposing. Depth of Field (DoF) is a powerful compositional tool in rendering; by selectively blurring the background or foreground, you can draw the viewer’s eye directly to the car, mimicking the look of professional photography. Control the aperture (f-stop) and focus distance in Blender’s camera settings to achieve desired DoF effects.
The rendering process doesn’t end when the image is calculated; post-processing is the final layer of polish that can elevate a good render to an exceptional one. Blender’s built-in Compositor is a powerful node-based editor for this purpose. Here, you can perform non-destructive adjustments like color grading to set the mood, tweak contrast and exposure for visual punch, and refine saturation. Adding subtle glare or lens flares can simulate camera optics and enhance the sense of brightness in highlights, especially for headlights or reflections. A touch of chromatic aberration (color fringing) can also add a cinematic feel, though it should be used sparingly to avoid an artificial look. Utilizing render passes (e.g., Diffuse, Glossy, Volume, Z-Depth) generated by Cycles provides immense flexibility, allowing you to selectively adjust different components of the image, offering granular control over the final output without re-rendering the entire scene. This stage is where you refine the emotional impact and visual storytelling of your automotive render.
While cinematic renders prioritize visual fidelity above all else, real-time applications like game engines and AR/VR experiences demand a delicate balance between visual quality and performance. Optimizing 3D car models for these platforms is a critical skill, ensuring smooth frame rates and efficient resource utilization without sacrificing too much visual appeal. Platforms like 88cars3d.com often provide models specifically optimized for these scenarios, understanding the technical considerations involved.
One of the primary optimization concerns is polygon count. Game engines and AR/VR devices have specific polygon budgets they can render in real-time. For a hero vehicle in a modern game, a high-poly model might range from 100,000 to 300,000 triangles, while background vehicles or mobile AR/VR models could be significantly lower, perhaps 10,000-50,000 triangles. To manage this, Level of Detail (LODs) are essential. LODs are multiple versions of the same model, each with a progressively lower polygon count. When the car is close to the camera, the highest LOD is rendered; as it moves further away, lower LODs are swapped in, saving computational resources. Blender’s Decimate modifier is a valuable tool for generating these lower LODs, allowing you to reduce polygon count while trying to preserve mesh detail. However, manual retopology for the lowest LODs is often preferred for cleaner results. Strategic planning of your polygon budget from the outset, understanding the target platform’s limitations, is key.
Beyond geometry, textures and materials significantly impact real-time performance. Each material applied to a mesh, and each separate texture file, generally equates to a “draw call” to the GPU. Too many draw calls can quickly bottleneck performance. Texture atlasing is a powerful optimization technique where multiple smaller textures (e.g., textures for the door, hood, and roof) are combined into a single, larger texture map (an atlas). This significantly reduces the number of materials and draw calls, as the entire car can then share one or a few material slots. This process often involves carefully rearranging UV islands in the 0-1 UV space to fit within the atlas. Another crucial technique is baking high-poly details to low-poly models. This involves creating a detailed high-polygon model (often used for cinematic renders) and then baking its surface information (like normal maps for bumps and crevices, ambient occlusion maps for self-shadowing) onto a much lower-polygon model. This allows the low-poly model to *look* like it has high detail without the computational cost of actual geometry.
The final step in real-time optimization is correct exporting and integration into game engines like Unity or Unreal Engine. The most common and recommended file formats for game assets are FBX and GLB/glTF. FBX is a proprietary format widely supported across game development, while glTF is an open-standard, “runtime asset delivery” format increasingly popular for its efficiency and web-friendliness, especially for AR/VR applications. When exporting from Blender, ensure that the model’s scale is correct (usually 1 unit = 1 meter), its rotation is aligned with the target engine’s coordinate system (e.g., Z-up for Blender vs. Y-up for Unity), and pivot points are correctly centered for vehicle physics and animation. Collision meshes are also vital; these are simplified, invisible meshes that define the car’s physical boundaries for in-game physics simulations, preventing the detailed visual mesh from being used for collision detection, which would be computationally expensive. For AR/VR, further optimizations include using simpler shaders, fewer dynamic lights, and considering techniques like single-pass stereo rendering to enhance performance on mobile or standalone headsets. The models available on marketplaces like 88cars3d.com are typically optimized for these diverse applications, offering various file formats and LODs to streamline integration.
The utility of high-quality 3D car models extends far beyond stunning visual renders and real-time game experiences. They serve as valuable assets for physical prototyping through 3D printing and require careful handling of various file formats for broader compatibility across different software and industries. Understanding these practical applications enhances the overall value and reach of your automotive 3D assets.
While 3D models for rendering can have open edges or non-manifold geometry, models destined for 3D printing require a “watertight” or “manifold” mesh. This means the model must represent a solid object with no holes, inverted normals, or internal geometry that could confuse the 3D printer’s slicing software. Mesh manifoldness is paramount; every edge must connect exactly two faces. Blender provides several tools to inspect and repair common mesh issues: checking for non-manifold edges, recalculating normals to ensure they all face outwards, and using cleanup functions to remove loose vertices or internal faces. Additionally, consider the wall thickness of your model; features that are too thin in the digital model may be too fragile or impossible to print in the physical world. It’s often necessary to solidify thin panels or add internal supports for structural integrity. For 3D printing, the most common export formats are STL (Stereolithography) and OBJ (Wavefront Object), both of which are widely supported by slicing software. Thorough preparation in Blender ensures a smooth transition from virtual model to physical prototype, allowing designers to hold and examine their automotive creations in tangible form.
The 3D industry utilizes a diverse array of file formats, each with its strengths and preferred use cases. Mastering file format conversions is critical for ensuring your 3D car models are compatible across different software, pipelines, and platforms. Common formats include: FBX (proprietary, excellent for animations, skeletal rigs, and scene data, widely used in game engines and DCC apps); OBJ (a universal, simpler format good for static meshes and basic material information); GLB/glTF (open standard, optimized for web-based 3D, AR/VR, and real-time applications, efficient for delivering PBR materials); and USDZ (Apple’s proprietary format for AR experiences, particularly for ARKit). When exporting from Blender, it’s crucial to understand what data each format preserves. For instance, FBX generally retains more scene information, while OBJ might strip advanced material settings. Always ensure that materials, UVs, scale, and pivot points are correctly handled during export and import to avoid issues. When sourcing models from marketplaces such as 88cars3d.com, you’ll often find models offered in multiple formats, catering to various user needs and software preferences, highlighting the importance of this versatility.
Beyond traditional rendering, 3D car models are driving innovation in interactive experiences. For automotive visualization, models are integrated into interactive configurators, allowing customers to customize colors, wheels, and interiors in real-time. This dynamic experience often leverages game engines or real-time renderers like Blender’s Eevee, which, while not a path tracer, can achieve stunning visuals with proper setup and optimization. In the realm of AR/VR, 3D car models are creating entirely new possibilities. Imagine stepping into a virtual showroom and walking around a car that appears to be in your living room, or using a tablet to project a new vehicle model onto your driveway before it’s even manufactured. USDZ is particularly relevant for Apple’s ARKit, enabling seamless integration of 3D objects into augmented reality environments. These applications demand highly optimized models with efficient geometry, PBR materials, and careful consideration of file size and draw calls to ensure smooth, immersive user experiences across a range of devices, from high-end VR headsets to mobile phones. The flexibility and technical depth involved in creating production-ready 3D car models make them indispensable assets in today’s rapidly evolving digital landscape.
The journey of creating a high-quality 3D car model in Blender is a testament to both artistic vision and technical mastery. We’ve traversed the intricate landscape from laying the pristine foundations of automotive topology, ensuring every curve and crease is perfectly represented, to strategically unwrapping complex surfaces with UV mapping excellence for distortion-free textures. We then delved into the science of Physically Based Rendering, crafting lifelike car paint, glass, and metal through advanced shader networks. The art of bringing these models to life was explored through sophisticated lighting, rendering with Blender Cycles, and the crucial final touches of post-processing. Finally, we addressed the essential considerations for optimizing these beautiful assets for performance-critical environments like game engines and AR/VR, alongside their practical applications in 3D printing and navigating the world of diverse file formats.
Mastering these techniques in Blender empowers you to produce professional-grade 3D car models suitable for any project, from stunning cinematic visualizations to interactive real-time experiences. The combination of clean topology, intelligent UVs, realistic PBR materials, and thoughtful optimization ensures your creations are not only visually compelling but also functionally robust. Continuous learning and practice are key to honing these skills. As you embark on your next automotive 3D modeling endeavor, remember that a strong technical foundation is the bedrock of exceptional artistry. For inspiration or to source premium, production-ready 3D car models that exemplify these very principles, explore the curated collection at 88cars3d.com – your gateway to high-quality automotive assets.
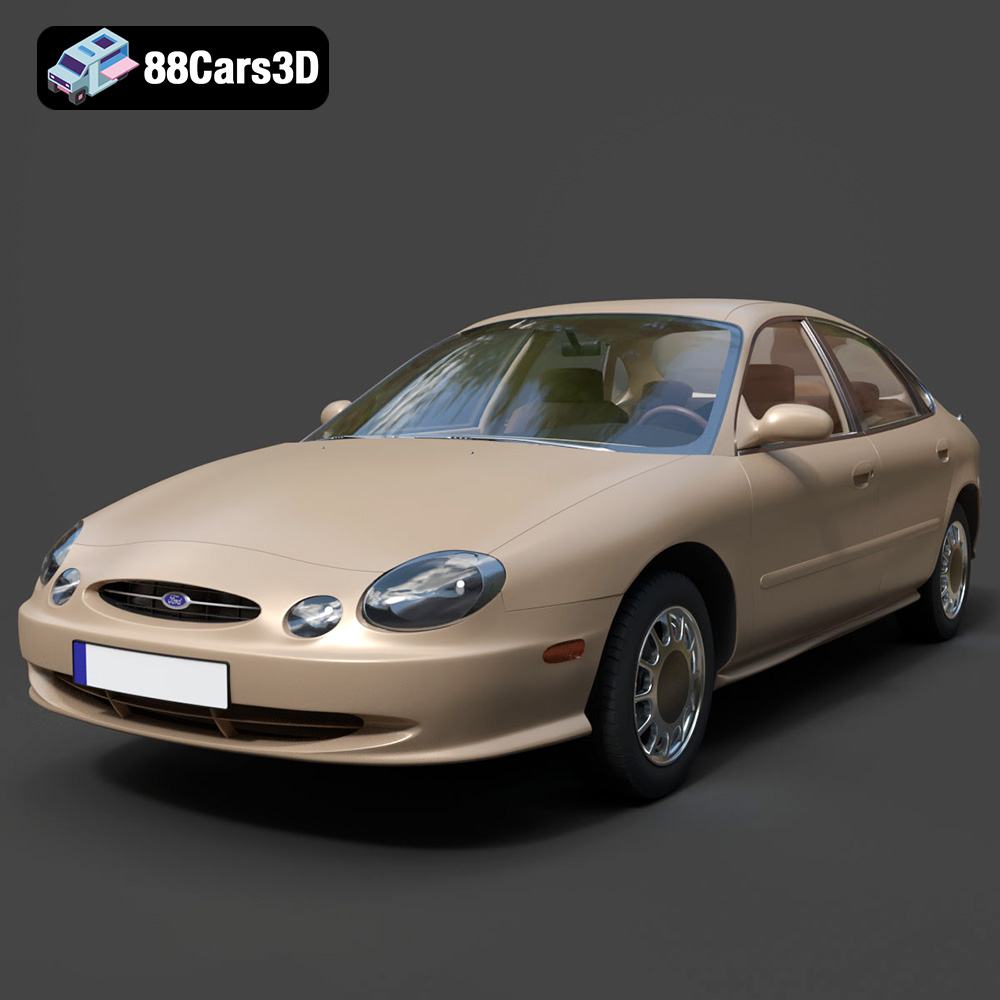
Texture: Yes | Material: Yes
Download the highly detailed, game-ready Ford Taurus 1996 3D Model. Features revolutionary oval exterior styling, detailed interior, and accurate chassis geometry. Includes .blend, .fbx, .obj, .glb, .stl, .ply, .unreal, and .max formats for game development, AR/VR, and rendering.
Price: $161.00
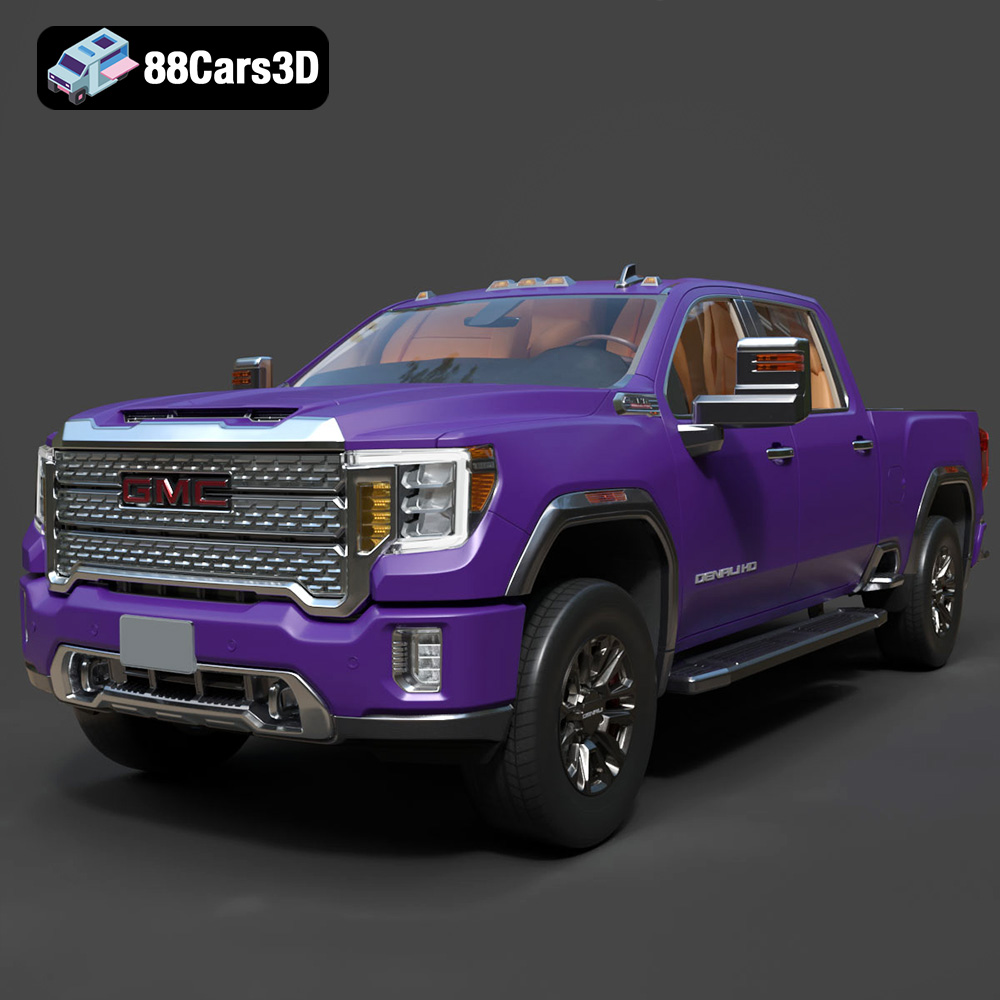
Texture: Yes | Material: Yes
Download the highly detailed, game-ready GMC Sierra HD Denali 2020 3D Model. Features iconic chrome Denali grille, detailed MultiPro tailgate, and heavy-duty chassis styling. Includes .blend, .fbx, .obj, .glb, .stl, .ply, .unreal, and .max formats for game development, AR/VR, and rendering.
Price: $274.50
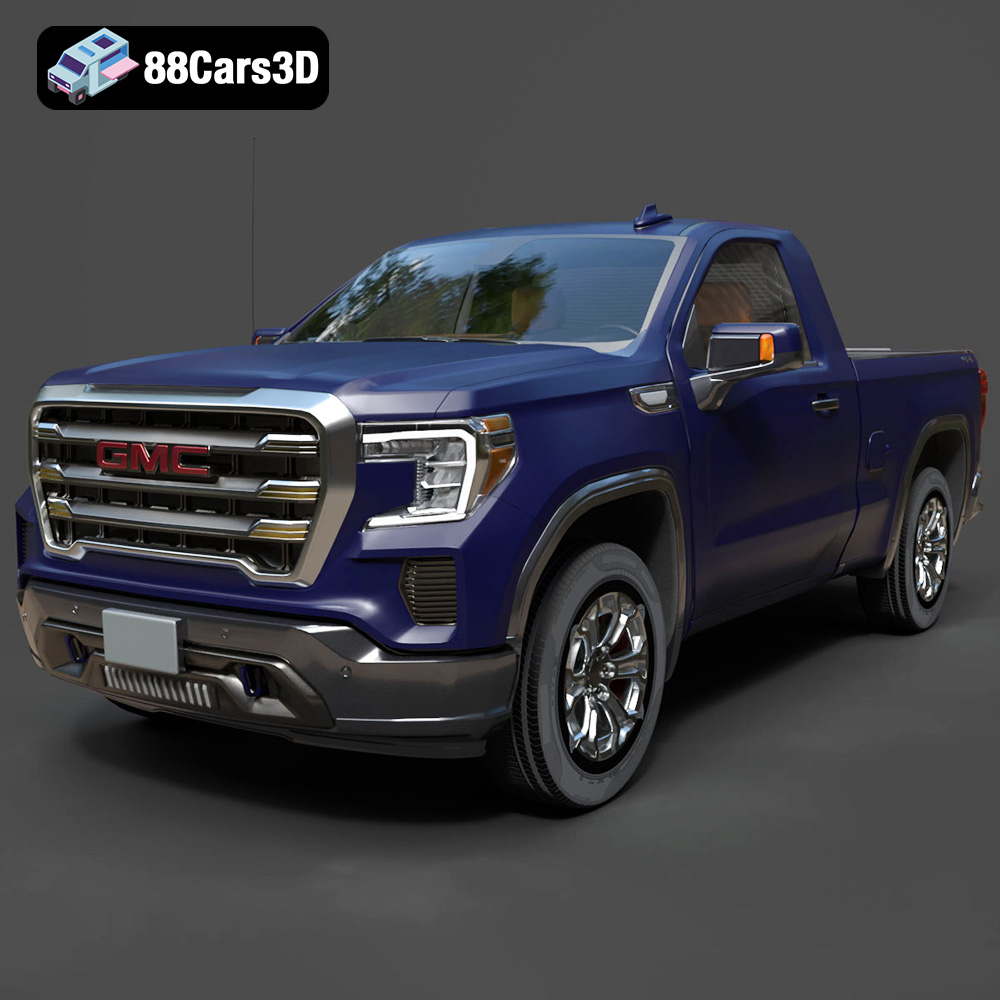
Texture: Yes | Material: Yes
Download the highly detailed, game-ready GMC Sierra Reg SLE 1500 2020 3D Model. Features bold pickup styling, detailed exterior trim, accurate undercarriage, and realistic cabin. Includes .blend, .fbx, .obj, .glb, .stl, .ply, .unreal, and .max formats for game development, AR/VR, and rendering.
Price: $133.50
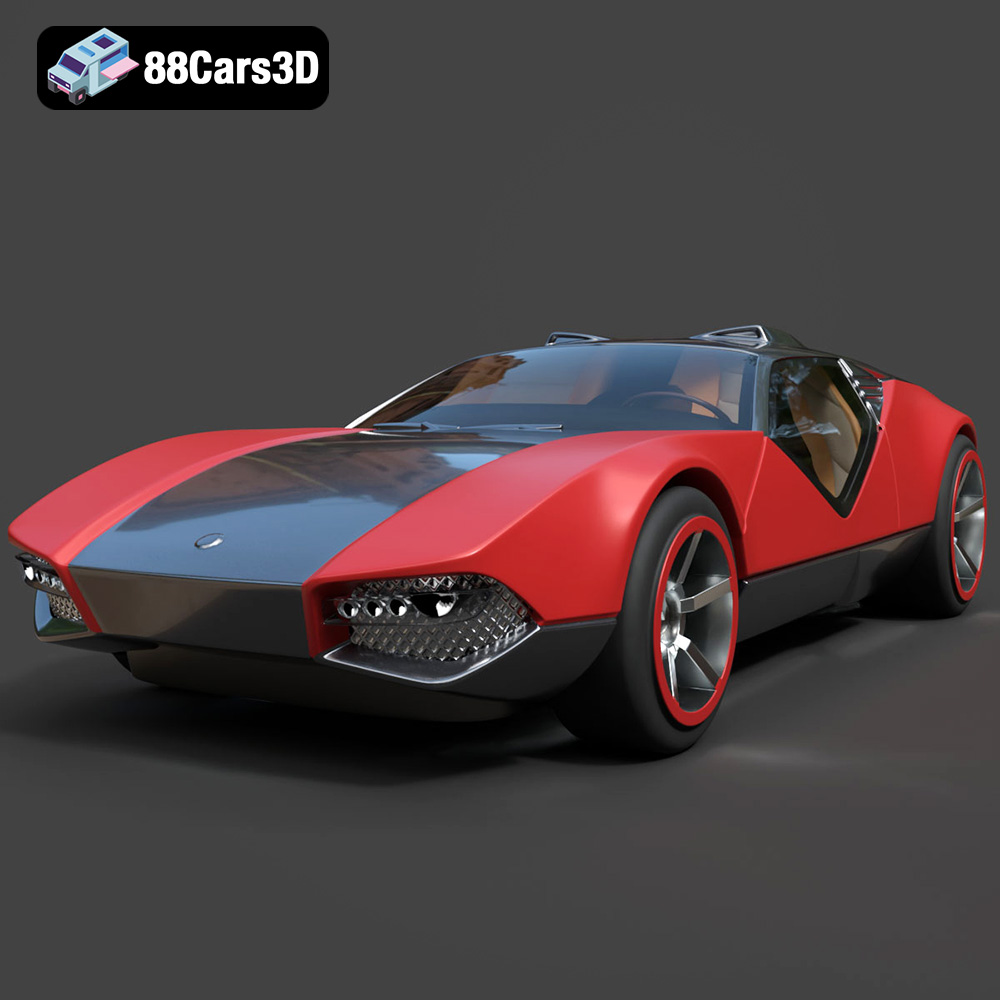
Texture: Yes | Material: Yes
Download the highly detailed, game-ready Hot Wheels La Fasta 3D Model. Features aggressive aerodynamic bodywork, custom racing wheels, and futuristic interior details. Includes .blend, .fbx, .obj, .glb, .stl, .ply, .unreal, and .max formats for game development, AR/VR, and rendering.
Price: $133.00
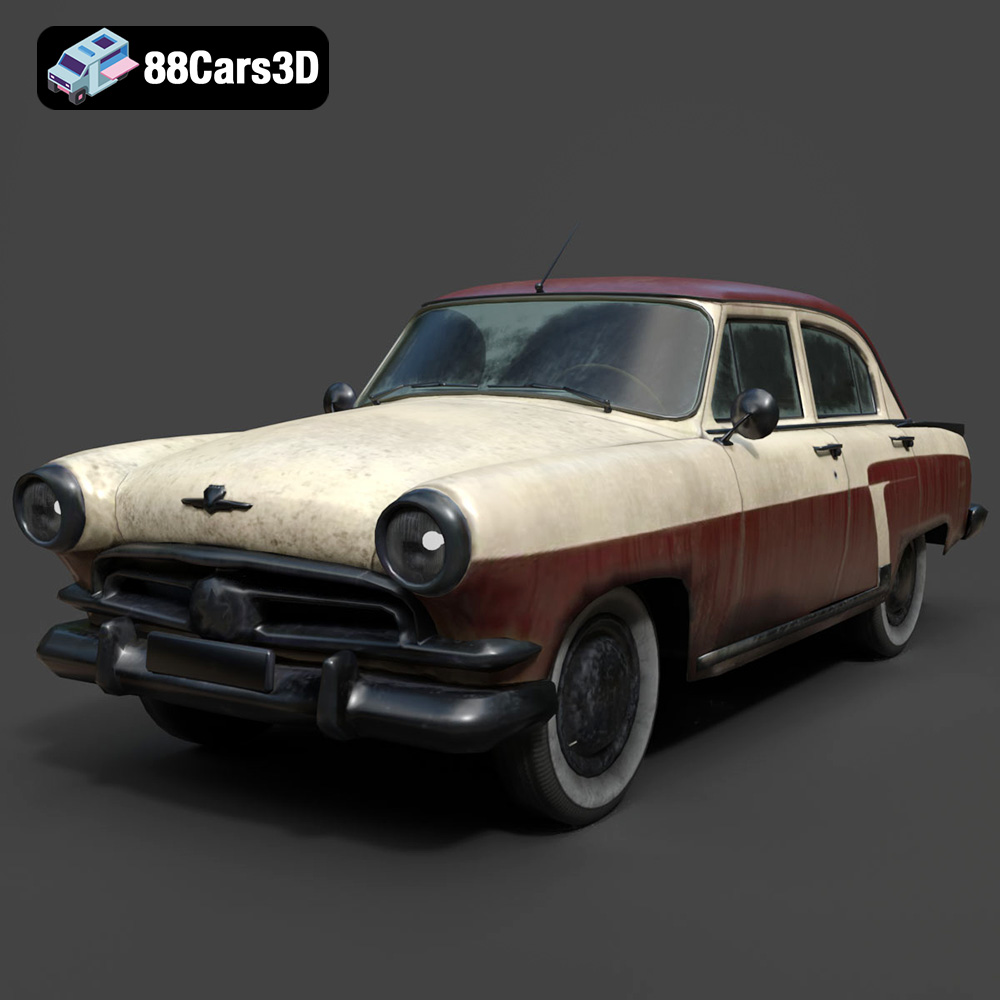
Texture: Yes | Material: Yes
Download the highly detailed, game-ready GAZ-21 Volga 3D Model. Features classic Soviet body geometry, iconic front grille, and detailed exterior chrome accents. Includes .blend, .fbx, .obj, .glb, .stl, .ply, .unreal, and .max formats for game development, AR/VR, and rendering.
Price: $99.99
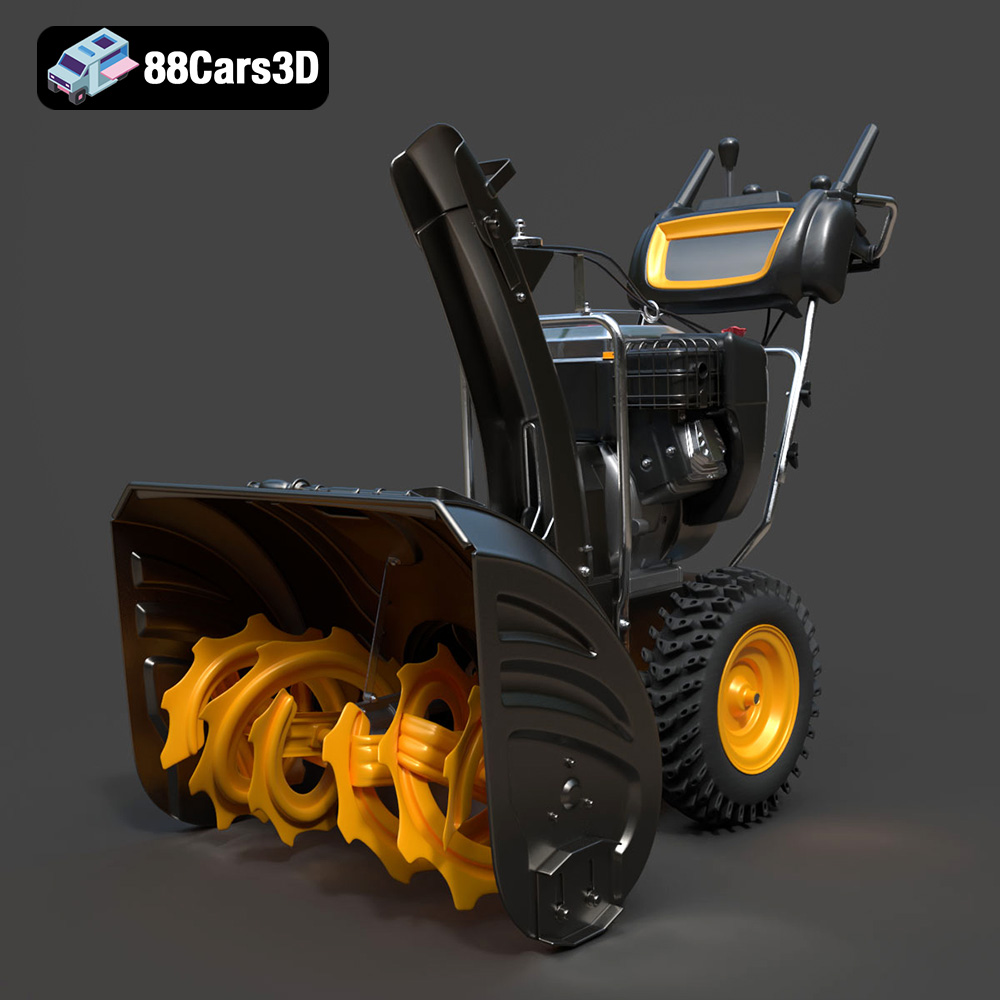
Texture: Yes | Material: Yes
Download the highly detailed, game-ready Husqvarna Snow Plow 3D Model. Features heavy-duty front plow blade, robust chassis, and realistic mechanical controls. Includes .blend, .fbx, .obj, .glb, .stl, .ply, .unreal, and .max formats for game development, AR/VR, and rendering.
Price: $145.50
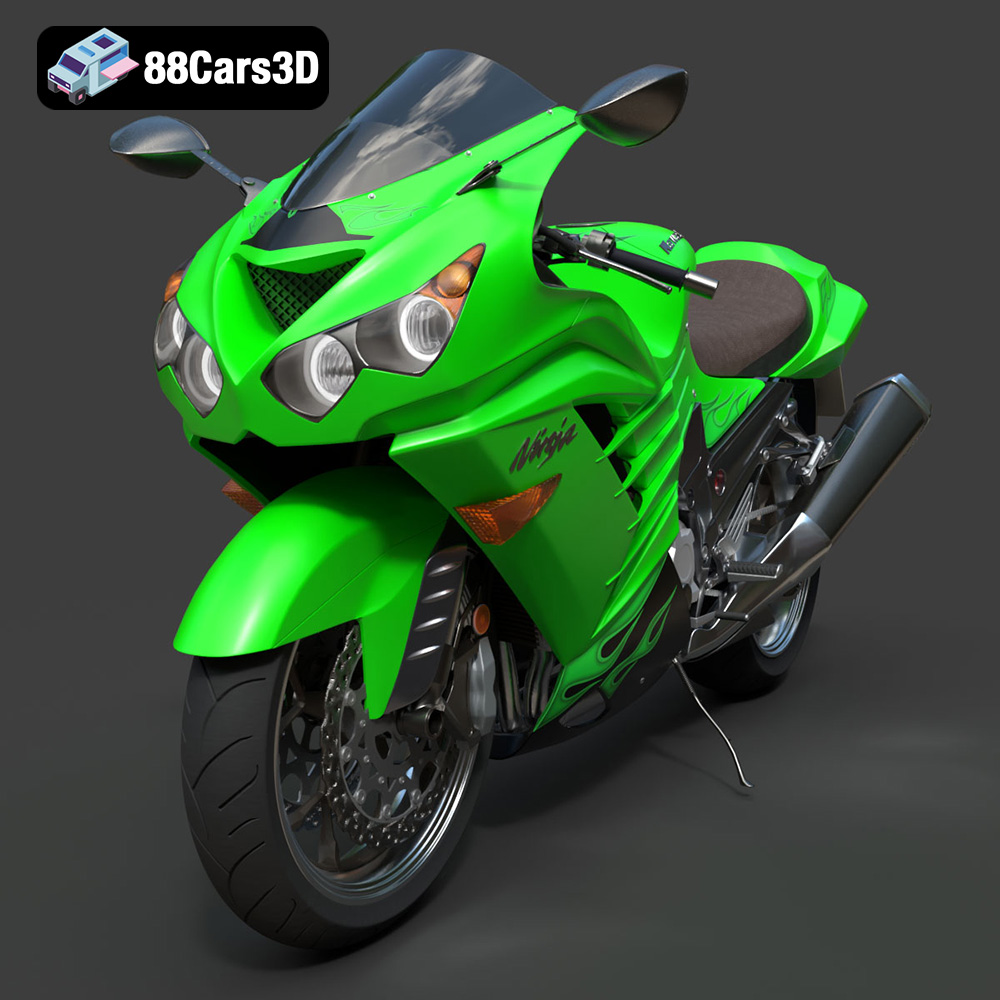
Texture: Yes | Material: Yes
Download the highly detailed, game-ready Kawasaki ZX14R 2012 3D Model. Features aggressive hyper-sport fairings, detailed inline-four engine, and iconic dual exhausts. Includes .blend, .fbx, .obj, .glb, .stl, .ply, .unreal, and .max formats for game development, AR/VR, and rendering.
Price: $170.00
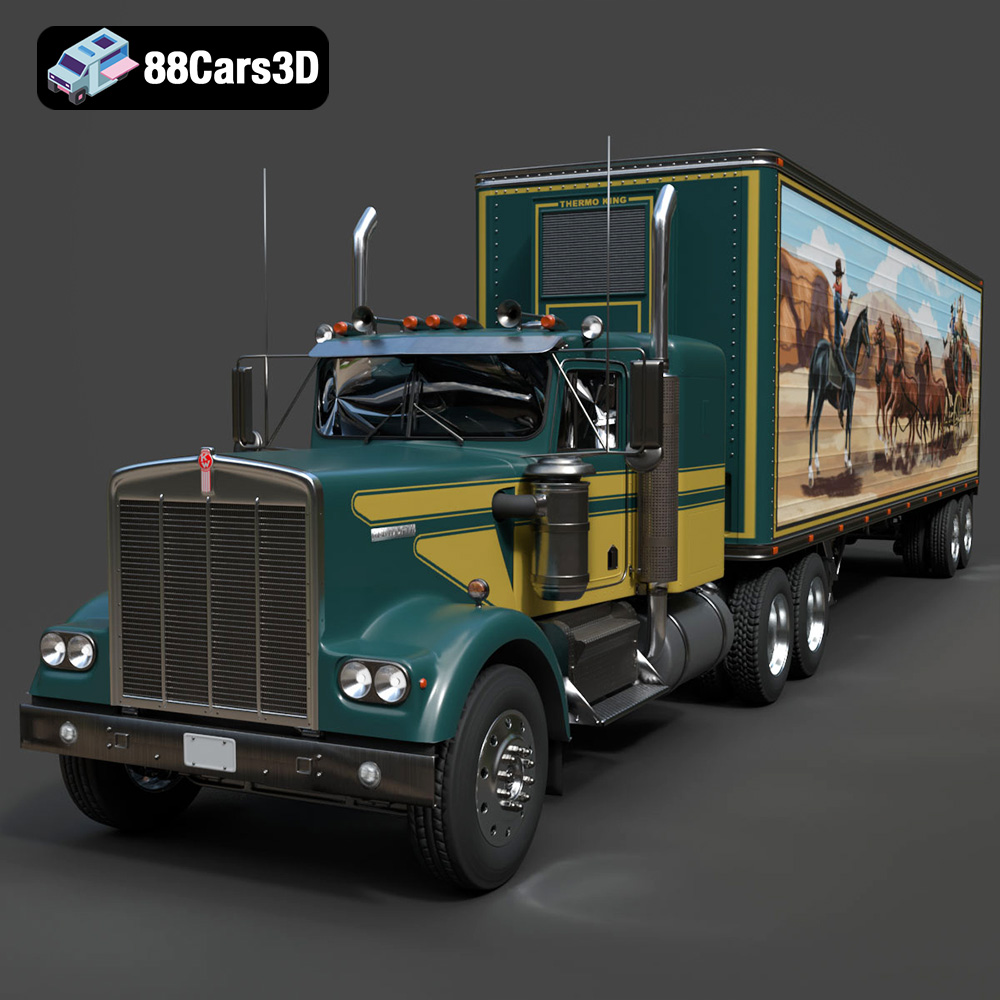
Texture: Yes | Material: Yes
Download the highly detailed, game-ready Kenworth W900 1974 3D Model. Features classic long-nose hood styling, detailed chrome exhaust stacks, and realistic dual tandem axles. Includes .blend, .fbx, .obj, .glb, .stl, .ply, .unreal, and .max formats for game development, AR/VR, and rendering.
Price: $299.50
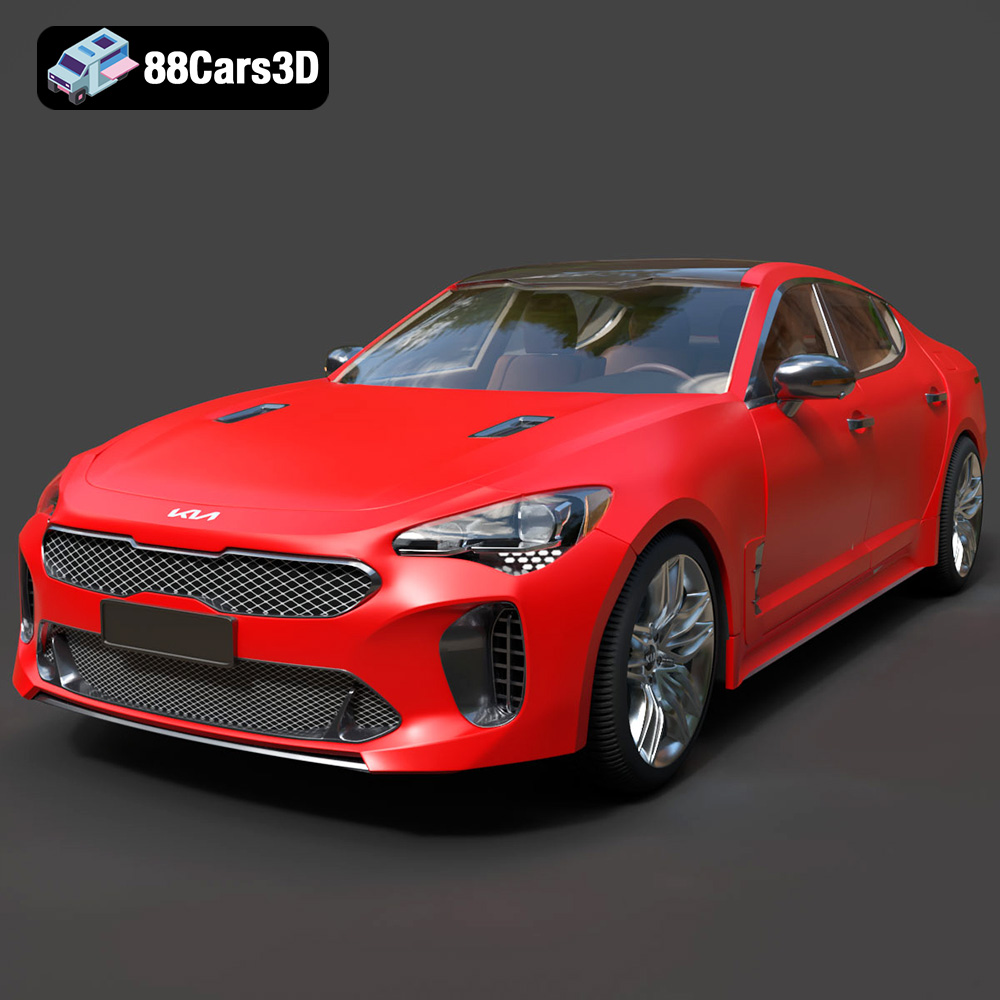
Texture: Yes | Material: Yes
Download the highly detailed, game-ready Kia Stinger 2021 3D Model. Features tiger-nose grille styling, quad exhaust tips, and high-fidelity interior details. Includes .blend, .fbx, .obj, .glb, .stl, .ply, .unreal, and .max formats for game development, AR/VR, and rendering.
Price: $299.50
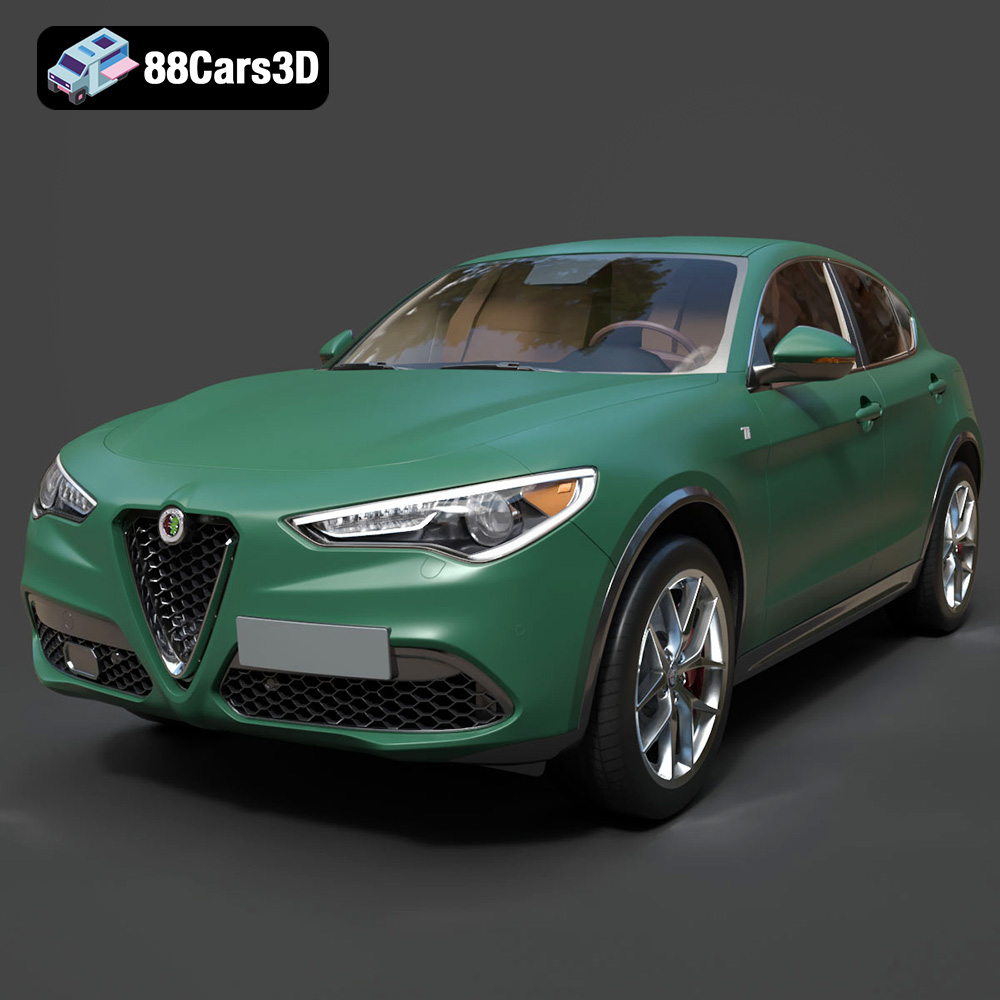
Texture: Yes | Material: Yes
Download the highly detailed, game-ready Alfa Romeo Stelvio Ti 2020 3D Model. Features signature Italian luxury SUV styling, detailed interior, and accurate chassis geometry. Includes .blend, .fbx, .obj, .glb, .stl, .ply, .unreal, and .max formats for game development, AR/VR, and rendering.
Price: $237.99
