

The automotive visualization landscape has undergone a monumental paradigm shift over the past decade. Traditional offline render engines like V-Ray, Corona, and KeyShot—once the undisputed industry standards for high-end car visualization—are increasingly giving way to real-time rendering pipelines powered by Unreal Engine. Today, automotive manufacturers, digital artists, virtual production studios, and game developers demand sub-millisecond feedback loops, interactive customization, and cinematic rendering capability within a single unified environment.
Achieving photorealistic results in real-time requires a deep understanding of geometry preparation, physical material attributes, sophisticated lighting setups, and system optimization. Whether you are building an interactive real-time car configurator, rendering an advertisement spot, or designing assets for a game project, establishing an end-to-end professional workflow is critical. In this comprehensive guide, we will break down the exact technical workflow used by elite studios to take automotive assets from raw CAD/3D files to interactive, photorealistic experiences in Unreal Engine 5.
—
Before importing complex vehicle geometry into Unreal Engine, establishing a clean, properly configured project profile is vital to ensure maximum graphic fidelity, optimal performance, and color accuracy.
To leverage modern real-time rendering features such as real-time ray tracing and virtualized geometry, select the Blank Architecture/Design or Automotive project template in Unreal Engine 5. Ensure your target hardware settings are set to Maximum Quality and desktop target.
Under Project Settings > Engine > Rendering, configure the following core settings:
Navigate to Edit > Plugins and enable the following built-in modules designed specifically for automotive visualization:
Photorealism requires accurate color space handling. By default, Unreal Engine operates in linear sRGB space. However, for cinematic workflows matching film and broadcast standards, configure OpenColorIO (OCIO) to utilize the ACEScg (Academy Color Encoding System) standard color profile. This prevents burnt highlights on bright metal finishes and ensures dark dynamic range details in leather interiors are preserved without crushed blacks.
For more detailed step-by-step guides on configuring Unreal Engine project environments, refer directly to the official Unreal Engine documentation and learning resources.
—
High-quality visualization is entirely dependent on the quality of the underlying 3D mesh architecture. Automotive assets consist of complex, intersecting mechanical assemblies, organic double-curved body shells, transparent layered plastics, and microscopic interior detail.
Whether importing raw CAD files (JT, STEP, IGES) or polygonal formats (FBX, OBJ, USD), your geometry structure must be meticulously named and pivoted before import. Organise your scene hierarchy around logical functional nodes:
Exterior_Bodywork (Doors, hood, trunk, side skirts, body shell)Exterior_Glass (Windshield, side windows, light covers, mirrors)Wheel_Assembly (FL, FR, RL, RR groups with distinct pivot points centered to the wheel hubs for rotation physics)Interior_Trim (Dashboard, steering wheel, seats, center console)Lights_Active (Reflectors, emissive LED strips, projector lenses)When sourcing pre-built 3D assets for real-time visualization, starting with a clean mesh saves dozens of hours of manual retopology. Professional marketplaces like 88cars3d.com provide high-quality 3D car models specifically built with balanced topology, optimized polycounts, properly placed pivot points, and pre-organized material slots designed for seamless integration into Unreal Engine projects.
Automotive geometry typically falls into two categories: high-density CAD surface data (millions of NURBS patches) and polygonal meshes (quad-dominant or triangulated meshes). For game engines, target polygon budgets generally range between 500,000 to 2,000,000 triangles for full exterior and interior real-time visualization.
Ensure that all surface normal vectors are oriented correctly. Inverted normals on thin glass or body panels will cause disastrous artifacting in Lumen ray-traced bounce lighting calculations. Always generate clean UV unwraps for Channel 0 (PBR maps) and ensure non-overlapping UV setups on Channel 1 if static lightmap baking is required.
With Unreal Engine 5, Nanite virtualized geometry has transformed vehicle rendering by eliminating traditional Level of Detail (LOD) creation. High-poly models containing sub-millimeter bevels and mechanical components can be ingested directly into Nanite.
To enable Nanite on vehicle meshes:
—
Photorealistic automotive rendering relies heavily on complex Physically Based Rendering (PBR) shaders. Car materials behave differently than organic surfaces; they exhibit multiple layers of specular reflection, metallic flakes, anisotropic highlights, and refraction index properties.
Standard PBR materials (BaseColor, Metallic, Roughness) are insufficient for modern metallic car paint. Vehicle paint consists of a base color coat, a metallic or pearlescent flake layer, and a high-gloss protective clear coat layer.
In the Unreal Engine Material Editor, set the Shading Model of your Material Master to Clear Coat. This exposes two additional inputs: Clear Coat (layer opacity) and Clear Coat Roughness.
1.0 for metallic paint or 0.0 for solid gloss enamel.1.0 to apply a smooth outer resin layer over the base coat.0.01 and 0.03) to simulate a freshly polished wax finish.ClearCoatBottomNormal custom node. This tilts the underlying normal vector of the base layer without disrupting the razor-sharp mirror reflections of the top clear coat layer.Glass is notoriously challenging in real-time rendering. Automotive glass features subtle reflection, tint gradients, and physical refraction (Index of Refraction ~ 1.52).
Set your glass material’s Blend Mode to Translucent and the Shading Model to Surface Translucency Volume or Thin Translucent.
1.0 and Roughness to 0.0.0.1 and 0.3 depending on tinting.1.52.Vehicle interiors demand high-resolution detail when zoomed in closely with virtual cinematic cameras.
0.4 and 0.6 to reflect soft ambient light without looking wet or plastic.Assets available on 88cars3d.com often feature pre-mapped UV ID channels, making it effortless to plug these advanced master PBR shaders directly into multi-material car slots without tedious manual re-mapping.
—
Lighting defines the shape, lines, and emotional weight of modern vehicle designs. In professional automotive visualization, two lighting workflows dominate in Unreal Engine 5: dynamic Lumen rendering and full offline-grade Path Tracing.
For controlled studio environments (like motor show stages or virtual photography studios), the HDRI Backdrop actor is the standard foundation:
Unreal Engine 5’s Lumen architecture provides real-time bounce light and dynamic reflections without long pre-baking processes. To optimize Lumen for automotive paint and glass surfaces:
2.0 or higher to capture fine geometry shadow details underneath brake calipers and air diffusers.When ultimate fidelity is required for print campaigns or video renders, switch Unreal Engine to the hardware Path Tracer (found under the viewport view mode dropdown or enabled via Movie Render Queue).
The Path Tracer eliminates screen-space limitations, rendering physically accurate caustics through light lenses, complex multi-bounce light scattering within dark cabin interiors, and perfect glass refraction. Set the Spatial Samples to 1024 or 2048 per frame with OpenImageDenoise enabled to yield noise-free, offline-quality beauty shots in seconds rather than hours.
—
One of Unreal Engine’s absolute strongest competitive advantages over traditional render tools is real-time interactivity. Utilizing Blueprint Visual Scripting, you can construct fully functional vehicle configurators in a matter of hours.
Instead of hardcoding individual button clicks to change car parts, structure your interactive configurator using an extensible architecture: the Variant Manager or custom Data Assets.
BP_CarConfigurator Actor Blueprint that holds references to your vehicle components.PaintColors (Linear Color Vectors, Roughness Values, Metallic Constants)WheelOptions (Static Mesh references)InteriorTrims (Material Instance references)Within your Blueprint event graph, expose dynamic material dynamic instances (MID):
“`
// Conceptual Blueprint Workflow:
Event Custom_ChangePaint (Linear Color NewColor, Float NewFlakeDensity)
-> Target Car Body Mesh
-> Create Dynamic Material Instance (Element Index 0: Body Paint)
-> Set Vector Parameter Value (“BaseColor”, NewColor)
-> Set Scalar Parameter Value (“FlakeDensity”, NewFlakeDensity)
“`
Similarly, for wheel customization or optional aerodynamic spoilers, use the Set Static Mesh node or toggle component visibility using Set Visibility logic connected to UI triggers.
Create a sleek user interface using UMG (Unreal Motion Graphics):
OnClicked events to dispatch calls directly to your BP_CarConfigurator master blueprint.Set View Target with Blend node to transition smoothly between the exterior overview, rear tail lights, wheel details, and interior cabin views upon UI selection.—
Maintaining frame-rate stability (60 FPS for desktop configurators, 90 FPS for Virtual Reality headsets) requires aggressive performance budgeting and streaming optimizations.
Automotive visualization assets often incorporate massive 4K and 8K texture sets for carbon fiber, leather normal maps, and tire sidewall graphics. Unoptimized textures will quickly exhaust GPU Video RAM (VRAM).
Regularly profile performance during project execution using Unreal Engine’s built-in diagnostic tools:
stat FPS: Monitor frame times and raw frames per second.stat GPU: Identify whether rendering bottlenecks reside in shadow pass rendering, base pass shaders, or post-processing volume effects.stat SceneRendering: Measure scene draw calls. Keep draw calls below 2,000 to 3,000 per frame for smooth execution.—
When the objective transitions from interactive real-time experiences to high-end video production, commercials, or portfolio showreels, Unreal Engine’s Sequencer and Movie Render Queue (MRQ) replace traditional offline rendering suites.
Add a Cine Camera Actor to your scene and configure it to match real-world camera hardware profiles:
F-stop) to low values like f/1.8 or f/2.8. Target the camera tracking focus directly to the car’s front logo badge or headlight lens for cinematic micro-depth blurred backgrounds.Do not use the standard Legacy Movie Render option. Always load the Movie Render Queue plugin for production exports.
Apply the following high-quality settings in MRQ configuration:
Motion Blur, World Normal, and Custom Stencil Cryptomatte layers if post-production compositing in Nuke or After Effects is required.8 and Temporal Sample Count to 4 (resulting in 32 sub-frame samples per output frame).r.RayTracing.Reflections.MaxBounces 4r.Lumen.Reflection.Quality 4r.MotionBlurQuality 4r.Shadow.Virtual.Enable 1—
Mastering Unreal Engine for automotive visualization bridges the gap between interactive design and real-time photorealism. By establishing strict project profiles, sourcing optimized geometry from trusted sources like 88cars3d.com, authoring physical multi-layered clear coat shaders, leveraging Lumen or Path Tracing, and utilizing the Movie Render Queue, you can produce render outputs that rival traditional offline renderers in a fraction of the time.
To take your skills and projects to the next level:
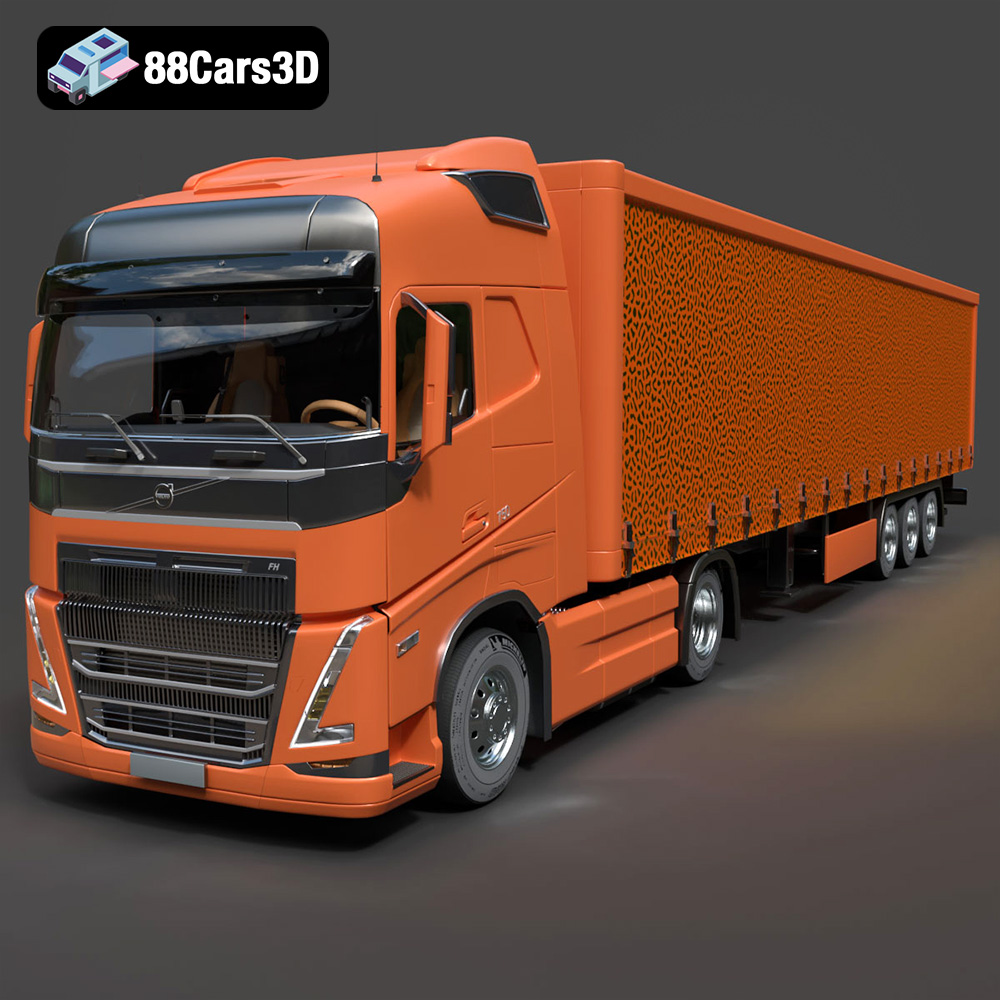
Texture: Yes | Material: Yes
Download the highly detailed, game-ready Volvo FH16 3D Model. Features aerodynamic Globetrotter cab styling, high-detail chassis and drivetrain, and realistic exterior lighting. Includes .blend, .fbx, .obj, .glb, .stl, .ply, .unreal, and .max formats for game development, AR/VR, and rendering.
Price: $299.50
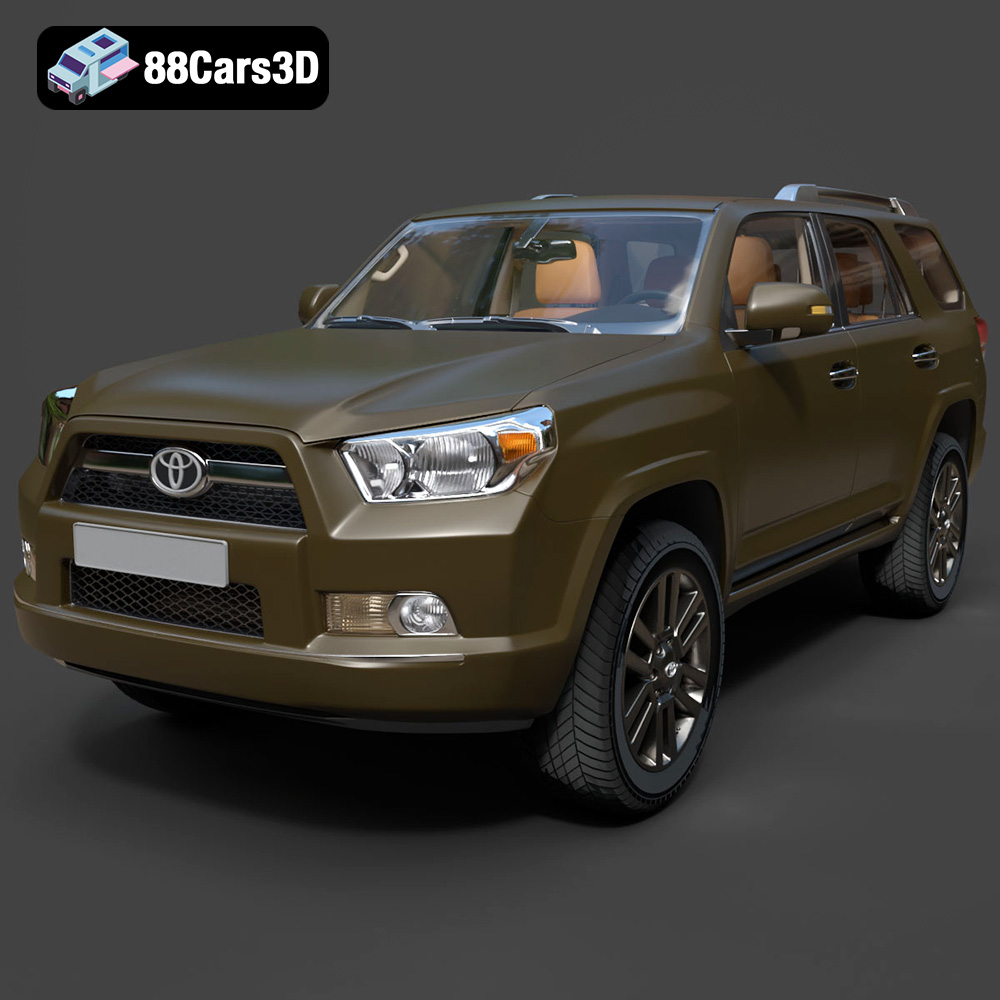
Texture: Yes | Material: Yes
Download the highly detailed, game-ready Toyota 4Runner 2009 3D Model. Features rugged SUV body styling, detailed multi-spoke alloy wheels, and a fully rendered interior. Includes .blend, .fbx, .obj, .glb, .stl, .ply, .unreal, and .max formats for game development, AR/VR, and rendering.
Price: $299.50
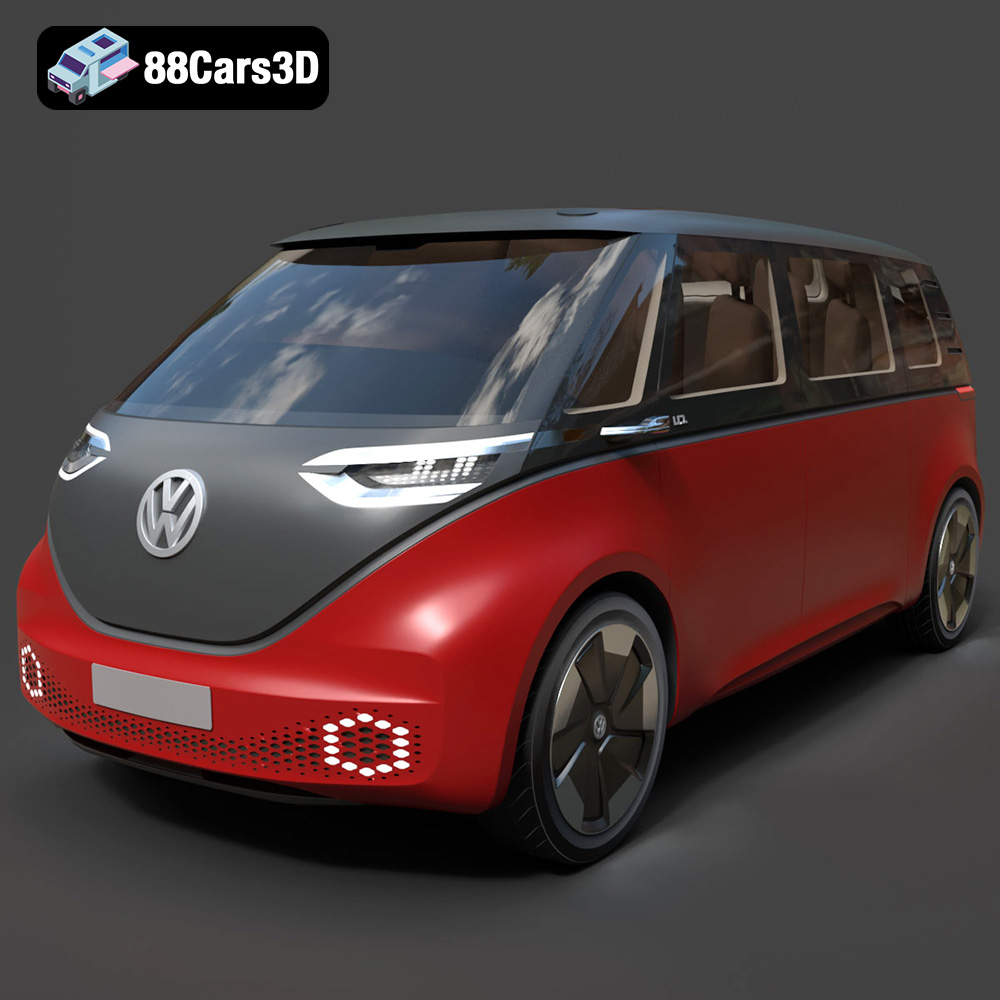
Texture: Yes | Material: Yes
Download the highly detailed, game-ready Volkswagen ID Buzz 2020 3D Model. Features retro-futuristic electric styling, signature full-width LED lighting, and an aerodynamic minivan profile. Includes .blend, .fbx, .obj, .glb, .stl, .ply, .unreal, and .max formats for game development, AR/VR, and rendering.
Price: $124.99
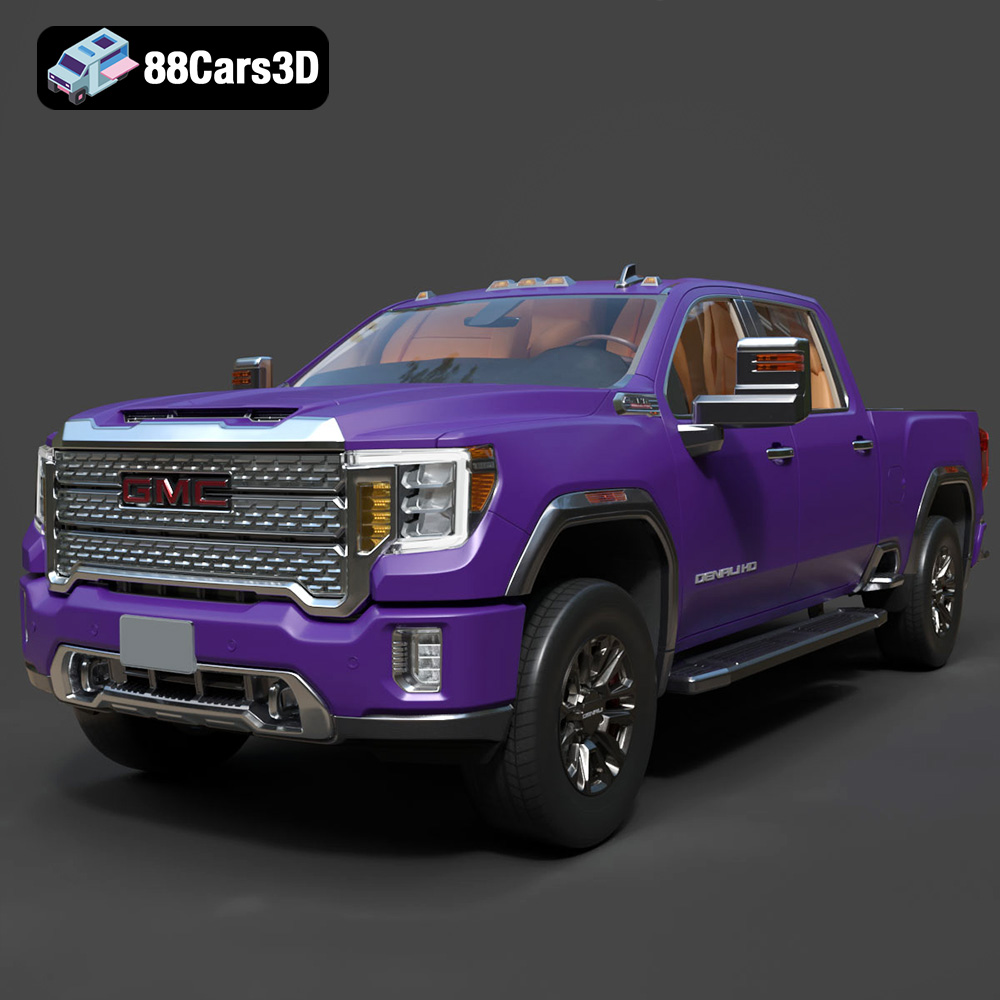
Texture: Yes | Material: Yes
Download the highly detailed, game-ready GMC Sierra HD Denali 2020 3D Model. Features iconic chrome Denali grille, detailed MultiPro tailgate, and heavy-duty chassis styling. Includes .blend, .fbx, .obj, .glb, .stl, .ply, .unreal, and .max formats for game development, AR/VR, and rendering.
Price: $274.50
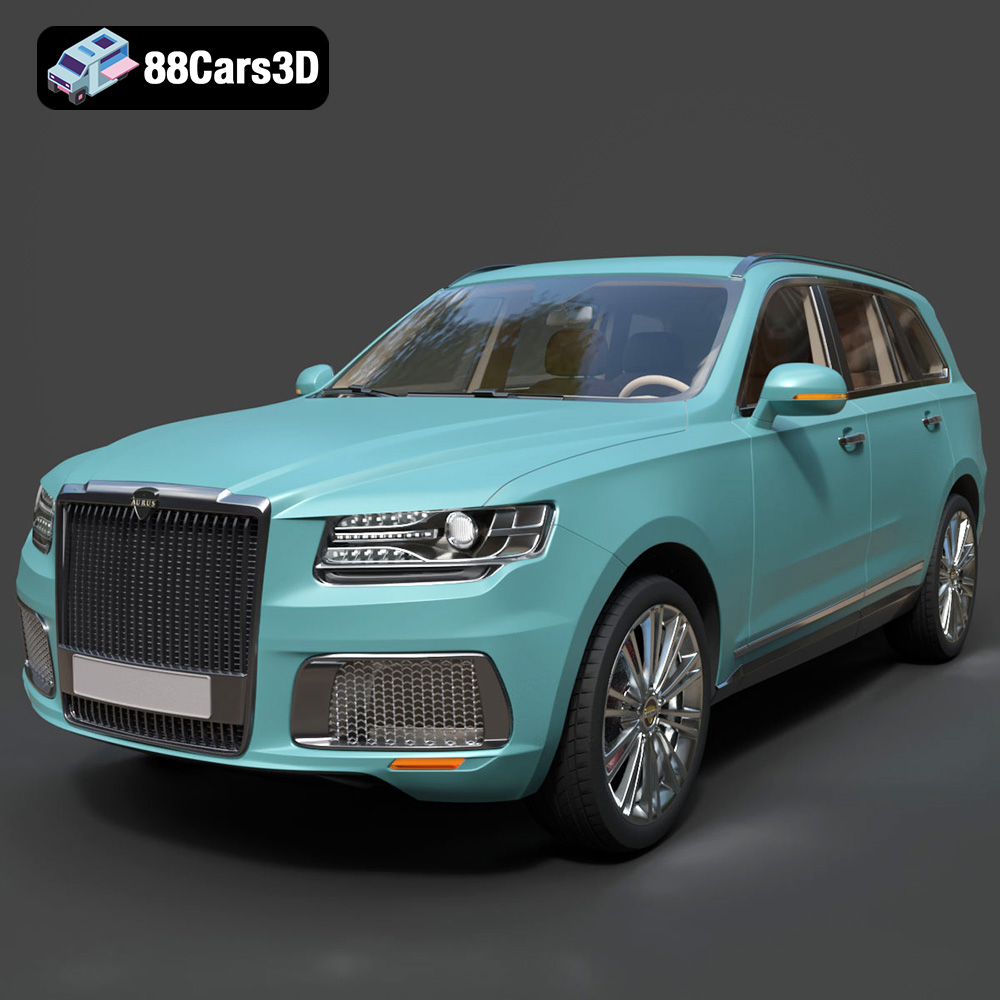
Texture: Yes | Material: Yes
Download the highly detailed, game-ready Aurus Komendant 2020 3D Model. Features an imposing front grille, executive full-size SUV silhouette, and detailed luxury interior. Includes .blend, .fbx, .obj, .glb, .stl, .ply, .unreal, and .max formats for game development, AR/VR, and rendering.
Price: $232.99
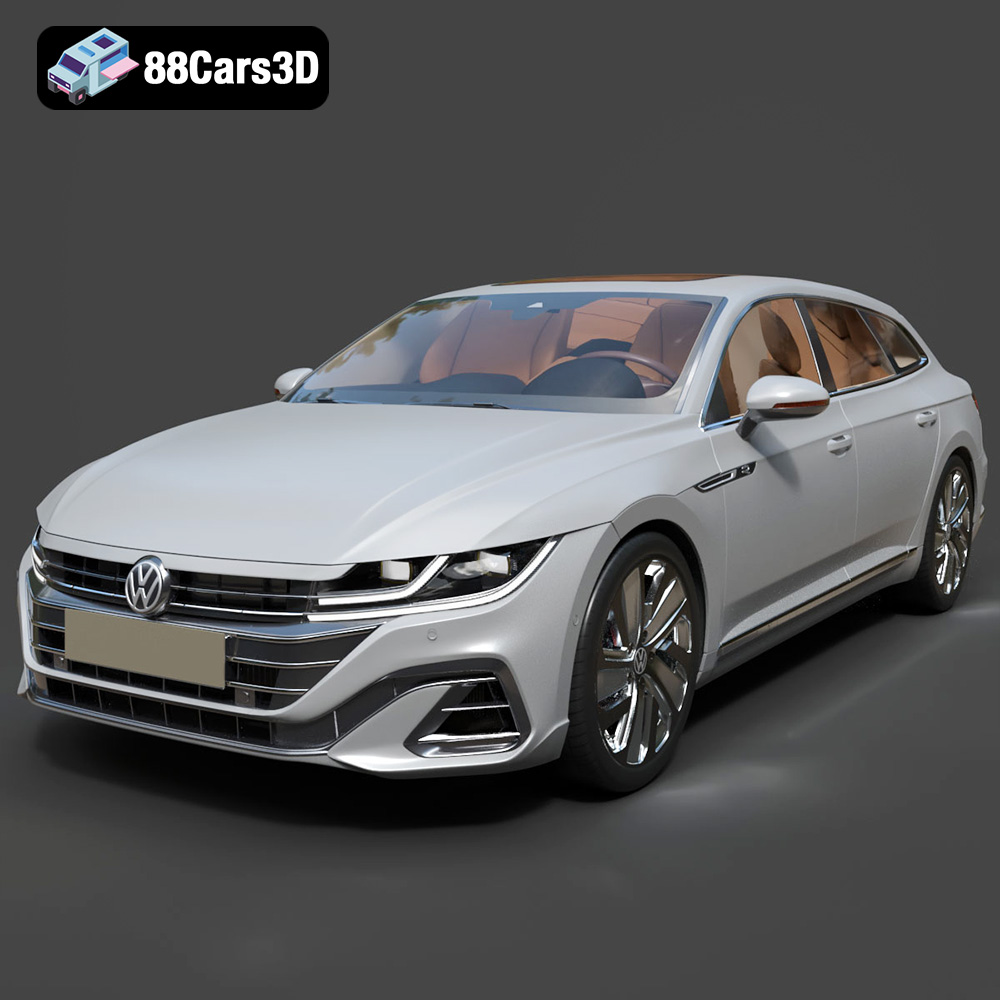
Texture: Yes | Material: Yes
Download the highly detailed, game-ready Volkswagen Arteon Shooting Brake Hybrid 2021 3D Model. Features sleek shooting brake silhouette, illuminated dynamic front grille, and full digital cockpit interior. Includes .blend, .fbx, .obj, .glb, .stl, .ply, .unreal, and .max formats for game development, AR/VR, and rendering.
Price: $217.50
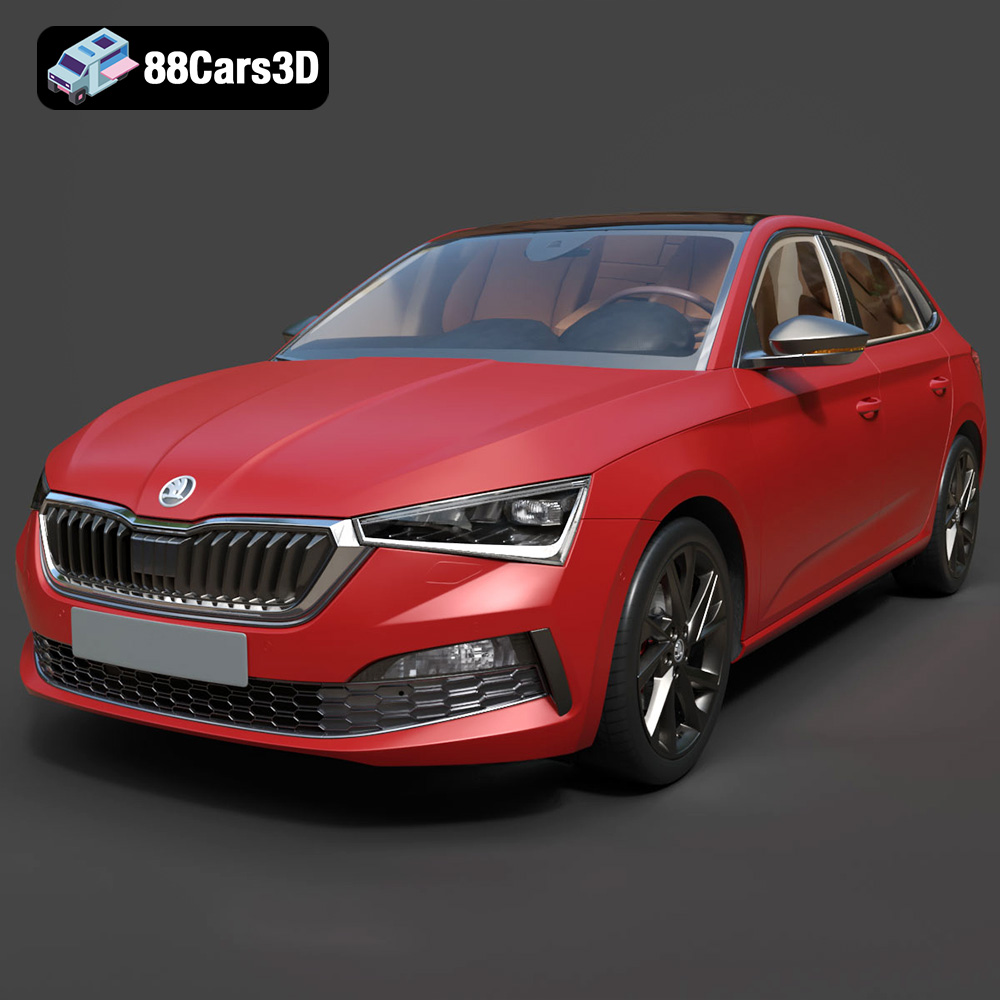
Texture: Yes | Material: Yes
Download the highly detailed, game-ready Skoda Scala 2019 3D Model. Features signature crystalline styling, fully modeled interior, and realistic textures. Includes .blend, .fbx, .obj, .glb, .stl, .ply, .unreal, and .max formats for game development, AR/VR, and rendering.
Price: $233.50
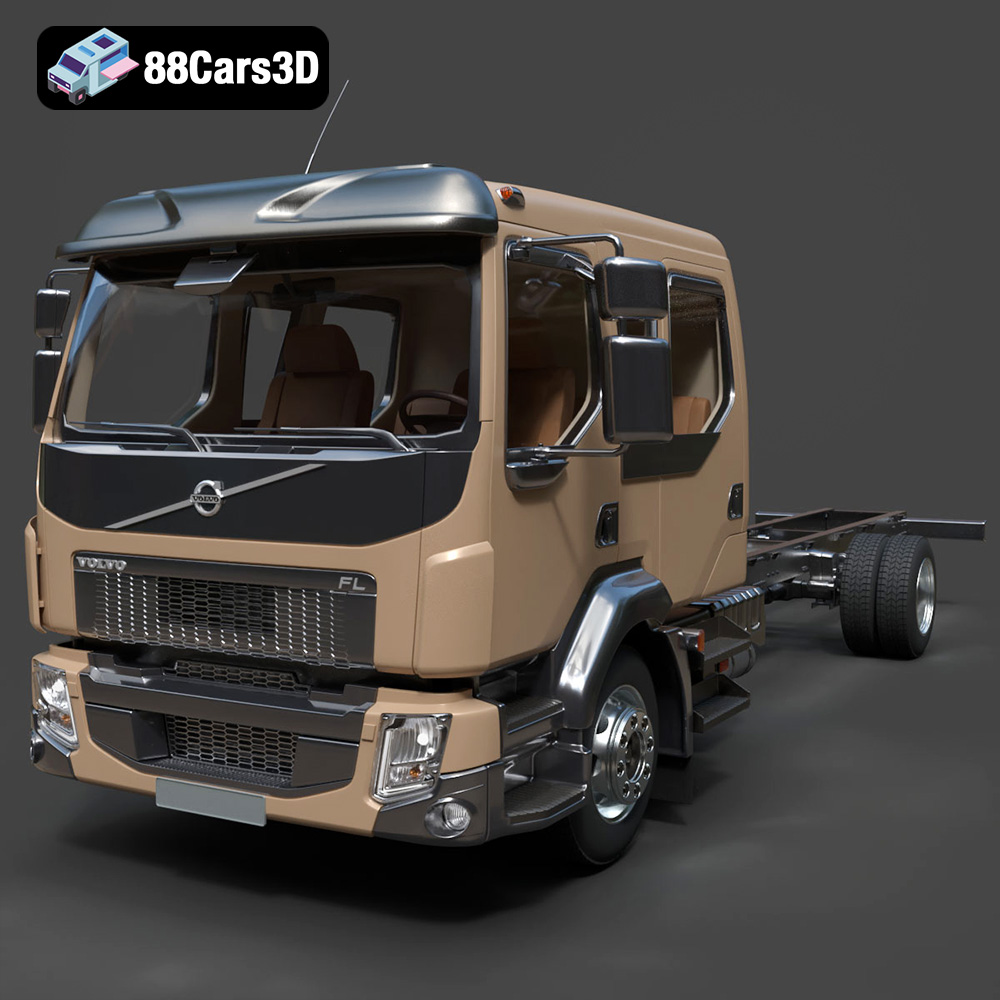
Texture: Yes | Material: Yes
Download the highly detailed, game-ready Volvo FL Crew Cab Chassis Truck 2013 3D Model. Features extended crew cab styling, modular commercial ladder chassis, and authentic commercial lighting and wheel setups. Includes .blend, .fbx, .obj, .glb, .stl, .ply, .unreal, and .max formats for game development, AR/VR, and rendering.
Price: $274.50
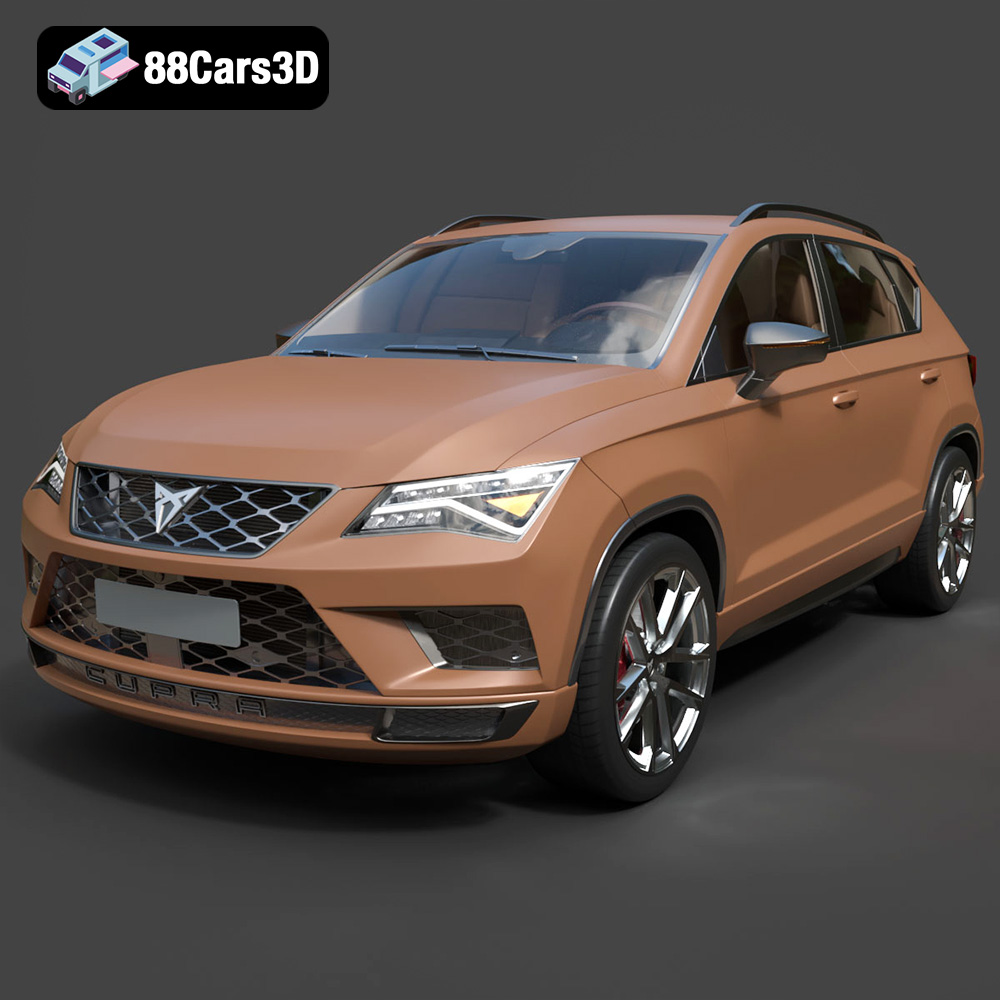
Texture: Yes | Material: Yes
Download the highly detailed, game-ready Seat Ateca Cupra 2019 3D Model. Features aggressive sporty styling, quad exhaust outlets, and high-detail interior. Includes .blend, .fbx, .obj, .glb, .stl, .ply, .unreal, and .max formats for game development, AR/VR, and rendering.
Price: $203.50
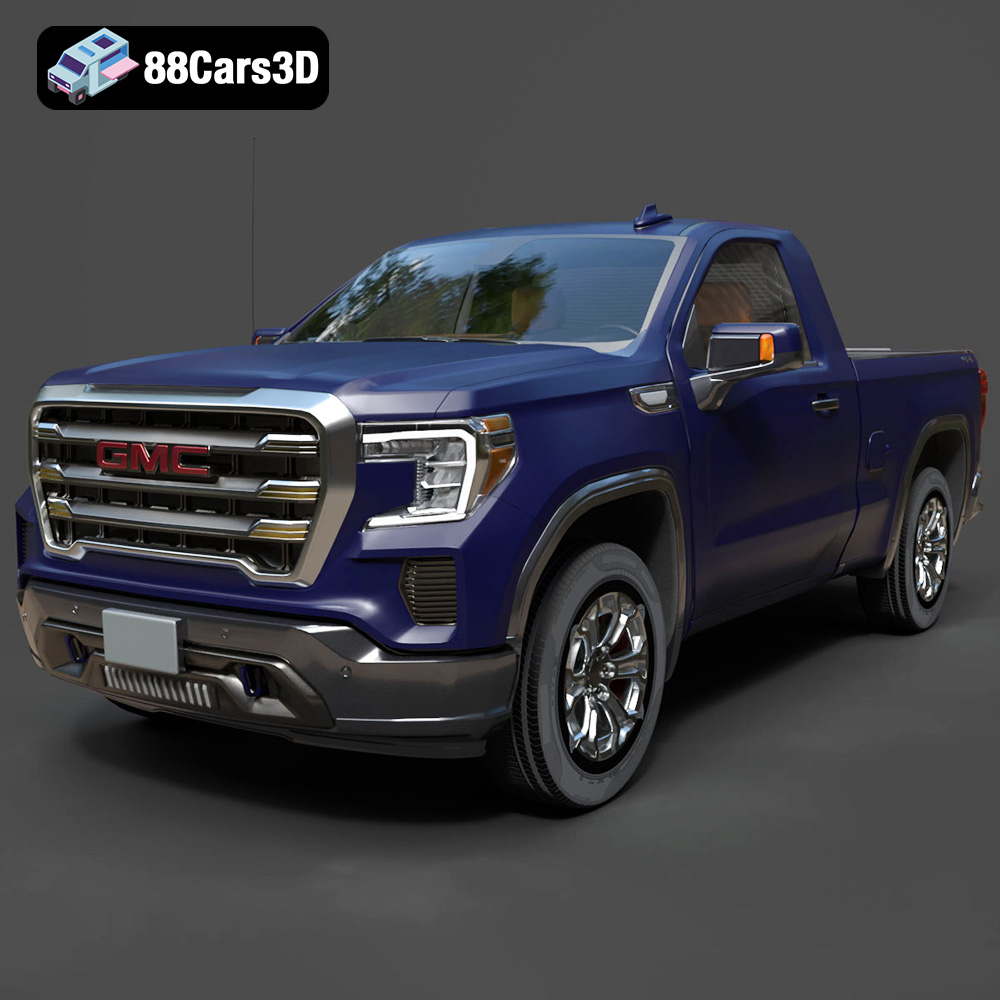
Texture: Yes | Material: Yes
Download the highly detailed, game-ready GMC Sierra Reg SLE 1500 2020 3D Model. Features bold pickup styling, detailed exterior trim, accurate undercarriage, and realistic cabin. Includes .blend, .fbx, .obj, .glb, .stl, .ply, .unreal, and .max formats for game development, AR/VR, and rendering.
Price: $133.50
