

In the realm of 3D modeling, precision, detail, and realism are paramount, especially when creating assets for demanding industries like automotive design, game development, and high-fidelity visualization. While traditional polygon modeling forms the backbone of clean, production-ready car models, sculpting in Blender offers an unparalleled ability to imbue your creations with organic intricacies, nuanced surface imperfections, and an expressive level of detail that elevates them from good to exceptional. From adding realistic wear and tear to interior components, crafting intricate tire treads, or conceptualizing unique body kit elements, digital sculpting provides a versatile toolkit for artists. This comprehensive guide will delve into the core principles and advanced techniques of Blender sculpting, demonstrating how these skills can be leveraged to enhance automotive assets and prepare them for rendering, game engines, and even AR/VR experiences. We’ll explore workflows that bridge the gap between free-form sculpting and the rigorous demands of production, ensuring your detailed creations are both stunning and pipeline-friendly.
At its heart, digital sculpting in Blender emulates the traditional art of working with clay, allowing artists to intuitively push, pull, smooth, and pinch virtual material to define form and detail. However, unlike physical clay, Blender offers dynamic control over mesh density, brush behavior, and advanced masking capabilities, providing an environment that empowers both artistic freedom and technical precision. The journey begins with understanding Blender’s dedicated Sculpt Mode and its fundamental approaches to mesh management.
Entering Sculpt Mode in Blender transforms your 3D viewport into a dynamic workspace where mesh manipulation takes center stage. The two primary methods for managing mesh density during sculpting are Dyntopo (Dynamic Topology) and Multiresolution Modifier.
Dyntopo is a powerful feature that dynamically adds or removes geometry as you sculpt, based on a defined detail size. This is particularly useful for concepting and roughing out initial forms, as it frees you from the constraints of a pre-existing mesh. As you sculpt, Dyntopo automatically tessellates areas under your brush, providing more polygons where needed for fine detail and simplifying areas where detail isn’t required. This “adaptive” approach is excellent for organic shapes or when you’re not concerned with a clean, quad-based topology in the initial stages. However, Dyntopo can lead to highly triangulated and uneven meshes, making it unsuitable for direct use in animation or game engines without significant retopology.
The Multiresolution Modifier, on the other hand, works non-destructively by subdividing your mesh while storing displacement information. You start with a relatively low-polygon base mesh (often a retopologized model or a well-modeled hard-surface asset) and then subdivide it using the modifier. This allows you to sculpt details on higher subdivision levels without affecting the base mesh’s topology. The advantage here is that you can switch between different detail levels, offering granular control and ensuring your high-detail sculpt retains a clean, quad-based foundation. This approach is ideal for production pipelines, as it facilitates easy baking of normal maps and displacement maps from the high-resolution sculpt onto the lower-resolution base mesh, a critical step for game assets and efficient rendering. For more in-depth information on Blender’s sculpting tools and modes, including Dyntopo and the Multiresolution Modifier, you can refer to the official Blender 4.4 documentation at https://docs.blender.org/manual/en/4.4/.
Blender’s Sculpt Mode comes equipped with a diverse array of brushes, each designed for specific tasks. Mastering these tools is crucial for effectively shaping and detailing your automotive assets:
* Clay / Clay Strips: These are foundational brushes for building up volume. Clay adds material smoothly, while Clay Strips create distinct, layered forms, excellent for roughing out panel shapes, building up tire sidewalls, or defining the initial contours of an interior dashboard.
* Crease: The Crease brush is indispensable for carving sharp edges, grooves, and folds. It’s perfect for defining shut lines on a stylized car body, adding seams to upholstery, or creating intricate patterns on vents.
* Grab: This brush allows you to push, pull, and deform large sections of the mesh, making it ideal for adjusting overall proportions or making significant changes to the silhouette of a component without adding or removing geometry. Think of it as a virtual reshape tool for broad strokes.
* Smooth: As its name suggests, the Smooth brush softens harsh angles and evens out surfaces. It’s vital for refining transitions, removing unwanted lumps, and achieving the polished, aerodynamic surfaces often required for automotive models.
* Scrape / Flatten: These brushes are used for planar operations. Scrape flattens areas by pushing polygons towards the average normal of the brush area, while Flatten brings vertices to a common plane. They are excellent for creating crisp, flat surfaces, or defining hard edges on mechanical parts.
When approaching automotive details, imagine the real-world materials and how they would respond. For instance, using Clay Strips to build up the rubber of a tire, then Crease for the tire treads, and finally Smooth to refine the overall shape.
Applying sculpting techniques to automotive assets often involves a different mindset than sculpting organic characters. Here, precision, clean lines, and mimicking manufactured surfaces are often the goal, even when aiming for a “worn” or “damaged” look. The process typically moves from broad strokes to intricate details, demanding a blend of artistic vision and technical control.
The initial stage of any sculpt, regardless of the subject, is to establish the primary forms. For automotive elements, this means defining the major masses and overall silhouette of the component you’re detailing. If you’re working on a stylized car body, start with basic primitives like a cube or sphere, then use the Grab brush to push and pull it into a rough car-like shape. For interior elements like a car seat, you might begin with a basic chair shape, then use Clay Strips to build up the main cushioning and backrest.
For external details such as complex wheel designs or unique grille patterns, you can often start with a well-modeled base mesh created with traditional polygon modeling techniques, then apply the Multiresolution Modifier. This gives you a clean foundation to sculpt upon. The key here is not to get bogged down in tiny details, but to ensure the overall proportions and major contours are correct. Think about the flow and curvature of the surfaces – an essential aspect of automotive design. Establishing these foundational shapes correctly will save immense time later, as detailed mistakes are far harder to fix.
Once the primary forms are established, you transition to refining secondary details, such as panel lines, subtle surface variations, and the beginnings of textures. For automotive exteriors, this might involve using the Crease brush to define sharper edges along body lines, or subtly adjusting surfaces with the Smooth and Scrape brushes to achieve a manufactured look. When sculpting interior components, you can use Clay and Clay Strips to build up the subtle stitching on upholstery, or the textured grip on a steering wheel.
Tertiary details are the smallest, most intricate elements that add realism and visual interest. This includes things like fine scratches, subtle dents, fabric weaves, or micro-texture on plastic surfaces. Here, brushes with smaller sizes, combined with careful use of alphas and texture stencils (which we’ll cover next), become invaluable. For instance, to create the intricate tread pattern of a tire, you could use a combination of Crease for the main grooves and then apply custom alpha brushes or stencils for the smaller, repetitive details and micro-surface variations of the rubber. The goal is to build up detail progressively, ensuring each layer complements the previous one and contributes to the overall realism of the asset.
While Dyntopo offers incredible freedom for concepting, when your sculpted asset is destined for rendering, animation, or game engines, an awareness of topology becomes paramount. For high-quality automotive models, clean, quad-based topology with efficient edge flow is non-negotiable. This is because good topology allows for smooth deformations during animation, efficient UV mapping, and optimal performance in real-time environments.
If you’re using Dyntopo for initial concepting or for specific organic details, you will almost certainly need to perform retopology later. Retopology is the process of creating a new, optimized, low-polygon mesh over your high-resolution sculpt. This new mesh adheres to proper quad-based geometry, good edge flow, and a polygon count suitable for your target platform. For hard-surface automotive parts, maintaining sharp angles and avoiding stretched polygons in the retopologized mesh is crucial. Understanding that sculpting is often just one step in a larger pipeline – leading to retopology, UV mapping, and texturing – helps in making informed decisions about mesh density and detail placement even in the sculpting phase.
Beyond the basic brushes, Blender offers sophisticated tools and workflows that allow for incredible control and efficiency when adding complex details. Mastering these techniques can significantly elevate the quality and believability of your sculpted automotive assets.
Masking is a fundamental concept in digital sculpting, enabling you to protect specific areas of your mesh from brush strokes while you sculpt other parts. In Blender, you can create masks using various brush types, painting directly onto the mesh. This is incredibly useful for isolating areas where you want to apply intense detail, create sharp cut-ins, or protect a smooth surface while adding texture nearby. For instance, if you’re sculpting a car door panel and want to add detailed stitching around a specific inset, you can mask off the surrounding area to ensure your brush only affects the intended region.
Stencils take this concept further by allowing you to project an image texture onto your mesh as you sculpt. This is a powerful technique for adding repetitive patterns, surface textures, or complex details quickly and consistently. Imagine needing to add a fine carbon fiber weave to an interior trim piece or a specific grip texture to a steering wheel. By loading a seamless texture as a stencil, you can paint these details with precision, ensuring uniform application across your surface. Stencils are also invaluable for adding logos, emblems, or specific warning labels as sculpted relief details on parts. You simply load your image (alpha map) into the stencil slot, position it, and sculpt – the brush will apply detail based on the grayscale values of the image.
Alphas are grayscale images that define the shape and intensity of a brush stroke. Blender comes with a set of default alphas, but the real power lies in creating and using custom alphas. These can be generated from intricate patterns, displacement maps, or even photographs of real-world surfaces. For automotive detailing, custom alphas can be invaluable for:
* Tire Treads: Creating unique and complex tire patterns with a single brush stroke.
* Grille Patterns: Quickly adding intricate mesh designs to car grilles or vents.
* Surface Imperfections: Applying realistic scratches, chips, or subtle dings to paintwork or interior plastics.
* Fabric Textures: Imparting weaves, folds, and surface variation to upholstery.
By combining custom alphas with different brush types (e.g., a “Clay Strips” brush with a fabric alpha for a convincing cloth texture), you can achieve a vast array of surface effects. Blender also allows you to create and save custom brushes, bundling your favorite brush settings, alphas, and textures for efficient reuse across multiple projects. This streamlines your workflow and ensures consistency in your detailed assets.
Sculpting highly detailed assets can quickly become demanding on your system’s resources, particularly when working with millions of polygons. Maintaining a fluid and responsive viewport is crucial for an efficient sculpting experience. Here are some key strategies for optimizing performance in Blender’s Sculpt Mode:
* Manage Mesh Density: If using Dyntopo, be mindful of your detail size settings. Don’t add unnecessary resolution to areas that don’t require fine detail. For Multiresolution, work on the lowest possible subdivision level until you need to refine smaller details.
* Hide Geometry: Use Blender’s masking and visibility tools (e.g., `H` to hide selected faces, `Alt+H` to reveal all) to hide parts of your mesh that you are not actively sculpting. This significantly reduces the amount of geometry the viewport needs to process.
* Viewport Shading Options: Switch to a simpler viewport shading mode like “Solid” instead of “Material Preview” or “Rendered” while sculpting. Disable shadows and ambient occlusion in the viewport display settings.
* GPU Optimization: Ensure Blender is configured to use your GPU for viewport rendering (Edit > Preferences > System > Cycles Render Devices). Keep your graphics drivers updated.
* Save Iteratively: Sculpting can be crash-prone with extremely high polycounts. Save your work frequently and incrementally to avoid losing progress.
By actively managing your mesh density and optimizing your viewport settings, you can maintain a smooth and efficient sculpting workflow, even with extremely detailed automotive models.
While sculpting excels at creating rich, high-fidelity details, a raw sculpt is rarely suitable for direct use in a production pipeline. The transition from a high-polygon sculpt to a clean, optimized asset involves critical steps: retopology, efficient UV mapping, and the baking of detail into PBR (Physically Based Rendering) textures. This workflow is essential for creating performant and visually stunning assets for any application, especially for automotive models where precision and efficiency are key.
As discussed, raw sculpts, especially those created with Dyntopo, often have highly irregular, triangulated, and dense geometry. This is problematic for several reasons:
* Animation: Uneven topology leads to poor deformation during animation, resulting in “pinching” or unnatural stretching.
* UV Mapping: Creating clean and efficient UV maps on a chaotic mesh is extremely difficult and time-consuming.
* Game Engine Performance: Millions of polygons are unmanageable for real-time applications, leading to severe performance bottlenecks.
* Texturing: While texture painting directly on a high-poly sculpt is possible, it’s less efficient for PBR workflows which rely on baked maps.
Retopology is the process of building a new, low-polygon mesh on top of your high-resolution sculpt. This new mesh adheres to strict rules of good topology: it’s primarily composed of quads, has clean edge loops that follow the contours of the form, and a polygon count optimized for the target platform. For automotive models, retopology ensures that curves remain smooth, hard edges are sharp, and that the mesh is suitable for LOD (Level of Detail) systems in game engines.
Blender offers several tools for manual retopology, such as the Shrinkwrap modifier combined with manual polygon drawing (using snapping to faces). You can model a new mesh over your sculpt, and the Shrinkwrap modifier will project it perfectly onto the surface. This meticulous process ensures that the underlying details of your sculpt are accurately captured by the new, optimized mesh.
Once you have a clean, retopologized mesh, the next crucial step is UV mapping. UV mapping is the process of unwrapping the 3D surface of your model onto a 2D plane, creating a set of coordinates (UVs) that tell your software how to apply textures. For complex automotive surfaces, efficient UV mapping is vital for several reasons:
* Texture Clarity: Well-laid-out UVs prevent texture stretching and distortion, ensuring your baked details and PBR textures appear crisp and accurate.
* Seam Management: Strategically placed UV seams minimize their visibility and make texture painting and material application much cleaner.
* Texel Density: Maintaining a consistent texel density across your model ensures that all parts of your asset receive an appropriate level of texture resolution.
In Blender, you typically use the UV Editor to unwrap your model. Tools like Mark Seam and Unwrap (including options like Smart UV Project or Conformal) are used to create efficient UV islands. For automotive models, aim to hide seams where they would naturally occur (e.g., along panel lines, under trim pieces) and ensure that surfaces requiring high detail (like intricate sculpted elements) have sufficient UV space.
This is where the magic happens: transforming the millions of polygons of your sculpt into efficient, production-ready textures. Texture baking is the process of transferring surface details from a high-resolution mesh (your sculpt) to texture maps that can be applied to a low-resolution mesh (your retopologized model). The most common maps baked from sculpts for PBR workflows are:
* Normal Maps: These grayscale images store directional information about surface normals, simulating high-resolution detail using subtle changes in how light reflects off the low-poly mesh. This is the primary map for transferring fine sculpted details like scratches, bumps, and intricate patterns without adding actual geometry.
* Ambient Occlusion (AO) Maps: AO maps simulate soft shadows where surfaces are occluded (e.g., creases, crevices), adding depth and realism.
* Curvature Maps: These maps identify concave and convex areas of the mesh, useful for procedural texturing (e.g., adding edge wear to convex areas or dirt to concave areas).
Blender’s Cycles renderer has powerful baking capabilities, allowing you to project these maps from your high-poly sculpt onto your low-poly retopologized mesh. This workflow is fundamental for creating performance-optimized assets that retain the visual richness of your original sculpt, making them suitable for game engines, AR/VR, and efficient rendering.
The journey of a sculpted asset culminates in its integration into a visually compelling rendering or a responsive interactive environment. This final stage involves setting up PBR materials, optimizing for various platforms, and crafting an engaging presentation.
Physically Based Rendering (PBR) has become the industry standard for achieving realistic materials due to its predictable and consistent behavior under various lighting conditions. Once you’ve baked your normal, ambient occlusion, and other relevant maps from your high-poly sculpt onto your retopologized low-poly mesh, the next step is to construct your PBR material in Blender’s shader editor (or your chosen rendering software).
A typical PBR workflow in Blender (using Cycles or Eevee) involves connecting your baked maps to the appropriate inputs of a `Principled BSDF` shader node:
* Base Color: This map defines the diffuse color of the surface.
* Metallic: A grayscale map that dictates which areas are metallic (white) and which are dielectric (black).
* Roughness: Controls how rough or shiny a surface is (white for rough, black for smooth).
* Normal Map: Connect your baked normal map to a `Normal Map` node, which then connects to the `Normal` input of the `Principled BSDF`. This is where all your intricate sculpted details come to life.
* Ambient Occlusion: Can be multiplied over the Base Color for added depth.
For automotive paint, you’d typically have a low roughness value for a glossy finish, and for textured plastics or worn leather interiors (where sculpting might be heavily used), you’d have higher roughness values and distinct normal map details. Platforms like 88cars3d.com offer beautifully textured models that demonstrate these PBR principles in action, providing excellent examples of how baked details enhance realism.
After creating your PBR materials, the next step is preparing your asset for export. The choice of file format depends heavily on your target platform:
* FBX (Filmbox): A widely supported format for game engines (Unity, Unreal Engine), animation software, and many 3D applications. It can efficiently store meshes, materials, and animations. When exporting from Blender, ensure your baked textures are correctly packed or linked, and scale is set appropriately.
* OBJ (Wavefront Object): A simpler, universal format for mesh data, but it doesn’t support complex material setups or animations as well as FBX. Still excellent for static models.
* GLB (GL Transmission Format Binary): Increasingly popular for web-based 3D, AR/VR experiences, and lightweight interactive applications. It bundles mesh, materials, and textures into a single file, making it highly efficient.
* USDZ (Universal Scene Description Zip): Apple’s format for AR applications, often used for mobile AR experiences. Like GLB, it’s optimized for asset delivery.
When exporting, always ensure that your textures are either embedded (packed into the file, where supported) or correctly linked in a relative path alongside the model file. For game engines, consider creating LODs (Levels of Detail) for your retopologized mesh – lower poly versions that swap in as the camera moves further away, drastically improving performance. This is particularly important for detailed assets where the high-res sculpt’s detail is baked onto the most detailed LOD.
Whether you’re using Blender’s Cycles or Eevee, or external renderers like V-Ray, Corona, or Arnold (commonly used for automotive visualization), presenting your detailed sculpted assets effectively requires careful consideration of lighting and environment:
* Lighting: High-quality lighting is paramount to showcase sculpted details. Use studio lighting setups (three-point lighting), HDRI (High Dynamic Range Image) environments for realistic reflections and ambient light, and accent lights to highlight specific features. For automotive renders, softbox lighting and careful rim lighting can emphasize the curves and intricate surfaces.
* Environment: The environment around your car model should complement its design without distracting from it. Simple studio backdrops, realistic outdoor scenes, or even abstract environments can work, depending on the desired mood.
* Post-Processing and Compositing: The final touch often comes in post-processing. In Blender’s compositor, or external software like Photoshop, you can add effects like color grading, depth of field, subtle glow, lens flares, and vignette to enhance realism and visual appeal. This step helps to integrate your rendered model into a cohesive image, bringing out the nuances of your sculpted details and PBR materials. Professionals often leverage multi-pass rendering to gain maximum control in compositing.
Digital sculpting in Blender is a transformative skill that empowers 3D artists to infuse their models with an unparalleled level of detail and artistic expression. While traditional hard-surface modeling forms the foundation for clean automotive assets, sculpting opens doors to creating intricate textures, organic imperfections, and high-fidelity components that breathe life into your creations. From the dynamic freedom of Dyntopo for concepting to the precision of Multiresolution sculpting for production, mastering these techniques allows you to craft assets that stand out in any scenario.
We’ve journeyed through the core principles of Blender’s Sculpt Mode, explored essential brushes, and delved into advanced techniques like masking, stencils, and custom alphas. Crucially, we’ve also highlighted the vital production pipeline steps – retopology, UV mapping, and PBR texture baking – that bridge the gap between a high-detail sculpt and a performance-optimized, animation-ready, or game-engine-compatible asset. By integrating these practices, you can ensure that the rich details you sculpt are not only visually stunning but also technically sound for rendering, real-time applications, and even AR/VR experiences.
The world of 3D automotive design and visualization is constantly evolving, demanding both technical excellence and artistic flair. Incorporating Blender sculpting into your workflow provides a powerful tool to meet these demands, allowing you to create truly exceptional 3D car models. For those looking to jumpstart their projects with professionally crafted base models or seeking inspiration, marketplaces such as 88cars3d.com offer a wide range of high-quality 3D car models, providing a fantastic foundation upon which you can apply your newly acquired sculpting and detailing skills. Continue to experiment, practice, and explore the endless possibilities that digital sculpting offers – your next masterpiece awaits.
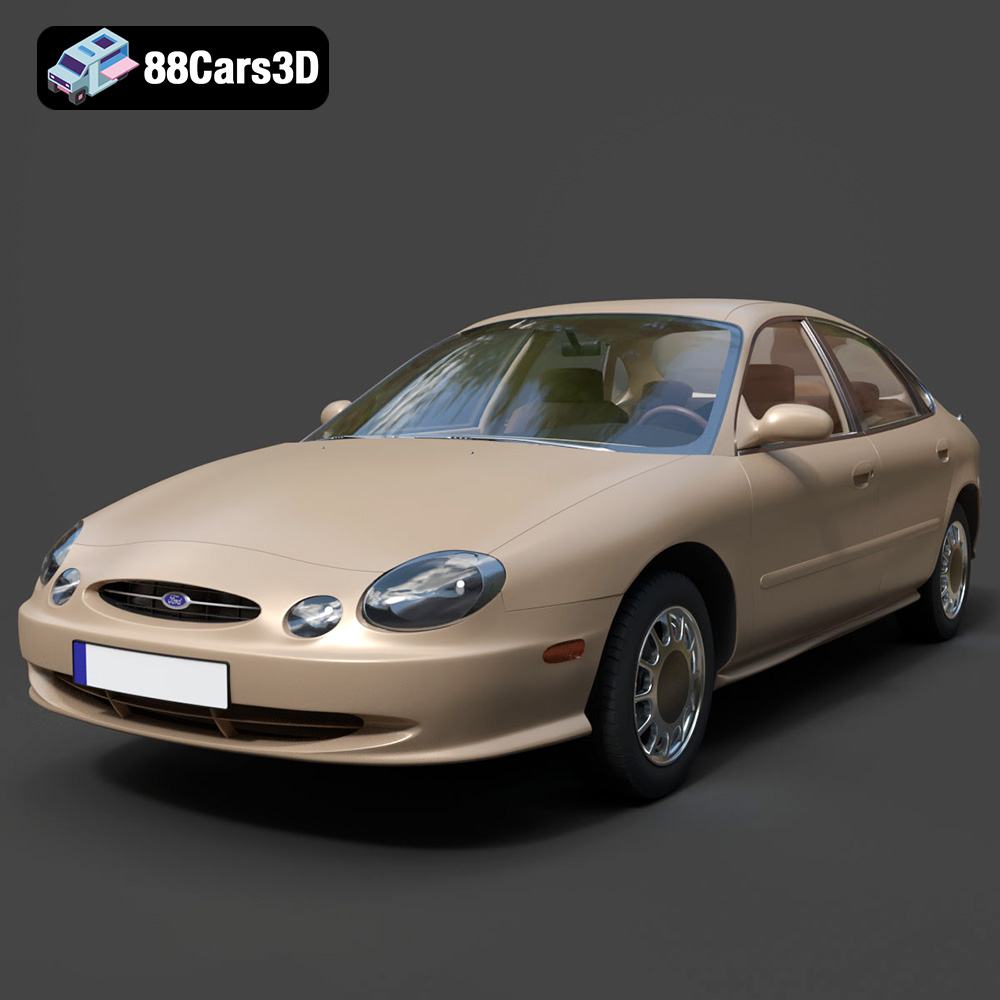
Texture: Yes | Material: Yes
Download the highly detailed, game-ready Ford Taurus 1996 3D Model. Features revolutionary oval exterior styling, detailed interior, and accurate chassis geometry. Includes .blend, .fbx, .obj, .glb, .stl, .ply, .unreal, and .max formats for game development, AR/VR, and rendering.
Price: $161.00
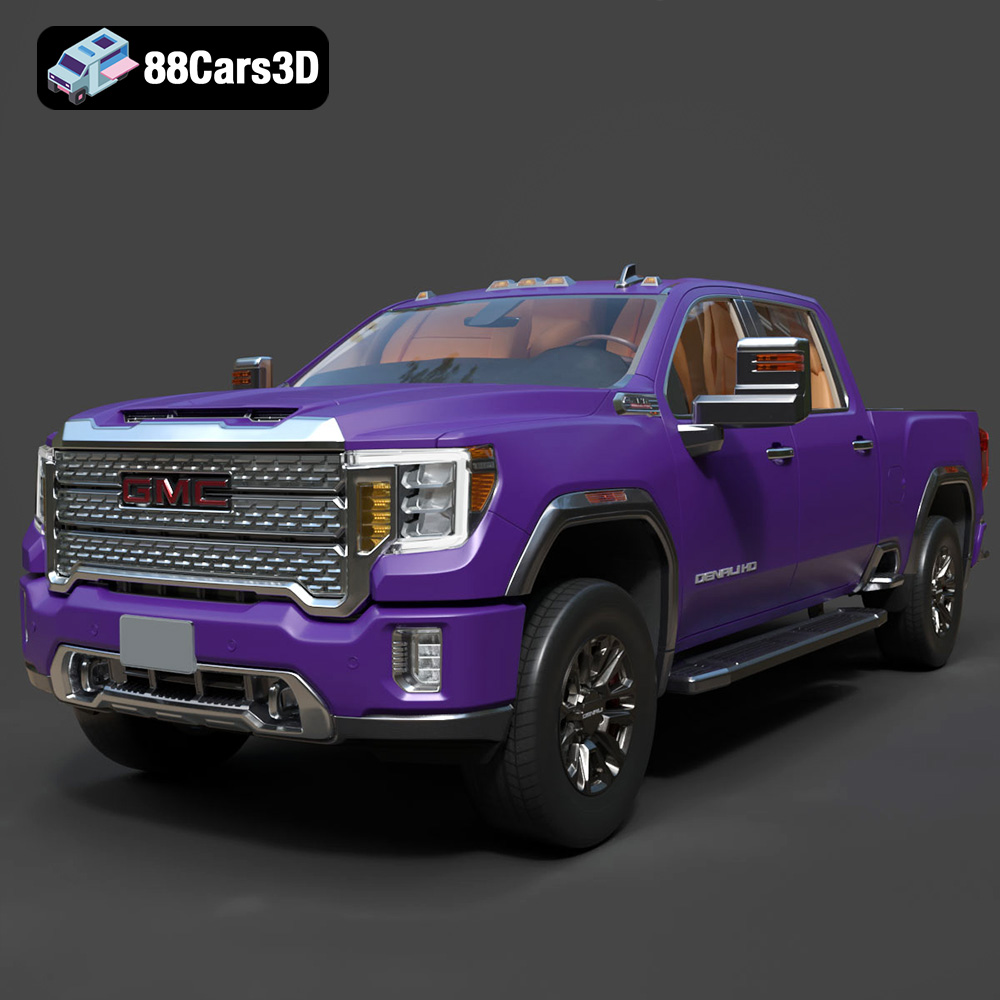
Texture: Yes | Material: Yes
Download the highly detailed, game-ready GMC Sierra HD Denali 2020 3D Model. Features iconic chrome Denali grille, detailed MultiPro tailgate, and heavy-duty chassis styling. Includes .blend, .fbx, .obj, .glb, .stl, .ply, .unreal, and .max formats for game development, AR/VR, and rendering.
Price: $274.50
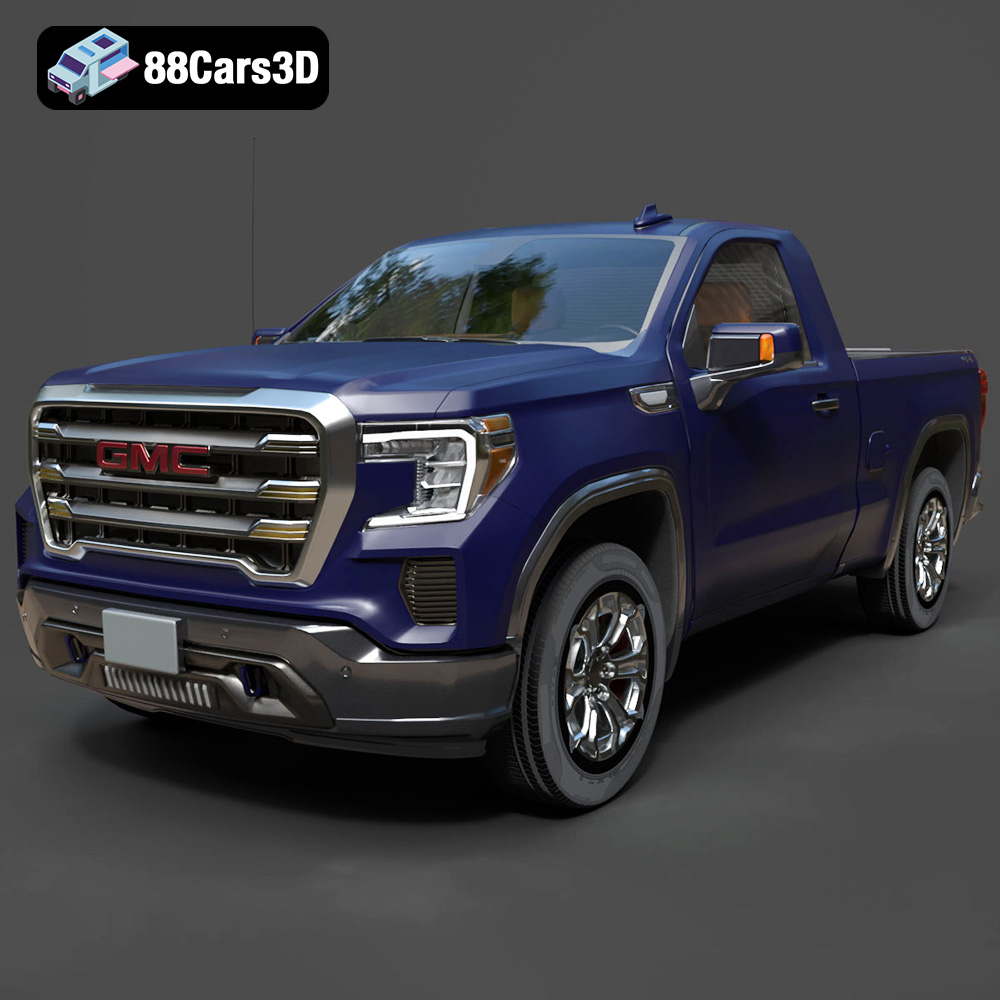
Texture: Yes | Material: Yes
Download the highly detailed, game-ready GMC Sierra Reg SLE 1500 2020 3D Model. Features bold pickup styling, detailed exterior trim, accurate undercarriage, and realistic cabin. Includes .blend, .fbx, .obj, .glb, .stl, .ply, .unreal, and .max formats for game development, AR/VR, and rendering.
Price: $133.50
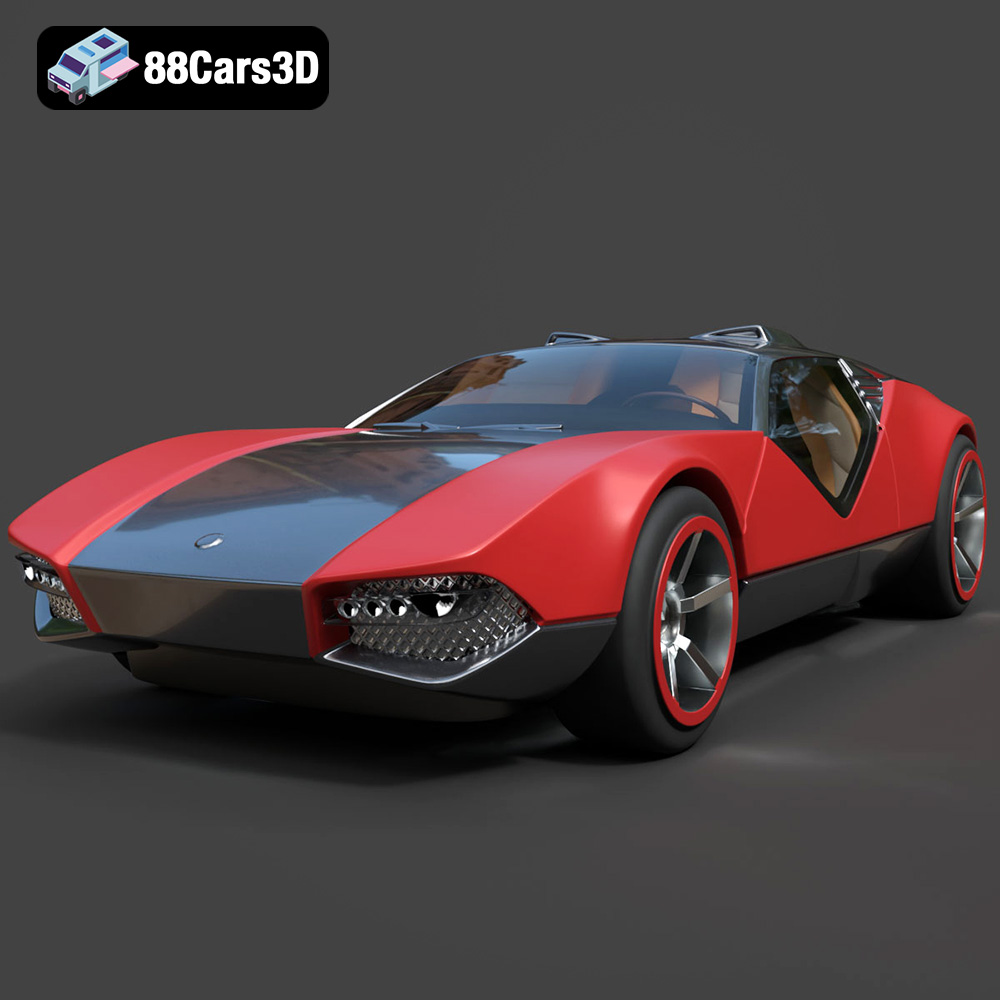
Texture: Yes | Material: Yes
Download the highly detailed, game-ready Hot Wheels La Fasta 3D Model. Features aggressive aerodynamic bodywork, custom racing wheels, and futuristic interior details. Includes .blend, .fbx, .obj, .glb, .stl, .ply, .unreal, and .max formats for game development, AR/VR, and rendering.
Price: $133.00
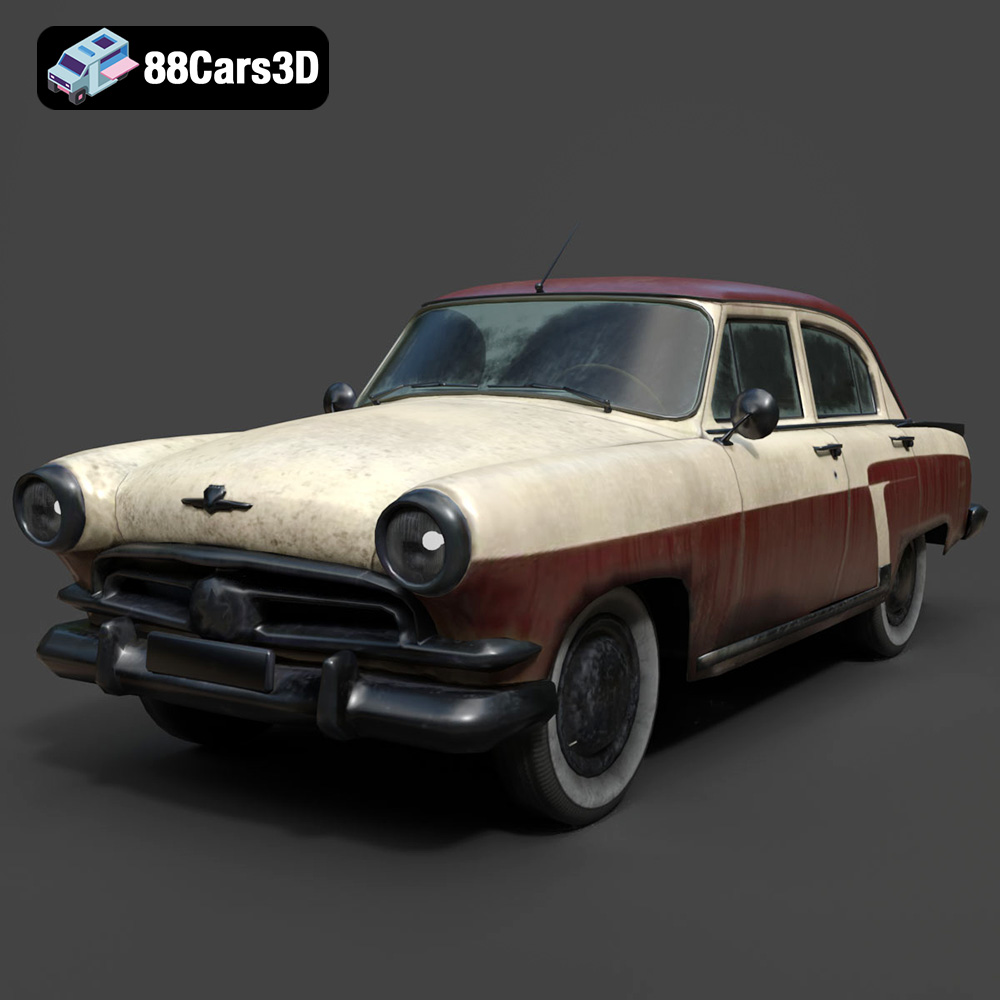
Texture: Yes | Material: Yes
Download the highly detailed, game-ready GAZ-21 Volga 3D Model. Features classic Soviet body geometry, iconic front grille, and detailed exterior chrome accents. Includes .blend, .fbx, .obj, .glb, .stl, .ply, .unreal, and .max formats for game development, AR/VR, and rendering.
Price: $99.99
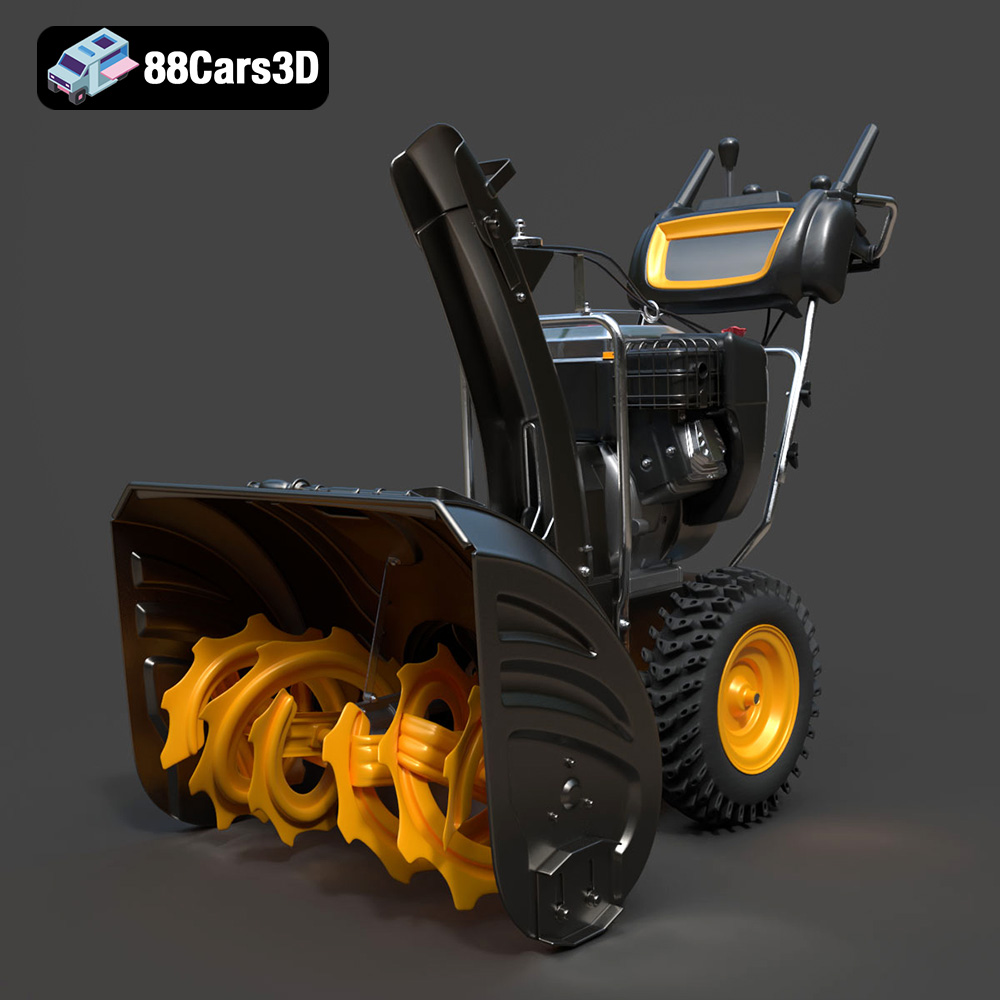
Texture: Yes | Material: Yes
Download the highly detailed, game-ready Husqvarna Snow Plow 3D Model. Features heavy-duty front plow blade, robust chassis, and realistic mechanical controls. Includes .blend, .fbx, .obj, .glb, .stl, .ply, .unreal, and .max formats for game development, AR/VR, and rendering.
Price: $145.50
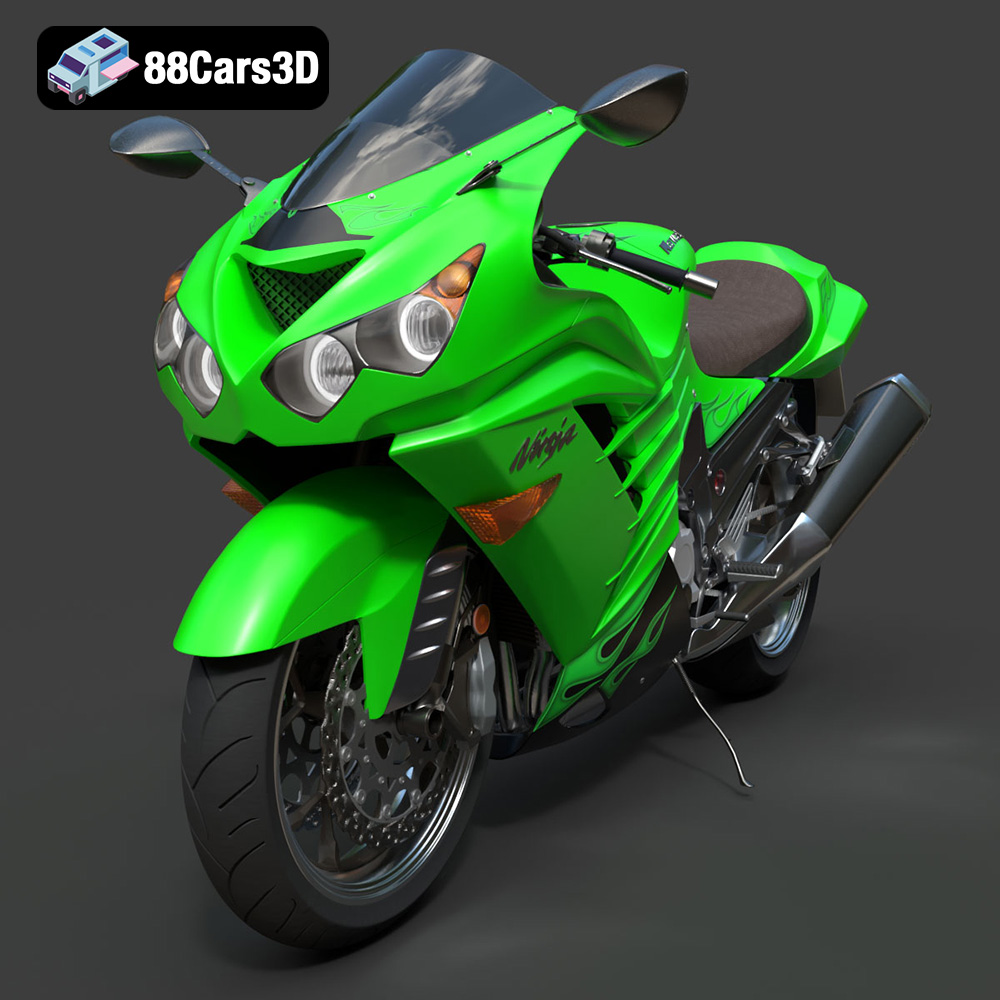
Texture: Yes | Material: Yes
Download the highly detailed, game-ready Kawasaki ZX14R 2012 3D Model. Features aggressive hyper-sport fairings, detailed inline-four engine, and iconic dual exhausts. Includes .blend, .fbx, .obj, .glb, .stl, .ply, .unreal, and .max formats for game development, AR/VR, and rendering.
Price: $170.00
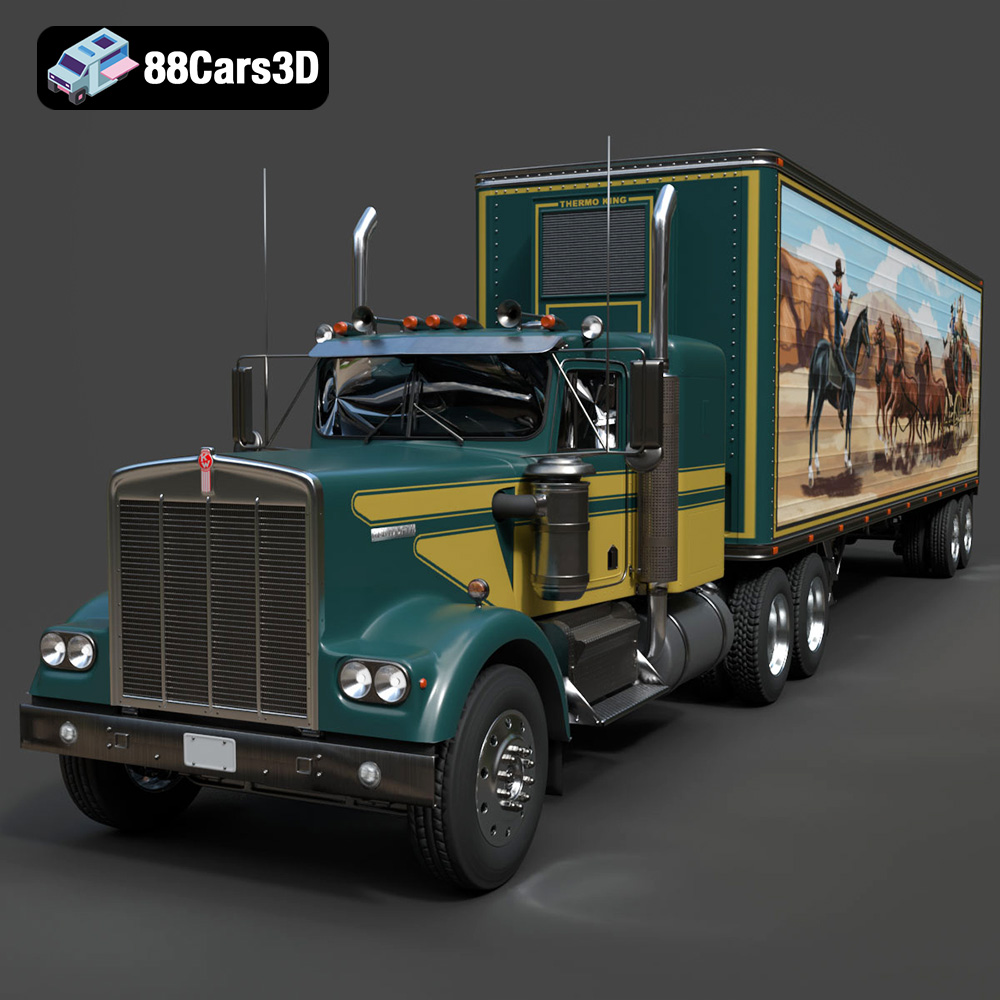
Texture: Yes | Material: Yes
Download the highly detailed, game-ready Kenworth W900 1974 3D Model. Features classic long-nose hood styling, detailed chrome exhaust stacks, and realistic dual tandem axles. Includes .blend, .fbx, .obj, .glb, .stl, .ply, .unreal, and .max formats for game development, AR/VR, and rendering.
Price: $299.50
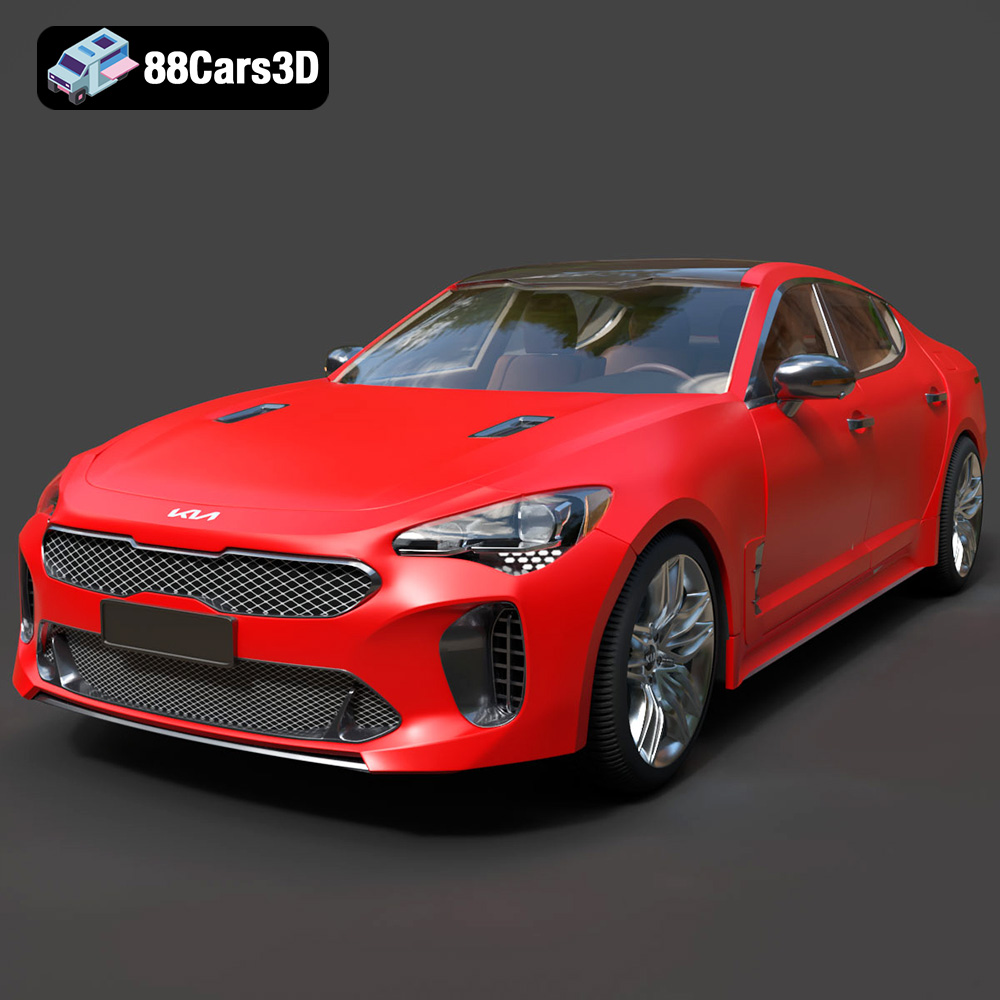
Texture: Yes | Material: Yes
Download the highly detailed, game-ready Kia Stinger 2021 3D Model. Features tiger-nose grille styling, quad exhaust tips, and high-fidelity interior details. Includes .blend, .fbx, .obj, .glb, .stl, .ply, .unreal, and .max formats for game development, AR/VR, and rendering.
Price: $299.50
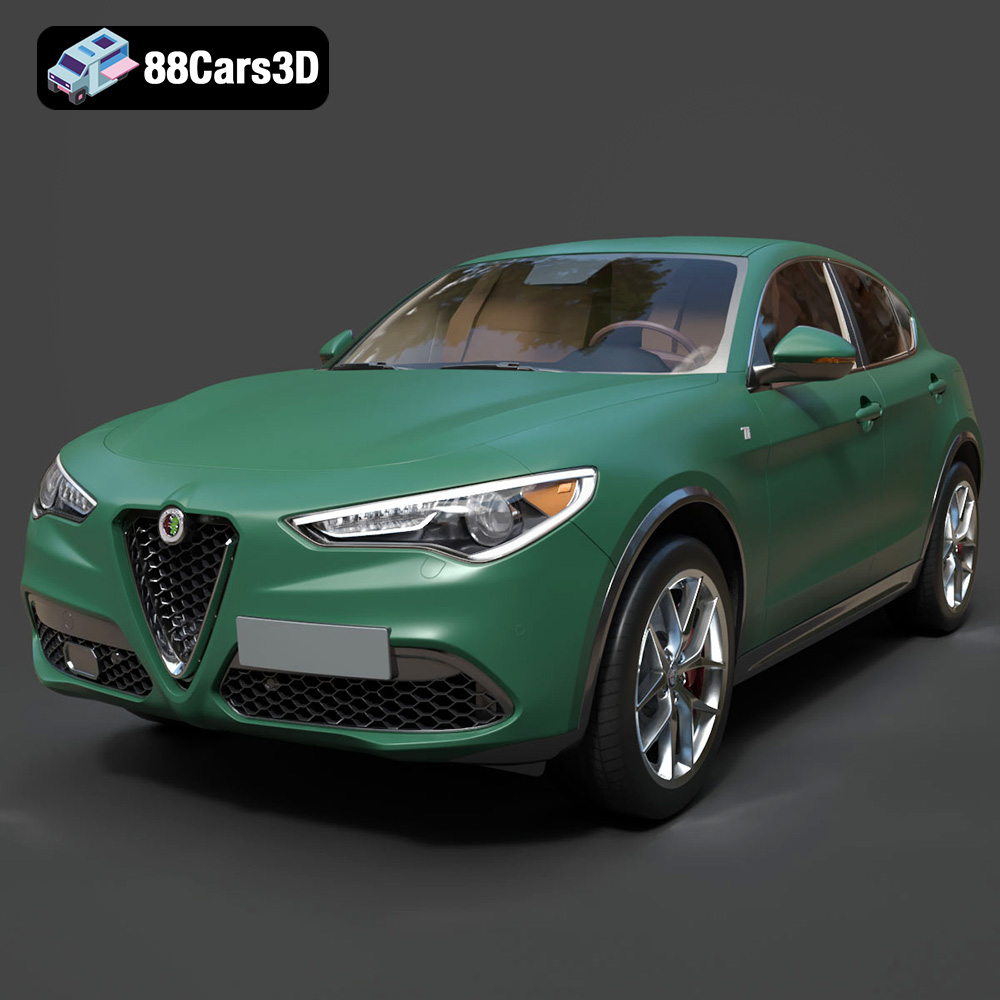
Texture: Yes | Material: Yes
Download the highly detailed, game-ready Alfa Romeo Stelvio Ti 2020 3D Model. Features signature Italian luxury SUV styling, detailed interior, and accurate chassis geometry. Includes .blend, .fbx, .obj, .glb, .stl, .ply, .unreal, and .max formats for game development, AR/VR, and rendering.
Price: $237.99
