

The world of 3D modeling is an exhilarating frontier, especially when it comes to crafting photorealistic automotive designs. Whether you’re an aspiring 3D artist, a game developer looking to populate virtual worlds, an automotive designer visualizing future concepts, or simply a student eager to learn, Blender offers an incredibly powerful and entirely free suite of tools to bring your visions to life. From meticulous topology to breathtaking renders, mastering Blender can open doors to a vast array of creative and professional opportunities.
This comprehensive guide is designed as a complete beginner’s tutorial, walking you through the essential steps and advanced techniques required to create stunning 3D car models in Blender. We’ll delve into everything from setting up your workspace and understanding core modeling principles to sophisticated rendering workflows and optimization strategies for game development and AR/VR. By the end of this article, you’ll have a solid foundation to confidently tackle complex automotive projects, leveraging the full potential of Blender 4.4. And when you’re ready to enhance your projects with professionally crafted assets, platforms like 88cars3d.com stand as invaluable resources for high-quality 3D car models.
Before diving into the intricate world of automotive modeling, establishing an efficient and comfortable workspace in Blender is paramount. A well-organized environment can significantly boost your productivity and streamline your creative process. Blender 4.4 offers extensive customization options, making it adaptable to any workflow.
First things first, if you haven’t already, download and install Blender 4.4 from its official website. The installation process is straightforward across Windows, macOS, and Linux. For detailed, platform-specific instructions, refer to the official Blender 4.4 documentation on installation. Once installed, launch Blender. You’ll be greeted with a splash screen. A critical first step is to configure your preferences to suit 3D modeling and automotive design tasks.
Navigate to Edit > Preferences. Here are a few key areas to adjust:
Always remember to click Save Preferences once you’re satisfied with your settings.
Blender’s interface might seem daunting at first due to its numerous panels and options, but it’s logically structured around ‘Editors’ and ‘Workspaces’. The default layout includes several key editors you’ll frequently use:
Blender uses different Workspaces (e.g., Layout, Modeling, Sculpting, UV Editing, Shading, Animation, Rendering, Compositing) to provide optimized layouts for specific tasks. You can switch between them using the tabs at the top of the interface. Feel free to customize these or create your own by splitting and joining areas, or changing an area’s editor type. This flexibility is a cornerstone of an efficient Blender workflow.
The journey to creating a detailed 3D car model begins with fundamental modeling techniques. Understanding how to manipulate basic mesh primitives is crucial, as even the most complex automotive shapes are built from these foundational elements. The key is to start simple and gradually add complexity while maintaining clean geometry.
Every 3D model in Blender starts with a primitive mesh. For automotive design, the most common primitives you’ll utilize are the Cube, Cylinder, and Plane. To add a new object, press Shift + A in the 3D Viewport and select from the Mesh menu. For a comprehensive list and explanation of primitives, refer to the Blender 4.4 documentation on mesh primitives.
Once you have a primitive, you’ll need to transform it. The core transformations are:
These transformations can be applied in Object Mode (whole object) or Edit Mode (individual vertices, edges, or faces). For precise control, after pressing G, R, or S, you can type in numerical values for specific distances, angles, or scaling factors. The Blender 4.4 documentation on object transformation provides detailed insights into these operations.
Clean topology and proper edge flow are critical in automotive modeling, as they ensure smooth surfaces, facilitate UV unwrapping, and allow for proper deformation (if animated). Blender’s Edit Mode (accessed by pressing Tab) provides a robust set of tools for this:
When modeling automotive surfaces, always strive for quad-based topology (meshes made primarily of four-sided faces). While triangles (tris) are acceptable for non-deforming or game-ready assets, quads provide a cleaner and more predictable surface for subdivision and animation. Avoid n-gons (faces with more than four vertices) whenever possible, as they can lead to shading artifacts and issues with modifiers. Understanding these core tools and principles will enable you to construct the basic forms of your 3D car model with precision and efficiency.
Building upon the foundational skills, advanced modeling techniques are crucial for achieving the smooth, reflective, and intricate surfaces characteristic of realistic 3D car models. This stage focuses on refining your mesh, ensuring impeccable topology, and leveraging powerful modifiers to create production-ready assets.
One of the most vital techniques for automotive modeling in Blender is Subdivision Surface modeling. This non-destructive modifier (Add Modifier > Subdivision Surface in the Properties Editor) smooths the mesh by subdividing its faces, effectively transforming a low-polygon base mesh into a high-resolution, smooth surface. It’s ideal for car bodies, which are almost entirely smooth and curved. The beauty of this approach lies in working with a lightweight base mesh while rendering a highly detailed result. For comprehensive details, refer to the Blender 4.4 documentation on the Subdivision Surface Modifier.
To maintain sharp edges and details (like car body panel lines, window frames, or wheel arches) when using subdivision surfaces, you’ll employ several techniques:
The goal is to create a mesh that looks good both with and without the Subdivision Surface modifier, providing maximum flexibility and optimization.
For complex cutouts and combining different shapes, Boolean operations are incredibly useful. The Boolean Modifier (Add Modifier > Boolean) allows you to perform union, intersect, or difference operations between two meshes. For instance, cutting out window openings or intricate grille patterns on a car can be efficiently handled with Booleans. While powerful, Booleans often create messy topology (triangles and n-gons) that can lead to shading issues. The Blender 4.4 documentation on the Boolean Modifier outlines its functionality.
This is where Retopology comes in. After using Booleans or sculpting, retopology is the process of rebuilding the mesh with clean, quad-based topology that follows the forms of the high-detail model. Manual retopology involves tracing new quads over the existing mesh using tools like the Knife Tool or add-ons like Quad Remesher (a paid add-on, but incredibly efficient). Blender’s built-in Remesh Modifier (Remesh Modifier documentation) offers an automated solution, converting complex geometry into a clean quad-dominant mesh, albeit with less control than manual methods.
The importance of quad-based topology cannot be overstated. It ensures consistent shading, especially on curved, reflective surfaces like a car body. Good edge flow means that the edges of your mesh follow the natural contours and creases of the object, which is crucial for achieving convincing reflections and smooth deformations if your car model is to be animated or used in a game with complex physics. When sourcing models from marketplaces such as 88cars3d.com, you’ll often find that the highest quality assets prioritize excellent topology, making them easier to work with and adapt to various projects.
Once your 3D car model’s geometry is finalized, the next crucial step is to prepare it for texturing and rendering. This involves UV mapping, which tells Blender how to project 2D textures onto your 3D model, and then creating Physically Based Rendering (PBR) materials to achieve photorealistic surface properties.
UV mapping is often considered one of the more challenging aspects of 3D modeling, but for automotive models, strategic unwrapping is key to realistic textures. Think of UV mapping as unfolding a 3D object into a 2D plane, much like cutting and flattening a cardboard box. The goal is to minimize distortion and wasted space on the UV map, ensuring textures appear crisp and uniform. You’ll primarily work in the UV Editing workspace in Blender. The Blender 4.4 documentation on UV unwrapping is an excellent resource.
Here’s a general strategy for car models:
When purchasing 3D car models from platforms like 88cars3d.com, you can expect professionally pre-unwrapped models, saving you significant time and effort in this intricate stage.
Physically Based Rendering (PBR) materials are the gold standard for realism in modern 3D graphics. Blender’s Principled BSDF shader, available in the Shader Editor, is designed for PBR workflows, making it straightforward to create highly realistic materials. The Principled BSDF documentation provides an in-depth look at its parameters.
Key PBR texture maps you’ll typically use for automotive surfaces:
You connect these image textures to the corresponding inputs of the Principled BSDF shader in the Shader Editor. Ensure your texture resolutions are appropriate for your project – typically 2K (2048×2048) or 4K (4096×4096) for high-quality automotive models. Textures larger than 4K can increase memory usage and rendering times significantly without a proportional increase in visual quality unless viewed very closely. Efficient use of material layers and careful blending can achieve complex effects like clear coat on car paint, rust, or dust.
With your exquisitely modeled and textured 3D car, the final steps involve illuminating it, rendering stunning images or animations, and applying post-production magic to bring out its true visual impact. Proper lighting and rendering are what transform a good model into a captivating visual story.
Effective lighting is crucial for showcasing the form and reflectivity of your automotive model. In Blender, you have several options for creating compelling lighting setups:
Experimentation is key. A common studio lighting setup involves a large area light as the main key light, a smaller area light as a fill light on the opposite side, and a rim light from behind to accentuate the car’s silhouette. Pay close attention to how reflections fall on the car body – these are crucial for conveying its metallic and polished nature.
Blender offers two primary rendering engines: Cycles and EEVEE. Each has its strengths, and choosing the right one depends on your priorities for realism and render time.
You can find more on EEVEE settings in the Blender 4.4 EEVEE documentation.
For automotive visualization, a common workflow is to use EEVEE for quick look development and animation previews, then switch to Cycles for the final, high-fidelity renders.
Raw renders, even from Cycles, often benefit immensely from post-processing and compositing. Blender’s Compositor (accessible via the Compositing workspace) is a node-based editor that allows you to enhance your renders without external software. The Blender 4.4 Compositing documentation is a great starting point.
Typical post-processing steps for automotive renders include:
By effectively combining lighting, rendering, and post-processing, you can elevate your 3D car models from mere geometry to visually captivating artworks, ready for portfolios, presentations, or digital showcases.
Creating highly detailed 3D car models for cinematic renders is one thing, but preparing them for interactive environments like game engines, AR, or VR requires a different set of optimization strategies. Real-time applications demand efficiency to maintain smooth frame rates and optimal performance. This section will guide you through crucial optimization techniques.
High-polygon models, while excellent for close-up renders, are often too heavy for real-time applications. The goal is to reduce the polygon count while preserving visual fidelity as much as possible. The Decimate Modifier in Blender (Decimate Modifier documentation) is your primary tool here. It can reduce polygon count in several ways:
Level of Detail (LODs) is a critical optimization technique. Instead of using a single high-poly model for all distances, you create multiple versions of your asset, each with a progressively lower polygon count. When the car is far from the camera in a game, the engine loads a lower-poly LOD. As it gets closer, a higher-poly LOD is swapped in. This significantly reduces the processing load. For a typical game car, you might have 3-5 LODs, ranging from tens of thousands of polygons for the highest LOD to a few hundred for the lowest. Proper LOD setup is crucial for smooth gameplay and efficient resource management.
Texture Atlasing involves combining multiple smaller textures into a single, larger texture map (an “atlas”). This is a vital optimization for game engines because it reduces the number of draw calls. Each time the engine has to switch between different materials and textures to render an object, it incurs a draw call, which can be computationally expensive. By having one material and one texture atlas for a car model (e.g., one atlas for the body, one for the interior, one for the wheels), you dramatically reduce draw calls and improve performance. Blender doesn’t have a built-in texture atlas generator, but several community add-ons exist, or you can manually arrange UV islands in the UV Editor and bake new textures.
When preparing assets, ensure texture resolutions are consistent and optimized. Common sizes are 2048×2048 or 1024×1024 for game assets, balancing visual quality with performance. Smaller, less visible parts can often use even lower resolutions. Also, consider packing multiple grayscale texture maps (like roughness, metallic, and ambient occlusion) into the RGB channels of a single image texture to further save memory and draw calls.
Exporting your Blender models for use in game engines or other 3D applications requires careful consideration of file formats:
When exporting, ensure you apply all transformations (Ctrl + A > All Transforms) and scale your model to the correct real-world scale, as different engines have different unit systems. For AR/VR, polygon counts must be very low (e.g., often under 100,000 tris for an entire car on mobile VR), and texture resolutions are usually lower (512×512 or 1024×1024) to ensure smooth performance on less powerful hardware.
Embarking on the journey of 3D automotive modeling with Blender is a deeply rewarding experience. From the initial setup of your workspace to the intricate details of topology, PBR material creation, sophisticated lighting, and final rendering, you’ve now gained insight into the complete workflow. We’ve explored how to craft clean, quad-based meshes, strategically unwrap them for optimal texturing, and design physically accurate materials that respond realistically to light. Furthermore, you’ve learned essential optimization techniques for deploying your high-quality 3D car models into demanding real-time environments like game engines and AR/VR applications, ensuring performance without sacrificing visual appeal.
Blender 4.4, with its powerful features and open-source nature, provides an unparalleled platform for aspiring and professional 3D artists alike. The journey to mastery is ongoing, filled with continuous learning and creative exploration. Don’t hesitate to revisit the official Blender documentation (docs.blender.org/manual/en/4.4/) as you encounter new challenges and seek deeper understanding of its vast toolset.
As you continue to hone your skills, remember that high-quality assets are often the foundation of exceptional projects. Whether you’re seeking inspiration, studying professional topology, or need a production-ready model for your next big project, platforms like 88cars3d.com offer an extensive collection of meticulously crafted 3D car models. Dive in, experiment, and let your creativity take the wheel!
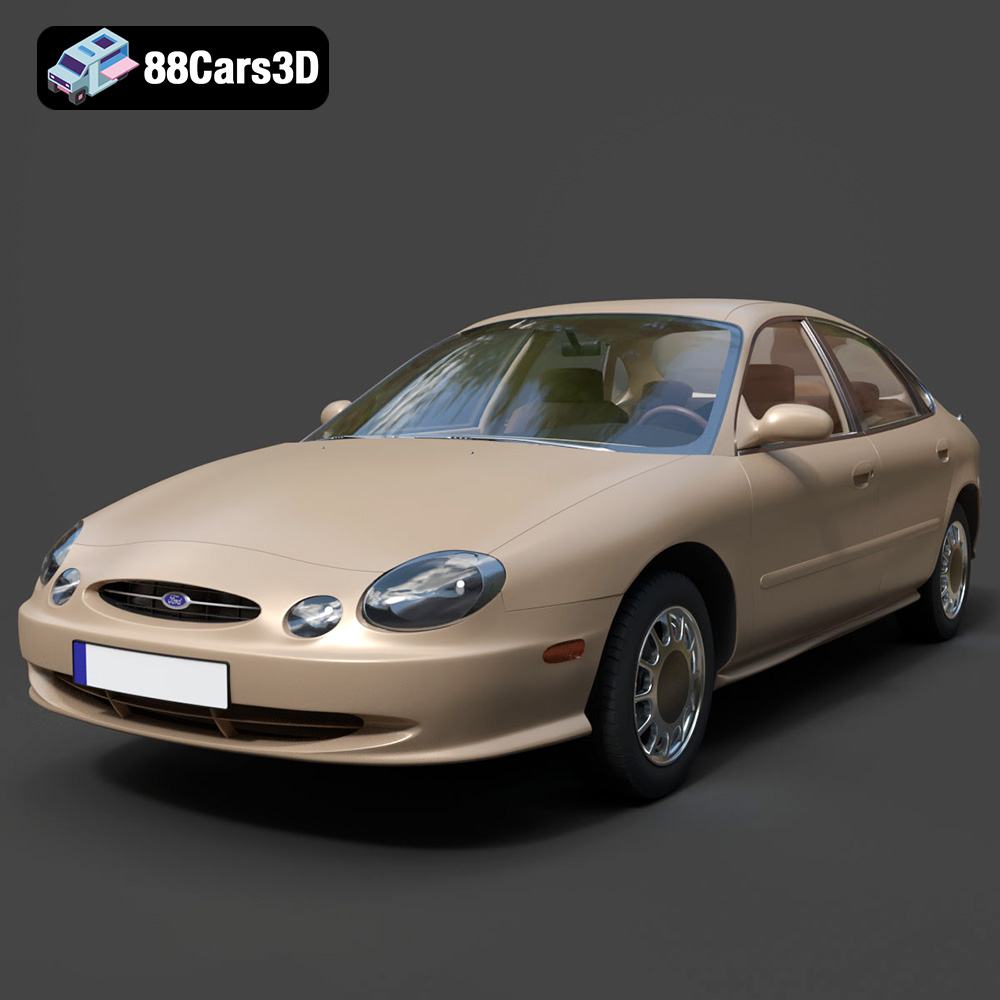
Texture: Yes | Material: Yes
Download the highly detailed, game-ready Ford Taurus 1996 3D Model. Features revolutionary oval exterior styling, detailed interior, and accurate chassis geometry. Includes .blend, .fbx, .obj, .glb, .stl, .ply, .unreal, and .max formats for game development, AR/VR, and rendering.
Price: $161.00
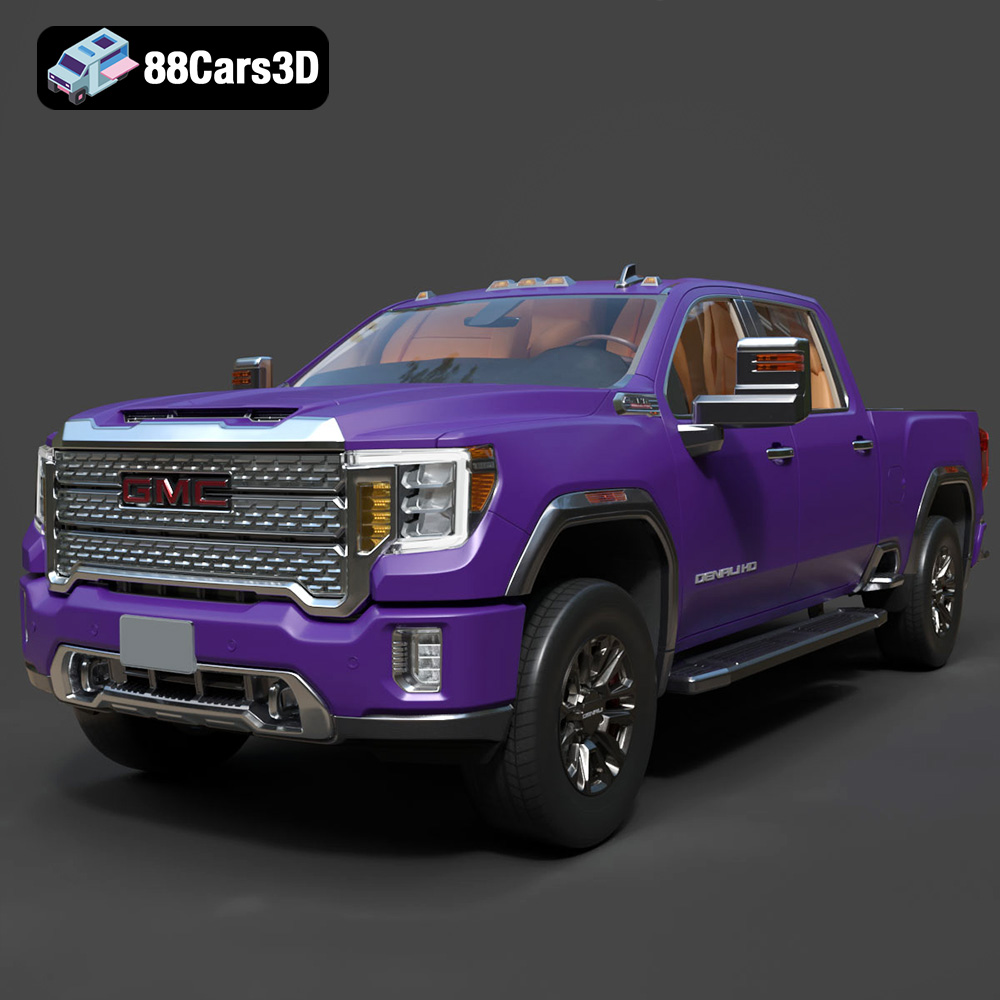
Texture: Yes | Material: Yes
Download the highly detailed, game-ready GMC Sierra HD Denali 2020 3D Model. Features iconic chrome Denali grille, detailed MultiPro tailgate, and heavy-duty chassis styling. Includes .blend, .fbx, .obj, .glb, .stl, .ply, .unreal, and .max formats for game development, AR/VR, and rendering.
Price: $274.50
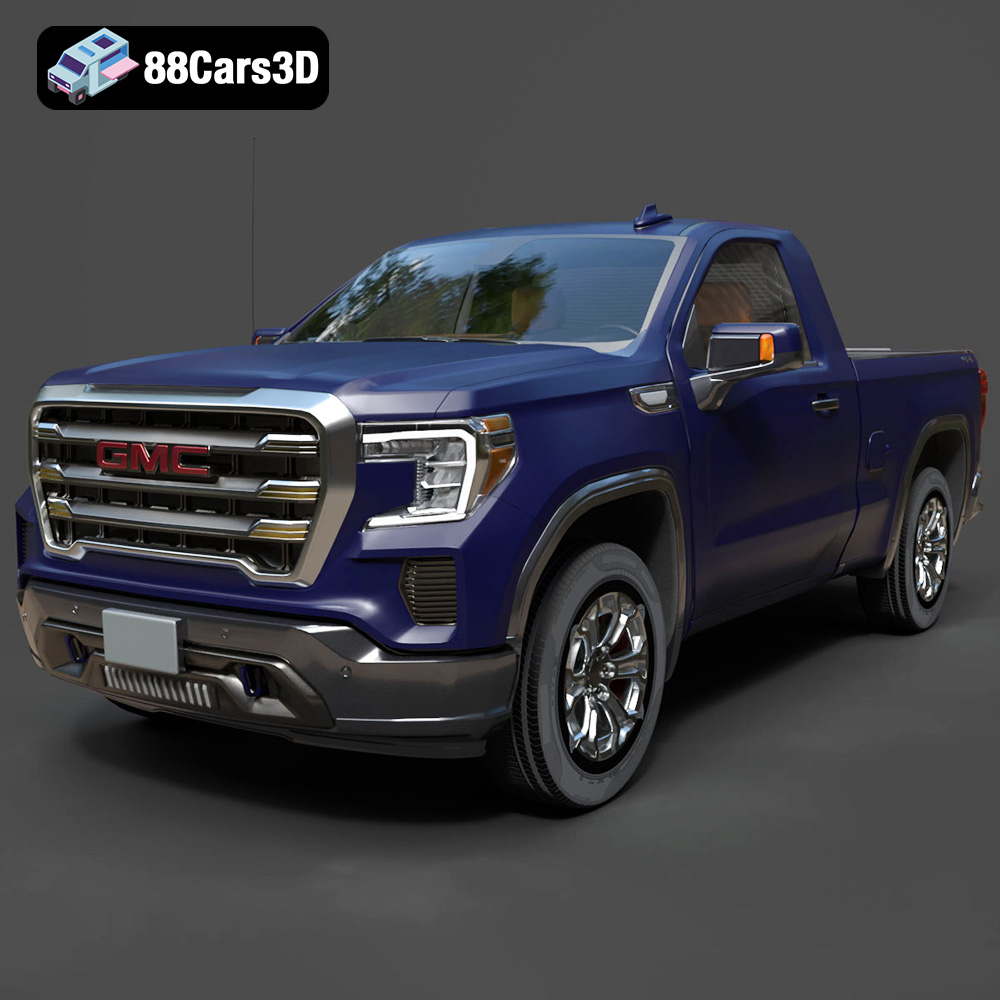
Texture: Yes | Material: Yes
Download the highly detailed, game-ready GMC Sierra Reg SLE 1500 2020 3D Model. Features bold pickup styling, detailed exterior trim, accurate undercarriage, and realistic cabin. Includes .blend, .fbx, .obj, .glb, .stl, .ply, .unreal, and .max formats for game development, AR/VR, and rendering.
Price: $133.50
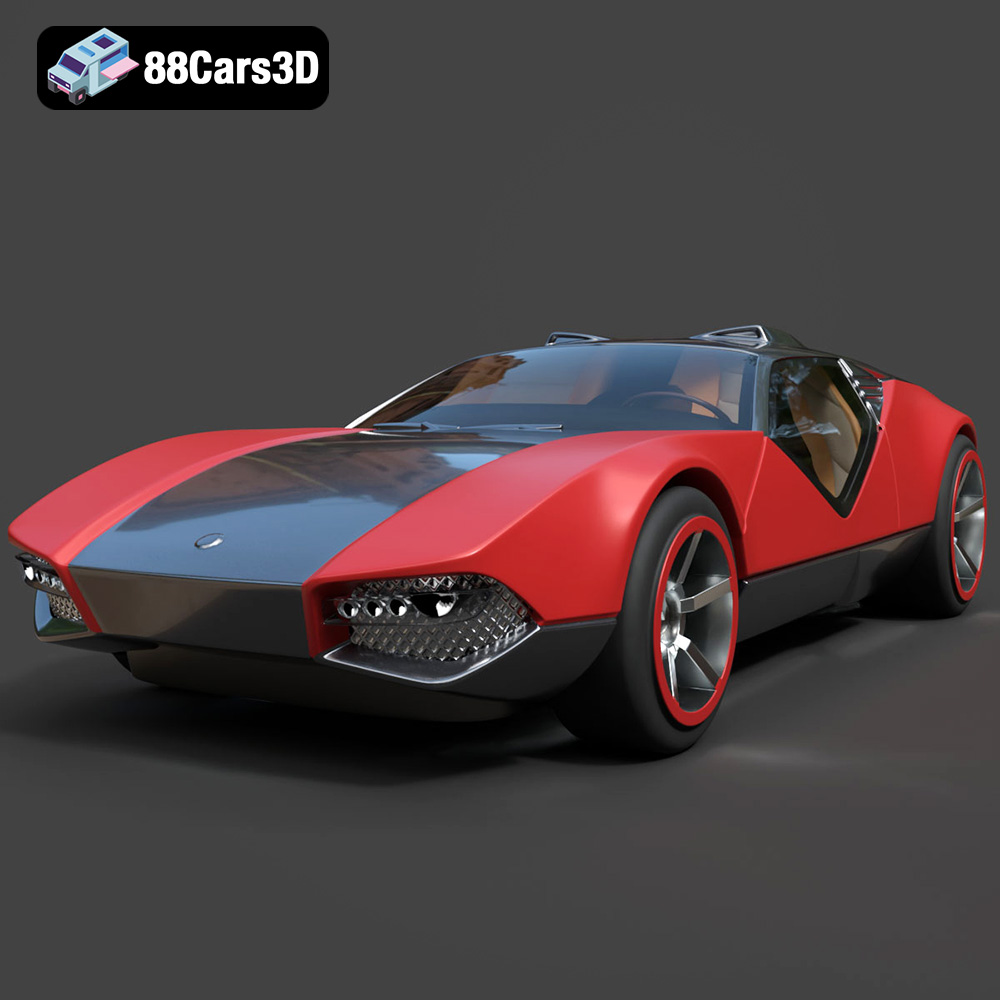
Texture: Yes | Material: Yes
Download the highly detailed, game-ready Hot Wheels La Fasta 3D Model. Features aggressive aerodynamic bodywork, custom racing wheels, and futuristic interior details. Includes .blend, .fbx, .obj, .glb, .stl, .ply, .unreal, and .max formats for game development, AR/VR, and rendering.
Price: $133.00
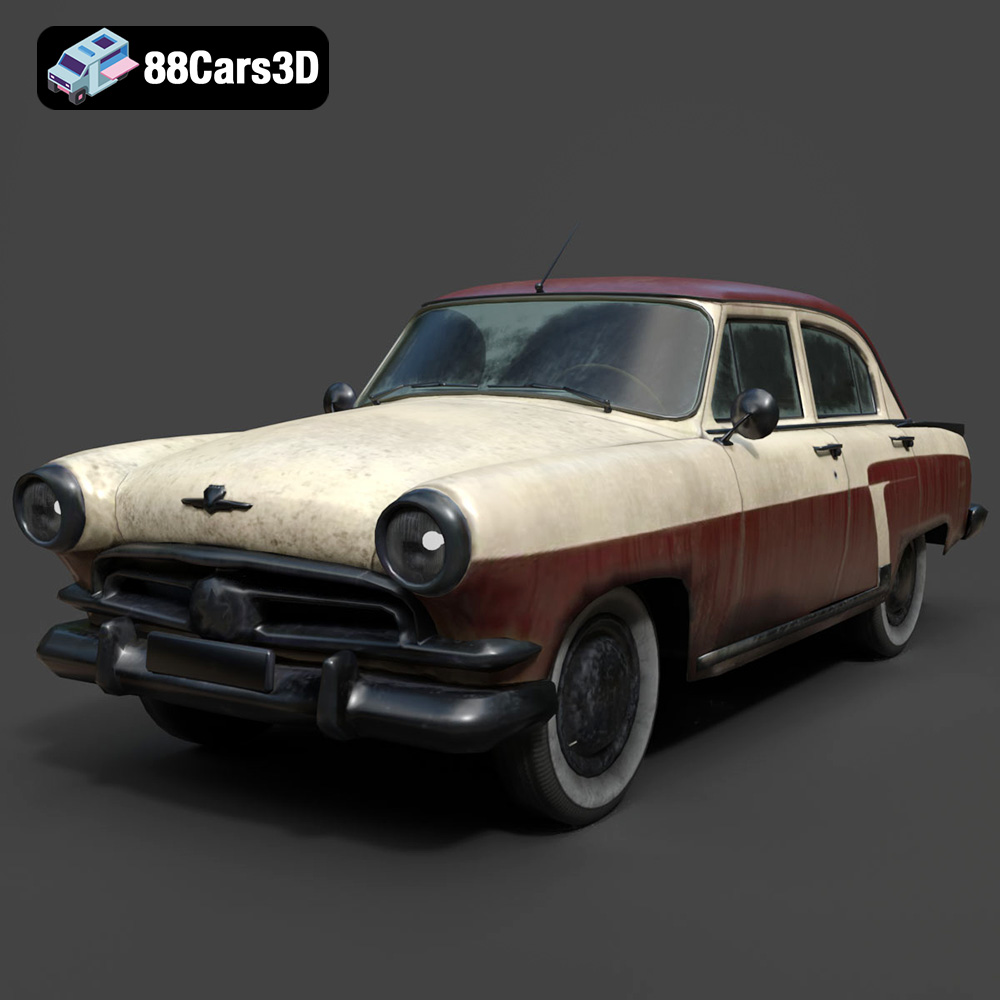
Texture: Yes | Material: Yes
Download the highly detailed, game-ready GAZ-21 Volga 3D Model. Features classic Soviet body geometry, iconic front grille, and detailed exterior chrome accents. Includes .blend, .fbx, .obj, .glb, .stl, .ply, .unreal, and .max formats for game development, AR/VR, and rendering.
Price: $99.99
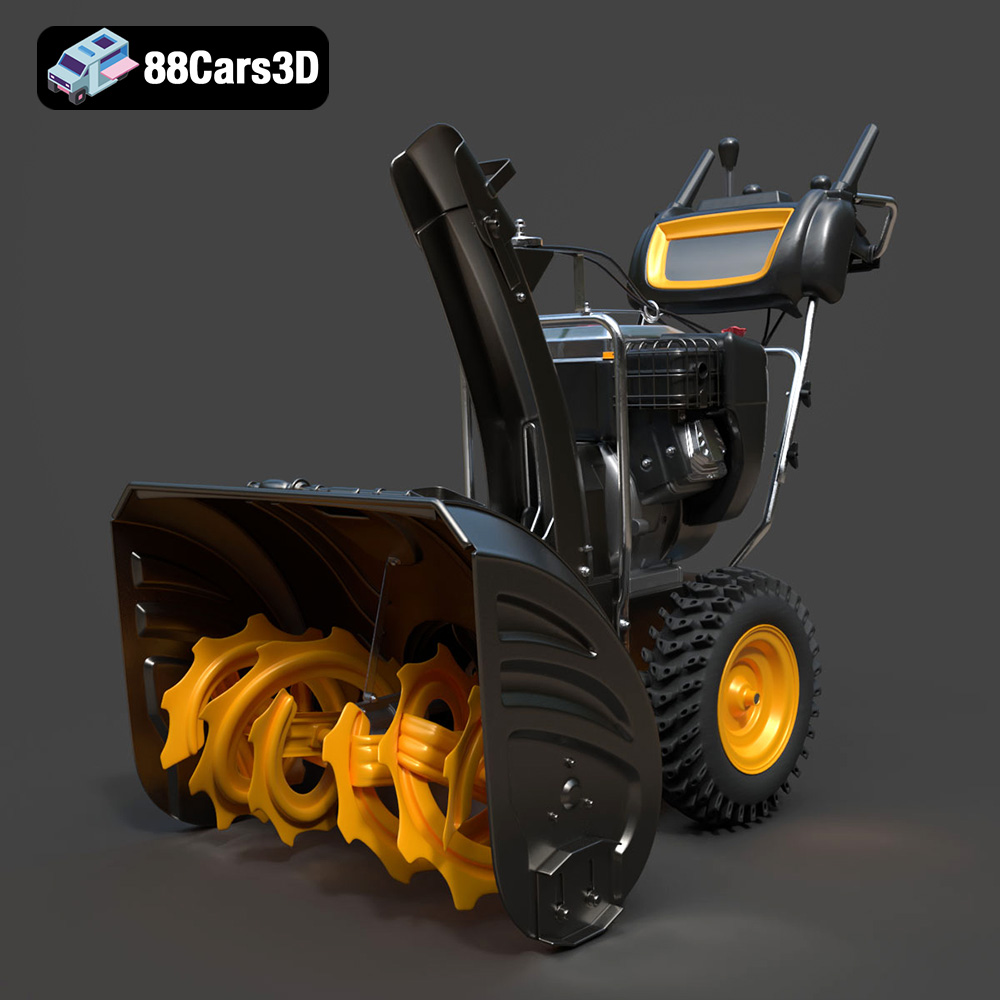
Texture: Yes | Material: Yes
Download the highly detailed, game-ready Husqvarna Snow Plow 3D Model. Features heavy-duty front plow blade, robust chassis, and realistic mechanical controls. Includes .blend, .fbx, .obj, .glb, .stl, .ply, .unreal, and .max formats for game development, AR/VR, and rendering.
Price: $145.50
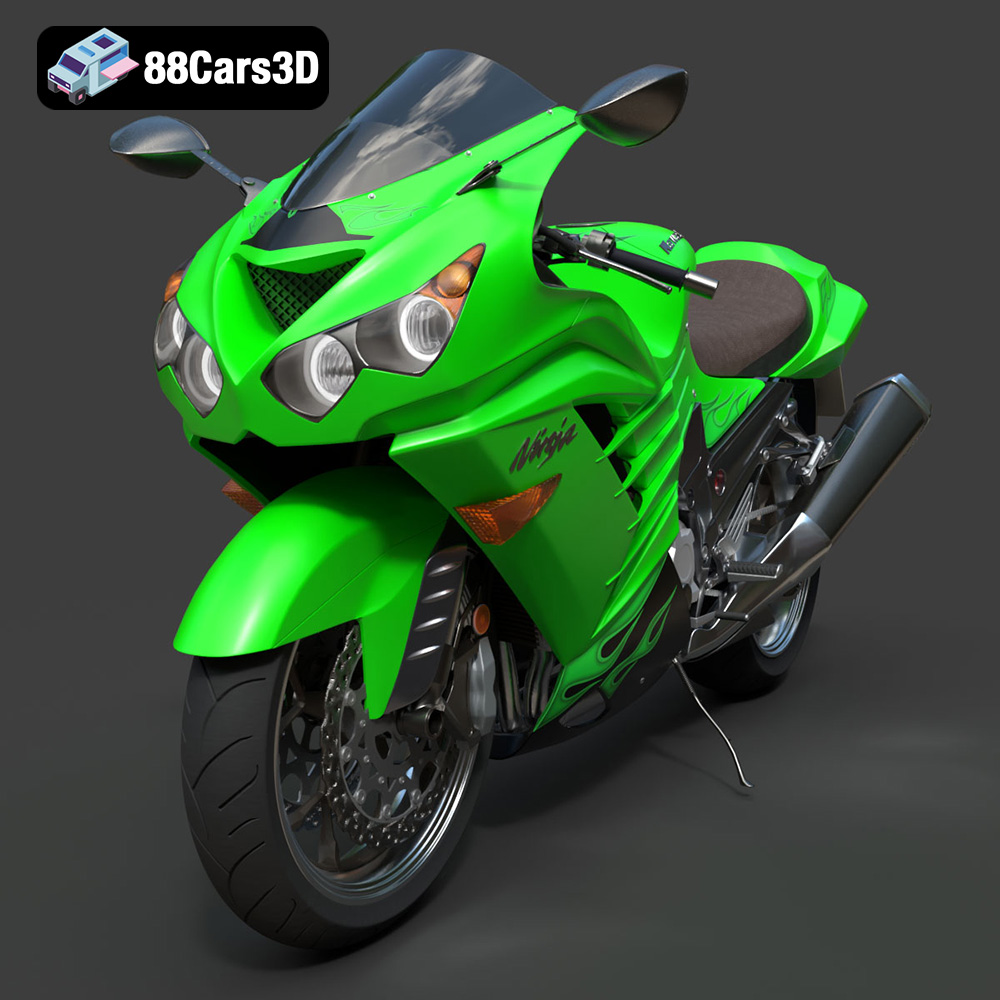
Texture: Yes | Material: Yes
Download the highly detailed, game-ready Kawasaki ZX14R 2012 3D Model. Features aggressive hyper-sport fairings, detailed inline-four engine, and iconic dual exhausts. Includes .blend, .fbx, .obj, .glb, .stl, .ply, .unreal, and .max formats for game development, AR/VR, and rendering.
Price: $170.00
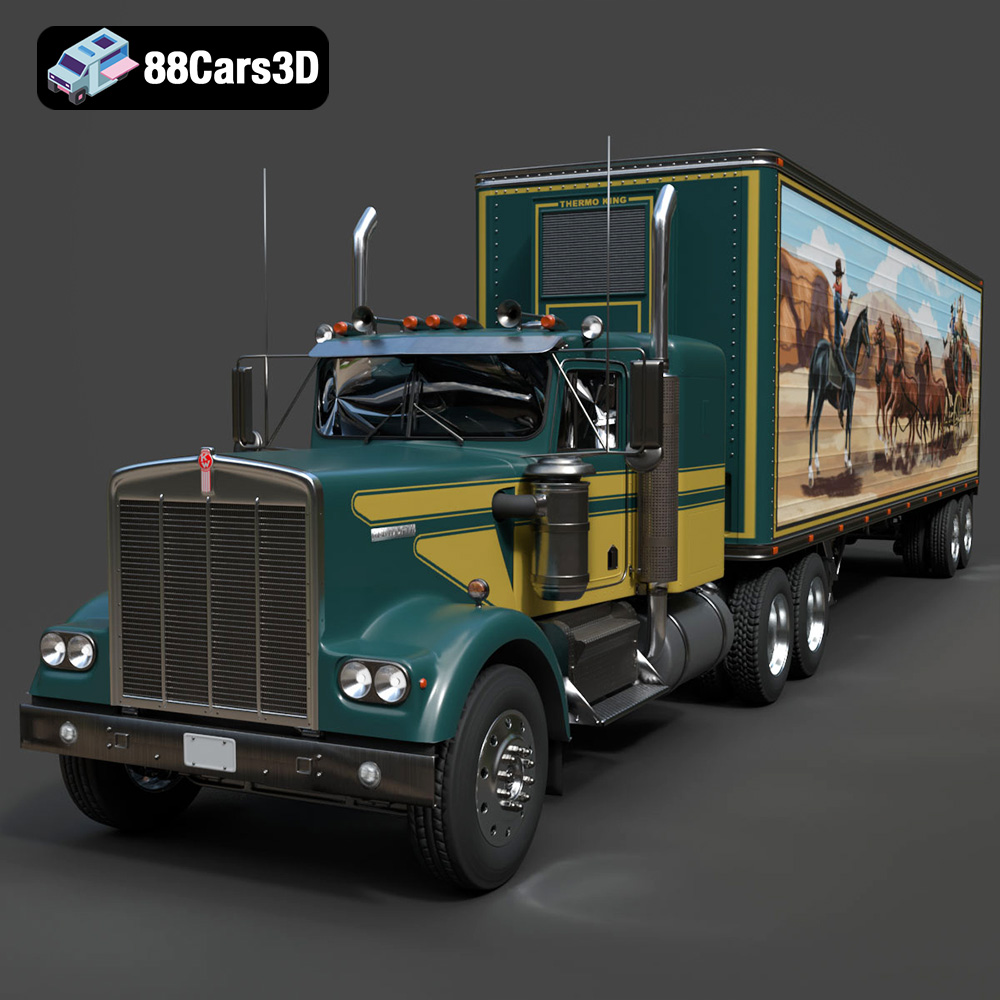
Texture: Yes | Material: Yes
Download the highly detailed, game-ready Kenworth W900 1974 3D Model. Features classic long-nose hood styling, detailed chrome exhaust stacks, and realistic dual tandem axles. Includes .blend, .fbx, .obj, .glb, .stl, .ply, .unreal, and .max formats for game development, AR/VR, and rendering.
Price: $299.50
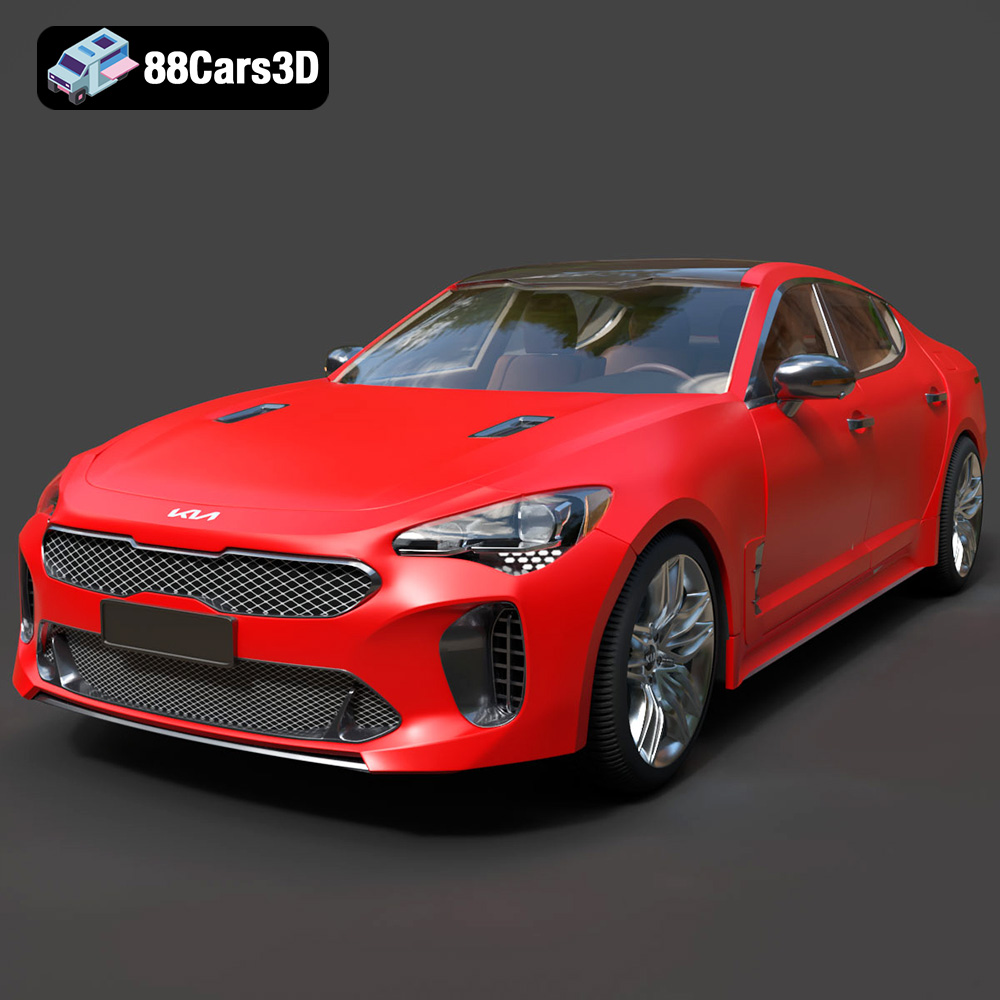
Texture: Yes | Material: Yes
Download the highly detailed, game-ready Kia Stinger 2021 3D Model. Features tiger-nose grille styling, quad exhaust tips, and high-fidelity interior details. Includes .blend, .fbx, .obj, .glb, .stl, .ply, .unreal, and .max formats for game development, AR/VR, and rendering.
Price: $299.50
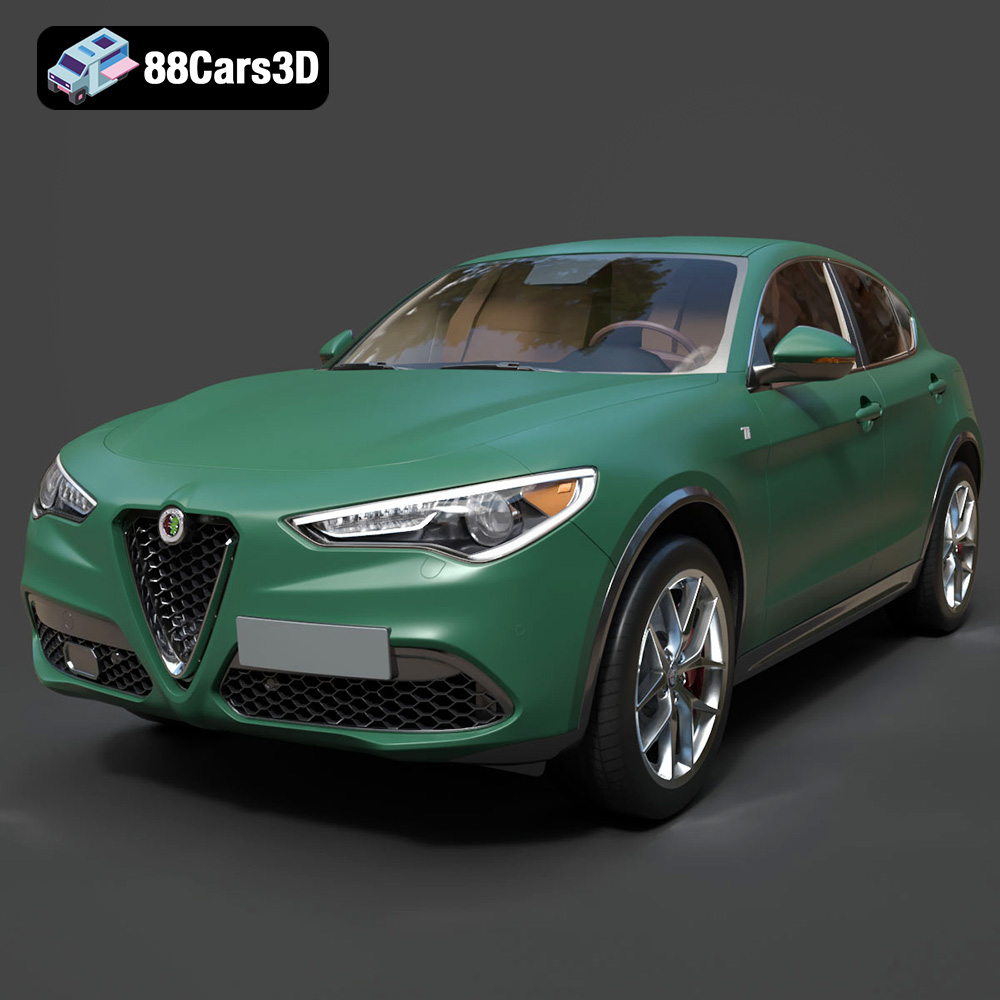
Texture: Yes | Material: Yes
Download the highly detailed, game-ready Alfa Romeo Stelvio Ti 2020 3D Model. Features signature Italian luxury SUV styling, detailed interior, and accurate chassis geometry. Includes .blend, .fbx, .obj, .glb, .stl, .ply, .unreal, and .max formats for game development, AR/VR, and rendering.
Price: $237.99
