

Creating stunning 3D car models for visualization, automotive design, game development, or AR/VR applications is a rewarding artistic and technical endeavor. However, bringing these highly detailed models to life with photorealistic rendering often encounters a significant bottleneck: render times. Blender’s Cycles renderer, renowned for its physically accurate light transport and incredible visual fidelity, can sometimes test the patience of even seasoned 3D artists. While the pursuit of realism is paramount, prolonged render times can impede productivity, especially when dealing with complex automotive scenes featuring intricate reflections, sophisticated materials, and detailed environments.
This comprehensive guide delves deep into the strategies and techniques for optimizing Cycles render times in Blender, specifically tailored for high-fidelity 3D car models. We’ll explore core performance factors, dissect scene geometry, fine-tune materials, streamline lighting, and leverage advanced render settings to dramatically cut down your wait time without compromising visual quality. Whether you’re an automotive designer showcasing a new concept, a game developer building assets, or a visualization professional creating marketing imagery, mastering these optimizations is crucial. By the end of this article, you’ll be equipped with the knowledge to render your automotive masterpieces from platforms like 88cars3d.com faster and more efficiently, allowing you more time for creative iteration and less time staring at a progress bar.
Before diving into optimization, it’s essential to understand the fundamentals of how Cycles operates. Cycles is a “path tracer,” meaning it simulates light by tracing countless individual light paths (rays) from the camera into the scene. Each ray bounces off surfaces, picking up color and light information until it finds a light source or is terminated after a certain number of bounces. This physically based approach yields incredibly realistic results, but it’s computationally intensive. The more complex your scene – more geometry, intricate materials, detailed lighting – the more rays Cycles needs to trace, and the longer your render will take. Our goal is to guide these rays efficiently and reduce unnecessary calculations.
One of the first decisions you make when rendering in Cycles is whether to utilize your Central Processing Unit (CPU) or Graphics Processing Unit (GPU). This choice profoundly impacts render speed. GPUs are generally much faster for Cycles rendering due to their highly parallel architecture, capable of handling thousands of calculations simultaneously, which is perfect for ray tracing. Modern NVIDIA GPUs support CUDA and OptiX (a specialized ray-tracing API for NVIDIA RTX cards), while AMD GPUs utilize OpenCL or HIP (AMD’s solution). Apple’s M-series chips use Metal. You can select your preferred device in Blender’s Preferences > System settings.
While GPUs offer a significant speed advantage, CPUs still have their place. CPUs typically have access to more system RAM, making them suitable for extremely memory-intensive scenes that might exceed a GPU’s VRAM (Video RAM) capacity. For instance, if you’re rendering an entire car assembly with numerous high-resolution 3D car models, a large environment, and vast texture maps, a GPU might run out of memory, crashing the render. In such cases, CPU rendering, though slower, provides stability. For most automotive rendering tasks, especially hero shots or smaller scenes, leveraging the power of an NVIDIA RTX card with OptiX enabled or an AMD card with HIP is often the fastest route. Ensure your graphics drivers are up to date for optimal performance.
Sampling is the core mechanism by which Cycles resolves the image. Each sample represents a ray traced into the scene. More samples generally lead to less noise and a cleaner image, but at the cost of longer render times. Blender offers several critical settings to manage this balance. In the Render Properties panel under “Sampling,” you’ll find “Max Samples” and “Noise Threshold.” Instead of simply setting a high Max Samples value, which can lead to over-sampling in already clean areas, utilize “Adaptive Sampling.” Adaptive Sampling intelligently stops sampling areas of the image once they reach a specified noise threshold, allocating more samples to noisy regions and fewer to clean ones. This can provide substantial speedups without sacrificing overall quality.
Denoising is another powerful tool to combat noise and reduce sample counts. Blender integrates several denoising options: OpenImageDenoise (OIDN), OptiX Denoising, and NLM (Non-Local Means, a legacy option). OptiX Denoising, exclusive to NVIDIA RTX GPUs, is exceptionally fast and often delivers excellent results directly in the viewport and final render. OIDN, on the other hand, is CPU-based, slower but generally provides high-quality results, especially for complex scenes with fine details or intricate materials common in automotive rendering. It can be used during rendering or as a post-processing step in the compositor. The key is to find the lowest sample count combined with the most effective denoiser that removes perceptible noise without smudging details or introducing artifacts. For a detailed overview of Cycles rendering settings, including sampling and denoising, refer to the official Blender 4.4 documentation on Cycles Render Settings.
The geometric complexity of your 3D car models and the overall scene plays a pivotal role in render performance. Every polygon, every vertex, and every edge contributes to the computational load Cycles has to manage. While models from professional marketplaces like 88cars3d.com typically feature excellent, optimized topology, integrating them into a larger scene or adding custom details requires careful management of polygon counts and efficient modeling practices.
High polygon counts are the primary culprit behind slow renders and increased memory usage. While subdivision surface modifiers are excellent for creating smooth, curved surfaces essential for automotive aesthetics, they exponentially increase the polygon count. The trick is to find the right balance. For hero assets like the main 3D car model, higher subdivision levels might be necessary for close-up shots. However, for distant objects, lower subdivision levels or even simplified mesh versions are perfectly acceptable. Using the “Levels Viewport” and “Levels Render” settings on the Subdivision Surface modifier allows you to display a lower-res mesh in the viewport for responsiveness while rendering a higher-res version.
Another powerful tool is the Decimate modifier. It can intelligently reduce polygon count while attempting to preserve UV maps and overall shape, useful for optimizing background elements or creating LODs (Levels of Detail). When modeling from scratch or refining existing meshes, always strive for clean topology with good edge flow. Avoid Ngons (faces with more than four vertices) and excessive triangulation where quads would suffice, as these can sometimes create rendering artifacts or complicate UV mapping. An efficient mesh structure not only renders faster but is also easier to work with, especially for deformations or future modifications. For game asset development, maintaining poly budgets is even more critical, often involving baking normal maps from high-poly models onto low-poly ones.
When you have multiple identical objects in your scene – perhaps four tires, a set of bolts, or repeating interior details – how you duplicate them makes a massive difference in memory consumption and render times. Using Shift+D to duplicate an object creates an entirely new, independent mesh data block for each copy. This means Cycles has to load and process unique geometric information for every single duplicate, even if they look identical. This quickly eats up VRAM and system RAM.
The superior alternative is to use Alt+D to create “linked duplicates” or “instances.” An instance shares the same mesh data block as the original object. Cycles only needs to load and process the geometry once, regardless of how many instances you have in your scene. This drastically reduces memory footprint and can lead to significant speedups, especially in scenes with many repeating elements. For a 3D car model, this is invaluable for wheels, brake calipers, emblems, and interior buttons. While the mesh data is linked, you can still transform (move, rotate, scale) individual instances. Grouping these instances into Collections further enhances scene organization and allows for easier management of visibility and renderability. For more on duplicating objects, consult the Blender 4.4 documentation on duplicating objects.
Realistic PBR (Physically Based Rendering) materials are crucial for giving 3D car models their convincing look, from metallic paint to glass and rubber. However, complex shader networks and high-resolution textures can quickly become performance bottlenecks in Cycles. Optimizing these elements is key to achieving both visual quality and efficient render times.
While the Principled BSDF shader in Blender is incredibly versatile and physically accurate, artists often create elaborate node networks for highly specific effects like multi-layered car paint, iridescent materials, or complex wear and tear. While powerful, overly complex shader graphs with numerous procedural textures, mathematical operations, and mix shaders can significantly increase render time, as Cycles has to calculate each node for every ray bounce. One powerful strategy is to simplify where possible. Can a complex procedural texture be baked down to an image texture? Baking is the process of transferring texture information (like color, normals, ambient occlusion, or even full PBR material outputs) from a complex setup or high-poly mesh onto a simpler image map. This converts computationally expensive real-time calculations into a simple texture lookup, offering massive speed benefits.
Furthermore, when creating custom shader groups, ensure they are efficient. Avoid unnecessary calculations or nodes that don’t visibly contribute to the final look. For instance, if a specific part of your car model doesn’t need subsurface scattering, ensure that input on the Principled BSDF is at zero. For automotive glass, consider using simpler glass shaders for distant elements or interior glass that doesn’t need to be perfectly refractive. The fewer calculations Cycles has to perform per ray, the faster your render will be. Professional 3D car models from marketplaces like 88cars3d.com often come with optimized PBR material setups, providing a great starting point for efficiency.
High-resolution textures are fantastic for detail, but they consume vast amounts of VRAM and system RAM, leading to slower texture loading and potentially out-of-memory errors. A single 8K texture can take up significantly more memory than a 2K texture, and a scene with dozens of 8K maps can quickly overwhelm your system. The key is judicious texture resolution management. For primary surfaces like the car body paint, a 4K or even 8K texture might be appropriate for extreme close-ups. However, for less prominent details, interior elements, or parts that will only be seen from a distance, 2K or even 1K textures are often perfectly adequate.
When preparing assets, particularly for game development or AR/VR, consider using texture atlases. An atlas combines multiple smaller textures into a single, larger image, which can improve rendering performance by reducing the number of draw calls (which, while more relevant for real-time engines, still has some conceptual benefits in offline rendering by streamlining texture access). Additionally, Blender offers options to pack textures into the .blend file (under File > External Data > Pack Resources) and adjust their compression settings within the Image Editor, which can help manage file size and loading times. Ensure your UV maps are efficient, without excessive stretching or overlapping, to make the most of your texture space.
Lighting is the soul of any render, particularly for showcasing the sleek forms and reflective surfaces of 3D car models. However, poorly optimized lighting and environmental setups can be significant contributors to sluggish render times in Cycles. Crafting an effective lighting scheme that is both beautiful and performant is an art in itself.
High Dynamic Range Images (HDRIs) are a popular choice for environment lighting due to their ability to provide realistic, complex lighting and reflections with minimal setup. While incredibly efficient for providing global illumination, an HDRI still contributes to ray tracing calculations. Ensure your HDRI resolution is appropriate for your needs; an 8K or 16K HDRI might be overkill if it’s primarily contributing light and not visible as a background plate. Often, a 4K HDRI suffices for lighting, with a separate high-resolution backplate image if the environment needs to be visually prominent.
For direct light sources, such as studio lights or sun lamps, consider their type and size. Area lights are excellent for soft, realistic shadows, but larger area lights can sometimes increase render times due to the larger surface area from which rays can originate. Point and spot lights are generally faster but produce sharper shadows, which might not always be desirable for automotive beauty shots. A critical area for optimization lies in the “Light Paths” settings within the Render Properties. Reducing the “Total” number of light bounces (e.g., from default 12 to 8 or even 6) can yield significant speedups, especially for scenes without complex transparent materials or volumetric effects. Similarly, adjusting “Diffuse,” “Glossy,” and “Transmission” bounces can fine-tune performance. For example, reducing glossy bounces might slightly impact the realism of complex reflections but can drastically cut render time if the visual impact is minimal. The “Shadow Terminator” setting can also help mitigate self-shadowing artifacts on low-poly meshes, which can otherwise cause unnecessary ray calculations.
Volumetric effects, such as fog, mist, or atmospheric haze, add depth and realism to automotive renders, but they are notoriously computationally expensive in Cycles. Each ray traveling through a volume requires numerous calculations to determine absorption, scattering, and emission. If volumetrics are critical to your scene, consider simplifying them. Lower the “Step Rate” for volume sampling, which means Cycles takes fewer steps through the volume, speeding up calculations at the cost of potential visual artifacts (which might be unnoticeable with subtle effects). Alternatively, for distant fog or haze, these effects can often be faked effectively in Blender’s compositor or an external image editor using render passes (like a Z-depth pass) or simple gradient overlays, avoiding the performance hit of true volumetric rendering.
Beyond active volumetric objects, ensure your environment itself isn’t adding unnecessary complexity. If your background is static, consider baking environmental occlusion or even using a simpler mesh if it won’t be seen up close. Any geometry that light rays can interact with contributes to render time, even if it’s out of frame. Optimize your background elements as meticulously as your main 3D car models.
The camera setup, while seemingly straightforward, can also influence render times. Depth of Field (DoF) is a powerful photographic effect that blurs parts of the image outside the focal plane, drawing attention to your subject. However, accurate DoF in Cycles is computationally intensive because it requires more rays to be traced to simulate the out-of-focus blur realistically. If DoF is crucial, keep the “F-stop” value relatively high (e.g., f/4 to f/8) to reduce the intensity of the blur. Also, consider the “Blades” parameter if you’re simulating aperture shape; higher blade counts can increase computation. For maximum speed, especially during iterations, disable DoF in the render and instead apply a post-processing DoF effect in Blender’s compositor or an external image editor using a Z-depth pass. This approach gives you greater control and much faster feedback.
For quick tests and iterative rendering, utilize “Render Region” (Shift+B in the viewport). This allows you to render only a specific portion of your camera view, providing faster previews of material adjustments or lighting changes without rendering the entire frame. This simple trick is invaluable for speeding up your workflow when finessing details on your 3D car models.
Blender’s Render Properties panel holds a treasure trove of settings that can be tweaked to significantly optimize Cycles performance. Understanding and strategically adjusting these parameters can unlock considerable speedups, especially for complex automotive rendering tasks.
Within the Render Properties, the “Performance” tab offers crucial controls. For GPU rendering, the “Tile Size” setting (or “Dynamic Tiles” in newer Blender versions) is vital. Traditionally, for CPU rendering, larger tiles (e.g., 256×256 or 512×512) were generally faster. However, for modern GPUs, smaller dynamic tile sizes (often automatically managed or set to something like 32×32 or 64×64) tend to utilize the GPU more efficiently by keeping its processing units consistently busy. Experiment with this setting to find the sweet spot for your specific GPU. Another important feature is “Persistent Data.” When rendering animations or multiple still images from the same .blend file, enabling “Persistent Data” tells Cycles to keep scene data (like geometry and textures) loaded in VRAM between frames. This eliminates the overhead of reloading data for each frame, resulting in substantial speedups for animation sequences. Just be mindful that it consumes more VRAM, so disable it if memory is constrained for single-frame renders. Always differentiate between “Viewport” and “Render” settings, allowing you to have a faster, lower-quality viewport preview while maintaining high-quality final renders.
Revisiting the “Light Paths” section, you can gain significant control over render times. Reducing the “Total” light bounces is the most direct way to cut down computations. For many realistic automotive scenes, a total of 8 to 12 bounces is often sufficient. Going lower than this might introduce unrealistic darkness in recessed areas or reduce the richness of global illumination. However, if your scene doesn’t feature complex refractions or volumetrics, you can safely reduce “Volume” and “Transmission” bounces. The “Transparent” bounces setting is critical for realistic glass and semi-transparent elements common in car models; reducing this too much can make objects look opaque or introduce artifacts. Balance is key here: push the values down until you notice a clear degradation in visual quality, then back off slightly.
Clamping is another powerful tool. “Clamping Direct” and “Clamping Indirect” light values (often set to 0 by default, meaning no clamping) can help reduce “fireflies” (extremely bright, isolated pixels of noise) by limiting the maximum intensity of light contributions. While effective for noise reduction and faster convergence, be cautious as aggressive clamping can flatten the dynamic range of your image, making it less realistic. Use it subtly, perhaps starting with a value like 10 for indirect light, and gradually increase if fireflies persist, always monitoring the visual impact. This can help Cycles resolve noisy areas faster, reducing the overall sample count needed for a clean image.
Baking is an indispensable technique for optimizing static scene elements. Instead of having Cycles calculate complex procedural textures, ambient occlusion, or even full lighting for a static object every frame, you can “bake” this information into image textures. For example, if you have a detailed ground plane or a static background building that receives ambient occlusion, you can bake an ambient occlusion map to an image and then use that map in your material. This converts a real-time calculation into a simple texture lookup, drastically reducing render time. For game assets or models destined for real-time visualization, baking normal maps from high-poly sculpts onto low-poly meshes is standard practice. Similarly, baking light maps (full illumination information) onto textures can be used for pre-calculated lighting in static scenes, useful for architectural visualization or static renders where the lighting doesn’t change. This is a crucial step when preparing 3D car models for deployment in game engines like Unity or Unreal Engine, where performance is paramount.
Optimizing Cycles render times isn’t solely about what happens inside the renderer; it also involves smart workflow choices and leveraging post-processing. Sometimes, rendering a slightly less perfect image and refining it in post-production can be far faster and more flexible than trying to achieve absolute perfection solely within Cycles.
Blender’s built-in compositor is an incredibly powerful, node-based environment for enhancing your renders. Instead of continually re-rendering your scene for minor adjustments, you can use the compositor to perform color correction, add glare or bloom effects, introduce lens distortion, or even apply a subtle depth of field. A key strategy here is to render with “Render Passes” enabled. Passes like Cryptomatte (for easily selecting specific objects or materials for masking), Z-depth (for post-processing DoF or fog), Ambient Occlusion, Normals, and Diffuse/Glossy Direct/Indirect provide individual layers of information. This gives you immense flexibility. For example, if your ambient occlusion looks too strong, you can adjust its intensity in the compositor without re-rendering the entire scene. You can even render the 3D car model separately from a complex background, allowing you to optimize render settings for each element independently and then combine them in the compositor, dramatically saving time on complex automotive scenes.
Beyond Blender’s compositor, leveraging external image editing software like Adobe Photoshop, GIMP, or Affinity Photo is a professional workflow staple. Minor color tweaks, contrast adjustments, adding subtle atmospheric effects, or even painting in small details can be done far faster in these applications than by re-rendering. This approach encourages a mindset of rendering “good enough” and then elevating the image in post-production. For example, if your Cycles render is clean but slightly flat, a few curves adjustments and a subtle vignette in Photoshop can transform it without adding a single second to your render time. This is particularly valuable for product visualization where a consistent look across multiple renders is needed, easily achieved by applying the same post-processing adjustments.
An efficient workflow often involves an iterative process of testing and refinement. Instead of aiming for a final, high-resolution, high-sample render from the outset, start with quick, low-sample renders. Utilize the “Render Region” feature (Shift+B) to focus on small, critical areas like a car’s headlight or a complex rim material. Render at lower resolutions (e.g., 50% or 25% of final) to quickly test lighting, material responses, or camera angles. Only when you are confident with the overall look should you commit to the full, high-quality render. For professional automotive studios or game development teams, utilizing render farms for final animations or multiple high-resolution stills can be a cost-effective way to distribute the computational load and accelerate production timelines. However, even with powerful resources, local optimization remains crucial to keep costs down and allow for faster local iterations.
Optimizing Cycles render times in Blender for your exquisite 3D car models is a multifaceted endeavor, demanding a blend of technical understanding and strategic workflow decisions. We’ve explored how crucial it is to make informed choices about CPU vs. GPU rendering, intelligently manage sampling and denoising, and meticulously refine scene geometry to reduce unnecessary computations. Furthermore, we delved into crafting efficient PBR materials and managing texture resolutions, implementing smart lighting strategies, and leveraging advanced render settings to squeeze every bit of performance out of Cycles. Finally, we emphasized the power of post-processing and an iterative workflow to achieve stunning results without endless wait times.
By applying these comprehensive strategies – from fine-tuning Light Paths and employing object instancing to judiciously using clamping and baking complex elements – you can significantly accelerate your rendering process. The goal is always to strike a balance between visual fidelity and rendering efficiency, allowing you more creative freedom to iterate and perfect your automotive designs and visualizations. Remember, a high-quality starting point is invaluable; sourcing professionally optimized 3D car models from marketplaces like 88cars3d.com provides a solid foundation, enabling you to focus on the artistic nuances of lighting, camera, and post-production. Master these techniques, and you’ll transform the often-frustrating rendering wait into a productive phase of your 3D artistic journey, bringing your automotive visions to life with speed and stunning realism.
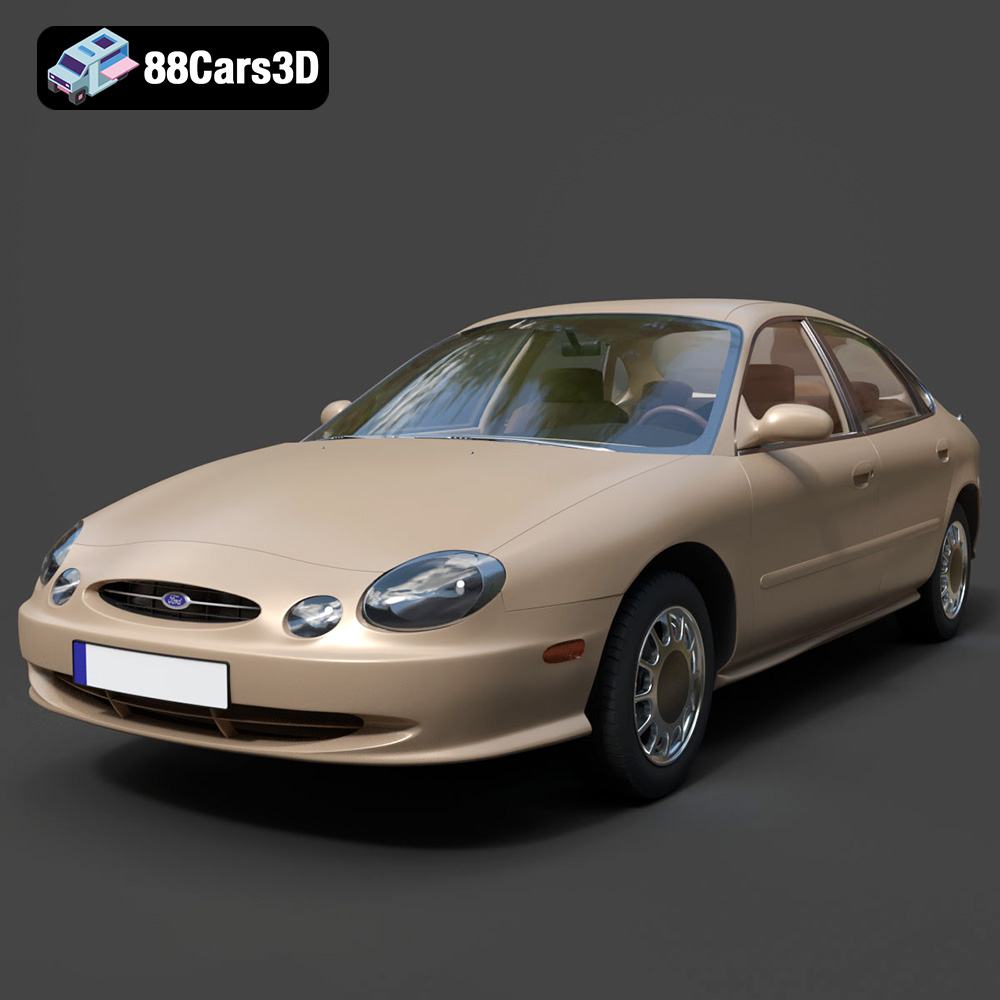
Texture: Yes | Material: Yes
Download the highly detailed, game-ready Ford Taurus 1996 3D Model. Features revolutionary oval exterior styling, detailed interior, and accurate chassis geometry. Includes .blend, .fbx, .obj, .glb, .stl, .ply, .unreal, and .max formats for game development, AR/VR, and rendering.
Price: $161.00
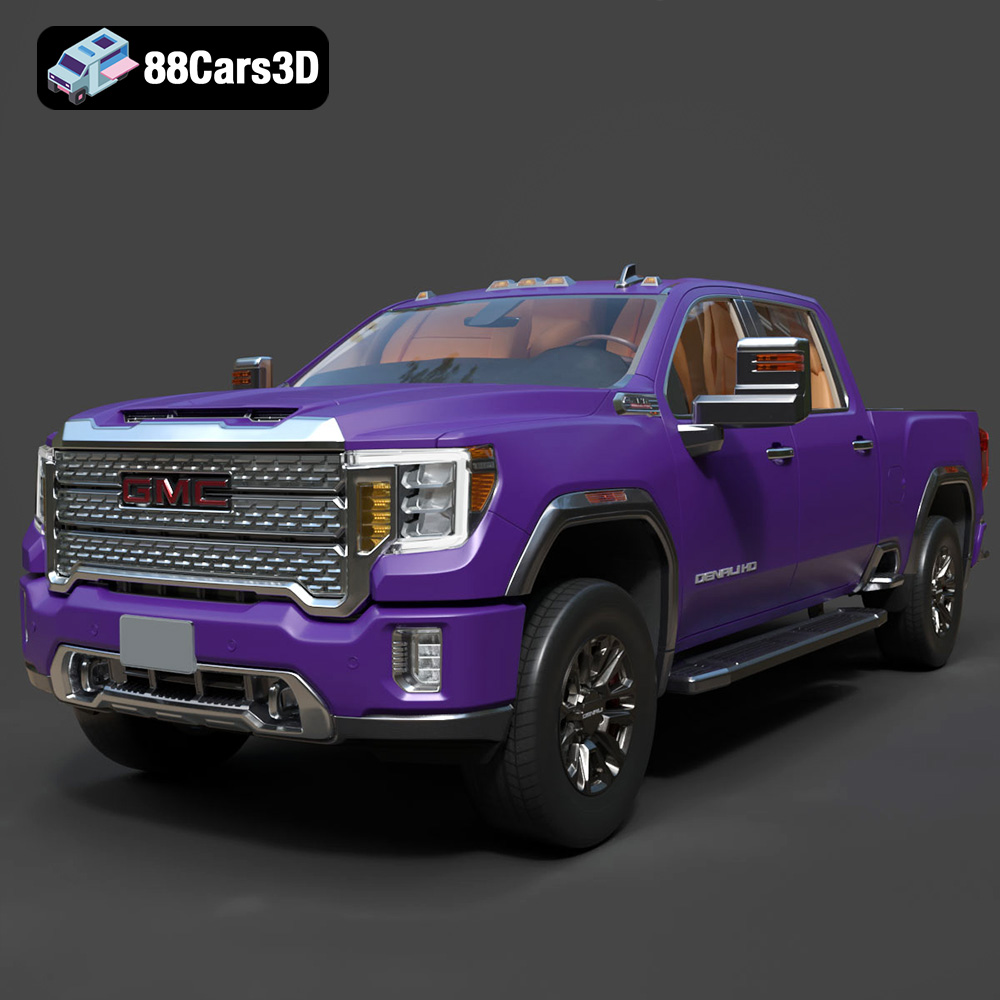
Texture: Yes | Material: Yes
Download the highly detailed, game-ready GMC Sierra HD Denali 2020 3D Model. Features iconic chrome Denali grille, detailed MultiPro tailgate, and heavy-duty chassis styling. Includes .blend, .fbx, .obj, .glb, .stl, .ply, .unreal, and .max formats for game development, AR/VR, and rendering.
Price: $274.50
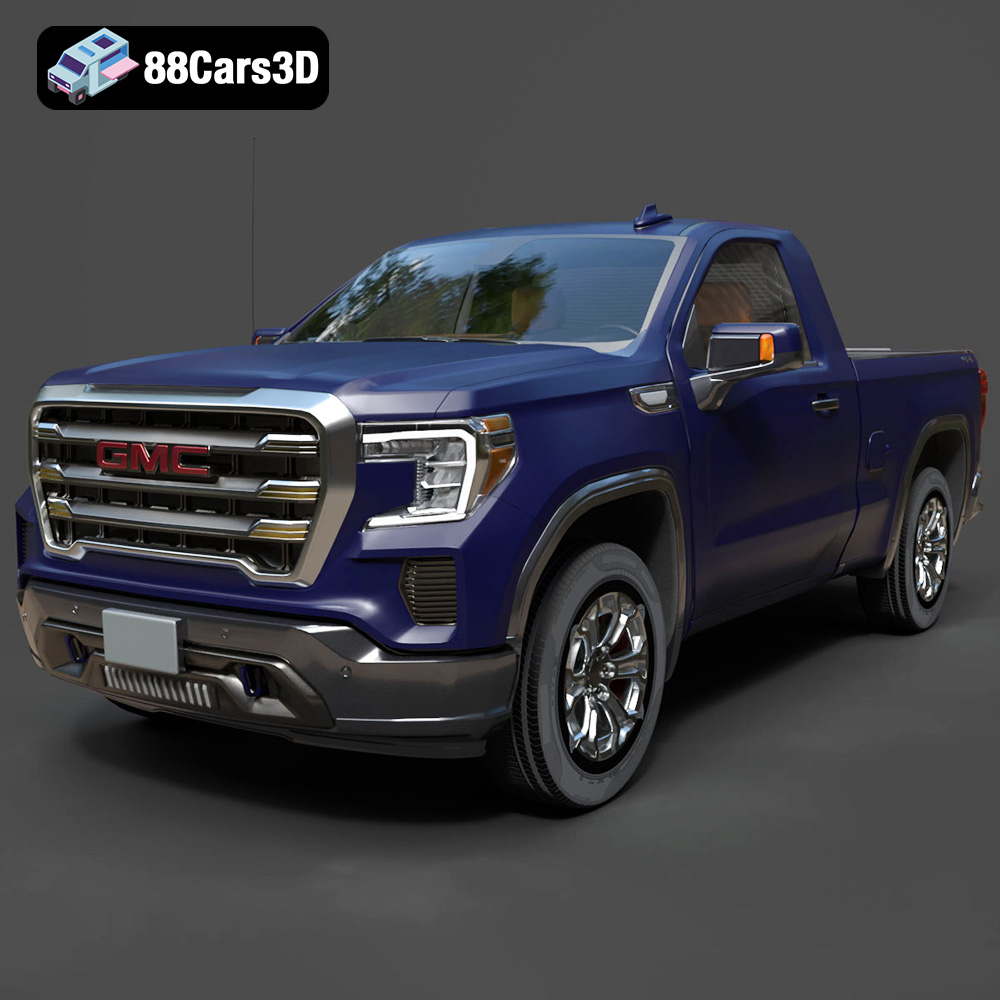
Texture: Yes | Material: Yes
Download the highly detailed, game-ready GMC Sierra Reg SLE 1500 2020 3D Model. Features bold pickup styling, detailed exterior trim, accurate undercarriage, and realistic cabin. Includes .blend, .fbx, .obj, .glb, .stl, .ply, .unreal, and .max formats for game development, AR/VR, and rendering.
Price: $133.50
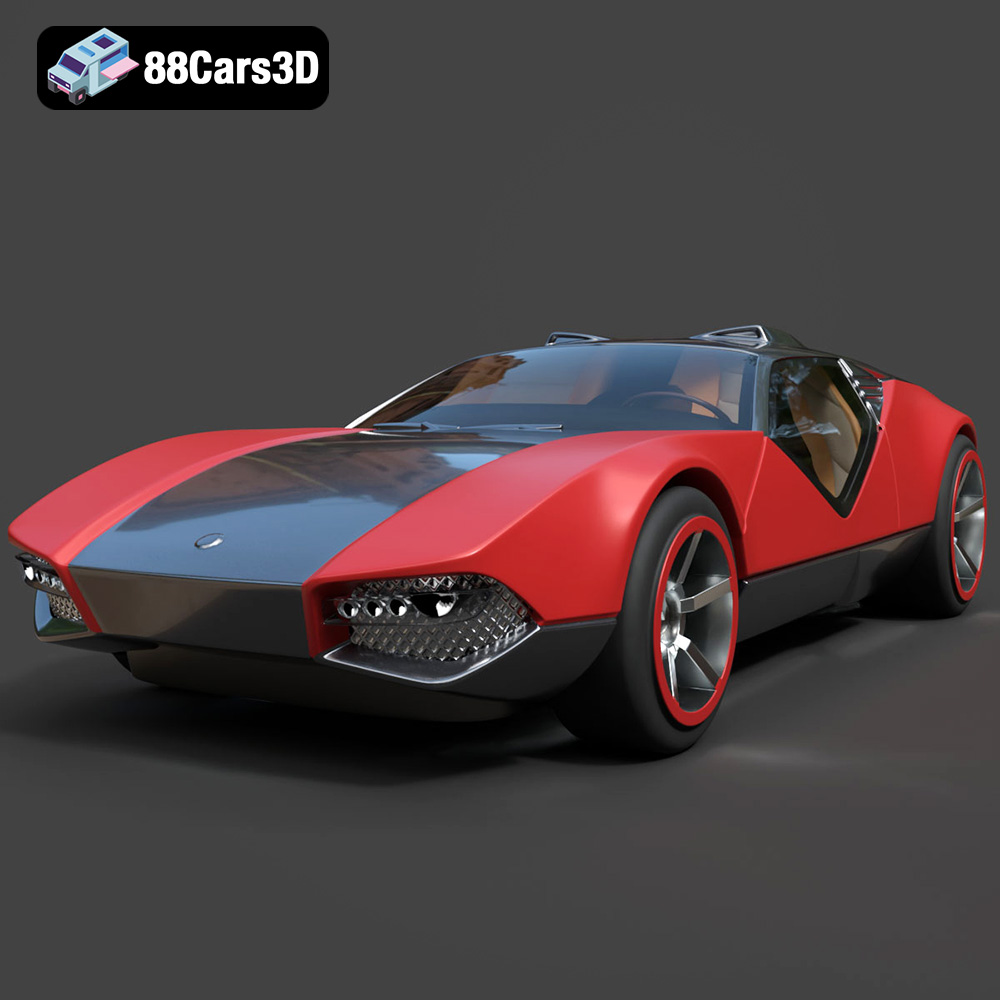
Texture: Yes | Material: Yes
Download the highly detailed, game-ready Hot Wheels La Fasta 3D Model. Features aggressive aerodynamic bodywork, custom racing wheels, and futuristic interior details. Includes .blend, .fbx, .obj, .glb, .stl, .ply, .unreal, and .max formats for game development, AR/VR, and rendering.
Price: $133.00
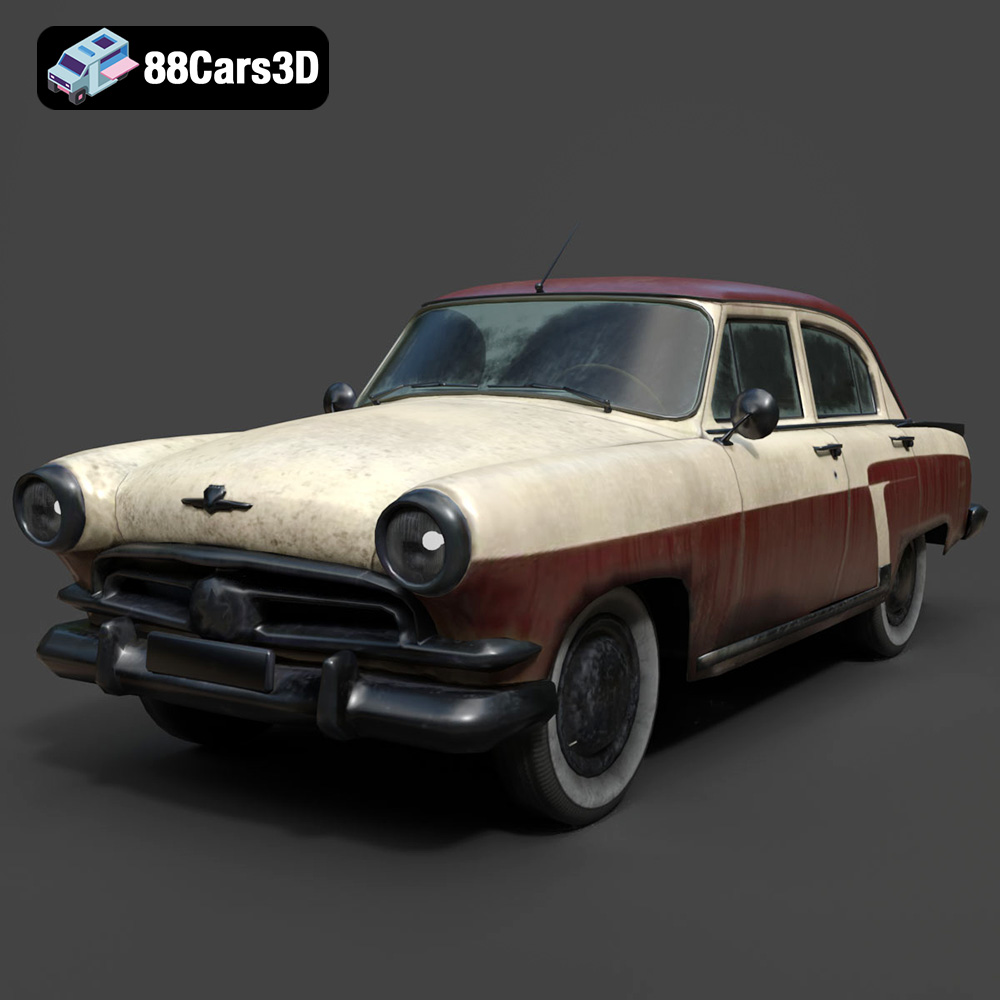
Texture: Yes | Material: Yes
Download the highly detailed, game-ready GAZ-21 Volga 3D Model. Features classic Soviet body geometry, iconic front grille, and detailed exterior chrome accents. Includes .blend, .fbx, .obj, .glb, .stl, .ply, .unreal, and .max formats for game development, AR/VR, and rendering.
Price: $99.99
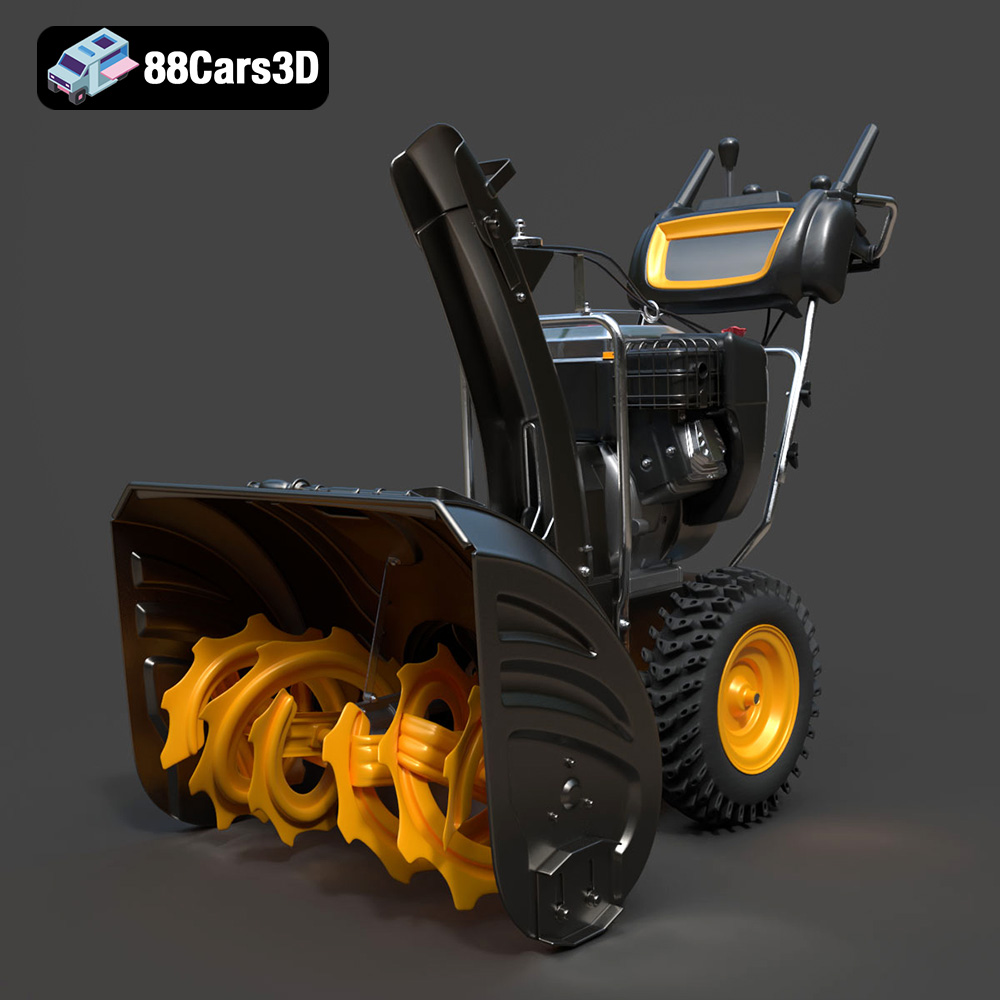
Texture: Yes | Material: Yes
Download the highly detailed, game-ready Husqvarna Snow Plow 3D Model. Features heavy-duty front plow blade, robust chassis, and realistic mechanical controls. Includes .blend, .fbx, .obj, .glb, .stl, .ply, .unreal, and .max formats for game development, AR/VR, and rendering.
Price: $145.50
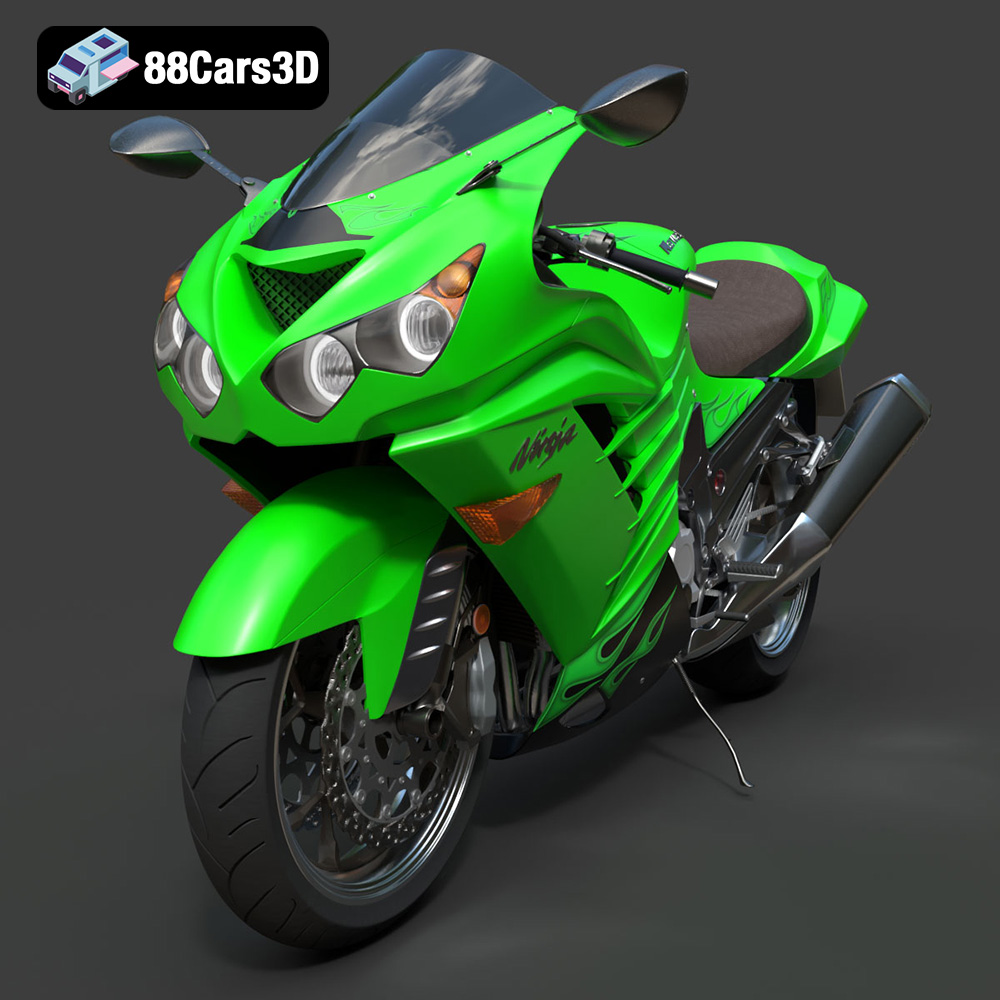
Texture: Yes | Material: Yes
Download the highly detailed, game-ready Kawasaki ZX14R 2012 3D Model. Features aggressive hyper-sport fairings, detailed inline-four engine, and iconic dual exhausts. Includes .blend, .fbx, .obj, .glb, .stl, .ply, .unreal, and .max formats for game development, AR/VR, and rendering.
Price: $170.00
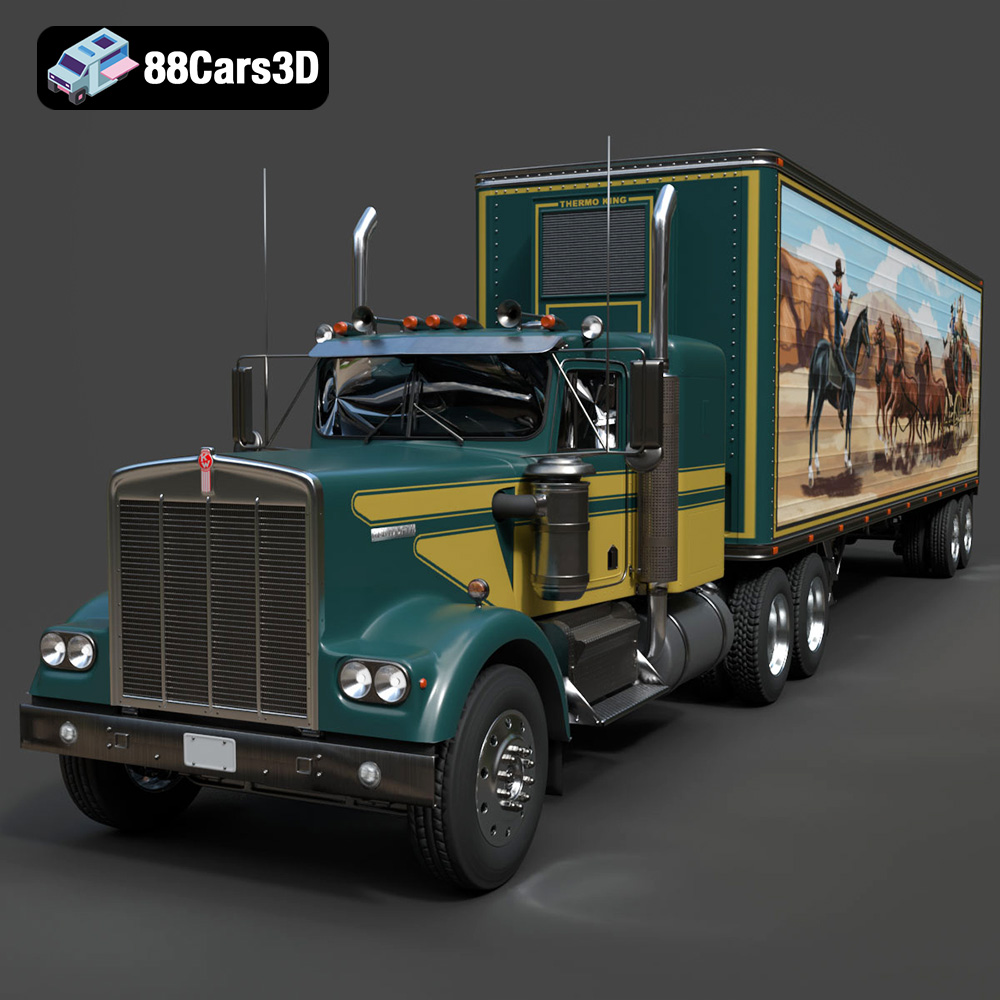
Texture: Yes | Material: Yes
Download the highly detailed, game-ready Kenworth W900 1974 3D Model. Features classic long-nose hood styling, detailed chrome exhaust stacks, and realistic dual tandem axles. Includes .blend, .fbx, .obj, .glb, .stl, .ply, .unreal, and .max formats for game development, AR/VR, and rendering.
Price: $299.50
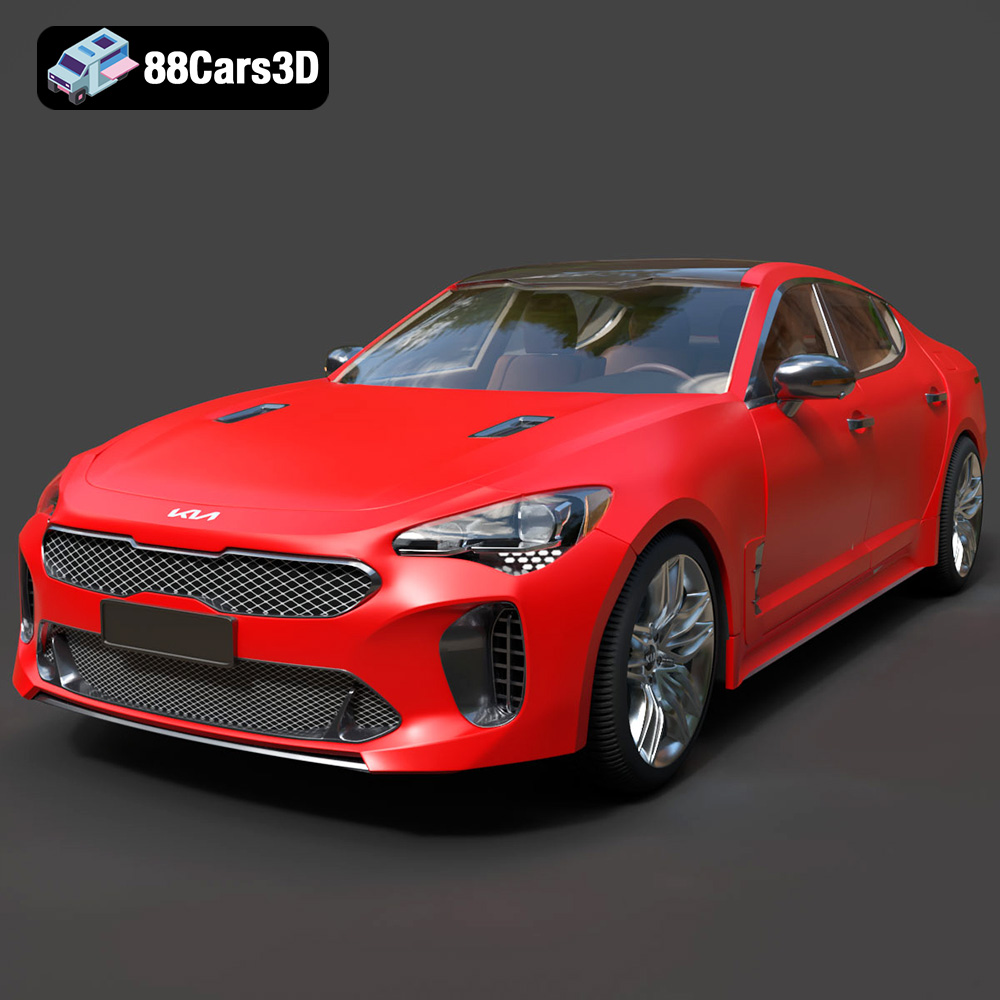
Texture: Yes | Material: Yes
Download the highly detailed, game-ready Kia Stinger 2021 3D Model. Features tiger-nose grille styling, quad exhaust tips, and high-fidelity interior details. Includes .blend, .fbx, .obj, .glb, .stl, .ply, .unreal, and .max formats for game development, AR/VR, and rendering.
Price: $299.50
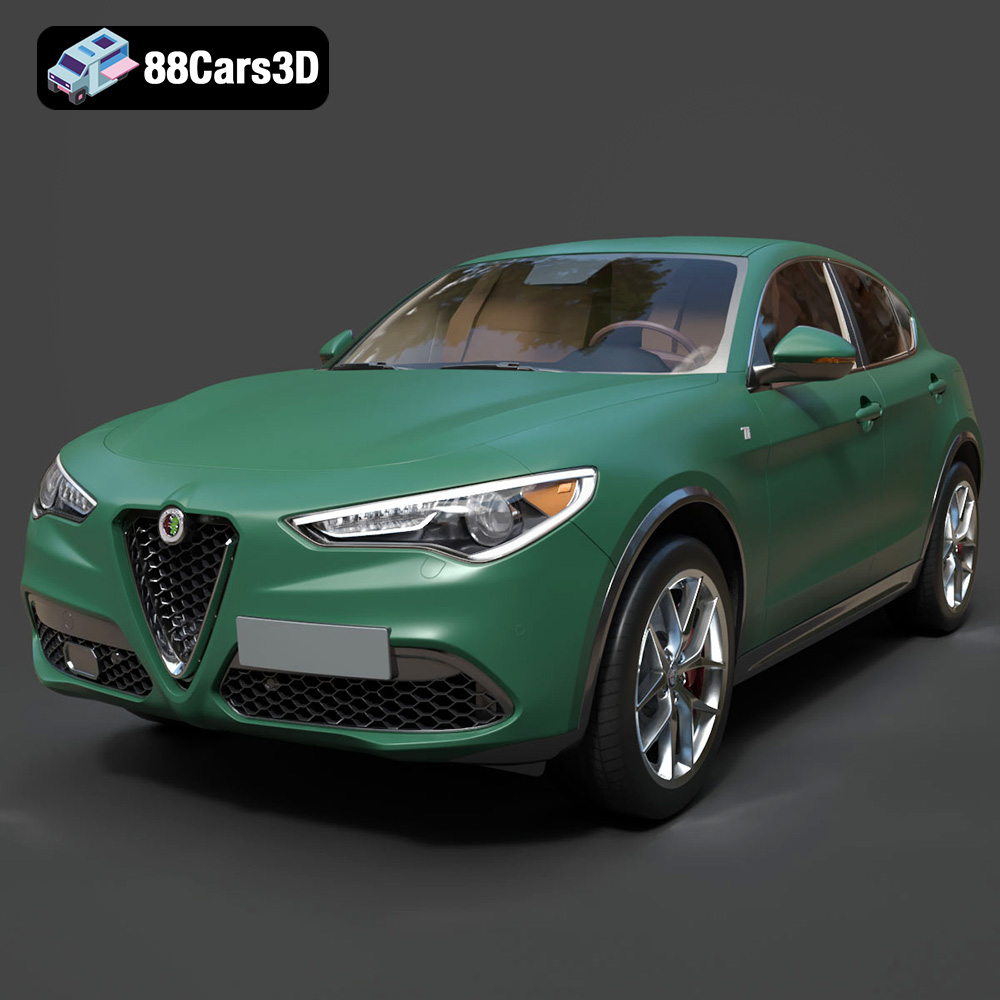
Texture: Yes | Material: Yes
Download the highly detailed, game-ready Alfa Romeo Stelvio Ti 2020 3D Model. Features signature Italian luxury SUV styling, detailed interior, and accurate chassis geometry. Includes .blend, .fbx, .obj, .glb, .stl, .ply, .unreal, and .max formats for game development, AR/VR, and rendering.
Price: $237.99
