

The gleam of a perfectly rendered car is often the first thing that captures attention in any automotive visualization, game, or animation. That deep, lustrous finish isn’t just a simple color; it’s a complex interplay of reflections, light scattering, metallic particles, and a protective clear coat. Achieving this level of realism in 3D software requires a deep understanding of physically based rendering (PBR) principles and the powerful tools at your disposal, none more central than Blender’s Shader Editor.
For 3D artists, game developers, and visualization professionals, mastering realistic car paint is a crucial skill. It can elevate a good 3D car model – perhaps one sourced from a platform like 88cars3d.com known for its clean topology and high-quality meshes – into a stunning, photo-realistic asset. This comprehensive guide will take you on an in-depth journey through Blender’s Shader Editor, unraveling the secrets behind creating compelling car paint materials. We’ll delve into the foundational PBR concepts, build intricate node networks, explore advanced effects like pearlescent and anisotropic finishes, discuss optimization for real-time applications, and touch upon the critical role of lighting. Prepare to transform your automotive renders from merely passable to breathtakingly authentic.
Before diving into Blender’s node jungle, it’s essential to grasp the underlying principles of Physically Based Rendering (PBR). PBR isn’t just a buzzword; it’s a methodology that aims to simulate how light interacts with surfaces in the real world, producing more consistent and believable results under varying lighting conditions. For automotive materials, PBR is the bedrock of realism, allowing us to accurately represent the complex layered structure of car paint.
At its heart, PBR relies on a few core properties that define how a material reflects and absorbs light. These typically include:
The beauty of PBR is its ability to ensure that your materials look correct no matter the environment. A car paint material created with PBR principles will react realistically whether placed under direct sunlight, in a shadowy garage, or under studio lights. This consistency is paramount for professional visualization and integration into diverse game scenes.
When applying PBR to car paint, we focus on specific properties that define its unique appearance:
Metallic value for the base layer, perhaps subtly, can simulate this effect, especially when combined with procedural noise or a normal map for flake distribution.Roughness value is essential. However, real-world surfaces are never perfectly smooth; subtle variations in roughness can be introduced via texture maps to simulate dust, micro-scratches, or manufacturing imperfections, adding to the realism.By carefully controlling these PBR parameters, we can meticulously craft a car paint shader that not only looks stunning but also behaves physically accurately, making your 3D car models truly shine.
Blender’s Shader Editor, built around a powerful node-based workflow, offers unparalleled flexibility for creating complex materials. For car paint, we leverage the Principled BSDF shader as our foundation, then build upon it with additional nodes to simulate the intricate layered structure of real-world automotive finishes.
The base coat is where the primary color of the car paint resides, along with the metallic flakes that give it depth and sparkle. We begin with a Principled BSDF node:
Base Color input to the desired hue of your car.Metallic value. For a metallic car paint, a value between 0.2 and 0.8 is often a good starting point, depending on the intensity of the metallic effect you desire. This value doesn’t need to be 1.0, as the flakes are suspended in a binder.Roughness than the clear coat (e.g., 0.3-0.5) can be a good approximation before the clear coat is applied.Noise Texture node and connect its Color or Factor output to a ColorRamp. Adjust the ColorRamp to create contrasting black and white dots, representing the flakes.Bump node’s Height input.Normal output to the Principled BSDF’s Normal input.Scale, Detail, and Roughness, and the Bump node’s Strength and Distance to control flake size, density, and intensity. For a more sophisticated look, you might use a Voronoi Texture for more distinct flake shapes.Anisotropic and Anisotropic Rotation inputs of the Principled BSDF. Generating a suitable anisotropic direction map often involves vector math and tangent nodes, or more complex procedural setups. This is generally reserved for very high-fidelity renders.The goal is to create a subtle sparkle and depth without making the surface look overly noisy or bumpy. The flakes should catch the light realistically as the camera or light source moves.
The clear coat is the transparent, highly reflective layer that sits atop the base coat, giving car paint its characteristic wet look. Blender’s Principled BSDF conveniently includes dedicated inputs for this:
Clearcoat value in the Principled BSDF node. A value of 1.0 is typical for a full clear coat.Clearcoat Roughness to a very low value (e.g., 0.01 – 0.05) for a pristine, mirror-like finish. For a more realistic, slightly worn look, you can introduce subtle variations.
Noise Texture connected to a ColorRamp, and then to the Clearcoat Roughness input. This will create areas of slightly higher roughness, simulating micro-scratches, dust, or smudges. Keep the effect very subtle; even minor variations have a significant impact.Normal input of the Principled BSDF, or even directly to the Clearcoat Normal input (if available in a more advanced setup or custom group) to further enhance micro-scratches.IOR input affects how much light refracts and reflects, and for clear coat, typical values are around 1.5 to 1.6. You generally won’t need to manually set up a Fresnel node for the clear coat itself when using Principled BSDF, as it handles this automatically and accurately for dielectric layers.The combination of a well-defined base coat with convincing metallic flakes and a highly reflective clear coat, subtly broken up by imperfections, forms the core of a realistic car paint shader. Remember to consult the Blender 4.4 documentation on the Principled BSDF for detailed explanations of each parameter.
Beyond standard metallic paints, the automotive world boasts a dazzling array of specialized finishes. Blender’s Shader Editor empowers artists to replicate these complex, light-reactive properties, adding another layer of realism and visual interest to your 3D car models.
Pearlescent paints, often referred to as “flip-flop” or “chameleon” paints, exhibit a color shift depending on the viewing angle. This effect is achieved by embedding special pigments that refract and reflect light differently. In Blender, we simulate this by layering different colored shaders and blending them based on the camera’s angle to the surface (Fresnel effect).
Base Color. For example, one could be a deep blue and the other a vibrant purple. Ensure their Metallic and Roughness values are appropriate for car paint.Mix Shader node.Fresnel node or a Layer Weight node. The Fresnel node is generally more physically accurate for reflections.Fac output of the Fresnel or Layer Weight node to the Fac input of the Mix Shader.IOR of the Fresnel node to control the falloff. For Layer Weight, adjust the Blend value.ColorRamp in between the Fresnel/Layer Weight and the Mix Shader to fine-tune the transition. You can also mix in additional subtle color shifts or even separate clear coat layers for each color, although this significantly increases complexity.Experimentation with the colors and the Fresnel/Layer Weight settings is key to achieving the desired “flip-flop” effect, making the car’s color subtly change as the camera moves around it, just like real pearlescent finishes.
Anisotropy describes materials where the reflective properties depend on the direction of light and the viewing angle. While often associated with brushed metals, it’s also present in highly concentrated metallic flake paints or fine micro-scratches on a clear coat. The Principled BSDF has dedicated inputs for this:
Anisotropic value in the Principled BSDF. A value between 0.1 and 0.5 is usually sufficient for subtle effects.Anisotropic Rotation input controls the direction in which the reflections are stretched.
Texture Coordinate node (Generated or UV) connected to a Separate XYZ node. Then, use the X or Y component (or a combination) to drive the Anisotropic Rotation, often after a Math node (e.g., Multiply or Add) to fine-tune the rotation.Tangent node (found under Input -> Geometry) can provide a direction vector. You can manipulate this vector with Vector Math nodes to rotate the anisotropic effect.Anisotropic effects are subtle but powerful. They add a layer of authenticity to the way light catches the surface, making it feel more like a real, manufactured object rather than a perfectly smooth digital construct. When done correctly, the anisotropic sheen can highlight the subtle curves and body lines of your 3D car models, providing an extra dimension of visual flair that is highly valued in high-end automotive visualization.
While ray-traced renders in Cycles or Corona can handle complex procedural shaders, real-time engines like Unity and Unreal Engine, or platforms for AR/VR, demand a different approach. Optimization is paramount to ensure smooth frame rates and efficient resource usage, especially when dealing with detailed 3D car models.
A highly complex Blender shader with numerous procedural textures, math operations, and layered effects, while stunning in a high-quality render, can be a performance killer in real-time. Each node operation contributes to the overall shader instruction count, which directly impacts GPU performance. Here’s how to manage complexity:
The goal is to achieve a visually similar result with the fewest possible instructions, transforming your Cycles/Eevee-optimized material into a game-engine-friendly PBR texture set (Albedo, Metallic, Roughness, Normal, etc.).
Further optimizing for real-time environments involves considerations beyond just individual materials:
When preparing assets for game engines or AR/VR, remember that a beautiful shader means nothing if it brings the frame rate to a crawl. Striking a balance between visual fidelity and performance is the mark of a skilled technical artist.
Once your car paint material is optimized, the next challenge is ensuring it translates correctly when exported to other platforms:
Always test your exported materials on the target platform to catch any inconsistencies. What looks perfect in Blender’s viewport might render differently elsewhere due to varying PBR interpretations or lighting setups.
Even the most meticulously crafted car paint shader will fall flat without appropriate lighting. Lighting is the single most important factor in showcasing the reflections, depth, and color shifts of a realistic automotive material. It’s not just about illumination; it’s about defining the environment in which the car exists.
High Dynamic Range Images (HDRIs) are indispensable for realistic automotive rendering. They provide both realistic illumination and, crucially, believable reflections. Unlike traditional image backgrounds, HDRIs contain a vast range of light information, from direct sunlight to subtle ambient light, allowing for accurate shadows, color casts, and highly detailed reflections on your car’s surface.
Environment Texture node.Color output of the Environment Texture to the Color input of a Background node, and then connect the Background node to the Surface input of the World Output.Strength of the Background node to control the overall brightness.Mapping node connected to the Vector input of the Environment Texture) to find the most flattering angle that highlights the car’s body lines and the reflections on the paint. Even subtle rotation can drastically change the appearance of the car paint.A good HDRI instantly adds a layer of depth and realism that is difficult to achieve with simple light sources alone, as it provides a complete, believable environment for reflections.
While HDRIs are powerful, supplementary lighting can fine-tune the scene and draw attention to specific features:
The interplay of environmental lighting and carefully placed artificial lights is what truly makes car paint pop, revealing its nuanced properties and creating a sense of depth and form.
Even with perfect materials and lighting, the final presentation matters. Camera settings and post-processing can elevate a raw render into a professional-grade image:
Post-processing is the final polish that can make your car render truly stand out, enhancing the realism of the paint and overall visual impact. It’s an art in itself, transforming a good render into a captivating image.
Creating realistic car paint is an iterative process, and you’re bound to encounter challenges. Knowing how to diagnose and resolve common issues, combined with professional best practices, will significantly improve your workflow and the quality of your final renders.
Even seasoned artists run into snags. Here are some frequent problems with car paint shaders and how to address them:
Clearcoat Roughness is very low (0.01-0.05). Verify the Clearcoat value is at 1.0. Re-evaluate your lighting setup; a good HDRI is crucial for realistic reflections that give depth. Ensure your base color isn’t too saturated or bright, which can flatten the look.Clearcoat Roughness; even a small increase can dull reflections significantly.Beyond technical fixes, adopting professional habits can significantly streamline your car paint creation process:
Frames (Shift+A > Layout > Frame) to group related nodes. Label your nodes clearly (F2) and use Reroute nodes (Shift+A > Layout > Reroute) to prevent spaghetti networks. Well-organized nodes are easier to understand, debug, and reuse.By integrating these troubleshooting strategies and best practices into your workflow, you’ll be well-equipped to tackle any car paint challenge and consistently produce stunning, high-quality automotive renders.
Creating realistic car paint in Blender’s Shader Editor is undeniably a journey of technical understanding and artistic refinement. We’ve traversed the foundational principles of PBR, meticulously constructed layered shaders for metallic flakes and clear coats, explored advanced effects like pearlescent shifts and anisotropy, and addressed critical optimization strategies for real-time applications. We also delved into the profound impact of lighting and camera work, emphasizing how a thoughtful environment can truly bring your automotive models to life.
The key takeaways are clear: embrace the layered nature of car paint, leverage the power of the Principled BSDF, master the art of texture baking for performance, and never underestimate the transformative effect of high-quality HDRIs. Remember that achieving realism is an iterative process, demanding patience, keen observation, and a willingness to experiment with Blender’s vast node library. Platforms like 88cars3d.com provide an excellent starting point with professionally modeled cars, allowing you to concentrate your efforts on crafting these intricate materials.
Now, it’s your turn to put this knowledge into practice. Open Blender, dive into the Shader Editor, and start experimenting. Begin with simple setups, gradually introduce complexity, and continually refine your techniques. Study real-world car finishes, analyze how light interacts with their surfaces, and translate those observations into your 3D materials. With dedication and the powerful tools at your disposal, you’ll soon be crafting car paint materials that not only look incredible but also tell a story of meticulous craftsmanship and artistic vision.
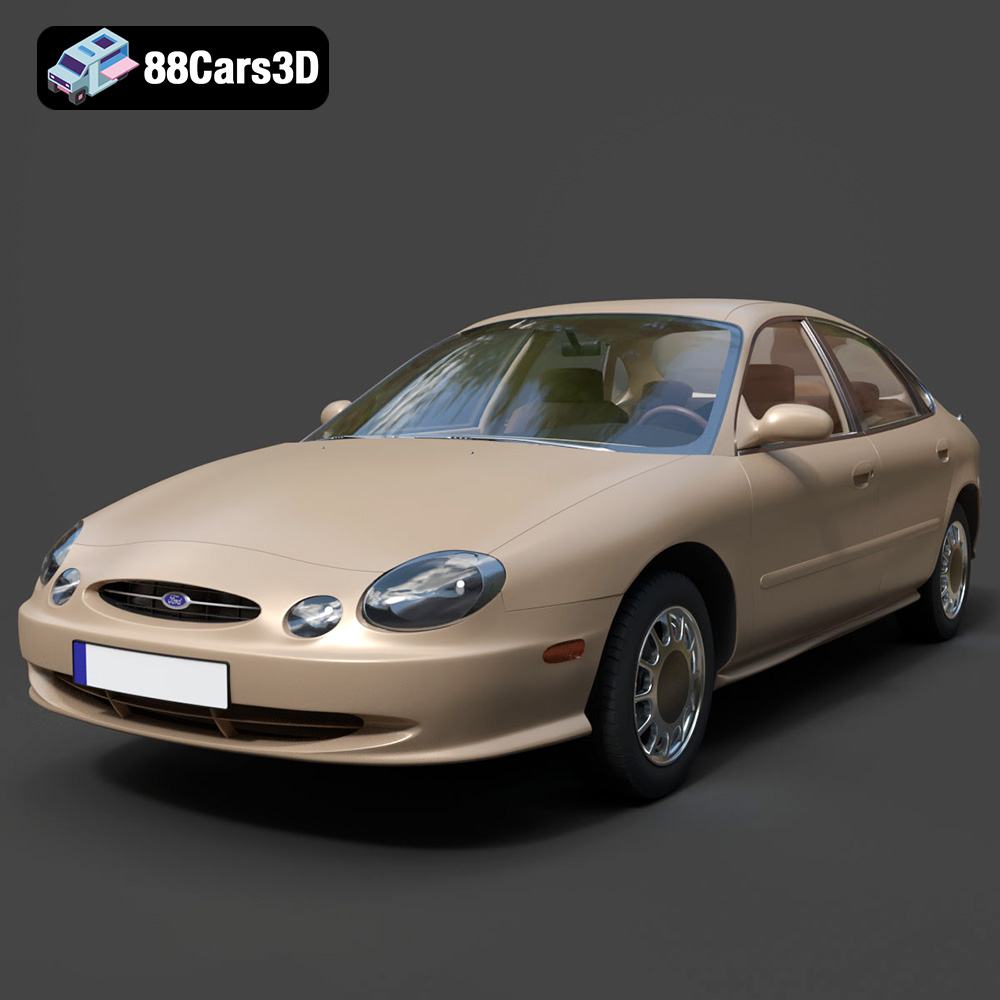
Texture: Yes | Material: Yes
Download the highly detailed, game-ready Ford Taurus 1996 3D Model. Features revolutionary oval exterior styling, detailed interior, and accurate chassis geometry. Includes .blend, .fbx, .obj, .glb, .stl, .ply, .unreal, and .max formats for game development, AR/VR, and rendering.
Price: $161.00
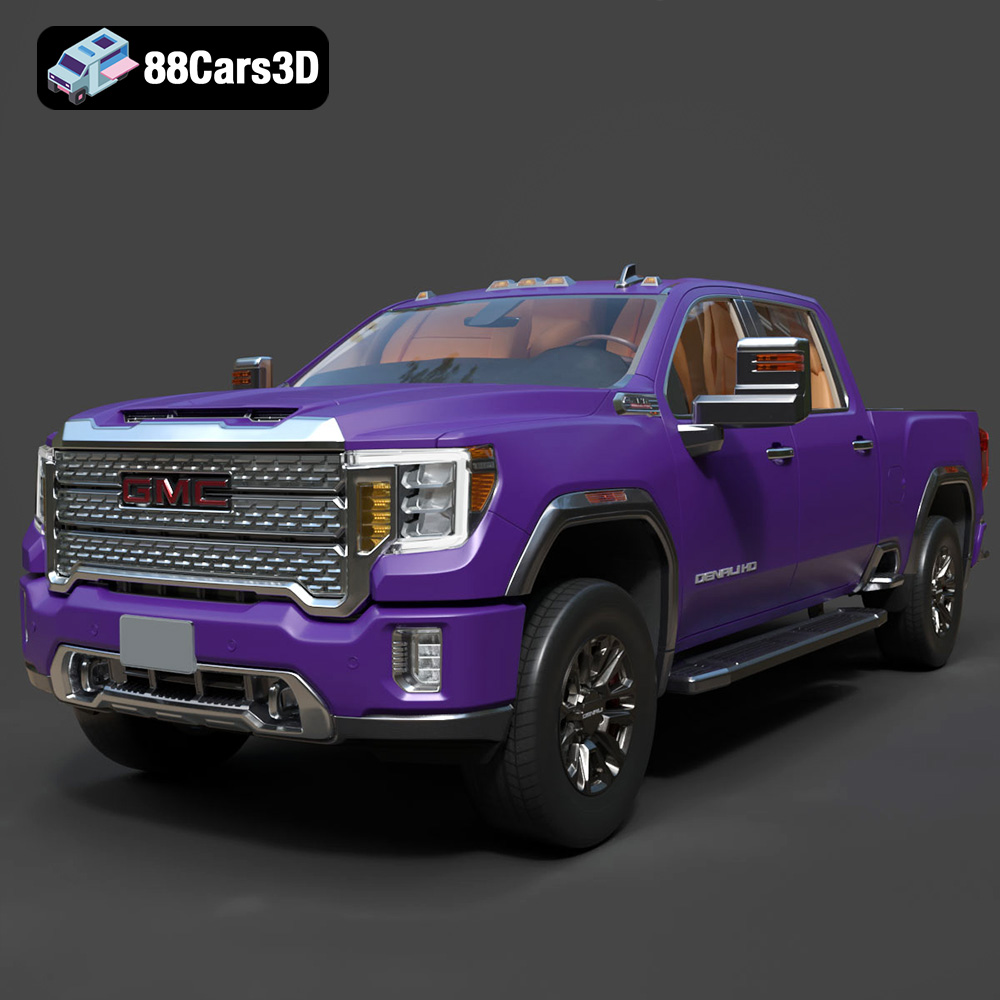
Texture: Yes | Material: Yes
Download the highly detailed, game-ready GMC Sierra HD Denali 2020 3D Model. Features iconic chrome Denali grille, detailed MultiPro tailgate, and heavy-duty chassis styling. Includes .blend, .fbx, .obj, .glb, .stl, .ply, .unreal, and .max formats for game development, AR/VR, and rendering.
Price: $274.50
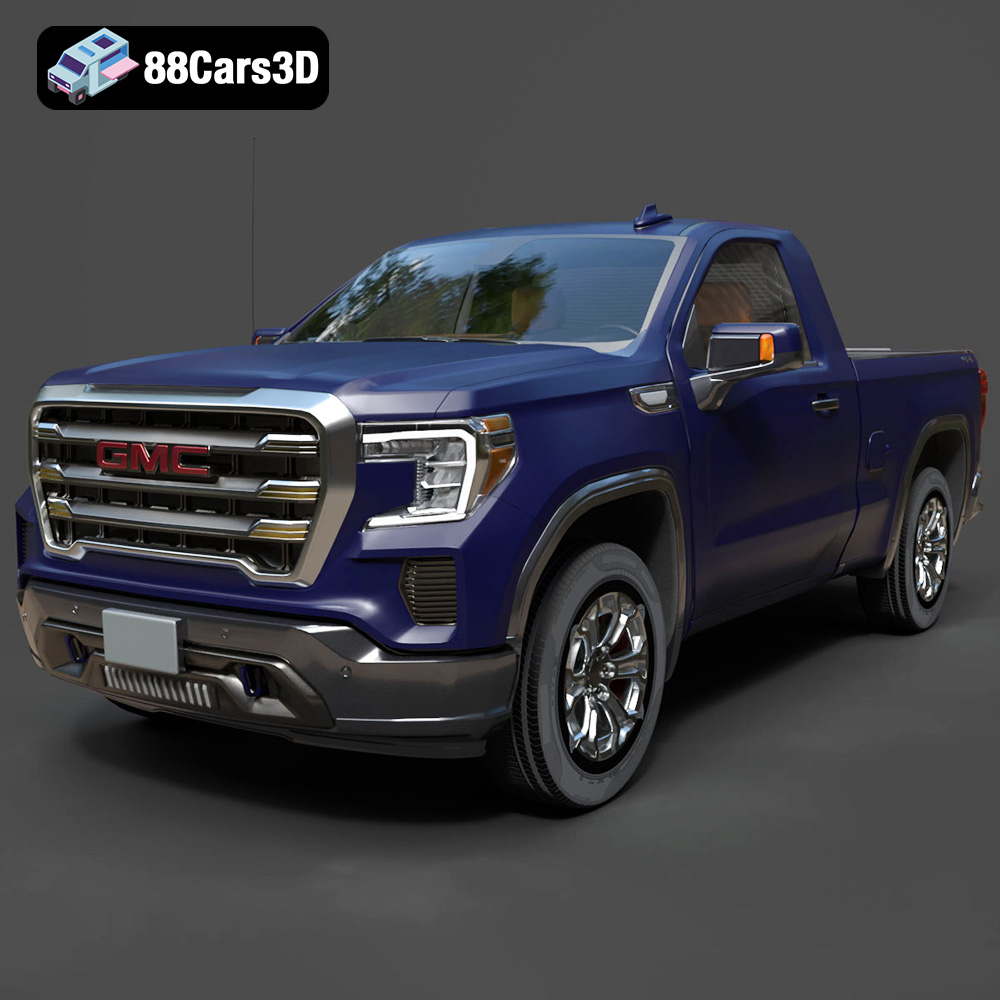
Texture: Yes | Material: Yes
Download the highly detailed, game-ready GMC Sierra Reg SLE 1500 2020 3D Model. Features bold pickup styling, detailed exterior trim, accurate undercarriage, and realistic cabin. Includes .blend, .fbx, .obj, .glb, .stl, .ply, .unreal, and .max formats for game development, AR/VR, and rendering.
Price: $133.50
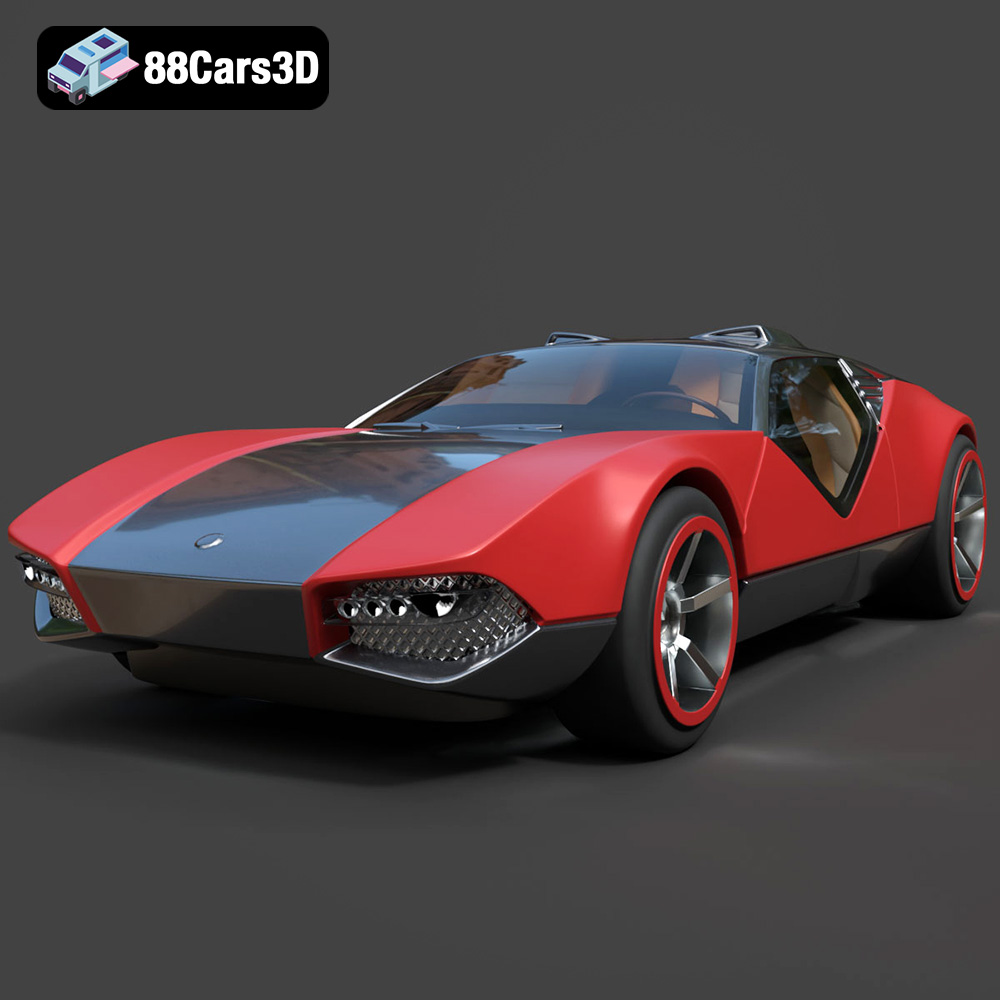
Texture: Yes | Material: Yes
Download the highly detailed, game-ready Hot Wheels La Fasta 3D Model. Features aggressive aerodynamic bodywork, custom racing wheels, and futuristic interior details. Includes .blend, .fbx, .obj, .glb, .stl, .ply, .unreal, and .max formats for game development, AR/VR, and rendering.
Price: $133.00
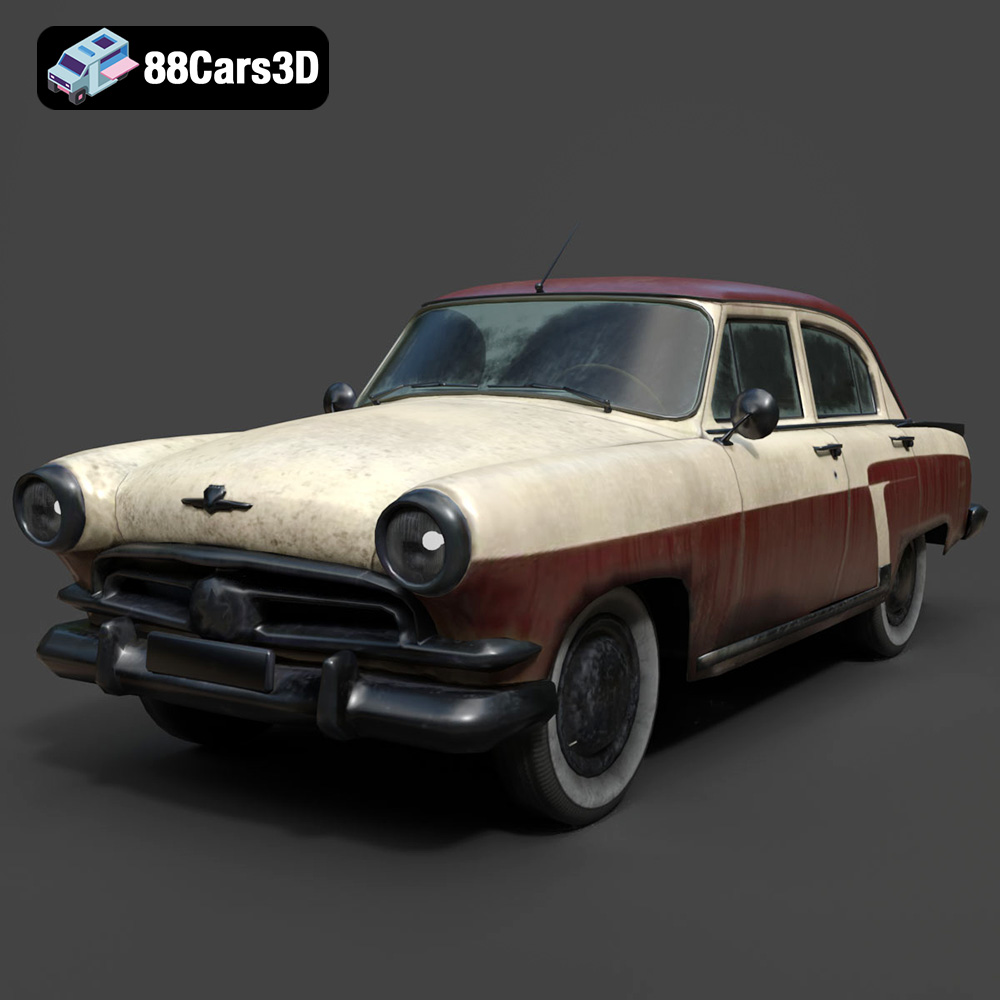
Texture: Yes | Material: Yes
Download the highly detailed, game-ready GAZ-21 Volga 3D Model. Features classic Soviet body geometry, iconic front grille, and detailed exterior chrome accents. Includes .blend, .fbx, .obj, .glb, .stl, .ply, .unreal, and .max formats for game development, AR/VR, and rendering.
Price: $99.99
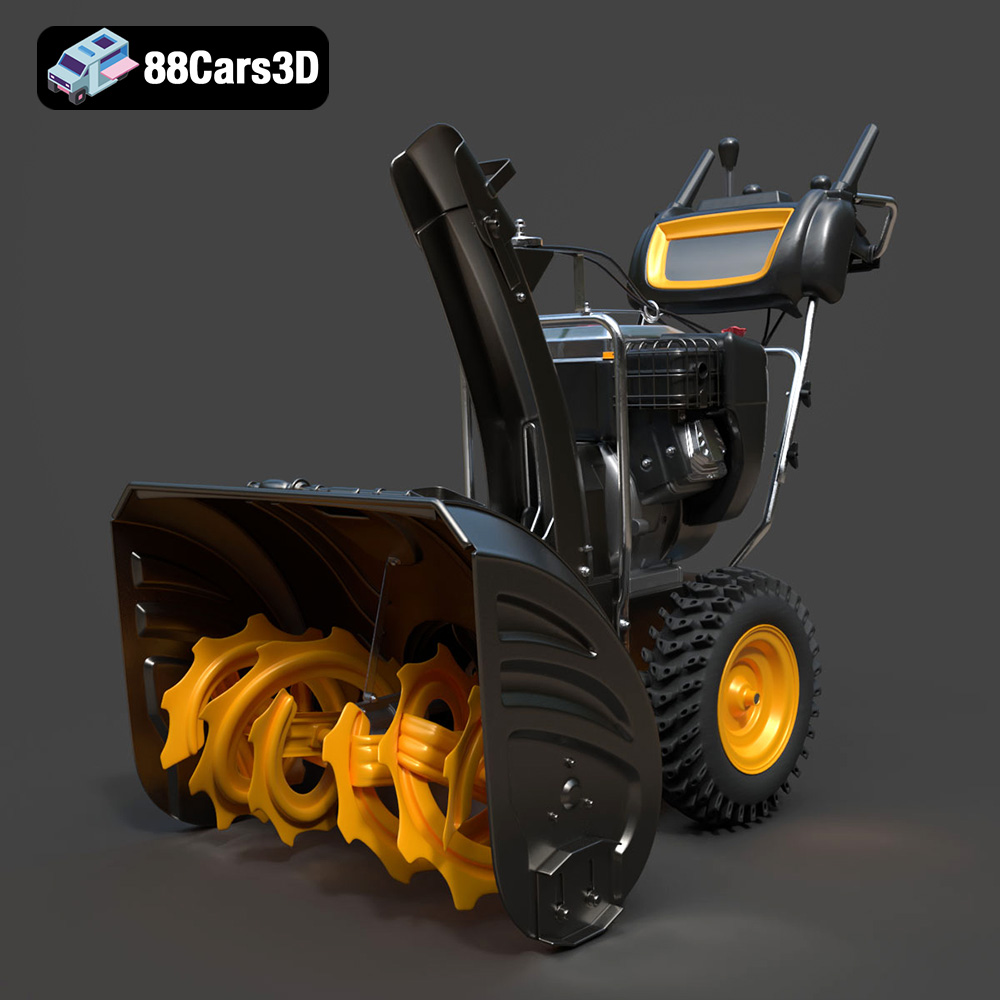
Texture: Yes | Material: Yes
Download the highly detailed, game-ready Husqvarna Snow Plow 3D Model. Features heavy-duty front plow blade, robust chassis, and realistic mechanical controls. Includes .blend, .fbx, .obj, .glb, .stl, .ply, .unreal, and .max formats for game development, AR/VR, and rendering.
Price: $145.50
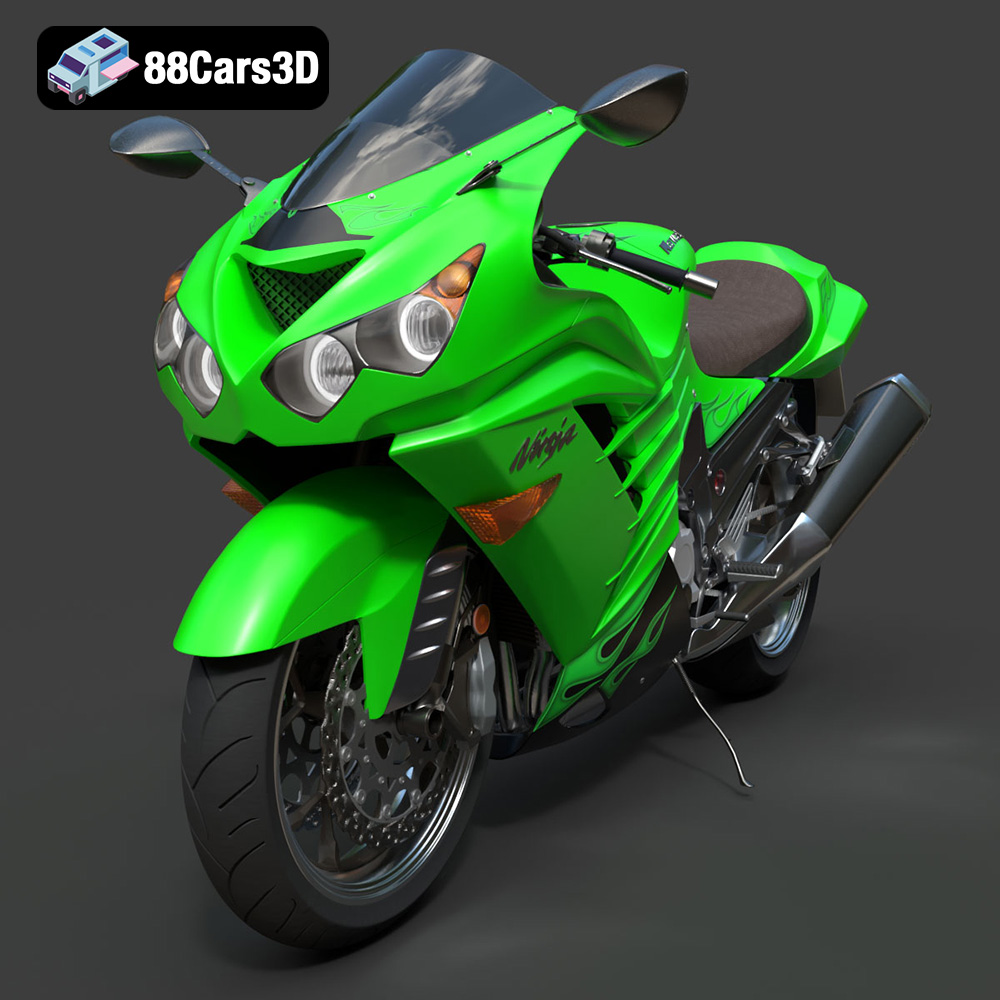
Texture: Yes | Material: Yes
Download the highly detailed, game-ready Kawasaki ZX14R 2012 3D Model. Features aggressive hyper-sport fairings, detailed inline-four engine, and iconic dual exhausts. Includes .blend, .fbx, .obj, .glb, .stl, .ply, .unreal, and .max formats for game development, AR/VR, and rendering.
Price: $170.00
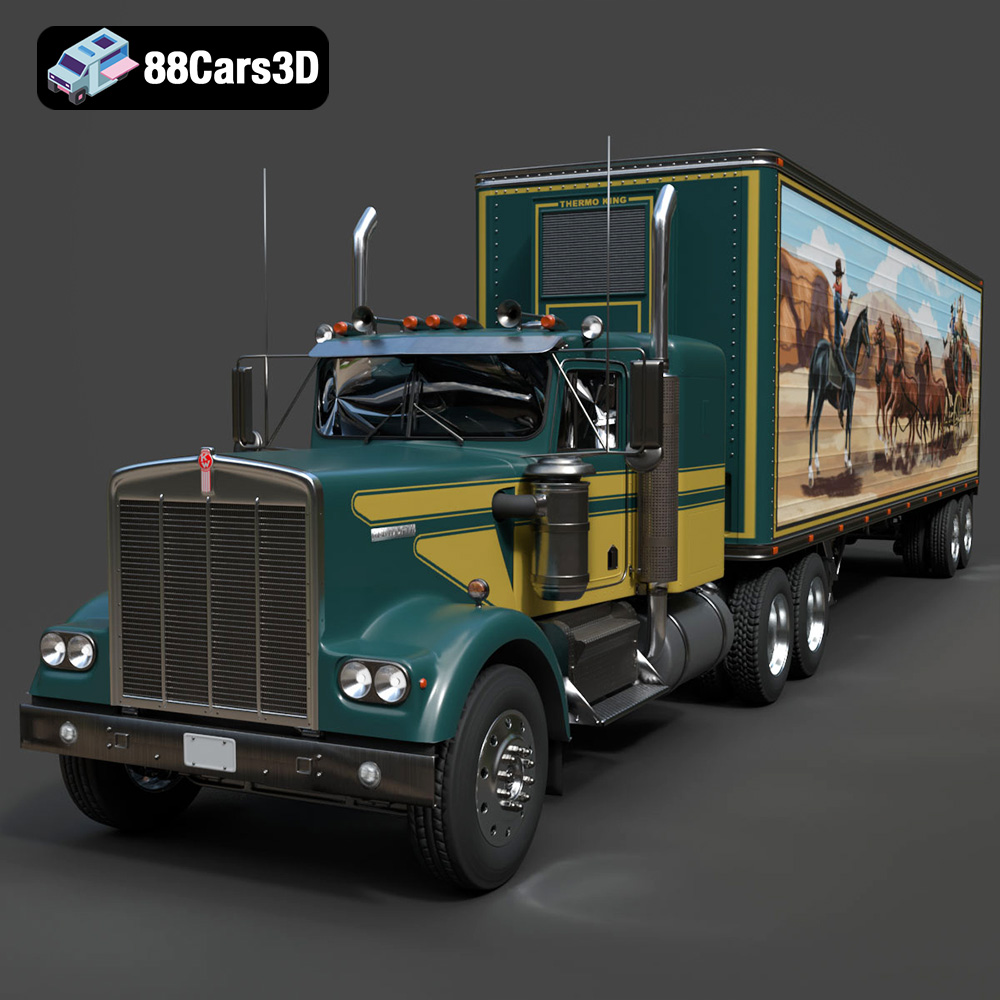
Texture: Yes | Material: Yes
Download the highly detailed, game-ready Kenworth W900 1974 3D Model. Features classic long-nose hood styling, detailed chrome exhaust stacks, and realistic dual tandem axles. Includes .blend, .fbx, .obj, .glb, .stl, .ply, .unreal, and .max formats for game development, AR/VR, and rendering.
Price: $299.50
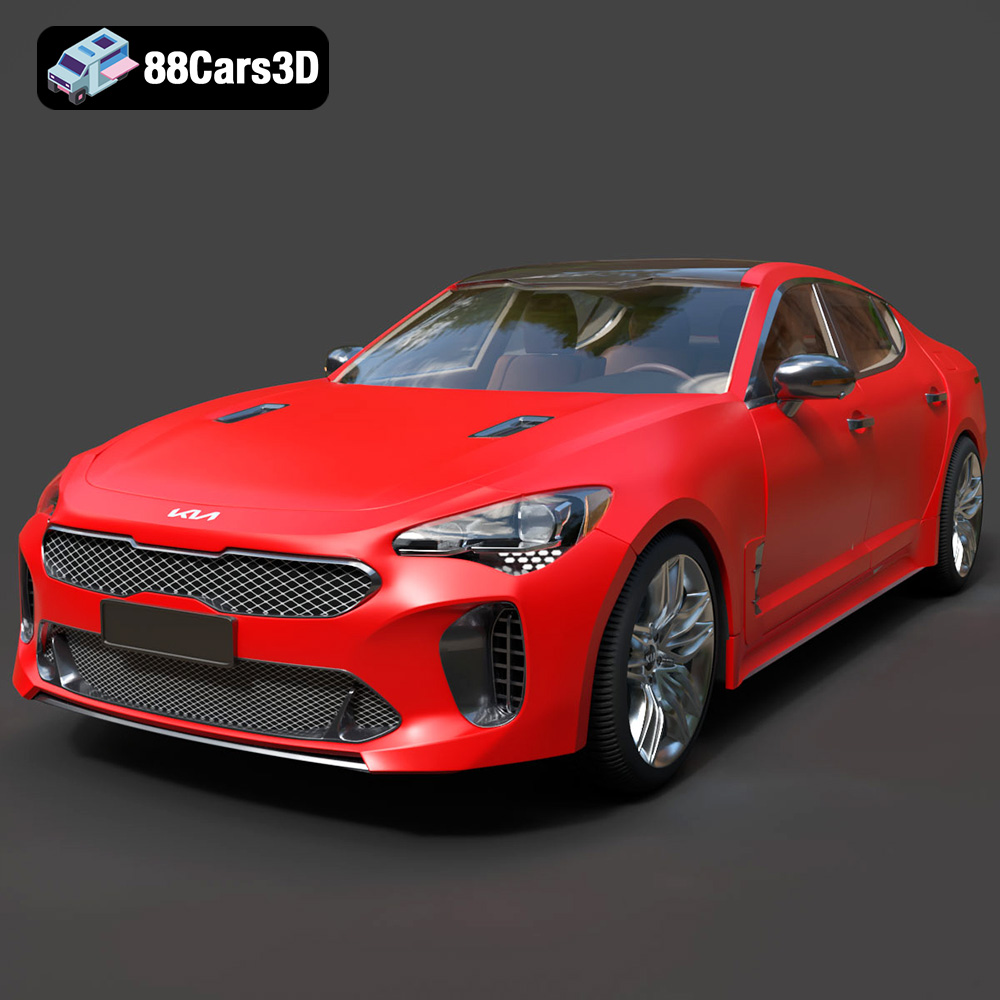
Texture: Yes | Material: Yes
Download the highly detailed, game-ready Kia Stinger 2021 3D Model. Features tiger-nose grille styling, quad exhaust tips, and high-fidelity interior details. Includes .blend, .fbx, .obj, .glb, .stl, .ply, .unreal, and .max formats for game development, AR/VR, and rendering.
Price: $299.50
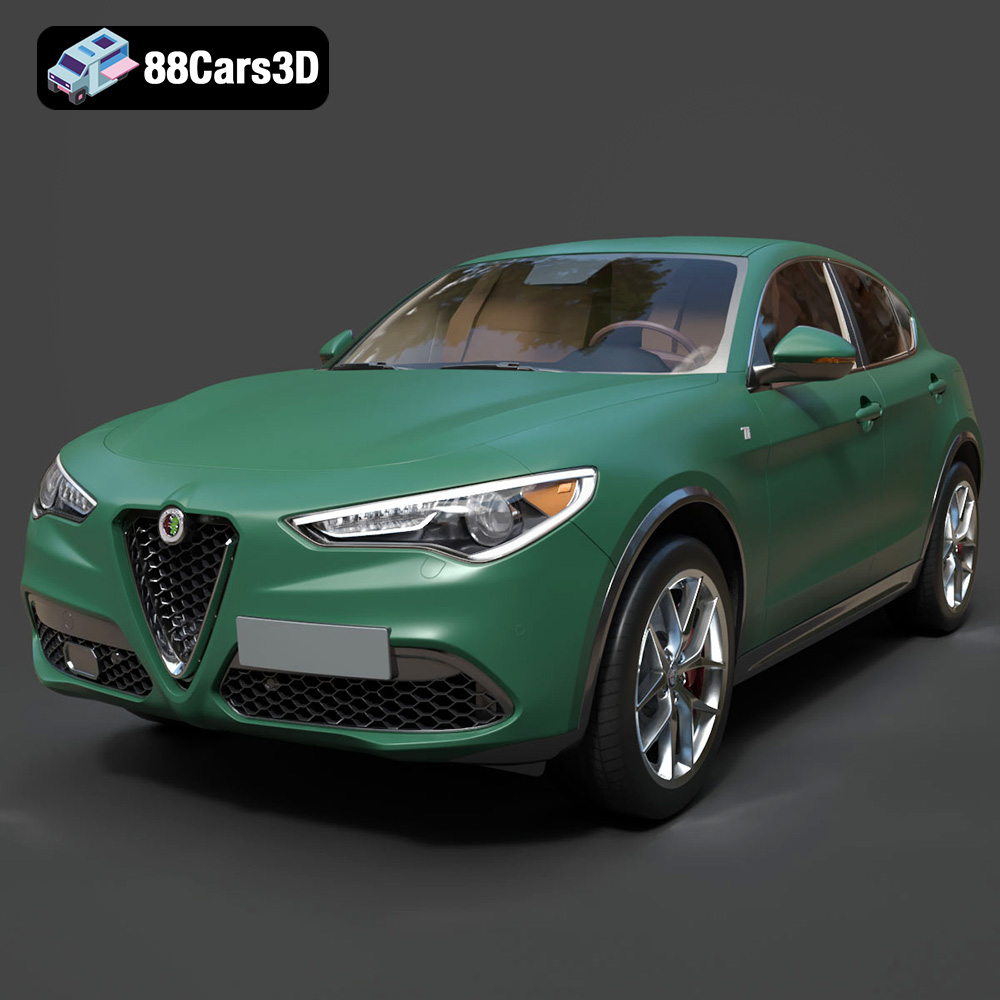
Texture: Yes | Material: Yes
Download the highly detailed, game-ready Alfa Romeo Stelvio Ti 2020 3D Model. Features signature Italian luxury SUV styling, detailed interior, and accurate chassis geometry. Includes .blend, .fbx, .obj, .glb, .stl, .ply, .unreal, and .max formats for game development, AR/VR, and rendering.
Price: $237.99
