

The automotive industry has always been at the forefront of design and engineering, pushing boundaries and inspiring countless enthusiasts. For 3D artists, game developers, and visualization professionals, recreating these marvels of engineering in a digital space presents a unique and rewarding challenge. High-quality 3D car models are not just aesthetically pleasing; they are crucial assets for everything from photorealistic renders and cinematic animations to immersive AR/VR experiences and detailed product visualizations. Mastering hard surface modeling in Blender, a powerful and versatile open-source 3D creation suite, is an invaluable skill for anyone looking to excel in this specialized field.
This comprehensive guide will delve deep into the technical workflows, best practices, and advanced techniques required to create stunning automotive rendering-ready 3D car models using Blender. We’ll explore everything from pristine topology and efficient UV mapping to sophisticated PBR material setups and critical optimization strategies for various applications. Whether you’re a seasoned 3D artist seeking to refine your skills or a budding enthusiast eager to tackle complex projects, you’ll discover actionable insights to elevate your 3D modeling workflows and produce professional-grade automotive assets that would feel right at home on platforms like 88cars3d.com.
The foundation of any exceptional 3D car model lies in its topology and edge flow. Automotive surfaces are characterized by their smooth, reflective qualities, which unforgivingly expose any imperfections in the underlying mesh. Clean topology ensures that your model deforms predictably, facilitates easy editing, and, most importantly, allows light to reflect across its surfaces in a realistic and aesthetically pleasing manner. Poor topology can lead to artifacts, pinching, and an overall unrealistic appearance, no matter how good your textures or render settings are.
Before touching a single vertex, gathering extensive reference material is paramount. High-resolution images from all angles, and especially orthographic blueprints (front, back, top, side views), are indispensable. In Blender, you can load these images directly into your 3D Viewport as Image Empties or Background Images (using the “Add Image as Plane” add-on or simply adding them as image references). Aligning these references meticulously is the first critical step to ensure accurate proportions and contours. This meticulous setup will save you countless hours of correction later in the modeling process, allowing you to build your mesh directly on top of the established forms.
For automotive hard surface modeling, a Subdivision Surface Modifier-based workflow is the industry standard. This approach involves modeling with a low-polygon cage mesh, which is then smoothed by the modifier. The key is to maintain an all-quad topology (faces with four vertices) throughout your base mesh. Triangles and N-gons (faces with more than four vertices) can cause unpredictable shading and distortion when subdivided, especially in curved areas. When building the main body panels, aim for a consistent density of edge loops that follow the natural curvature and contours of the car. These edge loops act as guides for the subdivision surface, defining the smoothness and sharpness of your forms. For example, a crisp body line will require a set of tight edge loops to hold that sharp crease, while a broad, flowing panel will benefit from evenly spaced, smoother loops. Using the ‘Loop Cut and Slide’ tool (Ctrl+R) is essential for adding these critical support loops.
Blender offers a robust set of tools and modifiers that are perfectly suited for the demands of hard surface modeling. Precision and control are key when crafting the intricate details of a 3D car model, from door seams to air vents.
A non-destructive workflow is highly recommended in Blender, allowing for flexibility and easy iteration. Modifiers are your best friends here:
Achieving automotive-level precision demands careful use of Blender’s snapping and measurement tools. The Snapping System (Shift+Tab) allows you to precisely align vertices, edges, and faces to various targets (grid, vertex, edge, face). This is crucial when assembling different parts of the car, ensuring perfect alignment between panels or precise fitting of components. The ‘Measure’ tool in the Toolbar is useful for checking distances and dimensions against your blueprints, ensuring your model scales are accurate. Utilizing precise numerical inputs (N-panel in 3D viewport) for transforms, rotations, and scales is also key to maintaining accuracy. For example, when creating a perfectly round wheel arch, ensure your curve or circle primitive has enough resolution and that it’s aligned precisely to your reference.
While hard surface modeling primarily focuses on geometric precision, certain automotive details, or the process of refining complex shapes, can benefit immensely from sculpting and retopology techniques. This is particularly true when dealing with organic curves that transition into sharp edges or for incorporating subtle imperfections that add realism.
For initial blocking out of complex, flowing shapes or parts that might eventually transition into softer forms (like seats or specific aerodynamic elements), Blender’s sculpting tools can be surprisingly effective. Using Dynamic Topology (Dyntopo) in Sculpt Mode allows you to add and remove mesh detail dynamically as you sculpt, freeing you from traditional mesh constraints. This is excellent for quickly iterating on a design’s overall silhouette or establishing complex panel contours before committing to a final topology. Alternatively, the Voxel Remesh feature (Ctrl+R in Sculpt Mode or the Remesh modifier) can unify fragmented meshes into a single, clean mesh with adjustable density, providing a solid base for further refinement. While not directly hard surface, these tools can aid in creating the underlying forms that hard surface panels will then adhere to or be derived from. For instance, you could quickly sculpt a complex headlight housing and then retopologize it for clean surfacing.
After creating high-density meshes, either through sculpting or by importing CAD data, retopology becomes essential. Retopology is the process of creating a clean, low-polygon mesh that accurately captures the shape of a high-resolution model. This is crucial for creating optimized game assets, animation-ready models, or simply for a cleaner, more manageable mesh. Blender offers several excellent tools for manual retopology:
Maintaining a clean, all-quad topology during retopology is paramount for automotive models to ensure smooth shading and proper light reflection. Aim for consistent quad sizes and keep edge loops flowing along the natural curves and creases of the car body.
Effective UV mapping is as crucial as clean topology for producing a professional-grade 3D car model. UVs are the 2D coordinates that tell your 3D software how to project a 2D image (texture) onto a 3D surface. For complex automotive surfaces with their myriad of details, accurate and efficient UVs are essential for consistent texture application, realistic PBR material creation, and optimal performance.
Strategic seam placement is the cornerstone of good UV mapping for cars. The goal is to minimize visible seams in the final render while ensuring distortion-free texture projection. Consider these strategies:
Utilize Blender’s robust UV unwrapping tools. For instance, mark seams (Ctrl+E -> Mark Seam) along the strategic edges, then unwrap (U -> Unwrap). For cylindrical parts like exhaust pipes or wheel hubs, cylindrical projection can be highly effective.
The UV Editor in Blender is your command center for UV mapping. Here, you can:
For efficient packing of UV islands, especially with complex automotive meshes, consider using an add-on like UV Packmaster (a popular paid add-on, but Blender’s native packing tools are also quite capable). Efficient UV packing is crucial for optimizing texture resolutions. A well-packed UV layout minimizes wasted space on your texture atlas, allowing you to get more detail out of your texture maps. For high-resolution automotive rendering, aim for 4K or 8K texture resolutions where possible, and ensure that critical areas of the car (like the front grille or emblem) receive ample UV space.
After perfecting the geometry and UVs, the magic truly begins with PBR material creation. Physically Based Rendering (PBR) is the standard for achieving photorealistic results in modern rendering techniques, including those used in 3ds Max, Corona, and Blender’s own Cycles and Eevee engines. PBR materials accurately simulate how light interacts with surfaces, resulting in predictable and realistic appearance under various lighting conditions.
In Blender, the Shader Editor is where you construct your PBR materials using nodes. The core of any PBR material is the Principled BSDF shader, which conveniently encapsulates most common PBR properties. Key PBR parameters for automotive materials include:
Creating realistic car materials often involves building sophisticated shader networks:
Proper color management (e.g., using ACES or Filmic Blender) is vital for accurate color reproduction and dynamic range in your renders. When developing shaders, always view them under diverse lighting conditions to ensure they hold up universally, rather than just in a single scene.
Bringing your intricately modeled and textured 3D car model to life requires a thoughtful rendering strategy. Blender offers two primary render engines, Cycles and Eevee, each with its strengths. Beyond the engine, effective lighting and environment setup are paramount for achieving compelling results.
Many artists leverage both: using Eevee for rapid iteration and animation blocking, and then switching to Cycles for the final, high-quality stills or cinematics. The choice often depends on the project’s specific requirements for realism, speed, and target platform.
Effective lighting is the single most important factor in making your 3D car model look professional. Without proper lighting, even the best model will appear flat and uninteresting. Here are key considerations:
Creating a beautiful 3D car model is one thing; optimizing it for performance in various applications is another. Whether your model is destined for a cutting-edge video game, an interactive AR/VR experience, or a detailed 3D printing project, efficient resource management is paramount. A high-fidelity model can easily have millions of polygons and dozens of 4K textures, which is unsustainable for real-time environments.
For interactive applications like games and AR/VR, excessive polygon counts are a major performance bottleneck. Strategies for reduction include:
Always consider the target platform’s hardware limitations. A mobile AR experience will demand far fewer polygons than a high-end PC game or a pre-rendered cinematic.
Beyond polygon count, other factors impact performance in game engines:
When creating game assets, it’s common practice to separate a car model into logical parts (body, wheels, interior, glass) to allow for easier animation and potential damage systems, but always keep optimization in mind for each part.
Exporting your 3D car models in the correct file formats is crucial for compatibility across different platforms and applications. 88cars3d.com, for instance, provides models in multiple formats to cater to various needs.
Always perform thorough checks after export. Re-import your exported model into Blender or the target software to verify that geometry, UVs, materials, and scaling are intact. For AR/VR optimization techniques, keep an eye on polygon count and texture memory, as these platforms often have strict performance budgets.
Once the core model is optimized and materials are set, it’s time to refine the details and enhance the visual impact through advanced lighting, camera techniques, and post-processing and compositing.
Even with great normal maps, micro-surface details add another layer of realism:
Just like a professional automotive photographer, your choice of camera angle and lens heavily influences the final image. Use a longer focal length (e.g., 85mm-120mm) for a more compressed, cinematic look, often preferred for car photography. Experiment with Depth of Field (DoF) to draw the viewer’s eye to specific details, such as a sharp headlight or the intricate wheel design, while blurring the foreground and background. A low f-stop value will create a strong DoF effect, making your subject stand out beautifully.
The render isn’t the final step; post-processing and compositing in Blender’s Compositor or external software (like Photoshop or Affinity Photo) elevate your image to a professional standard. This is where you fine-tune colors, add atmospheric effects, and integrate your render into a background.
Creating high-quality 3D car models in Blender is a journey that combines technical precision with artistic vision. From meticulously sculpting topology and ensuring perfect edge flow to crafting realistic PBR materials and optimizing for diverse platforms, each step is crucial for delivering stunning results. The detailed workflows, technical specifications, and software-specific techniques we’ve covered, referencing the robust capabilities documented in the official Blender 4.4 manual, provide a solid roadmap for any aspiring or experienced 3D artist.
Remember that continuous practice and attention to detail are your most powerful tools. Experiment with Blender’s modifiers, explore its shader nodes, and constantly refine your understanding of how light interacts with surfaces. Whether you’re aiming for cinematic automotive rendering, optimized game assets, interactive AR/VR experiences, or detailed models for 3D printing and visualization, the principles discussed here will serve as your guide.
For those seeking a head start or looking to expand their professional library, platforms like 88cars3d.com offer an extensive collection of meticulously crafted 3D car models. These ready-to-use assets can be a fantastic resource for learning from established experts, reverse-engineering complex models, or integrating directly into your projects, allowing you to focus on rendering, animation, and scene composition. Keep learning, keep creating, and drive your 3D automotive art to new horizons!
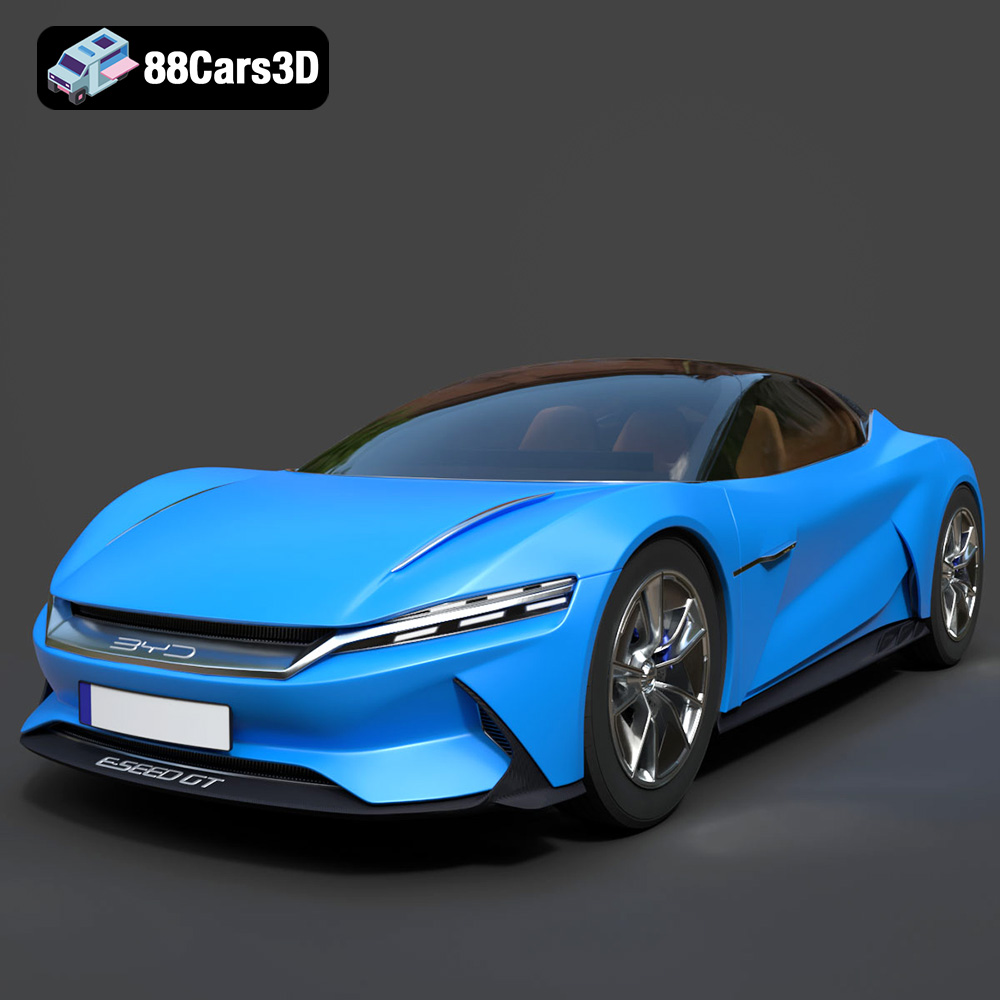
Texture: Yes | Material: Yes
Download the highly detailed, game-ready BYD e-SEED GT 2019 3D Model. Features futuristic gull-wing doors, sleek aerodynamic electric supercar silhouette, and detailed LED light strips. Includes .blend, .fbx, .obj, .glb, .stl, .ply, .unreal, and .max formats for game development, AR/VR, and rendering.
Price: $194.50
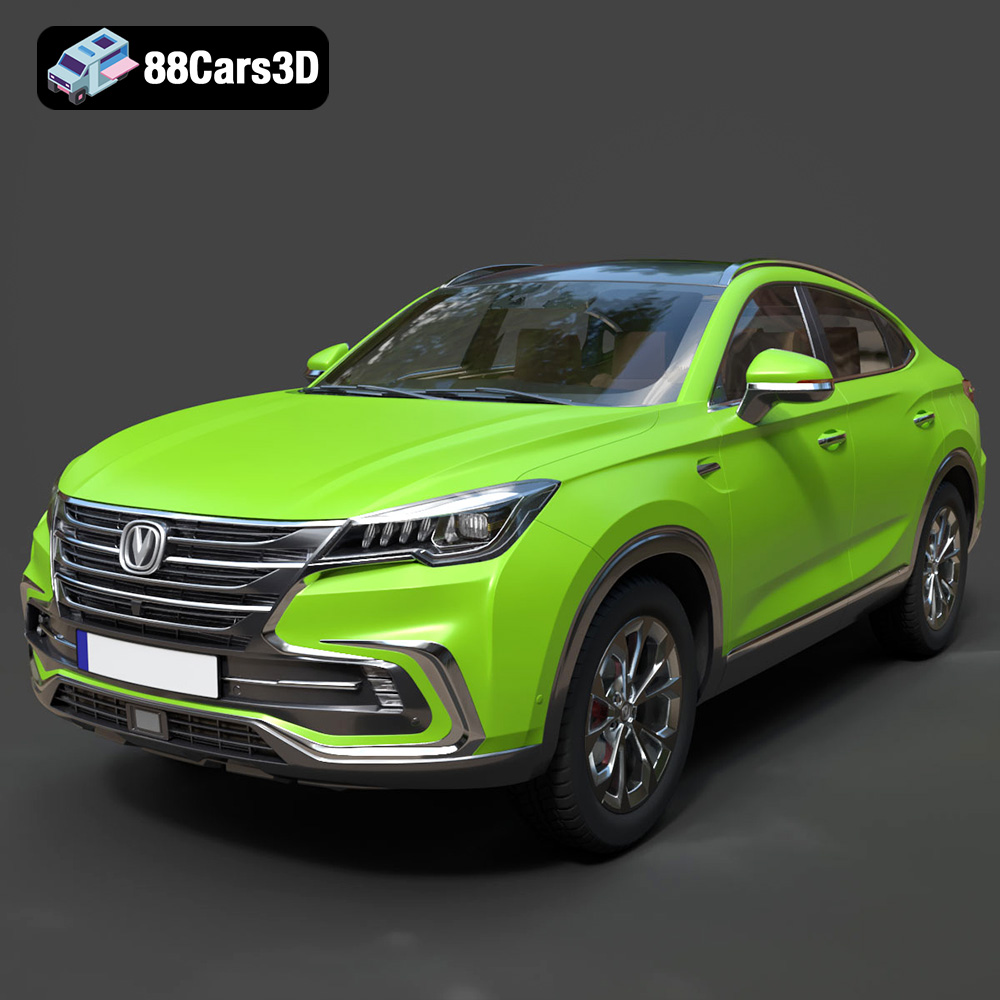
Texture: Yes | Material: Yes
Download the highly detailed, game-ready Changan CS85 Coupe 2019 3D Model. Features sleek fastback SUV styling, detailed front grille, and realistic lighting. Includes .blend, .fbx, .obj, .glb, .stl, .ply, .unreal, and .max formats for game development, AR/VR, and rendering.
Price: $275.00
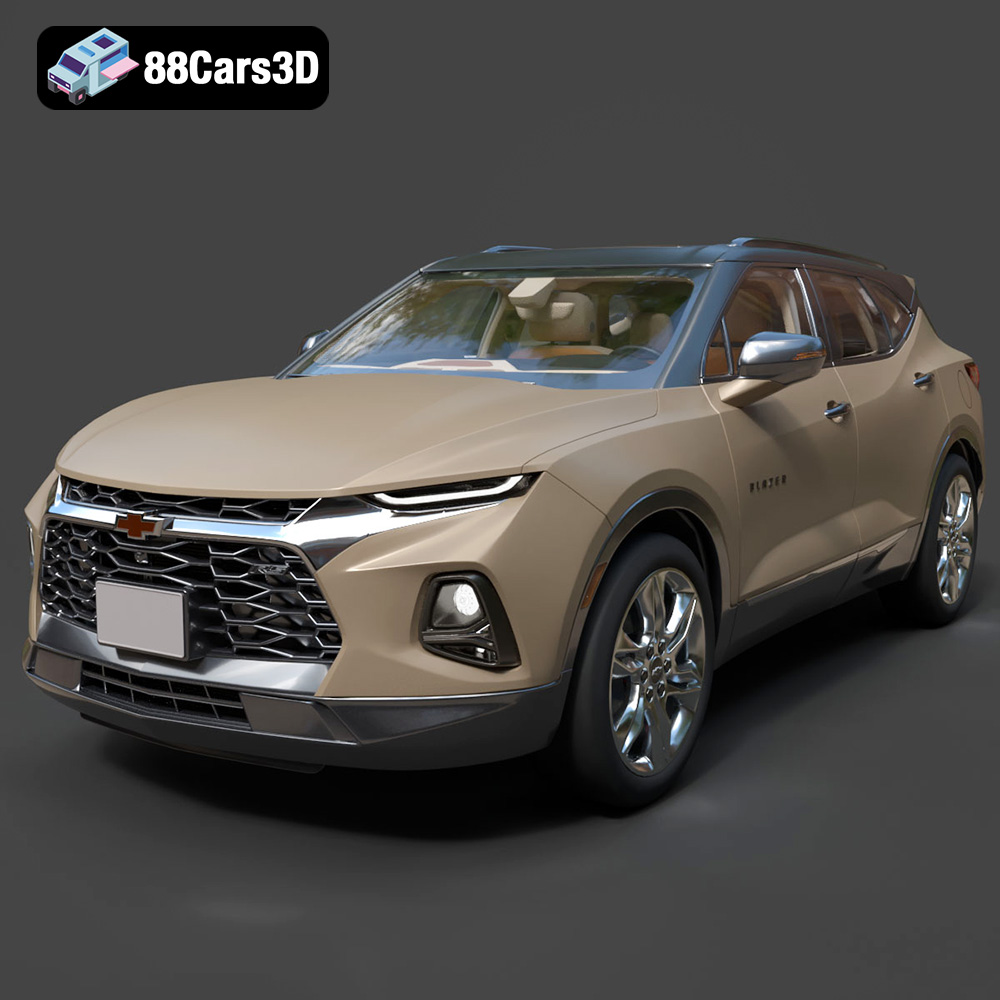
Texture: Yes | Material: Yes
Download the highly detailed, game-ready Chevrolet Blazer RS 2019 3D Model. Features bold blacked-out RS trim styling, sharp LED lighting signatures, and detailed interior geometry. Includes .blend, .fbx, .obj, .glb, .stl, .ply, .unreal, and .max formats for game development, AR/VR, and rendering.
Price: $132.50
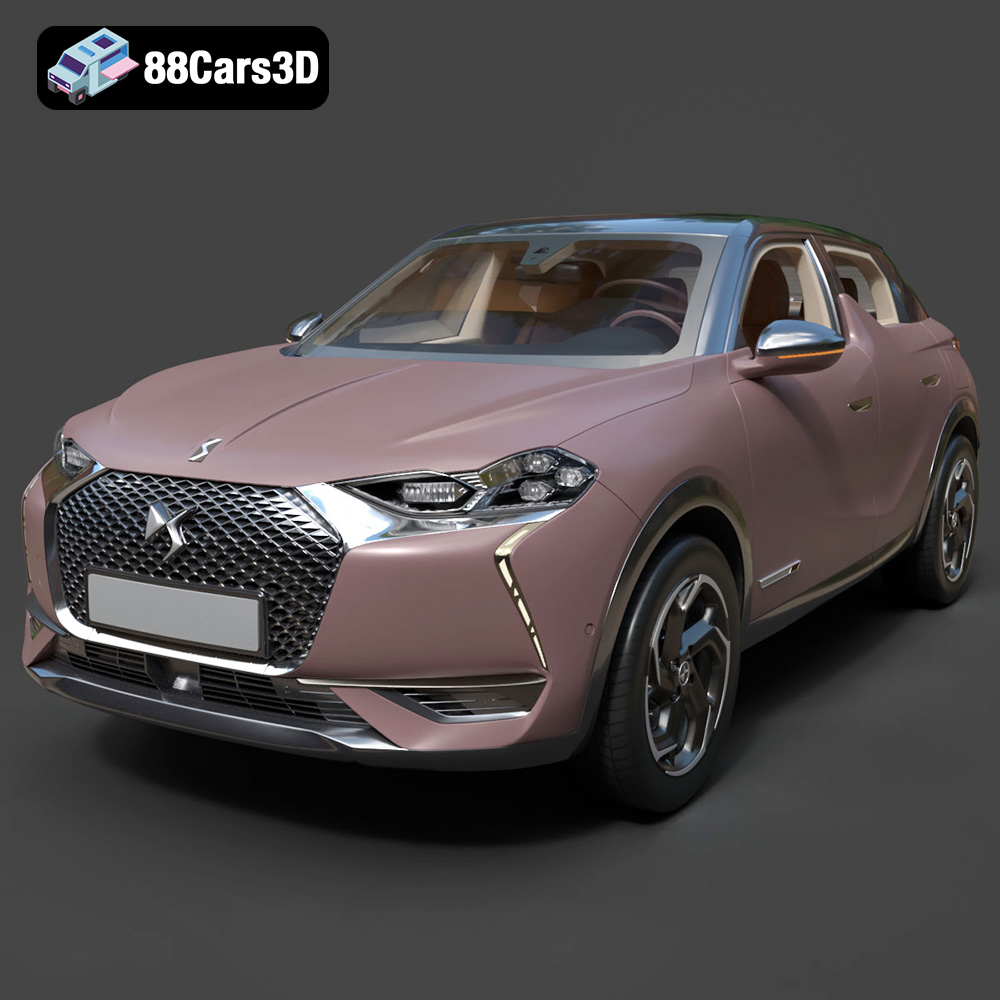
Texture: Yes | Material: Yes
Download the highly detailed, game-ready Citroen DS3 Crossback 2018 3D Model. Features signature diamond grid grille, flush door handles, and distinctive shark-fin B-pillars. Includes .blend, .fbx, .obj, .glb, .stl, .ply, .unreal, and .max formats for game development, AR/VR, and rendering.
Price: $276.00
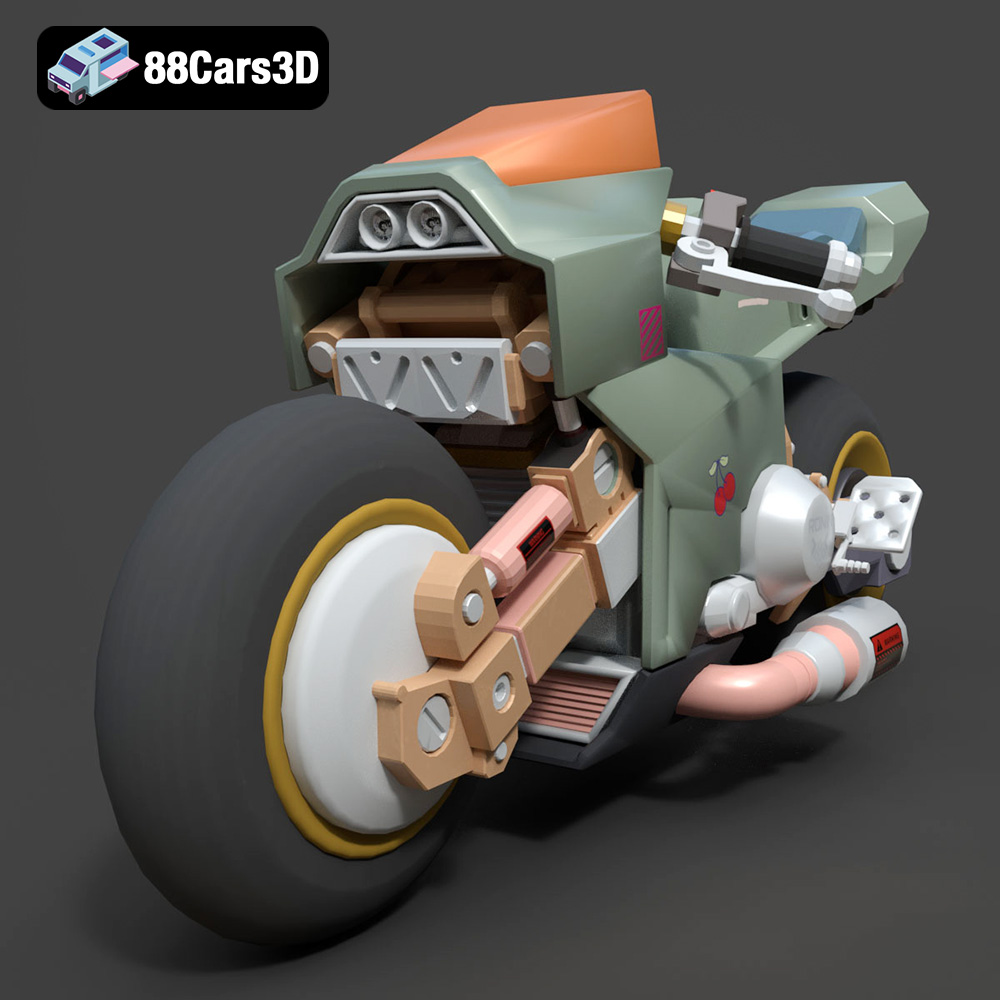
Texture: Yes | Material: Yes
Download the highly detailed, game-ready Cyber Bike 02 3D Model. Features futuristic sci-fi aesthetic, glowing LED lighting elements, and sleek aerodynamic paneling. Includes .blend, .fbx, .obj, .glb, .stl, .ply, .unreal, and .max formats for game development, AR/VR, and rendering.
Price: $99.99
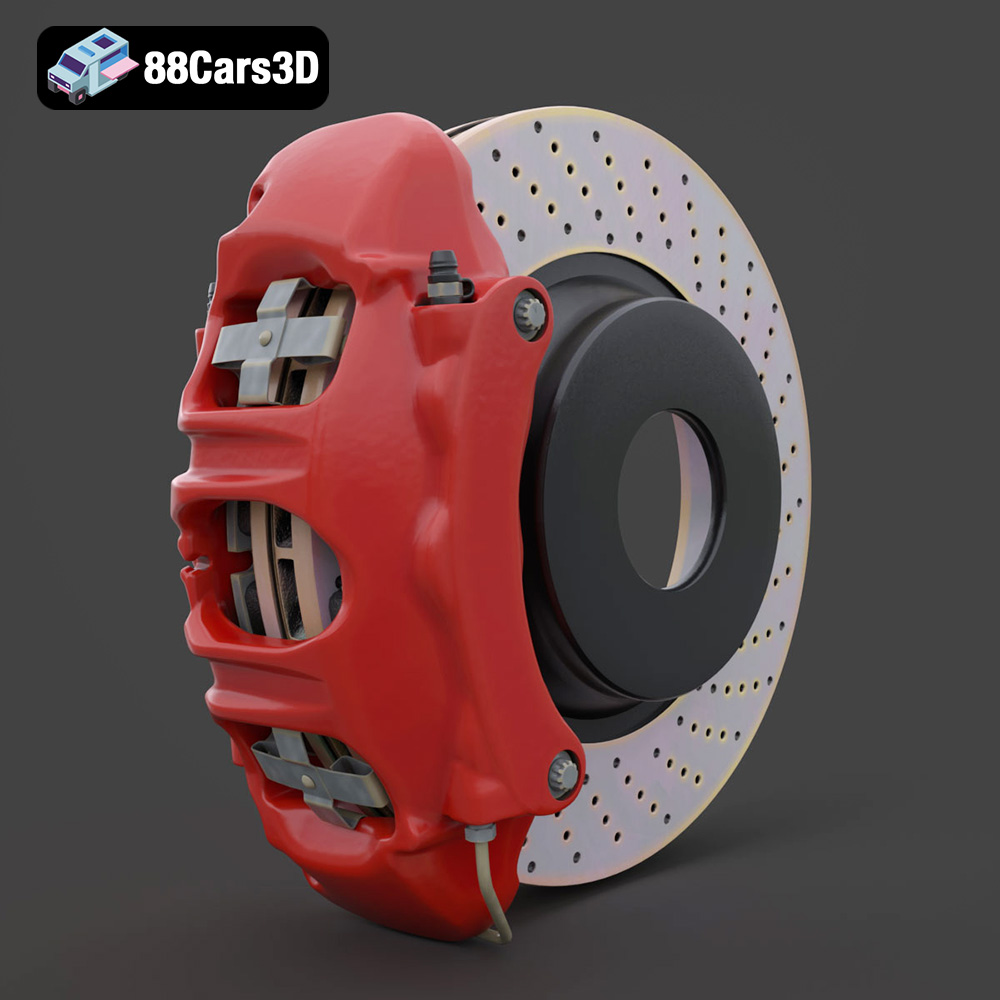
Texture: Yes | Material: Yes
Download the highly detailed, game-ready Brake Assembly 3D Model. Features a ventilated brake rotor, multi-piston caliper, and precision mounting hardware. Includes .blend, .fbx, .obj, .glb, .stl, .ply, .unreal, and .max formats for game development, AR/VR, and rendering.
Price: $104.99
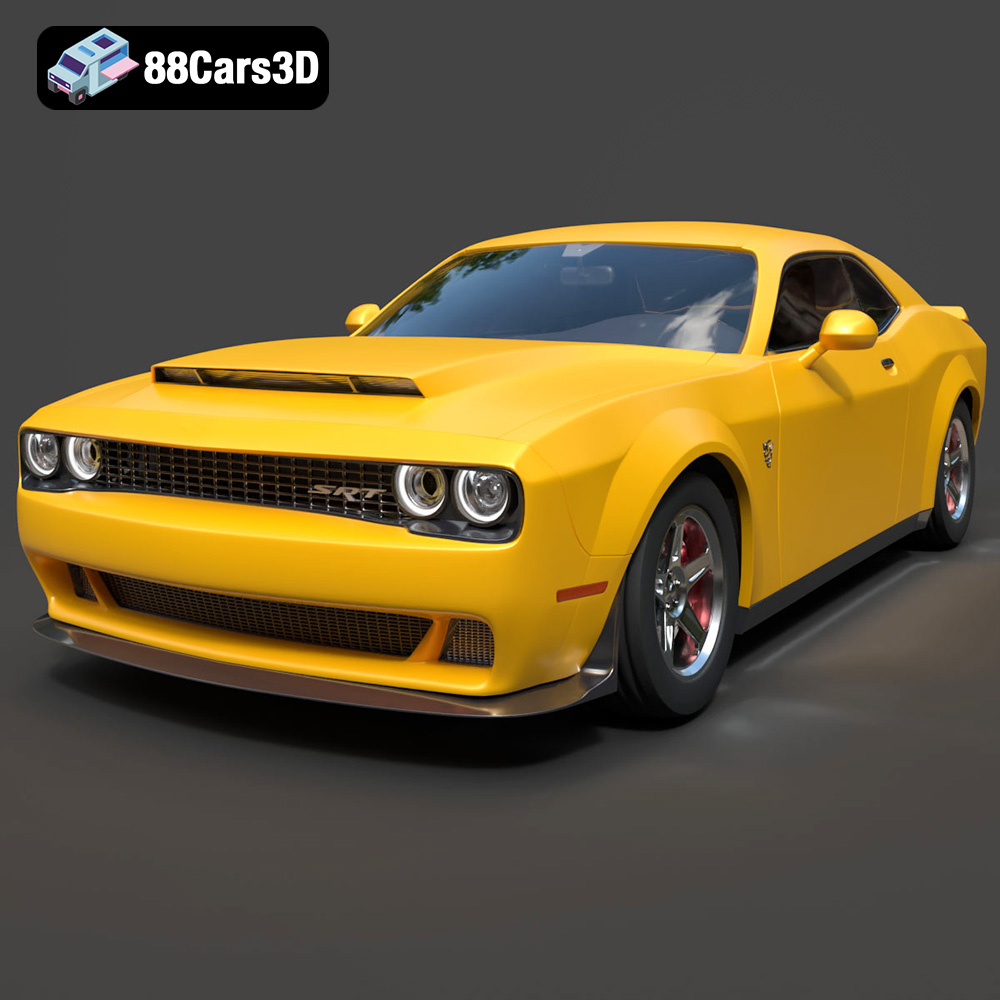
Texture: Yes | Material: Yes
Download the highly detailed, game-ready Dodge Demon SRT 3D Model. Features aggressive widebody styling, supercharged HEMI V8 details, and high-fidelity exterior details. Includes .blend, .fbx, .obj, .glb, .stl, .ply, .unreal, and .max formats for game development, AR/VR, and rendering.
Price: $279.99
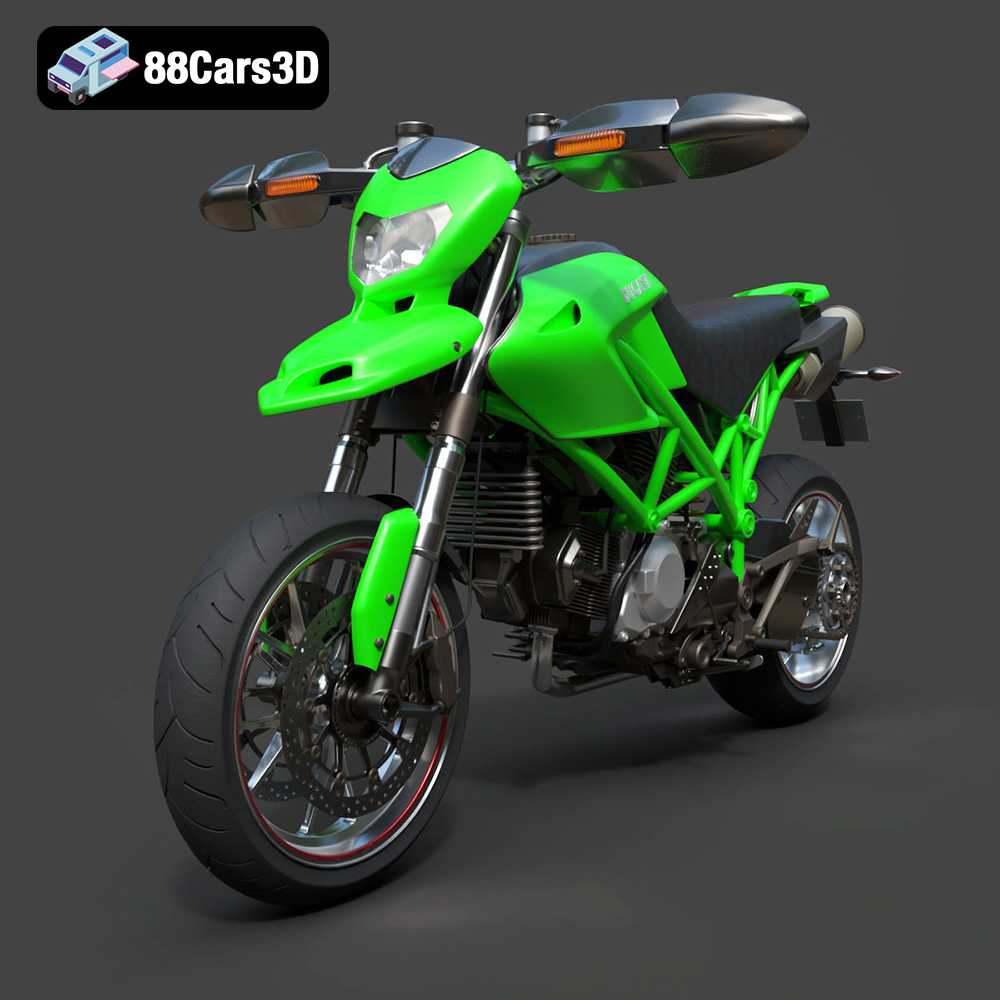
Texture: Yes | Material: Yes
Download the highly detailed, game-ready Ducati Hypermotard 1100 EVO 2011 3D Model. Features an iconic Desmodromic L-twin engine, trellis frame, and signature under-seat exhaust design. Includes .blend, .fbx, .obj, .glb, .stl, .ply, .unreal, and .max formats for game development, AR/VR, and rendering.
Price: $197.99
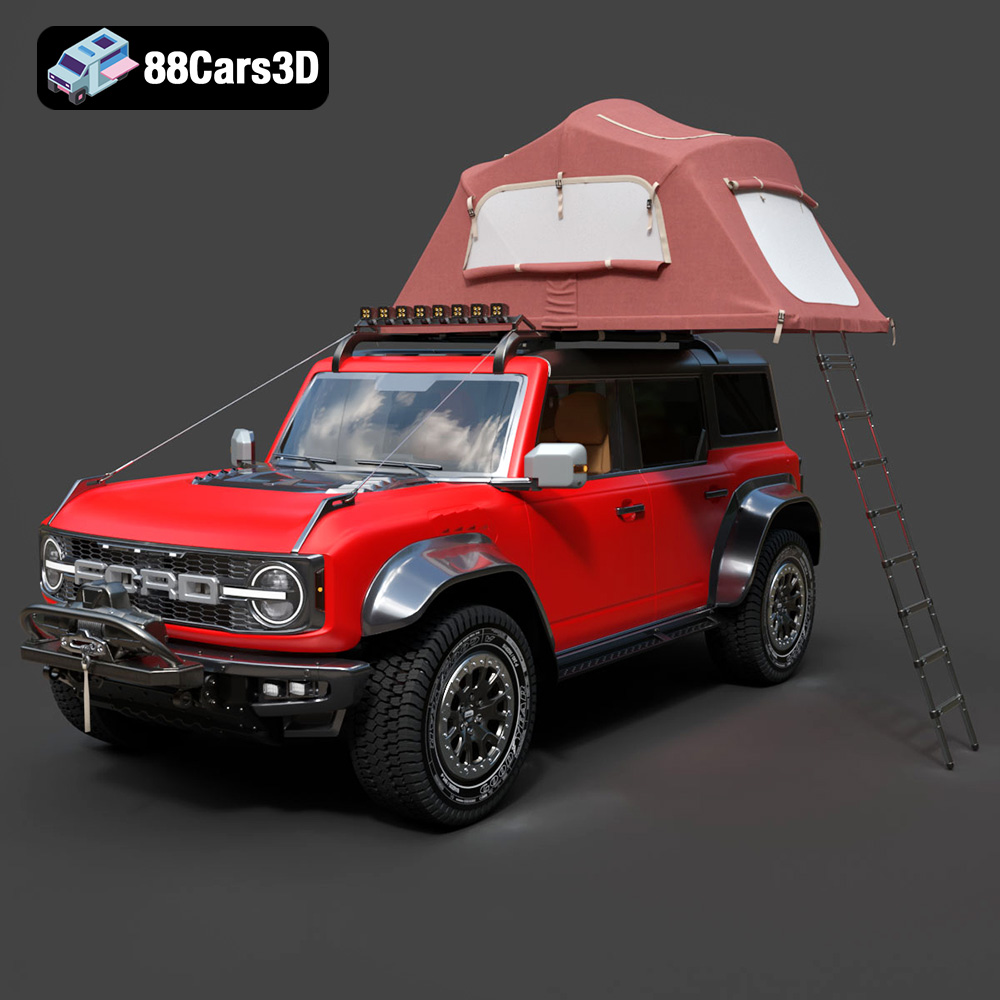
Texture: Yes | Material: Yes
Download the highly detailed, game-ready Ford Bronco Raptor Rooftop Tent 3D Model. Features aggressive widebody styling, detailed off-road suspension, and a fully modelled overland rooftop tent. Includes .blend, .fbx, .obj, .glb, .stl, .ply, .unreal, and .max formats for game development, AR/VR, and rendering.
Price: $299.50
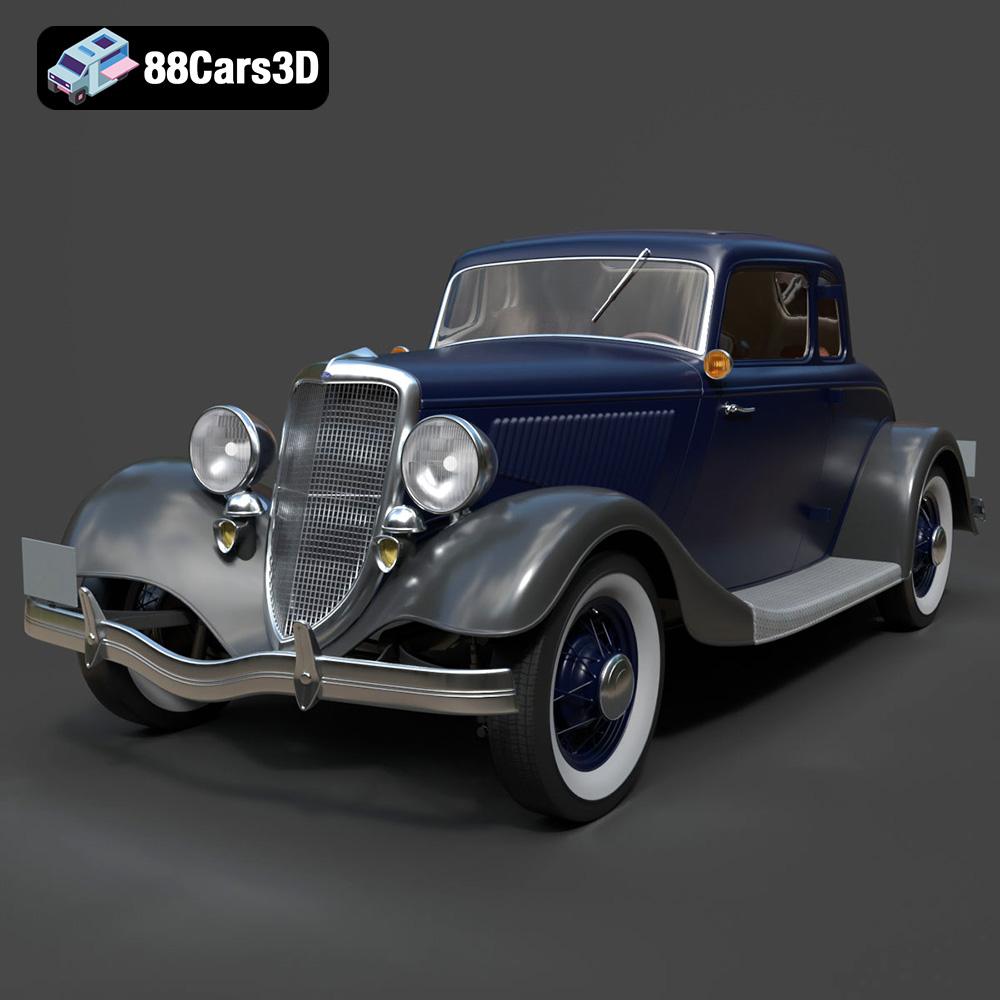
Texture: Yes | Material: Yes
Download the highly detailed, game-ready Ford Coupe 1934 3D Model. Features sweeping fenders, iconic 1930s grille design, and authentic vintage proportions. Includes .blend, .fbx, .obj, .glb, .stl, .ply, .unreal, and .max formats for game development, AR/VR, and rendering.
Price: $203.00
