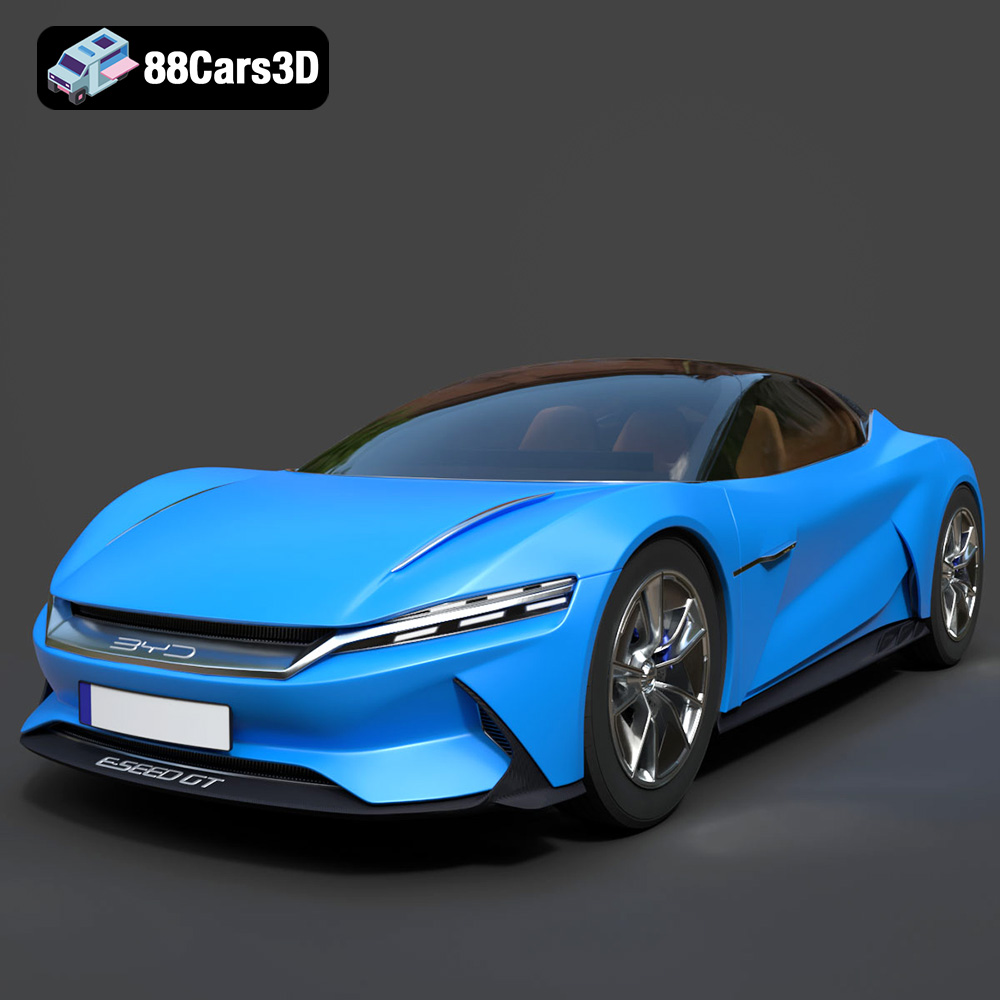
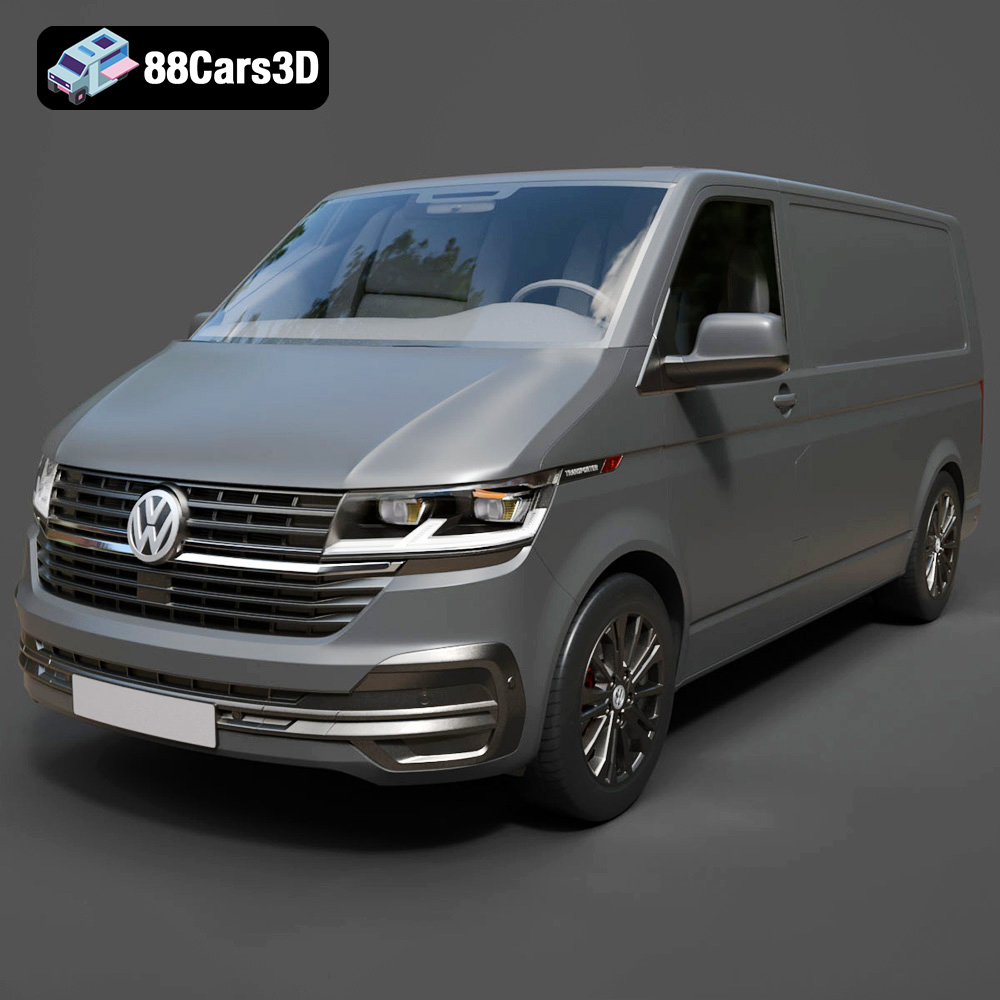
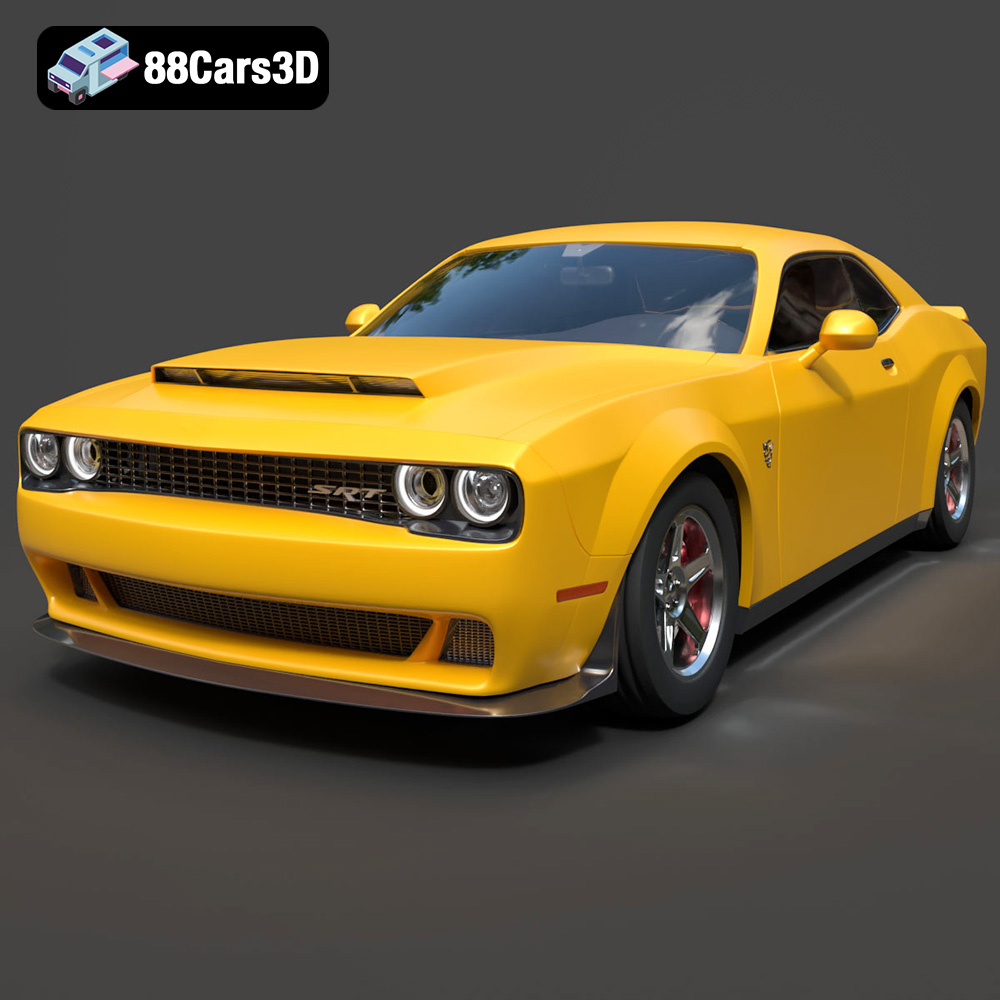
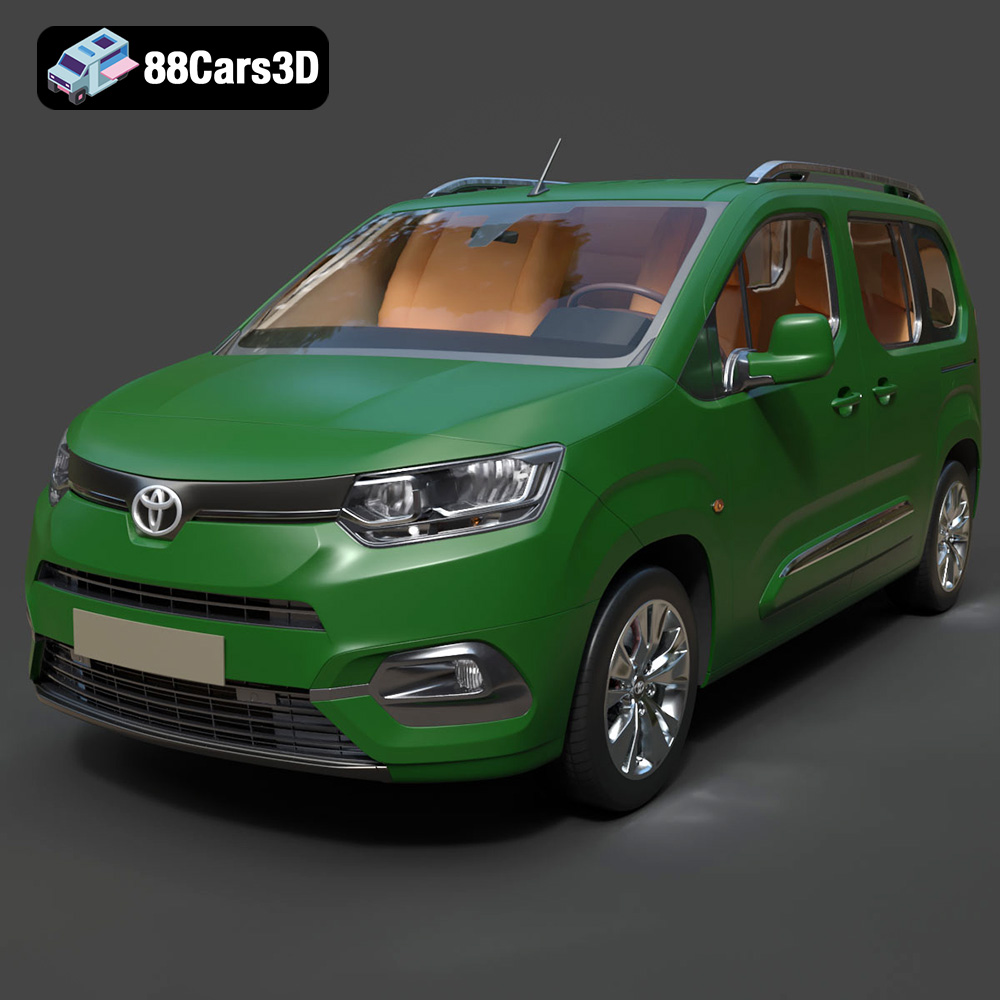
The automotive industry is in constant motion, not just on the road, but also in the realm of customer engagement. Traditional physical showrooms, while still valuable, are increasingly being complemented by sophisticated digital experiences. Imagine a prospective buyer effortlessly customizing their dream car, changing paint colors, wheel designs, interior trims, and even viewing it in different environments – all in real-time, with photorealistic fidelity. This is the promise of interactive automotive configurators powered by robust game engines like Unreal Engine, transforming the buying journey into an immersive, personalized adventure.
Unreal Engine, renowned for its cutting-edge graphics and powerful development tools, offers an unparalleled platform for creating these dynamic virtual showrooms. It moves beyond static renders and pre-recorded videos, empowering users with agency and a true sense of interaction. This comprehensive guide will delve into the technical workflows, from preparing high-quality 3D car models, optimizing them for real-time performance, setting up dynamic materials and part swapping, to designing intuitive user interfaces within Unreal Engine. Whether you’re an automotive designer, a 3D artist, or a developer looking to push the boundaries of visualization, understanding these processes is key to unlocking the full potential of interactive automotive experiences.
The Dawn of Interactive Automotive Configurators with Unreal Engine
The landscape of automotive sales and marketing has undergone a profound transformation. What was once limited to glossy brochures and fixed showroom displays has evolved into a highly dynamic, user-centric experience, largely thanks to advancements in real-time rendering technology. Unreal Engine stands at the forefront of this evolution, enabling unprecedented levels of visual fidelity and interactivity.
Beyond Static Renders: The Need for Real-Time Interaction
For decades, automotive marketing relied heavily on expertly crafted static renders and meticulously produced video advertisements. While these assets effectively showcased a vehicle’s aesthetic and key features, they lacked a crucial element: user agency. A static image, no matter how beautiful, cannot respond to a user’s specific curiosity or desire for personalization. Prospective buyers want to see *their* chosen configuration, explore every angle, and understand how various options impact the overall look and feel of the vehicle.
Interactive configurators address this gap by putting the user in control. They allow for instant modifications – changing paint colors, selecting different wheel designs, swapping interior upholstery, or adding optional accessories – all visualized in real-time. This level of engagement significantly enhances the decision-making process, builds stronger emotional connections with the product, and ultimately drives sales by fulfilling the customer’s unique vision. It transforms passive viewing into active participation, making the buying experience more personal and compelling.
Why Unreal Engine Stands Out for Automotive Visualization
Unreal Engine has become the engine of choice for high-fidelity automotive visualization for several compelling reasons:
- Photorealistic Rendering: With features like Lumen for global illumination and reflections, and hardware-accelerated Ray Tracing, Unreal Engine can achieve stunning, cinematic levels of realism that blur the line between virtual and physical. This is critical for conveying the intricate details and premium feel of an automotive product.
- Powerful Blueprint System: Unreal Engine’s visual scripting system, Blueprints, allows developers and artists to create complex interactive logic without writing a single line of code. This dramatically accelerates the development of dynamic configurator functionalities like material swapping, part changing, and UI interactions.
- Robust Material Editor: The node-based Material Editor provides incredible flexibility for creating physically based rendering (PBR) materials that accurately represent real-world surfaces – from metallic paints and leathers to carbon fiber and glass.
- Extensive Toolset: From advanced animation tools to sophisticated physics simulations and robust asset management, Unreal Engine provides a comprehensive environment for building complex interactive applications.
- Cross-Platform Deployment: Applications developed in Unreal Engine can be deployed across a wide range of platforms, including PC, web (via Pixel Streaming), AR/VR devices, and even mobile, reaching a broader audience wherever they are.
Understanding 3D Model File Formats
The foundation of any successful interactive automotive configurator is the quality and versatility of its 3D car models. However, a model’s utility isn’t solely defined by its visual appeal; its file format dictates its compatibility, editable features, and ultimate suitability for different stages of the development pipeline. Choosing the correct format at each step is crucial for an efficient workflow, whether you’re sourcing models from marketplaces like 88cars3d.com or creating them from scratch.
Choosing the Right Format for Your Workflow
The diverse landscape of 3D applications and their specific requirements means there’s no single “best” file format. Instead, the optimal choice depends on the task at hand:
- For full editability and animation within specific software: Native formats like .blend (Blender) or .max (3ds Max) are ideal.
- For universal mesh transfer: .obj is a reliable fallback, though it lacks advanced features.
- For game engines and real-time applications: .fbx is the undisputed industry standard, capturing much more than just geometry.
- For web-based or AR/VR experiences: .glb offers optimization and ease of integration.
- For 3D printing: .stl is the go-to format.
- For high-precision data or scanning: .ply serves specific engineering and scientific needs.
Understanding these distinctions prevents unnecessary conversions, data loss, and compatibility headaches down the line.
Technical Deep Dive into Key Automotive Formats
Let’s explore the critical 3D model file formats you’ll encounter in automotive visualization and game asset development:
- .blend – Fully Editable Blender Scene with Materials:
This is Blender’s native project file format. A .blend file contains everything within your Blender scene: geometry (meshes), materials, textures, lighting, cameras, animations, rigging, modifiers, and even scene settings. Its primary advantage is that it preserves the full editability of the model within Blender, allowing for non-destructive workflows and easy iteration. If you’re starting a project in Blender or acquiring a model specifically for modification within Blender, this is the most comprehensive format. It’s not typically used for direct import into other engines or software for runtime, but rather as the source for exporting into more universal formats.
- .max – Editable 3ds Max Project for Animation and Rendering:
Similar to .blend for Blender, .max is the native file format for Autodesk 3ds Max. It stores the entire 3ds Max scene, including all geometry, materials, textures, lights, cameras, animations, particle systems, and rendering settings. It’s invaluable for complex automotive design projects, intricate animation sequences, and high-fidelity offline rendering setups within 3ds Max. Like .blend, it’s a project file for comprehensive editing within its native software and would typically be exported to .fbx or .obj for use in game engines or other platforms.
- .fbx – Ideal for Unreal, Unity, and Real-Time Pipelines:
The Filmbox format, developed by Autodesk, is the industry standard for exchanging 3D data between various applications and game engines. It excels at preserving complex scene information, including geometry, materials (with some limitations on PBR consistency between software), textures, animations, rigging, cameras, and scene hierarchies. For importing 3D car models into Unreal Engine, .fbx is almost always the preferred choice due to its robust support for crucial elements like skeletal meshes, morph targets, and clean import of modular components. When preparing models from sources like 88cars3d.com for Unreal Engine, .fbx will be your go-to.
- .obj – Universal Format for Cross-Software Compatibility:
The Wavefront OBJ format is one of the oldest and most widely supported 3D file formats. It’s a simple text-based format primarily used for exchanging raw geometry (vertices, normals, UVs, faces) and basic material references (via an accompanying .mtl file). While it’s highly compatible across almost all 3D software, its simplicity is also its limitation: it does not support animations, rigging, lights, cameras, or advanced material properties. It’s excellent for transferring static mesh data when fidelity of complex scene data isn’t required.
- .glb – Optimized for AR, VR, and Browser-Based Display:
The GL Transmission Format (glTF) and its binary counterpart, .glb, are royalty-free formats designed for efficient transmission and loading of 3D scenes and models by engines and applications. .glb consolidates all assets (geometry, materials, textures, animations) into a single, compact binary file, making it incredibly efficient for web-based 3D viewers, augmented reality (AR), and virtual reality (VR) applications where file size and quick loading are paramount. Its PBR material support and lightweight nature make it increasingly popular for real-time visualization on the web.
- .stl – Suitable for 3D Printing Output:
Stereolithography (.stl) is the de facto standard file format for 3D printing. It represents only the surface geometry of a 3D object as a collection of unconnected triangular facets. Crucially, .stl files contain no color, texture, or material information – they define only the shape. While essential for manufacturing physical objects, it holds little relevance for real-time interactive configurators unless the goal is to export a specific component for rapid prototyping.
- .ply – Precision Mesh Format for CAD or Analysis:
The Polygon File Format (.ply) is a versatile format often used for storing 3D data from 3D scanners, CAD applications, or scientific data visualization. It can store various properties, including color, transparency, surface normals, and range data, alongside the geometry. .ply is particularly useful when precision and additional data attributes are critical, such as in reverse engineering or detailed surface analysis, but it is less commonly used for direct game engine integration compared to .fbx.
- .unreal – Engine-Ready Asset for Real-Time Environments:
While not an external file format in the traditional sense, “.unreal” refers to an asset that has been fully imported, optimized, and saved within the Unreal Engine project structure as a .uasset file. This means the 3D model has undergone the engine’s internal conversion process, had its materials applied, LODs generated, collisions set up, and is ready for use in real-time environments. When you bring an .fbx into Unreal and save it, it becomes an engine-ready .uasset, fully integrated into your project for dynamic manipulation and rendering.
Optimizing Your 3D Car Models for Real-Time Performance in Unreal Engine
Bringing a high-fidelity 3D car model into Unreal Engine for an interactive configurator requires more than a simple import. Optimal real-time performance, particularly for complex automotive assets, hinges on meticulous preparation and optimization. This section focuses on workflow starting points, often involving Blender, to prepare your models for a seamless transition to Unreal Engine.
Strategic Model Preparation: Modularity and Poly Count Management
The journey begins with a well-structured 3D car model. Whether you’re building from scratch or adapting a model from a source like 88cars3d.com, these principles are paramount:
- Modularity is Key: Disassemble the vehicle into its constituent, swappable components. The body, various wheel designs, brake calipers, interior elements (seats, dashboard, steering wheel), trim pieces, headlights, taillights, and even individual badges should be separate mesh objects. This modular approach is fundamental for dynamic part swapping in Unreal Engine. Ensure each modular part has a logical naming convention (e.g., “Car_Body_Sedan,” “Wheel_Design_A_Front_L,” “Interior_Seat_Leather_Black”).
- Poly Count Management and Level of Detail (LODs): High-fidelity automotive models often have millions of polygons. While stunning for offline rendering, this is prohibitive for real-time applications.
- Target Poly Counts: Aim for optimized poly counts for each part. The main body might be several hundred thousand triangles, while a wheel could be 50,000-100,000. Smaller, less visible parts should be significantly lower.
- Decimation: Use tools like Blender’s Decimate Modifier to reduce polygon count while preserving critical details. Be judicious, as aggressive decimation can lead to visual artifacts.
- LODs (Levels of Detail): Implement multiple versions of each mesh with progressively lower poly counts. Unreal Engine can automatically swap these based on distance from the camera, drastically improving performance. For configurators, you might need 2-3 LODs, ensuring the highest detail is always visible when the user is up close.
- Origin Points and Pivot Management: Ensure each modular part has its origin point correctly set. For wheels, the origin should be at the center of rotation. For doors, it should be at the hinge. This simplifies rotation, translation, and attachment operations within Unreal Engine’s Blueprints.
UV Mapping and Texture Atlasing for Efficiency
Effective UV mapping and texture management are critical for both visual quality and rendering performance:
- Clean UV Unwrapping: Every mesh needs proper UV coordinates to display textures correctly. Ensure there’s no stretching, overlapping, or excessive seams. Overlapping UVs are acceptable only for symmetrical parts that share the exact same texture information (e.g., left and right side mirrors).
- Texture Atlasing: For groups of smaller, static objects (e.g., dashboard buttons, interior trim details), consider combining their UVs onto a single texture atlas. This reduces the number of material draw calls in Unreal Engine, leading to better performance. Instead of Unreal processing multiple small textures, it processes one larger texture, improving GPU efficiency.
- PBR Texture Workflow: Utilize a physically based rendering (PBR) texture workflow, typically involving Base Color (Albedo), Normal, Roughness, Metallic, and Ambient Occlusion maps. Ensure these textures are consistently sized and optimized (e.g., power-of-two resolutions like 2048×2048, 4096×4096).
Exporting from Blender to Unreal Engine: Best Practices
When your optimized model is ready in Blender, the export process to .fbx needs careful attention:
- FBX Export Settings:
- Scale: Unreal Engine works best with a scale of 1 unit = 1 centimeter. Ensure your Blender scene units and FBX export scale are set correctly to avoid scale discrepancies upon import.
- Axis Conversion: Unreal Engine uses Z-up, while Blender traditionally uses Z-up as well, but sometimes axis differences can occur during export. Often, setting “Forward” to -Y and “Up” to Z in Blender’s FBX export dialog aligns things correctly. Test imports are crucial here.
- Apply Modifiers: For static meshes, ensure “Apply Modifiers” is checked during export if you want the modifier effects to be baked into the mesh geometry. For modular parts, this is usually desired.
- Selected Objects Only: Export only the objects you intend to bring into Unreal.
- Smoothing: Choose “Face” or “Edge” for smoothing groups to ensure correct normal calculation in Unreal.
- Tangent Space: Ensure “Tangent Space” is enabled for proper normal map display.
- Embed Media: While convenient for initial imports, it’s generally better to manage textures separately in Unreal, as embedded media can lead to larger file sizes and less flexible material setups.
- Testing Imports: Always perform test imports into Unreal Engine for individual components or small groups to catch any scale, rotation, or material issues early. Verify pivots, check normals, and ensure UVs are intact.
Crafting Dynamic Materials and Blueprints for Customization
Once your optimized 3D car models are in Unreal Engine, the real magic of configurators begins: dynamic customization. This involves setting up flexible materials and leveraging Unreal’s powerful Blueprint visual scripting system to enable real-time color changes, material swaps, and part variations.
Master Material Setup for Consistent Visuals
A crucial first step for consistency and flexibility is establishing a robust Master Material. This approach prevents you from having to create individual materials for every single option, saving countless hours and ensuring visual uniformity across your configurator:
- PBR Principles: Build your Master Material following Physically Based Rendering (PBR) guidelines. This typically involves input nodes for Base Color, Metallic, Roughness, Specular, Normal, and Ambient Occlusion.
- Parameterization: Convert key attributes into Material Parameters. For instance, the Base Color input should be a “Vector Parameter” (for color tints), Metallic and Roughness inputs should be “Scalar Parameters” (for numerical adjustments), and Normal/AO maps should be “Texture Sample Parameters.” This allows you to create instances of the Master Material where these parameters can be easily changed without altering the underlying logic.
- Conditional Logic and Blending: For complex materials (e.g., car paint with flakes, carbon fiber with clear coat), use material functions or layered blend nodes within the Master Material. This enables you to combine different material properties dynamically or add effects based on parameters. For example, a “Car Paint” Master Material might have parameters for clear coat intensity, flake size, and metallic shimmer.
- UV Controls: Include parameters for UV tiling and offset, offering more control over how textures are applied across different parts.
- Material Instances: Once the Master Material is complete, create Material Instances for each unique material variation (e.g., “CarPaint_Red,” “Wheel_Alloy_Dark,” “Interior_Leather_Cream”). These instances inherit the Master Material’s logic but allow artists to quickly tweak parameters without recompiling shaders.
Implementing Dynamic Color and Material Swapping with Blueprints
With a parametric Master Material in place, Blueprints become the interface for dynamic changes:
- Dynamic Material Instances (DMIs): To change material properties at runtime, you need to create a Dynamic Material Instance from a static Material Instance (or directly from a Master Material). In a Blueprint, you can use the “Create Dynamic Material Instance” node, targeting the mesh component you want to modify.
- Setting Parameters: Once a DMI is created, you can use nodes like “Set Vector Parameter Value,” “Set Scalar Parameter Value,” or “Set Texture Parameter Value” to modify the corresponding parameters defined in your Master Material. For example, clicking a “Red Paint” button on your UI would call a Blueprint function that creates a DMI for the car body and sets its “BaseColor” Vector Parameter to red.
- Material Parameter Collections (MPCs): For global material changes that affect multiple meshes simultaneously (e.g., changing environmental reflections on all materials), Material Parameter Collections are powerful. MPCs are separate assets that hold a list of scalar and vector parameters. You can reference an MPC in multiple Master Materials, and then update the MPC’s parameters via Blueprint. This ensures synchronized changes across various materials with a single Blueprint call.
Blueprinting for Part Swapping and Accessory Integration
Modularity in your 3D car models (as discussed earlier) directly translates into dynamic part swapping capabilities via Blueprints:
- Visibility Toggles: The simplest form of part swapping is to toggle the visibility of different static mesh components. For instance, if you have “Wheel_Design_A” and “Wheel_Design_B” as separate components of your car Blueprint, a UI button can simply set the visibility of one to true and the other to false.
- Spawning and Destroying Components: For more complex scenarios or if parts have unique properties/logic, you might spawn and attach new static mesh components and destroy old ones. This is particularly useful for accessories that might be added or removed from a clean base model.
- Array of Meshes: A common and elegant solution for multiple choices (like different wheel designs) is to store references to various static mesh assets in an array within your car’s Blueprint. When a user selects an option, the Blueprint can swap the currently displayed mesh for the selected one from the array. This allows for clean management of multiple variations for components such as wheels, spoilers, or side mirrors.
- Attachment and Detachment: Ensure new parts are correctly attached to the main car body or parent components. Use the “Attach Component To Component” node to maintain the correct hierarchy and transformations. Ensure proper pivot points for accurate placement.
- Event-Driven Logic: Connect your UI buttons (from UMG) to custom Blueprint events that trigger these material and part swapping functions. For example, a “OnClicked” event for a UI button would execute the Blueprint logic to change the car’s color or swap a wheel.
Designing Engaging User Interfaces and Intuitive Controls
A powerful configurator is only as good as its user experience. An intuitive User Interface (UI) and seamless interactive controls are paramount for keeping users engaged and making the customization process enjoyable and efficient. Unreal Engine’s UMG (Unreal Motion Graphics) UI system and its robust Player Controller functionalities provide the tools to build these critical interactive elements.
UMG Fundamentals: Building a Responsive Configurator UI
Unreal Motion Graphics (UMG) is Unreal Engine’s visual UI editor, allowing you to design, build, and animate user interfaces directly within the engine:
- Widgets and Layouts: Start by creating a “Widget Blueprint.” Here, you’ll drag and drop various “Widgets” like Buttons, Text Blocks, Image widgets, Sliders, and Check Boxes. To organize these, use “Panel Widgets” such as Canvas Panels (for absolute positioning), Vertical Boxes, Horizontal Boxes, and Grid Panels (for responsive layouts).
- Anchors and Responsiveness: Proper use of “Anchors” is vital for a UI that scales correctly across different screen resolutions. Anchor widgets to corners, edges, or the center of the screen, and then use offsets and alignment to position them. This ensures your UI elements remain consistent whether the user is on a widescreen monitor or a smaller display.
- Styling and Branding: Apply styles to your widgets (colors, fonts, images, hover states) to match the automotive brand’s aesthetic. You can create custom styles for buttons and other interactable elements to provide clear visual feedback.
- Blueprint Integration: The “Graph” tab within a Widget Blueprint is where you add interactive logic. Connect the “OnClicked” event of a button to a custom event or function in your main car Blueprint (via “Event Dispatchers” or direct references) to trigger material or part changes. For sliders, use the “OnValueChanged” event to dynamically adjust parameters like rim offset or spoiler angle.
Interactive Camera Controls for a Seamless Experience
Users expect to freely explore the vehicle from every angle. Implementing intuitive camera controls is crucial for this:
- Orbit Camera System: The most common and effective control for a configurator is an orbit camera. This allows the user to rotate around a central point (the car) and zoom in/out.
- Player Controller and Pawn: You can implement this logic within your Player Controller or a dedicated Camera Pawn. Use mouse input (X and Y movement for orbiting) and scroll wheel input (for zooming).
- Rotation Logic: Calculate yaw (horizontal rotation) and pitch (vertical rotation) based on mouse delta. Apply these rotations to a Spring Arm Component attached to your camera. The Spring Arm’s target arm length can control the zoom level.
- Pitch Limits: Implement pitch limits to prevent the camera from going below or directly above the car, which can be disorienting.
- Collision Avoidance: Ensure the camera doesn’t clip through the environment by enabling collision on the Spring Arm or implementing custom collision checks.
- Smooth Transitions: Use interpolation (e.g., FInterpTo or RInterpTo nodes in Blueprint) for smooth camera movements when zooming, orbiting, or transitioning between predefined camera angles (e.g., “front view,” “side view,” “interior view” buttons). Snappy, jarring camera movements can detract from the premium experience.
- Predefined Camera Views: Offer a set of fixed camera buttons (e.g., front, rear, side, top, interior) that instantly transition the camera to specific, aesthetically pleasing angles. This provides quick navigation for users.
Enhancing User Feedback and Experience
Subtle cues and feedback mechanisms significantly elevate the user experience:
- Highlighting Selections: When a user hovers over a selectable part (e.g., a wheel) or clicks on a UI option, provide visual feedback. This could be an outline shader on the part, a slight glow, or a change in the UI button’s state (e.g., a border or darker background).
- Sound Effects: Implement subtle sound effects for UI clicks, part swaps, or camera transitions to make the interactions feel more responsive and tactile.
- Performance Indicators: While typically hidden, ensure your configurator runs smoothly. Optimize assets and logic to maintain a consistent frame rate, as lag can quickly frustrate users.
- Informative Text: Provide clear descriptions or labels for each customization option. For example, when changing wheels, display the name and size of the selected wheel design.
Advanced Features and Deployment Considerations
Beyond the core configurator functionality, Unreal Engine offers powerful features to further enhance realism and flexibility. Understanding deployment strategies is also crucial for reaching your target audience.
Leveraging Ray Tracing and Lumen for Photorealistic Visuals
Unreal Engine has revolutionized real-time rendering with its advanced lighting and reflection systems:
- Ray Tracing: For scenes with dedicated graphics cards (RTX series or equivalent), hardware-accelerated Ray Tracing delivers unparalleled accuracy in reflections, shadows, ambient occlusion, and global illumination. For automotive rendering, this means mirror-like reflections on car paint, perfectly accurate shadows under the vehicle, and realistic light bouncing within the scene. While demanding, enabling Ray Tracing elevates the photorealism of your configurator to cinematic levels.
- Lumen: Unreal Engine’s Lumen is a fully dynamic global illumination and reflections system designed for next-gen consoles and PC. It enables bounced light to react in real-time to direct lighting changes, material properties, and scene geometry. This means if you change the car’s color, the reflected light from the ground will subtly change to match. Lumen is less performance-intensive than full path tracing but still provides highly realistic global illumination and is an excellent option for broadly accessible configurators, even without dedicated RT hardware.
- Performance Considerations: Both Ray Tracing and Lumen require significant GPU resources. Carefully balance visual fidelity with target hardware specifications. Optimize scene complexity, texture resolutions, and polygon counts to maintain acceptable frame rates. Offer quality settings for users with varying hardware capabilities.
Packaging and Deployment Strategies for Various Platforms
Once your interactive automotive configurator is complete, you need to package and deploy it to reach your audience:
- Windows (Standalone Executable): This is the most common deployment target for high-fidelity configurators. Unreal Engine packages your project into a standalone .exe file. This offers the best performance and visual quality but requires the user to download and install the application.
- Web (Pixel Streaming): For a truly accessible web-based solution that retains full Unreal Engine fidelity, Pixel Streaming is an excellent choice. It renders the Unreal Engine application on a powerful cloud server and streams the interactive video feed to a user’s web browser. The user’s inputs (mouse, keyboard) are sent back to the server, providing a seamless interactive experience without requiring a powerful local machine or any downloads. This is ideal for embedding configurators directly on a brand’s website.
- AR/VR Devices: Unreal Engine supports deployment to a wide range of AR (e.g., iOS ARKit, Android ARCore) and VR (e.g., Oculus, Vive, HP Reverb) platforms. While technically feasible, optimization for these platforms is more stringent due to performance constraints and specialized UI/UX requirements for immersive environments.
- Mobile (iOS/Android): Developing a full configurator for mobile devices is challenging. While Unreal Engine can target mobile, the high poly counts and detailed textures of automotive models often require significant optimization (aggressive LODs, simplified materials, smaller textures) to run smoothly on mobile hardware. It’s often reserved for simplified configurators or viewers.
Case Study: A Virtual Showroom Success Story
Consider the example of a luxury electric vehicle brand, “Aurora Motors,” looking to launch its new flagship sedan. Instead of relying solely on physical dealerships, Aurora Motors commissioned an interactive configurator built with Unreal Engine. They utilized high-quality 3D car models, many sourced from reliable marketplaces like 88cars3d.com, as their foundation. The development team meticulously optimized the Blender models, creating a modular chassis with swappable body panels, an array of wheel designs, and a customizable interior.
In Unreal Engine, a sophisticated Master Material was developed to handle the car’s unique “Electro-Chromatic” paint, allowing users to select from a spectrum of colors with realistic metallic flakes and clear coat effects. Blueprints orchestrated every interaction: clicking a new wheel design instantly swapped the 3D model, while selecting a leather interior option dynamically changed the material across all seats and trim. The UI, designed with UMG, was clean and intuitive, offering clear buttons for customization categories and quick access to various camera angles. Finally, Aurora Motors deployed the configurator via Pixel Streaming, enabling potential buyers worldwide to experience and configure their dream car directly from their web browsers, resulting in a significant increase in online engagement and pre-orders.
Conclusion
The convergence of advanced 3D modeling and real-time rendering technologies has ushered in a new era for the automotive industry. Interactive configurators, powered by the immense capabilities of Unreal Engine, are no longer a futuristic concept but a vital tool for engaging customers, personalizing the buying experience, and showcasing products with unprecedented realism and dynamism. From the meticulous optimization of 3D car models in tools like Blender, through the intelligent setup of dynamic materials and Blueprint logic in Unreal Engine, to the crafting of intuitive user interfaces, every step contributes to building a truly immersive virtual showroom.
Embracing these workflows not only enhances marketing efforts but also transforms the way potential buyers interact with their prospective vehicles, offering a level of choice and exploration previously unattainable. As the demand for rich, interactive digital experiences continues to grow, mastering these techniques will be crucial for automotive brands and 3D artists alike. For those looking to jumpstart their projects with high-quality, pre-optimized 3D car models, exploring reputable sources like 88cars3d.com can provide an excellent foundation for your next interactive automotive configurator.
Featured 3D Car Models