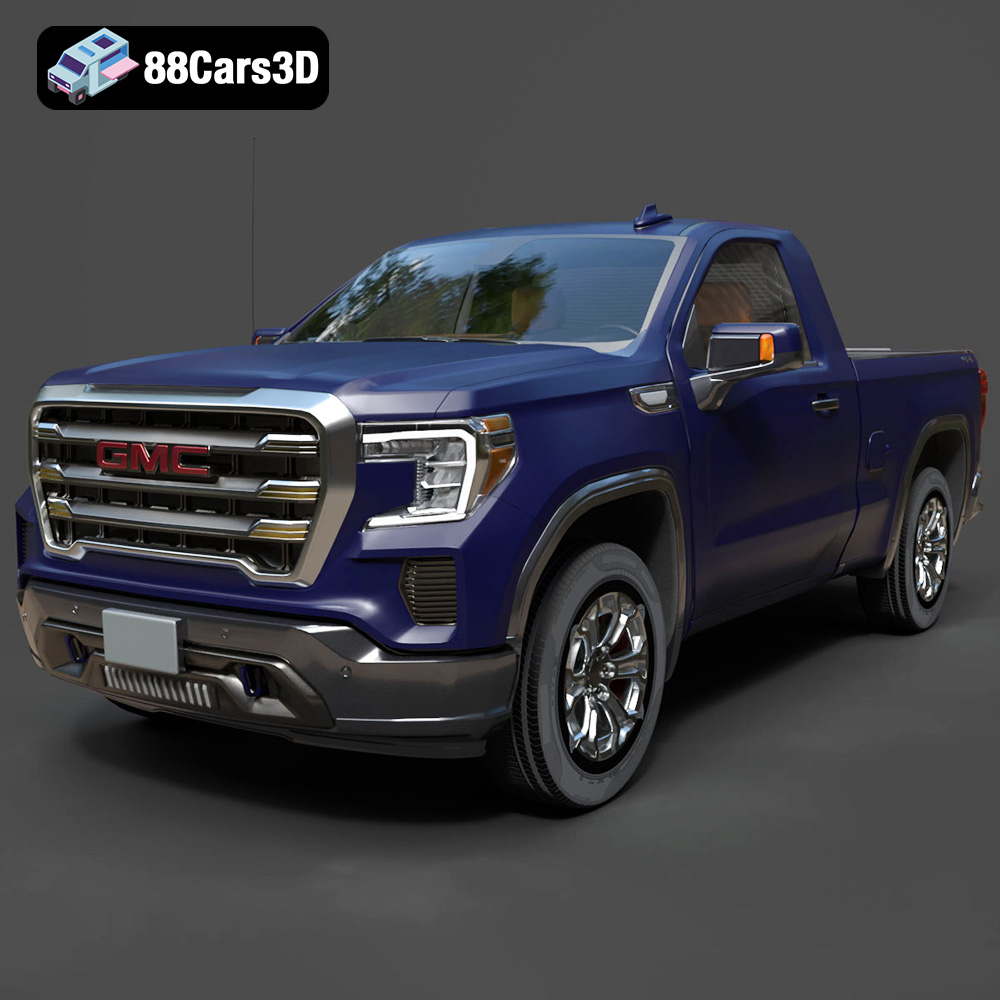
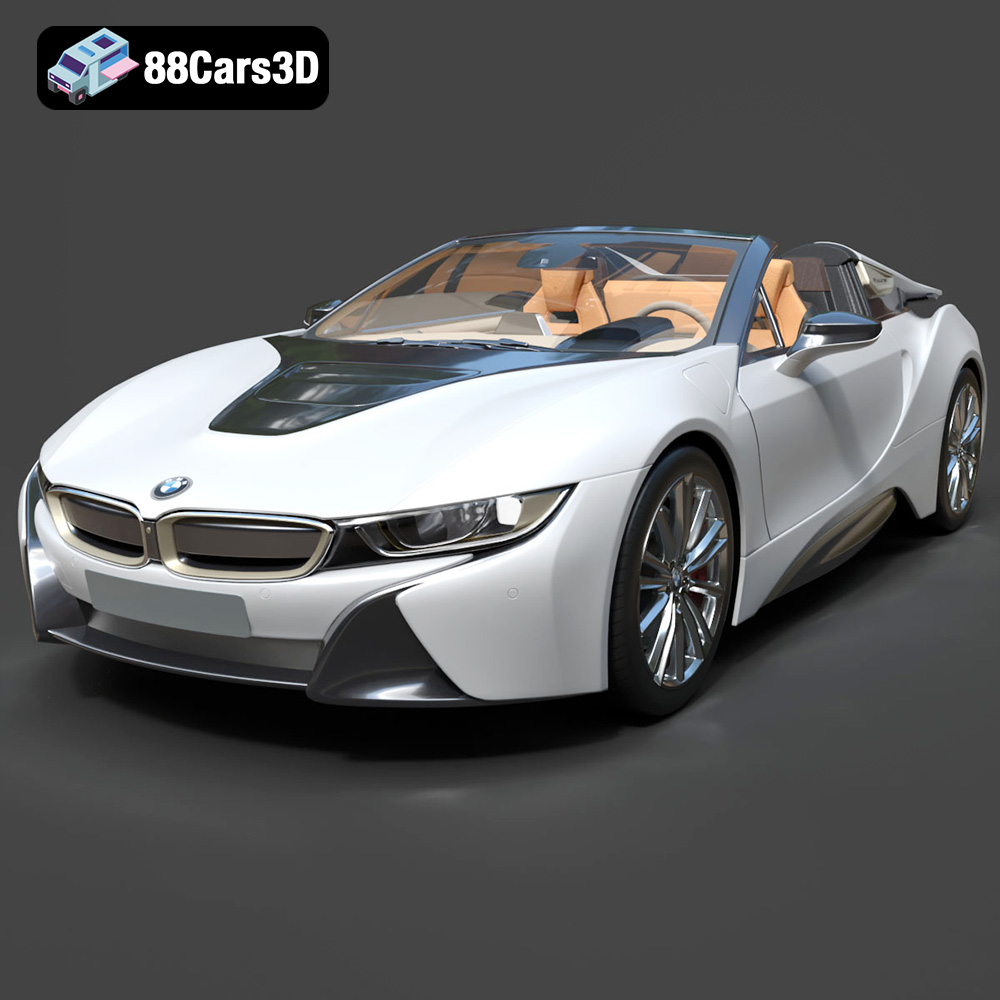
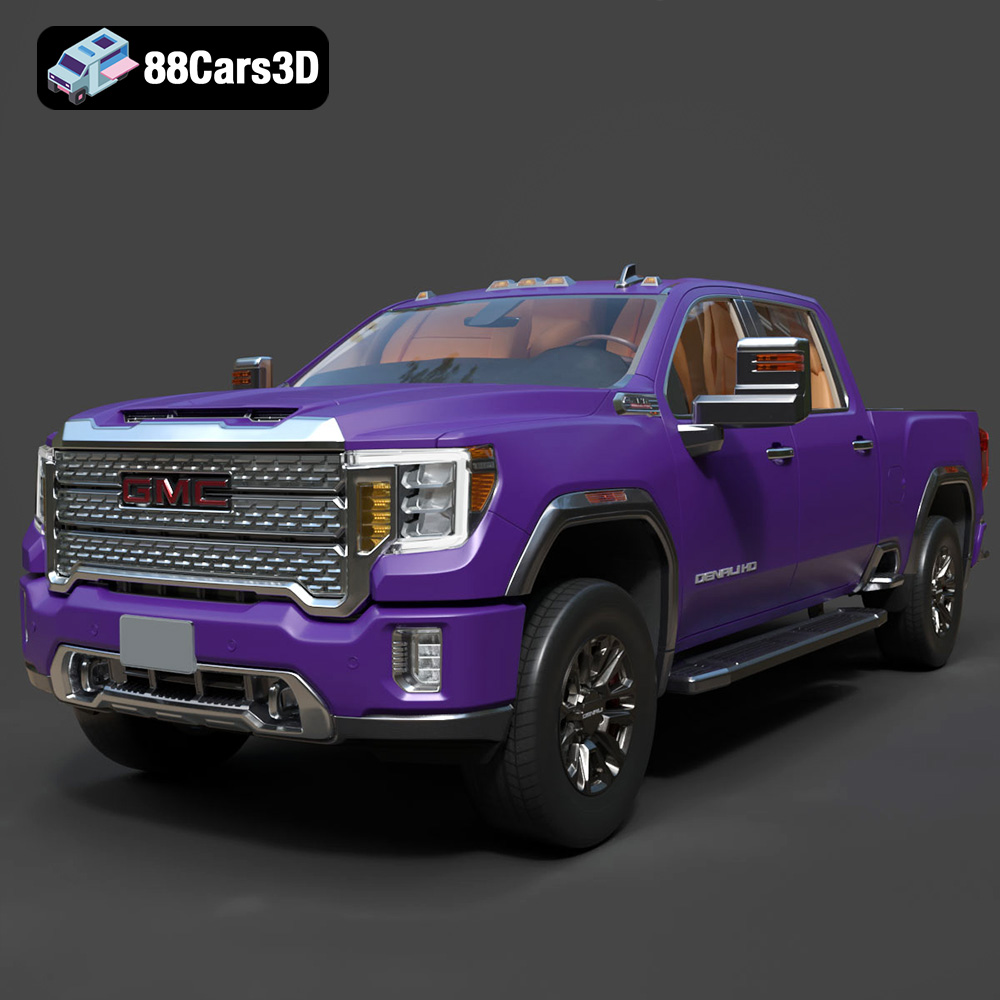
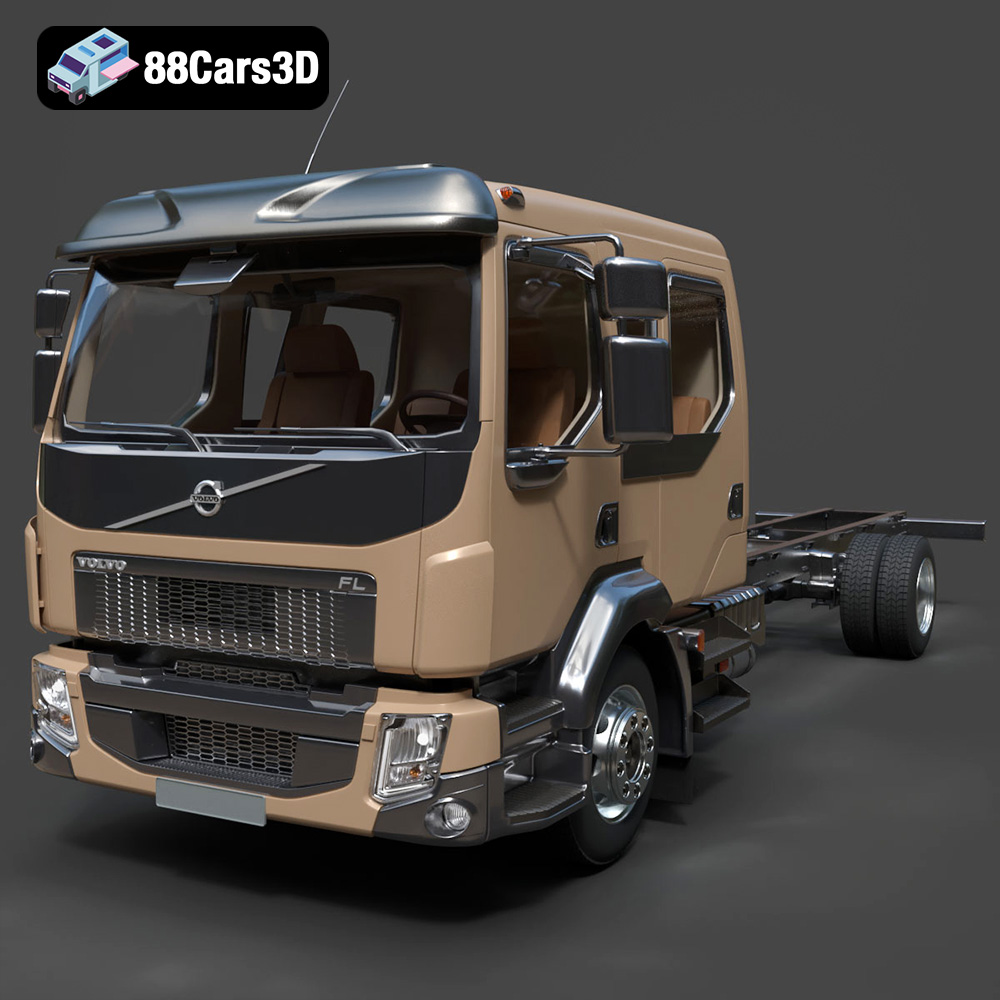
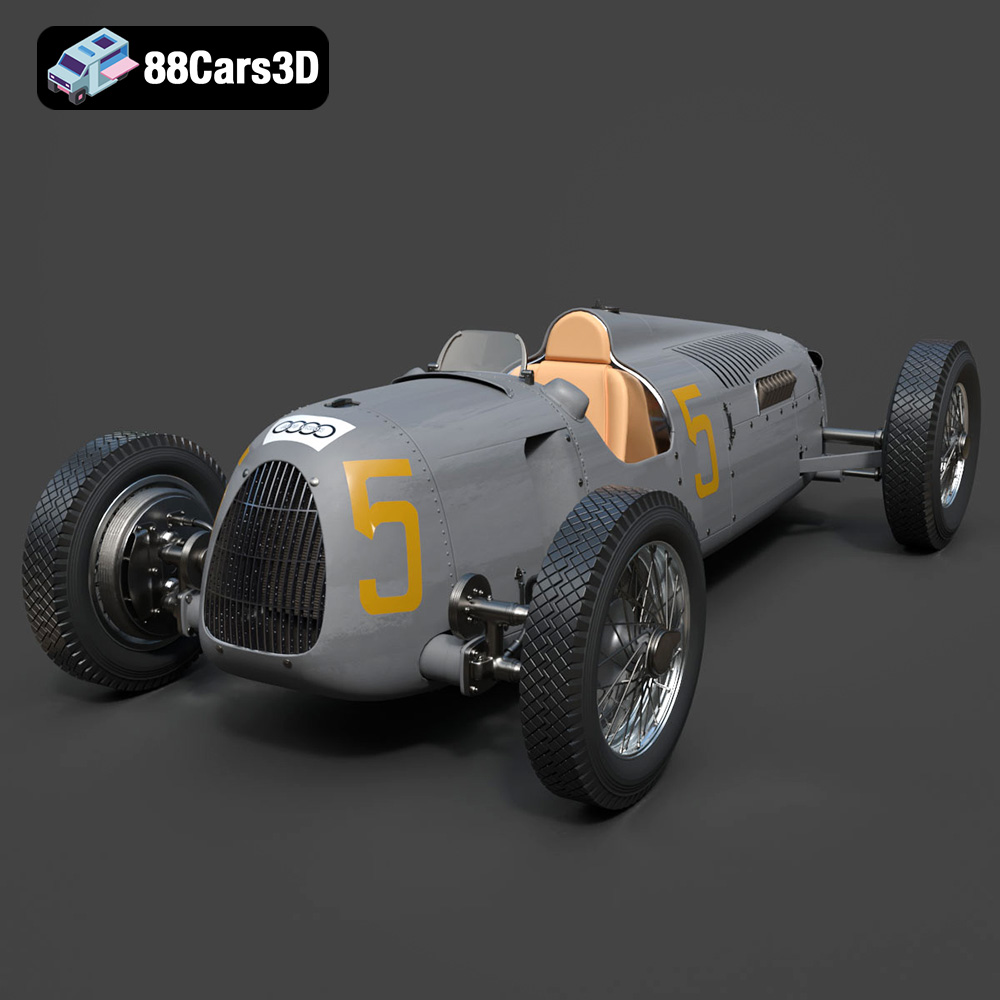
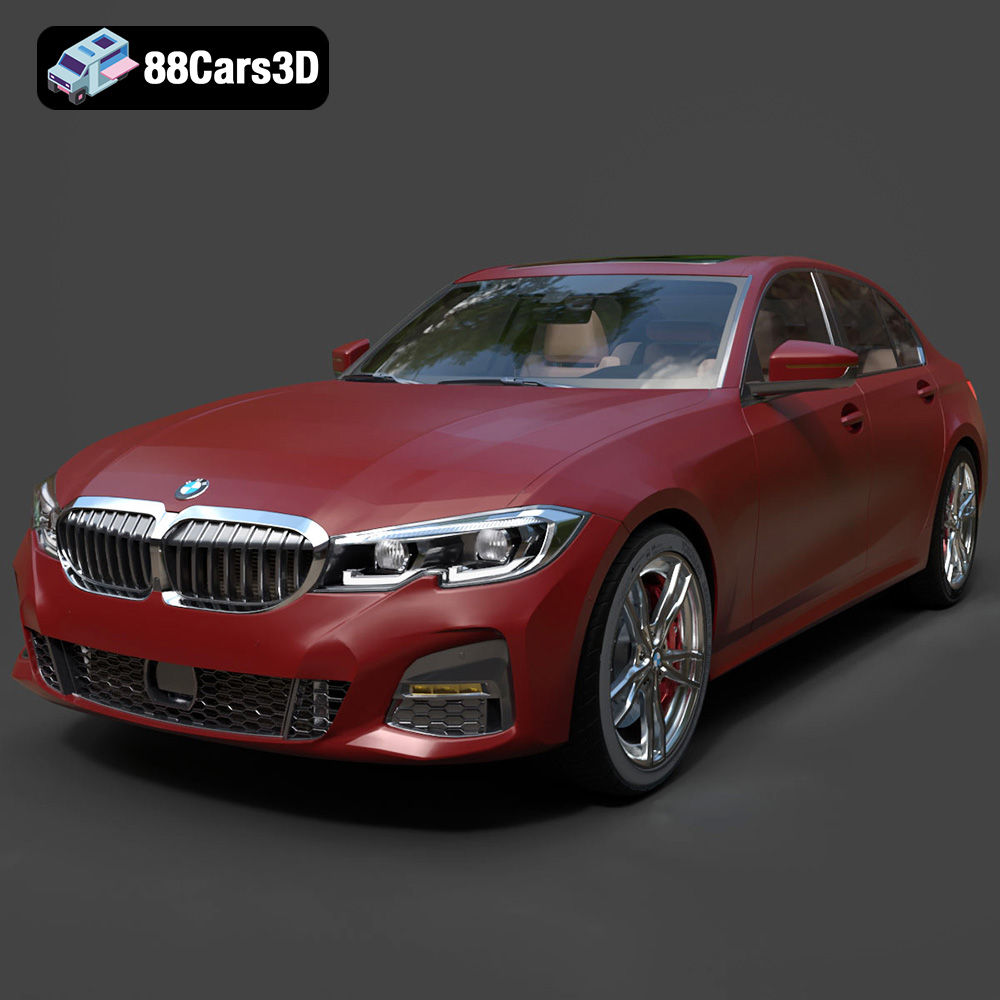
The allure of a perfectly rendered automotive masterpiece, gleaming under studio lights with every detail meticulously crafted, is undeniable. These stunning visuals, often seen in advertisements or high-end product showcases, represent the pinnacle of offline rendering. However, the journey from these magnificent studio renders to fully interactive, high-performance real-time environments – be it a cutting-edge video game, an immersive AR/VR experience, or a dynamic automotive configurator – is fraught with technical challenges. High-fidelity 3D car models, while visually rich, are typically unsuited for direct game engine integration due to their immense polygon counts, intricate material setups, and unoptimized asset structures.
Bridging this gap requires a deep understanding of optimization techniques that transform a static render asset into a dynamic, engine-ready component without sacrificing its visual integrity. This comprehensive guide delves into the essential strategies for streamlining your 3D car models, ensuring they look spectacular while performing flawlessly in real-time applications. We will explore advanced mesh optimization, intelligent material and texture management, and best practices for seamless engine integration, providing you with the knowledge to bring your automotive visions to life in any interactive environment. Starting with a solid, high-quality base model, such as those available on 88cars3d.com, is the first crucial step in this intricate process.
The fundamental difference between offline rendering and real-time graphics lies in the computational budget. Offline renders can take minutes, hours, or even days per frame, leveraging vast processing power to calculate complex lighting, reflections, and global illumination. Real-time applications, however, demand dozens or even hundreds of frames per second, requiring extreme efficiency from every asset in the scene.
Optimizing your 3D car models isn’t merely about achieving higher frame rates; it’s about delivering a smooth, immersive user experience across a diverse range of hardware. Without proper optimization:
Selecting the correct file format is a critical decision in the 3D asset pipeline, profoundly influencing compatibility, workflow, and final application. Each format is designed with specific strengths and use cases in mind, ranging from full scene editing to optimized real-time delivery or manufacturing. Understanding these distinctions is paramount for effective 3D content creation and deployment.
The .blend format is Blender’s native file type, encapsulating an entire Blender scene. It is fully editable and contains comprehensive data, including mesh geometry, materials (using Blender’s powerful node-based shader editor), textures, animations, rigging, cameras, lights, modifiers, and even custom scripts. This format is ideal when Blender is your primary Digital Content Creation (DCC) tool, as it preserves all aspects of your project for future modifications and iterations. Its key strength lies in its ability to save complex setups and procedural elements that might be lost or baked down in other export formats. While primarily for Blender users, its open nature allows for robust round-tripping within the Blender ecosystem, making it excellent for ongoing development of 3D car models before final export.
Similar to .blend for Blender, the .max format is Autodesk 3ds Max’s proprietary project file. It stores a complete 3ds Max scene, including geometry, materials (Standard, Physical, V-Ray, Corona, etc.), lighting, animation data, rigging, modifiers, and plugin-specific information. As an industry-standard format in architectural visualization, automotive design, and film, .max files are essential for professional studios using 3ds Max for their primary authoring. They offer full editability, allowing designers to tweak every aspect of their 3D car models, experiment with different render engines, and manage complex scene hierarchies. Its robust nature makes it ideal for animation and high-fidelity rendering projects where the full power of 3ds Max is leveraged.
Autodesk’s .fbx (Filmbox) format has become the de facto standard for exchanging 3D data between various DCC applications (like 3ds Max, Maya, Blender) and game engines (Unreal Engine, Unity). It excels in interoperability, supporting meshes, materials (often simplified PBR exports), textures, animations, skeletal data, and blend shapes. FBX is a binary format, making it relatively compact and efficient for transfer. It’s the go-to choice for exporting game-ready assets because it can faithfully translate critical data necessary for real-time environments, such as smoothing groups, tangents, and animation curves. When exporting 3D car models for game development, ensuring correct FBX settings (e.g., embedding media, axis conversion, scale) is paramount for a smooth import process into your target engine.
The .obj (Wavefront OBJ) format is one of the oldest and most widely supported 3D file formats. It’s a universal, text-based format primarily used for geometric data – vertices, normals, UV coordinates, and polygonal faces. While it can reference external material (.mtl) and texture files, it does not support animation, rigging, or scene hierarchy. Its simplicity makes it highly compatible across almost all 3D software, serving as a reliable lowest common denominator for basic mesh exchange. For straightforward static 3D car models where only the geometry is needed, .obj is a dependable choice. Its human-readable nature can also be useful for debugging or simple programmatic parsing.
.glb (GL Transmission Format Binary) is the binary version of glTF, an open standard developed by Khronos Group. It’s specifically optimized for efficient transmission and loading of 3D scenes and models by web-based applications, AR, and VR experiences. A .glb file is self-contained, embedding all necessary data—geometry, PBR materials, textures, animations—into a single, compact binary file. This makes it incredibly efficient for streaming and display on platforms with strict performance requirements, such as mobile AR apps or browser-based configurators. Its focus on modern PBR workflows and compact size makes it an excellent choice for distributing optimized 3D car models for interactive web content.
The .stl (Stereolithography) format is almost exclusively used for 3D printing and rapid prototyping. It represents a 3D model as a series of connected triangles (a triangulated surface mesh) without any color, texture, or material information. Each triangle is defined by its three vertices and a normal vector, indicating which way it’s facing. While simple, this format is universally understood by 3D printers and slicing software. For 3D printing a car model, it’s a necessary conversion, but it sheds all the visual fidelity required for rendering. When creating 3D car models intended for physical output, ensuring the mesh is watertight and has no non-manifold geometry is crucial for a successful .stl export.
The .ply (Polygon File Format) is primarily used for storing 3D data from 3D scanners, CAD software, and scientific applications. It supports geometry (vertices, faces), colors per vertex or face, normal vectors, and other properties like transparency. Unlike .obj, .ply can also handle point clouds. It comes in both ASCII and binary versions. While less common for general game development or real-time rendering of car models, it is highly valuable for applications requiring precise, detailed mesh data, often originating from real-world scans that then need to be cleaned up or retopologized for real-time use.
While not a direct export format in the same vein as .fbx or .obj, “Unreal Engine-Ready” implies that a 3D car model has been processed and imported into the Unreal Engine in a way that optimizes it for the engine’s real-time rendering pipeline. Typically, this involves exporting from a DCC tool as an .fbx file, which Unreal then imports, processes, and converts into its internal native asset formats (like Static Mesh assets, Material assets, Texture assets). An “Unreal-ready” asset has optimized LODs, correctly assigned PBR materials, efficient collision meshes, and proper scaling and pivot points configured within the engine, ensuring it performs optimally in a real-time environment. Many of the high-quality 3D car models on 88cars3d.com are designed with eventual Unreal Engine integration in mind, providing a strong foundation for your projects.
The core of real-time optimization begins with the geometry itself. Reducing polygon count while preserving visual fidelity is an art and a science, requiring strategic application of techniques like Level of Detail (LOD) generation and targeted decimation.
Level of Detail (LOD) is a technique that swaps out high-polygon models for lower-polygon versions as the object moves further away from the camera. This significantly reduces the rendering load for distant objects that contribute little to perceived detail. A typical setup involves:
Many DCC tools like Blender and 3ds Max offer automated LOD generation tools (e.g., Blender’s Decimate Modifier with custom settings, 3ds Max’s ProOptimizer). However, manual refinement is often necessary to ensure critical silhouettes and details are preserved at each LOD level. For a 3D car model, the body, wheels, and interior components often require different LOD thresholds and decimation strategies.
Decimation is the process of reducing the number of polygons in a mesh. Instead of a blanket reduction, targeted decimation focuses on areas that can tolerate a lower polygon count without a noticeable visual impact. Key considerations include:
Tools like Blender’s Decimate modifier offer options to respect UVs and preserve sharp edges, while 3ds Max’s ProOptimizer provides advanced controls for intelligent polygon reduction. The goal is to reduce poly count without baking down normal map details or introducing jarring visual artifacts.
Not all parts of a car model require the same level of detail or optimization. A granular approach leads to better results:
After optimizing the mesh, the next critical step is to streamline the materials and textures. An inefficient material setup can quickly negate all polygon savings, leading to excessive draw calls and memory usage.
Physically Based Rendering (PBR) has revolutionized real-time graphics by accurately simulating how light interacts with surfaces. A typical PBR material for a car model will use several texture maps:
The key to efficiency is consolidating these materials. Instead of having dozens of unique materials for each small component (e.g., individual nuts and bolts, small interior buttons), aim to group similar surfaces under a single PBR material instance. For example, all painted body parts could share one master car paint material, with variations handled by vertex colors or masked texture regions. This drastically reduces draw calls. Both Blender’s node editor and 3ds Max’s Slate Material Editor provide powerful tools for creating modular and efficient PBR materials that can be instanced across many objects.
A texture atlas is a single, larger texture image that contains multiple smaller texture maps packed together. For instance, instead of having separate 512×512 textures for various interior buttons, gauges, and vents, these could all be combined into one 2048×2048 texture atlas. The benefits are significant:
The workflow for creating texture atlases involves reorganizing the UV layouts of your models so that all relevant parts point to different sections of the combined atlas. Tools like Blender’s UV editor, 3ds Max’s Unwrap UVW modifier, and external texture packing software facilitate this process. For a 3D car model, you might have an atlas for the main body, another for interior elements, and perhaps one for small mechanical details.
Texture resolution directly impacts memory usage and visual quality. It’s crucial to strike a balance:
Bringing your optimized 3D car model from your Digital Content Creation (DCC) software into a game engine requires careful attention to hierarchy, pivots, collision, and export settings to ensure it behaves as expected in a real-time environment.
A well-organized scene hierarchy is critical for efficient animation, scripting, and interaction within the game engine. Each functional part of the car should be a separate, logically named object or group:
For physics simulations and player interaction, a separate, simplified collision mesh is essential. Using the high-poly visual mesh for collisions is computationally expensive and leads to poor performance. Instead:
FBX is the preferred format for exporting complex assets to game engines. Correct export settings are vital for ensuring data integrity:
When working with high-quality 3D car models from marketplaces like 88cars3d.com, they often come with optimized meshes and well-defined hierarchies, making the export and engine integration process significantly smoother.
The mastery of optimizing high-fidelity 3D car models isn’t just a technical exercise; it’s a gateway to creating compelling experiences across diverse industries. The principles discussed translate directly into tangible performance and visual quality improvements in real-world scenarios.
One of the most demanding applications for optimized 3D car models is in interactive automotive configurators and virtual reality showrooms. Here, users expect near-photorealistic quality alongside fluid interactivity and real-time customization. Imagine a customer exploring every detail of a new vehicle in VR, changing paint colors, wheel designs, and interior trims instantly. Each variant must load quickly and display flawlessly, requiring:
Companies building these experiences often start with highly detailed CAD data or meticulously crafted models. The optimization process transforms these into performant assets capable of driving high-fidelity real-time experiences.
In modern racing titles and open-world games, dozens or even hundreds of vehicles can populate a scene simultaneously. Performance is paramount, as maintaining 60 FPS or higher is critical for gameplay. This is where advanced optimization techniques truly shine:
The balance here is delicate: making cars look good up close while ensuring the game runs smoothly with many cars on screen. The models available on 88cars3d.com provide a robust starting point, often designed with clear component separation that aids in setting up these complex LOD and material systems.
Even in architectural visualization, where the focus is on buildings and interiors, cars play a crucial role in bringing scenes to life and providing a sense of scale. While not the main attraction, unoptimized vehicles can still cripple performance during an interactive walkthrough or VR presentation. Here, optimization means:
Integrating high-quality, pre-optimized 3D car models from resources like 88cars3d.com allows arch-viz artists to populate their scenes with realistic vehicles without the overhead of manually optimizing every single model, saving valuable time and ensuring project performance.
The transformation of a high-fidelity 3D car model from a stunning studio render into a performant, engine-ready asset is a testament to the technical skill and artistic vision of 3D artists and developers. It’s an intricate dance between maintaining visual integrity and achieving optimal real-time performance. From meticulously crafting Level of Detail meshes and applying targeted decimation to strategically consolidating PBR materials and leveraging texture atlases, every step plays a crucial role in the optimization pipeline.
Seamless integration into game engines like Unreal or Unity further emphasizes the importance of proper scene hierarchy, efficient collision geometry, and precise FBX export settings. These techniques ensure that your beautifully designed automotive creations not only look incredible but also interact and perform flawlessly within the demanding constraints of real-time environments, whether it’s a fast-paced racing game, an immersive VR showroom, or a dynamic architectural walkthrough.
Mastering these optimization workflows unlocks immense creative potential, allowing you to deliver unparalleled interactive experiences across various platforms. By starting with a foundation of professional-grade 3D car models, such as those found on 88cars3d.com, you set yourself up for success, ensuring your projects begin with quality assets designed to be optimized for the real-time world.