

In the fast-paced world of interactive entertainment, the visual fidelity of game assets plays a crucial role in player immersion. Automotive models, in particular, demand a delicate balance between stunning realism and robust performance. For 3D artists and game developers, creating high-quality 3D car models in Blender that run smoothly in game engines like Unity or Unreal Engine is both an art and a science. It involves meticulous attention to detail, a deep understanding of optimization techniques, and a strategic approach to asset creation.
This comprehensive guide delves into the essential workflows and best practices for optimizing your 3D car models. We’ll explore everything from foundational mesh topology and efficient UV mapping to advanced PBR material creation, Level of Detail (LOD) implementation, and seamless integration into game environments. Whether you’re a seasoned professional looking to refine your pipeline or an aspiring artist aiming to create game-ready assets, this article will equip you with the technical insights needed to transform your detailed renders into performant interactive experiences. We’ll cover specific Blender techniques, industry standards, and common pitfalls to help you achieve exceptional results.
The journey to an optimized 3D car model begins with its fundamental structure: the mesh topology. Clean and efficient topology is paramount for ensuring smooth deformations, facilitating effective UV unwrapping, and maintaining performance within a game engine. A poorly constructed mesh can lead to visual artifacts, difficult rigging, and unnecessary polygon counts, severely impacting frame rates. For automotive models, which often feature sleek, curved surfaces, maintaining quad-based geometry is critical. Triangles should be used sparingly, primarily in areas of flat, non-deforming surfaces where they don’t introduce visual issues. Ngons (polygons with more than four sides) are generally to be avoided as they can cause unpredictable shading and triangulation upon export, leading to visual inconsistencies in-game.
Every surface of your 3D car model, from the chassis to the intricate interior components, should ideally be constructed from quads. Quads allow for predictable subdivision, smoother edge loops, and cleaner deformation when parts of the model might need to animate (e.g., doors opening, suspension movement). Aim for an even distribution of polygons across the surface, avoiding areas of dense mesh next to sparse areas. For instance, creating a smooth fender requires a sufficient number of quads, but these quads should be intelligently distributed, following the curvature rather than being uniformly dense everywhere. Using Blender’s various modeling tools, such as the Loop Cut and Slide (Ctrl+R) and Extrude (E) functions, allows for precise control over edge flow. When considering the overall polycount, remember that a balance must be struck: too few polygons result in a blocky, low-fidelity look, while too many create an unnecessary performance burden. Modern game engines can handle millions of polygons in a scene, but each individual asset contributes to the total, so smart optimization is key.
Strategic edge flow is about guiding the polygons to define the shape and allow for future deformations with minimal distortion. For a car, this means ensuring edge loops follow the contours of panels, around headlights, wheel arches, and along character lines. These edge loops not only define the form but also serve as control points for adding detail or applying subdivision modifiers if needed for higher LODs or cinematic sequences. For example, an edge loop running along the seam of a car door will ensure that when the door is opened (animated), the surrounding geometry deforms cleanly without stretching or tearing. Additionally, supporting edge loops are vital for maintaining sharp edges without requiring an excessive density of polygons. These are typically placed close to a hard edge to give it definition. For more insights on efficient modeling techniques in Blender, refer to the official Blender 4.4 documentation on mesh modeling, which offers detailed explanations of tools and best practices: Blender 4.4 Manual: Meshes. Always check for non-manifold geometry (geometry that cannot exist in the real world, like internal faces or zero-area faces) using Blender’s Mesh > Cleanup tools, as these can cause significant issues in game engines.
Once your 3D car model has a clean and efficient topology, the next critical step for game engine optimization is effective UV mapping. UV mapping is the process of unwrapping the 3D surface of your model onto a 2D plane, allowing textures to be applied accurately. Well-executed UVs are crucial for visual fidelity, efficient texture utilization, and minimizing draw calls in a game engine. Poor UVs can lead to stretched textures, visible seams, and wasted texture space, all of which detract from the final look and impact performance.
An efficient UV layout maximizes the use of the available 2D texture space, ensuring that every pixel contributes meaningfully to the visual quality. The goal is to minimize empty space within your UV islands and prevent unnecessary stretching or compression of textures. For complex automotive models, breaking the car into logical UV islands (e.g., hood, doors, roof, wheels, interior) is a common strategy. Each island should be unwrapped to maintain a consistent texel density – the number of pixels per unit of surface area on your 3D model. Consistent texel density ensures that all parts of your car model appear equally detailed, preventing some areas from looking blurry while others are sharp. Blender’s UV Editor provides powerful tools for this, including the ‘Average Island Scale’ and ‘Pack Islands’ functions, which help in achieving uniform texel density and optimizing space. When laying out your UVs, try to keep straight lines straight within the UV space, as this helps prevent jagged edges or distortion in your textures.
To further enhance performance in game engines, especially for assets like 3D car models, texture atlasing is a key technique. Texture atlasing involves combining multiple textures for different parts of your model into a single, larger texture map. This reduces the number of draw calls (instructions sent from the CPU to the GPU to render an object), as the game engine only needs to load one texture to render multiple surfaces. For a car model, this could mean putting the textures for the chassis, windows, and wheels onto a single atlas. Blender’s ‘Pack Islands’ functionality, particularly with the ‘Share Texel Density’ option, is invaluable for creating efficient atlases.
Overlapping UVs can also be a powerful optimization technique. If multiple parts of your car model share identical textures and don’t require unique details (e.g., the repeating tread pattern on four tires, symmetrical interior components), you can overlap their UV islands. This allows you to use the same texture space for multiple identical objects, dramatically saving texture memory. However, exercise caution: overlapping UVs prevent baking unique details like ambient occlusion or lightmaps onto those specific areas. Therefore, this technique is best suited for repeating elements or assets where unique lighting information isn’t crucial. Balancing unique and overlapping UVs is essential for both visual quality and performance optimization, particularly when dealing with complex game assets like high-quality 3D car models.
Physically Based Rendering (PBR) has become the gold standard for achieving realistic materials in both rendering and real-time game engines. For 3D car models, PBR ensures that surfaces react to light in a physically accurate way, resulting in stunning visual fidelity. However, simply applying PBR principles isn’t enough; optimizing these materials and their associated textures is crucial for game engine performance. This involves strategic texture creation, resolution management, and efficient use of material properties.
PBR materials rely on a set of texture maps that define how light interacts with a surface. For a typical car material, this includes:
Understanding how these maps interact and correctly authoring them is key to realistic automotive rendering. Tools like Substance Painter or Quixel Mixer are excellent for creating these PBR textures, often starting with high-polygon models and baking details down to optimized game-ready meshes. For advanced car paint shaders, consider layering multiple PBR materials or using blend masks to simulate clear coats and metallic flakes.
Texture resolution has a direct impact on both visual quality and memory footprint. While a 4K or 8K texture might look incredible in a high-resolution render, applying it to every part of a game-ready 3D car model is often overkill and detrimental to performance. A common strategy is to use appropriate resolutions based on visibility and importance. For example, critical areas like the main car body might use a 2048×2048 or 4096×4096 texture, while less prominent parts like the underside or engine block might use 1024×1024 or 512×512. Always consider the target platform and viewing distance.
As mentioned in the UV mapping section, texture atlasing is paramount for optimization. By combining multiple textures into a single large texture map (e.g., a single 4096×4096 atlas for the entire exterior of the car), you reduce the number of material slots and draw calls. This drastically improves rendering efficiency. Furthermore, consider texture compression formats offered by game engines (e.g., DXT1, DXT5, BC7) which reduce file size without significant loss of visual quality. Channel packing is another advanced optimization technique where different grayscale maps (like Roughness, Metallic, Ambient Occlusion) are packed into the individual R, G, B, and A channels of a single texture, further reducing the number of textures the GPU needs to sample. This not only saves memory but also improves performance by minimizing texture fetches. When sourcing 3D car models from marketplaces like 88cars3d.com, always check the texture specifications and optimize them further if necessary for your specific game project.
One of the most effective strategies for maintaining high frame rates with complex 3D car models in a game engine is implementing Level of Detail (LODs). LODs are simplified versions of a model that are rendered when the object is further away from the camera, thus reducing the computational load without a noticeable drop in visual quality. Proper LOD implementation is essential for balancing visual fidelity and game performance, especially in open-world environments or racing games with many vehicles on screen.
LODs can be generated either manually or through automated processes.
A common practice is to create 3-5 LOD levels:
Once your LOD meshes are prepared, they need to be integrated into your game engine. Both Unity and Unreal Engine provide robust systems for managing LODs. In Unity, you can use the ‘LOD Group’ component, dragging your different LOD meshes into the respective slots and setting the ‘Transition Zones’ (screen percentage) for when each LOD should activate. Unreal Engine uses similar LOD settings directly on static meshes, allowing you to specify screen size percentages for each LOD.
Beyond polygon reduction, effective culling strategies are equally important for performance.
By combining intelligent LOD implementation with robust culling techniques, you can ensure that your detailed 3D car models contribute to a visually rich game world without compromising precious frame rates, delivering a smooth and immersive experience for players.
Beyond static visuals, an optimized 3D car model in a game engine needs to be interactive, reacting to player input, environment, and physics. This involves thoughtful rigging for animation, efficient collision meshes for physics simulation, and sometimes simple animation setups for dynamic elements. Over-complicating these aspects can quickly lead to performance bottlenecks.
While a complex character rig might involve hundreds of bones, a car model’s rigging requirements are generally simpler but still crucial for realism. The primary purpose of rigging a car is to allow for wheel rotation, steering, and potentially suspension movement, as well as opening doors, hoods, and trunks.
Keep the bone count as low as possible. Each bone adds to the computational load during animation. For a standard game-ready car, a dozen to two dozen bones should suffice for most interactive elements. Ensure proper weight painting if mesh deformation is required (e.g., very soft body parts, though this is less common for realistic cars). Most car parts are rigid and can be parented directly to a bone without weight painting. When creating these simple rigs in Blender, ensure your pivot points are correctly set for each component before parenting.
Physics simulation is one of the most demanding aspects of game development. Using the high-detail visual mesh for physics calculations is extremely inefficient and will cripple performance. Instead, dedicated, low-polygon collision meshes (also known as physics proxies or collider meshes) are used.
By using highly optimized collision meshes, you significantly reduce the processing power required for physics calculations, ensuring that your 3D car models behave realistically without compromising overall game performance. When exporting your model from Blender, ensure these collision meshes are clearly named (e.g., `Car_Body_COL`, `Wheel_FrontLeft_COL`) so the game engine can correctly identify and assign them as physics assets.
The final stage of preparing your optimized 3D car model for a game engine involves correctly exporting it from Blender and integrating it into your chosen engine. This step is crucial, as incorrect settings can lead to scale issues, missing materials, or broken animations. Both FBX and GLB are popular and robust file formats for transferring 3D assets.
When exporting from Blender, understanding the various options available is key to a successful transfer. For game engines, the FBX format is widely used due to its support for meshes, materials, animations, and rigs. GLB (GL Transmission Format Binary) is gaining popularity, especially for web-based AR/VR applications and engines that support it natively, due to its efficiency and inclusion of all asset data in a single file.
When exporting a 3D car model as FBX from Blender (File > Export > FBX):
For GLB export, the options are generally simpler, as GLB is designed for direct asset transfer, often embedding everything by default.
Once exported, import your FBX or GLB file into your game engine.
In Unity:
In Unreal Engine:
Attention to these export and import details ensures your high-quality 3D car models, whether crafted in-house or sourced from platforms like 88cars3d.com, are perfectly integrated and optimized for peak performance in your interactive project, ready for automotive rendering in real-time.
Optimizing 3D car models in Blender for game engines is a multifaceted discipline that demands technical expertise, artistic vision, and a commitment to efficiency. From the foundational principles of clean, quad-based topology and strategic edge flow to the nuances of UV mapping, PBR material creation, and the crucial implementation of LODs and culling, every step contributes to the final performance and visual fidelity of your game assets. We’ve explored how intelligent polygon reduction, efficient texture atlasing, and streamlined physics proxies can transform a visually rich automotive model into a game-ready asset that performs flawlessly without sacrificing aesthetic quality.
The key takeaway is that optimization is not an afterthought but an integral part of the 3D asset pipeline. By embracing these best practices throughout your workflow, you ensure that your 3D car models, whether used for game development, AR/VR experiences, or high-end visualization, are robust, performant, and visually stunning. This systematic approach allows game developers and 3D artists to push the boundaries of realism while maintaining optimal frame rates and delivering immersive experiences. Continue to experiment with Blender’s powerful toolset, refine your techniques, and always keep your target platform’s limitations and capabilities in mind. The effort invested in smart optimization will always pay dividends in the quality and performance of your interactive projects.
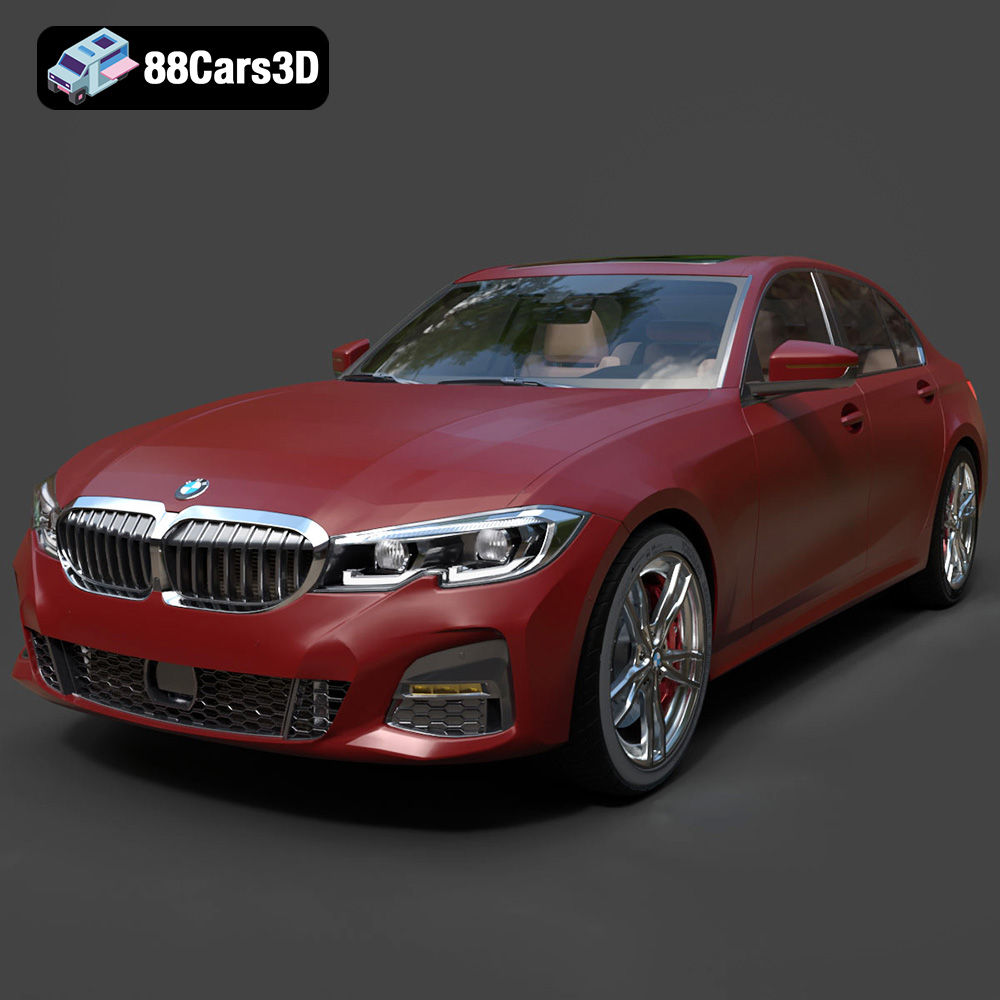
Texture: Yes | Material: Yes
Download the highly detailed, game-ready BMW 3er VII (G2x) 3D Model. Features iconic kidney grille geometry, detailed LED lighting, and precise interior cockpits. Includes .blend, .fbx, .obj, .glb, .stl, .ply, .unreal, and .max formats for game development, AR/VR, and rendering.
Price: $299.50
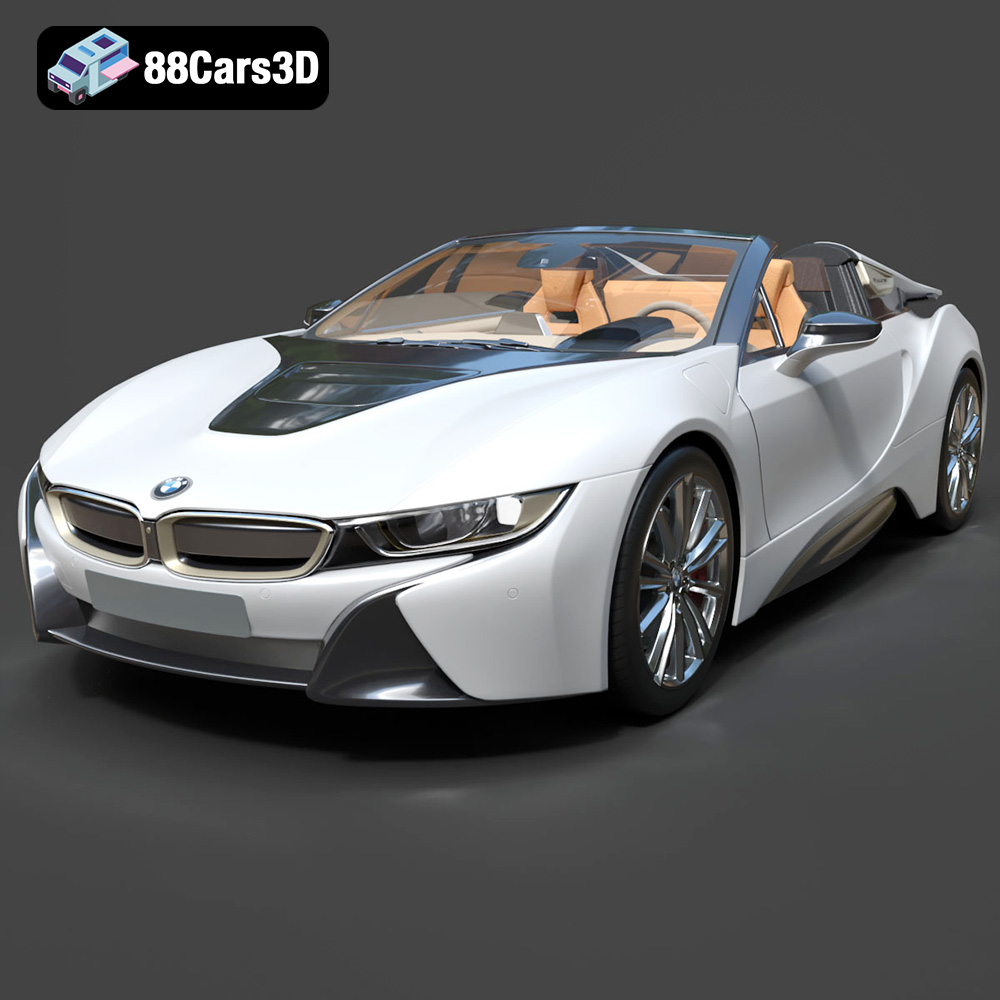
Texture: Yes | Material: Yes
Download the highly detailed, game-ready BMW i8 Roadster 2019 3D Model. Features iconic butterfly doors, futuristic aerodynamic styling, and detailed hybrid sports car aesthetics. Includes .blend, .fbx, .obj, .glb, .stl, .ply, .unreal, and .max formats for game development, AR/VR, and rendering.
Price: $171.00
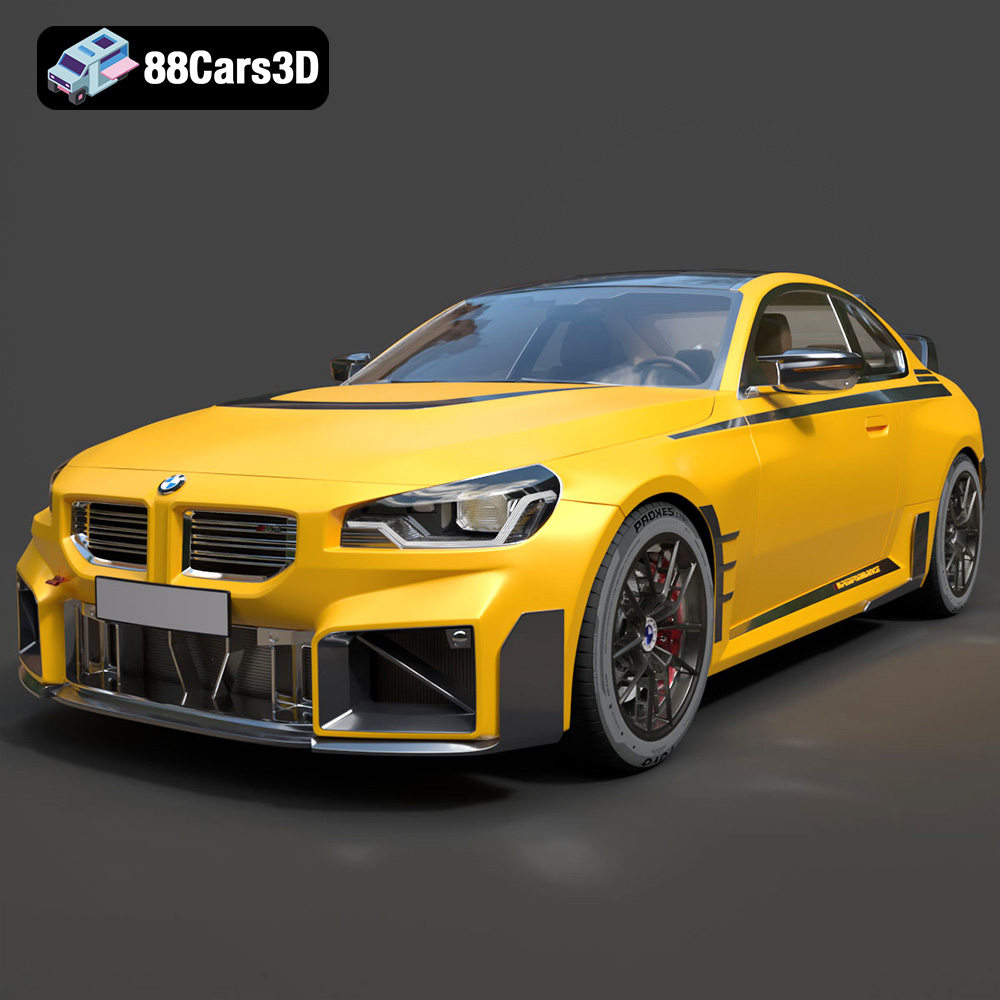
Texture: Yes | Material: Yes
Download the highly detailed, game-ready BMW M2 M Performance 3D Model. Features aggressive M Performance aero parts, detailed interior, and signature front grille. Includes .blend, .fbx, .obj, .glb, .stl, .ply, .unreal, and .max formats for game development, AR/VR, and rendering.
Price: $299.50
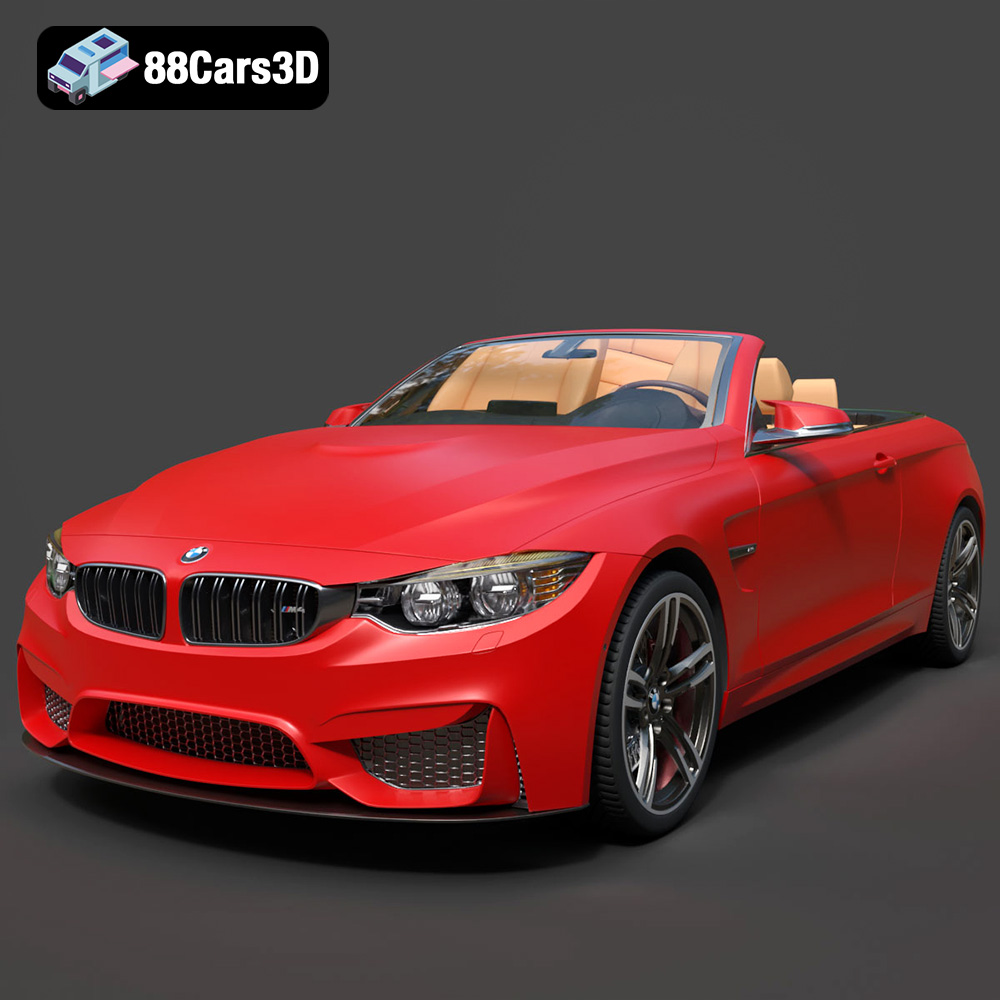
Texture: Yes | Material: Yes
Download the highly detailed, game-ready BMW M4 F33 Convertible 2015 3D Model. Features aggressive M body styling, quad exhaust setup, and detailed M sport interior. Includes .blend, .fbx, .obj, .glb, .stl, .ply, .unreal, and .max formats for game development, AR/VR, and rendering.
Price: $225.99
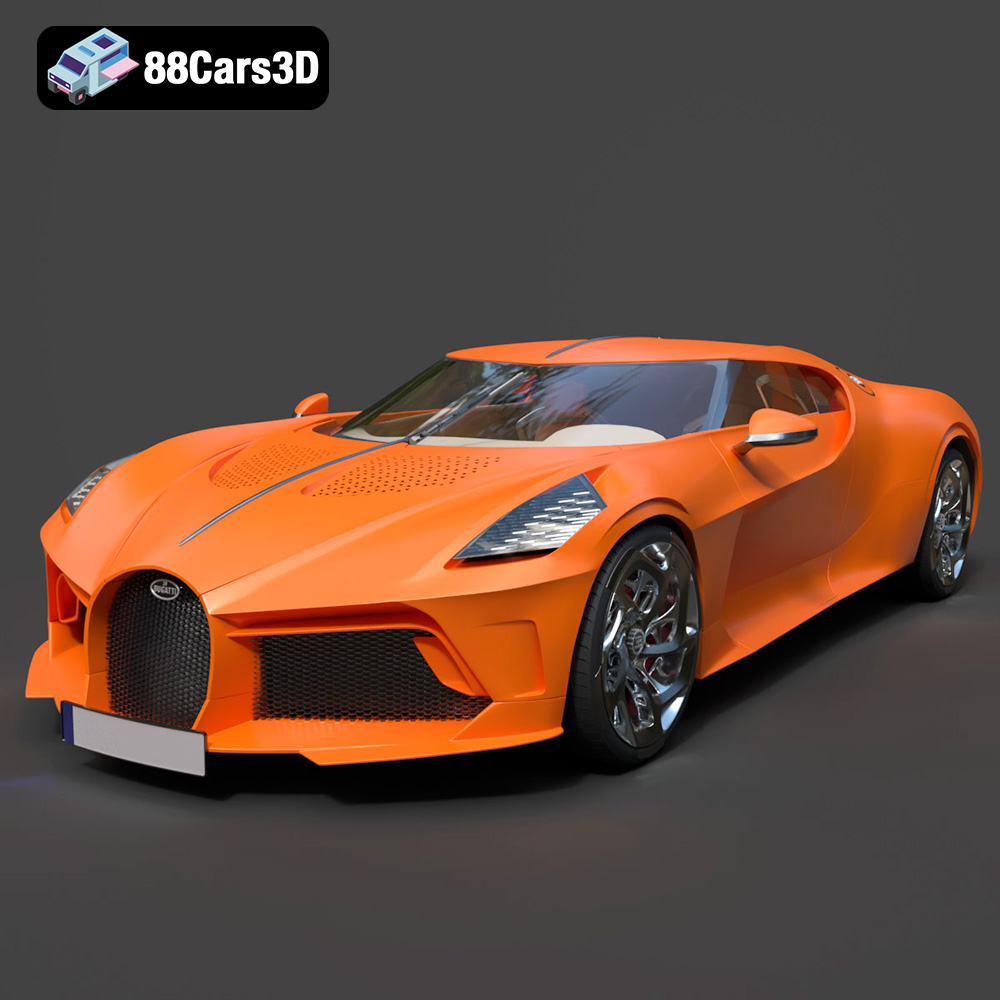
Texture: Yes | Material: Yes
Download the highly detailed, game-ready Bugatti La Voiture Noire 2019 3D Model. Features seamless jet-black carbon bodywork, distinctive six-tailpipe exhaust, and continuous LED light strip. Includes .blend, .fbx, .obj, .glb, .stl, .ply, .unreal, and .max formats for game development, AR/VR, and rendering.
Price: $269.00
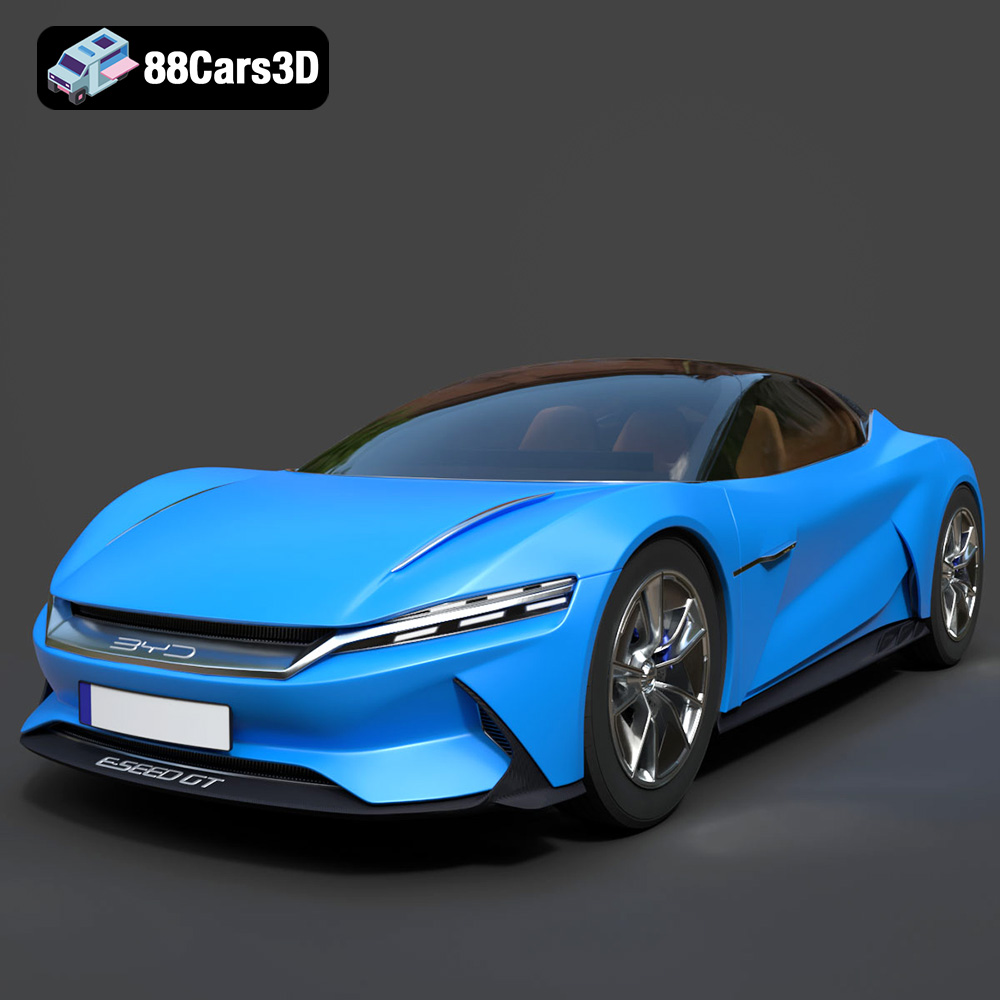
Texture: Yes | Material: Yes
Download the highly detailed, game-ready BYD e-SEED GT 2019 3D Model. Features futuristic gull-wing doors, sleek aerodynamic electric supercar silhouette, and detailed LED light strips. Includes .blend, .fbx, .obj, .glb, .stl, .ply, .unreal, and .max formats for game development, AR/VR, and rendering.
Price: $40
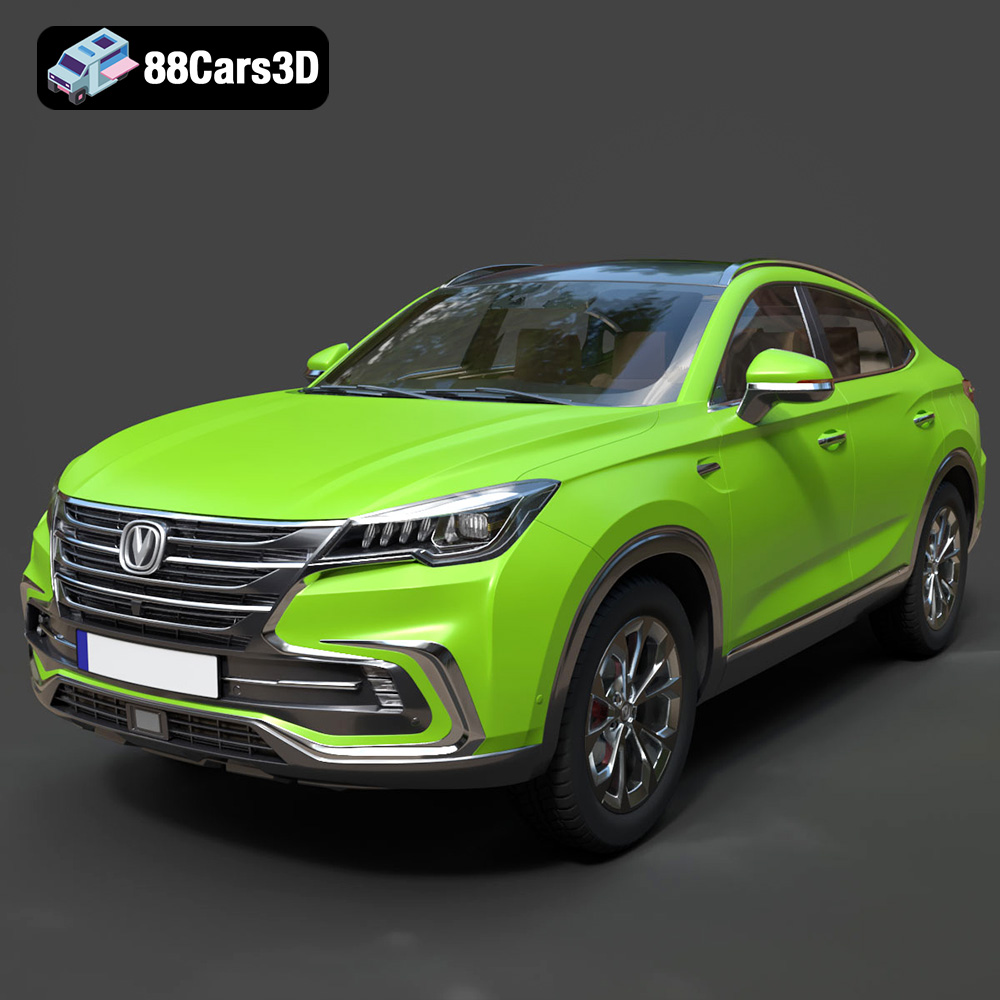
Texture: Yes | Material: Yes
Download the highly detailed, game-ready Changan CS85 Coupe 2019 3D Model. Features sleek fastback SUV styling, detailed front grille, and realistic lighting. Includes .blend, .fbx, .obj, .glb, .stl, .ply, .unreal, and .max formats for game development, AR/VR, and rendering.
Price: $40
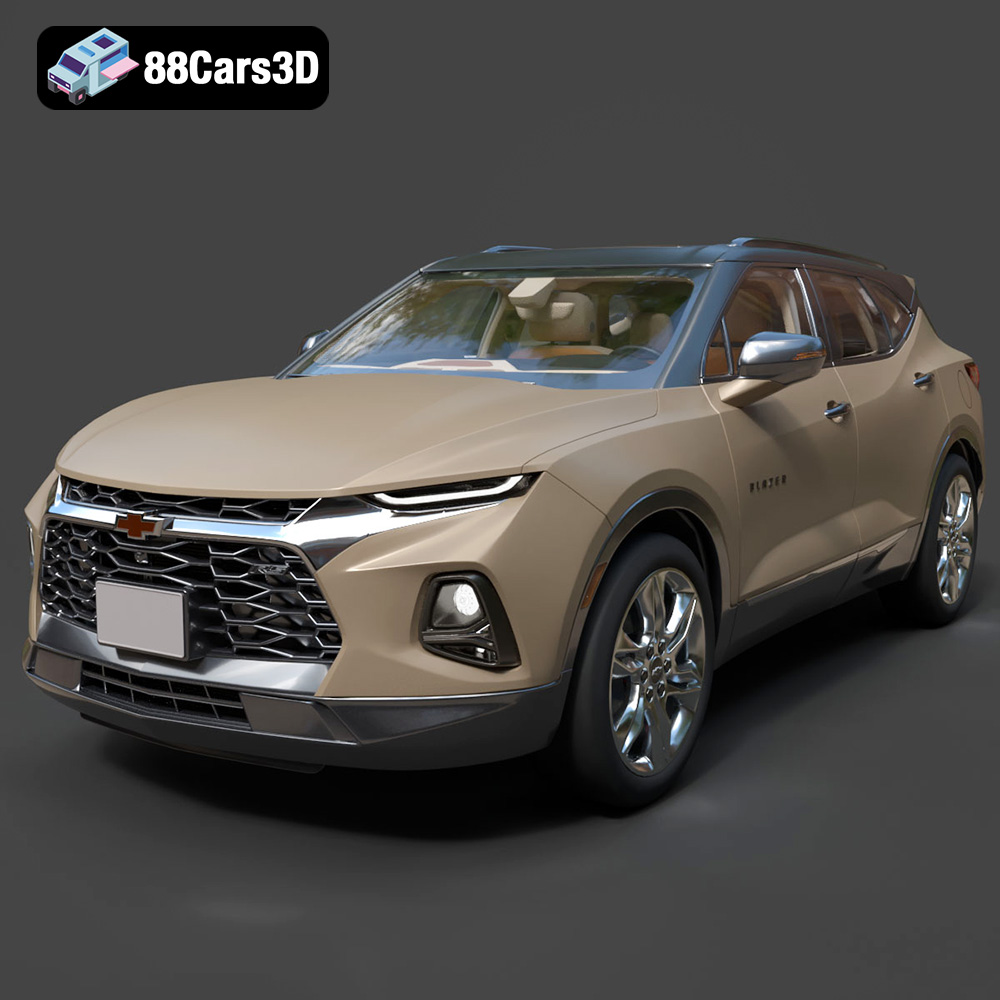
Texture: Yes | Material: Yes
Download the highly detailed, game-ready Chevrolet Blazer RS 2019 3D Model. Features bold blacked-out RS trim styling, sharp LED lighting signatures, and detailed interior geometry. Includes .blend, .fbx, .obj, .glb, .stl, .ply, .unreal, and .max formats for game development, AR/VR, and rendering.
Price: $40
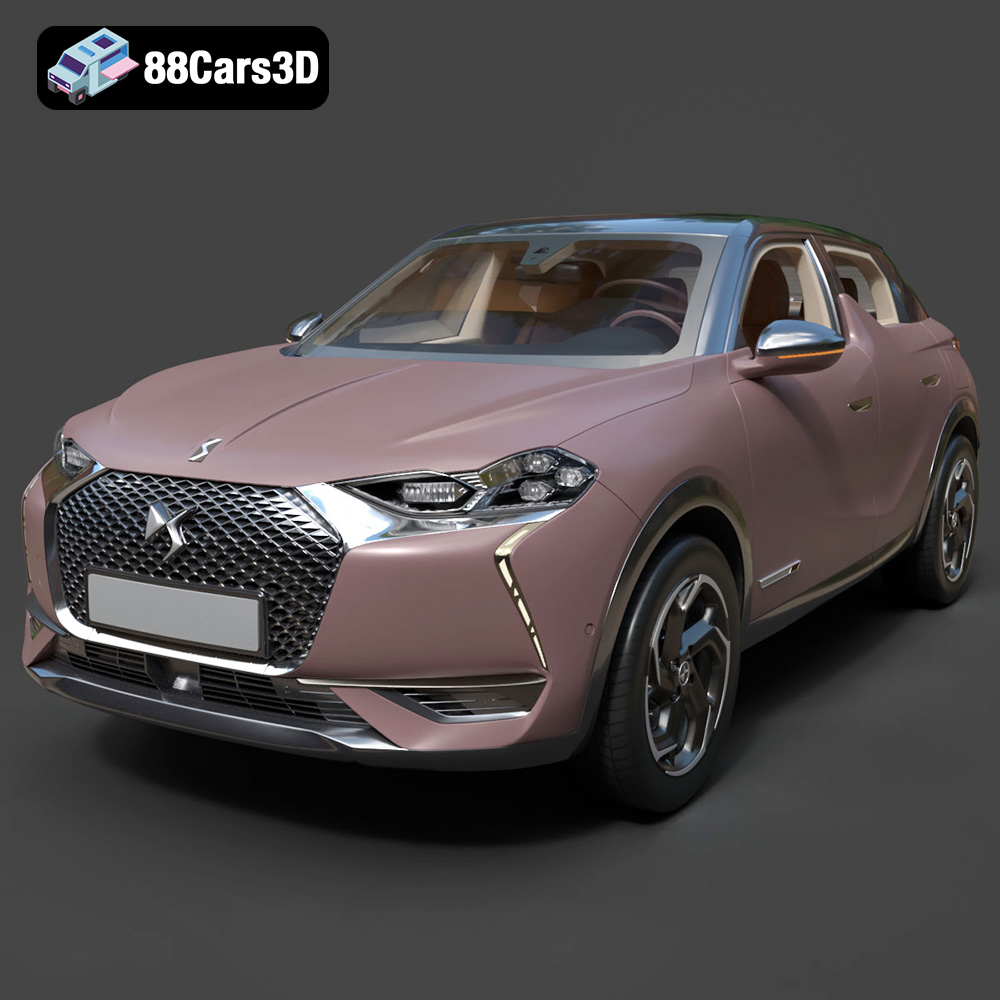
Texture: Yes | Material: Yes
Download the highly detailed, game-ready Citroen DS3 Crossback 2018 3D Model. Features signature diamond grid grille, flush door handles, and distinctive shark-fin B-pillars. Includes .blend, .fbx, .obj, .glb, .stl, .ply, .unreal, and .max formats for game development, AR/VR, and rendering.
Price: $40
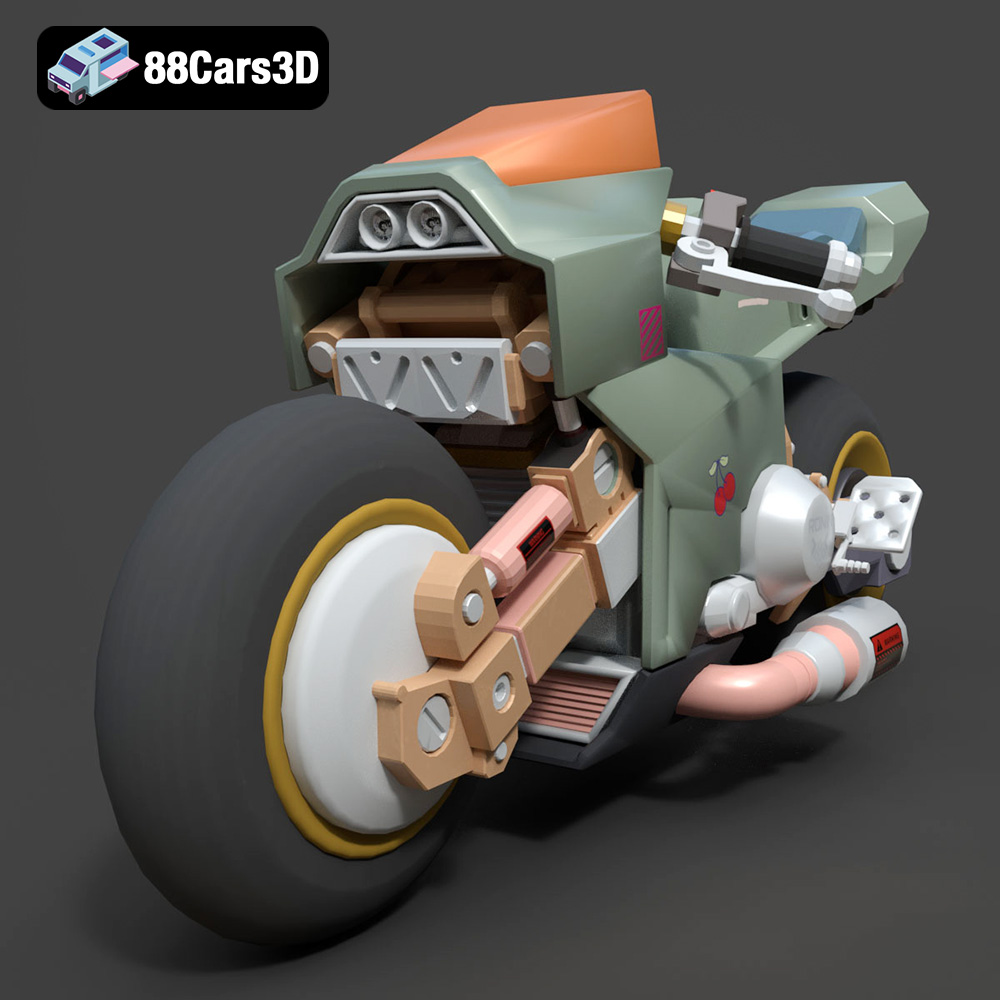
Texture: Yes | Material: Yes
Download the highly detailed, game-ready Cyber Bike 02 3D Model. Features futuristic sci-fi aesthetic, glowing LED lighting elements, and sleek aerodynamic paneling. Includes .blend, .fbx, .obj, .glb, .stl, .ply, .unreal, and .max formats for game development, AR/VR, and rendering.
Price: $40
