

In the demanding world of real-time 3D, where visual fidelity meets performance optimization, a meticulously crafted asset pipeline is not just an advantage—it’s a necessity. This is especially true for automotive 3D models, which are often the star attractions in game engines, architectural visualizations, marketing materials, and cutting-edge AR/VR experiences. The journey from a conceptual sketch to a fully interactive, high-performance vehicle in a real-time environment like Unreal Engine requires a deep understanding of 3D modeling principles, texturing workflows, and engine-specific optimizations. A clean asset pipeline ensures that your beautiful Blender creations translate seamlessly into a powerful engine, maintaining visual integrity while hitting crucial performance targets.
This comprehensive guide delves deep into establishing an efficient and robust pipeline for bringing automotive 3D models from Blender into Unreal Engine. We’ll navigate through the critical stages, from foundational modeling techniques and strategic UV mapping to advanced PBR material creation, meticulous export settings, and essential game engine optimizations. Whether you’re a seasoned 3D artist, a game developer, or an automotive designer leveraging visualization, mastering this pipeline will empower you to create stunning, high-performing automotive assets that stand out in any real-time application.
Every exceptional 3D automotive model begins with a solid foundation in modeling. In Blender, this means focusing on clean topology, efficient polygon distribution, and a non-destructive workflow that allows for flexibility and iteration. Automotive surfaces, characterized by their smooth curves, sharp creases, and reflective properties, demand particular attention to detail. The goal is to create a mesh that not only looks great but also deforms predictably, is easy to UV unwrap, and performs well in a real-time engine.
Clean topology, primarily quad-based, is paramount for automotive models. Quads facilitate smooth subdivision, predictable deformation, and easier manipulation. When modeling car body panels, for instance, prioritize a consistent edge flow that follows the contours and creases of the vehicle. Supporting edge loops are critical for defining sharp details and maintaining surface tension around areas like wheel arches, door cut lines, and intricate body kits. These loops prevent softening of hard edges when subdivision surface modifiers are applied, ensuring that the model retains its intended form. For intricate details, ensure that edge loops flow naturally around holes and cutouts, avoiding ngons or complex pole structures that can lead to shading artifacts. Blender 4.4’s comprehensive modeling toolset, including tools like the Knife tool, Loop Cut and Slide, and Extrude Along Normals, are invaluable for achieving precise control over your mesh. Polygon count considerations should also be made from the outset. While high-resolution models are excellent for rendering, real-time applications demand optimization. Plan for multiple Levels of Detail (LODs) by starting with a reasonably dense mesh that can be effectively decimated or used as a base for lower-poly versions.
Blender’s modifier stack is a powerful feature for maintaining a non-destructive workflow. This means you can apply changes to your mesh without permanently altering its base geometry, allowing for quick adjustments and iterations. For automotive modeling, essential modifiers include: Subdivision Surface, which smooths the mesh and adds detail; Bevel, for creating precise chamfers and rounded edges; and Solidify, for adding thickness to single-plane geometry like interior panels. By keeping these modifiers in the stack for as long as possible, you retain the flexibility to refine your model’s shape and detail. Only apply modifiers when you are certain of the final form and are ready to proceed to UV mapping or export. This approach is particularly beneficial when dealing with complex designs or client feedback, as it minimizes rework and maximizes efficiency.
Once your 3D car model’s geometry is finalized, the next crucial step is UV mapping. Clean and efficient UVs are the cornerstone of high-quality physically based rendering (PBR) textures. Without proper UVs, even the most detailed textures will appear stretched, distorted, or misaligned, severely impacting the realism of your automotive asset in Unreal Engine.
Strategic UV unwrapping involves laying out the 2D texture coordinates of your 3D model in a way that minimizes seams, optimizes texel density, and prevents stretching. For complex automotive surfaces, this often requires careful planning. Consider using a few larger UV islands for prominent areas like the car body, hood, and roof, and smaller, more efficiently packed islands for details like door handles, emblems, and interior components. When marking seams in Blender, try to hide them in less visible areas, such as under the vehicle or along natural panel lines. Maintaining a uniform texel density across the entire model is crucial for consistent texture resolution. This ensures that a 4K texture, for example, looks equally sharp on the car’s body as it does on a small interior button. Blender’s UV Editor provides a robust set of tools for this, including various unwrapping methods (Smart UV Project, Lightmap Pack, Follow Active Quads), tools for straightening UV islands, and checkers to visualize distortion. Refer to Blender 4.4’s UV Unwrapping documentation for detailed explanations of these features and best practices.
In real-time engines like Unreal, optimizing draw calls is critical for performance. Texture atlasing is an effective technique to achieve this. Instead of having multiple small texture maps for different parts of the car (e.g., one for the bumper, one for the door), you can combine these into a single, larger texture atlas. This means the engine only needs to make one draw call for all the meshes using that atlas, significantly reducing rendering overhead. When planning your texture sets, consider grouping related materials: for example, all exterior body panels could share an atlas, while interior elements might have their own. Be mindful of texture resolutions; while 4K or 8K textures can provide incredible detail, their memory footprint is substantial. Balance visual fidelity with performance requirements, especially for game assets or AR/VR applications where memory budgets are tighter. When sourcing models from marketplaces such as 88cars3d.com, pay attention to how their UVs are organized and if texture atlasing has already been implemented, as this can be a significant time-saver.
The realism of your 3D car model in Unreal Engine largely hinges on the quality of its Physically Based Rendering (PBR) materials. These materials simulate how light interacts with surfaces in the real world, producing highly convincing results. Before exporting your model from Blender, it’s also crucial to perform a series of checks to ensure a smooth transition into Unreal.
Blender’s Principled BSDF shader is the heart of PBR material creation. It encompasses a wide range of surface properties, allowing you to accurately represent various materials. For automotive models, key PBR maps include: Base Color (the diffuse color of the surface), Metallic (defines whether a surface is a dielectric or a metal), Roughness (controls the micro-surface detail and how spread out reflections are), Normal Map (adds surface detail without extra geometry), Ambient Occlusion (simulates soft shadows from indirect light), and Emission (for self-illuminating parts like headlights). Crafting realistic car paint, for example, involves understanding the interplay of metallic flake, clear coat, and base color layers. You can achieve sophisticated effects by layering Principled BSDF shaders using mix shaders or by leveraging advanced node setups in Blender’s Shader Editor. For glass, focus on transparency, refraction, and subtle reflections. Tire rubber requires a high roughness value and often a dedicated normal map for tread detail. Blender 4.4’s documentation on the Principled BSDF shader is an excellent resource for mastering its parameters and capabilities.
A clean and organized Blender scene is vital for a hassle-free export. Before exporting to FBX, perform these critical checks:
These preparatory steps are crucial for maintaining the integrity of your 3D car model as it transitions from Blender to Unreal Engine.
The bridge between Blender and Unreal Engine is the FBX file format. While seemingly straightforward, ensuring a seamless import requires attention to detail in both Blender’s export settings and Unreal’s import options. Proper handling of this stage prevents common issues like incorrect scale, rotation, and problematic material assignments.
When exporting your automotive model from Blender as an FBX file, specific settings are critical for Unreal Engine compatibility. Go to File > Export > FBX (.fbx) and adjust the following:
Careful selection of these parameters prevents frustrating scale mismatches or orientation problems once in Unreal Engine. If you encounter issues, systematically check each setting, and remember to always apply transforms in Blender before exporting.
Once your FBX is ready, import it into Unreal Engine by dragging it into your Content Browser or using the “Import” button. The Import Options dialog will appear, offering crucial settings:
After import, you’ll likely have a basic material assigned. Now, it’s time to set up your PBR materials properly. Create a Master Material for common properties (e.g., car paint, glass, rubber) and then create Material Instances for specific variations (e.g., red car paint, blue car paint). Connect your imported texture maps (Base Color, Normal, Metallic, Roughness, AO) to the appropriate pins. Remember that most color maps are sRGB, while data maps (Metallic, Roughness, AO) should have their “sRGB” option unchecked in Unreal to ensure linear color space interpretation. Unreal’s powerful Material Editor allows for highly advanced car paint shaders, incorporating clear coat effects, metallic flakes, and dynamic wear and tear, truly bringing your automotive rendering to life.
High-quality 3D car models, while visually stunning, can be resource-intensive. For real-time applications like games, AR/VR, or even high-frame-rate visualizations, optimizing performance is as critical as visual fidelity. This involves a multi-pronged approach, focusing on geometry, texturing, and engine-specific features to ensure your automotive assets run smoothly.
One of the most effective optimization techniques is implementing Levels of Detail (LODs). LODs are lower-polygon versions of your mesh that automatically swap in when the object is further away from the camera, drastically reducing the rendering load. For automotive models, you typically need 3-5 LOD levels.
You can create LODs in Blender using the Decimate Modifier, strategically reducing polygon count while preserving silhouette. Ensure you keep copies of your original mesh if you plan to manually create LODs. Alternatively, Unreal Engine has robust automatic LOD generation capabilities. After importing your static mesh, you can right-click it in the Content Browser, select “Create LODs,” and configure the screen size percentages at which each LOD level will transition. Properly configured LODs are essential for maintaining a high frame rate, especially in scenes with many vehicles or large environments. Platforms like 88cars3d.com often provide models with pre-optimized LODs, which can be a huge advantage for game developers.
Beyond visual geometry, other aspects impact performance.
UCX_CarBody for convex hulls) for Unreal to automatically recognize.Implementing these optimizations ensures your beautiful 3D car models perform efficiently across various hardware configurations, delivering a smooth and immersive experience.
Taking your automotive 3D models beyond basic integration involves refining the visual presentation and adapting them for specialized real-time applications such as AR/VR and even 3D printing. These enhancements elevate the realism and utility of your assets within the Unreal Engine ecosystem.
Realistic lighting and reflections are paramount for showcasing automotive models, especially given their often-glossy, reflective surfaces. In Unreal Engine, this involves a combination of techniques:
AR/VR applications impose stricter performance budgets due to the need for high frame rates and stereo rendering. Optimizing your automotive models for these platforms is crucial:
Beyond real-time, clean automotive models can also be prepared for 3D printing. This involves ensuring the mesh is ‘watertight’ (no holes), has manifold geometry (no non-intersecting surfaces or zero-thickness faces), and is scaled appropriately for the print volume. Blender’s 3D Print Toolbox addon can help identify and fix common issues. The versatility of a well-made 3D car model extends far beyond a single application, making a clean pipeline a truly valuable investment.
Building a clean and efficient asset pipeline from Blender to Unreal Engine for automotive 3D models is an art and a science. It’s about combining artistic vision with technical precision, ensuring that every polygon, UV island, and material parameter serves to enhance both visual fidelity and real-time performance. From the initial stages of meticulous quad-based modeling in Blender, focusing on optimal topology and non-destructive workflows, to the critical steps of strategic UV mapping and PBR material creation, each phase is integral to the final quality of your asset.
Successfully navigating the FBX export settings and understanding Unreal Engine’s import options are the bridge that connects these two powerful platforms. Crucially, mastering optimization techniques such as Levels of Detail (LODs), efficient texture atlasing, and thoughtful draw call reduction ensures that your stunning car models not only look incredible but also run smoothly in any real-time application, from demanding AAA games to immersive AR/VR experiences. The knowledge of advanced lighting, reflection setups, and specialized file formats further empowers you to push the boundaries of automotive visualization.
By applying the comprehensive techniques outlined in this guide, you will be equipped to create and integrate professional-grade 3D car models that meet the highest industry standards. These skills are invaluable for any 3D artist, game developer, or visualization professional. Ready to elevate your projects with exceptional 3D automotive assets? Explore platforms like 88cars3d.com for a curated selection of high-quality, pre-optimized 3D car models that can jumpstart your next project with a strong foundation.
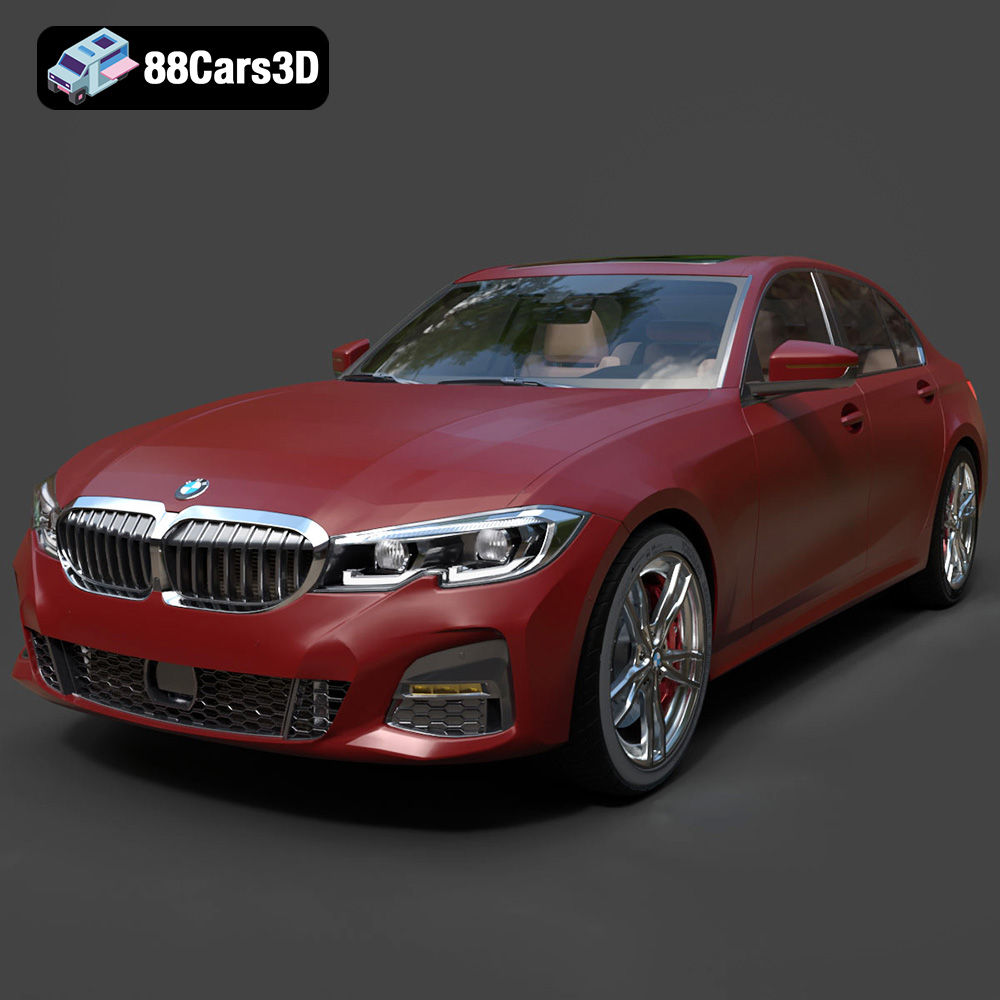
Texture: Yes | Material: Yes
Download the highly detailed, game-ready BMW 3er VII (G2x) 3D Model. Features iconic kidney grille geometry, detailed LED lighting, and precise interior cockpits. Includes .blend, .fbx, .obj, .glb, .stl, .ply, .unreal, and .max formats for game development, AR/VR, and rendering.
Price: $299.50
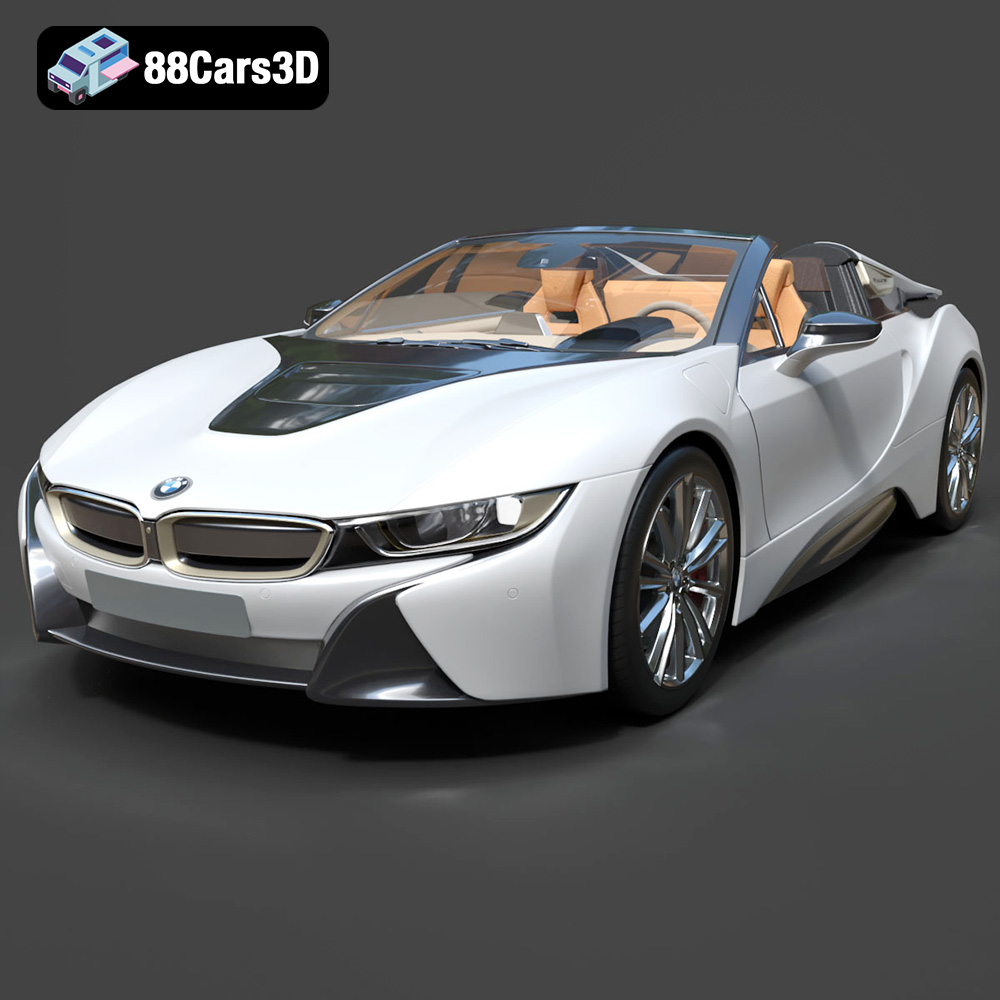
Texture: Yes | Material: Yes
Download the highly detailed, game-ready BMW i8 Roadster 2019 3D Model. Features iconic butterfly doors, futuristic aerodynamic styling, and detailed hybrid sports car aesthetics. Includes .blend, .fbx, .obj, .glb, .stl, .ply, .unreal, and .max formats for game development, AR/VR, and rendering.
Price: $171.00
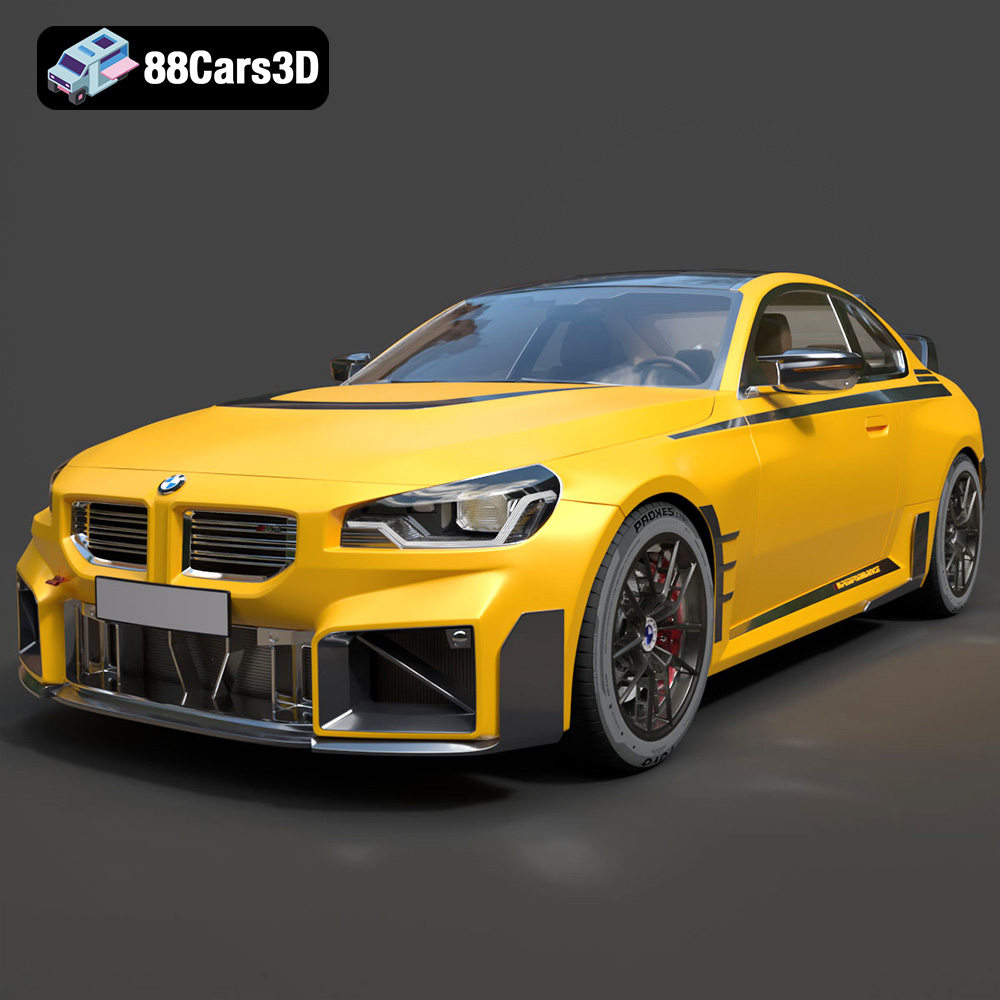
Texture: Yes | Material: Yes
Download the highly detailed, game-ready BMW M2 M Performance 3D Model. Features aggressive M Performance aero parts, detailed interior, and signature front grille. Includes .blend, .fbx, .obj, .glb, .stl, .ply, .unreal, and .max formats for game development, AR/VR, and rendering.
Price: $299.50
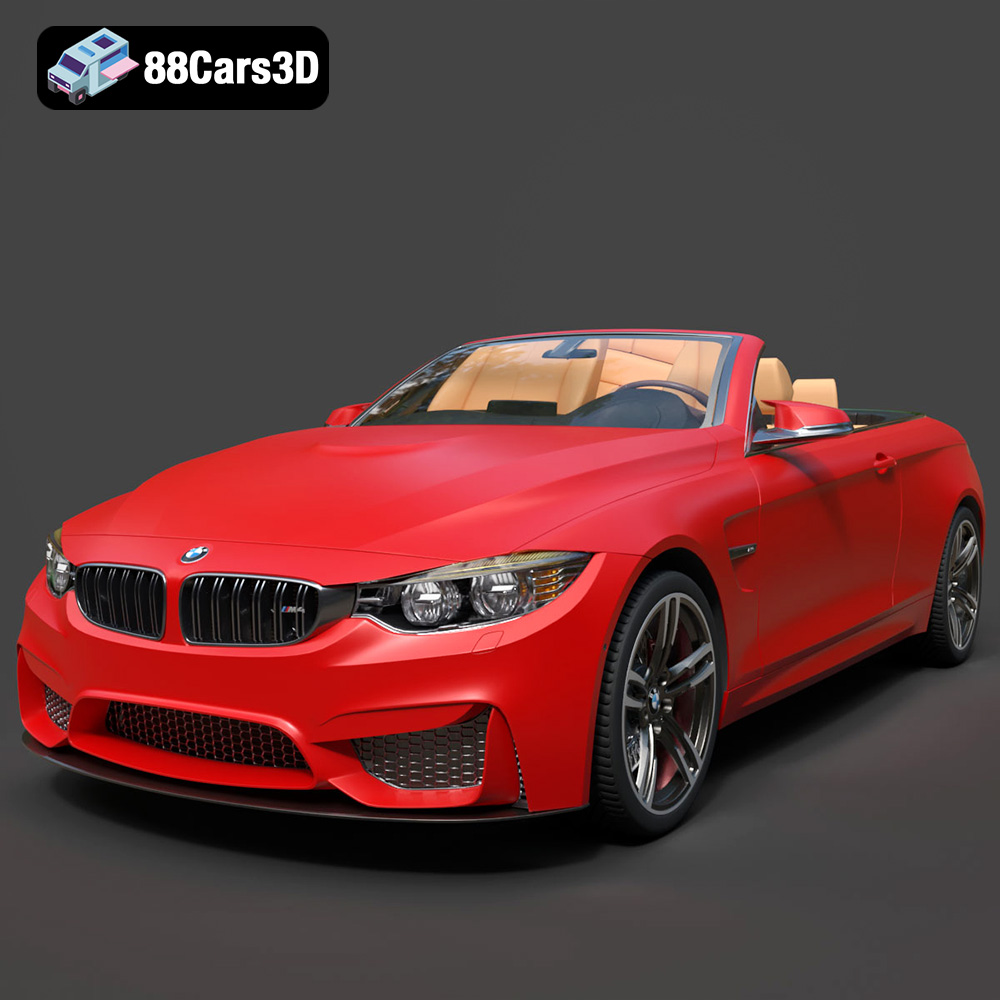
Texture: Yes | Material: Yes
Download the highly detailed, game-ready BMW M4 F33 Convertible 2015 3D Model. Features aggressive M body styling, quad exhaust setup, and detailed M sport interior. Includes .blend, .fbx, .obj, .glb, .stl, .ply, .unreal, and .max formats for game development, AR/VR, and rendering.
Price: $225.99
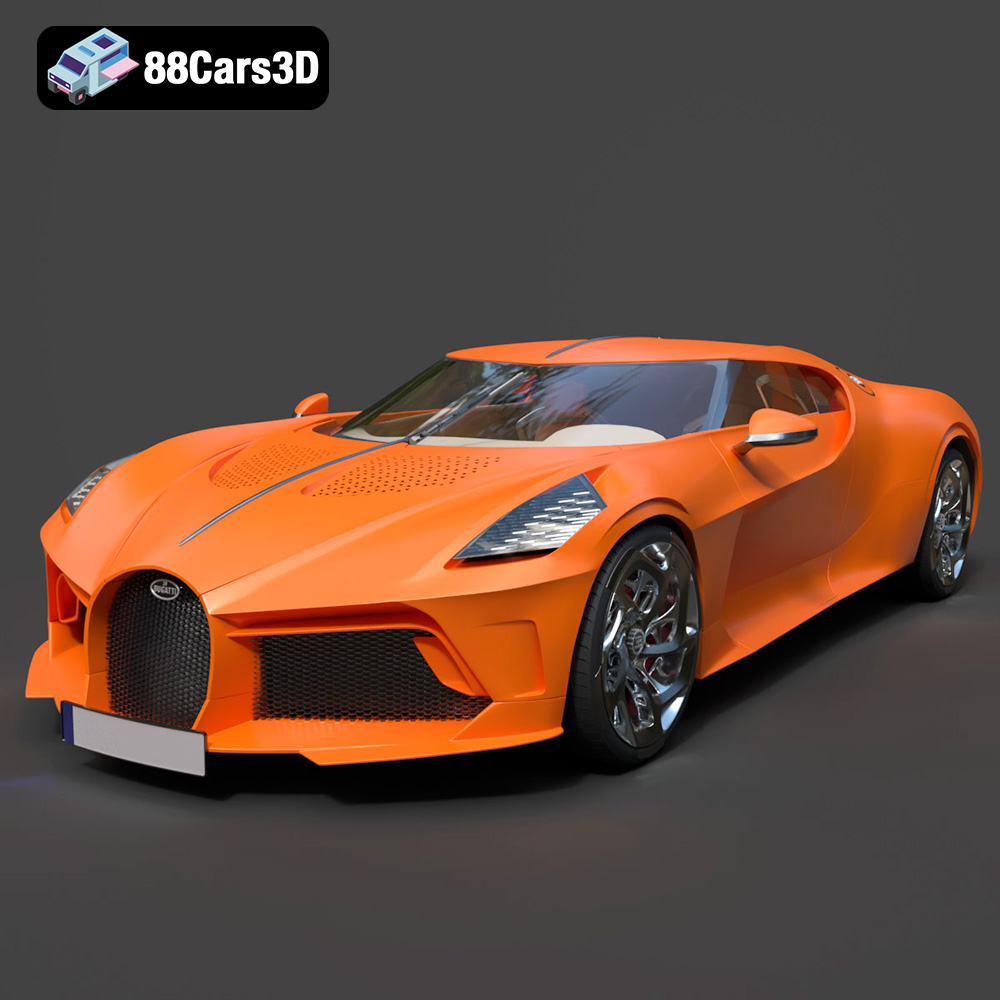
Texture: Yes | Material: Yes
Download the highly detailed, game-ready Bugatti La Voiture Noire 2019 3D Model. Features seamless jet-black carbon bodywork, distinctive six-tailpipe exhaust, and continuous LED light strip. Includes .blend, .fbx, .obj, .glb, .stl, .ply, .unreal, and .max formats for game development, AR/VR, and rendering.
Price: $269.00
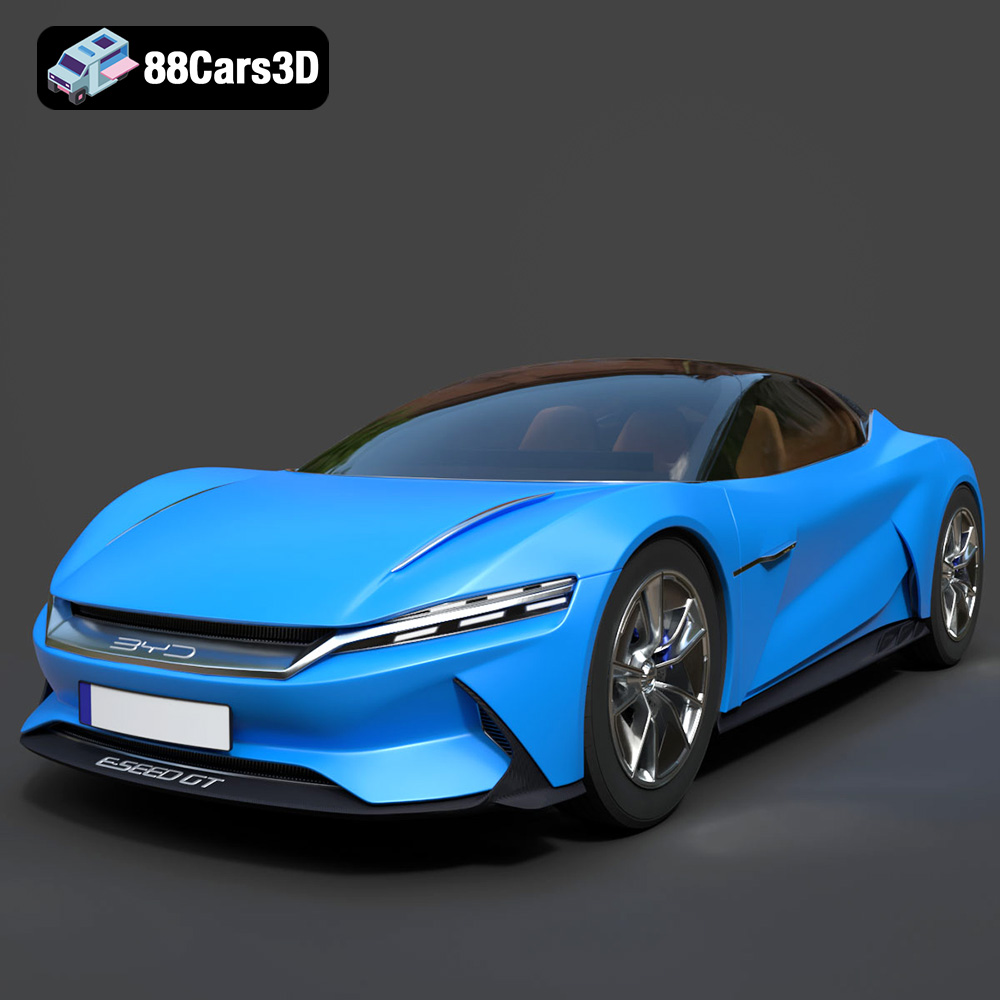
Texture: Yes | Material: Yes
Download the highly detailed, game-ready BYD e-SEED GT 2019 3D Model. Features futuristic gull-wing doors, sleek aerodynamic electric supercar silhouette, and detailed LED light strips. Includes .blend, .fbx, .obj, .glb, .stl, .ply, .unreal, and .max formats for game development, AR/VR, and rendering.
Price: $40
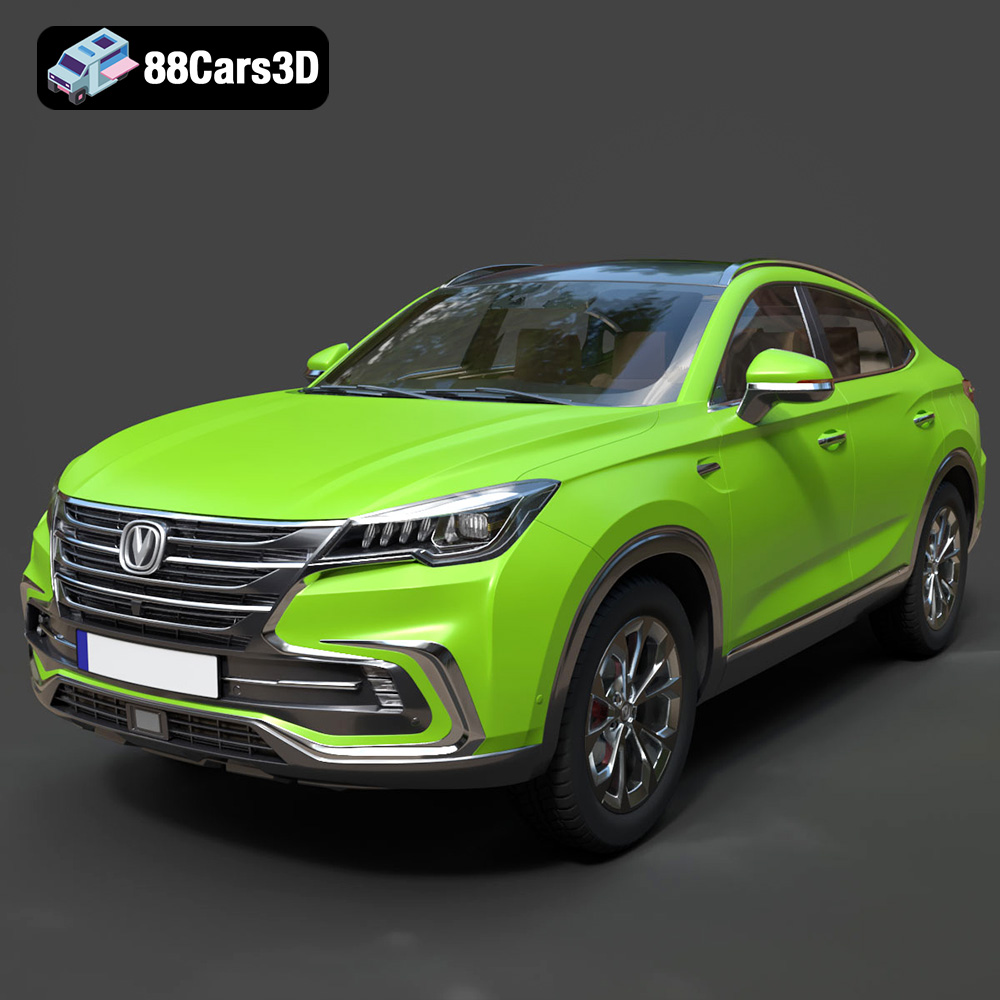
Texture: Yes | Material: Yes
Download the highly detailed, game-ready Changan CS85 Coupe 2019 3D Model. Features sleek fastback SUV styling, detailed front grille, and realistic lighting. Includes .blend, .fbx, .obj, .glb, .stl, .ply, .unreal, and .max formats for game development, AR/VR, and rendering.
Price: $40
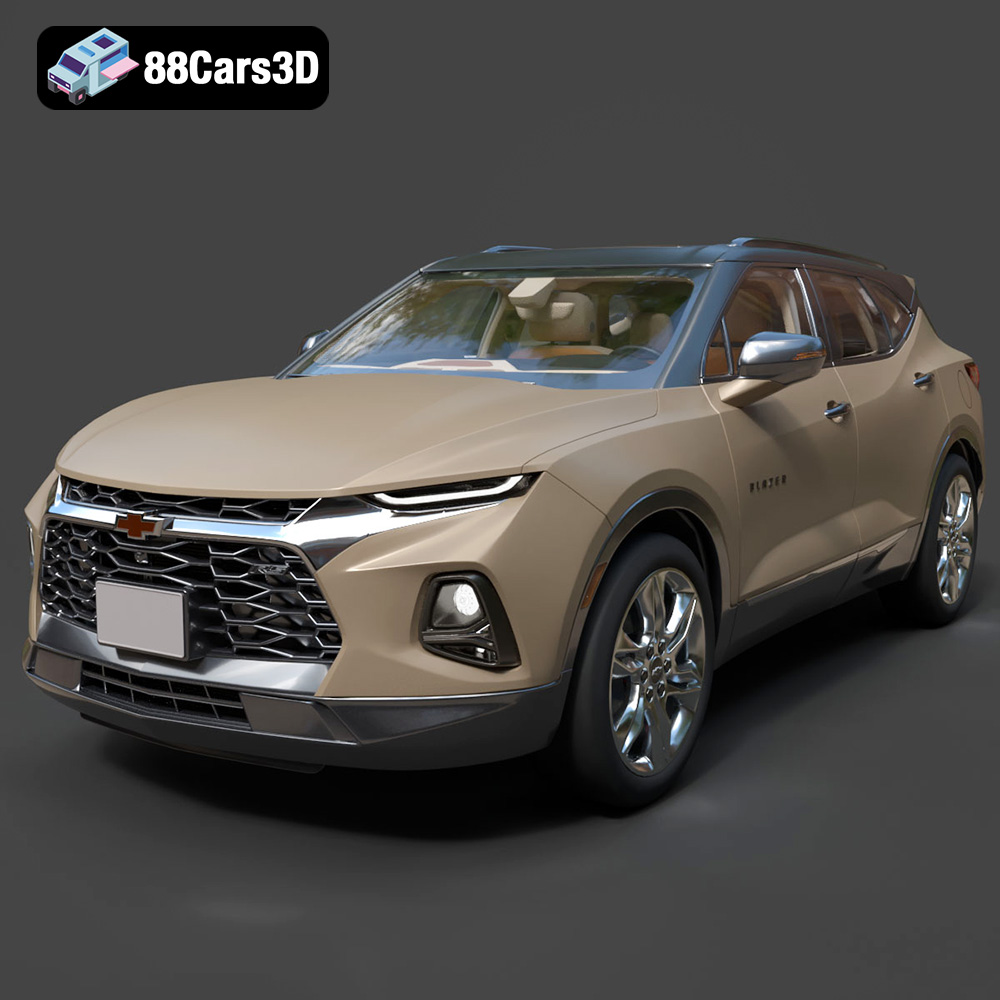
Texture: Yes | Material: Yes
Download the highly detailed, game-ready Chevrolet Blazer RS 2019 3D Model. Features bold blacked-out RS trim styling, sharp LED lighting signatures, and detailed interior geometry. Includes .blend, .fbx, .obj, .glb, .stl, .ply, .unreal, and .max formats for game development, AR/VR, and rendering.
Price: $40
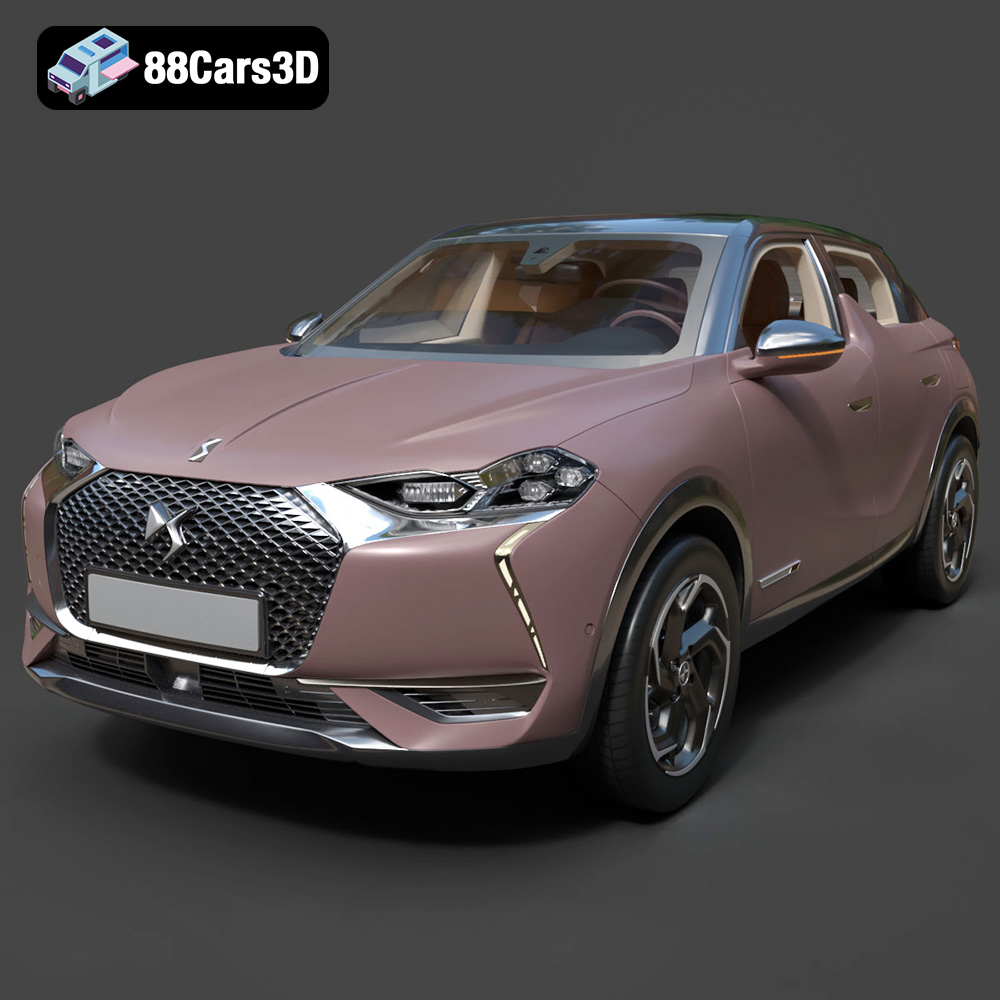
Texture: Yes | Material: Yes
Download the highly detailed, game-ready Citroen DS3 Crossback 2018 3D Model. Features signature diamond grid grille, flush door handles, and distinctive shark-fin B-pillars. Includes .blend, .fbx, .obj, .glb, .stl, .ply, .unreal, and .max formats for game development, AR/VR, and rendering.
Price: $40
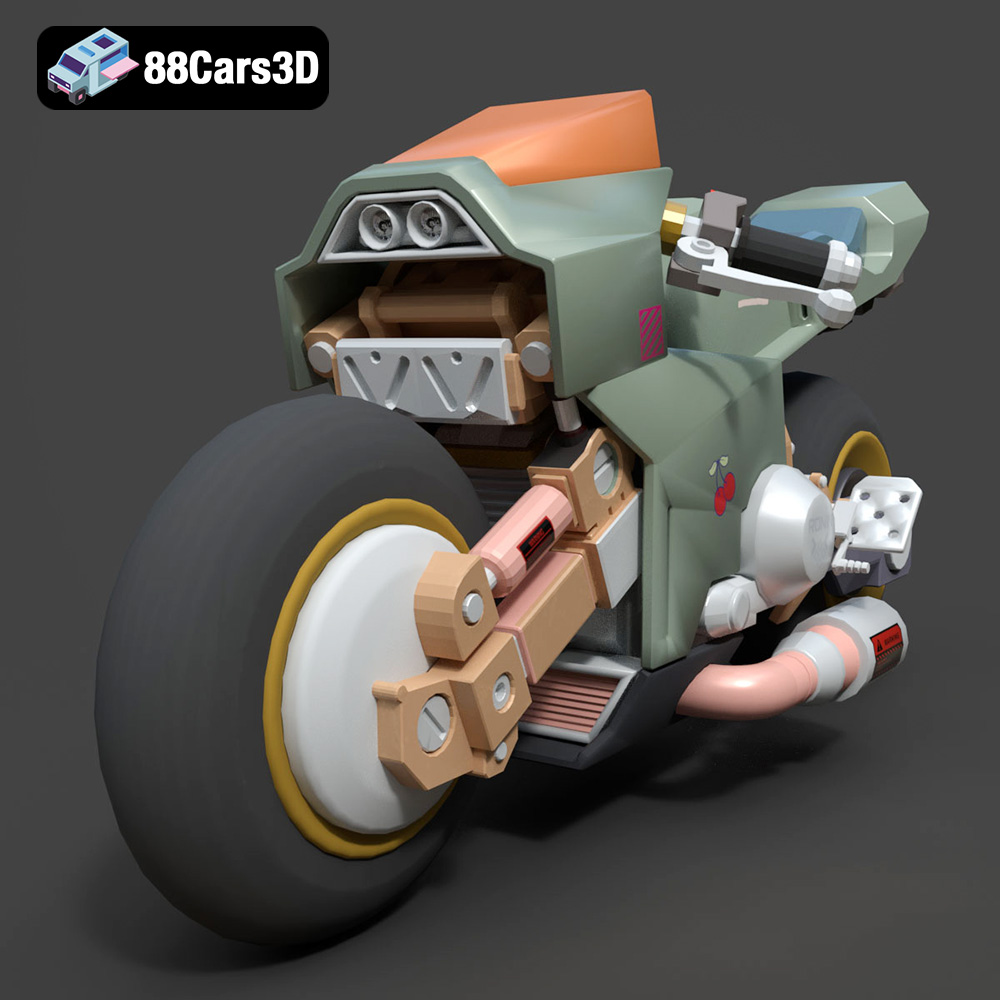
Texture: Yes | Material: Yes
Download the highly detailed, game-ready Cyber Bike 02 3D Model. Features futuristic sci-fi aesthetic, glowing LED lighting elements, and sleek aerodynamic paneling. Includes .blend, .fbx, .obj, .glb, .stl, .ply, .unreal, and .max formats for game development, AR/VR, and rendering.
Price: $40
