In the expansive realm of 3D visualization, few subjects command as much attention and passion as automotive rendering. The sleek lines, reflective surfaces, and intricate details of a car model present a unique and compelling challenge for artists. While the quality of the 3D car models themselves—their topology, UV mapping, and PBR materials—forms the foundation, it is the masterful application of studio lighting that truly breathes life into a static scene. Lighting transforms a mere digital asset into a vibrant, emotive piece of art, capable of conveying speed, luxury, or raw power.
This comprehensive guide delves deep into the art and science of crafting exquisite studio lighting setups for automotive renders specifically within Blender. We will explore the fundamental principles that govern how light interacts with complex car surfaces, dissecting the strengths of Blender’s powerful rendering engines, Cycles and Eevee. From establishing the perfect backdrop to orchestrating intricate light arrays, and from optimizing your scene for peak performance to finessing your final image in post-production, this article will equip you with the advanced technical knowledge and practical strategies required to elevate your automotive rendering to a professional standard. Prepare to unlock the full potential of your 3D car models and create visualizations that captivate and impress.
Understanding the Fundamentals of Automotive Lighting
Before diving into Blender-specific techniques, it’s crucial to grasp the core principles that dictate how light behaves, especially on the highly reflective and contoured surfaces of a car. Unlike static objects, an automobile’s form is a symphony of curves, angles, and transitions, each designed to catch and redirect light in a unique way. Understanding these interactions is the bedrock of successful automotive visualization, whether for high-end marketing, realistic game assets, or detailed technical visualization.
The Science of Reflection: How Light Interacts with Car Paint
Car paint is a marvel of material science, designed to be both protective and aesthetically captivating. Its interaction with light is multifaceted, primarily governed by three optical properties: diffuse, specular, and metallic. The PBR materials that define modern rendering engines seek to accurately simulate these characteristics.
- Diffuse Reflection: This is the scattered light, giving the car its base color. A perfect diffuse surface would scatter light equally in all directions, regardless of the viewing angle. While car paint is highly reflective, there’s always an underlying diffuse component that determines its primary hue.
- Specular Reflection: This refers to the mirror-like reflections that define the glossiness of the paint. On a car, specular reflections are crucial for defining its form and surface quality. The sharpness and intensity of these reflections are determined by the material’s roughness or glossiness value. A perfectly smooth, polished surface will have sharp, defined specular highlights, while a rougher surface will produce softer, broader highlights. The Fresnel effect also plays a significant role here, where reflections become more intense when viewed at grazing angles.
- Metallic Reflection: Many car paints incorporate metallic flakes, creating a distinct shimmer. This effect means that the color of the specular reflection is influenced by the base color of the paint itself, unlike dielectric materials where specular reflections are often achromatic. Metallic flake effects are usually achieved through complex shader networks, often involving anisotropic reflections that vary with the direction of the surface normals. Simulating these accurately requires careful attention to the metallic and roughness maps within your PBR materials, ensuring your 3D car models look authentic.
Key Lighting Principles: Three-Point and Beyond
While often associated with portrait photography, the three-point lighting setup provides an excellent foundation for understanding how to illuminate your 3D car models effectively. This classic setup involves a Key Light, Fill Light, and Backlight, each serving a distinct purpose:
- Key Light: This is the primary light source, typically the strongest and most dominant. It defines the main form, highlights key features, and casts prominent shadows. For automotive renders, the key light is often positioned to accentuate the car’s curves and reflections, revealing its topology.
- Fill Light: Softer and less intense than the key light, the fill light’s purpose is to soften the harsh shadows created by the key light and bring out details in darker areas without flattening the scene. It adds subtle illumination, preventing areas from becoming completely black and losing detail.
- Backlight (Rim Light): Placed behind and usually above the subject, the backlight creates a distinctive rim of light around the edges, separating the car from the background and adding depth. This is particularly effective for highlighting the car’s silhouette and creating a sense of drama.
Beyond this fundamental setup, automotive lighting often involves numerous additional lights, often large softboxes or strip lights, strategically placed to create specific reflections and emphasize different parts of the car. These supplementary lights are essential for crafting those iconic long, elegant reflections that define professional car photography. The goal is not just to illuminate the car, but to sculpt its form using light and shadow, revealing the designer’s intent and the intricate details of the 3D car model.
Blender’s Lighting Toolkit: Eevee vs. Cycles for Automotive
Blender offers two powerful, distinct rendering engines, each with its own philosophy and strengths: Cycles and Eevee. Choosing the right engine is a critical decision that impacts render quality, speed, and workflow, especially when dealing with the nuanced reflections and complex materials of automotive rendering. Understanding their core differences is essential for making informed choices for your 3D car models.
Cycles: The Ray Tracing Powerhouse
Cycles is Blender’s physically-based path-tracing renderer, renowned for its incredible realism and accuracy. It simulates light behavior based on real-world physics, tracing individual light rays as they bounce around the scene, interact with surfaces, and eventually reach the camera. This approach yields highly realistic global illumination, accurate reflections, refractions, and complex light interactions, making it the go-to choice for high-fidelity automotive rendering.
- Accuracy and Realism: Cycles excels at accurately depicting how light interacts with PBR materials, including the subtle Fresnel effects on car paint, realistic glass refraction, and nuanced shadows. This fidelity is paramount when showcasing the intricate details and luxurious finishes of a 3D car model.
- Global Illumination: Its advanced global illumination (GI) system ensures that light bounces off surfaces, illuminating other parts of the scene, creating soft ambient light and color bleeding that are crucial for lifelike environments.
- Path Tracing: While computationally intensive, path tracing ensures that every pixel’s color is determined by a multitude of light paths, leading to highly accurate light distribution. This is particularly beneficial for environments where light sources are complex or indirect.
- Noise Considerations: A common challenge with Cycles is noise, especially in complex scenes with many light bounces or challenging materials. To combat this, artists utilize various techniques:
- Increased Samples: Higher sample counts directly reduce noise but increase render time.
- Denoising: Blender’s built-in denoisers (OptiX, OIDN) are powerful tools that can significantly reduce noise in the final image with minimal loss of detail. Understanding when and how to apply denoising effectively is key.
- Light Path Optimization: Adjusting Light Paths settings (e.g., limiting bounces for diffuse, glossy, transmission) can reduce render times without a significant impact on quality, especially if certain light interactions are less critical.
For more detailed information on Cycles render settings and optimization, you can consult the official Blender 4.4 documentation on Cycles Render Settings.
Eevee: Real-time Performance and Artistic Freedom
Eevee, Blender’s real-time rasterization engine, offers incredible speed and interactive feedback, making it ideal for rapid iteration, animation previews, and scenarios where render time is a critical factor, such as quick look development or generating assets for game engines or AR/VR experiences.
- Speed and Interactivity: Eevee renders almost instantaneously, providing a real-time preview of your lighting and materials directly in the viewport. This allows for extremely fast experimentation with light placement, color, and intensity.
- Screen-Space Reflections (SSR): Eevee relies heavily on screen-space effects for reflections and global illumination. While fast, SSR has limitations; objects not visible in the camera’s view cannot be reflected, and reflections can “break” at screen edges. For complex automotive surfaces, this requires careful setup and potentially supplementing with reflection probes.
- Limitations and Optimization: While impressive, Eevee has inherent limitations in physical accuracy compared to Cycles. Achieving believable global illumination often requires baking indirect lighting or using reflection cubemaps and probes extensively. For optimal performance, especially with high-poly 3D car models, managing polygon counts, texture resolutions, and draw calls is crucial. While not as demanding as a dedicated game engine, keeping your scene optimized will ensure smooth viewport performance and fast renders.
- Artistic Freedom: Eevee’s speed empowers artists to be more experimental. You can quickly block out lighting ideas, test different mood boards, and iterate on animation lighting without waiting for long render times. This makes it an excellent tool for conceptualizing and prototyping your automotive visualizations.
For a deep dive into Eevee’s features and settings, refer to the official Blender 4.4 documentation on Eevee Render Settings.
Crafting Studio Environments: Backdrops and HDRIs
The environment surrounding your 3D car model plays an equally critical role as the direct light sources. A well-designed studio environment provides not only a clean, professional backdrop but also contributes significantly to the global illumination and the quality of reflections on your vehicle’s surfaces. Mastering backdrops and High Dynamic Range Images (HDRIs) is key to achieving photorealistic automotive rendering.
Seamless Studio Backdrops: Techniques and Materials
A classic studio backdrop provides a clean, uncluttered presentation that draws focus entirely to the car. The goal is to create an “infinite” background, free from distracting seams or harsh corners. This is typically achieved using a curved cyclorama, or “cove,” setup.
- Creating the Cyclorama:
- Start with a simple plane in Blender.
- Extrude one edge upwards and another sidewards.
- Apply a bevel modifier (or use manual edge beveling) to the internal corner edges to create a smooth, curved transition. A high segment count on the bevel ensures a perfectly seamless curve, preventing any visible creases that could catch light incorrectly.
- Material Setup for Backdrops:
- Simple Diffuse: For a clean white or black background, a basic PBR Principled BSDF shader with a low roughness value and potentially a slightly higher metallic value (if you want very subtle reflections) can work. The key is to avoid extreme values that might create overly harsh reflections or completely absorb all light.
- Gradient Textures: To add more visual interest, you can use a gradient texture (either generated procedurally in Blender’s shader editor or an image texture) mapped to the backdrop. This allows for subtle shifts in tone, adding depth and sophistication to the scene.
- Light-Absorbing Backdrops: For darker, more dramatic renders, consider using a very low albedo (dark gray or black) material with extremely low roughness. This setup helps emphasize the car’s reflections against a near-void background. Conversely, a bright, reflective backdrop can bounce more light back onto the car, lifting shadows and softening the overall look.
Remember, the material of your backdrop will influence how light bounces around the scene and interacts with your 3D car models. Experimentation is crucial to find the perfect balance.
Leveraging HDRIs for Realistic Global Illumination
High Dynamic Range Images (HDRIs) are panoramic images that capture a full range of light intensities, from deep shadows to brilliant highlights. When used as an environmental texture in Blender, they provide incredibly realistic global illumination and reflections, making them an indispensable tool for automotive rendering.
- Sourcing HDRIs: Numerous websites offer free and paid HDRIs, ranging from studio environments to outdoor scenes. Look for HDRIs with sufficient resolution and dynamic range for optimal results. High-quality HDRIs are essential for realistic reflections on sophisticated PBR materials.
- Setting Up HDRIs in Blender:
- In the Shader Editor, switch from “Object” to “World” mode.
- Add an “Environment Texture” node and open your HDRI file.
- Connect the “Color” output of the Environment Texture to the “Color” input of the Background node, which then connects to the World Output.
- You can control the strength of the HDRI using the “Strength” value of the Background node.
- For more precise control, add a “Mapping” node and a “Texture Coordinate” node (Generated output) between the Environment Texture and the Background node. This allows you to rotate the HDRI to find the most flattering lighting and reflection angles for your 3D car model.
- Blending with Local Lights: While HDRIs provide excellent ambient lighting and reflections, they often need to be supplemented with local light sources (area lights, point lights) to create strong highlights, sharp shadows, and specific visual accents.
- Consider using the HDRI primarily for global illumination and subtle ambient reflections, while using dedicated area lights to sculpt the car’s form and create prominent reflections.
- You can decrease the “Strength” of the HDRI and increase the intensity of your local lights to achieve a more dramatic, controlled studio look.
- For reflections, ensure your HDRI is providing interesting details. If it’s a studio HDRI, make sure it has clear light panels or geometric features that will be visible as crisp reflections on the car’s paint, glass, and chrome elements, enhancing the realism of your automotive rendering.
Advanced Lighting Techniques for Dynamic Automotive Renders
Moving beyond foundational setups, advanced lighting techniques allow for precise control over reflections, atmosphere, and visual drama. These methods are crucial for transforming a well-lit scene into a truly captivating automotive render, highlighting the intricate topology and fine details of your 3D car models.
Area Lights and Mesh Lights: Shaping Reflections
Area lights are the workhorses of studio lighting in Blender, emulating the softboxes and strip lights used in real-world photography. Their size, shape, and placement directly influence the appearance of reflections, which are paramount in automotive rendering.
- Strategic Placement: Positioning area lights parallel or perpendicular to major car panels (e.g., hood, doors, roof) will create long, elegant reflections that accentuate the vehicle’s form. Experiment with subtle angles to catch the light just right, revealing the intricate curves.
- Size Matters: Larger area lights produce softer shadows and broader, more diffused reflections, mimicking large studio softboxes. Smaller area lights create sharper shadows and more defined, intense reflections, useful for highlighting specific contours or sharp edges.
- Intensity and Color: Adjusting the strength of area lights is critical for controlling exposure and contrast. Warm or cool color temperatures can be introduced to evoke different moods, but subtle shifts are often best for maintaining realism in a studio setting.
- Mesh Lights: Any mesh in Blender can be turned into a light source by assigning an Emission shader. This offers unparalleled flexibility in shaping light. You can create custom light panels, intricate light patterns, or even neon signs that reflect accurately on your car. Mesh lights are particularly effective for creating specific, stylized reflections that would be difficult to achieve with standard light primitives. Just be mindful of increased render times in Cycles when using many complex mesh lights, as they can contribute significantly to noise and render calculations.
GoBo Lights and Volumetric Effects: Adding Drama
Adding texture to light and introducing atmospheric elements can dramatically enhance the mood and realism of your renders.
- GoBo Lights (Go Between Optics): A GoBo is a physical template placed in front of a light source to control the shape of the emitted light or project a pattern. In Blender, you can achieve this by connecting an image texture (black and white patterns, abstract shapes, or even subtle noise) to the strength input of an emission shader on an area light. This allows you to project unique light and shadow patterns onto the backdrop or even subtly onto the car itself, creating visual interest and breaking up monotonous lighting.
- Volumetric Effects: Volumetric lighting, such as mist or fog, adds depth and atmosphere to a scene by scattering light through a medium.
- World Volume: In the World Shader Editor, connect a “Principled Volume” shader to the “Volume” input of the World Output. Adjust the Density and Anisotropy to control the thickness and directionality of the fog.
- Volume Cube/Sphere: For localized fog, create a mesh (e.g., a cube) around your car, assign it a Principled Volume material, and ensure its normals are facing inwards. This allows you to confine the volumetric effect to a specific area, useful for accentuating headlights or creating a moody atmosphere around the vehicle.
Volumetrics are particularly effective in Cycles, where light scattering is physically simulated. They add a sophisticated layer of realism, especially when paired with strong light beams or headlights, creating visible rays of light within the atmosphere.
Controlling Light with Light Groups and Render Layers
For advanced compositing and fine-tuning, especially in a professional pipeline, separating your lights and elements into different render passes or layers offers immense flexibility. This is crucial for precise control over your final automotive rendering.
- Light Groups (Cycles): Blender’s Light Groups feature (available in Cycles) allows you to assign specific lights to different groups. During rendering, Cycles generates separate passes for each light group, letting you adjust their intensity, color, and even enable/disable them independently in the Compositor without re-rendering the entire scene. This is invaluable for fine-tuning the balance between key, fill, and rim lights post-render.
- Render Layers/Collections: By organizing your scene into different collections, you can render elements like the car, backdrop, and specific light setups on separate render layers. This provides granular control during compositing, allowing you to adjust exposure, apply effects, or even replace backgrounds for different visualization purposes without affecting other elements. For example, you might render the car on one layer and a separate, more complex background on another, giving you more creative freedom.
Optimizing Your Lighting Setup for Performance and Quality
Achieving stunning visual fidelity in automotive rendering often comes at the cost of render time. Professional artists must strike a delicate balance between visual quality and computational efficiency. Optimization is not just about faster renders; it’s about intelligent resource allocation to focus computing power where it matters most, especially with detailed 3D car models and complex light interactions.
Render Settings and Sampling: Balancing Speed and Fidelity
The core of render optimization lies within Blender’s render settings. Understanding and manipulating these parameters can drastically reduce render times without compromising artistic intent.
- Samples (Cycles): This is arguably the most critical setting. Higher sample counts directly correlate with less noise and higher quality, but also longer render times.
- Render Samples: Set a reasonable target based on your desired output quality. For high-resolution final renders, several hundred to a few thousand samples might be necessary.
- Viewport Samples: Keep these lower for interactive feedback.
- Adaptive Sampling: Enable adaptive sampling (Blender 4.4 and newer) to automatically stop rendering pixels that have reached a sufficient noise threshold, saving significant render time in areas of flat color or low detail. You define a “Noise Threshold” to guide this process.
- Light Bounces (Cycles): In the Light Paths panel, limiting the number of bounces for different light types (Diffuse, Glossy, Transmission, Volume) can dramatically reduce render time.
- Total: Generally, 4-8 total bounces are sufficient for most scenes. More bounces add realism but also compute time.
- Glossy: For automotive renders, ensure enough glossy bounces (at least 2-4) to capture accurate reflections, especially between different reflective surfaces on the car.
- Transmission: For glass and transparent materials, ensure sufficient transmission bounces (e.g., 6-8) for light to pass through and refract realistically.
- Denoising: Blender’s denoisers (OptiX, OIDN) are game-changers. Apply denoising in the Compositor after rendering for the best results, allowing you to render with fewer samples and clean up the noise computationally. Experiment with different denoisers and their settings (e.g., Albedo and Normal passes for OIDN) to find the optimal balance for your scene.
Working with Large 3D Car Models: LODs and Scene Optimization
High-quality 3D car models, such as those available on platforms like 88cars3d.com, often come with a high polygon count and detailed textures to ensure realism. While this is excellent for visual fidelity, it requires thoughtful scene management for optimal rendering performance, especially when considering their use as game assets or in AR/VR applications.
Post-Processing and Final Touches in Blender’s Compositor
The rendering process doesn’t end when the image finishes calculating. Post-processing is a critical stage where a good render can be transformed into a great one. Blender’s built-in Compositor is a powerful, node-based environment that allows for non-destructive enhancements, color correction, and the addition of artistic effects, taking your automotive rendering to the next level.
Enhancing the Render: Glare, Bloom, and Color Grading
The Compositor provides a suite of nodes to add polish and visual impact, mimicking the effects often applied in photo editing software.
- Glare Node: This node simulates the scattering of light within a lens, creating bright streaks or hazes around intense light sources. For automotive renders, the Glare node is invaluable for adding realistic bloom to headlights, taillights, and strong specular reflections on chrome.
- Fog Glow: Creates a soft, diffuse glow around bright areas, perfect for a subtle atmospheric effect.
- Streaks: Generates defined streaks of light, excellent for stylized lens flares from headlights.
- Ghosts / Simple Star: More pronounced lens flare effects.
Experiment with the “Threshold” (determines brightness cutoff for glare) and “Size” (controls spread) parameters to achieve the desired effect without overdoing it.
- Lens Distortion Node: Can be used subtly to mimic real-world camera lens imperfections, adding a touch of realism or a stylistic flair. A slight “Distort” or “Dispersion” can create interesting optical effects.
- Color Grading: This is where you adjust the overall mood and aesthetic of your image.
- RGB Curves: Offers precise control over the tonal range, allowing you to brighten highlights, deepen shadows, and adjust contrast across different color channels. Essential for fine-tuning the look of your PBR materials.
- Color Balance: Adjusts lift (shadows), gamma (midtones), and gain (highlights) for red, green, and blue channels independently, giving you nuanced control over color temperature and overall color cast.
- Hue Saturation Value: Simple controls to adjust the hue, saturation, and brightness of the entire image or specific color ranges.
Using these nodes, you can enhance the richness of the car’s paint, adjust the ambient mood of the studio, and ensure the entire image feels cohesive.
- Vignette: A subtle darkening around the edges of the frame helps draw the viewer’s eye towards the center, emphasizing your 3D car model. This can be achieved with an “Ellipse Mask” and “Mix” node, or more advanced setups using “Hue Saturation Value” and “Gamma” nodes in conjunction with masks.
Compositing External Elements: Backplates and VFX Integration
The Compositor isn’t just for effects; it’s also a powerful tool for integrating your 3D render with 2D elements or even other 3D renders.
- Backplate Integration: For highly realistic renders, especially those aiming for outdoor scenes or complex studio environments, compositing your 3D car render onto a photographic backplate is a common technique.
- Render your car with an alpha channel (transparent background).
- In the Compositor, load your backplate image using an “Image” node.
- Use an “Alpha Over” node to overlay your car render onto the backplate.
- Crucially, ensure your 3D car’s lighting setup matches the lighting conditions of the backplate (direction, color temperature, intensity) for seamless integration. Shadows cast by the car onto the backplate also need to be carefully rendered or faked to ensure realism.
- Adding Ground Shadows: Even with a transparent background, your car will need to cast a realistic shadow onto the backplate or virtual ground plane.
- Render a separate shadow pass (e.g., using a “Shadow Catcher” material on a ground plane in your 3D scene).
- In the Compositor, use “Mix” nodes with “Multiply” blend mode and masks to accurately place and blend the shadow onto your background, matching the perspective and lighting.
- VFX and Motion Graphics Integration: For animated sequences or advanced visualization, the Compositor allows you to combine your automotive rendering with various visual effects, text overlays, or motion graphics generated within Blender or imported from other software. The modular, node-based workflow provides incredible flexibility for complex compositing tasks, whether for a game trailer or a high-end commercial.
Conclusion
Mastering studio lighting for automotive rendering in Blender is a journey that blends technical understanding with artistic vision. From the foundational principles of light interaction with sophisticated PBR materials to the intricate dance of area lights and HDRIs, every choice you make profoundly impacts the final image. We’ve explored the strengths of Cycles for ultimate realism and Eevee for rapid iteration, delved into creating perfect seamless backdrops, and unleashed advanced techniques like mesh lights and volumetric effects to inject drama and depth into your scenes.
Crucially, optimizing your workflow through intelligent render settings, understanding topology, and managing assets (especially when sourcing high-quality 3D car models from platforms like 88cars3d.com) ensures efficiency without sacrificing quality. Finally, the power of Blender’s Compositor allows for non-destructive enhancements, from subtle glares to comprehensive color grading, transforming raw renders into polished masterpieces suitable for any professional application, be it marketing, game assets, or immersive AR/VR experiences.
The path to stunning automotive renders is iterative. Experiment, observe, and learn from real-world photography. Pay close attention to reflections, shadow quality, and the overall mood conveyed by your lighting. With the knowledge and techniques outlined in this guide, you are well-equipped to sculpt light with precision and create breathtaking visualizations that showcase the true beauty and engineering marvel of 3D car models. Continue to push your creative boundaries, and let your renders shine!
Featured 3D Car Models
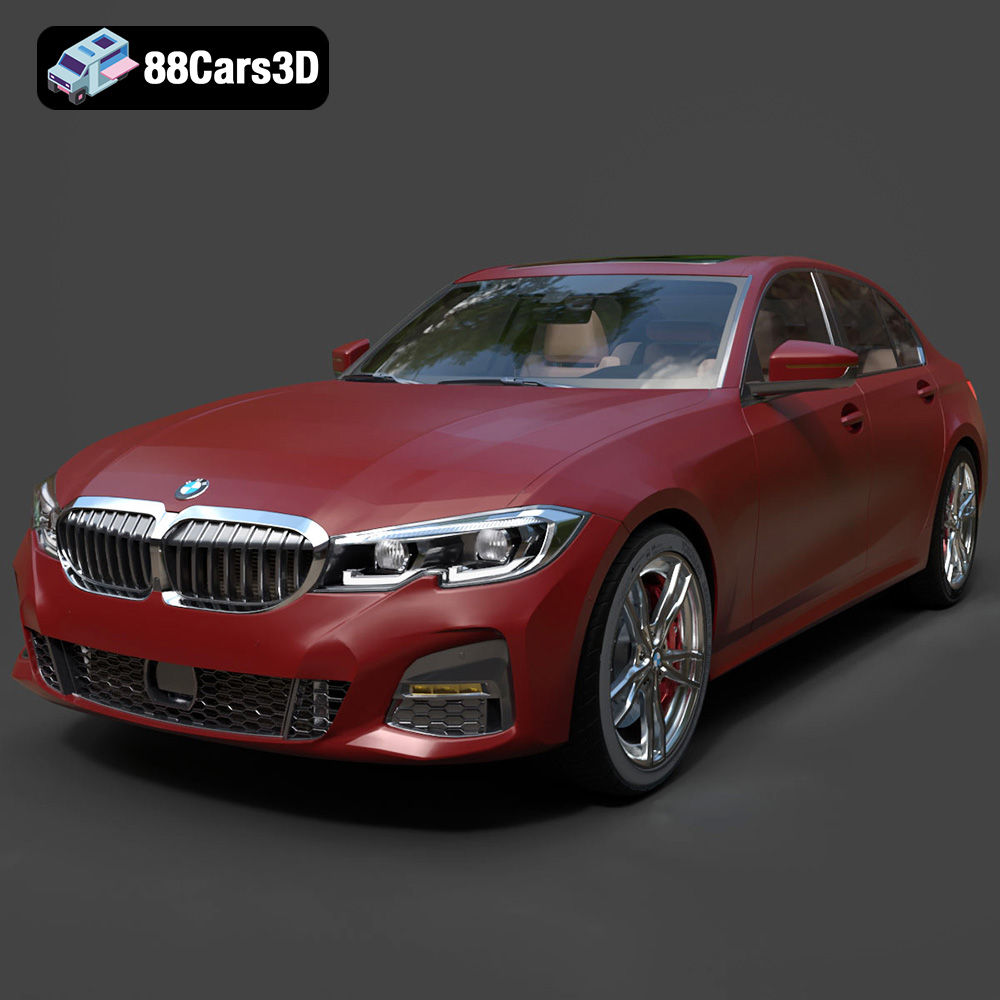
Texture: Yes | Material: Yes
Download the highly detailed, game-ready BMW 3er VII (G2x) 3D Model. Features iconic kidney grille geometry, detailed LED lighting, and precise interior cockpits. Includes .blend, .fbx, .obj, .glb, .stl, .ply, .unreal, and .max formats for game development, AR/VR, and rendering.
Price: $299.50
View Product
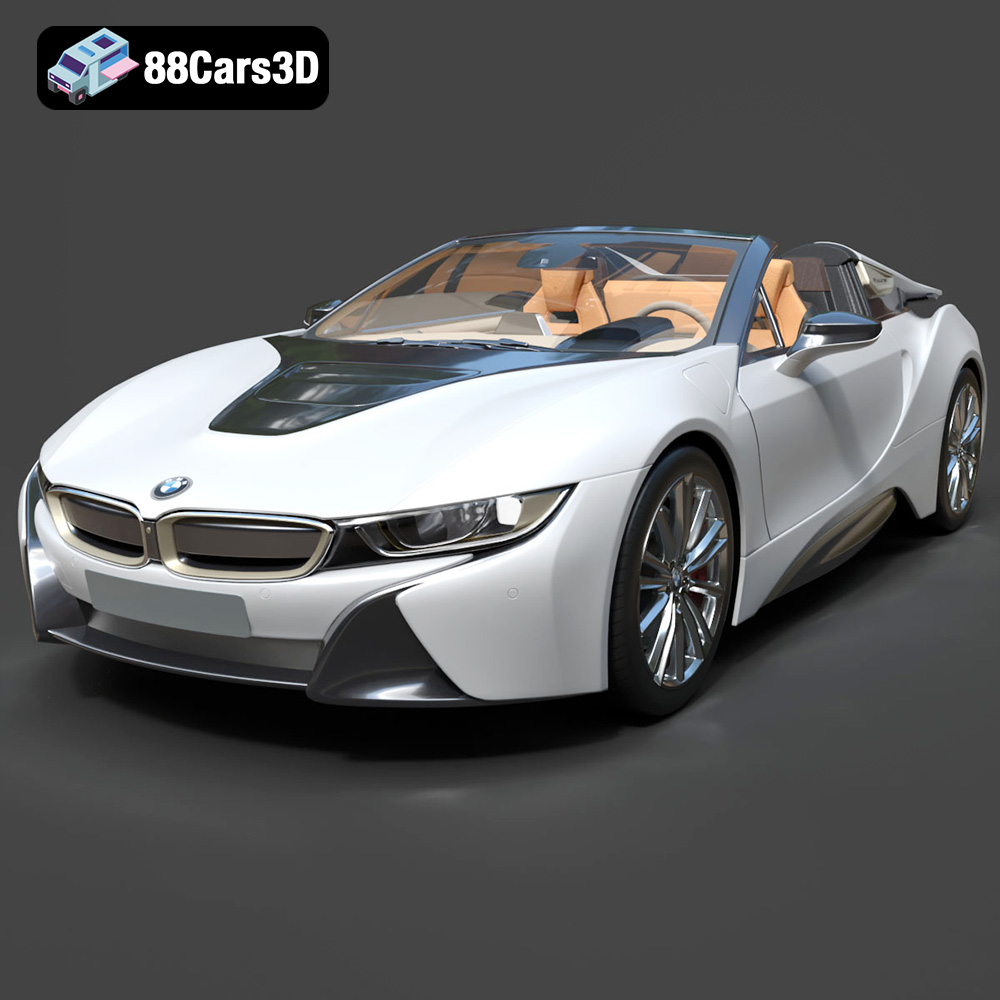
Texture: Yes | Material: Yes
Download the highly detailed, game-ready BMW i8 Roadster 2019 3D Model. Features iconic butterfly doors, futuristic aerodynamic styling, and detailed hybrid sports car aesthetics. Includes .blend, .fbx, .obj, .glb, .stl, .ply, .unreal, and .max formats for game development, AR/VR, and rendering.
Price: $171.00
View Product
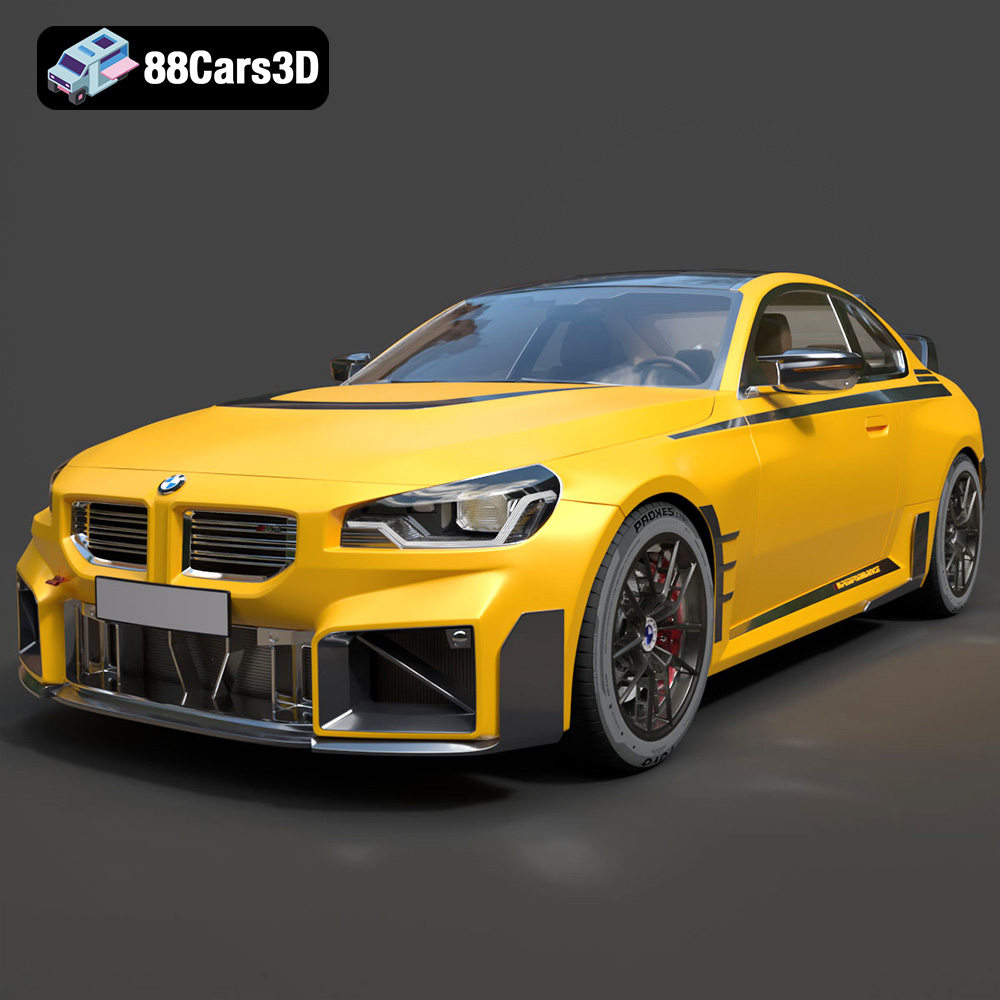
Texture: Yes | Material: Yes
Download the highly detailed, game-ready BMW M2 M Performance 3D Model. Features aggressive M Performance aero parts, detailed interior, and signature front grille. Includes .blend, .fbx, .obj, .glb, .stl, .ply, .unreal, and .max formats for game development, AR/VR, and rendering.
Price: $299.50
View Product
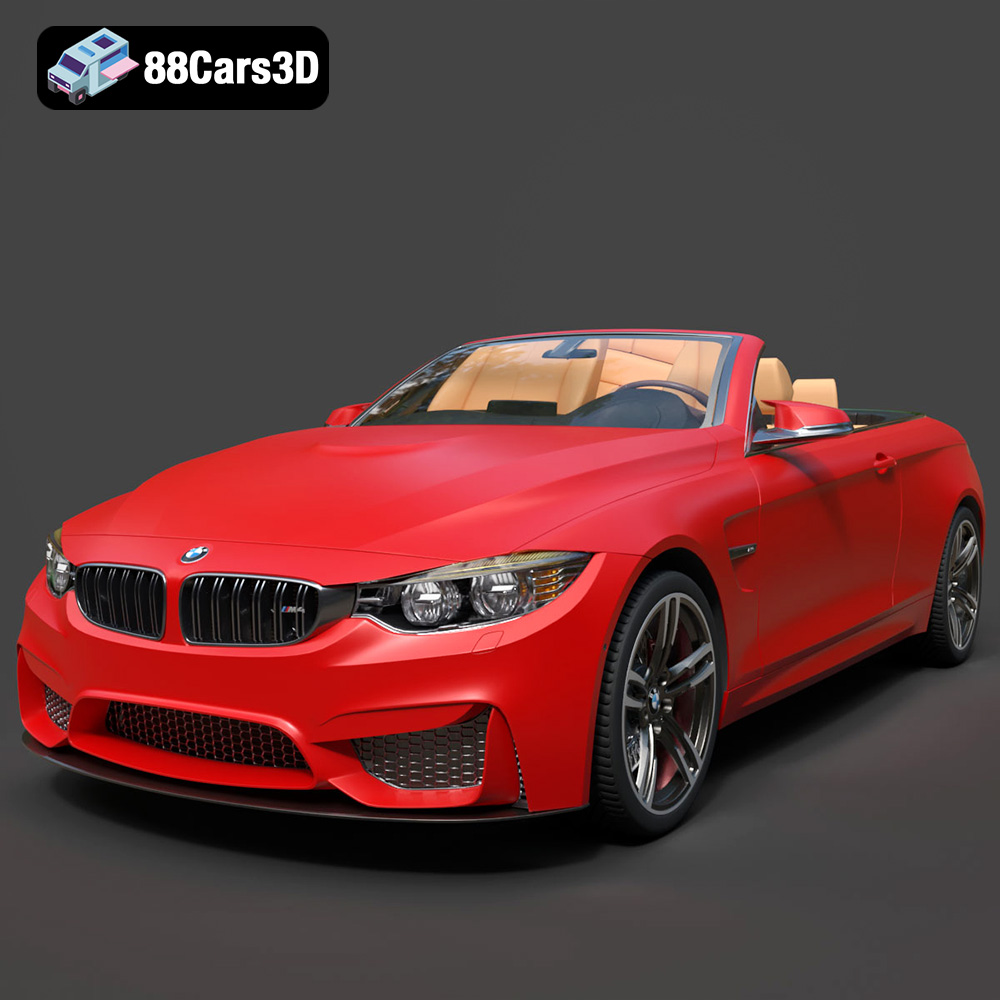
Texture: Yes | Material: Yes
Download the highly detailed, game-ready BMW M4 F33 Convertible 2015 3D Model. Features aggressive M body styling, quad exhaust setup, and detailed M sport interior. Includes .blend, .fbx, .obj, .glb, .stl, .ply, .unreal, and .max formats for game development, AR/VR, and rendering.
Price: $225.99
View Product
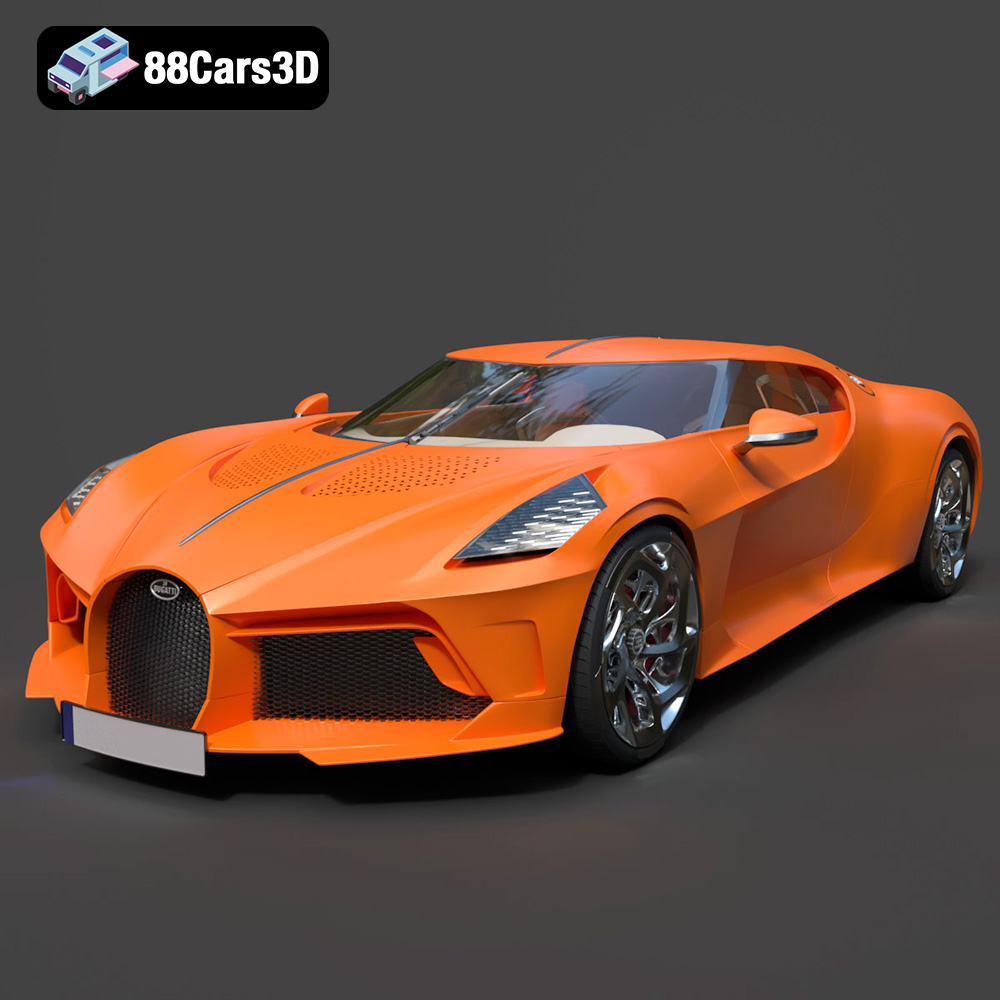
Texture: Yes | Material: Yes
Download the highly detailed, game-ready Bugatti La Voiture Noire 2019 3D Model. Features seamless jet-black carbon bodywork, distinctive six-tailpipe exhaust, and continuous LED light strip. Includes .blend, .fbx, .obj, .glb, .stl, .ply, .unreal, and .max formats for game development, AR/VR, and rendering.
Price: $269.00
View Product
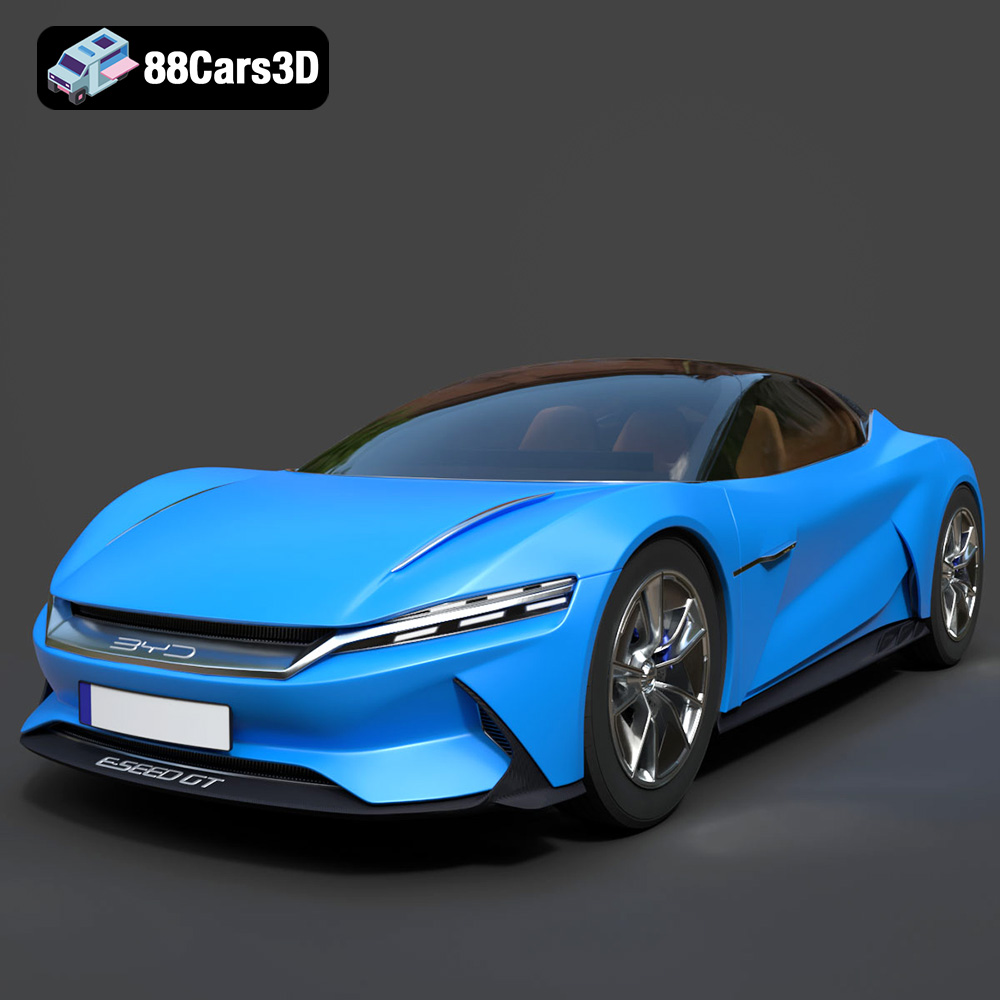
Texture: Yes | Material: Yes
Download the highly detailed, game-ready BYD e-SEED GT 2019 3D Model. Features futuristic gull-wing doors, sleek aerodynamic electric supercar silhouette, and detailed LED light strips. Includes .blend, .fbx, .obj, .glb, .stl, .ply, .unreal, and .max formats for game development, AR/VR, and rendering.
Price: $40
View Product
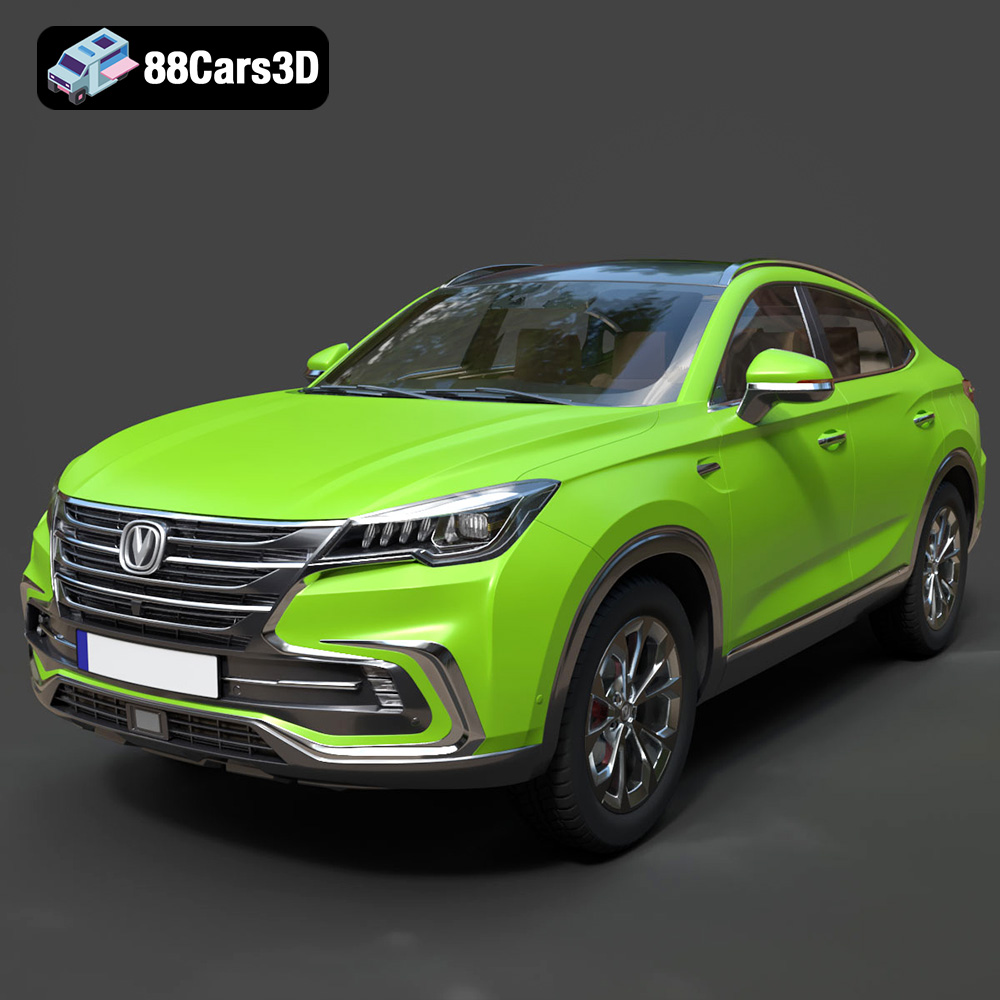
Texture: Yes | Material: Yes
Download the highly detailed, game-ready Changan CS85 Coupe 2019 3D Model. Features sleek fastback SUV styling, detailed front grille, and realistic lighting. Includes .blend, .fbx, .obj, .glb, .stl, .ply, .unreal, and .max formats for game development, AR/VR, and rendering.
Price: $40
View Product
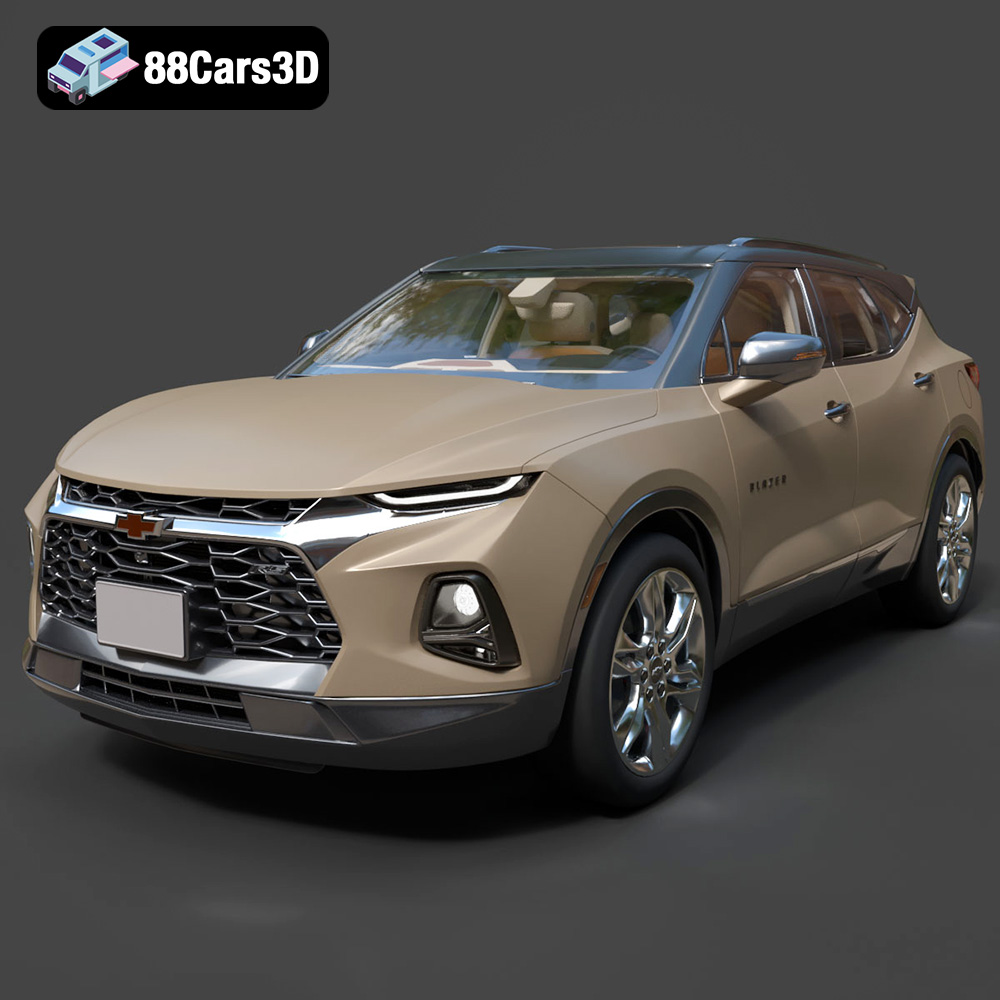
Texture: Yes | Material: Yes
Download the highly detailed, game-ready Chevrolet Blazer RS 2019 3D Model. Features bold blacked-out RS trim styling, sharp LED lighting signatures, and detailed interior geometry. Includes .blend, .fbx, .obj, .glb, .stl, .ply, .unreal, and .max formats for game development, AR/VR, and rendering.
Price: $40
View Product
Texture: Yes | Material: Yes
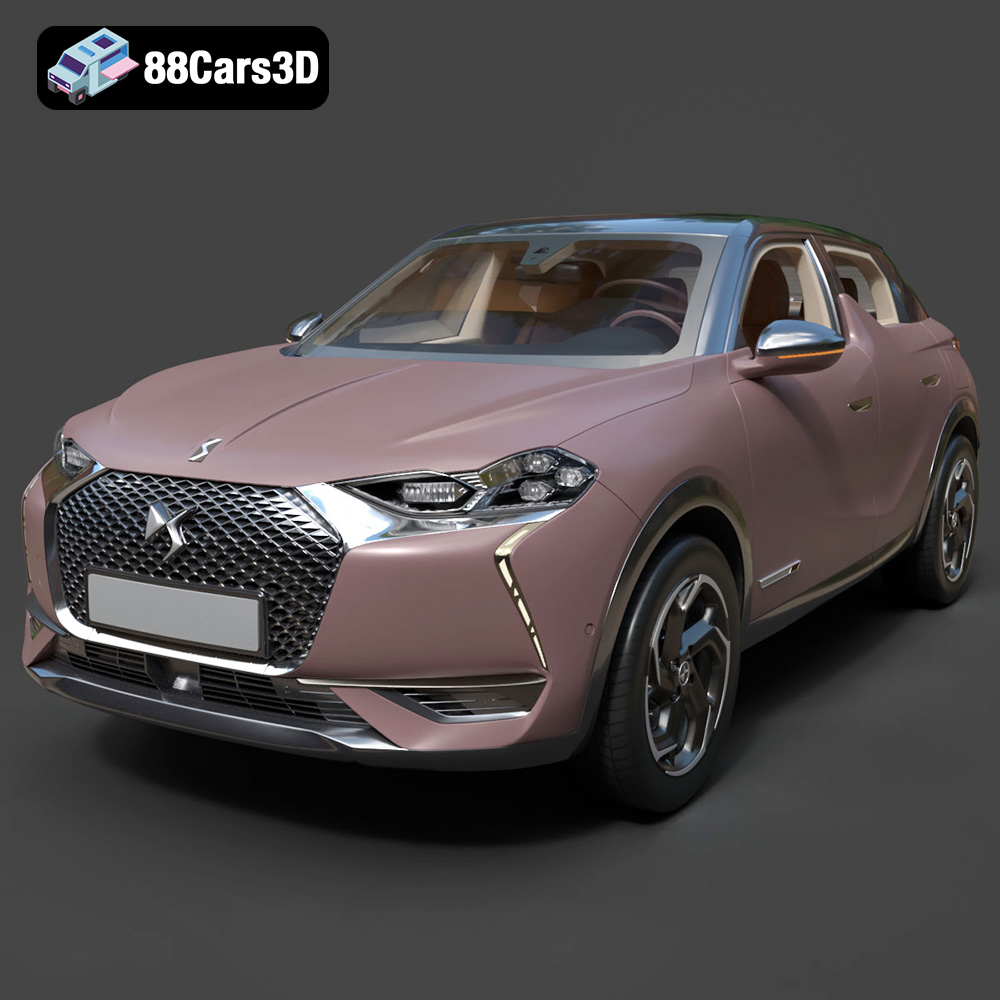
Download the highly detailed, game-ready Citroen DS3 Crossback 2018 3D Model. Features signature diamond grid grille, flush door handles, and distinctive shark-fin B-pillars. Includes .blend, .fbx, .obj, .glb, .stl, .ply, .unreal, and .max formats for game development, AR/VR, and rendering.
Price: $40
View Product
Texture: Yes | Material: Yes
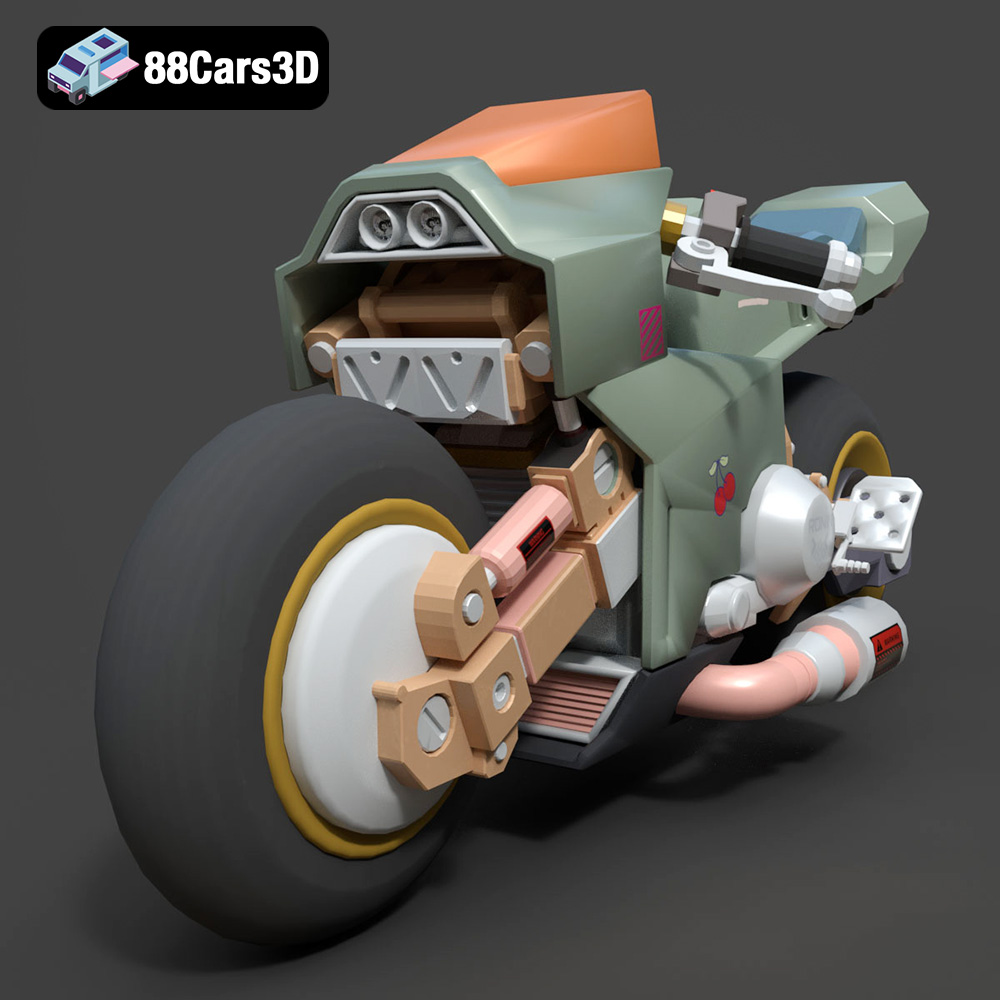
Download the highly detailed, game-ready Cyber Bike 02 3D Model. Features futuristic sci-fi aesthetic, glowing LED lighting elements, and sleek aerodynamic paneling. Includes .blend, .fbx, .obj, .glb, .stl, .ply, .unreal, and .max formats for game development, AR/VR, and rendering.
Price: $40
View Product


