

In the realm of 3D visualization, especially for high-fidelity automotive models, achieving photorealistic renders is a pursuit of precision, artistry, and technical mastery. Blender’s Cycles renderer stands as a powerful, unbiased path tracer, celebrated for its ability to produce stunningly realistic images. However, this power often comes with a significant demand on computational resources, translating into lengthy render times. For professionals working on tight deadlines in automotive design, game development, or architectural visualization, optimizing Cycles render speed isn’t just a convenience; it’s a critical skill. This comprehensive guide will dissect the multifaceted world of Cycles optimization in Blender, providing actionable strategies to accelerate your render workflows without compromising on quality. We’ll delve into everything from efficient 3D car model topology and smart UV mapping to advanced PBR material setup, sophisticated lighting techniques, and granular render settings. By the end of this article, you’ll be equipped with the knowledge to significantly reduce your render times, allowing you to iterate faster, enhance your productivity, and deliver exceptional results for your automotive rendering projects.
The journey to faster Cycles renders begins long before you hit the F12 key. It starts with the very structure of your 3D car models – their topology. A well-optimized mesh is the bedrock of efficient rendering, reducing the computational burden on Cycles. Poor topology, with excessive polygons where they aren’t needed, non-manifold geometry, or overly dense areas, can drastically slow down ray tracing and increase memory consumption.
Automotive models are inherently complex, featuring sleek curves, sharp edges, and intricate details. The key is to achieve visual fidelity without an exorbitant polygon count. While modern GPUs can handle millions of polygons, each face and vertex adds to the rendering equation, impacting ray-casting calculations. For high-quality production assets, strive for a “quad-dominant” topology, which lends itself well to subdivision surface modifiers and smooth deformations. Consider a target polycount that is appropriate for the model’s intended use. For hero shots or close-up renders, a detailed model might justify several hundred thousand polygons (with subdivision). For broader shots or scenes with multiple vehicles, a lower polycount is preferable. When sourcing models from marketplaces such as 88cars3d.com, you’ll often find assets that have already been meticulously optimized for clean topology and efficient polygon distribution, offering a significant head start.
Techniques like retopology can be invaluable for cleaning up scanned data or CAD imports that often have messy, triangulated meshes. Manually or semi-automatically reconstructing a cleaner, quad-based mesh ensures that subdivision surfaces behave predictably and that the mesh is more efficient for rendering. Always consider the silhouette and crucial detail areas; these are where polygons are most effectively utilized. Use wireframe overlays frequently to inspect your mesh and identify areas where polygons can be reduced without affecting the visual outcome.
Blender offers a powerful suite of non-destructive modifiers that can dramatically improve workflow efficiency and render performance. The Subdivision Surface modifier is paramount for automotive models, allowing you to work with a low-poly base mesh while achieving smooth, high-resolution surfaces at render time. This approach significantly reduces viewport lag and makes modeling changes quicker. Ensure your base mesh has clean edge loops to guide the subdivision accurately, preventing pinching or artifacts. For details like panel gaps or hard edges, use control loops or the Bevel modifier set to a small width and specific segments to create smooth transitions that catch the light realistically.
Another powerful optimization comes from instancing. For repetitive elements like wheels, bolts, or even environmental props, use Collection Instances or linked duplicates (Alt+D). Instead of having multiple unique copies of the same geometry, instances refer to a single data block, drastically reducing memory usage and speeding up scene loading and render preparation. Cycles handles instances very efficiently, as it only needs to process the base geometry once. For an in-depth understanding of how modifiers work and their impact on mesh data, consult the official Blender 4.4 documentation on modifiers.
After optimizing your mesh, the next critical area for render speed is your material setup. Complex PBR (Physically Based Rendering) shaders, high-resolution textures, and intricate node networks can significantly increase Cycles’ calculation burden, especially for glossy and metallic surfaces characteristic of car paint.
Creating physically accurate materials is essential for realism, but it also means adhering to PBR principles that Cycles is designed to simulate. For car paint, this often involves complex layers of clear coat, metallic flakes, and base color. The Principled BSDF shader in Blender is an excellent starting point, encapsulating many PBR parameters. Focus on realistic values for Metallic (typically 0 or 1 for metals), Roughness (influencing the sharpness of reflections), and IOR (Index of Refraction) for clear coat and glass. Avoid overly complex custom shader networks unless absolutely necessary, as they can sometimes lead to less efficient ray tracing than the highly optimized Principled BSDF.
When creating custom networks for advanced effects, such as multi-layer car paint or complex grunge, strive for efficiency. Use Node Groups to organize your shaders, making them reusable and easier to manage. Minimize the number of expensive shader nodes (like transparent or glass shaders where a simpler setup might suffice for background elements) and avoid unnecessary math operations. For example, rather than using multiple mix shaders with identical factors, consolidate them where possible. Remember that transparent materials are particularly costly in Cycles, as rays must pass through them. For windows, consider using a slightly tinted glass shader with a realistic IOR rather than pure transparency, as this can offer a performance benefit while maintaining realism.
Textures are often one of the largest consumers of memory in a render scene. Using excessively high-resolution textures where they aren’t needed is a common mistake that can bloat render times and memory usage. For critical areas like the main body paint or tire treads, 4K or even 8K textures might be justified. However, for less prominent details, interior elements, or parts that will be far from the camera, 2K or 1K textures are perfectly adequate. Always use power-of-2 resolutions (e.g., 512×512, 1024×1024, 2048×2048) for optimal GPU memory management.
Texture Atlasing is a powerful optimization technique where multiple smaller textures are packed into a single, larger texture map. This reduces the number of texture lookups Cycles needs to perform and can improve GPU cache hit rates, leading to faster renders. It also helps in reducing draw calls if the asset is destined for a game engine, but even within Cycles, fewer individual texture files can simplify the rendering process. For automotive models, you might atlas interior details, engine components, or small decals onto a single texture. When preparing your model, ensure efficient UV mapping to make the most of your texture space, avoiding wasted areas and minimizing seams. For texture compression, consider using formats like OpenEXR for high dynamic range images (HDRIs) and normal maps, and PNG or JPEG for color maps, balancing quality and file size.
Lighting is arguably the most impactful element for realism in automotive rendering, but it’s also a primary driver of render times in an unbiased renderer like Cycles. Every light source and every light bounce adds to the computational load. Strategic lighting and careful management of light paths are crucial for speed.
One of the most effective ways to light an automotive scene is using High Dynamic Range Images (HDRIs). HDRIs provide realistic environmental lighting and reflections, often yielding more natural results than a complex setup of individual lamps. However, not all HDRIs are created equal when it comes to performance. Higher resolution HDRIs (e.g., 16K or 20K) can consume significant memory. For many scenes, an 8K or even 4K HDRI can provide excellent results without the performance penalty, especially when blurred slightly for background illumination. The key is the dynamic range, not necessarily the pixel resolution, for accurate lighting. Ensure your HDRI is loaded in a suitable format like OpenEXR for full dynamic range.
Within the World properties, enable “Multiple Importance Sample” for your HDRI. This setting helps Cycles focus its sampling efforts on the brighter areas of the HDRI, leading to faster convergence and less noise, particularly in specular reflections. This is a critical optimization for scenes primarily lit by an environment map. For specific settings related to world lighting and importance sampling, refer to the official Blender 4.4 documentation on environment lighting.
Beyond environment lighting, individual lamps (Point, Area, Spot, Sun) play a vital role in highlighting specific features, adding rim lights, or creating dramatic shadows. Use these lights judiciously. Every additional light source contributes to render time. Instead of using many weak lights, consider fewer, more powerful lights placed strategically to achieve the desired effect. Utilize Blender’s light linking features (via Light Groups in the view layer settings, or by manually adjusting influence via shader nodes) to control which objects are affected by which lights, further optimizing calculations.
The Light Paths settings in the Render Properties panel are crucial for performance. These settings control how many times a ray can bounce within your scene. While more bounces generally lead to more accurate lighting, there are diminishing returns. For most automotive scenes:
Culling unnecessary light paths can provide significant speedups. Experiment with these settings, gradually increasing them until you notice no further visual improvement, then dial them back slightly. The goal is to find the sweet spot between realism and render speed.
The Render Properties tab in Blender offers a wealth of settings that directly impact render speed and quality. Understanding and fine-tuning these is paramount for efficient Cycles rendering. This is where you directly instruct Cycles on how to sample your scene and utilize your hardware.
Cycles is a path tracer, meaning it simulates light rays bouncing around your scene. The “Samples” setting determines how many such rays are traced per pixel. More samples generally mean less noise but longer render times.
Consider using Branched Path Tracing only for very specific scenes where certain components (e.g., diffuse, glossy) are exceptionally noisy and require more targeted sampling. For most scenes, the default Path Tracing combined with Adaptive Sampling and Denoising is the most efficient approach.
Optimizing Cycles to leverage your hardware effectively is critical.
Not every detail needs to be rendered perfectly within Cycles. Leveraging Blender’s powerful Compositor and adopting smart workflow practices can significantly reduce raw render times, offloading work to a faster post-production stage.
Render passes allow you to output various components of your render as separate layers, giving you immense flexibility in post-processing without re-rendering the entire image. This is especially useful for automotive rendering, where precise control over reflections, shadows, and color is crucial. Instead of re-rendering an entire image because the color balance is slightly off, you can adjust it in the compositor.
Key passes to consider for optimization and flexibility:
By outputting these passes, you can make adjustments to exposure, color grading, contrast, add lens flares, vignetting, and even correct minor lighting inconsistencies directly within Blender’s node-based compositor. This iterative process is significantly faster than constantly re-rendering. For a detailed guide on using render passes, check the Blender 4.4 documentation on render passes and compositing.
We touched upon instancing for geometry, but its application extends further into overall scene management. When dealing with complex environments surrounding your 3D car models, or if you have multiple instances of the same car in a scene, instances are your best friend. Instead of duplicating meshes, use linked duplicates (Alt+D) for individual objects or Collection Instances for groups of objects. Cycles processes the geometry data for an instance only once, regardless of how many times it appears in the scene, dramatically reducing memory overhead and improving render preparation times.
For very dense background elements or distant objects, consider using low-polygon proxies. These are simplified versions of your meshes that appear in the viewport, significantly improving viewport performance. Only the high-resolution meshes are swapped in at render time. This is especially useful for managing large scene files with detailed trees, buildings, or crowds, where the full detail isn’t needed for interactive work. Similarly, when working with very high-poly game assets that might be optimized for engines like Unreal or Unity, you can use these optimized versions as proxies for Cycles renders, only swapping to higher poly versions for hero shots if needed.
Automotive visualizations often involve more than just the car itself; they can include intricate environments, realistic atmospheric effects, and detailed foreground elements. Optimizing these additional complexities is crucial for maintaining reasonable render times.
Volumetric effects, such as fog, mist, or smoke, can add incredible depth and realism to a scene, especially for atmospheric automotive rendering. However, they are exceptionally expensive to render in Cycles. Rays must sample the volume multiple times, significantly increasing calculation complexity.
Motion Blur is another feature that enhances realism, particularly for dynamic car shots, but it also increases render times as Cycles needs to sample the scene multiple times per frame to calculate the blur.
For static elements within your scene or for assets destined for game engines, baking can be a phenomenal time-saver. Baking involves pre-calculating lighting, shadows, or complex material effects and saving them as texture maps. These maps can then be used in your Cycles scene, replacing real-time calculations with simple texture lookups.
Baking is a one-time process that can take time, but the resulting render speedups for subsequent renders are often well worth the initial investment. This technique is also crucial for preparing assets for real-time applications like AR/VR, where every millisecond counts, highlighting the interconnectedness of efficient workflows across different visualization needs.
Optimizing Cycles render times in Blender for 3D car models is a holistic process that touches almost every aspect of your 3D workflow. From the foundational decision of efficient topology and thoughtful UV mapping, through the intricacies of PBR materials and smart texture management, to strategic lighting and granular control over Cycles’ render settings, every choice impacts the final render duration. We’ve explored how to leverage Blender’s powerful tools like subdivision surfaces and instancing, harness the efficiency of HDRI lighting, and fine-tune render passes for flexible post-processing. Crucially, embracing denoisers and adaptive sampling can dramatically cut down on noise and render time, allowing you to achieve high-quality results faster than ever before.
Remember that optimization is often an iterative process. Start with broader optimizations and progressively refine your settings based on visual feedback and render time analysis. By implementing the techniques discussed in this guide, you will not only accelerate your workflow but also gain a deeper understanding of how Cycles operates, empowering you to tackle even the most demanding automotive rendering and visualization projects. For a head start on your projects, exploring the vast library of meticulously crafted 3D car models available on platforms like 88cars3d.com can provide you with production-ready assets designed with clean topology and optimal UVs, allowing you to focus on the exciting challenges of lighting, texturing, and rendering stunning visuals.
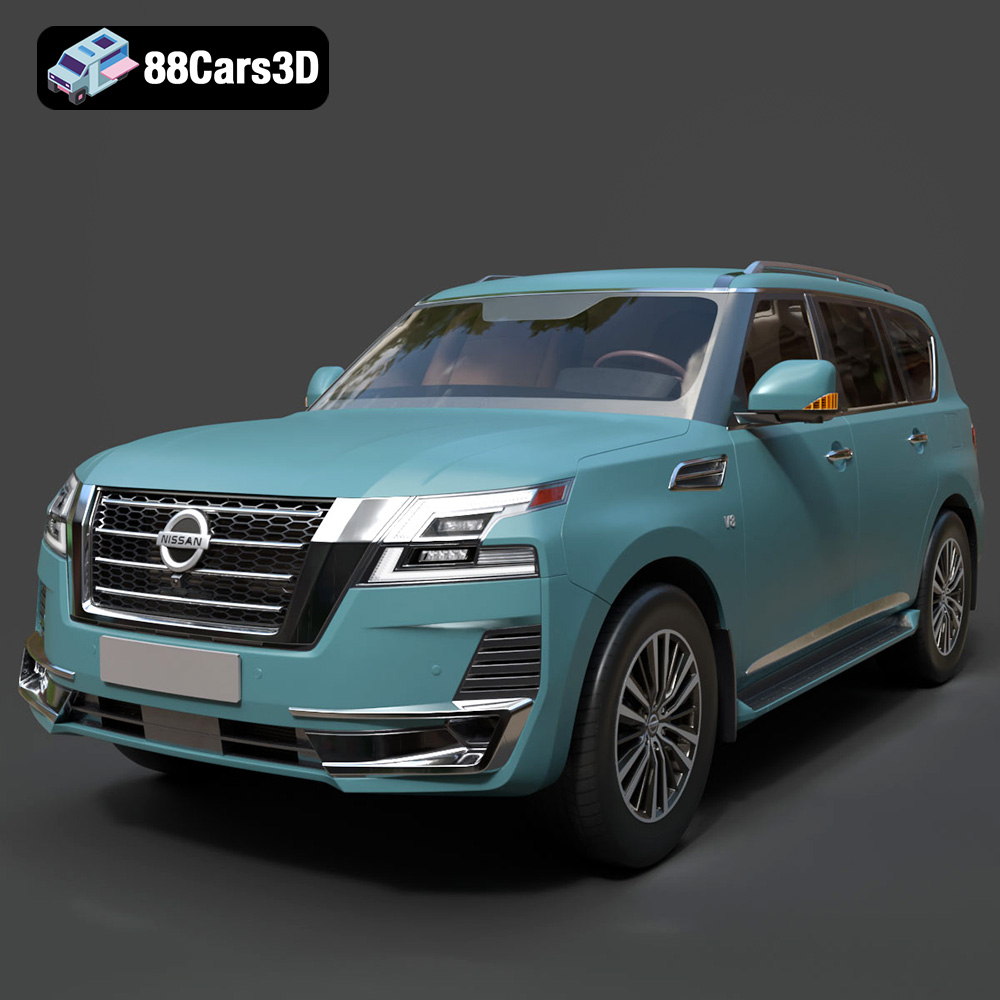
Texture: Yes | Material: Yes
Download the highly detailed, game-ready Nissan Patrol 2021 3D Model. Features signature V-motion grille, realistic exterior detailing, and a fully rendered luxury interior. Includes .blend, .fbx, .obj, .glb, .stl, .ply, .unreal, and .max formats for game development, AR/VR, and rendering.
Price: $297.99
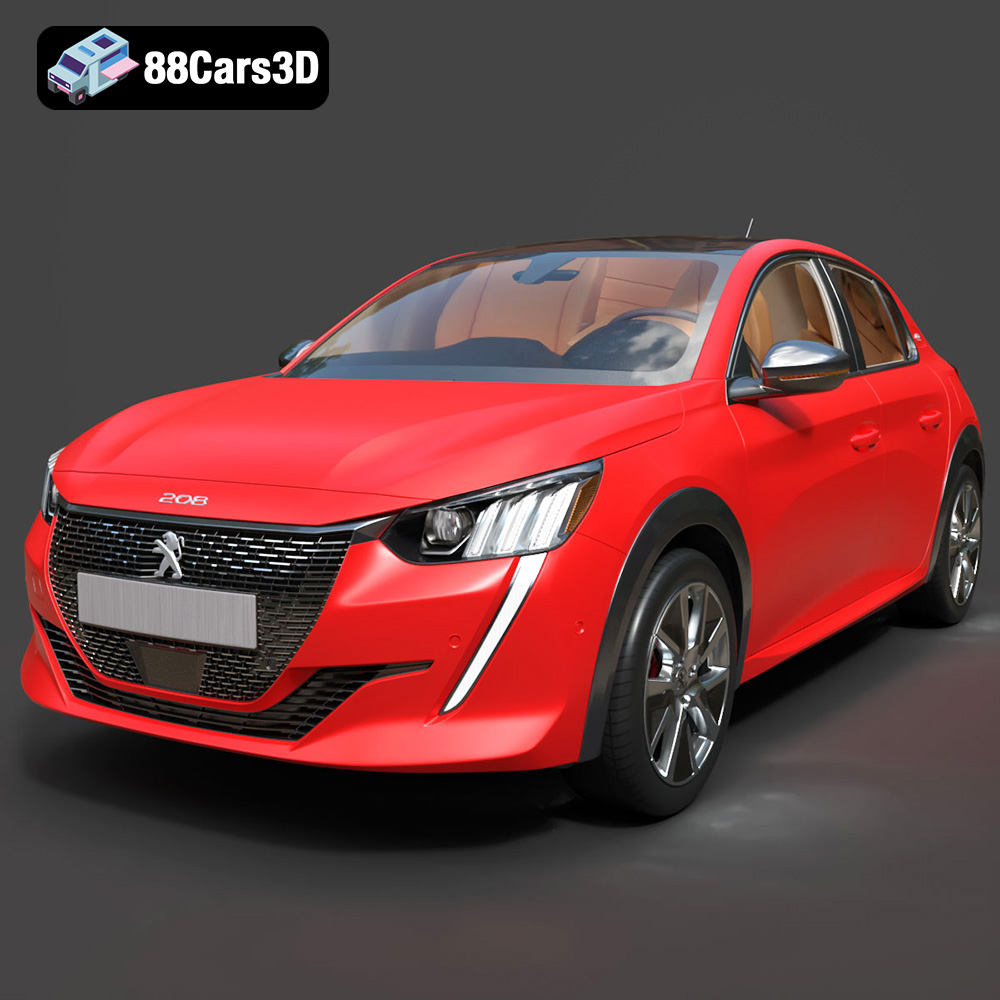
Texture: Yes | Material: Yes
Download the highly detailed, game-ready Peugeot e-208 2020 3D Model. Features 3-claw LED lighting, dynamic body geometry, and a fully detailed i-Cockpit interior. Includes .blend, .fbx, .obj, .glb, .stl, .ply, .unreal, and .max formats for game development, AR/VR, and rendering.
Price: $224.00
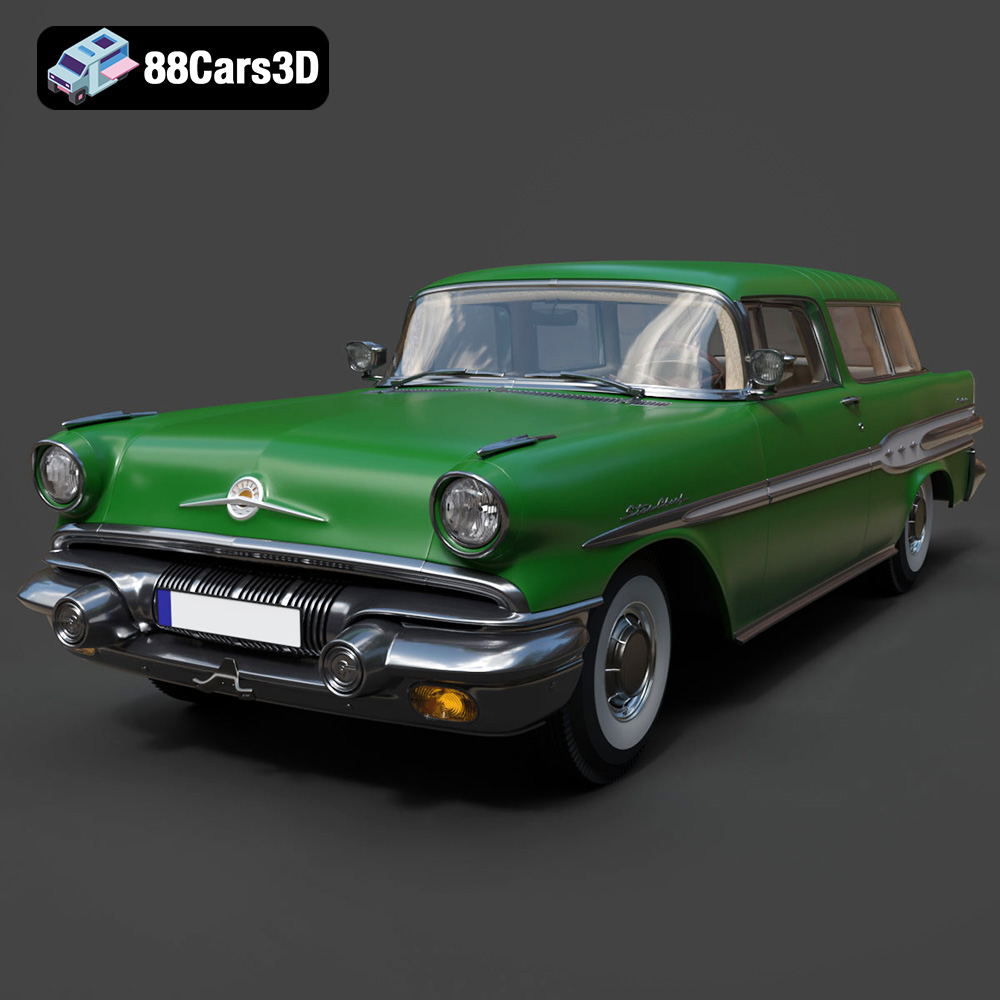
Texture: Yes | Material: Yes
Download the highly detailed, game-ready Pontiac Star Chief Custom Safari 2-door 1957 3D Model. Features classic 1950s two-door wagon bodywork, iconic chrome tail fins, and realistic interior detailing. Includes .blend, .fbx, .obj, .glb, .stl, .ply, .unreal, and .max formats for game development, AR/VR, and rendering.
Price: $203.50
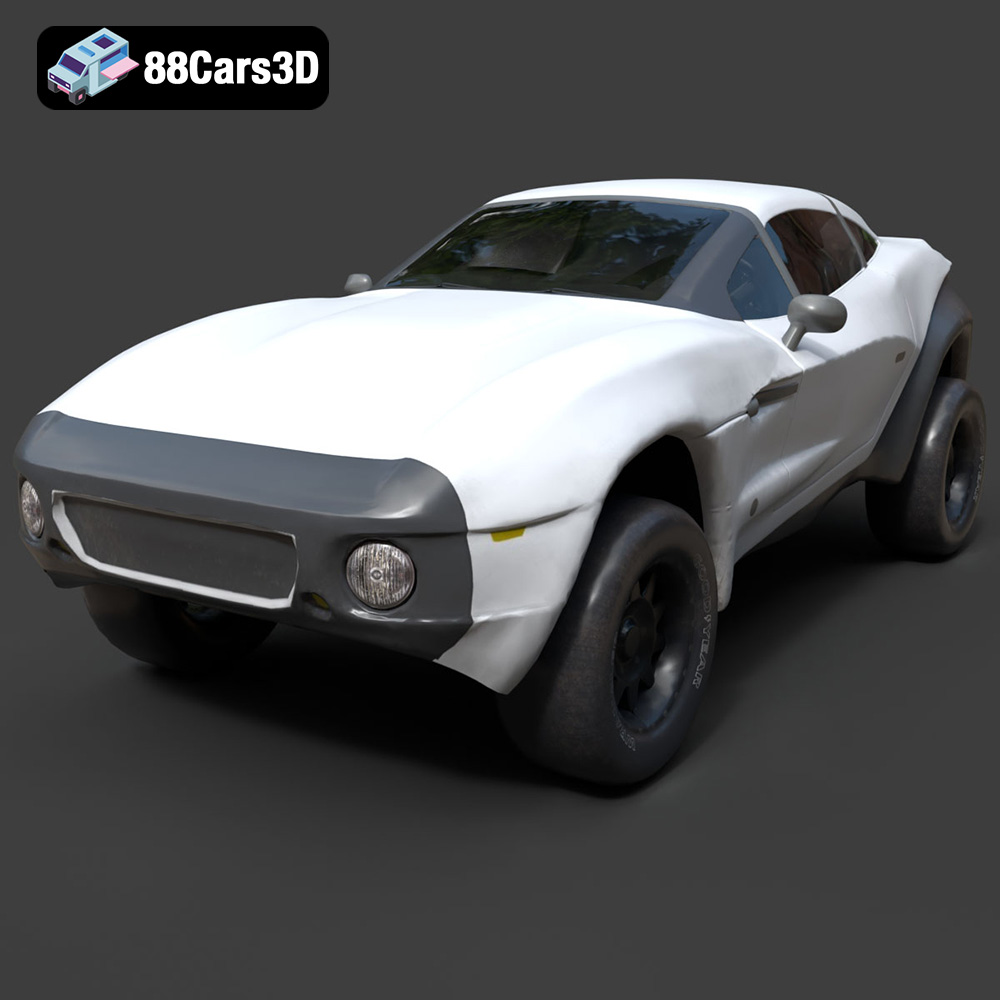
Texture: Yes | Material: Yes
Download the highly detailed, game-ready Local Motors Rally Fighter 3D Model. Features aggressive off-road long-travel suspension, detailed interior cockpit, and high-clearance body styling. Includes .blend, .fbx, .obj, .glb, .stl, .ply, .unreal, and .max formats for game development, AR/VR, and rendering.
Price: $99.99
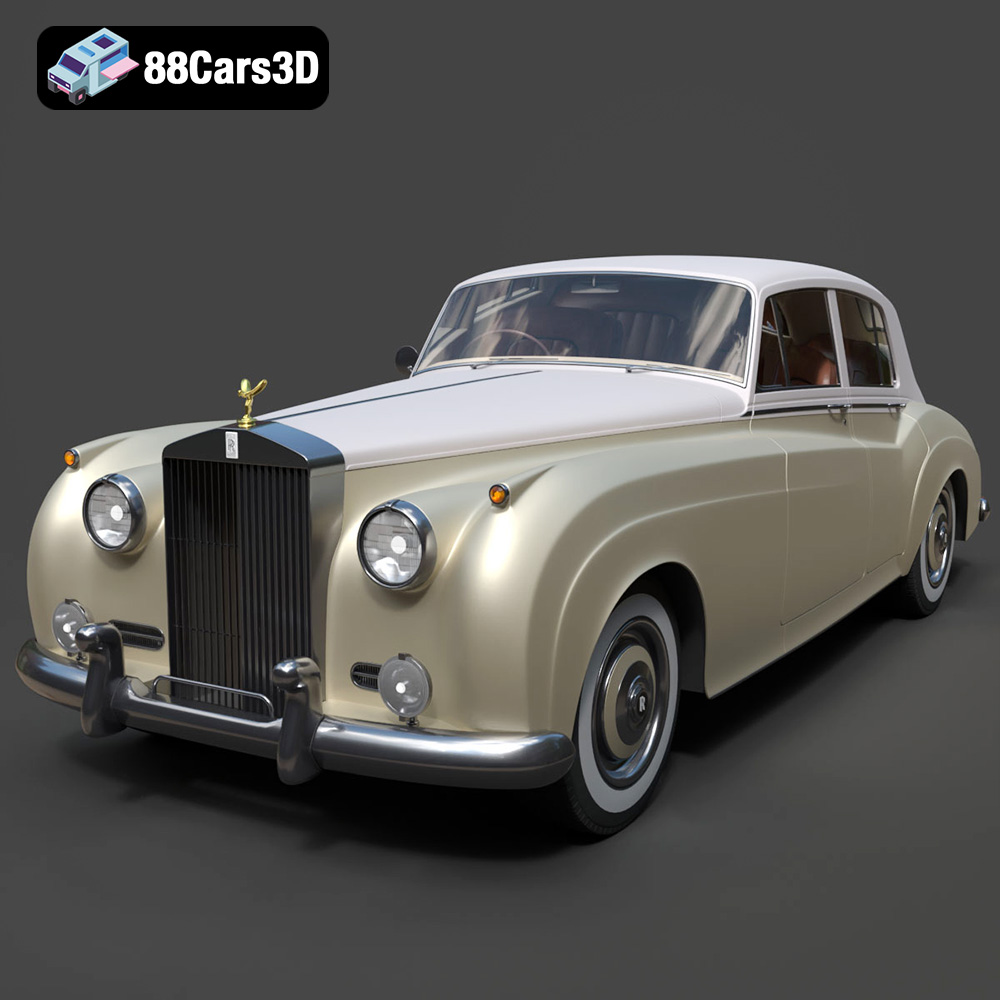
Texture: Yes | Material: Yes
Download the highly detailed, game-ready Rolls-Royce Silver Cloud II 1959 3D Model. Features classic chrome radiator grille, iconic Spirit of Ecstasy ornament, and elegant two-tone bodylines. Includes .blend, .fbx, .obj, .glb, .stl, .ply, .unreal, and .max formats for game development, AR/VR, and rendering.
Price: $201.00
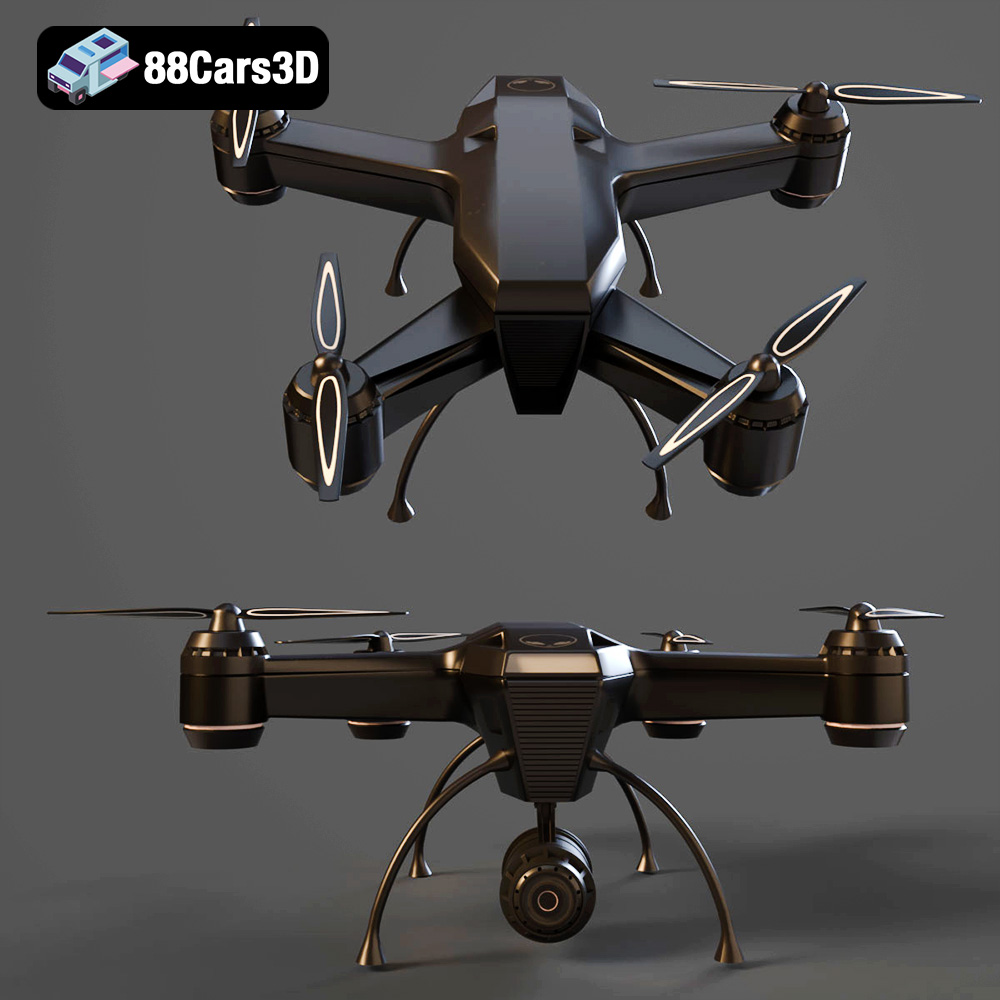
Texture: Yes | Material: Yes
Download the highly detailed, game-ready Tactical Drone 3D Model. Features rugged military chassis, multi-rotor propulsion, and integrated optical sensor array. Includes .blend, .fbx, .obj, .glb, .stl, .ply, .unreal, and .max formats for game development, AR/VR, and rendering.
Price: $99.99
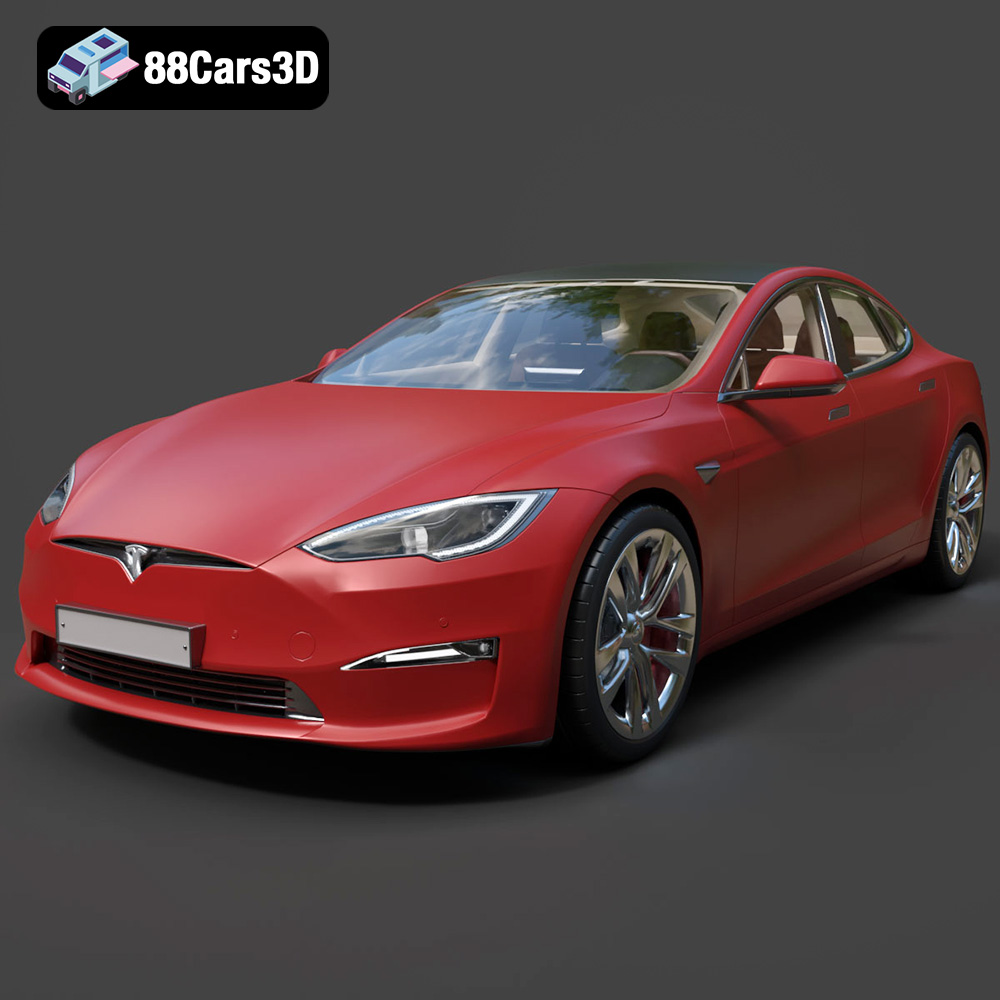
Texture: Yes | Material: Yes
Download the highly detailed, game-ready Tesla Model S Plaid 2023 3D Model. Features ultra-sleek aerodynamic proportions, distinctive Yoke interior layout, and realistic lighting graphics. Includes .blend, .fbx, .obj, .glb, .stl, .ply, .unreal, and .max formats for game development, AR/VR, and rendering.
Price: $120.50
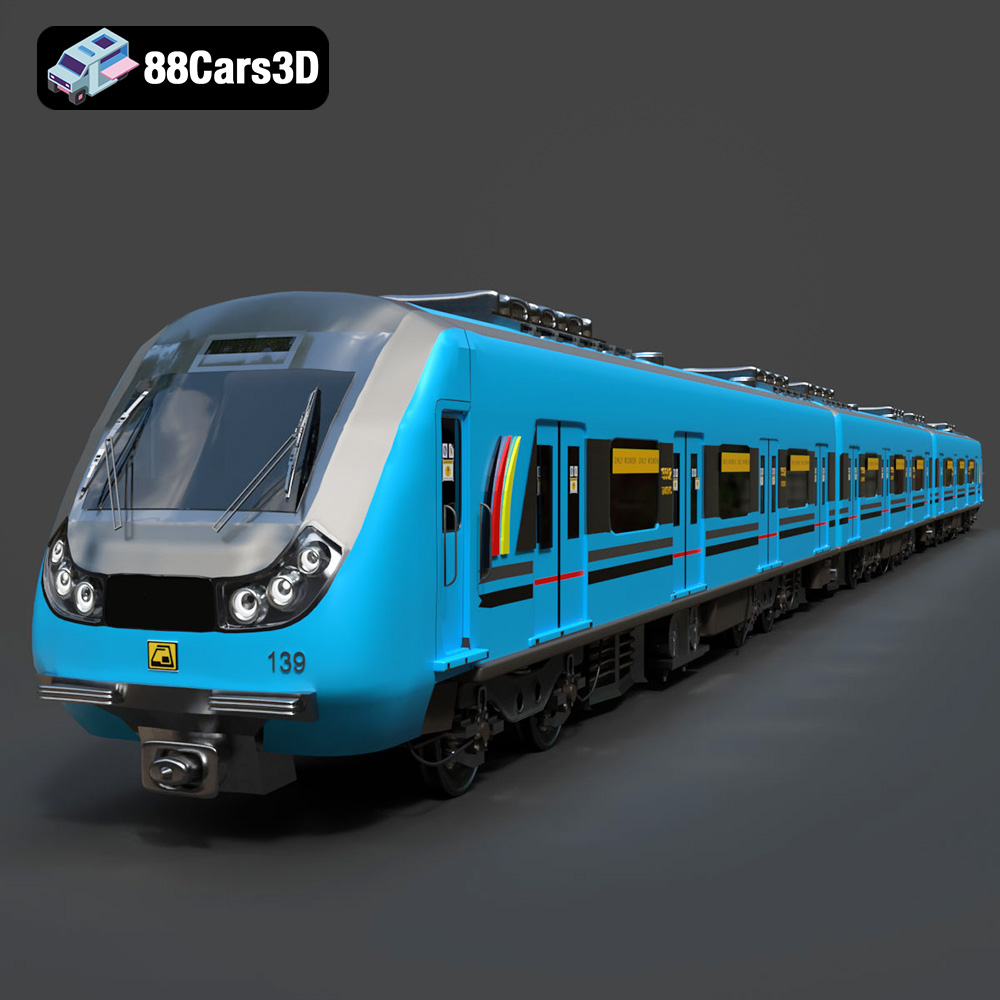
Texture: Yes | Material: Yes
Download the highly detailed, game-ready Metro Tran 2016 3D Model. Features modern aerodynamic bodywork, detailed passenger interior, and realistic bogie assemblies. Includes .blend, .fbx, .obj, .glb, .stl, .ply, .unreal, and .max formats for game development, AR/VR, and rendering.
Price: $203.99
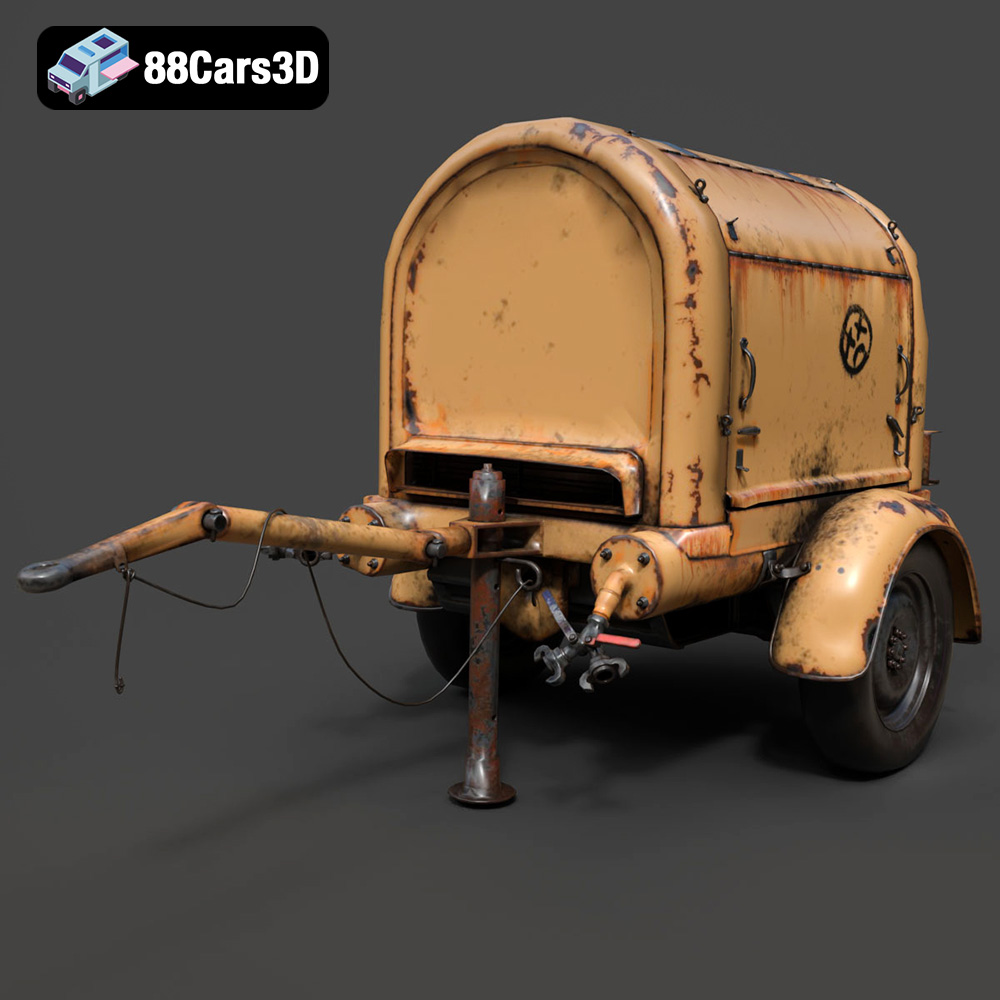
Texture: Yes | Material: Yes
Download the highly detailed, game-ready Diesel Air Compressor 3D Model. Features rugged towable chassis, detailed diesel engine housing, and realistic mechanical components. Includes .blend, .fbx, .obj, .glb, .stl, .ply, .unreal, and .max formats for game development, AR/VR, and rendering.
Price: $99.99
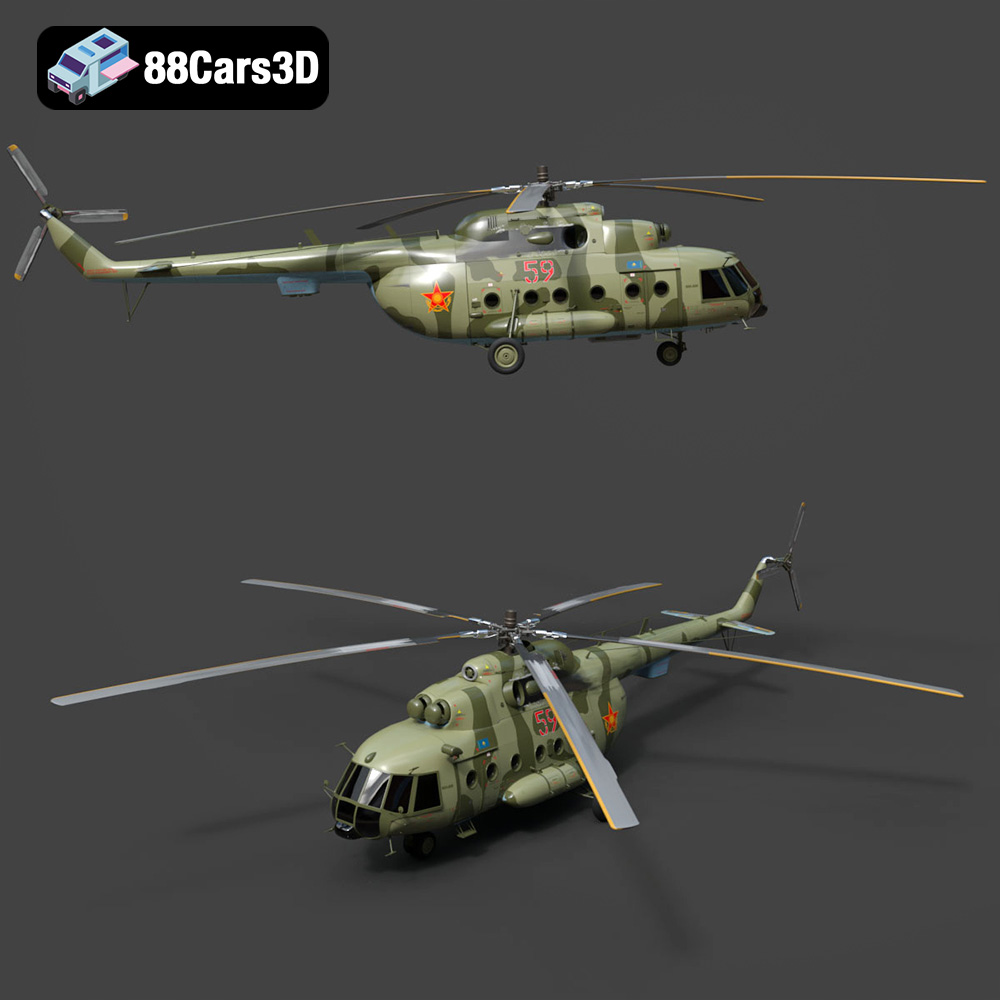
Texture: Yes | Material: Yes
Download the highly detailed, game-ready Mil Mi-8 Military Helicopter 3D Model. Features authentic five-blade main rotor assembly, detailed military camouflage textures, and realistic airframe geometry. Includes .blend, .fbx, .obj, .glb, .stl, .ply, .unreal, and .max formats for game development, AR/VR, and rendering.
Price: $109.99
