Mastering Realistic Glass and Chrome Materials in Blender for Automotive Rendering
In the demanding world of 3D automotive rendering, the difference between a good image and a truly breathtaking one often lies in the fidelity of your materials. Among the most challenging yet rewarding materials to master are realistic glass and chrome. These highly reflective and refractive surfaces are critical for capturing the essence of a sleek automobile, reflecting its environment and conveying a sense of luxury and precision. Without them, even the most meticulously modeled 3D car models can fall flat.
Achieving convincing glass and chrome in Blender requires a deep understanding of physically based rendering (PBR) principles, careful node setup, precise lighting, and thoughtful optimization. This comprehensive guide will take you through the technical workflows, best practices, and insider tips to elevate your automotive visualizations. Whether you’re a seasoned 3D artist, an aspiring game developer, or an automotive designer looking to impress clients with stunning visuals, mastering these materials in Blender will unlock new levels of realism for your projects. We’ll delve into the nuances of Blender’s Cycles and Eevee render engines, explore advanced shader networks, and discuss how to integrate these materials seamlessly into your scene for impactful results. For high-quality base models to practice these techniques on, platforms like 88cars3d.com offer an extensive collection of meticulously crafted 3D car models ready for your artistic touch.
Understanding the Physics of Light: PBR Fundamentals for Metals and Glass
To create truly realistic materials in any 3D software, a foundational understanding of Physically Based Rendering (PBR) is indispensable. PBR workflows aim to simulate how light interacts with surfaces in the real world, resulting in more predictable and consistent material behavior under various lighting conditions. For automotive rendering, where precision and visual accuracy are paramount, embracing PBR is not just a best practice—it’s a necessity. Both metals (like chrome) and dielectrics (like glass) adhere to PBR principles, but their light interaction mechanisms are fundamentally different.
The Core Principles of Physically Based Rendering (PBR)
PBR relies on a set of standardized maps to define a material’s properties. Key among these are:
- Albedo (Base Color): This map defines the color of the surface without any lighting information. For metals, this is often a dark, desaturated color or even black, as their color is primarily determined by reflections. For glass, it represents the color of the glass itself, usually pure white for clear glass.
- Metallic: This binary map (0 or 1, or values in between for blended materials) dictates whether a surface is a metal or a dielectric. Metals (1) reflect light differently from non-metals (0).
- Roughness: This grayscale map controls the microscopic imperfections on a surface. A value of 0 is perfectly smooth (mirror-like), while 1 is completely rough (matte). Highly polished chrome will have a very low roughness, while frosted glass will have high roughness.
- Normal Map: This map provides per-pixel surface normal information, simulating fine surface details without adding actual geometry. It’s crucial for subtle scratches on chrome or slight undulations on glass.
- Displacement Map: Unlike normal maps, displacement maps actually alter the geometry of the mesh, adding true depth and detail. While less common for the subtle details of car materials due to performance costs, it can be used for significant surface imperfections or patterned glass.
When working with 3D car models, especially those from reputable sources, you’ll often find these PBR texture sets readily available, providing an excellent starting point for achieving immediate realism.
Reflectance and Refraction: The Keys to Realism
The distinction between metals and dielectrics is vital for accurate PBR material setup. Metals exhibit phenomena like a colored specular reflection and minimal diffuse reflection. Their perceived color is largely a result of their reflections. Chrome, being a highly polished metal, is characterized by almost pure specular reflection, meaning it reflects almost all incident light rather than absorbing it. Its metallic property is set to 1, and its roughness is very low.
Dielectrics, on the other hand, allow light to pass through them (refraction) and also reflect a portion of the light (specular reflection). The amount of light reflected versus refracted is governed by the Fresnel effect, which states that surfaces reflect more light at grazing angles. For glass, the most crucial parameter is the Index of Refraction (IOR). This value dictates how much light bends as it passes through the material. For automotive glass, a common IOR value is around 1.52. Understanding these physical properties is the first step to creating believable materials within Blender’s shader editor.
Crafting Pristine Chrome Materials in Blender
Chrome, with its mirror-like reflections and sleek appearance, is a defining feature of many automotive designs. Replicating its luxurious sheen in Blender requires careful attention to PBR parameters and environmental lighting. The goal is to create a surface that accurately mirrors its surroundings while exhibiting subtle imperfections that prevent it from looking artificially perfect. Blender’s Principled BSDF shader is a powerful tool for this, encapsulating complex PBR properties into an intuitive interface.
Basic Chrome Shader Node Setup (Principled BSDF)
Setting up a basic chrome material using the Principled BSDF shader in Blender is straightforward:
- Select your chrome mesh in the 3D Viewport.
- Navigate to the Shading workspace (or open a Shader Editor window).
- Create a new material and assign it to your mesh.
- Ensure the main shader node is a “Principled BSDF”.
- Set the Metallic slider to its maximum value:
1.0. This tells the shader that the surface is a pure metal.
- Adjust the Roughness value. For highly polished chrome, this should be a very low number, typically between
0.02 and 0.05. A value of 0 would be a perfect mirror, which is rarely seen in the real world due to microscopic dust and scratches.
- The Base Color for chrome should be set to a bright, almost pure white (e.g., RGB
0.8 to 1.0 on all channels, or a hex code like #E6E6E6). The perceived color of chrome primarily comes from its reflections, so the base color itself is not intensely colored.
- Optionally, for a more nuanced automotive finish, you can introduce a subtle Clearcoat layer. Set
Clearcoat to a low value like 0.1-0.2 and Clearcoat Roughness to 0.1. This simulates a protective lacquer often found on real-world chrome, adding an extra layer of reflection.
This basic setup provides a solid foundation for a clean, reflective chrome finish, essential for any high-quality automotive rendering project. Remember that without proper lighting, even the best material will look flat, so ensure you have a suitable environment setup.
Adding Imperfections and Realism
Perfectly clean chrome can often look artificial. Real-world surfaces, especially on vehicles, gather dust, micro-scratches, and smudges. Incorporating these subtle imperfections is crucial for achieving photographic realism. This is where texture maps become invaluable.
- Roughness Maps: Instead of a single roughness value, connect an image texture to the
Roughness input of the Principled BSDF. Use a grayscale texture where darker areas represent smoother (more reflective) regions and lighter areas represent rougher (less reflective) regions. This can simulate fingerprints, dust, or slight oxidation. Ensure the texture’s Color Space is set to Non-Color.
- Normal Maps: For very fine scratches or a subtle brushed metallic effect, a normal map can be used. Connect a `Normal Map` node (Add > Vector > Normal Map) between your image texture and the `Normal` input of the Principled BSDF. Again, ensure the image texture’s Color Space is
Non-Color. The strength of the normal map should be kept very low for subtle details, perhaps 0.05 to 0.1.
- UV Mapping for Precision: Accurate UV mapping is essential for applying these imperfection maps correctly. For complex automotive surfaces, ensure your UVs are clean and distortion-free to prevent stretching or seams in your textures. If you’re working with models from marketplaces like 88cars3d.com, they typically come with professional UV unwraps, making this step easier.
- Procedural Edge Wear: For more advanced wear, especially on the edges of chrome trim, you can use procedural techniques. Combine a `Pointiness` attribute (from the `Geometry` node) with a `Color Ramp` and mix it with your roughness map. This allows you to automatically make edges slightly rougher, simulating accumulated wear over time.
By layering these subtle imperfections, your chrome materials will transition from generic computer graphics to believable, lived-in surfaces, enhancing the overall realism of your 3D car models.
Developing Realistic Automotive Glass in Blender
Realistic glass is arguably even more challenging than chrome due to the complexities of light refraction. Automotive glass, such as windshields and windows, presents unique considerations like thickness, subtle tinting, and how it interacts with the interior and exterior environments. Blender offers robust tools to achieve stunning glass effects, but precision in both modeling and material setup is key.
Principled BSDF for Windshields and Windows
Blender’s Principled BSDF shader is also the go-to for realistic glass materials in Cycles. Here’s how to configure it:
- Create a new material and assign it to your glass mesh.
- Set the Principled BSDF node.
- Increase the Transmission value to
1.0. This is the most crucial step, making the material transparent and allowing light to pass through.
- Set the Roughness to a very low value, typically
0.0 or slightly above (e.g., 0.01). This ensures a clear, undistorted view through the glass.
- Adjust the Index of Refraction (IOR). For standard automotive glass, a value of
1.52 is commonly used. Different types of glass have slightly different IORs (e.g., water is 1.33, diamond is 2.41). Experimentation can add subtle variations.
- The Base Color defines the color of the glass itself. For clear glass, keep it pure white. For tinted windows, introduce a very subtle dark grey or a specific color (e.g., a dark blue for privacy glass). Avoid overly saturated colors unless it’s for a specific artistic effect.
- For surfaces like frosted windows or heavily misted glass, increase the Transmission Roughness. This will scatter the transmitted light, blurring what’s seen through the glass.
- An important detail for Cycles rendering is enabling Shadow Caustics. This advanced feature, found in the `Object Properties` tab under `Shading` for the light source and in the `Material Properties` for the glass object, creates realistic light patterns that pass through and are focused by the glass. While computationally intensive, it significantly enhances realism. For more details on Cycles render settings, including Light Paths and Caustics, refer to the official Blender 4.4 documentation: https://docs.blender.org/manual/en/4.4/render/cycles/render_settings/index.html.
Advanced Glass Techniques and Common Pitfalls
Achieving truly convincing glass goes beyond basic settings. Here are some advanced techniques and common issues to watch out for:
- Proper Glass Geometry: One of the most common mistakes is modeling glass as a single, thin plane. Real glass has thickness. Always model your car windows as solid objects with a slight thickness. This allows for correct refraction as light enters and exits the material. Without thickness, refraction will appear incorrect, often leading to visual artifacts.
- Volume Absorption for Tint: For more physically accurate tinting or even dirty glass, consider adding a `Volume Absorption` shader to your glass material. Mix it with your Principled BSDF using an `Add Shader` node and connect it to the `Volume` input of the `Material Output`. A dark, desaturated color with a low `Density` value in the Volume Absorption node can create a very convincing tint that interacts realistically with light passing through it.
- Addressing Render Artifacts: Glass, especially with multiple layers or complex geometry, can be a performance hog and sometimes introduce rendering artifacts. In Cycles, navigate to `Render Properties > Light Paths`. Increase the values for `Transmission` and `Transparent` bounces. For complex scenes with many refractive elements, you might need values upwards of
12-24 to ensure enough light bounces correctly through all layers of glass. Be mindful that higher bounce counts significantly increase render times.
- Headlights and Taillights: These often combine glass-like covers with emissive elements. You’ll typically use the glass setup for the cover and then place separate meshes with `Emission` shaders underneath to simulate the light source. A `Mix Shader` node can blend an `Emission` shader with your Principled BSDF for more complex effects, allowing parts of the material to glow while maintaining glass properties.
By meticulously attending to these details, your automotive glass will not only look transparent but will also dynamically interact with the lighting, lending crucial realism to your vehicle renders, especially when showcasing detailed 3D car models.
Lighting and Environment: The Unsung Heroes of Material Realism
No matter how meticulously you craft your glass and chrome shaders, their realism is inextricably linked to the lighting and environment of your scene. These reflective and refractive materials derive their appearance almost entirely from what they reflect and how light passes through them. Therefore, a thoughtful approach to lighting is paramount for bringing your automotive rendering to life.
High Dynamic Range Images (HDRIs) for Reflective Surfaces
The single most impactful element for realistic reflections on chrome and accurate global illumination for glass is a High Dynamic Range Image (HDRI). HDRIs capture real-world lighting and environment data, providing both a light source and a detailed reflection map.
- Why HDRIs are Crucial: Chrome surfaces are essentially mirrors. If there’s nothing interesting to reflect, the chrome will look dull or artificial. An HDRI provides rich, complex environmental reflections that instantly make chrome materials pop and glass accurately refract its surroundings.
- Sourcing High-Quality HDRIs: Many excellent resources exist for free and paid HDRIs. Websites like Poly Haven offer a vast library of high-resolution HDRIs suitable for various environments, from studio setups to outdoor scenes. Always opt for HDRIs with a high dynamic range and resolution (e.g., 8K or 16K) for maximum detail in reflections.
- Setting up an HDRI in Blender:
- In Blender, switch to the Shading workspace and change the Shader Editor context from “Object” to “World”.
- Add an `Environment Texture` node (Add > Texture > Environment Texture).
- Open your downloaded HDRI file.
- Connect the `Color` output of the Environment Texture node to the `Color` input of the `Background` node (which is connected to the `World Output`).
- To control the rotation and mapping of the HDRI, add a `Mapping` node and a `Texture Coordinate` node (usually using the `Generated` or `Window` output) before the Environment Texture node. This allows you to rotate the environment to get the most appealing reflections and lighting.
- Impact of HDRI Resolution: The resolution of your HDRI directly affects the sharpness and detail of reflections on your chrome. A low-resolution HDRI will result in blurry reflections, diminishing the realism. Always use the highest resolution you can afford in terms of VRAM and render time.
Complementary Lighting: Area Lights and Sun Lamps
While HDRIs provide excellent global illumination and environmental reflections, they often benefit from additional, targeted light sources to highlight specific features or create dramatic effects.
- Area Lights: These are ideal for creating soft, rectangular or square reflections on large, flat or curved surfaces of a car, mimicking studio softboxes. Use them to pick out strong highlights on the bodywork or to define contours on chrome. Adjust their size for softer or sharper shadows and reflections.
- Sun Lamps (Directional Lights): A `Sun Lamp` (or `Light > Sun` in Blender) provides strong, parallel light rays, perfect for simulating direct sunlight. This creates sharp shadows and intense specular highlights on chrome, which can add significant drama and realism. Adjusting the `Angle` parameter of the Sun Lamp in Cycles can soften or sharpen its shadows.
- Controlling Reflections with Light Blockers: Sometimes, you might want to prevent certain lights from reflecting in your chrome or glass, or you might want to shape specific reflections without adding visible geometry. You can use transparent planes with specific shader setups or use Blender’s `Light Linking` features (in Cycles, found under `Object Properties > Shading`) to exclude objects from receiving light or casting shadows from certain light sources.
- Cycles vs. Eevee Lighting: While Cycles handles light paths with high fidelity, Eevee, Blender’s real-time renderer, uses approximations. For Eevee, ensure you have `Screen Space Reflections` and `Refraction` enabled in the `Render Properties`, and consider using `Irradiance Volumes` and `Reflection Probes` to bake indirect lighting and reflections, especially for static shots. For dynamic lighting in Eevee, real-time light probes can provide convincing results for game assets.
A combination of a high-quality HDRI and carefully placed complementary lights will provide the complex and nuanced lighting environment necessary for your glass and chrome materials to truly shine, making your 3D automotive visualization utterly convincing.
Rendering and Optimization for Automotive Assets
Once your 3D car models are meticulously textured with realistic glass and chrome, the next critical phase is rendering. Blender offers two primary render engines: Cycles and Eevee, each with distinct advantages and use cases. Optimizing your scene and materials for these engines, and for export to other platforms, is crucial for efficiency and quality.
Cycles vs. Eevee: Choosing Your Render Engine
The choice between Cycles and Eevee largely depends on your project’s requirements:
- Cycles: Path Tracing for Unmatched Realism:
- Advantages: Cycles is a physically-based path tracer, delivering extremely accurate light simulations, realistic global illumination, and precise refractions and caustics for glass. This makes it the preferred choice for high-fidelity automotive rendering where visual perfection is the goal, such as marketing materials or cinematic shots.
- Settings for Glass and Chrome: When rendering glass with Cycles, pay close attention to the `Light Paths` settings in the `Render Properties` tab. Specifically, increasing `Transmission` and `Transparent` bounces (e.g., to
8-12 or higher) is vital to ensure light passes through multiple layers of glass without artifacts. For chrome, the high number of `Glossy` bounces will ensure accurate reflections across the scene. Cycles also benefits greatly from denoising (e.g., NVIDIA OptiX or OpenImageDenoise) to reduce noise at lower sample counts, speeding up render times significantly without compromising detail.
- Performance: Cycles renders are generally slower due to their accuracy, but GPU rendering (CUDA, OptiX, HIP, or Metal) can dramatically accelerate the process. Understanding how to manage samples and light bounces is key to balancing quality and render time. For detailed information on these settings, consult the official Blender 4.4 documentation on Cycles render settings: https://docs.blender.org/manual/en/4.4/render/cycles/render_settings/index.html.
- Eevee: Real-time Performance for Interactive Visualization:
- Advantages: Eevee is a real-time rasterization engine, perfect for quick previews, animations, interactive presentations, and exporting assets for game development or AR/VR. Its speed is unparalleled for iterative design.
- Settings for Glass and Chrome: While Eevee approximates reflections and refractions, it can achieve convincing results with proper setup. Enable `Screen Space Reflections` and `Refraction` in `Render Properties`. For accurate global illumination and reflections, use `Reflection Probes` (Sphere and Planar) and `Irradiance Volumes`. These capture and bake lighting information into your scene, making your glass and chrome materials reflect the environment more realistically. Remember to ‘Bake Indirect Lighting’ after adjusting probes.
- Limitations: Eevee cannot achieve true caustics for glass, and its reflections are limited to what’s visible in screen space or captured by probes. For absolute photorealism, Cycles is superior.
Optimizing Materials for Performance and Export
Regardless of your final render engine or destination, optimizing your materials is crucial, especially for complex automotive assets:
- Baking Textures: For real-time applications like game engines (Unity, Unreal Engine) or AR/VR experiences, complex procedural node setups in Blender are often too heavy. The solution is to bake these procedural materials into traditional PBR texture maps (Albedo, Metallic, Roughness, Normal). This process pre-calculates the material’s appearance into image files, making them highly efficient to render. Blender’s baking tools (found in the `Render Properties` tab under `Bake`) are excellent for this. Ensure your model has a clean, non-overlapping UV map prior to baking.
- Texture Resolution and File Size: Use appropriate texture resolutions. While 4K or 8K textures might be ideal for close-up renders, 2K or even 1K might suffice for distant objects or mobile AR/VR applications. High-resolution textures contribute significantly to overall file size, which is a key consideration for performance and distribution.
- File Format Compatibility: When exporting your 3D car models and their materials, choose formats compatible with your target platform.
- FBX: A widely used format for game engines and other 3D software, supporting meshes, animations, and PBR material assignments (often through embedded textures or references).
- GLB (glTF Binary): An excellent, lightweight format for web-based 3D, AR/VR, and game engines. It packs models and their PBR textures into a single file, making it highly efficient.
- USDZ: Apple’s format for AR/VR, particularly for iOS devices, also supports PBR materials.
When sourcing models from platforms like 88cars3d.com, you’ll find they often provide models in multiple file formats, pre-optimized with clean topology and PBR texture sets, streamlining your workflow significantly. Always check the model’s specifications for included texture resolutions and UV mapping quality.
- LODs (Level of Detail): For game assets and AR/VR, creating multiple versions of your car model with decreasing polygon counts (LODs) is essential. Lower poly LODs for distant views will drastically reduce draw calls and improve performance, while the material qualities will hold up due to efficient texture usage.
Strategic optimization ensures that your stunning glass and chrome materials not only look great but also perform efficiently across various applications and platforms.
Post-Processing and Final Touches
Even the most perfectly rendered image can benefit from a professional touch in post-processing. This final stage allows you to refine colors, enhance atmospheric effects, and add subtle visual flourishes that elevate your automotive rendering from raw output to a polished masterpiece. Blender’s built-in Compositor is a powerful, node-based tool for this, offering a non-destructive workflow to enhance your realistic glass and chrome materials.
Compositing in Blender for Enhanced Realism
The Compositor works by taking your raw render passes and applying various effects and adjustments. To use it, switch to the “Compositing” workspace and enable “Use Nodes”.
- Glare and Bloom: These effects are paramount for making highlights on chrome and the refractions in glass truly stand out. Add a `Glare` node (Add > Filter > Glare) after your `Render Layers` node. Experiment with `Fog Glow` or `Streaks` types for different effects. A subtle glare can make chrome look more metallic and new, while bloom adds a soft glow to bright areas, enhancing the atmospheric presence of light through glass.
- Color Grading: Fine-tuning the color balance and contrast is essential for a professional look. Use `Color Balance` (Add > Color > Color Balance) or `RGB Curves` (Add > Color > RGB Curves) nodes to adjust the overall mood, ensuring your car’s colors, and especially the nuances of its chrome and glass, appear vibrant and appealing.
- Vignette: A subtle vignette (darkening at the image edges) can help draw the viewer’s eye towards the center of the image, where your 3D car model resides. This can be achieved with an `Ellipse Mask` and a `Mix Color` node set to multiply.
- Chromatic Aberration: A very slight chromatic aberration (color fringing at high contrast edges) can mimic real-world camera lens imperfections, adding a touch of realism. Use the `Lens Distortion` node (Add > Distort > Lens Distortion) with a very low `Dispersion` value. Overuse can make the image look distorted, so use it sparingly.
- Mist Pass for Depth: If your scene has depth, a `Mist Pass` (enabled in `View Layer Properties > Passes > Data`) can be used in the compositor to add atmospheric perspective. Mix it with your image to make distant objects appear hazier, enhancing depth.
- Layering Render Passes: For maximum control, render out individual passes (e.g., Diffuse Color, Glossy Direct, Transmission Direct, Ambient Occlusion) and combine them in the compositor. This allows for isolated adjustments to different aspects of your lighting and material interactions without re-rendering the entire scene. For example, you can adjust the intensity of reflections on chrome or the clarity of glass independently.
Refining Reflections and Caustics
Special attention to the distinct characteristics of glass and chrome during post-processing can yield remarkable improvements:
- Enhancing Chrome Highlights: Beyond general glare, you can use a `Filter` node (Add > Filter > Filter) or a `Color Ramp` connected to a `Specular` pass (if rendered separately) to fine-tune the intensity and spread of metallic highlights, making the chrome look even more polished and reflective.
- Boosting Glass Caustics: While Cycles generates caustics, they can sometimes be subtle, especially in complex scenes. In post-processing, if you’ve rendered a dedicated `Caustics` pass (requires a specific setup or external add-on, as direct caustics pass is not standard), you can use it to subtly boost these light patterns, making the light scattering through your automotive glass more prominent and beautiful. Otherwise, use `Exposure` or `Gamma` adjustments on the overall image to bring out existing caustics.
- Clean Reflections: Ensure that your composite enhances, rather than detracts from, the cleanliness of your reflections on chrome and the clarity of your glass. Avoid excessive blurring or noisy effects that might undermine the hard-earned fidelity of your materials.
Post-processing is the final step in the artistic journey, allowing you to imbue your 3D car models with a professional polish that captivates and convinces. By mastering these compositing techniques, your renders will move beyond technical correctness to truly stunning visual art.
Conclusion
Creating realistic glass and chrome materials in Blender is a journey that intertwines an understanding of physical principles with artistic intuition and technical precision. We’ve explored the fundamental concepts of Physically Based Rendering (PBR), delved into the specific shader node setups for achieving pristine chrome and transparent glass, and highlighted the critical role of thoughtful lighting and environmental setups. From leveraging high-resolution HDRIs to fine-tuning render settings in Cycles and Eevee, every step contributes to the final, convincing image.
The mastery of these materials not only enhances the visual appeal of your automotive rendering but also broadens your capabilities as a 3D artist, enabling you to produce stunning visualizations for various applications, including game development, AR/VR, and high-end marketing. Remember that while technical settings are important, the most crucial element is observation and a keen eye for how light behaves in the real world. Experiment with different roughness maps, subtle tints for glass, and varied lighting environments to see how these elements combine to create compelling realism.
To truly apply and refine these techniques, you need high-quality starting assets. We encourage you to explore the vast selection of professionally crafted 3D car models available on 88cars3d.com. These models are built with clean topology, realistic UV mapping, and often come with PBR-ready texture sets, providing the perfect foundation to practice and showcase your newfound skills in material creation. Continuously learning, experimenting, and paying attention to detail will transform your renders from ordinary to extraordinary. Happy rendering!
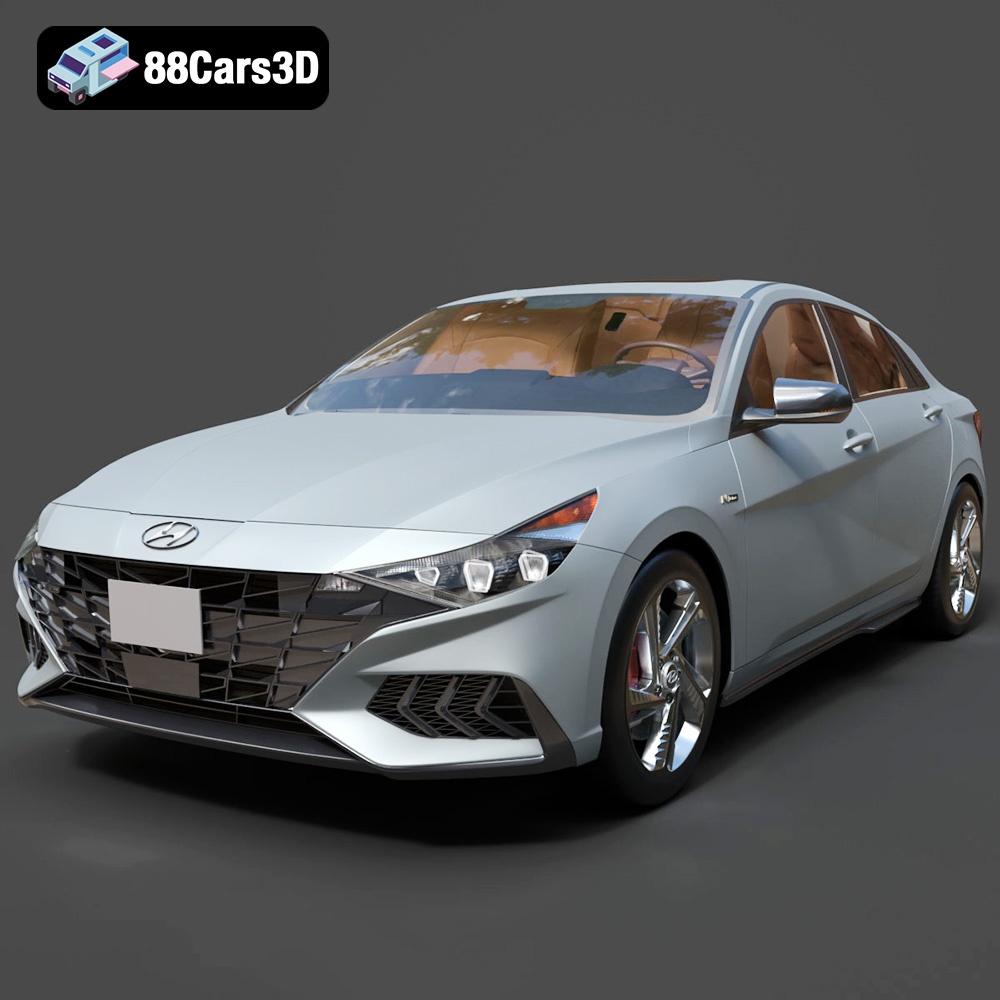
Texture: Yes | Material: Yes
Download the highly detailed, game-ready Hyundai Elantra N Line 2021 3D Model. Features aggressive N Line body styling, parametric jewel grille, and sport interior details. Includes .blend, .fbx, .obj, .glb, .stl, .ply, .unreal, and .max formats for game development, AR/VR, and rendering.
Price: $226.00
View Product
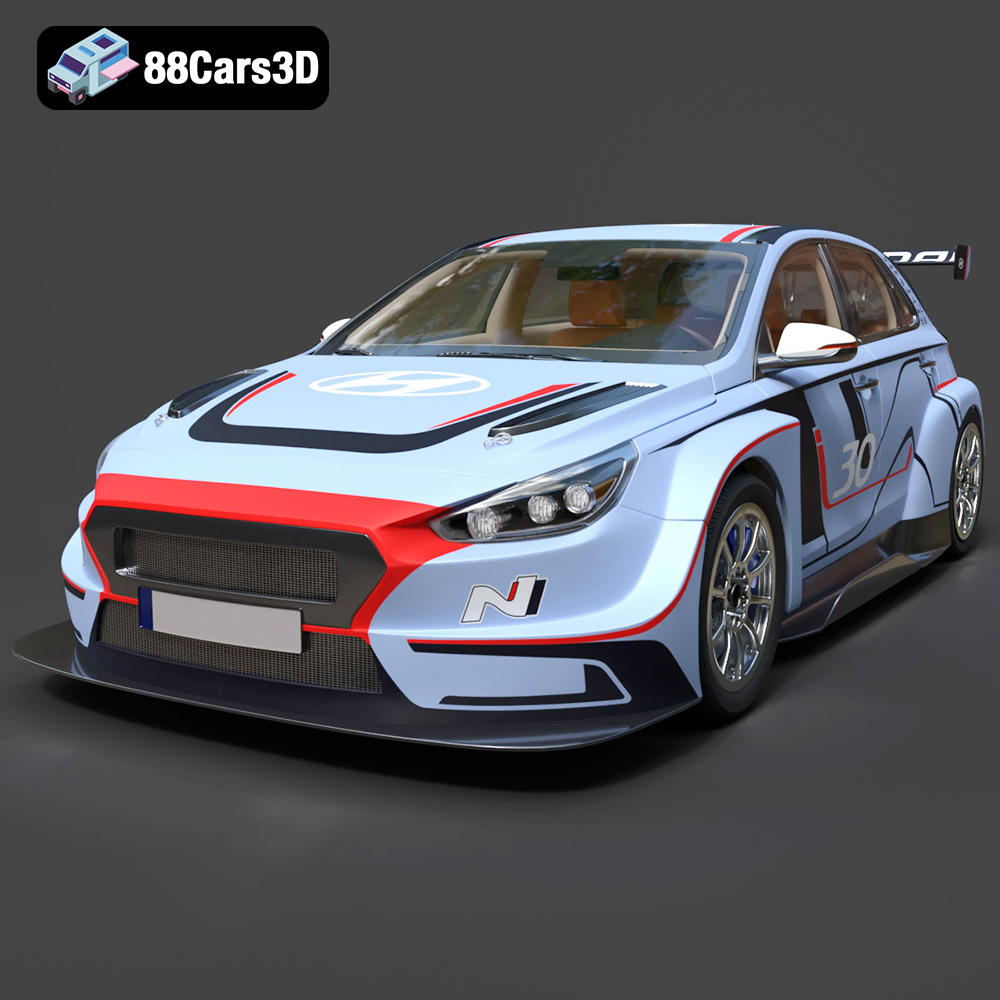
Texture: Yes | Material: Yes
Download the highly detailed, game-ready Hyundai i30 N TCR Hatchback 2020 3D Model. Features aggressive touring car aerodynamics, high-downforce rear wing, and race-spec interior. Includes .blend, .fbx, .obj, .glb, .stl, .ply, .unreal, and .max formats for game development, AR/VR, and rendering.
Price: $204.99
View Product
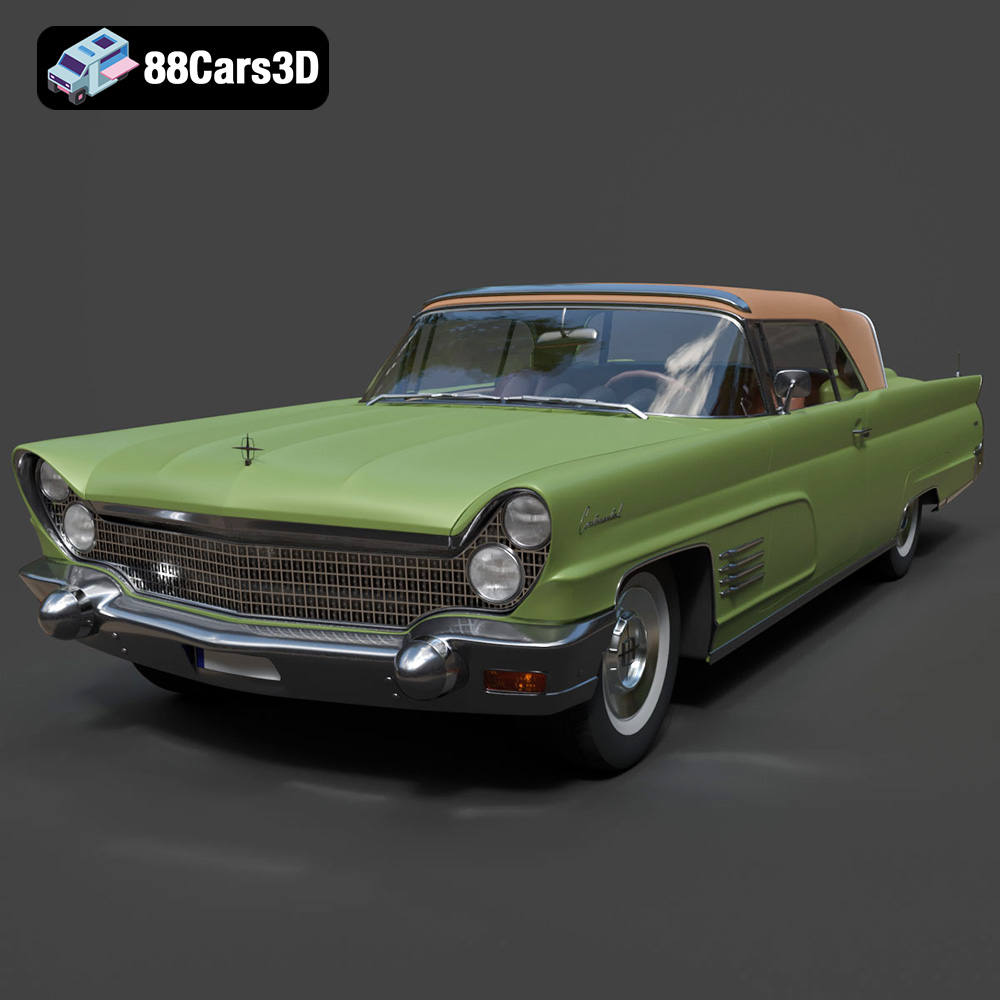
Texture: Yes | Material: Yes
Download the highly detailed, game-ready Lincoln Continental Mark V 1960 3D Model. Features iconic 1960s luxury cruiser styling, massive chrome grille, reverse-slant rear window, and sweeping tail fins. Includes .blend, .fbx, .obj, .glb, .stl, .ply, .unreal, and .max formats for game development, AR/VR, and rendering.
Price: $208.99
View Product
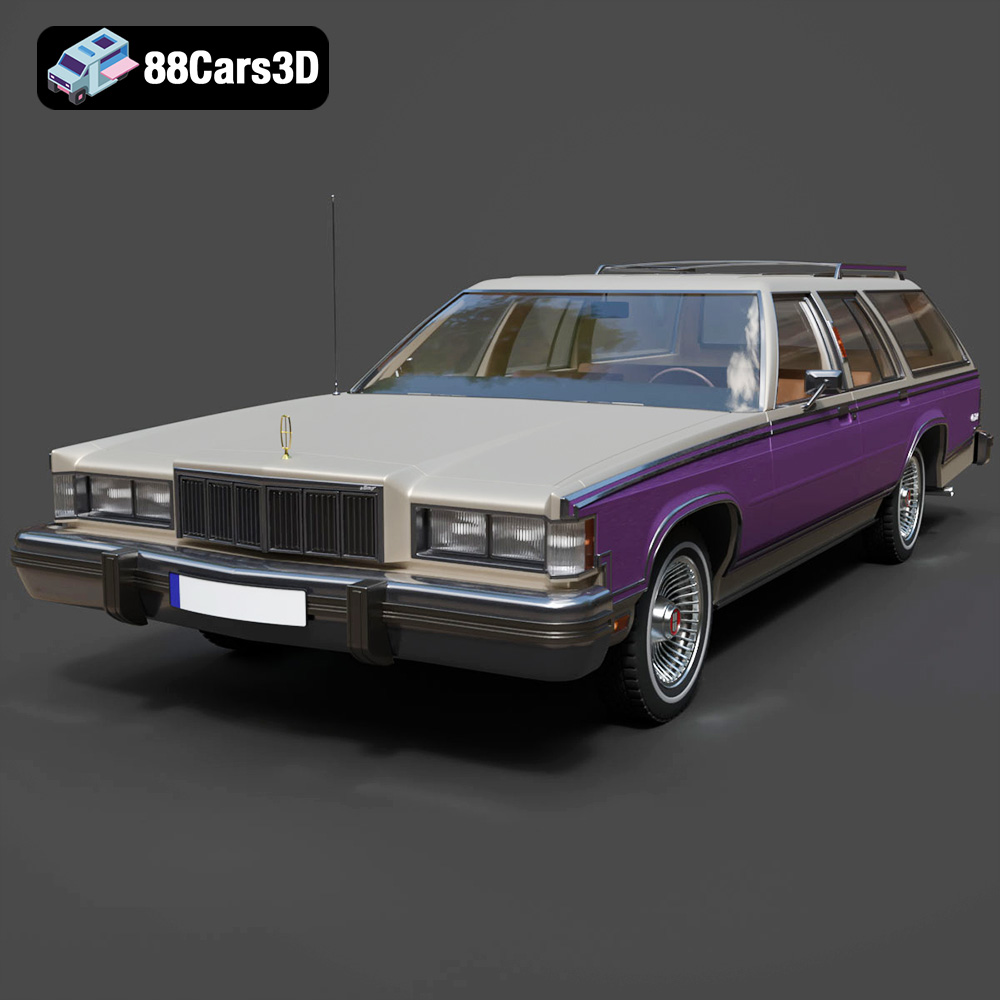
Texture: Yes | Material: Yes
Download the highly detailed, game-ready Mercury Marquis Colony Park 1981 3D Model. Features iconic simulated woodgrain siding, classic full-size wagon proportions, and realistic chrome exterior trim. Includes .blend, .fbx, .obj, .glb, .stl, .ply, .unreal, and .max formats for game development, AR/VR, and rendering.
Price: $262.50
View Product
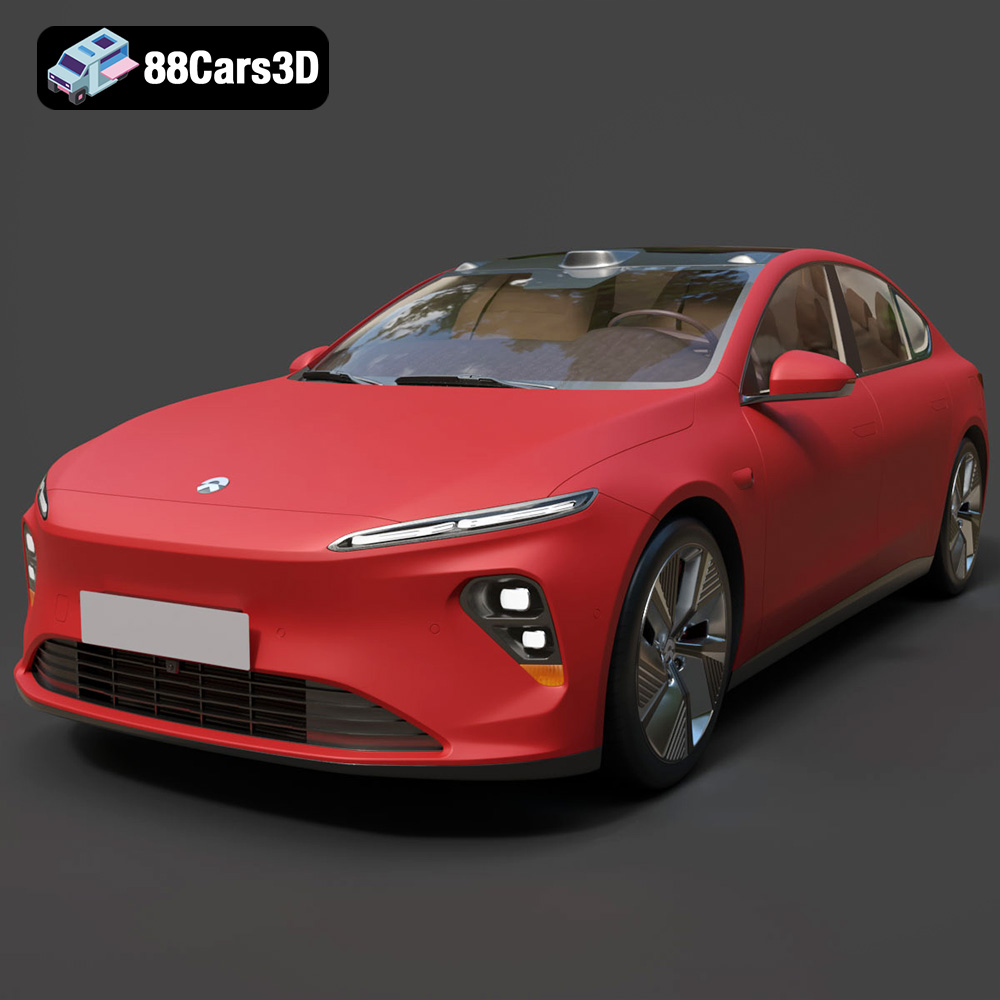
Texture: Yes | Material: Yes
Download the highly detailed, game-ready Nio ET7 2021 3D Model. Features sleek aerodynamic luxury electric sedan styling, integrated LiDAR sensors, and signature Double-Dash LED lights. Includes .blend, .fbx, .obj, .glb, .stl, .ply, .unreal, and .max formats for game development, AR/VR, and rendering.
Price: $207.99
View Product
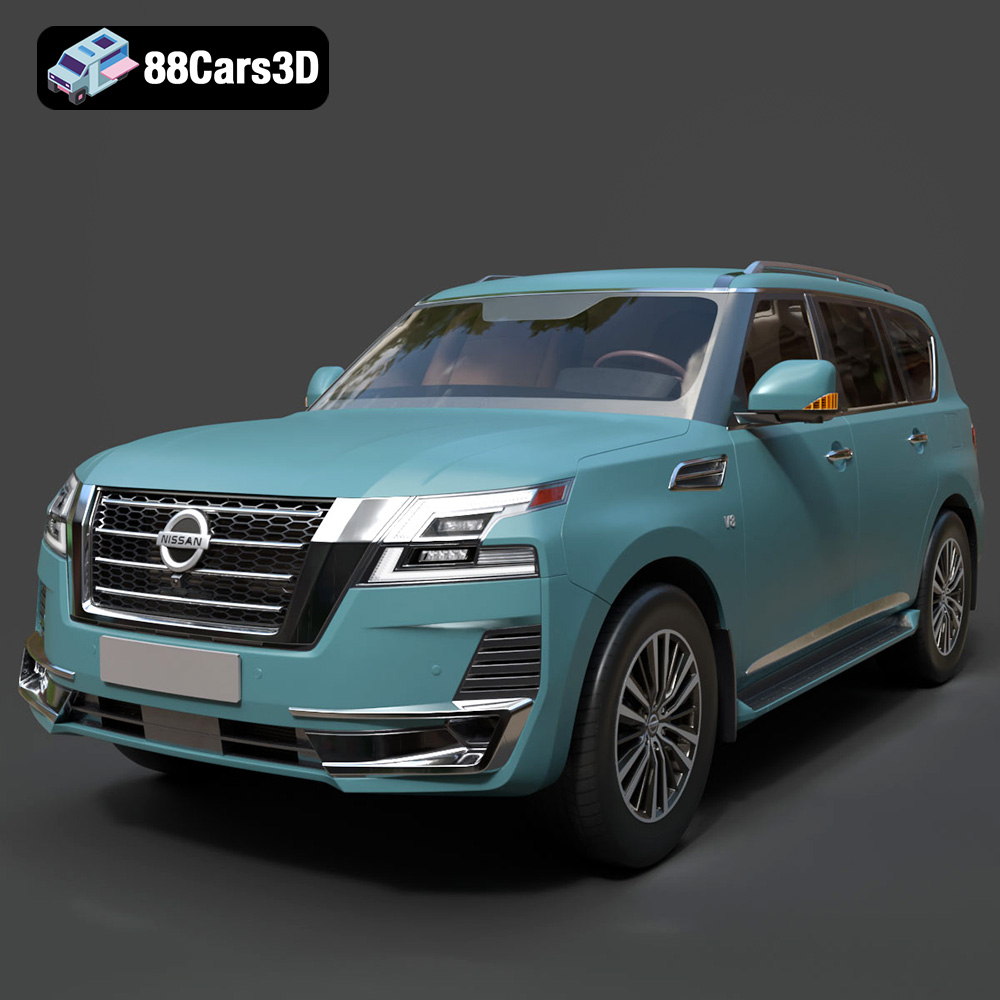
Texture: Yes | Material: Yes
Download the highly detailed, game-ready Nissan Patrol 2021 3D Model. Features signature V-motion grille, realistic exterior detailing, and a fully rendered luxury interior. Includes .blend, .fbx, .obj, .glb, .stl, .ply, .unreal, and .max formats for game development, AR/VR, and rendering.
Price: $297.99
View Product
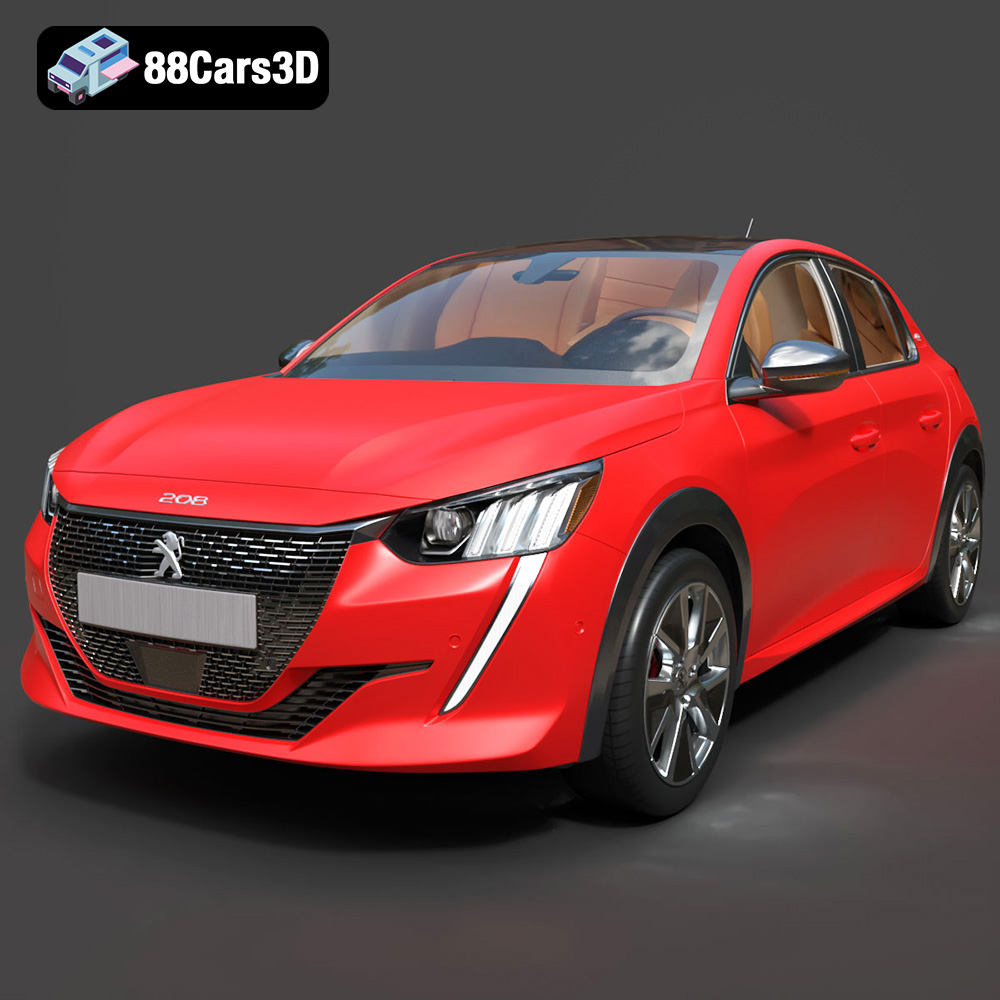
Texture: Yes | Material: Yes
Download the highly detailed, game-ready Peugeot e-208 2020 3D Model. Features 3-claw LED lighting, dynamic body geometry, and a fully detailed i-Cockpit interior. Includes .blend, .fbx, .obj, .glb, .stl, .ply, .unreal, and .max formats for game development, AR/VR, and rendering.
Price: $224.00
View Product
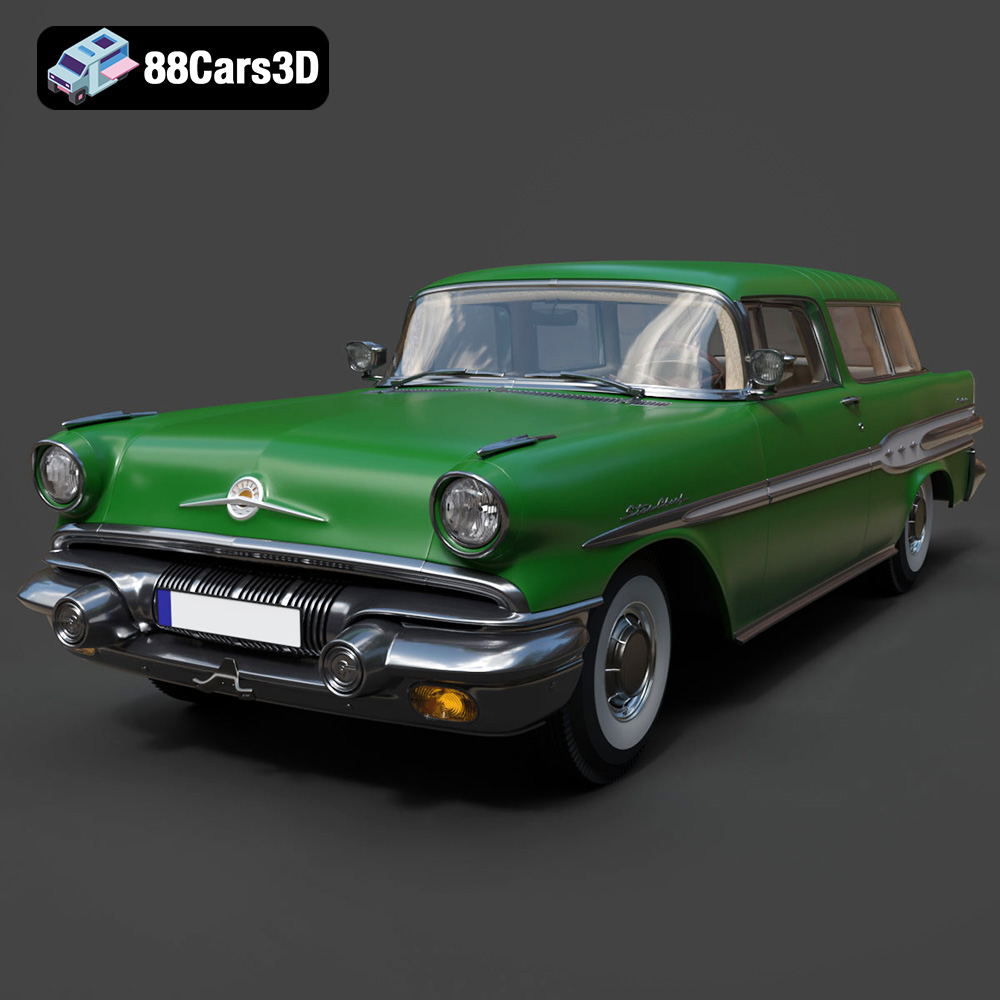
Texture: Yes | Material: Yes
Download the highly detailed, game-ready Pontiac Star Chief Custom Safari 2-door 1957 3D Model. Features classic 1950s two-door wagon bodywork, iconic chrome tail fins, and realistic interior detailing. Includes .blend, .fbx, .obj, .glb, .stl, .ply, .unreal, and .max formats for game development, AR/VR, and rendering.
Price: $203.50
View Product
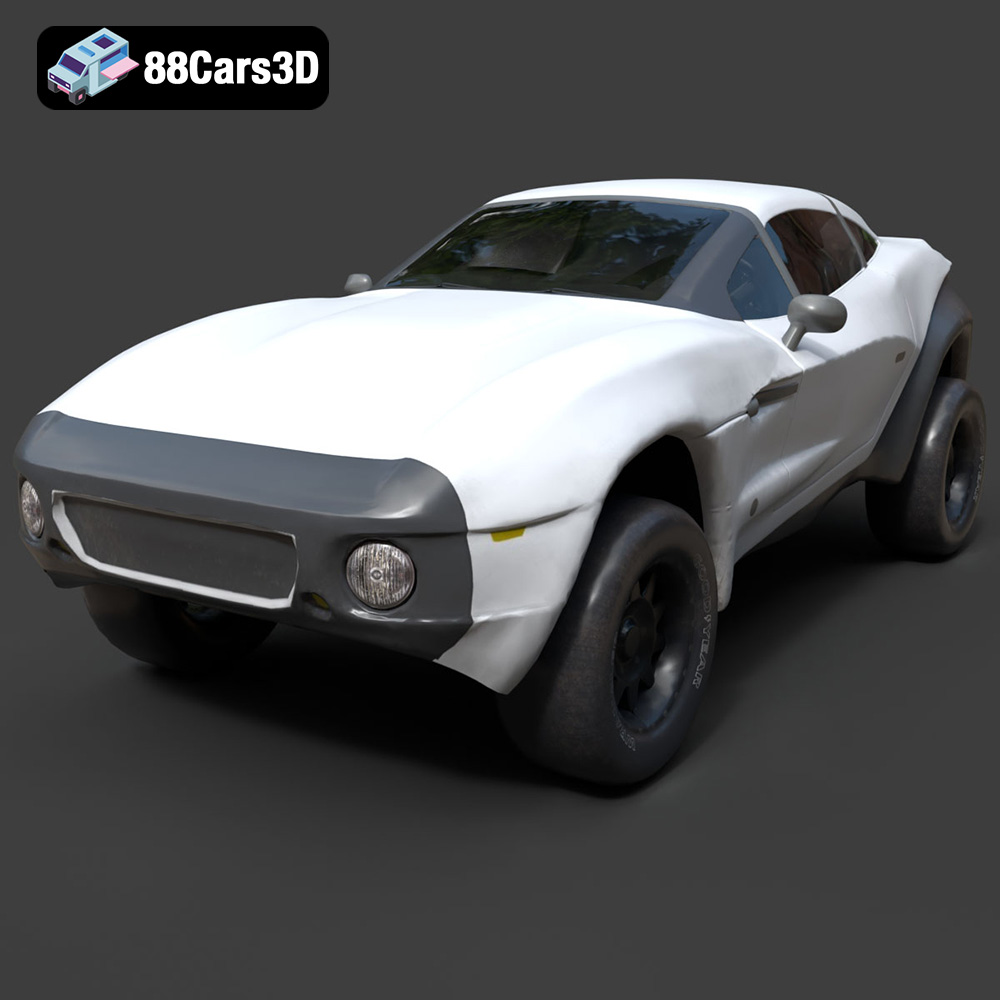
Texture: Yes | Material: Yes
Download the highly detailed, game-ready Local Motors Rally Fighter 3D Model. Features aggressive off-road long-travel suspension, detailed interior cockpit, and high-clearance body styling. Includes .blend, .fbx, .obj, .glb, .stl, .ply, .unreal, and .max formats for game development, AR/VR, and rendering.
Price: $99.99
View Product
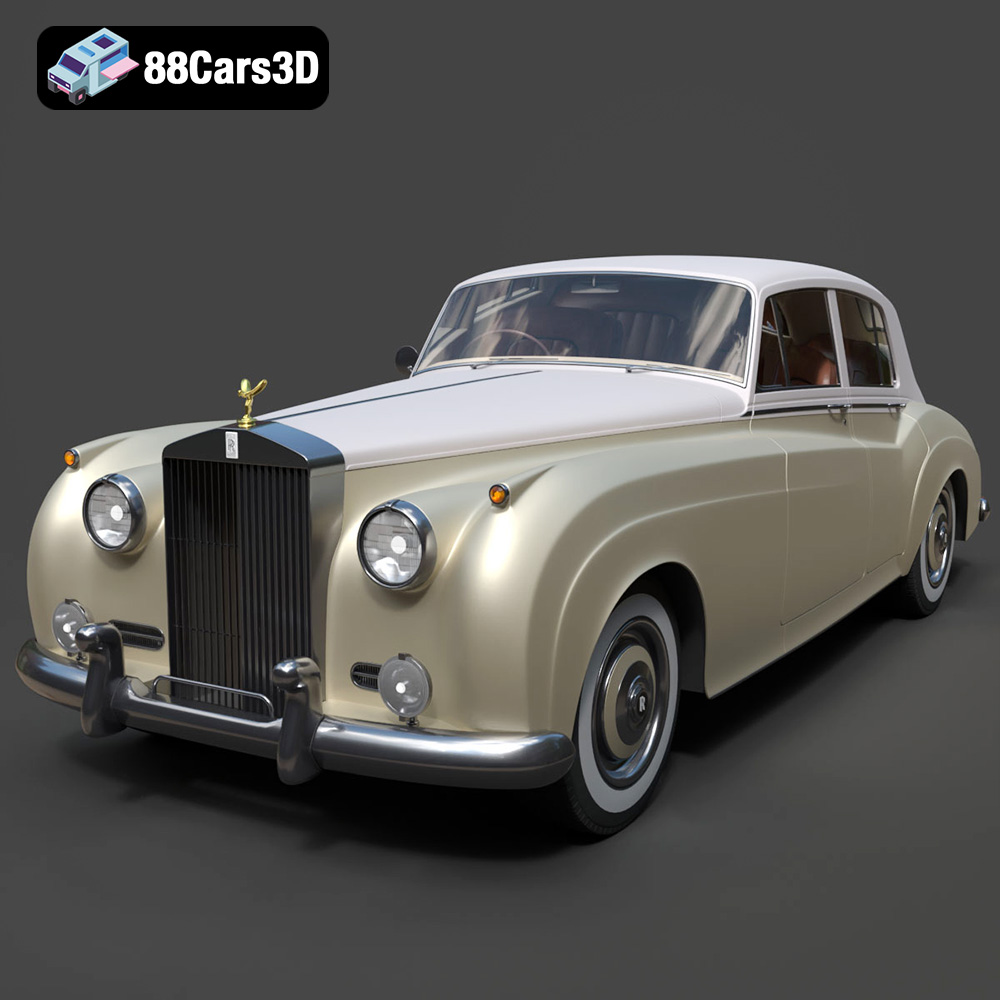
Texture: Yes | Material: Yes
Download the highly detailed, game-ready Rolls-Royce Silver Cloud II 1959 3D Model. Features classic chrome radiator grille, iconic Spirit of Ecstasy ornament, and elegant two-tone bodylines. Includes .blend, .fbx, .obj, .glb, .stl, .ply, .unreal, and .max formats for game development, AR/VR, and rendering.
Price: $201.00
View Product


