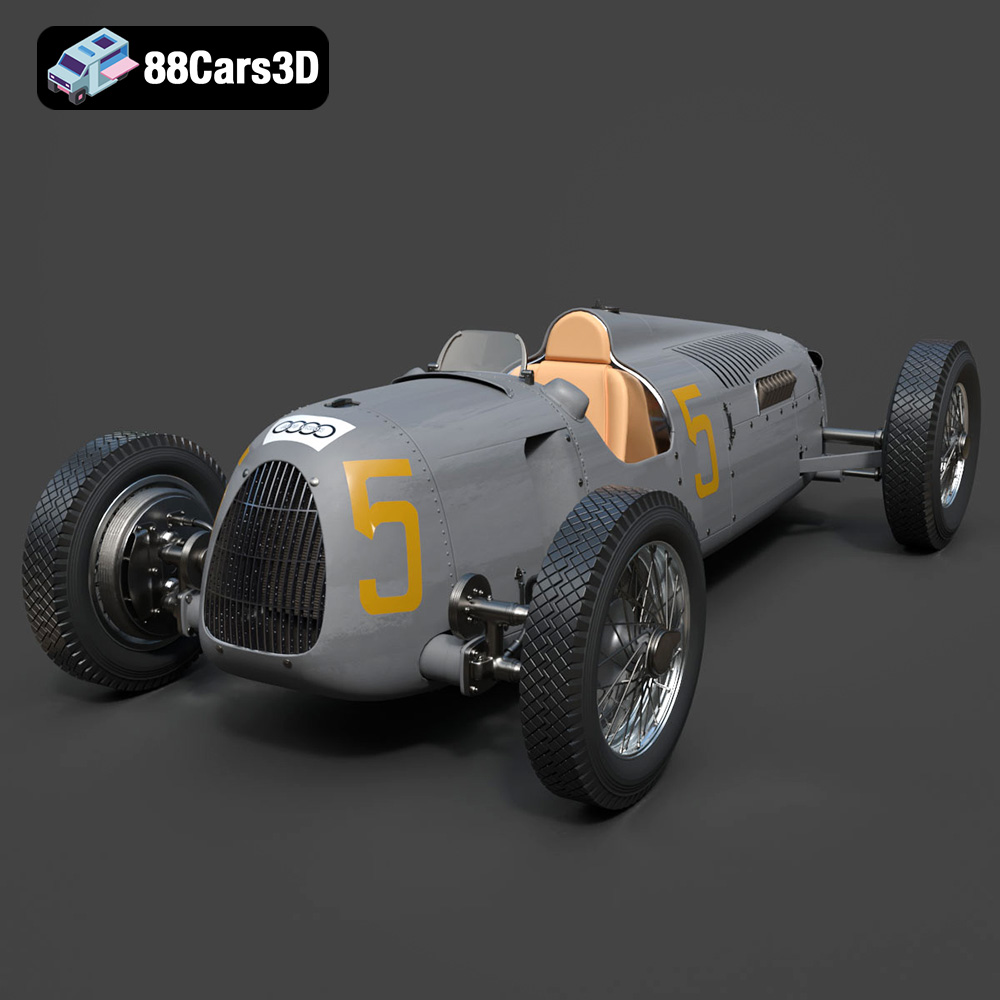
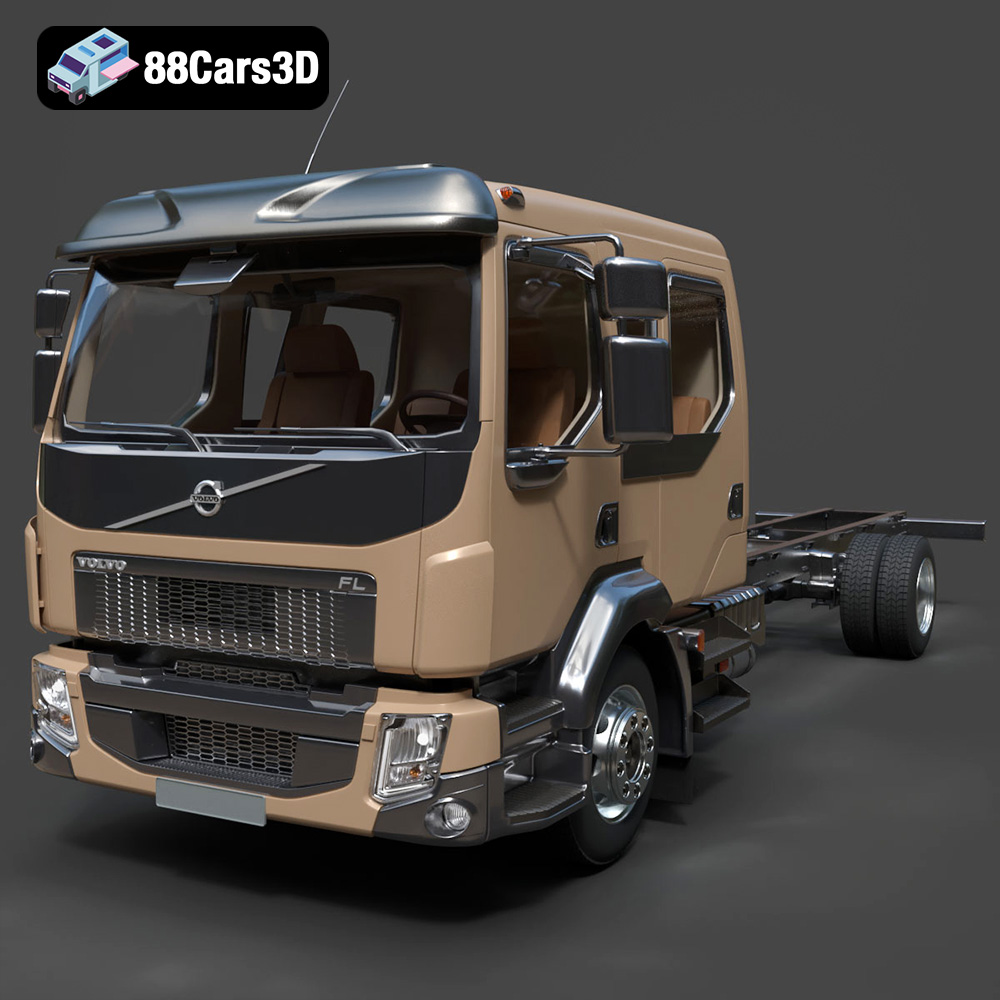
The journey from a meticulously engineered CAD model to a stunning, game-ready, or photorealistic renderable automotive asset is fraught with technical nuances. Automotive design relies heavily on Computer-Aided Design (CAD) software, which produces incredibly precise, but often overly dense, geometrical data. These models are ideal for manufacturing and engineering analysis but pose significant challenges when transitioning to real-time engines like Unreal Engine or even offline renderers in Blender. This extensive guide delves into the essential workflows, technical specifications, and best practices for converting high-fidelity CAD data into optimized, usable 3D automotive models, ensuring both visual fidelity and performance efficiency. We’ll explore strategies for efficient import, meticulous cleanup, targeted retopology, and seamless material setup, empowering you to bridge the gap between engineering precision and artistic presentation.
The Bridge from Engineering to Art: Why CAD Conversion Matters
Automotive design begins in the realm of engineering, where precision, manufacturability, and functional integrity are paramount. CAD software generates models with incredibly tight tolerances, often using NURBS surfaces or solid geometries that translate into millions of polygons when tessellated. While perfect for simulating airflow or stress analysis, such dense meshes are prohibitively heavy for interactive applications or high-performance rendering pipelines. The act of converting these engineering-grade assets into optimized 3D car models is not merely a simplification; it’s a critical translation, adapting the technical essence into an artistic and performant representation.
The Disparity Between Design & Real-Time Needs
Traditional CAD systems prioritize mathematical accuracy and parametric design. When these models are exported to polygon-based formats, they often result in highly irregular triangulations, non-manifold geometry, numerous n-gons (polygons with more than four sides), and wildly inconsistent polygon densities. This “dirty” geometry leads to shading artifacts, poor UV unwrapping results, and excessive rendering overhead in game engines or even general 3D software. Real-time engines demand clean, quad-based topology to efficiently calculate lighting, shadows, and deformations. The goal is to retain the original design’s silhouette and crucial details while creating a mesh that is render-efficient.
The Value Proposition of Optimized Models
Beyond performance, optimized 3D car models offer a multitude of advantages. They are easier to animate, texture, and integrate into diverse environments. For game developers, optimized assets are non-negotiable for achieving high frame rates and a smooth user experience. For architectural visualization, film, or marketing, efficient models reduce render times and allow for more complex scene compositions. Furthermore, well-prepared models are versatile; a carefully optimized car model from 88cars3d.com can be used across various projects, from cinematic renders to interactive AR/VR experiences, maximizing its utility and value. Mastering CAD conversion unlocks the full potential of automotive design data for a broader creative spectrum.
Understanding 3D Model File Formats
The choice of file format is a foundational decision in any 3D workflow, especially when dealing with the intricacies of CAD data conversion. Each format serves specific purposes, offering different levels of data preservation, compatibility, and optimization for various end-use cases. Understanding their characteristics is paramount for a smooth and efficient pipeline, whether you’re working with high-precision engineering data or preparing assets for real-time engines.
Native and Interchange Formats
- .blend (Blender Project File): This is Blender’s native file format, fully encompassing an entire scene including geometry, materials, textures, animations, rigging, and even render settings. It’s incredibly powerful for retaining all project data within Blender and is the ideal format for saving your work during the CAD conversion and optimization process in Blender. It allows for complete editing and non-destructive modifications, making it perfect for iterative design and detailed refinement.
- .max (3ds Max Project File): Similar to .blend, the .max format is the native project file for Autodesk 3ds Max. It stores all scene information, including complex material setups, intricate animation keyframes, modifiers, and plugin data specific to 3ds Max. If your initial CAD import or a specific part of your workflow involves 3ds Max, saving in .max ensures full editability and preservation of all work within that ecosystem. It’s often used by studios with established 3ds Max pipelines for high-end automotive rendering.
- .obj (Wavefront OBJ): A venerable and universally supported interchange format. OBJ files store geometric data (vertices, UVs, normals) and can reference external .mtl (material library) files for basic material properties like diffuse color, specular, and texture maps. Its widespread compatibility makes it a go-to for transferring models between different 3D software packages (e.g., from a CAD tessellation tool to Blender) when complex animations or advanced material nodes aren’t required. However, it doesn’t store rigging, animation, or advanced PBR material data.
- .ply (Polygon File Format / Stanford Triangle Format): Primarily used for storing 3D scanner data and geometric models. PLY files can store a wide array of properties including color, transparency, normals, texture coordinates, and scalar values. It’s particularly strong for precise mesh data, often originating from CAD software or laser scanning, making it suitable for scientific visualization or industrial inspection. While less common for general animation, it offers a robust way to preserve exact mesh data during initial import from precision sources.
Real-Time and Specialized Formats
- .fbx (Filmbox): Developed by Autodesk, FBX is the industry standard for interoperability, especially between DCC applications and game engines like Unreal Engine and Unity. It’s highly versatile, capable of storing not just geometry and UVs, but also cameras, lights, skeletal animation, blend shapes, and PBR material assignments (though full material graph translation can be tricky between software). For optimized 3D car models intended for real-time use, FBX is often the most reliable choice for exporting from Blender to Unreal Engine due to its robust support for crucial game development features.
- .glb (GL Transmission Format Binary): The binary version of glTF, .glb is highly optimized for efficiency and compactness. It bundles all assets (geometry, materials, textures, animations) into a single file, making it ideal for web-based 3D, AR (Augmented Reality), and VR (Virtual Reality) applications. Its small file size and quick loading times make it perfect for displaying 3D car models directly in a browser or on mobile devices, providing a streamlined user experience without needing external files.
- .stl (Stereolithography): A widely used format for 3D printing. STL files describe only the surface geometry of a 3D object using a collection of triangular facets. It lacks color, texture, or material information, making it unsuitable for rendering or game development, but indispensable for rapid prototyping and additive manufacturing. After a successful CAD conversion, if a physical model is desired, exporting to STL is the next logical step.
- .unreal (Unreal Engine Asset): While not a standalone file format in the traditional sense, when you import assets like .fbx into Unreal Engine, the engine processes and stores them in its native asset format within the project’s content browser. This internal format is highly optimized for the engine’s renderer, physics system, and editor workflows. You don’t directly save or load .unreal files externally; rather, the engine manages them once an asset has been successfully imported and processed.
Choosing the right format at each stage of your automotive 3D modeling pipeline ensures data integrity, workflow efficiency, and optimal performance for the final application. For high-quality 3D car models, many artists find assets from marketplaces like 88cars3d.com indispensable, as they often provide models in several of these key formats, ready for immediate integration.
Efficient CAD Import & Initial Cleanup in Blender
The first hurdle in transforming CAD data is often the import itself. High-density CAD formats, while precise, can overwhelm standard 3D software if not handled correctly. Blender, with its robust add-ons and native capabilities, offers a powerful environment for tackling these initial challenges.
Navigating High-Density CAD Formats (STEP, IGES)
Direct import of formats like STEP (.step, .stp) and IGES (.igs, .iges) into Blender isn’t natively supported for parametric data. You’ll typically need an intermediary conversion or a dedicated add-on. FreeCAD is an excellent open-source solution that can open STEP/IGES files and export them to mesh formats like OBJ or STL, which Blender can then easily import. There are also commercial add-ons for Blender (e.g., STEP Import by @hoxolotl) that allow direct import, preserving scale and structure more effectively. When importing, pay close attention to the tessellation settings. A common mistake is to over-tessellate, creating unnecessarily dense meshes. Aim for a balance where the primary curvatures are well-represented without generating an excessive number of tiny triangles on flat surfaces.
Identifying and Resolving Common Mesh Imperfections
Once imported, CAD data rarely arrives in a pristine, game-ready state. You’ll frequently encounter a range of issues:
- Non-manifold Geometry: This refers to edges or vertices shared by more than two faces, or faces with zero area. Non-manifold geometry causes unpredictable shading, rendering errors, and issues with modifiers or sculpting. In Blender, use “Select > Select All by Trait > Non Manifold” in Edit Mode to identify these areas. Tools like the “Clean Up” menu (Mesh > Clean Up) offer options like “Make Manifold” or “Delete Loose” to help resolve these. Manual cleanup, involving dissolving vertices/edges or merging overlapping geometry, is often necessary for complex areas.
- N-gons: Polygons with more than four sides. While Blender can render n-gons, they can lead to unpredictable shading, especially after subdivision surface modifiers, and are generally avoided in game engines. The goal is to convert these to quads (four-sided polygons) or, in unavoidable cases, triangles. Use the “Triangulate Faces” (Ctrl+T) or “Poke Faces” tools for quick conversion, but for optimal topology, manual retopology (discussed later) is preferred.
- Scale Inconsistencies: CAD models often come in real-world units (meters, millimeters). Ensure your Blender scene units match or scale the imported model appropriately (Object Properties > Scale). Applying scale (Ctrl+A > Scale) after adjustment is crucial to prevent issues with modifiers, physics, and UV unwrapping.
- Overlapping Geometry and Loose Parts: CAD exports can result in redundant or overlapping faces and separate, tiny mesh fragments. Use “Merge By Distance” (Edit Mode, Mesh > Clean Up) to consolidate overlapping vertices within a threshold. Manually identify and delete loose geometry that isn’t part of the main car body.
Strategic Decimation and Initial Optimization
Even after cleaning, the mesh will likely be too dense. Blender’s Decimate Modifier (Decimate Planar or Un-subdivide) can reduce polygon count while trying to preserve detail. Decimate Planar is particularly useful for reducing polygons on flat surfaces without affecting curved areas too much. Apply these modifiers iteratively, gradually reducing the poly count while visually inspecting the model to ensure critical details and silhouettes are maintained. This initial pass makes subsequent retopology and optimization steps more manageable.
Targeted Retopology & Optimization for Performance
Once the initial mesh is cleaned and somewhat optimized, the crucial phase of retopology begins. This is where the dense, often messy, CAD tessellation is transformed into a clean, quad-based mesh specifically designed for rendering efficiency and deformation, making it ideal for real-time environments like Unreal Engine.
Principles of Quad-Based Topology for Automotive Assets
Quad-based topology is the cornerstone of efficient 3D modeling. For automotive assets, specific principles apply:
- Edge Flow: Edges should flow naturally along the curvature and contours of the car’s surfaces, emphasizing key design lines and creases. This aids in creating smooth subdivision surfaces and facilitates deformation.
- Even Distribution: Maintain an even distribution of polygons across the surface. Avoid areas of extremely dense or sparse topology, as this can lead to uneven deformation and shading issues.
- Strategic Detail: Concentrate polygon density in areas of high curvature, sharp creases, or where fine details are present (e.g., around headlights, grilles, wheel wells). Flatter surfaces can have much lower polygon counts.
- No N-gons, Minimal Triangles: Aim for 100% quads for optimal performance with subdivision surfaces and smooth deformation. Triangles should only be used sparingly in non-critical, flat areas where they won’t cause shading issues.
Techniques for Manual and Assisted Retopology
Retopology is often a blend of art and science, combining manual precision with powerful tools:
- Manual Retopology (Blender):
- Snap to Face: Use snapping (magnet icon) set to “Face” and “Project Individual Elements” to draw new topology directly onto your high-poly CAD reference.
- Shrinkwrap Modifier: Apply a Shrinkwrap modifier to your new, low-poly mesh, targeting the high-poly CAD model. This keeps your new topology tightly conformed to the original shape as you build it.
- Poly Build Tool: This dedicated tool in Blender (Edit Mode, Toolbar) is invaluable for quickly creating quads by clicking on vertices, edges, and faces, making retopology intuitive.
- Extrude & Loop Cut: Standard modeling tools like extrude (E), loop cut (Ctrl+R), and slide (GG) are essential for building out the new mesh.
- Assisted Retopology: While manual control offers the best results for critical areas, tools can assist. Blender’s Remesh Modifier (set to “Blocks” or “Smooth”) can generate a new mesh based on volume, but it often requires significant manual cleanup afterwards. External software or add-ons like Quad Remesher offer more advanced automatic retopology, which can provide a good starting point, especially for less critical parts or for generating initial concept meshes.
Balancing Detail Preservation with Polygon Budget
The core of optimization is making informed decisions about where to spend your polygon budget. For a hero asset like a 3D car model, maintaining the iconic silhouette and key design elements is crucial, even at a distance. As you build your new mesh:
- Use Reference Images: Constantly compare your retopologized mesh against the original CAD model or reference images to ensure you’re not losing important details.
- LODs (Levels of Detail): For game assets, plan for multiple LODs. Your initial retopology should be your highest LOD (LOD0). Subsequent LODs can be generated by further decimation or simplified retopology, reducing polygon count significantly for objects viewed at a distance in Unreal Engine.
- Baking Normal Maps: Crucially, fine details (bolts, panel lines, small vents) that would consume too many polygons to model can be captured from the high-poly CAD mesh and baked onto the low-poly retopologized mesh as normal maps. This is an essential technique for achieving high visual fidelity with a low polygon count. Ensure your UVs are clean and unwrapped before baking to avoid artifacts.
Achieving this balance requires practice and a keen eye, but the result is a performant 3D car model that looks great and runs smoothly, a hallmark of the high-quality assets found at 88cars3d.com.
UV Unwrapping & PBR Material Setup
Once your CAD-converted model has clean, optimized topology, the next vital steps are UV unwrapping and setting up Physically-Based Rendering (PBR) materials. These processes are critical for texturing your automotive asset beautifully in Blender and ensuring it looks consistent when imported into Unreal Engine.
Best Practices for Automotive UV Layouts
UV unwrapping for complex automotive surfaces requires strategic planning to minimize distortion and maximize texture resolution. Poor UVs lead to blurry textures, stretching, and difficulties with material application.
- Seam Placement: Strategically place seams in areas that are naturally hidden or follow sharp edges and panel lines. For a car body, common seam locations include the underside, inside of wheel wells, edges along doors, hood, and trunk. The goal is to make seams invisible and allow for continuous texture flow across visible surfaces.
- Minimize Distortion: Use Blender’s “Live Unwrap” or “UV Sculpt” tools to manually relax and refine UV islands, ensuring that the checkered texture pattern appears as uniform as possible, indicating minimal stretching. The “Angle Based” and “Conformal” methods during unwrapping can help achieve this.
- Maximize Texel Density: Ensure that larger, more important surfaces (like the main body panels) occupy more UV space than smaller, less visible components. This maximizes texture resolution where it matters most. Tools like Texel Density Checker add-ons can help maintain consistency across different UV islands.
- Multiple UV Sets: For complex automotive models, consider using multiple UV maps. One set might be dedicated to primary PBR textures, another for lightmaps (especially for Unreal Engine), and a third for decals or secondary details.
- UV Packing: After unwrapping, efficiently pack your UV islands into the 0-1 UV space. Blender’s built-in packing algorithms (UV > Pack Islands) or external tools can help minimize wasted space, allowing for higher texture resolution across your model.
Establishing Physically-Based Rendering Foundations in Blender
PBR materials aim to simulate how light interacts with real-world surfaces, providing consistent and realistic results across different lighting conditions and rendering engines. Blender’s Cycles and Eevee renderers fully support PBR workflows.
- Principled BSDF Shader: This is Blender’s all-in-one PBR shader, designed to be intuitive and physically accurate. It encompasses properties like Base Color, Metallic, Roughness, Specular, Transmission, Clearcoat, and Normal Map.
- Texture Maps:
- Base Color (Albedo): Represents the raw color of the surface, free of lighting information.
- Metallic: A grayscale map defining metallic (white/1) or dielectric (black/0) properties.
- Roughness: A grayscale map defining how rough (white/1) or smooth (black/0) the surface is, influencing specular reflections.
- Normal Map: Provides fine surface detail without adding geometry, essential for baking details from your high-poly CAD mesh.
- Ambient Occlusion (AO): Although not strictly part of PBR, an AO map can enhance shadowed areas and add depth to your textures.
- Clearcoat: For automotive paint, the Clearcoat input in Principled BSDF is crucial, simulating the reflective clear coat layer over the base paint.
- Material Organization: Break down the car into logical material groups (e.g., body paint, glass, rubber, chrome, interior plastics). This allows for easier texture management and targeted adjustments. Use node groups for complex material setups to keep your shader editor tidy.
Seamless Material Transition to Unreal Engine
The goal is to have your Blender PBR materials translate as accurately as possible to Unreal Engine’s PBR system. While direct 1:1 translation of complex node networks isn’t always possible, adhering to standard PBR practices minimizes discrepancies.
- Exporting Textures: Ensure all your PBR texture maps are exported in suitable formats (e.g., PNG for Base Color, Normal, AO; JPEG for less critical maps) at the correct resolutions.
- Naming Conventions: Adopt consistent naming conventions for your textures and materials (e.g., `T_CarBody_BaseColor`, `M_CarBody`). This makes asset management in Unreal Engine much easier.
- Unreal Engine Material Setup: In Unreal, you’ll recreate your PBR materials using the “Material Editor.” Connect your exported texture maps to the corresponding inputs of Unreal’s “Material Attributes” or individual PBR input pins (Base Color, Metallic, Roughness, Normal, etc.).
- Parameterization: To allow for easy adjustments of color, roughness, or other properties directly within Unreal Engine without re-exporting textures, convert key texture samples or scalar values into “Parameters” in your Unreal material. This enables the creation of “Material Instances,” which are powerful for creating variations (e.g., different paint colors for a car) without duplicating base assets.
- Normal Map Handling: Unreal Engine expects normal maps to be in a specific format (Tangent Space, typically Y-up/Z-forward). Ensure your normal maps are generated correctly in Blender (e.g., using “Tangent Space” option in the baking settings) to avoid lighting issues in Unreal.
By meticulously handling UVs and PBR material setup, you guarantee that your optimized 3D car models maintain their visual integrity and realism, whether showcased in Blender’s Cycles renderer or experienced in a real-time Unreal Engine environment. This meticulous attention to detail is what sets professional-grade assets, like those found on 88cars3d.com, apart.
Workflow Integration: Blender to Unreal Engine
With a meticulously retopologized, UV-unwrapped, and PBR-material-ready automotive asset in Blender, the final stage is to transition it smoothly into Unreal Engine. This involves careful export, import, and scene setup to ensure the model looks and performs as intended in a real-time environment.
Exporting Optimized Assets for Real-Time
The FBX format is the industry standard for transferring rigged and animated models between DCC applications and game engines. When exporting your 3D car model from Blender:
- FBX Export Settings:
- Selected Objects: Only export the specific objects you need (your car model, wheels, separate components).
- Scale: Ensure the scale is set correctly. Unreal Engine typically uses centimeters, so adjust your Blender scene units or scale on export to match (e.g., scale factor of 0.01 if Blender units are meters).
- Apply Transforms: It’s crucial to apply transforms (scale, rotation) before exporting (Ctrl+A in Blender). This prevents unexpected rotations or scaling issues in Unreal.
- Smoothing: Set “Smoothing” to “Face” or “Edge” depending on your desired outcome. “Face” usually works well if you have well-defined hard and soft edges.
- Embed Textures: While convenient, it’s generally better to uncheck “Embed Textures” for complex projects. Export textures separately and import them into Unreal Engine for more control and efficient management.
- Geometry: Ensure “Apply Modifiers” is checked if you want the modifiers to be applied to the exported mesh. For most game assets, you’ll want the final mesh, not a dynamically modified one.
- Separate Components: For automotive models, it’s often best to export the main body, wheels, interior, and other significant parts as separate FBX files or as separate meshes within a single FBX. This allows for easier manipulation, material assignment, and potential animation (e.g., rotating wheels) in Unreal Engine.
Importing and Setting Up in Unreal Engine
Once you have your FBX and texture files, importing them into Unreal Engine is straightforward, but attention to detail is key:
- Import Dialogue: When importing the FBX into Unreal (Content Browser > Import), pay attention to the import dialogue options:
- Mesh: Ensure “Skeletal Mesh” is unchecked unless your car has a complex bone rig for deformation (uncommon for rigid car bodies). “Static Mesh” is typically correct.
- Materials and Textures: You can choose to import materials and textures automatically. However, for a refined PBR workflow, it’s often better to import only the mesh, then manually create materials using your separately imported textures. This gives you full control over the material graph.
- Transform: Verify that “Import Uniform Scale” and “Convert Scene Unit” are correctly set based on your Blender export.
- Normal Import Method: Set to “Import Normals” or “Import Normals and Tangents” if your Blender normals are clean. If you encounter shading issues, “Compute Normals” can sometimes resolve them, but usually indicates an issue with the source mesh.
- Material Assignment: After importing the mesh, open it in the Static Mesh Editor. You’ll see “Material Slots.” Assign the PBR materials you’ve created in Unreal’s Material Editor (using your imported textures) to these slots. Ensure the material IDs match your Blender setup.
- Collision Generation: For game assets, Unreal Engine can generate collision meshes automatically (e.g., using “Generate Simple Collision” or “Auto Convex Collision” in the Static Mesh Editor). For complex shapes like cars, manually creating simplified collision meshes in Blender and exporting them (named `UCX_YourMeshName`) often yields better results for physics and interaction.
Advanced Lighting and Instancing for Automotive Scenes
Once your car model is in Unreal, leveraging its powerful rendering capabilities can elevate your presentation:
- Lighting: Experiment with different lighting setups. Use “Directional Lights” for sunlight, “Sky Lights” for ambient illumination, and “Rect Lights” or “Spot Lights” for reflections and highlights on the car’s surfaces. Ray Tracing in Unreal Engine offers incredibly realistic reflections and global illumination, making automotive renders truly shine.
- Post-Processing: Utilize Unreal’s Post Process Volume to fine-tune exposure, color grading, bloom, ambient occlusion, and screen space reflections, adding cinematic flair to your scenes.
- Material Instances for Variations: Create Material Instances from your base car paint material to quickly generate different color schemes, roughness variations, or metallic flakes without needing to duplicate or re-export textures. This is incredibly efficient for showcases or configurators.
- Sequencer: For cinematic shots or animated presentations, Unreal’s Sequencer is invaluable. Animate camera movements, adjust lighting over time, and create stunning visual narratives for your 3D car models.
Successfully integrating your converted CAD data into Unreal Engine transforms a technical model into an interactive, visually rich experience. This seamless flow from precision engineering to game-ready asset development is a core strength of mastering these workflows, producing professional-grade 3D car models for any application.
Conclusion
The journey from high-precision CAD data to optimized, game-ready 3D automotive models is a multi-faceted process demanding technical expertise and artistic finesse. We’ve explored the critical steps, from navigating challenging CAD imports and meticulously cleaning initial meshes in Blender, to executing targeted retopology that balances detail with performance. Furthermore, we delved into the intricacies of UV unwrapping and establishing robust PBR material workflows, ensuring visual consistency across Blender and Unreal Engine. Finally, we covered the essential techniques for exporting and integrating these refined assets into a real-time environment, ready for stunning renders, interactive experiences, or immersive game development.
Mastering this pipeline not only saves significant development time and resources but also unlocks the full creative potential of engineering designs, transforming them into versatile digital assets. Whether you’re a professional looking to streamline your workflow or a hobbyist aspiring to create realistic automotive visualizations, understanding these technical nuances is paramount. For those seeking a head start, or high-quality, pre-optimized 3D car models ready for immediate use, resources like 88cars3d.com offer an excellent selection, providing a solid foundation for your next project. Embrace these techniques, and you’ll be well-equipped to bridge the gap between precision and polygons, bringing your automotive visions to life with unparalleled fidelity and efficiency.
Featured 3D Car Models