

Automotive visualization demands an extraordinarily high standard of visual fidelity. Capturing the complex curvature of a car’s chassis, the multi-layered depth of metallic paint, fine carbon fiber weaves, and realistic glass refractions requires advanced lighting workflows. Real-time ray tracing in Unreal Engine has transformed how artists, game developers, and automotive designers approach real-time rendering. By simulating the physical behavior of light, modern ray tracing techniques bridge the gap between traditional offline path tracers and high-framerate interactive engines.
When working with detailed CAD data or premium production assets, such as the optimized models available on 88cars3d.com, achieving photorealism depends on configuring your rendering pipeline correctly. In this technical guide, we will walk through setting up hardware ray tracing in Unreal Engine, mastering material interactions, fine-tuning Post-Process settings, optimizing performance, and leveraging advanced workflows like Lumen Hardware Ray Tracing and the Movie Render Queue for automotive projects.
—
Before initializing real-time ray tracing in Unreal Engine, your hardware and project settings must be configured to support DirectX Raytracing (DXR) and Hardware Ray Tracing (HWRT). Ray tracing relies heavily on specialized hardware cores—such as NVIDIA RTX RT Cores or AMD RDNA 2/3 Ray Accelerators—to compute Bounding Volume Hierarchy (BVH) traversal efficiently.
To use Hardware Ray Tracing, your system must run a compatible 64-bit operating system (Windows 10/11) with a DXR-capable graphics card. To enable hardware-level ray tracing capabilities in Unreal Engine, you must first switch the project’s Render Hardware Interface (RHI) to DirectX 12.
Once DirectX 12 is selected, you must enable ray tracing within the core rendering settings. Navigate to Project Settings > Engine > Rendering and configure the following parameters:
True. This exposes hardware acceleration to Lumen, Reflections, Shadows, and Global Illumination.True. This is required for ray tracing deformers, skeletal meshes (such as animated driver rigs or opening doors), and morph targets.For official technical specifications and detailed hardware documentation, refer to the Unreal Engine Learning Hub.
Ray tracing works by testing light rays against a geometric acceleration structure called the Bounding Volume Hierarchy (BVH). The engine builds a tree structure of bounding boxes around the scene geometry. When a ray is cast, it first checks collision against large bounding volumes before testing individual triangles.
For rigid objects like car bodies, the BVH is built once at level load (Static BVH). For moving parts like spinning wheels or animated steering mechanisms, the BVH must be re-built or updated per frame (Dynamic BVH). Minimizing the number of dynamic meshes with ultra-high polygon counts keeps BVH update costs within acceptable frame budgets (under 2ms per frame).
—
Unreal Engine provides multiple pathways for calculating lighting and reflections. Choosing between native DXR Ray Tracing features and Lumen’s combined pipeline depends on whether your output is an interactive configurator (requiring 60+ FPS) or cinematic rendering (where visual fidelity overrides frame rate constraints).
In modern versions of Unreal Engine, Lumen serves as the default dynamic global illumination and reflections system. Lumen operates in two distinct modes:
While standalone legacy DXR ray tracing (configuring individual ray-traced features in Post-Process Volumes without Lumen) is still supported, Epic Games recommends utilizing Lumen with Hardware Ray Tracing enabled for superior performance-to-quality ratios and full integration with engine features like Virtual Shadow Maps (VSMs).
When visualizing complex automotive paint and curved glass surfaces, each ray tracing pass serves a unique role:
| Feature | Screen Space / Rasterization | Lumen Hardware Ray Tracing | Standalone Ray Tracing (Post Process Override) |
|---|---|---|---|
| Reflections | Screen Space Reflections (SSR) leak and disappear when objects go off-screen. | Accurate off-screen reflections; handles multi-bounce reflections across complex curved surfaces. | Full ray-traced reflections with explicit control over max bounces and samples per pixel (SPP). |
| Global Illumination | Static lightmaps (no dynamic daytime changes) or screen-space SSAO. | Dynamic infinite-bounce indirect lighting, capturing color bleeding from environment onto car paint. | Ray-traced GI (Brute Force or Final Gather); highly accurate but computationally expensive for real-time. |
| Translucency | Simple alpha blending; suffers from sorting issues and inaccurate light attenuation. | Ray-traced translucency supports accurate refraction indices, internal reflections, and absorption. | Dedicated ray-traced translucency pass allowing multi-layered glass and headlight housing depth. |
If you are building an interactive 3D configurator targeted at mid-to-high-tier GPUs, implement Lumen with Hardware Ray Tracing paired with Virtual Shadow Maps. If your goal is offline linear content creation, marketing stills, or film sequences, combine Lumen HWRT with Post-Process overrides or utilize the Path Tracer for ground-truth physical rendering.
—
Automotive surfaces feature some of the most complex optical characteristics in 3D rendering. From multi-layer flake-infused paints to tinted double-glazed glass, setting up Physically Based Rendering (PBR) materials properly is essential for clean ray tracing evaluations.
Standard PBR materials use a single Roughness/Metallic parameter set. However, vehicle bodies require multi-layer shading models. Unreal Engine features a dedicated Clear Coat Shading Model designed for this purpose.
To configure a realistic car paint shader for ray tracing:
Base Color input.Clear Coat float value (typically 1.0 for factory gloss finishes).Clear Coat Roughness parameter to define the smoothness of the top lacquer layer (e.g., 0.01 - 0.05), while assigning a separate roughness value to the base layer to simulate metallic flake depth.When ray-traced reflections evaluate a Clear Coat material, the engine calculates two distinct reflection rays: one for the smooth top clear coat layer and one for the rougher base coat underneath. This dual-layer evaluation gives models from platforms like 88cars3d.com their distinctive photorealistic depth.
Automotive glass—windshields, light covers, and panoramic sunroofs—requires precise Index of Refraction (IOR) and reflection behavior.
1.49 (Acrylic) and 1.52 (Standard Glass).Type to Ray Tracing. Ensure Refraction is set to Enabled to calculate internal rays bouncing within thick glass elements like headlight lenses.Rays hit geometry surfaces at arbitrary angles. If your normal maps contain extreme gradients or unnormalized vectors, ray-traced reflections will break down, producing noisy artifacts or visual black spots (nan values).
0.02 using a Clamp node in the Material Editor) reduces divergence noise without sacrificing visual mirror clarity.—
Ray-traced materials rely entirely on the quality of incoming light rays. A clean, physically grounded lighting setup paired with tailored Post-Process Volume variables is required to prevent noisy renders and excessive frame drop.
For realistic automotive shots, your lighting setup should consist of a mix of direct lights and high dynamic range environment maps:
1.2 - 2.5 degrees) to generate soft, physically accurate penumbra ray-traced shadows instead of sharp computer-generated shadow edges.To control the balance between rendering performance and visual quality, place an Unbound Post Process Volume in your scene. Expand the Lumen and Ray Tracing Features categories and adjust the following key parameters:
r.Lumen.HardwareRayTracing = 1
Enables hardware-accelerated ray tracing within the Lumen architecture.
r.RayTracing.Reflections.MaxBounces = 2 to 4
Defines how many times a reflection ray can reflect off secondary and tertiary mirrors before terminating. For automotive interiors with side mirrors and chrome elements, 2 to 3 bounces are recommended. Higher values increase GPU render times linearly.
r.RayTracing.Reflections.SamplesPerPixel = 1 (Interactive) or 4 - 8 (Cinematic)
Determines the number of rays cast per pixel. Higher values reduce visual noise in rough specular reflections but drastically impact frame rates.
Ray tracing in real-time uses low sample counts per frame, relying on denoisers to smooth out ray variance. Unreal Engine incorporates built-in spatial and temporal denoisers to reconstruct clean images.
r.Reflections.Denoiser 1.—
Detailed automotive assets sourced from platforms like 88cars3d.com can feature millions of polygons across intricately modeled brake systems, engine bays, suspension rigs, and body shells. Running these high-poly assets under hardware ray tracing requires strict optimization strategies.
Unreal Engine’s Nanite Virtualized Geometry system streamlines the handling of high-polygon assets. In modern engine versions, Nanite meshes generate low-complexity fallback representations or stream directly into the ray tracing BVH, drastically reducing memory overhead.
0.005) to maintain smooth, silhouette-perfect curves in the Ray Tracing Fallback Mesh.When troubleshooting frame rate drops in a ray-traced scene, identify whether the performance bottleneck stems from BVH building, ray evaluation, or material shading. Use Unreal Engine’s built-in profiling suite:
~ key) and type stat GPU. This displays the millisecond breakdown per frame for features like Lumen Hardware RayTracing, RayTracedReflections, and ShadowDepths.stat RayTracing to inspect the total ray count, instance count, and memory footprint allocated to the BVH acceleration structure.Objects far away from the active camera view do not need to contribute to ray-traced reflection or shadow calculations. You can specify cull distances to exclude small details (like interior bolts or undercarriage rivets) from the BVH structure:
Use the console variables:
r.RayTracing.CullTasks 1
r.RayTracing.Geometry.CullDistance 3000 (30 meters)
This automatically removes geometry outside the specified radius from the ray tracing acceleration structure, preserving memory and speeding up BVH traversal times without affecting the camera’s direct visual rendering.
—
To demonstrate these concepts in practice, let’s walk through a step-by-step production workflow for importing an asset, configuring camera systems, and rendering cinematic automotive media.
85mm for sleek, distortion-free car portraits, or 24mm for dynamic dramatic low-angle perspective shots).Focus Method to Tracking Focus and attach the focus target directly to the car’s emblem or headlight housing. Set an aperture of f/2.8 to create a smooth, shallow depth-of-field blur (bokeh).When exporting your final sequence or still frame for portfolio display or promotional media, bypass real-time framerate limits by using the **Movie Render Queue (MRQ)**:
1.16 or 32. This renders 16-32 sub-frame passes per frame, blending out ray tracing denoiser noise, motion blur jitter, and temporal artifacts completely.Warm Up Frame Count to 64. This ensures that physical denoisers, Lumen HWRT GI caches, and dynamic light histories fully converge before the first frame is recorded to disk.—
Mastering real-time ray tracing in Unreal Engine is a vital skill for modern automotive designers, visualizers, and interactive developers. By understanding hardware requirement setups, selecting the optimal combination of Lumen Hardware Ray Tracing, optimizing Clear Coat materials, and leveraging advanced rendering pipelines like the Movie Render Queue, you can produce cinematic visuals entirely in real-time.
To summarize your actionable workflow:
stat GPU.Equipping your project with professionally authored 3D assets from 88cars3d.com provides clean topology, pre-configured material IDs, and optimized geometry directly out of the box. Combine these high-grade assets with the advanced hardware ray tracing techniques in this guide to build photorealistic real-time automotive experiences.
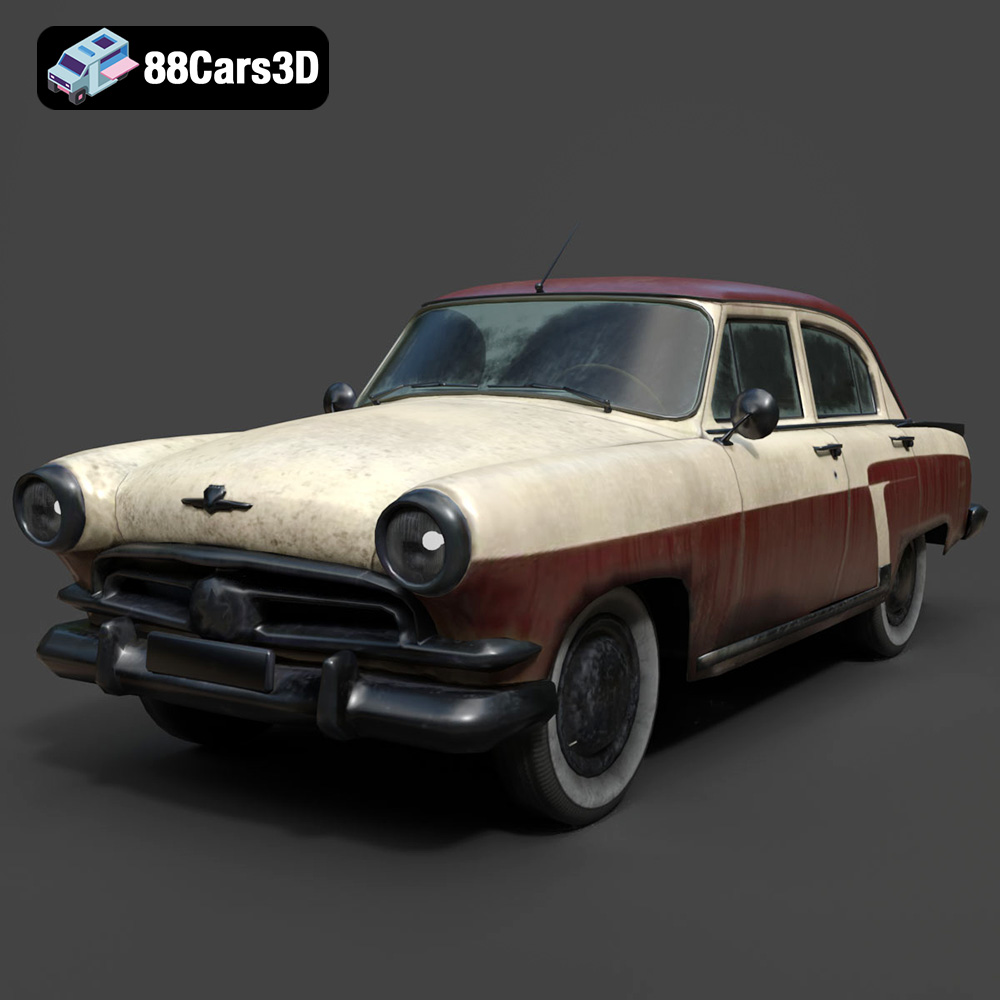
Texture: Yes | Material: Yes
Download the highly detailed, game-ready GAZ-21 Volga 3D Model. Features classic Soviet body geometry, iconic front grille, and detailed exterior chrome accents. Includes .blend, .fbx, .obj, .glb, .stl, .ply, .unreal, and .max formats for game development, AR/VR, and rendering.
Price: $9
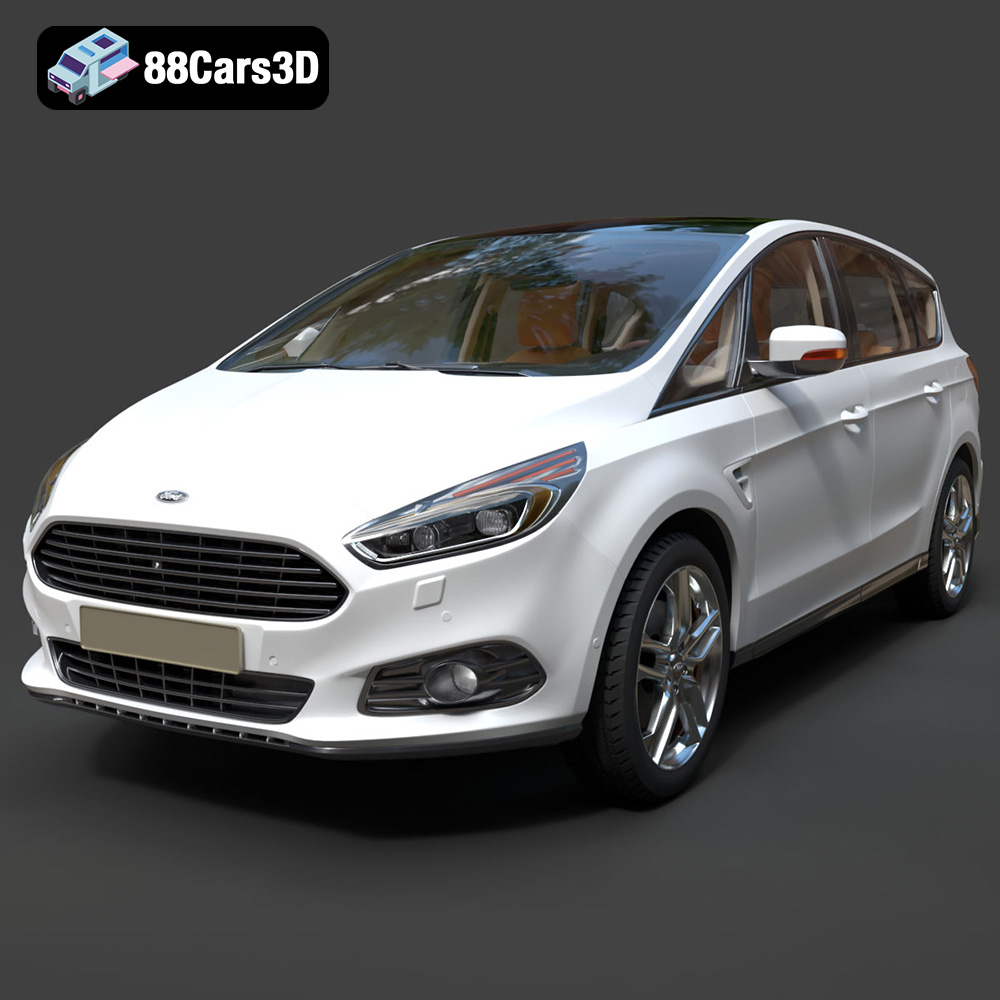
Texture: Yes | Material: Yes
Download the highly detailed, game-ready Ford S-MAX with HQ Interior 2015 3D Model. Features high-quality interior detailing, sleek MPV body styling, and accurate engine and chassis geometry. Includes .blend, .fbx, .obj, .glb, .stl, .ply, .unreal, and .max formats for game development, AR/VR, and rendering.
Price: $9
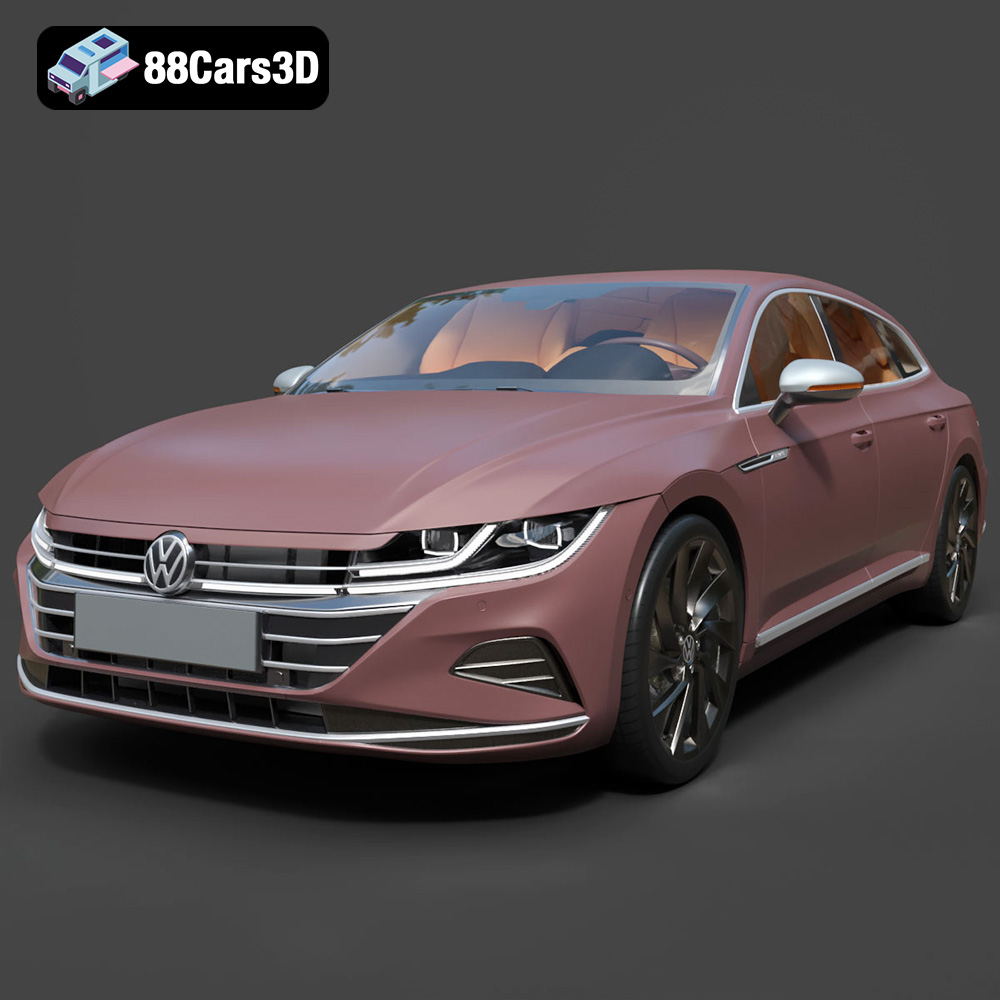
Texture: Yes | Material: Yes
Download the highly detailed, game-ready Volkswagen Arteon Shooting Brake Elegance 2021 3D Model. Features sleek wagon proportions, detailed LED headlights, and modern interior styling. Includes .blend, .fbx, .obj, .glb, .stl, .ply, .unreal, and .max formats for game development, AR/VR, and rendering.
Price: $9
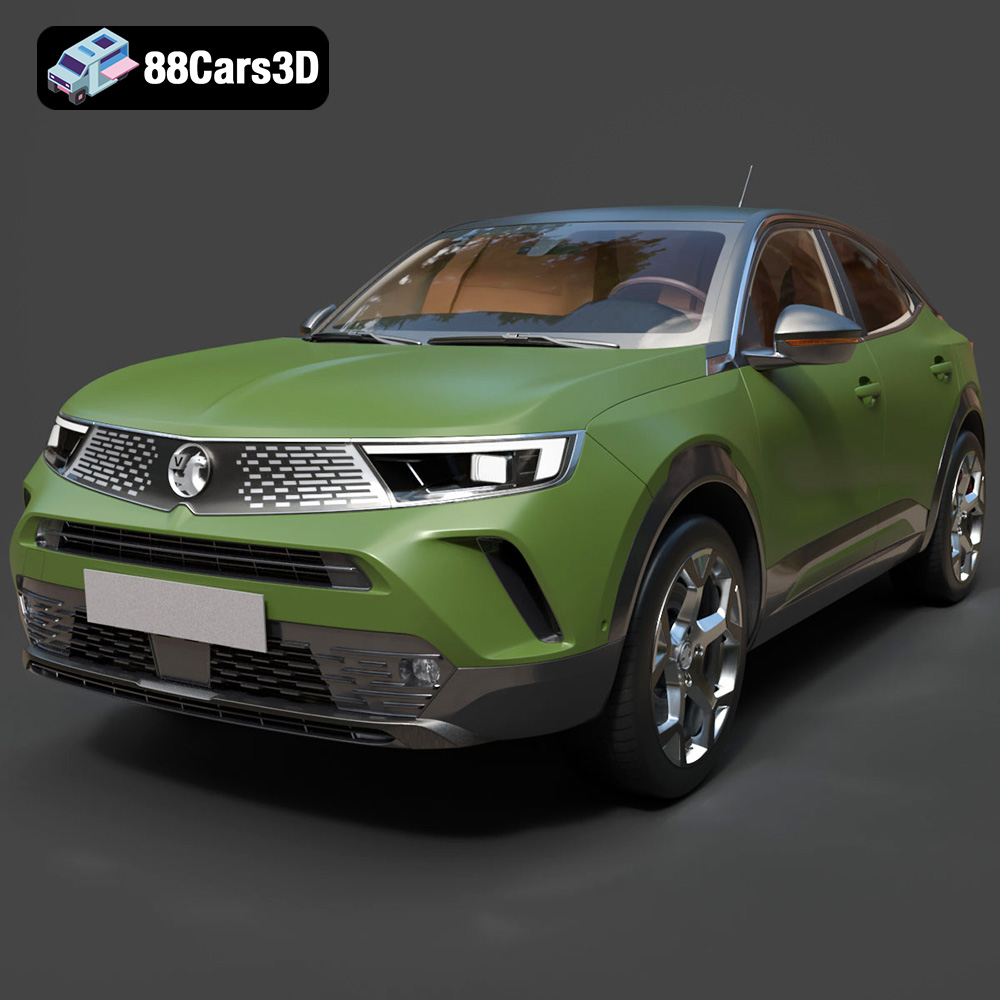
Texture: Yes | Material: Yes
Download the highly detailed, game-ready Vauxhall Mokka 2021 3D Model. Features signature Vizor front grille, sharp LED lighting, and modern digital interior elements. Includes .blend, .fbx, .obj, .glb, .stl, .ply, .unreal, and .max formats for game development, AR/VR, and rendering.
Price: $9
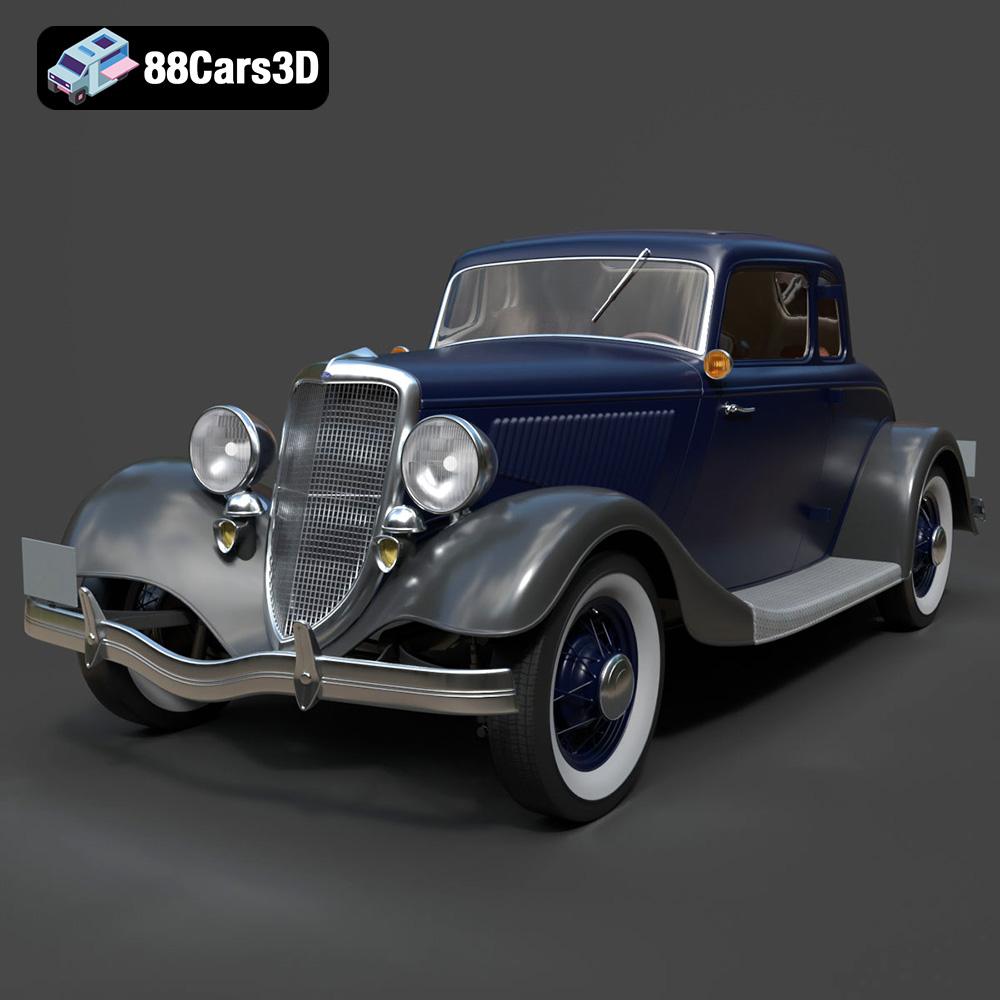
Texture: Yes | Material: Yes
Download the highly detailed, game-ready Ford Coupe 1934 3D Model. Features sweeping fenders, iconic 1930s grille design, and authentic vintage proportions. Includes .blend, .fbx, .obj, .glb, .stl, .ply, .unreal, and .max formats for game development, AR/VR, and rendering.
Price: $9
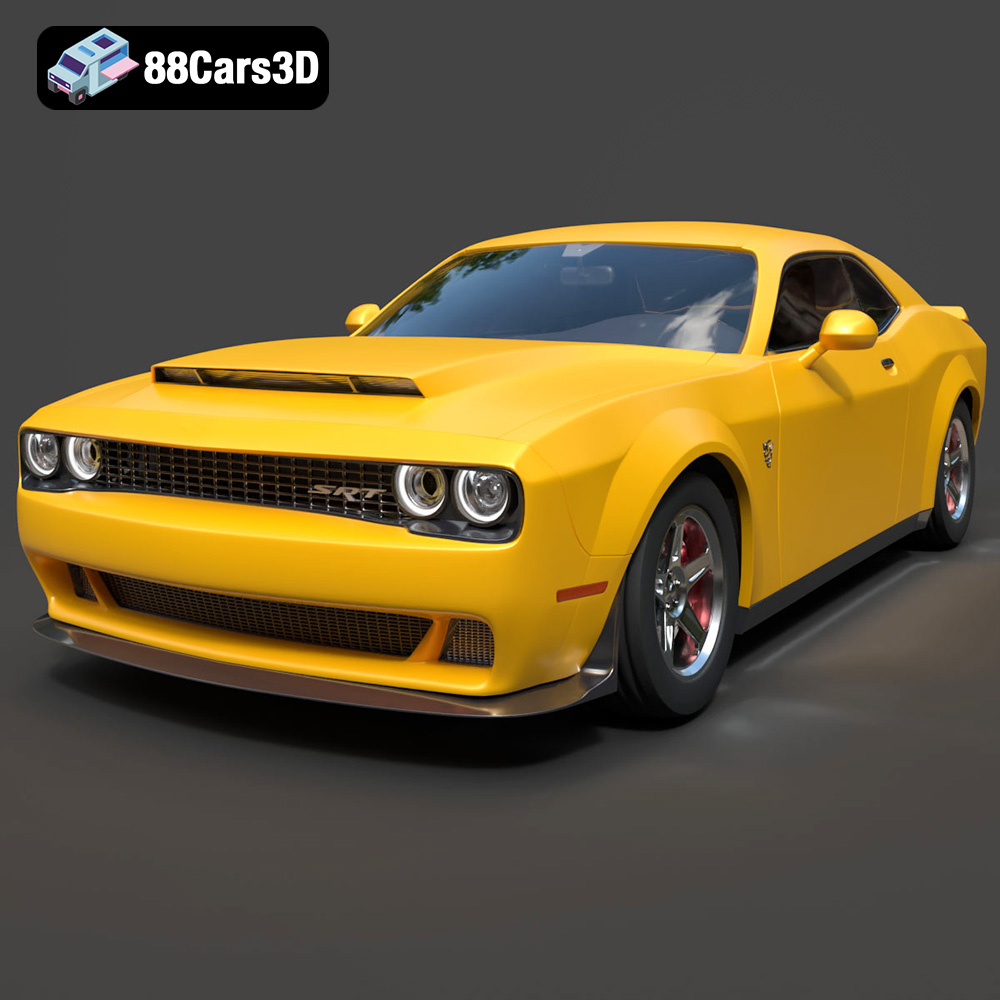
Texture: Yes | Material: Yes
Download the highly detailed, game-ready Dodge Demon SRT 3D Model. Features aggressive widebody styling, supercharged HEMI V8 details, and high-fidelity exterior details. Includes .blend, .fbx, .obj, .glb, .stl, .ply, .unreal, and .max formats for game development, AR/VR, and rendering.
Price: $9
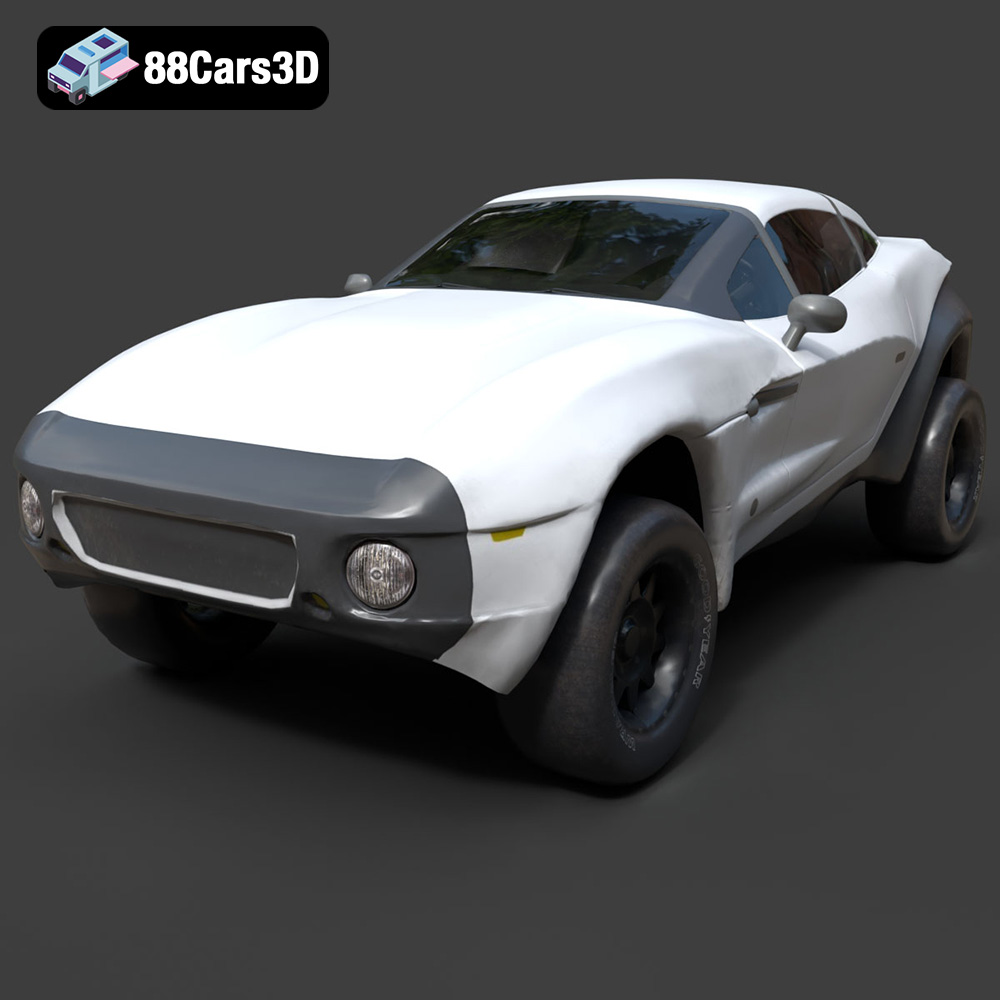
Texture: Yes | Material: Yes
Download the highly detailed, game-ready Local Motors Rally Fighter 3D Model. Features aggressive off-road long-travel suspension, detailed interior cockpit, and high-clearance body styling. Includes .blend, .fbx, .obj, .glb, .stl, .ply, .unreal, and .max formats for game development, AR/VR, and rendering.
Price: $99.99
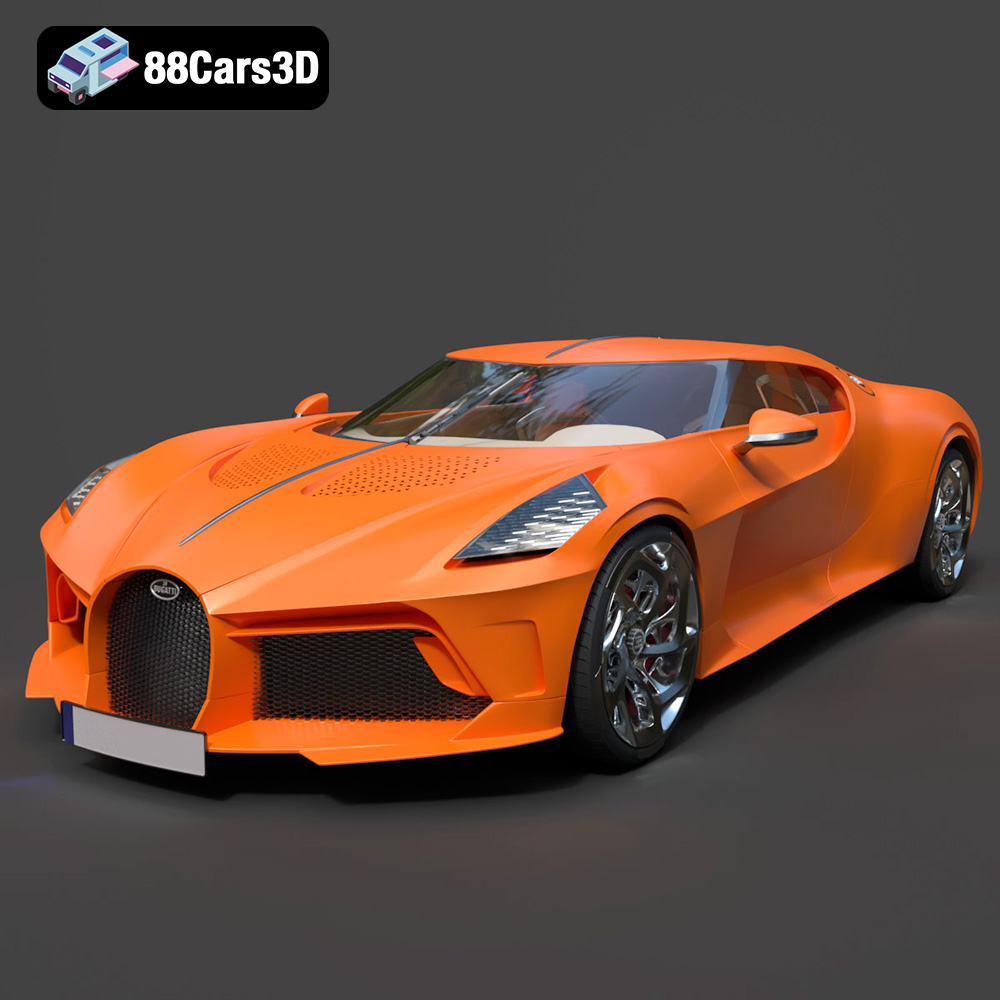
Texture: Yes | Material: Yes
Download the highly detailed, game-ready Bugatti La Voiture Noire 2019 3D Model. Features seamless jet-black carbon bodywork, distinctive six-tailpipe exhaust, and continuous LED light strip. Includes .blend, .fbx, .obj, .glb, .stl, .ply, .unreal, and .max formats for game development, AR/VR, and rendering.
Price: $9
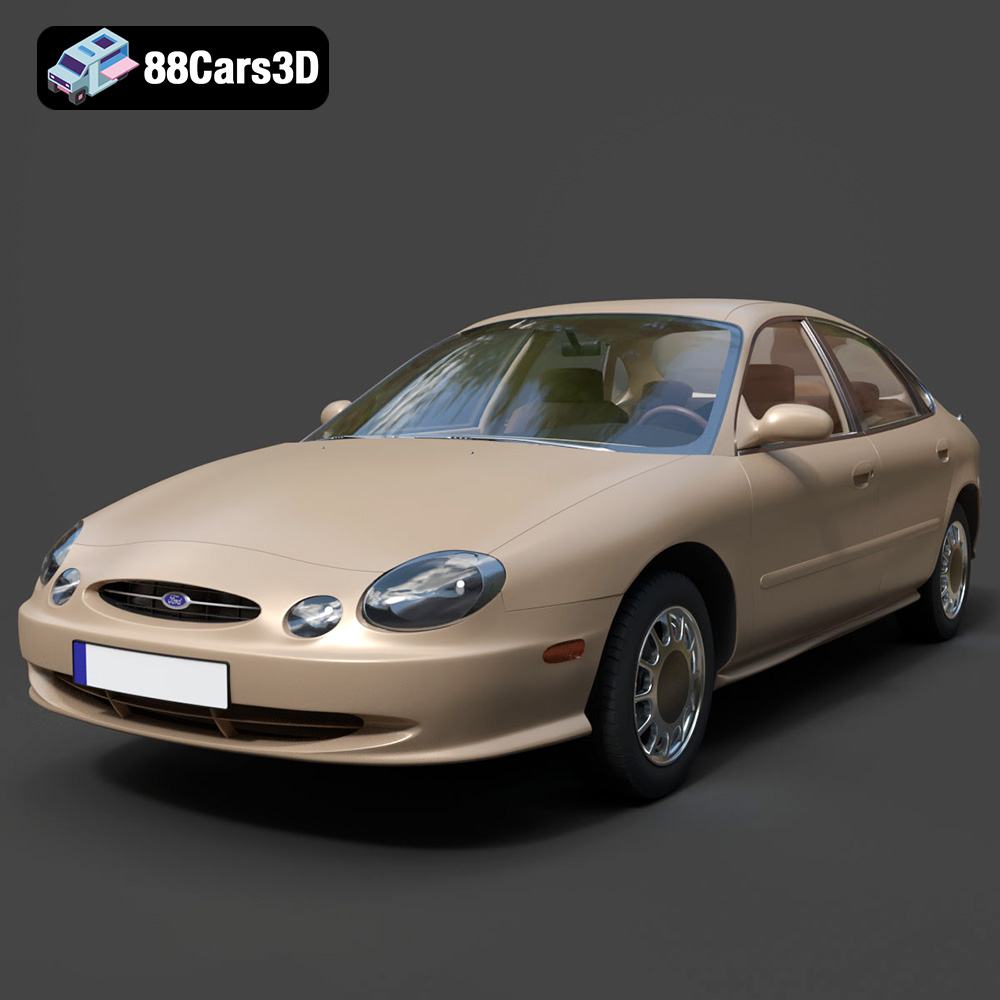
Texture: Yes | Material: Yes
Download the highly detailed, game-ready Ford Taurus 1996 3D Model. Features revolutionary oval exterior styling, detailed interior, and accurate chassis geometry. Includes .blend, .fbx, .obj, .glb, .stl, .ply, .unreal, and .max formats for game development, AR/VR, and rendering.
Price: $9
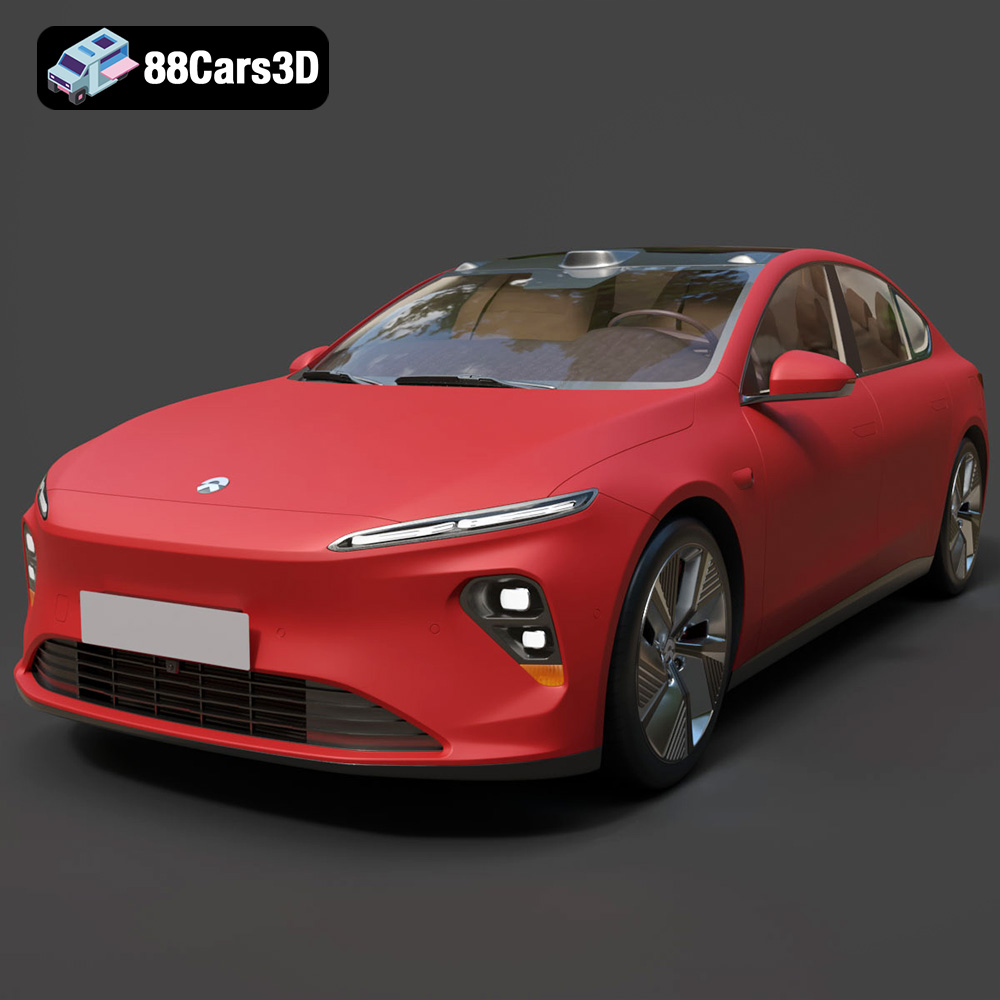
Texture: Yes | Material: Yes
Download the highly detailed, game-ready Nio ET7 2021 3D Model. Features sleek aerodynamic luxury electric sedan styling, integrated LiDAR sensors, and signature Double-Dash LED lights. Includes .blend, .fbx, .obj, .glb, .stl, .ply, .unreal, and .max formats for game development, AR/VR, and rendering.
Price: $207.99
