

In the dynamic world of 3D artistry, efficiency is paramount. Whether you’re an automotive designer crafting the next generation of vehicles, a game developer building immersive virtual worlds, or a visualization expert creating photorealistic renders, the sheer volume of 3D assets can quickly become overwhelming. Textures, materials, models, lighting setups, and even entire scene configurations often reside scattered across folders, making retrieval a time-consuming and frustrating endeavor. This disorganization not only hinders productivity but can also compromise project consistency and quality.
Enter Blender’s Asset Browser—a powerful, integrated system designed to tame the chaos of your 3D library. This feature transforms how you manage and utilize your assets, offering a streamlined workflow for cataloging, categorizing, and quickly accessing everything from individual bolts to complete 3D car models. By centralizing your resources, the Asset Browser frees you to focus on creativity rather than sifting through endless directories. In this comprehensive guide, we’ll delve deep into leveraging the Blender Asset Browser to its full potential, providing technical insights, workflow strategies, and best practices tailored for professionals working with high-quality automotive models, game assets, and visualization projects. We’ll explore everything from initial setup and population to advanced optimization techniques, ensuring your 3D library becomes a well-oiled machine, ready to drive your projects forward.
Establishing a robust asset library begins with meticulous planning and configuration within Blender’s preferences. A well-structured library not only simplifies asset retrieval but also lays the groundwork for seamless collaboration and future expansion. Understanding how Blender manages asset paths and categorizes different asset types is crucial for building an efficient and scalable system.
The first step to harnessing the power of the Asset Browser is to define your asset library locations. Blender allows you to specify multiple directories that will serve as your asset repositories, providing immense flexibility for various project structures. To set these up, navigate to Edit > Preferences > File Paths. Under the “Asset Libraries” section, you can add new paths by clicking the “Add” button and selecting your desired folder. It’s advisable to create dedicated, descriptive folders for your libraries, such as C:/3D_Assets/Global_Library for commonly used elements, and C:/3D_Projects/Automotive_Project_X/Assets for project-specific resources.
This multi-path approach is particularly beneficial for professionals. A “Global Library” might house standard PBR materials, common studio lighting setups, or frequently used environmental elements that can be shared across all projects. Project-specific libraries, on the other hand, can contain unique components for a particular 3D car model, such as specialized wheel designs, interior trim variations, or custom decals. When Blender launches, it scans all defined paths, making their contents available in the Asset Browser window. This modularity ensures that your personal asset collection remains distinct from team-shared resources or project-specific components, preventing clutter and enhancing searchability.
Blender’s Asset Browser supports a wide array of asset types, transforming almost any element within a .blend file into a reusable component. This includes Objects (like a complete 3D car model, a wheel, or a door panel), Materials (a complex PBR car paint shader), Node Groups (reusable procedural textures or utility nodes), World settings (HDRI environments, lighting setups), Poses (for character animation, though less common for automotive but useful for driver rigs), and crucially, Geometry Nodes setups. Each of these can be marked and stored as an asset, ready for instant drag-and-drop integration into new scenes.
Beyond the asset itself, metadata is the unsung hero of a well-organized library. When marking an item as an asset, Blender allows you to assign a descriptive name, add relevant tags, provide a detailed description, specify the author, and even include licensing information. For 3D car models, tags like “sedan,” “SUV,” “sportscar,” “electric,” “wheel,” “engine,” or specific car brands can dramatically improve searchability. A detailed description might include polygon counts, texture resolutions, or intended use cases (e.g., “low-poly game asset” vs. “high-res rendering”). For example, a car material might be tagged “metallic_paint,” “red,” “glossy,” allowing artists to quickly filter for specific material types. This meticulous approach to metadata is not merely an organizational nicety; it is a fundamental requirement for efficient asset discovery, especially in large-scale projects or collaborative environments. As noted in the official Blender 4.4 documentation on asset management (available at https://docs.blender.org/manual/en/4.4/?utm_source=blender-4.4.0), proper metadata significantly enhances the usability and longevity of your asset library.
Once your asset library paths are configured, the next crucial step is to populate it with your valuable 3D assets. This involves not only marking individual components as assets but also strategically organizing them to ensure quick retrieval and maximum reusability. For automotive models, this process is particularly important, as cars are complex assemblies of many distinct parts.
The core action for adding an item to your asset library is “Mark as Asset.” This process is straightforward: in your Blender scene, select the object, material, or node group you wish to catalog. Right-click on it (e.g., in the Outliner for an object, or the Shader Editor for a material) and choose “Mark as Asset.” Once marked, the item appears in your Asset Browser, ready for use. For collections, you’ll mark the collection itself, encapsulating all its contents as a single reusable entity. This is incredibly useful for grouping an entire 3D car model, or a set of wheels and tires, ensuring all related components are retrieved together.
Visual identification is paramount for efficient asset browsing, and this is where thumbnails come into play. Blender automatically generates a thumbnail when you mark an asset. However, these default thumbnails can sometimes be generic or uninformative, especially for complex automotive parts or subtle materials. For optimal visual clarity, it’s highly recommended to generate custom thumbnails. You can do this by navigating to the Asset tab in the Sidebar of the Asset Browser (press ‘N’ if it’s not visible). Here, you’ll find options to “Render Thumbnail” or “Set Custom Thumbnail.” To render a custom thumbnail, set up a clear, well-lit view of your asset in the 3D viewport, perhaps against a neutral background, and then click “Render Thumbnail.” For ultimate control, you can render a professional-looking image externally or from a dedicated scene and then use “Set Custom Thumbnail” to load your chosen image. For a 3D car model, a well-composed shot highlighting key design elements or a material, a clear swatch showcasing its properties, will significantly improve asset recognition and workflow speed.
Effective organization within the Asset Browser goes beyond simple tagging; it involves leveraging categories and smart structuring, especially for intricate subjects like automotive models. Within the Asset Browser panel, you can create hierarchical categories to logically group your assets. Imagine categories like “Vehicles/Sedans,” “Vehicles/SUVs,” “Car_Parts/Wheels,” “Car_Parts/Engines,” “Interiors/Seats,” or “Materials/Car_Paint,” “Materials/Tire_Rubber.” This hierarchical structure allows for rapid navigation through vast libraries.
For a complete 3D car model, consider marking the entire collection containing all its components (body, interior, wheels, engine) as a single asset. Alternatively, you might break it down: the car body as one asset, a set of wheels as another, and the interior components as a third. This modularity allows for greater flexibility. When dragging an asset from the browser into your scene, you have the option to “Append” or “Link” it. Appending imports a copy of the asset into your current file, making it independent. This is ideal when you need to modify the asset specifically for the current project without affecting the original library file. Linking, on the other hand, creates a reference to the original asset file. Any changes made to the original asset file will automatically update all linked instances. Linking is perfect for shared assets like standard materials, light rigs, or foundational car chassis that should remain consistent across multiple projects. Understanding when to append versus link is critical for managing file sizes, maintaining consistency across a studio’s pipeline, and ensuring that your 3D car models are easily adaptable to various design iterations or game asset requirements.
The utility of an asset in your library extends far beyond its initial creation. For high-quality 3D car models used in demanding fields like automotive rendering, game development, and AR/VR, optimization is key. An asset’s underlying structure—its topology, UVs, and materials—determines its versatility and performance across different applications. Storing well-optimized assets in your Blender library ensures that every component is production-ready, minimizing rework and maximizing efficiency.
Clean, efficient topology is the backbone of any high-quality 3D model, especially for the smooth, often reflective surfaces of a car. When preparing automotive models for your asset library, prioritize quad-based geometry with excellent edge flow. This ensures that the model deforms predictably, subdivides smoothly (crucial for high-fidelity renders), and translates well across different software packages. Avoid n-gons and excessive triangulation where possible. For car bodies, ensure edge loops follow the contours and creases, allowing for clean panel gaps and realistic reflections. This meticulous approach guarantees that a “body shell” asset can be easily adapted, modified, or even re-sculpted without introducing shading artifacts or topological nightmares.
Equally critical for reusability is robust UV mapping. For modular car assets (e.g., wheels, door panels, interior elements), strive for clean, non-overlapping UVs that maximize texel density. For an entire 3D car model, consider breaking down the UVs into logical sections: body, interior, glass, tires, etc., each with its own UV map or section within a shared atlas. This allows for specific material application and texture adjustments without affecting other parts. When creating a wheel asset, for instance, ensure its UVs are laid out efficiently so that a single, high-resolution tire texture can be applied consistently. For game assets, consider using multiple UV sets: one for general PBR textures and another for lightmaps or ambient occlusion. A well-UV’d asset from your library ensures that PBR materials apply flawlessly, and the model is ready for texturing in external software like Substance Painter, enhancing its versatility for automotive rendering and game engine integration.
The visual fidelity of a 3D car model largely hinges on its materials, and PBR (Physically Based Rendering) has become the industry standard for achieving realism. Creating robust PBR materials and storing their shader networks as assets in Blender is a game-changer for consistency and speed. A good PBR material asset, such as a “Metallic Car Paint,” “Matte Black Plastic,” or “Leather Interior,” should be built with clear inputs for color, roughness, metallic, normal map intensity, and other key parameters. This allows artists to drag a material from the Asset Browser onto any object and then quickly tweak its appearance using easily accessible custom properties, without diving deep into the node editor.
To prepare a PBR material for the Asset Browser, construct its node network in the Shader Editor, ensuring it’s self-contained and logical. Then, select all relevant nodes (excluding the Material Output node) and press Ctrl+G to create a Node Group. This group can then be marked as an asset. Within the node group, use the Group Input node to expose specific parameters (like “Base Color,” “Roughness,” “Normal Strength”) that artists will need to adjust. This creates a powerful, reusable material preset. For example, a “Car Paint” node group could include options for metallic flake intensity, clear coat thickness, and even procedural dirt or scratches, all exposed as simple sliders. Storing these sophisticated shader networks ensures that every vehicle in your automotive rendering project maintains a consistent, high-quality look. Platforms like 88cars3d.com rely on models with meticulously crafted PBR materials, and having a personal library of such materials significantly streamlines the process of integrating and customizing these assets into your projects.
Beyond simply storing models and materials, the Blender Asset Browser truly shines when integrated into advanced workflows, particularly with procedural tools like Geometry Nodes and when managing collaborative projects. These advanced uses unlock new levels of design iteration, customization, and team efficiency, making your 3D car model library a dynamic and intelligent resource.
Blender’s Geometry Nodes offer a powerful, non-destructive way to create complex procedural geometry and effects. The ability to mark entire Geometry Node setups as assets completely revolutionizes how designers can approach parametric modeling and variations for automotive components. Imagine creating a Geometry Node group that procedurally generates different tire tread patterns, custom grill designs, or even complex headlight internals. By marking this node group as an asset, you can drag and drop it onto any compatible mesh, instantly applying its procedural effects.
For example, a “Tire Tread Generator” asset could have exposed parameters for tread depth, pattern density, and distortion, allowing artists to quickly generate countless variations for a wheel asset without ever touching a modeling tool. Similarly, a “Procedural Grill” asset could offer parameters for mesh density, pattern type (honeycomb, slat, crosshatch), and curvature. This level of procedural control, stored as a reusable asset, is invaluable for rapid prototyping, design iteration, and creating unique versions of 3D car models for different markets or specifications. Furthermore, drivers can be used in conjunction with assets to create intelligent, reactive components. A driver attached to a car door asset, for instance, could automatically animate its opening and closing based on a single control, making complex rigged assets intuitive to use straight from the Asset Browser.
In a professional studio environment, collaboration is key, and the Blender Asset Browser is designed with shared workflows in mind. For teams, the ability to centralize a common asset library is invaluable. By pointing multiple team members’ Blender installations to a shared network drive or cloud storage location where the asset library .blend files reside, everyone can access the same up-to-date collection of models, materials, and node groups. This ensures consistency across all projects, preventing duplication of effort and maintaining a uniform aesthetic for all 3D car models and environments.
While Blender’s Asset Browser itself doesn’t offer robust version control, it integrates well with external systems. For managing the source .blend files that contain your assets, external version control systems like Git LFS (Large File Storage) are highly recommended. Git LFS allows you to track changes to large binary files efficiently, meaning that updates to your asset-containing .blend files can be managed and reverted if necessary, just like code. Teams can establish clear guidelines for updating asset files, such as a designated “asset curator” or a review process before changes are pushed to the shared library. This combination of Blender’s internal asset management with external version control ensures that your shared library of 3D car models, PBR materials, and procedural setups remains stable, accessible, and versioned, supporting a smooth and efficient team pipeline for automotive rendering, game development, and visualization projects.
The true value of a meticulously organized asset library in Blender is realized when its contents are deployed across various platforms and applications. Whether targeting game engines, AR/VR experiences, or 3D printing, your well-structured 3D car models and materials from the Asset Browser serve as a reliable foundation, streamlining the export and optimization processes.
When preparing 3D car models for real-time environments like Unity or Unreal Engine, performance optimization is paramount. A well-organized Blender asset library significantly simplifies this process. Before exporting, assets from your library can be tailored for game engine efficiency. This includes creating Level of Detail (LOD) models: lower polygon versions of your car assets that automatically switch based on distance from the camera, drastically reducing rendering overhead. You can store these LOD groups as part of your asset collection in Blender, ensuring that every time you pull a car model, its optimized variants are readily available.
Additionally, collision meshes (simplified geometry used for physics interactions) can be prepared and stored with your car models, saving time during engine import. Efficient texture atlasing, where multiple smaller textures are packed into one larger sheet, is another key optimization. Your PBR materials from the Asset Browser can be adapted to use these atlases, reducing draw calls in the game engine. When exporting, formats like FBX and GLB (glTF Binary) are common. FBX is widely supported by both Unity and Unreal, preserving object hierarchies, materials, and animations. GLB, increasingly popular, is excellent for web-based 3D and offers efficient PBR material representation. By preparing your assets within Blender using its asset browser, you ensure that your 3D car models are not just visually stunning but also technically robust and game-ready, saving countless hours in the export and integration phases.
The demands of AR/VR and 3D printing present unique challenges that an organized asset library helps to address. For AR/VR experiences, particularly on mobile devices, extreme polygon optimization and efficient texturing are crucial for maintaining high frame rates. Your car models from the Asset Browser might need a dedicated “AR/VR” variant with significantly reduced polygon counts (e.g., under 50,000 tris for an entire car) and optimized texture resolutions (e.g., 1K or 2K maps). Blender’s decimate modifier can assist in this, and having these optimized versions stored as separate assets or within the same asset collection allows for rapid deployment to AR/VR platforms.
Export formats like GLB and USDZ are essential for AR/VR, preserving PBR materials and ensuring compatibility across devices. Your PBR materials, carefully managed in the Asset Browser, translate well into these formats. For 3D printing, the requirements shift dramatically: models must be “manifold” (watertight, no open edges), have appropriate wall thickness, and be free of intersecting geometry. Blender’s 3D Print Toolbox addon is invaluable for mesh analysis and repair. An asset library containing “3D Print Ready” versions of car parts or accessories, pre-checked for manifold errors and scaled correctly, can accelerate the preparation process. This structured approach, facilitated by the Asset Browser, ensures that your 3D car models are adaptable for a wide range of cutting-edge applications, from interactive showrooms to physical prototypes.
Finally, your organized asset library is a powerhouse for rendering. Whether you’re using Blender’s Cycles or Eevee, or exporting to external renderers like Corona, V-Ray, or Arnold, consistent and high-quality rendering hinges on readily available assets. The Asset Browser can store entire light setups (e.g., a “Studio Car Lighting Rig”), HDRI environments, camera rigs, and even post-processing node setups as reusable assets. Dragging a professional studio lighting setup directly into your scene can instantly provide a base for your automotive rendering projects, ensuring consistent illumination and mood across different car models.
Your library of PBR materials, precisely calibrated for realism, becomes an indispensable resource for achieving photorealistic results. Imagine having a “Luxury Car Paint” material, a “Premium Leather Interior” material, or a “Chrome Rim” material, all optimized for your chosen renderer and instantly accessible. Furthermore, environmental assets like road sections, trees, or background buildings, meticulously organized in your library, allow you to quickly construct believable scenes around your 3D car models. This holistic approach, where all elements from the car itself to its surrounding environment and lighting are managed through the Asset Browser, significantly streamlines the rendering workflow, allowing artists to focus on artistic direction and composition rather than repetitive setup tasks. When sourcing models from marketplaces such as 88cars3d.com, integrating them into an existing, well-organized asset library allows for seamless material application and scene integration, further enhancing their value.
The journey through mastering Blender’s Asset Browser reveals its profound potential to transform the chaotic realm of 3D asset management into a highly efficient, organized, and collaborative environment. For professionals in automotive design, game development, and visualization, where precision, consistency, and speed are non-negotiable, the Asset Browser stands as an indispensable tool. From the initial setup of your asset paths and meticulous metadata assignment to the creation of optimized, reusable 3D car models, PBR materials, and procedural Geometry Nodes, every step taken to populate and refine your library pays dividends in saved time and enhanced creative output.
By embracing best practices for topology, UV mapping, and material creation, you ensure that your assets are not only visually stunning but also robustly prepared for diverse applications, from high-fidelity automotive rendering to performance-critical game engines and the specific demands of AR/VR or 3D printing. The ability to quickly access, append, or link production-ready components—whether a bespoke car body, a sophisticated tire material, or an entire studio lighting rig—empowers artists to iterate faster, maintain higher quality standards, and collaborate more effectively. This systematic approach reduces friction in the creative process, allowing you to focus more on innovative design and less on laborious asset retrieval.
Ultimately, a well-managed 3D asset library built with Blender’s Asset Browser elevates your entire workflow. It’s an investment in efficiency, consistency, and future-proofing your projects. Combined with high-quality 3D car models sourced from platforms like 88cars3d.com, your organized library becomes a formidable resource, propelling your creative endeavors to new heights. Take the actionable step today: begin organizing your existing assets, experiment with marking new ones, and experience firsthand how this powerful tool can revolutionize your professional 3D pipeline.
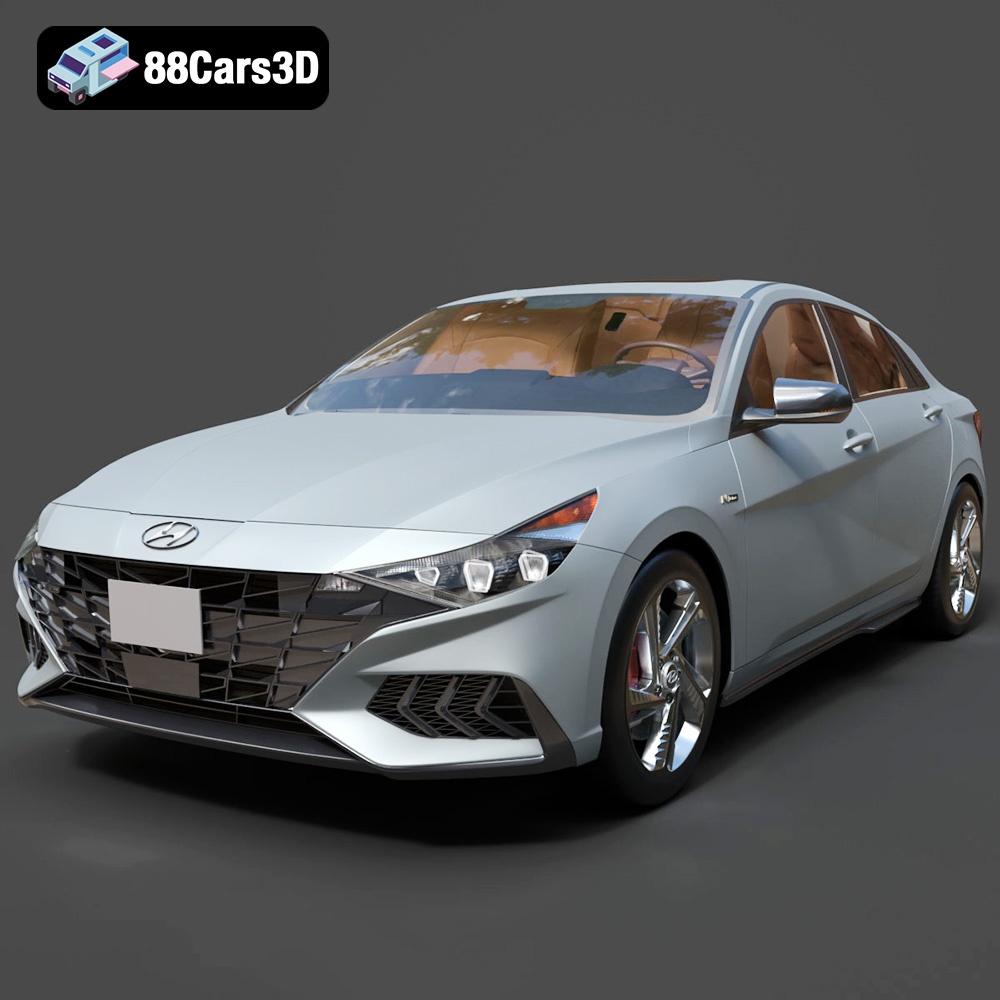
Texture: Yes | Material: Yes
Download the highly detailed, game-ready Hyundai Elantra N Line 2021 3D Model. Features aggressive N Line body styling, parametric jewel grille, and sport interior details. Includes .blend, .fbx, .obj, .glb, .stl, .ply, .unreal, and .max formats for game development, AR/VR, and rendering.
Price: $226.00
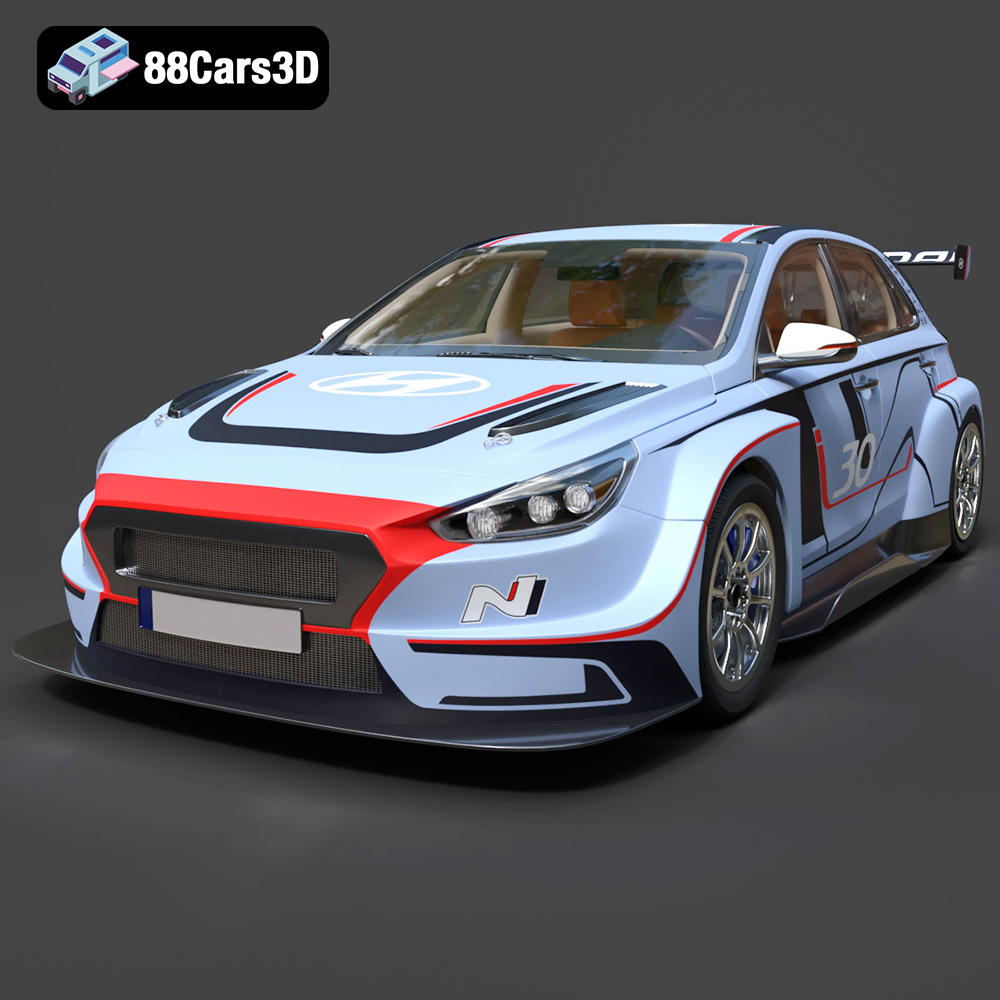
Texture: Yes | Material: Yes
Download the highly detailed, game-ready Hyundai i30 N TCR Hatchback 2020 3D Model. Features aggressive touring car aerodynamics, high-downforce rear wing, and race-spec interior. Includes .blend, .fbx, .obj, .glb, .stl, .ply, .unreal, and .max formats for game development, AR/VR, and rendering.
Price: $204.99
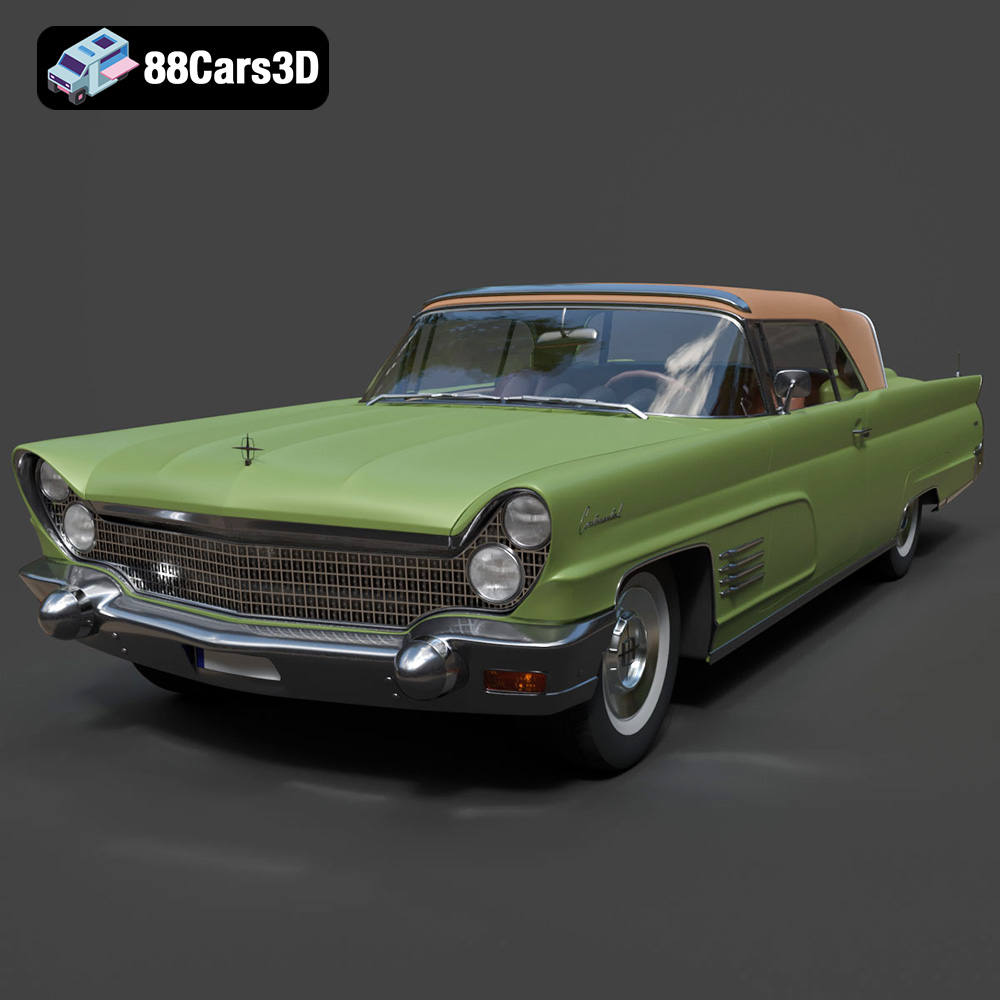
Texture: Yes | Material: Yes
Download the highly detailed, game-ready Lincoln Continental Mark V 1960 3D Model. Features iconic 1960s luxury cruiser styling, massive chrome grille, reverse-slant rear window, and sweeping tail fins. Includes .blend, .fbx, .obj, .glb, .stl, .ply, .unreal, and .max formats for game development, AR/VR, and rendering.
Price: $208.99
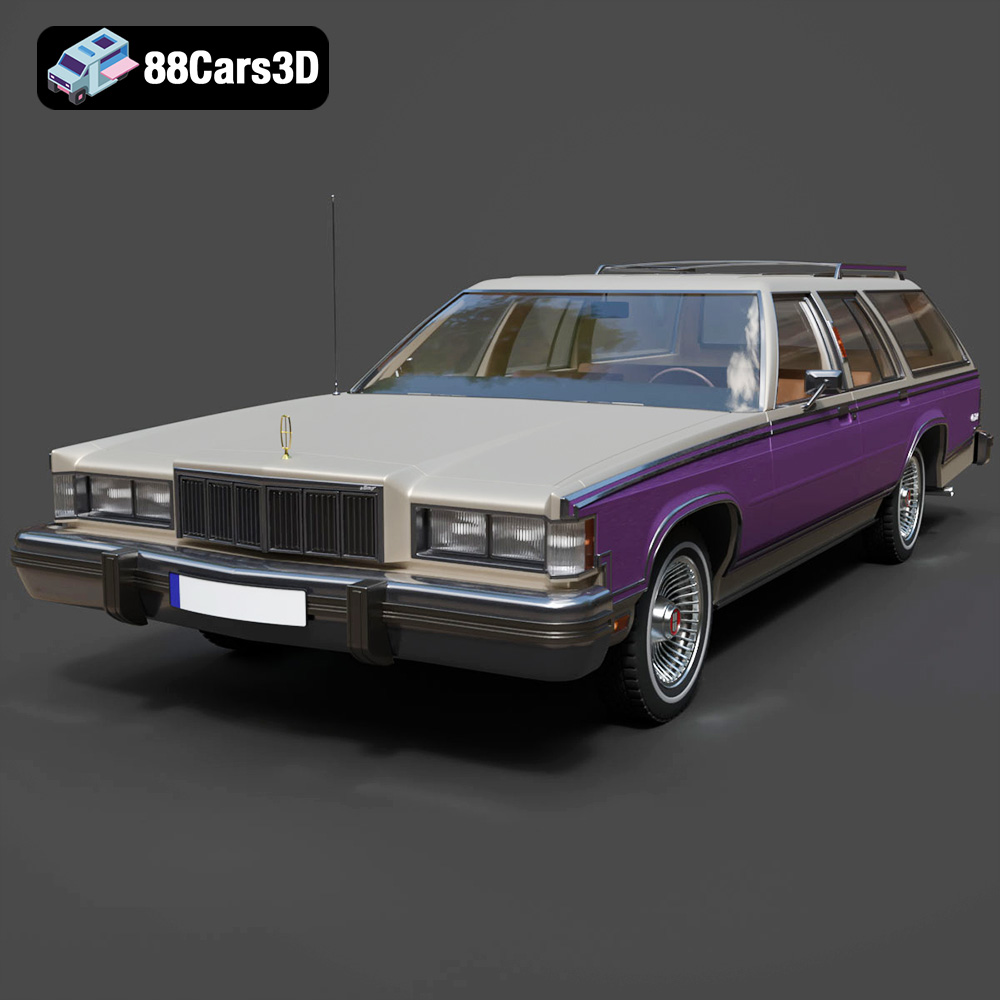
Texture: Yes | Material: Yes
Download the highly detailed, game-ready Mercury Marquis Colony Park 1981 3D Model. Features iconic simulated woodgrain siding, classic full-size wagon proportions, and realistic chrome exterior trim. Includes .blend, .fbx, .obj, .glb, .stl, .ply, .unreal, and .max formats for game development, AR/VR, and rendering.
Price: $262.50
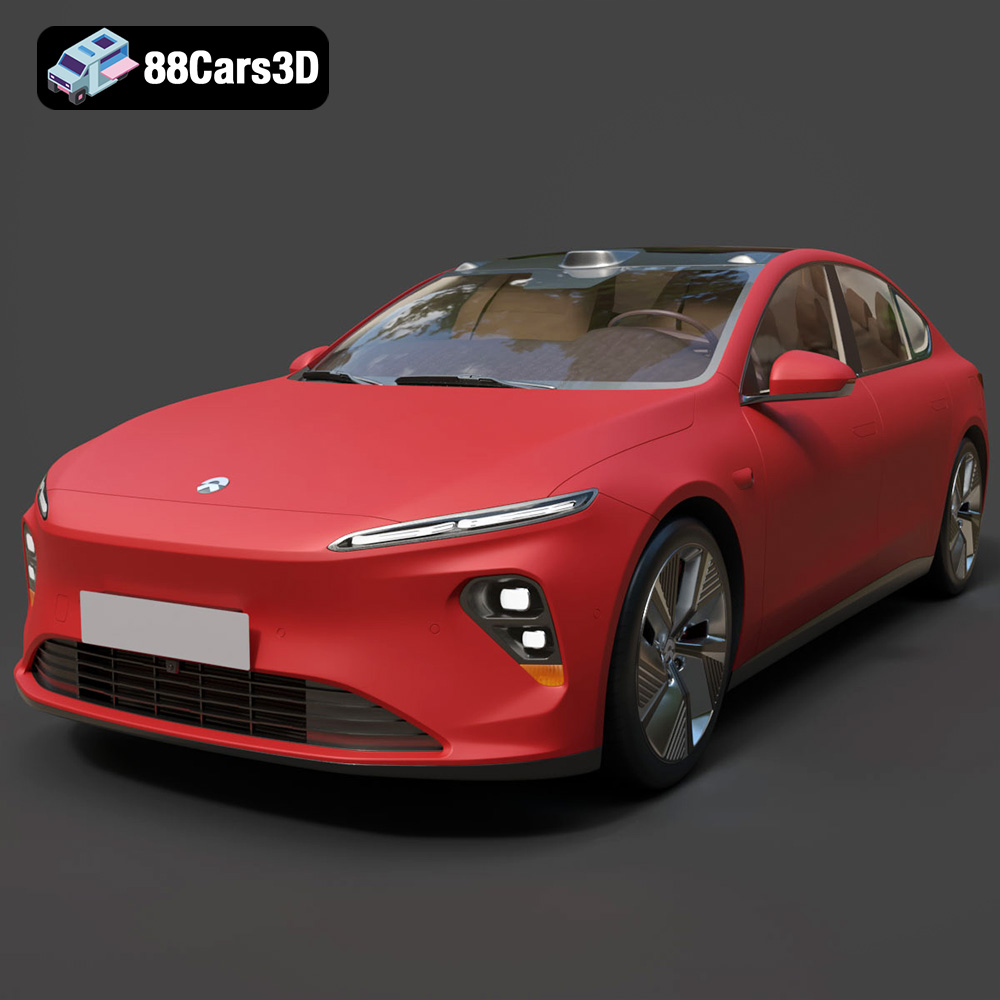
Texture: Yes | Material: Yes
Download the highly detailed, game-ready Nio ET7 2021 3D Model. Features sleek aerodynamic luxury electric sedan styling, integrated LiDAR sensors, and signature Double-Dash LED lights. Includes .blend, .fbx, .obj, .glb, .stl, .ply, .unreal, and .max formats for game development, AR/VR, and rendering.
Price: $207.99
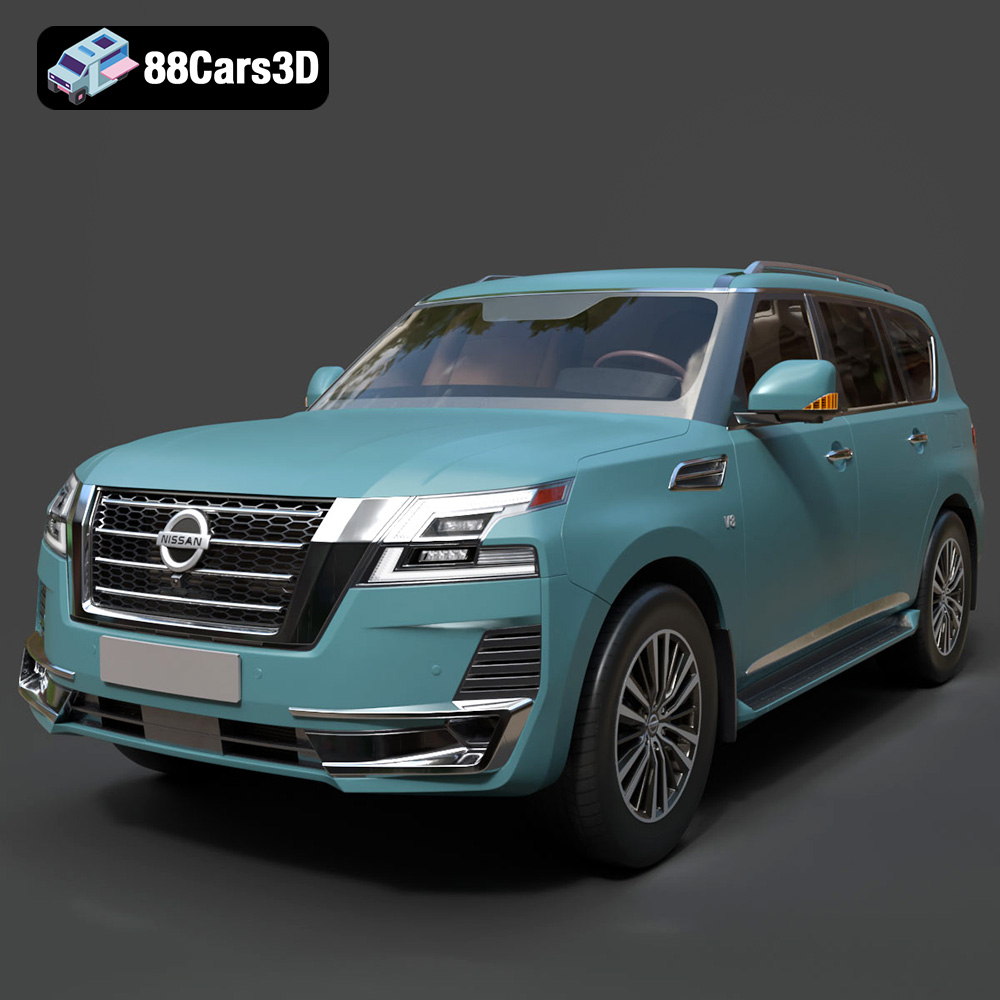
Texture: Yes | Material: Yes
Download the highly detailed, game-ready Nissan Patrol 2021 3D Model. Features signature V-motion grille, realistic exterior detailing, and a fully rendered luxury interior. Includes .blend, .fbx, .obj, .glb, .stl, .ply, .unreal, and .max formats for game development, AR/VR, and rendering.
Price: $297.99
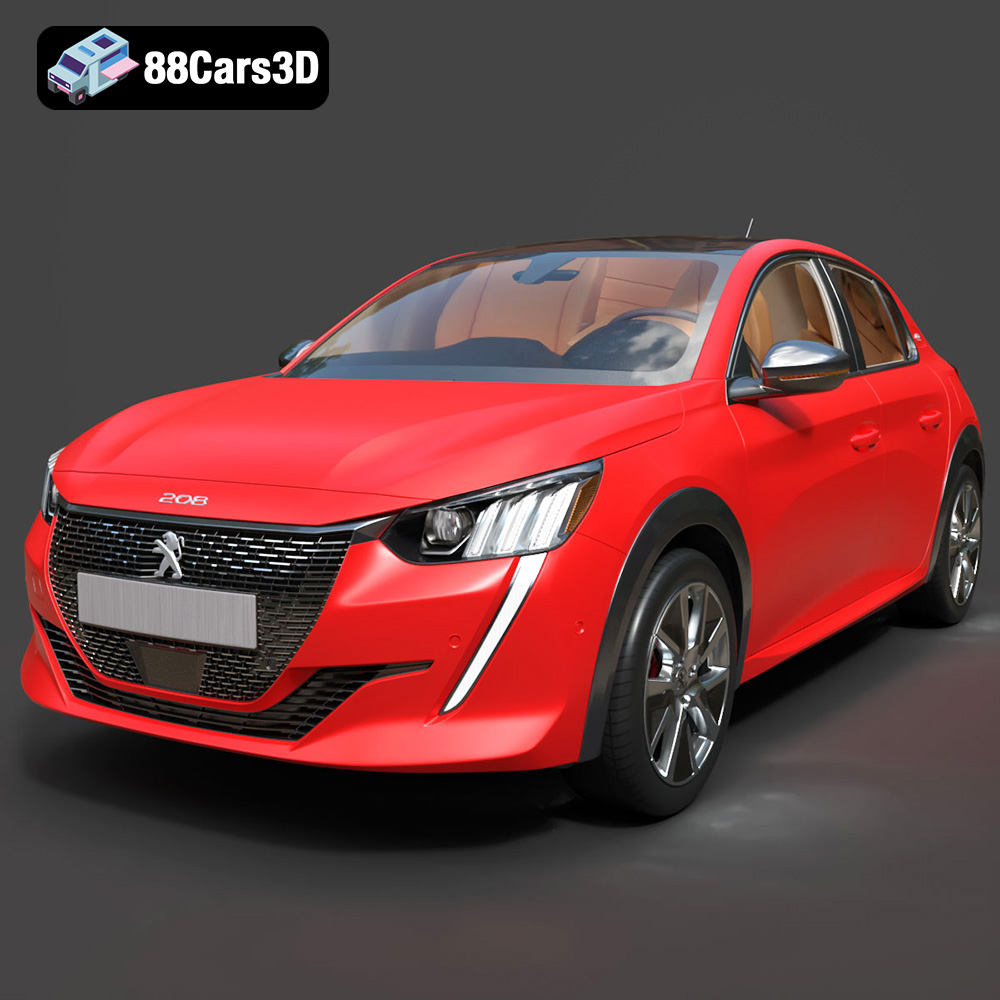
Texture: Yes | Material: Yes
Download the highly detailed, game-ready Peugeot e-208 2020 3D Model. Features 3-claw LED lighting, dynamic body geometry, and a fully detailed i-Cockpit interior. Includes .blend, .fbx, .obj, .glb, .stl, .ply, .unreal, and .max formats for game development, AR/VR, and rendering.
Price: $224.00
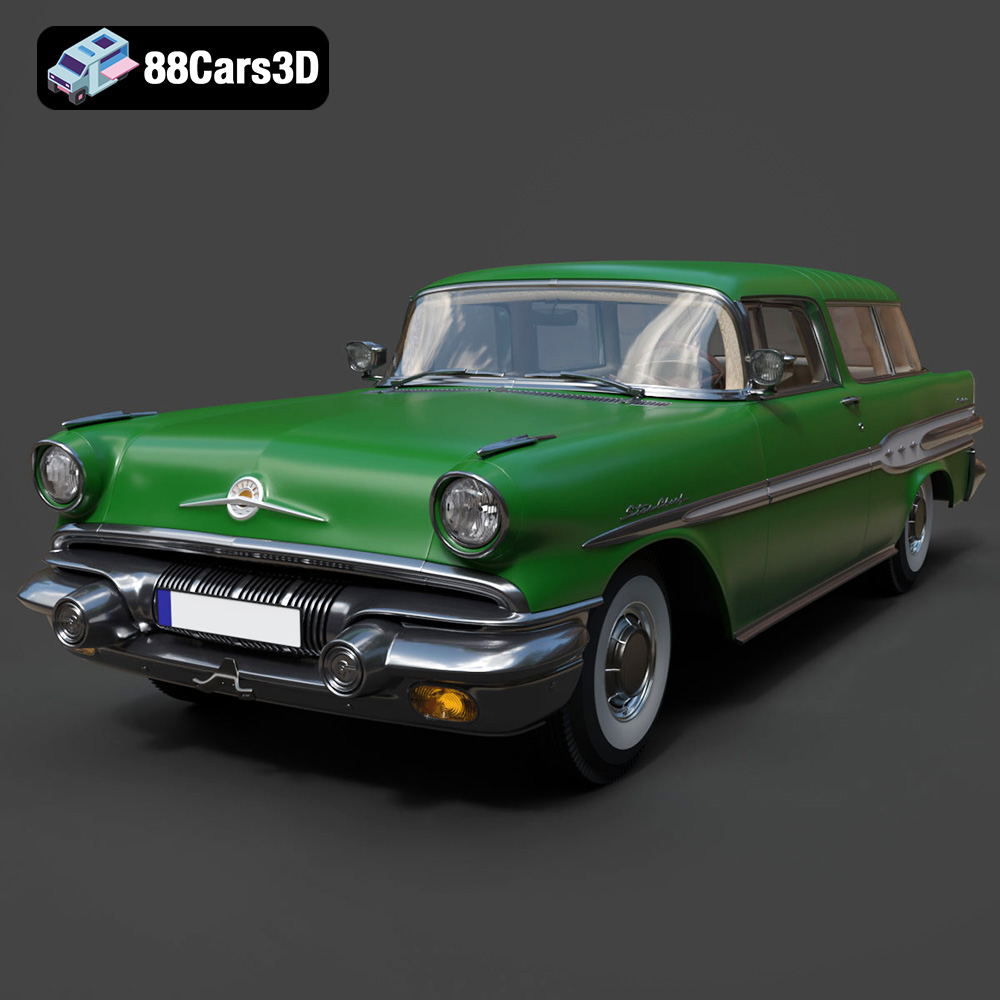
Texture: Yes | Material: Yes
Download the highly detailed, game-ready Pontiac Star Chief Custom Safari 2-door 1957 3D Model. Features classic 1950s two-door wagon bodywork, iconic chrome tail fins, and realistic interior detailing. Includes .blend, .fbx, .obj, .glb, .stl, .ply, .unreal, and .max formats for game development, AR/VR, and rendering.
Price: $203.50
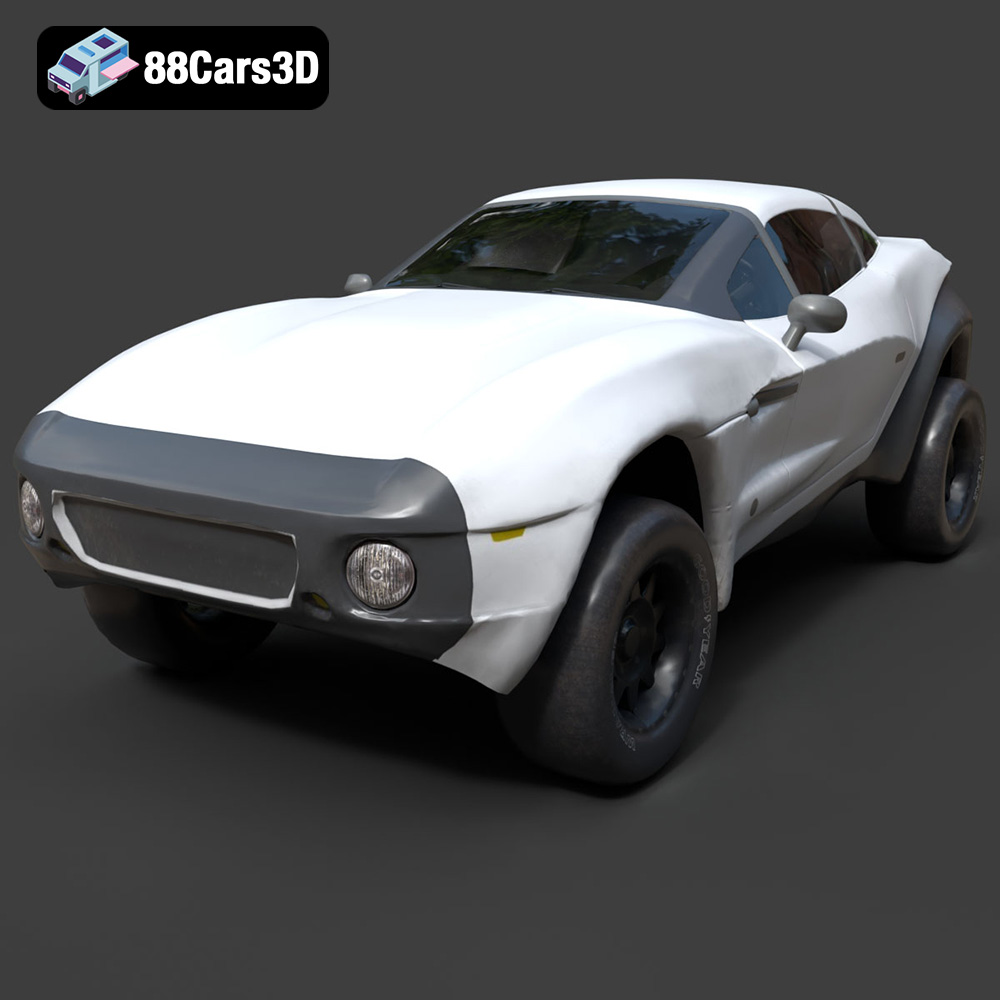
Texture: Yes | Material: Yes
Download the highly detailed, game-ready Local Motors Rally Fighter 3D Model. Features aggressive off-road long-travel suspension, detailed interior cockpit, and high-clearance body styling. Includes .blend, .fbx, .obj, .glb, .stl, .ply, .unreal, and .max formats for game development, AR/VR, and rendering.
Price: $99.99
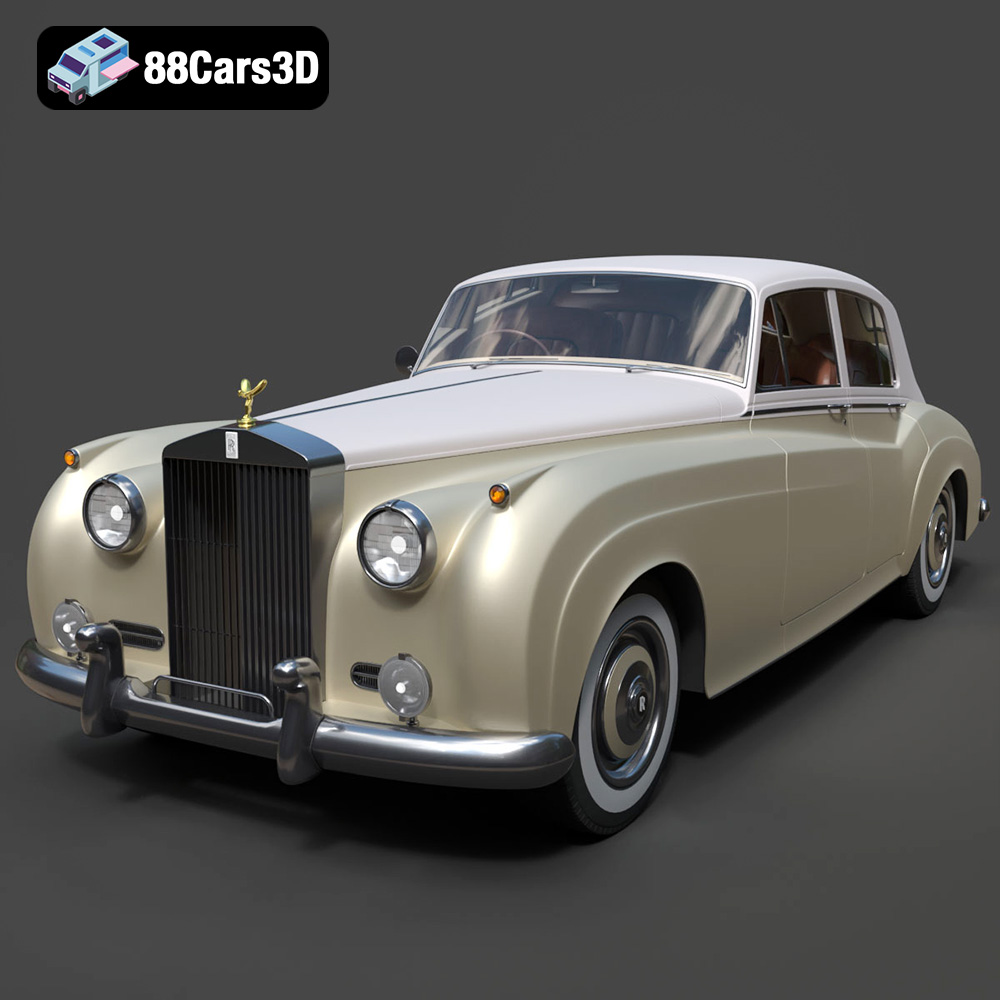
Texture: Yes | Material: Yes
Download the highly detailed, game-ready Rolls-Royce Silver Cloud II 1959 3D Model. Features classic chrome radiator grille, iconic Spirit of Ecstasy ornament, and elegant two-tone bodylines. Includes .blend, .fbx, .obj, .glb, .stl, .ply, .unreal, and .max formats for game development, AR/VR, and rendering.
Price: $201.00
