

In the intricate world of 3D automotive design, mere polygon count no longer defines realism. Today, the magic truly unfolds in the details—the subtle reflections on a polished chrome bumper, the minute imperfections on a painted surface, or the nuanced depth of a car’s aerodynamic lines. These elements, crucial for believable visualization and immersive experiences, are often driven by meticulously crafted textures and precisely baked normal maps. For 3D artists, game developers, and visualization professionals alike, mastering these techniques is paramount, transforming a sterile wireframe into a vibrant, high-fidelity digital asset.
Blender, with its robust suite of modeling, sculpting, texturing, and rendering tools, stands as an indispensable ally in this pursuit. Its capabilities allow artists to not only sculpt complex automotive shapes but also to imbue them with photorealistic surface properties through intuitive texture painting and powerful normal map baking workflows. This comprehensive guide will delve deep into Blender’s technical prowess, exploring how to leverage its features to create stunning 3D car models ready for rendering, game engines, AR/VR experiences, and even advanced visualization projects. We’ll navigate the critical steps from foundational topology and UV mapping to advanced painting techniques, precise normal map baking, and ultimate optimization, ensuring your automotive creations stand out in any digital landscape.
Before any brush stroke of paint or computational bake can even be considered, a 3D automotive model must possess an impeccable foundation: clean topology and a well-thought-out UV map. These two pillars dictate not only the visual quality of the final asset but also its performance and versatility across different applications. For complex, curvature-rich objects like cars, getting this right from the start saves countless hours down the line and ensures optimal results for everything from realistic renders to game-ready assets.
When modeling a car, the goal is to create a mesh that is both visually appealing and technically sound. This means primarily relying on a quad-based topology. Quads (four-sided polygons) are fundamental because they subdivide predictably, allowing for smooth curves and clean deformation when applying modifiers like Subdivision Surface. Automotive surfaces are characterized by sweeping, continuous curves and sharp, precise creases. Achieving these with good topology involves careful attention to edge flow. Edge loops should follow the natural contours of the car, defining panels, body lines, and areas of curvature. For instance, an edge loop should ideally trace the outline of a headlight, providing a clear boundary and allowing for localized detail without affecting the entire mesh.
Maintaining an even distribution of quad density is also vital. Areas with high curvature or critical details, such as fender flares or intricate grille patterns, will naturally require a higher polygon density. However, this density should transition smoothly into lower-density areas to avoid unsightly pinches or sudden changes in surface quality. Avoiding triangles (tris) and N-gons (polygons with more than four sides) is a best practice, especially on large, deformable surfaces, as they can lead to unpredictable subdivision artifacts, shading errors, and difficulties in texture mapping. While tris might be unavoidable in very specific, flat areas or for game optimization at the very end of the pipeline, they should be used sparingly and strategically. Professional models, such as those found on platforms like 88cars3d.com, consistently exemplify these topological best practices, ensuring superior quality and flexibility for various uses.
Once a robust topology is established, the next critical step is creating an efficient and distortion-free UV map. UV unwrapping is the process of flattening the 3D mesh into a 2D plane, essentially creating a template for your textures. For texture painting and especially normal map baking, clean UVs are non-negotiable. The primary goal is to minimize stretching and overlapping, providing a clear canvas for texture artists.
A strategic approach to marking seams is key. Think of unwrapping a car like disassembling a cardboard box: you need to cut along certain edges to lay it flat. For cars, these seams often follow natural panel lines, hidden edges, or areas where textures will transition minimally, such as the underside of a vehicle or the interior of a wheel well. Good seam placement ensures that visible parts of the car receive continuous texture flow without abrupt breaks. Blender offers several unwrapping methods, including Angle-Based, Conformal, and Smart UV Project, each suitable for different situations. Conformal unwrapping, for instance, often minimizes area distortion, which is excellent for maintaining consistent texture detail across surfaces. For comprehensive details on Blender’s UV editing capabilities, you can refer to the official Blender 4.4 documentation on UV Mapping.
After unwrapping, the resulting 2D pieces (UV islands) must be efficiently packed into the UV space (typically a 0-1 square). Efficient packing maximizes texture resolution and minimizes wasted space. Blender’s UV Editor provides powerful tools for packing, scaling, and rotating islands. Ensure there’s adequate padding (a small margin of empty pixels) between islands to prevent texture bleeding during rendering or mipmap generation, particularly crucial for game assets. If your model requires very specific details or different resolutions for certain parts, consider using multiple UV sets (e.g., one for the body, one for interior details), though for normal map baking, a single, unified UV map is usually preferred for the primary surface details.
With a solid foundation of clean topology and well-laid UVs, we can now dive into the creative realm of texture painting. Blender’s integrated texture painting tools offer a powerful and intuitive environment for directly applying details to your 3D car models. This workflow eliminates the need for constant back-and-forth with external 2D image editors, streamlining the texturing process and allowing for real-time feedback directly on your model.
An optimized workspace is essential for an efficient texture painting experience. In Blender, this typically involves arranging your screen layout to display both the 3D Viewport and the Image Editor simultaneously. The 3D Viewport allows you to paint directly on your model in real-time, observing how your strokes interact with the 3D surface. The Image Editor, on the other hand, provides a 2D view of your UV map, enabling precise adjustments and the ability to paint directly onto the flattened texture, which can be useful for intricate details or fixing seams.
To begin, ensure your object has a material assigned to it, and within that material, an Image Texture node is connected (e.g., to the Base Color of a Principled BSDF shader). You’ll need to create a new image for painting in the Image Editor (typically a square resolution like 2048×2048 or 4096×4096, depending on detail requirements). Once the image is linked, switch your 3D Viewport to “Texture Paint” mode. Here, you’ll find a comprehensive array of brush settings:
Familiarizing yourself with these settings and customizing hotkeys will significantly speed up your painting workflow. For more in-depth information on the various brush settings and texture painting modes, consult the official Blender 4.4 documentation on Texture Painting.
Achieving realistic details on automotive surfaces goes beyond simple color application. Blender offers advanced techniques to add depth, wear, and specific material properties. One powerful method is using stencils. Stencils allow you to project an image onto your model as you paint, enabling the easy application of logos, decals, rust patterns, or intricate carbon fiber weaves. You simply load an image into the stencil slot and paint over it, much like using a physical stencil.
Another crucial technique involves working with layers, though Blender’s native texture painting doesn’t have a direct “layer” system like 2D image editors. This can be emulated by painting on separate image textures for different material properties (e.g., one image for base color, another for roughness, another for metallic values). You can then combine and blend these images using Blender’s Shader Editor. For more complex layered painting, artists often leverage Blender’s ability to paint directly onto different channels (Base Color, Roughness, Metallic, Normal) within the same material setup.
Masking also plays a significant role. You can paint masks to protect certain areas from being painted or to isolate specific regions for detailing. This can be achieved through vertex groups, or by utilizing existing texture maps (like an Ambient Occlusion map) to guide where wear and grime should accumulate. Projection painting, while less common for general car surfaces due to potential distortion, can be useful for projecting specific decals or reference images onto a complex surface from a camera view, ensuring perfect alignment. Combining these techniques allows for granular control over surface details, from subtle scratches on a door panel to the intricate grilles of a high-performance vehicle.
For truly photorealistic results, texture painting must adhere to Physically Based Rendering (PBR) principles. PBR materials simulate how light interacts with surfaces in the real world, providing consistent and accurate results across different lighting environments. When painting, this means considering several key texture maps:
By painting these maps individually or by strategically using layers within your painting workflow, you ensure that your car model’s materials react realistically to light, achieving the visual fidelity expected in modern rendering and game engines.
Normal map baking is one of the most transformative techniques in 3D production, especially for complex models like cars. It allows artists to transfer intricate geometric details from a high-polygon model onto a low-polygon counterpart, drastically reducing polygon counts while retaining the illusion of high detail. This process is absolutely essential for optimizing assets for real-time applications like game engines and AR/VR, where performance is paramount.
The core concept of normal map baking revolves around two versions of your model: a high-polygon (high-poly) model and a low-polygon (low-poly) model. The high-poly model contains all the intricate details—bevels, subtle panel gaps, sculpted scratches, and fine surface irregularities—that make a car model look realistic. This model can have millions of polygons without concern for real-time performance. The low-poly model, in contrast, is a simplified version, designed to be as polygon-efficient as possible while still accurately representing the overall shape of the car. It might have a few thousand or tens of thousands of polygons, depending on its intended use.
Normal map baking is the process of projecting the surface normal information (which defines how light reflects off a surface, creating the illusion of depth) from the high-poly mesh onto the UV map of the low-poly mesh. The result is a specialized texture called a normal map, typically characterized by its distinctive blue and purple hues. When this normal map is applied to the low-poly model’s material, the rendering engine uses the color information within the map to alter how light is shaded, making the flat surfaces of the low-poly model appear to have all the geometric detail of the high-poly model. This technique dramatically reduces the computational load, allowing for highly detailed models to be rendered efficiently in real-time environments.
Blender provides a robust baking system within its Cycles Render Engine, capable of generating various texture maps, including normal maps. To bake a normal map, follow these general steps:
For the most accurate and up-to-date guidance on specific bake settings and troubleshooting, always refer to the official Blender 4.4 documentation on Baking in Cycles.
Baking normal maps can sometimes be a finicky process, and encountering artifacts is common. Here are some frequent issues and their solutions:
Patience and meticulous attention to mesh preparation (clean topology, proper UVs) are your best allies when baking. A successful bake is a testament to careful planning and execution.
While normal maps are instrumental in faking geometric detail, they are just one component of a holistic PBR material. For automotive models, crafting convincing PBR materials is an art form that brings a vehicle to life, simulating everything from the multi-layered depth of car paint to the subtle reflections of chrome and glass. Blender’s Shader Editor, powered by its node-based system, offers unparalleled flexibility and power for this task.
Automotive paint is notoriously complex, characterized by multiple layers: a base coat, metallic flakes (optional), and a clear coat. Replicating this in a PBR shader network requires a thoughtful approach.
The beauty of Blender’s node editor is the ability to layer and blend these effects, controlling every aspect with image textures, procedural textures, or mathematical nodes. You’ll likely use Math nodes, ColorRamp nodes, and various texture nodes (Noise, Musgrave, Voronoi) to procedurally generate subtle variations and imperfections, making the paint feel less “perfect” and more real.
A truly compelling material often combines the precision of baked maps with the flexibility of procedural textures. Your baked normal map will be connected to the “Normal” input of your Principled BSDF shader (always via a “Normal Map” node, with its Color Space set to “Non-Color”). But don’t stop there:
By artfully combining these elements, your car’s surfaces will respond to light in a highly realistic manner, showcasing depth and detail that elevates the overall visual quality.
As your shader networks grow in complexity, particularly for nuanced automotive materials, they can become unwieldy. Blender’s Node Groups are an invaluable tool for maintaining organization and efficiency. A Node Group allows you to encapsulate a series of nodes into a single, reusable block. For example, you could create a “Car Paint Shader Group” that contains all the complex clear coat, metallic flake, and base color logic, exposing only a few key inputs like “Base Color,” “Flake Intensity,” and “Clearcoat Roughness.”
To create a Node Group, select the nodes you want to group, then press Ctrl+G (or Node > Make Group). You can then customize the group’s inputs and outputs in the Group tab of the N-panel. This not only cleans up your shader editor but also enables rapid iteration and consistent material application across multiple car models or variations. Platforms like 88cars3d.com often provide models with optimized material setups, demonstrating the efficiency that node groups can bring to complex PBR shaders.
Creating high-fidelity 3D car models is only half the battle; the other half involves optimizing them for various target applications. Whether destined for real-time game engines, high-end visualization, or interactive AR/VR experiences, performance and compatibility are key. Baked normal maps, along with strategic use of LODs and texture atlasing, form the cornerstone of this optimization process.
For game development, efficiency is paramount. Every millisecond of rendering time counts. This is where the combination of low-polygon meshes and baked normal maps truly shines. The primary goal is to maintain visual fidelity while minimizing the computational cost.
When preparing assets for engines like Unity or Unreal Engine, artists carefully balance polygon count, texture resolution, and material complexity, leveraging normal maps to provide detail that would otherwise require millions of polygons. The goal is a visually rich asset that runs smoothly at target frame rates.
While high-end visualization (e.g., architectural walkthroughs, product configurators) often allows for higher polygon counts than games, performance remains a concern, especially for real-time interactive experiences. AR/VR applications, in particular, demand extreme optimization due to the need for high frame rates (typically 90fps or higher) across two eyes.
The models offered by 88cars3d.com are typically designed with these considerations in mind, providing a balance of detail and optimization suitable for a wide range of visualization and interactive applications.
Once your automotive model is fully textured and optimized in Blender, it needs to be exported in a format compatible with your target software or platform. The choice of file format is critical for preserving all your hard work, especially the baked textures and material assignments.
Regardless of the format, always perform a test import into your target engine or application to verify that your model, UVs, baked normal maps, and PBR materials are correctly interpreted and displayed as intended. This crucial step prevents last-minute surprises and ensures a smooth pipeline from Blender to your final product.
The journey from a blank canvas to a high-fidelity 3D car model, adorned with photorealistic textures and intricate surface details, is a testament to the power of meticulous technique and artistic vision. Mastering Blender’s texture painting and normal map baking workflows is not merely about learning software features; it’s about understanding the fundamental principles that elevate a digital asset from good to outstanding. We’ve explored the critical importance of clean topology and strategic UV mapping as the bedrock of any successful automotive model, ensuring optimal surfaces for both direct painting and accurate projection.
From setting up an efficient painting workspace and employing advanced techniques like stencils and PBR-aware color application, to navigating the complexities of high-poly to low-poly baking with Blender’s Cycles engine, each step contributes to the ultimate realism. The seamless integration of baked normal, roughness, and metallic maps into sophisticated PBR shader networks transforms flat surfaces into believable materials, reacting dynamically to light. Finally, the strategic optimization for diverse applications—be it game engines requiring LODs and texture atlasing, or AR/VR demanding a delicate balance of detail and performance—underscores the versatility of these skills.
By diligently applying these technical insights and continually refining your artistic eye, you empower your 3D automotive creations to truly shine across all digital mediums. Whether you’re aiming for breathtaking renders, immersive game environments, or cutting-edge visualization projects, the detailed workflows outlined here provide a robust framework for success. For those seeking a head start or inspiration, exploring the professionally crafted 3D car models available on marketplaces like 88cars3d.com can offer valuable insights into industry-standard quality and optimization. Keep pushing the boundaries of realism, and let your passion for automotive design drive your mastery of these essential 3D techniques.
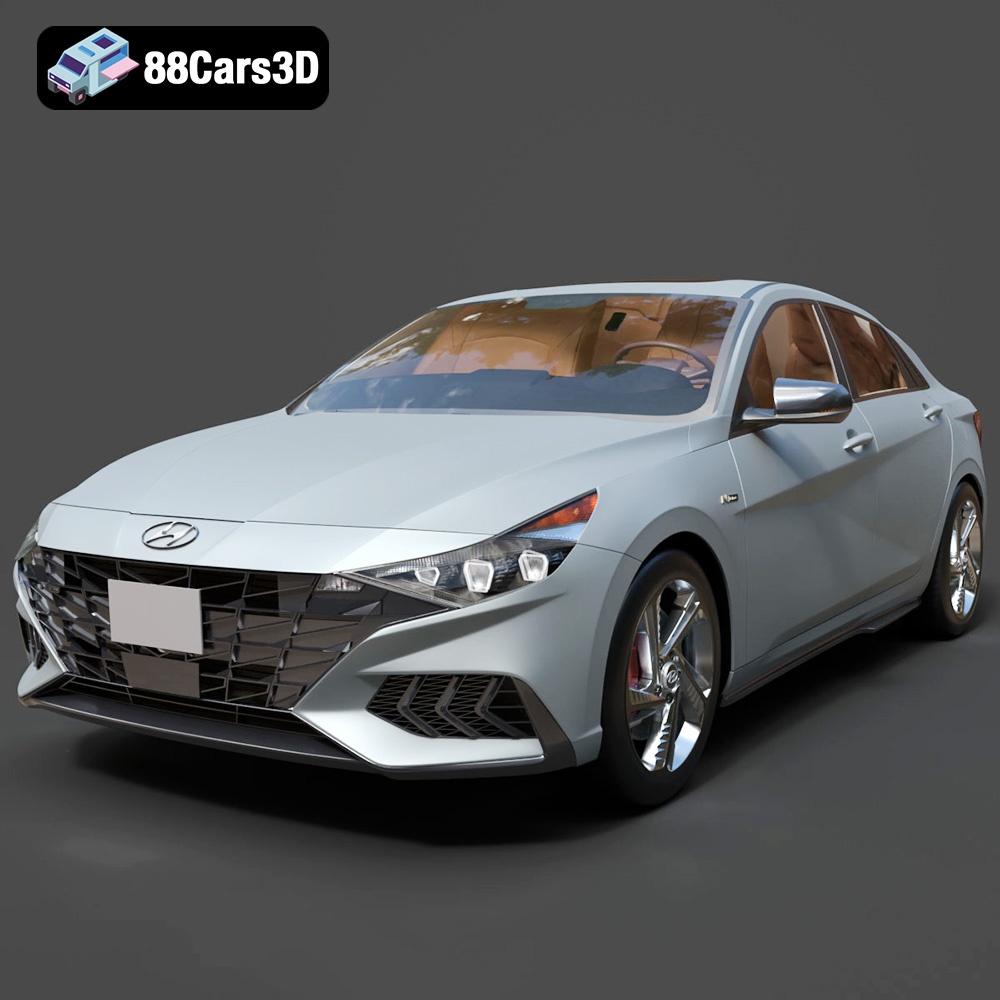
Texture: Yes | Material: Yes
Download the highly detailed, game-ready Hyundai Elantra N Line 2021 3D Model. Features aggressive N Line body styling, parametric jewel grille, and sport interior details. Includes .blend, .fbx, .obj, .glb, .stl, .ply, .unreal, and .max formats for game development, AR/VR, and rendering.
Price: $9
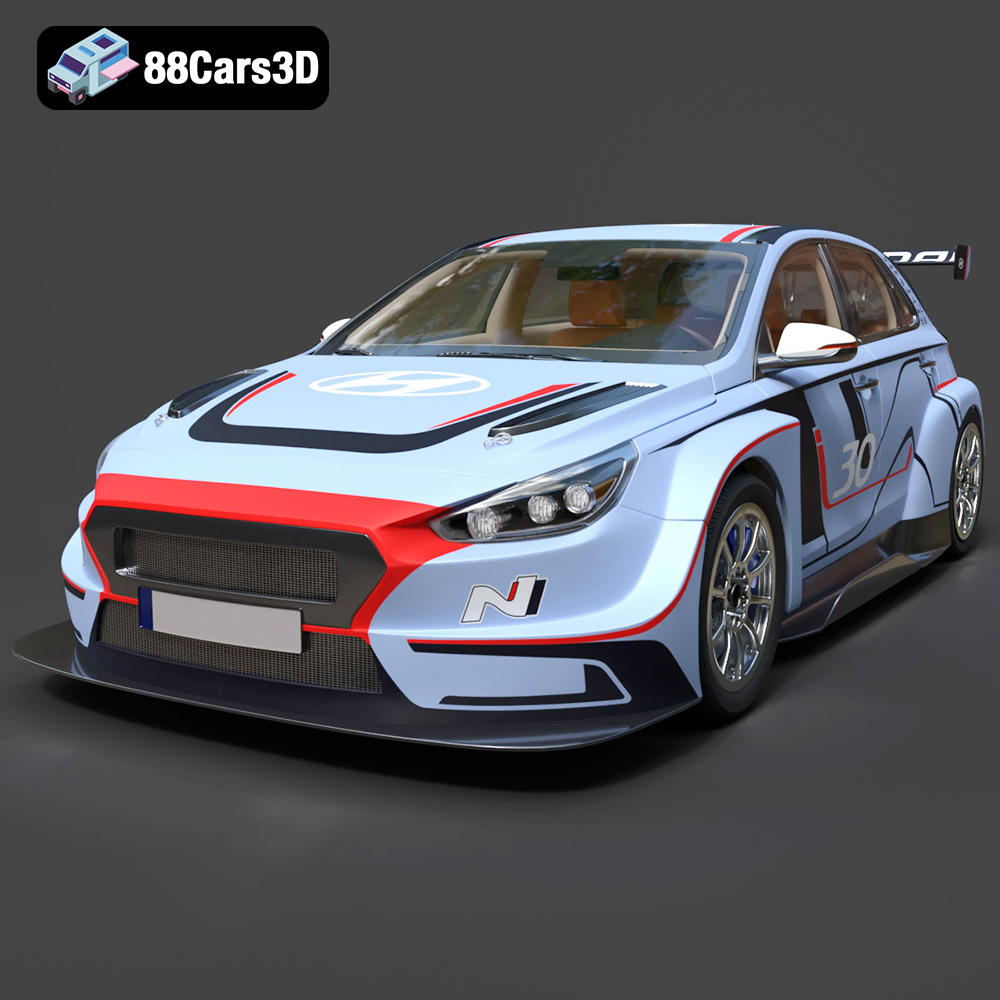
Texture: Yes | Material: Yes
Download the highly detailed, game-ready Hyundai i30 N TCR Hatchback 2020 3D Model. Features aggressive touring car aerodynamics, high-downforce rear wing, and race-spec interior. Includes .blend, .fbx, .obj, .glb, .stl, .ply, .unreal, and .max formats for game development, AR/VR, and rendering.
Price: $9
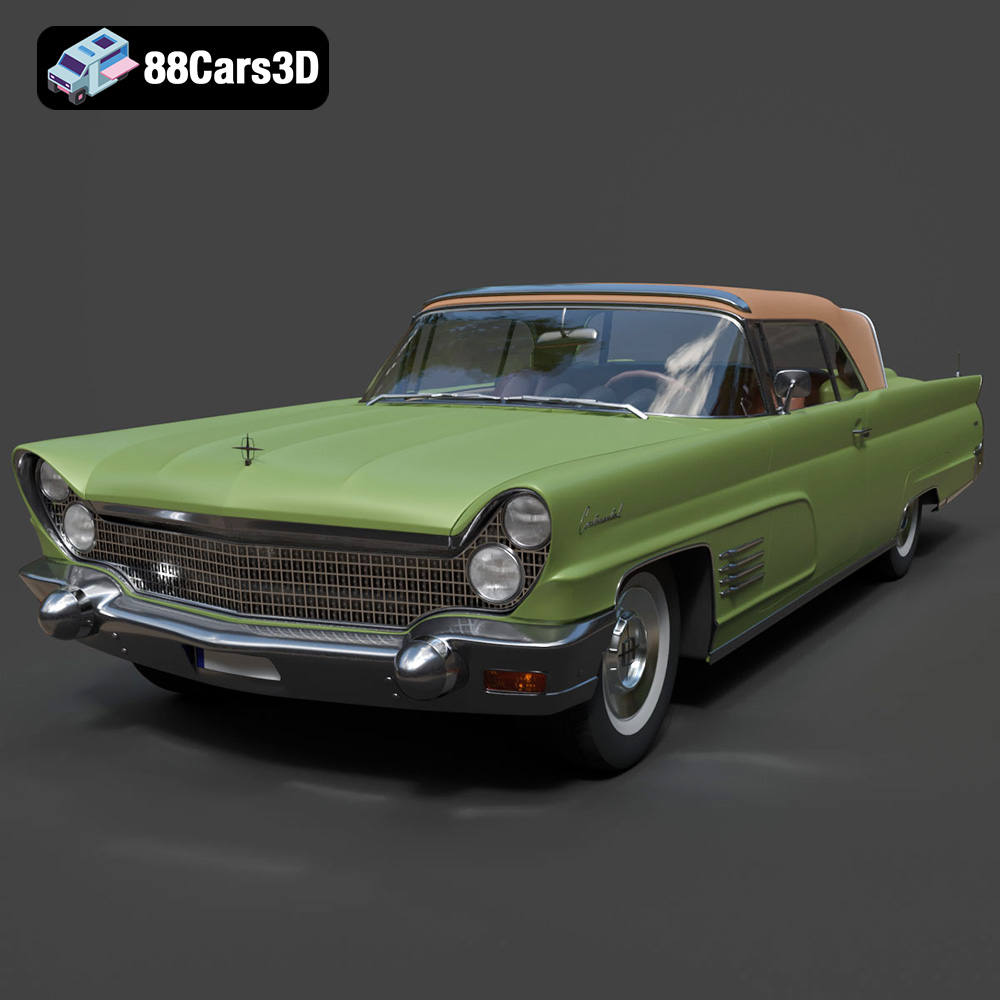
Texture: Yes | Material: Yes
Download the highly detailed, game-ready Lincoln Continental Mark V 1960 3D Model. Features iconic 1960s luxury cruiser styling, massive chrome grille, reverse-slant rear window, and sweeping tail fins. Includes .blend, .fbx, .obj, .glb, .stl, .ply, .unreal, and .max formats for game development, AR/VR, and rendering.
Price: $9
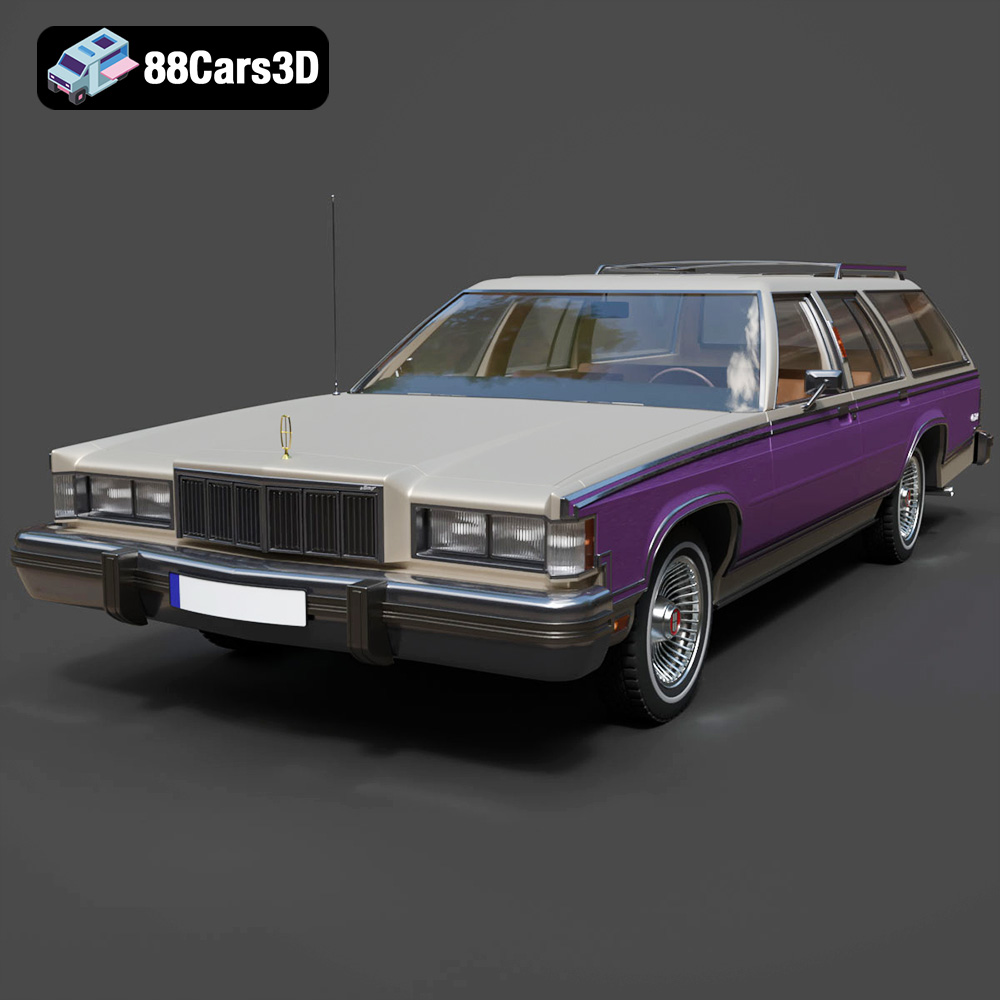
Texture: Yes | Material: Yes
Download the highly detailed, game-ready Mercury Marquis Colony Park 1981 3D Model. Features iconic simulated woodgrain siding, classic full-size wagon proportions, and realistic chrome exterior trim. Includes .blend, .fbx, .obj, .glb, .stl, .ply, .unreal, and .max formats for game development, AR/VR, and rendering.
Price: $9
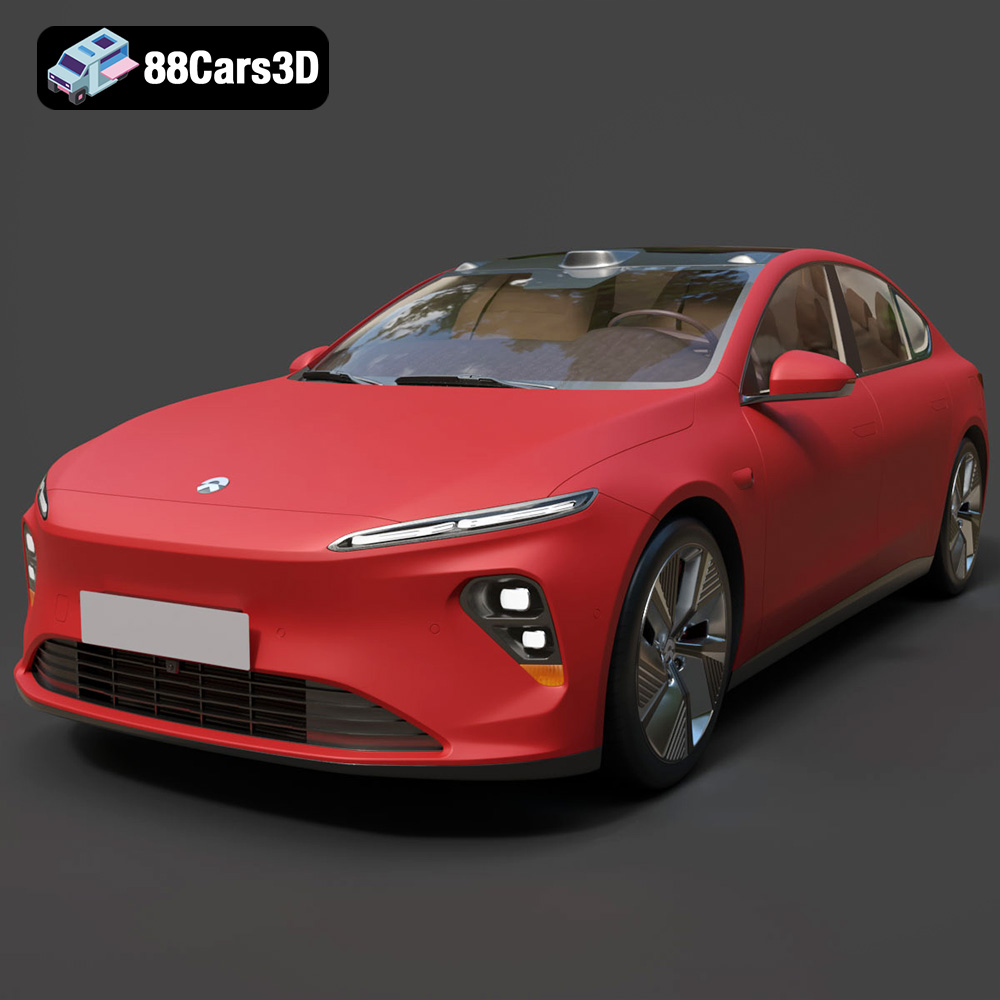
Texture: Yes | Material: Yes
Download the highly detailed, game-ready Nio ET7 2021 3D Model. Features sleek aerodynamic luxury electric sedan styling, integrated LiDAR sensors, and signature Double-Dash LED lights. Includes .blend, .fbx, .obj, .glb, .stl, .ply, .unreal, and .max formats for game development, AR/VR, and rendering.
Price: $9
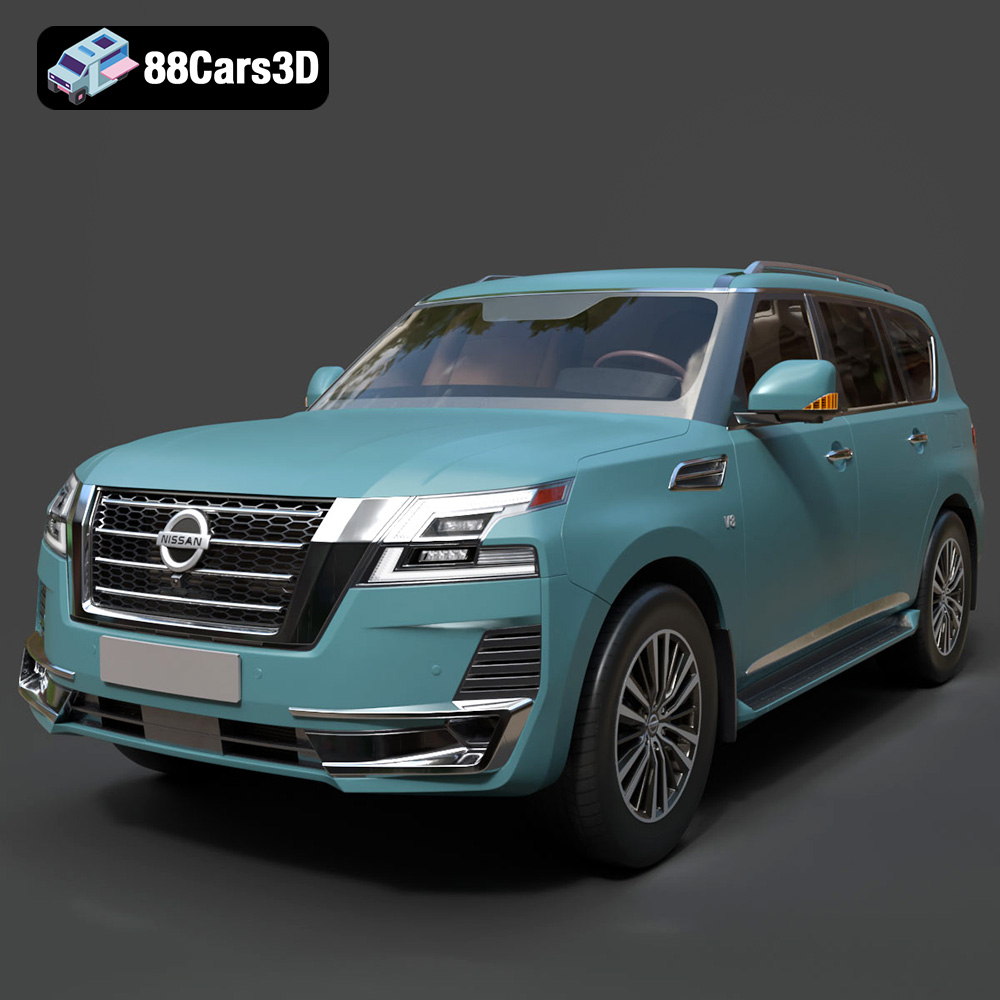
Texture: Yes | Material: Yes
Download the highly detailed, game-ready Nissan Patrol 2021 3D Model. Features signature V-motion grille, realistic exterior detailing, and a fully rendered luxury interior. Includes .blend, .fbx, .obj, .glb, .stl, .ply, .unreal, and .max formats for game development, AR/VR, and rendering.
Price: $9
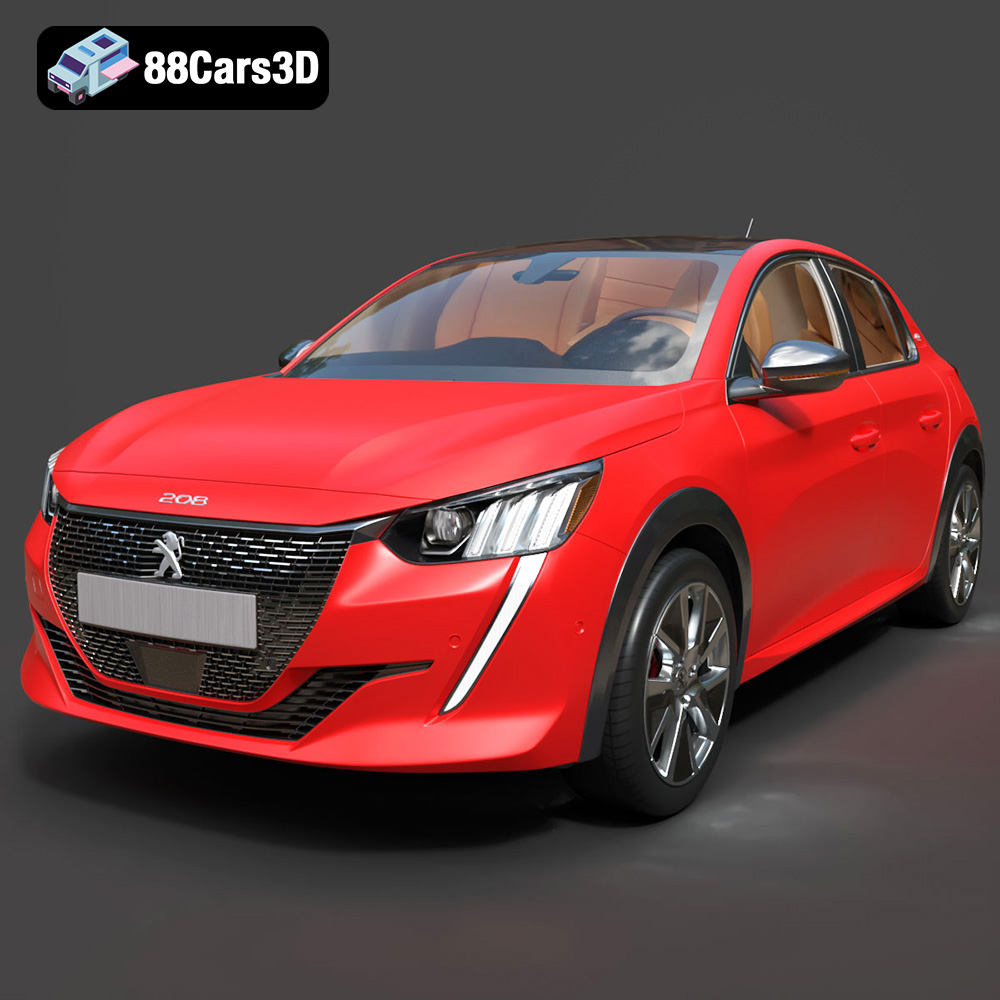
Texture: Yes | Material: Yes
Download the highly detailed, game-ready Peugeot e-208 2020 3D Model. Features 3-claw LED lighting, dynamic body geometry, and a fully detailed i-Cockpit interior. Includes .blend, .fbx, .obj, .glb, .stl, .ply, .unreal, and .max formats for game development, AR/VR, and rendering.
Price: $9
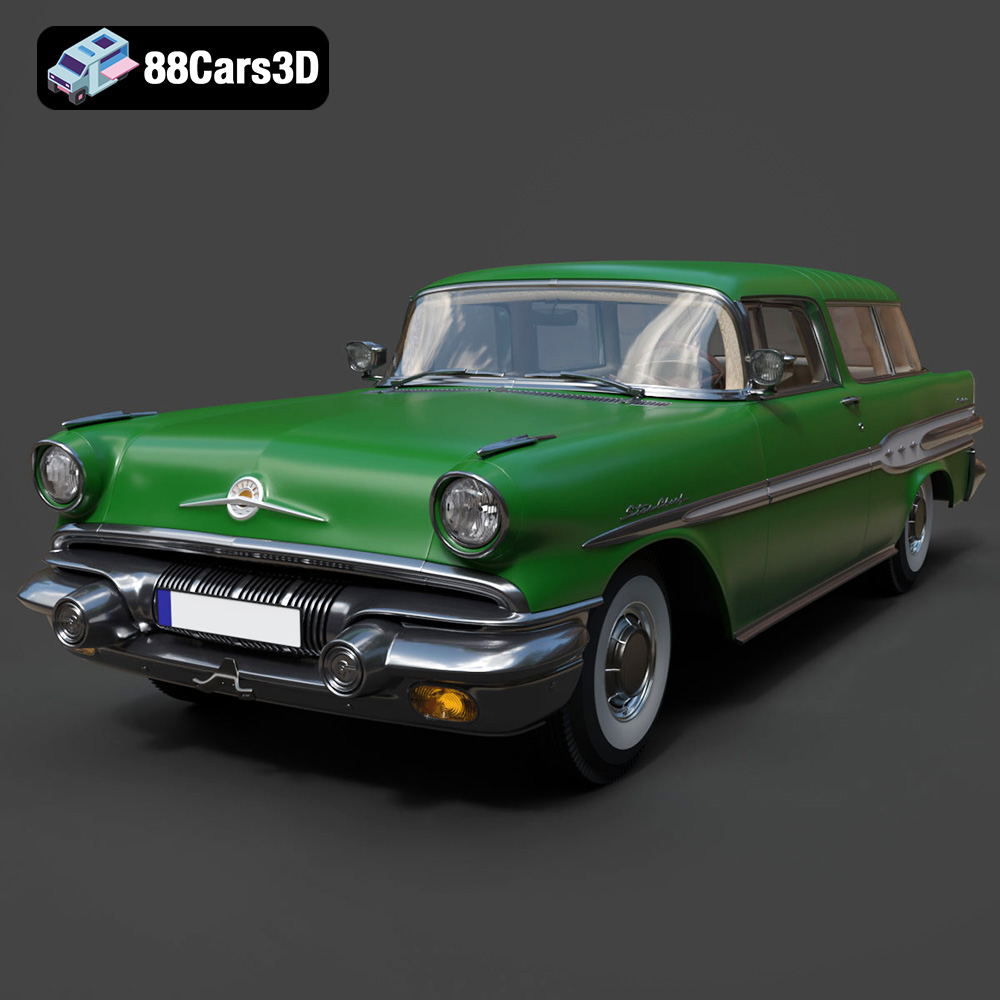
Texture: Yes | Material: Yes
Download the highly detailed, game-ready Pontiac Star Chief Custom Safari 2-door 1957 3D Model. Features classic 1950s two-door wagon bodywork, iconic chrome tail fins, and realistic interior detailing. Includes .blend, .fbx, .obj, .glb, .stl, .ply, .unreal, and .max formats for game development, AR/VR, and rendering.
Price: $9
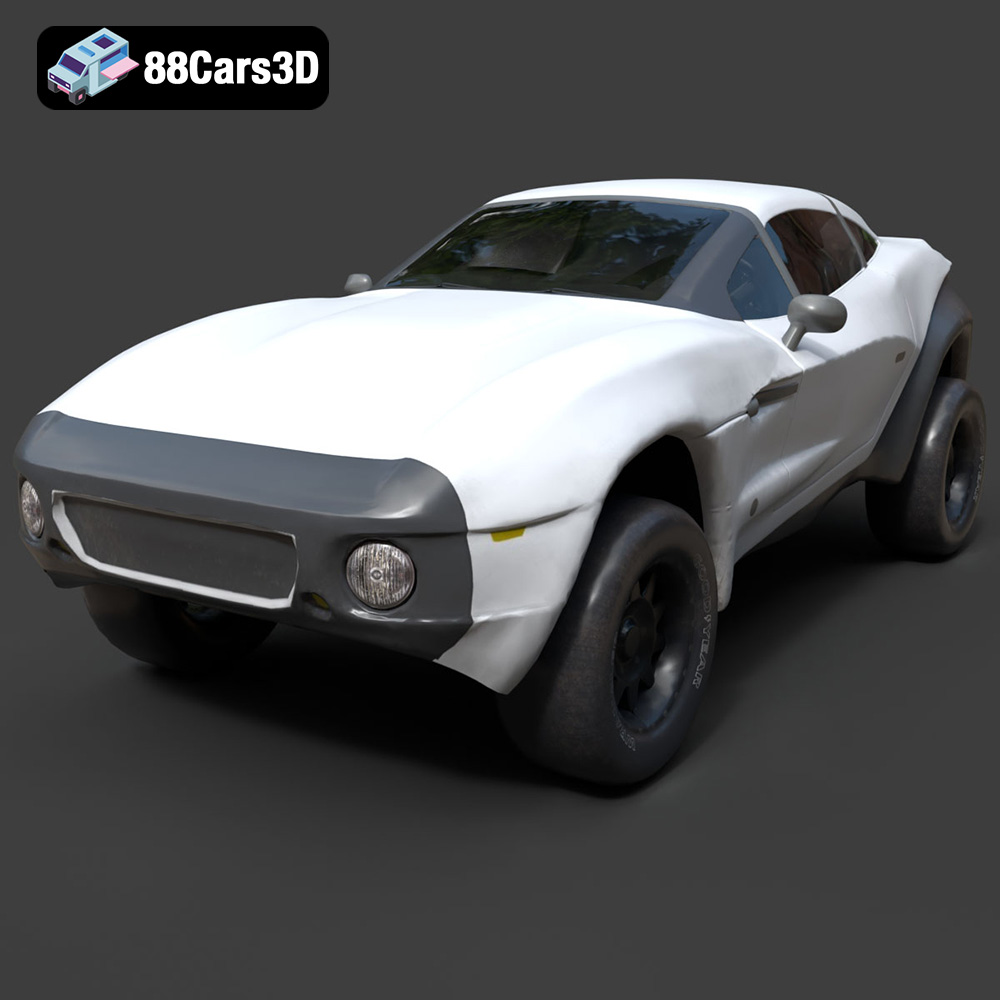
Texture: Yes | Material: Yes
Download the highly detailed, game-ready Local Motors Rally Fighter 3D Model. Features aggressive off-road long-travel suspension, detailed interior cockpit, and high-clearance body styling. Includes .blend, .fbx, .obj, .glb, .stl, .ply, .unreal, and .max formats for game development, AR/VR, and rendering.
Price: $9
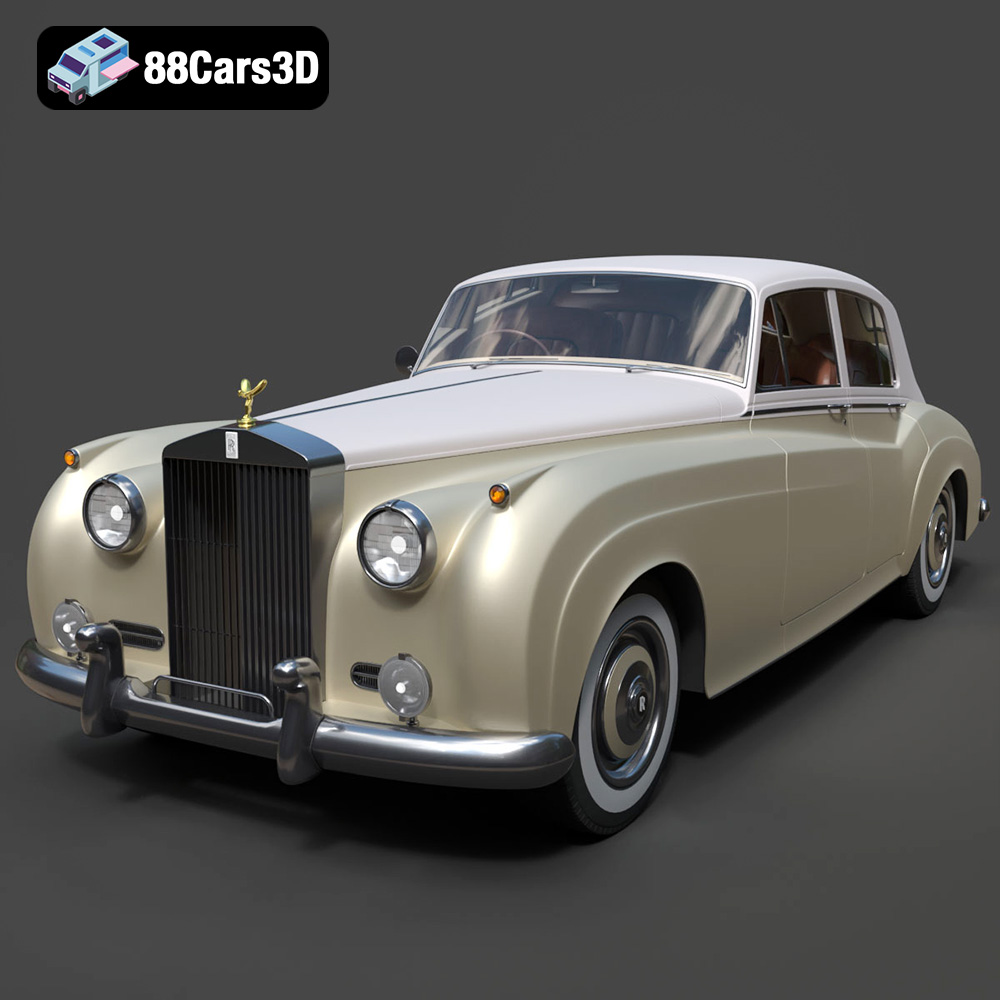
Texture: Yes | Material: Yes
Download the highly detailed, game-ready Rolls-Royce Silver Cloud II 1959 3D Model. Features classic chrome radiator grille, iconic Spirit of Ecstasy ornament, and elegant two-tone bodylines. Includes .blend, .fbx, .obj, .glb, .stl, .ply, .unreal, and .max formats for game development, AR/VR, and rendering.
Price: $9
